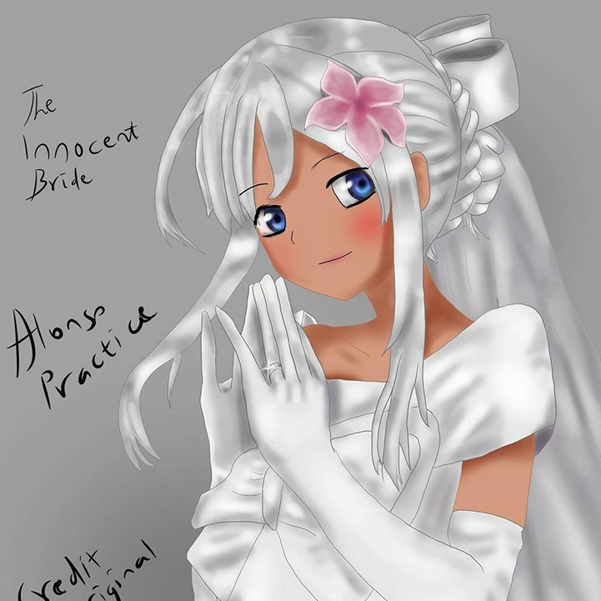
Today we will draw and color an anime character. Here is the end result
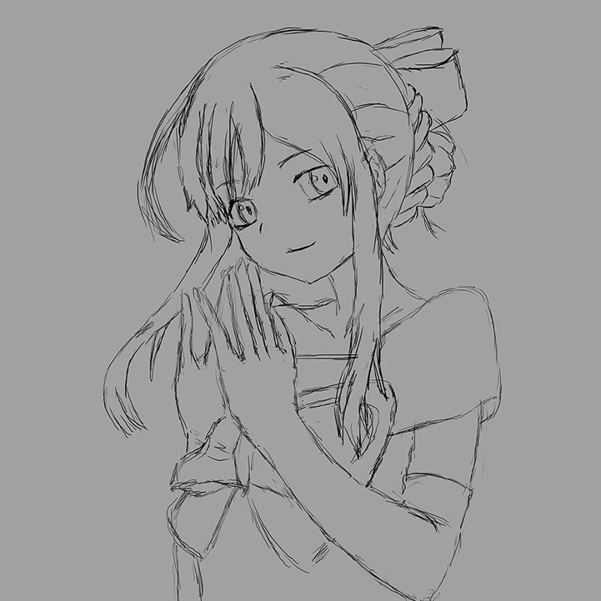
First, I like to sketch rough, I start with basic shapes and build up from there, then go over the whole thing quickly yet attentively, using sketchy lines, this may seem a bit of a round-about but I like to make sure everything looks great before I invest more time on fine linework.
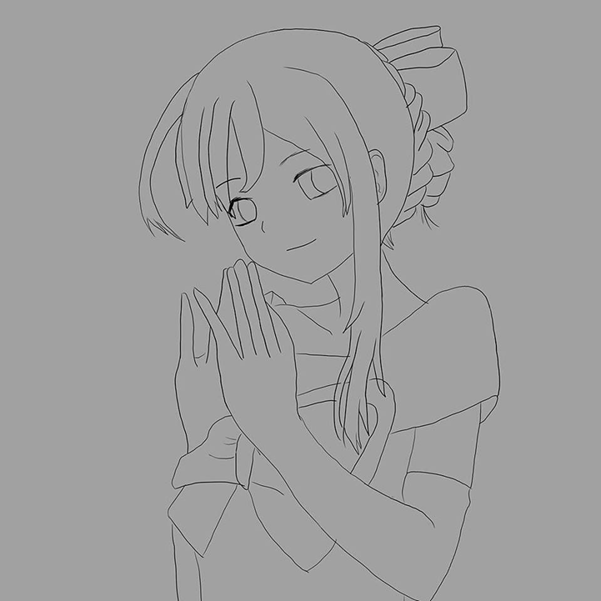
On a new layer, I take my time to draw fine linework. I don’t have to do much correction since I already knew everything looks good rough. Normally, I turn the rough sketch to another color. You can use Liquify tool to correct the lines or curve it a bit more if it seems straight.
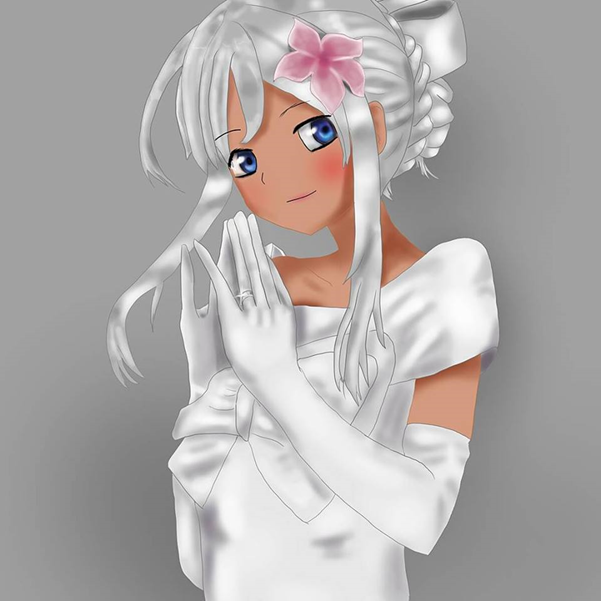
I forgot to take more snapsnots. I just went in and colored it
For the cloth, I had a midtone base, then did some shadow and highlight painting. It felt more like greyscale painting, the hair as well. Same principle, midtone as base, define your shades, hair clumps and highlights
For the skin, I had some warm base tone, then painted in the shadows. I kept it simple. put the blushies on there hehe, its very important. Shaded the eyes and put the flower on.
I’m sorry the explanation was not so “How to” and the pictures wasn’t stepwise. I will try to explain more on my next tutorial...
Finetuning the coloring a bit then added the veil to make the wedding bride look complete.
Once again, sorry for the quick explanation. These are my old works.
Your Upvotes and comments are highly appreciated...