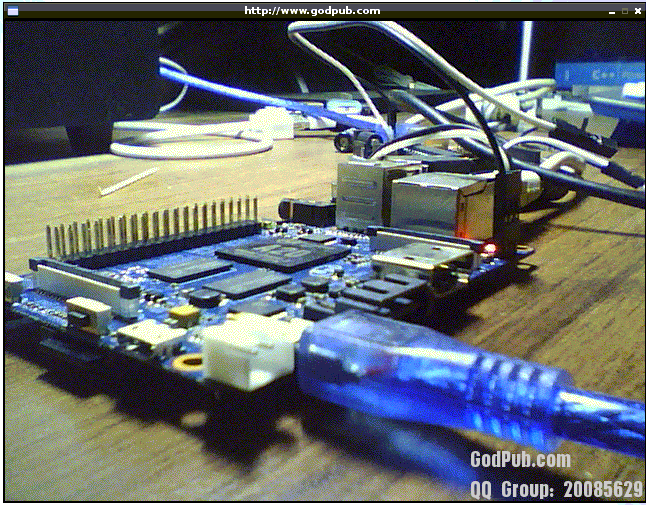
You may know raspberry Pi, BananaPi is the similar open source hardware single-board computers.
你可能知道树莓派,BananaPi 是一款类似的 开源硬件单板计算机。
You can do a lot of interesting things on it.
你可以用它做很多有趣的事。
This article introduce you how to install OpenCV on it, and also provide two example program wrote in C++ and Python.
这篇文章向你介绍如何在BananaPi 安装OpenCV, 并且提供两个用C++和Python编写的示例程序。
Install / 安装
To install OpenCV on BananaPi, just run following command on terminal.
在BananaPi上安装OpenCV,只需执行如下指令:
sudo apt-get install libcv-dev
And to use it with Python, you also need to run following command.
为了让Python能够使用OpenCV,你需要执行如下指令:
sudo apt-get install python-opencv
Capture camera images and display /捕获摄像头图像并显示 (C++)
    #include <opencv2/highgui/highgui.hpp>
    #include <opencv2/core/core.hpp>
    using namespace cv;

    int main()
    {
        VideoCapture cap(0);
        if(!cap.isOpened())
        {
            return -1;
        }
        Mat frame;
        Mat edges;

        bool stop = false;
        while(!stop)
        {
            cap>>frame;
            imshow("http://www.godpub.com", frame);
            if(waitKey(20) >=0)
                stop = true;
        }
        return 0;
    }
Build /编译:
g++ -o cap cap.cpp -lopencv_core -lopencv_highgui
The result/ 执行效果

Capture camera images and display /捕获摄像头图像并显示 (Python)
    import cv2
    cap=cv2.VideoCapture(0)
    while True:
        ret, frame = cap.read()
        cv2.imshow('http://www.godpub.com',frame)
        if cv2.waitKey(10) == 27:
             break
    cv2.destroyAllWindows()
The result/ 执行效果

Enjoy it.
注:我以前写的香蕉派相关的文章,简单处理一下发这里,看看会受欢迎不?:)
