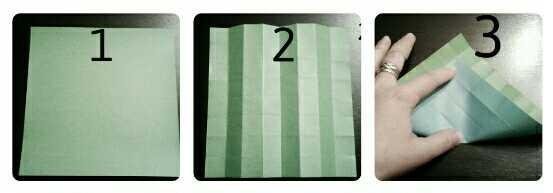
- Start with the colour you want for the walls face down.
- Divide the paper into an 8x8 grid. To do so first fold paper in half edge to edge. Fold the raw edge to the centre on both sides and then fold the resulting folded edge back on itself to the centre once more. Rotate paper 90 degrees and repeat. Unfold completely.
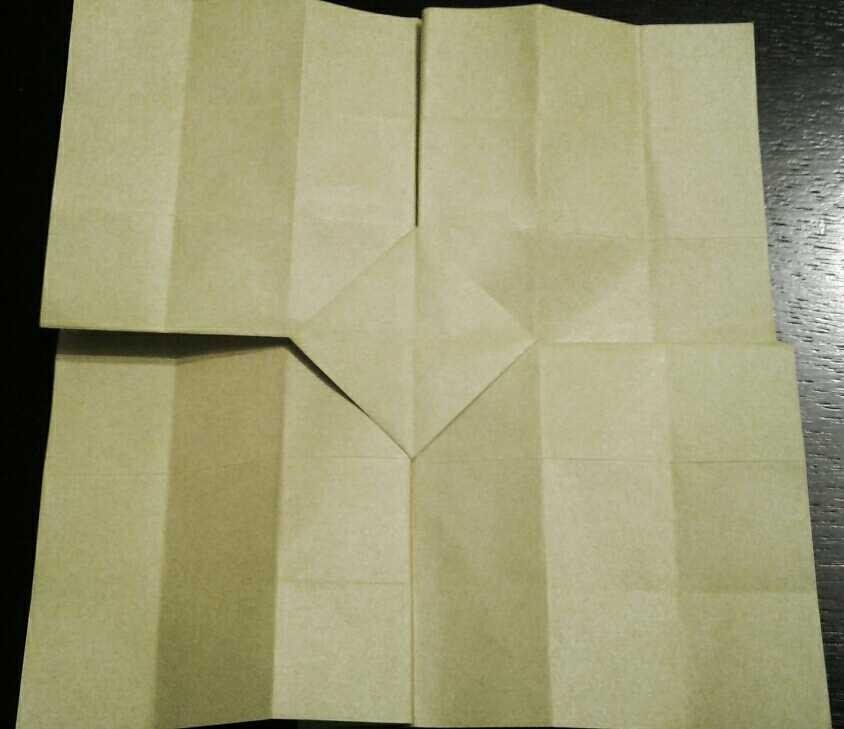
- Rotate the paper 45 degrees and fold the bottom corner to the base of the first square from the top. Crease one squares length in the middle.
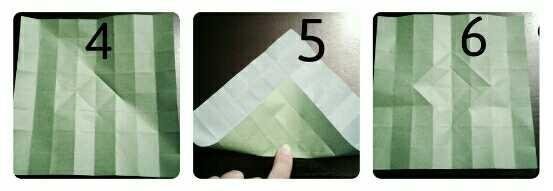
- Rotate paper 90 degrees and repeat on all four corners. A diamond shape will appear in the middle.
- Turn the paper over and fold the bottom corner to the base of the second square from the top. Crease two square lengths in the middle.
- Rotate paper 90 degrees and repeat on all four corners. A second larger diamond shape will appear in the middle.
- Turn the paper over and at the points of the second larger diamond pinch the paper down to highlight this shape.
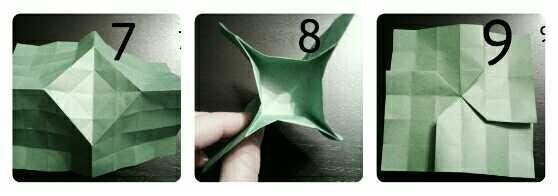
- Pinch in the points of the larger diamond to the base of the inner diamond.
- Maintaining these pinches bring the edges of the paper up flattening the model. Four spokes with a sloping edge one squares length in the centre should form.
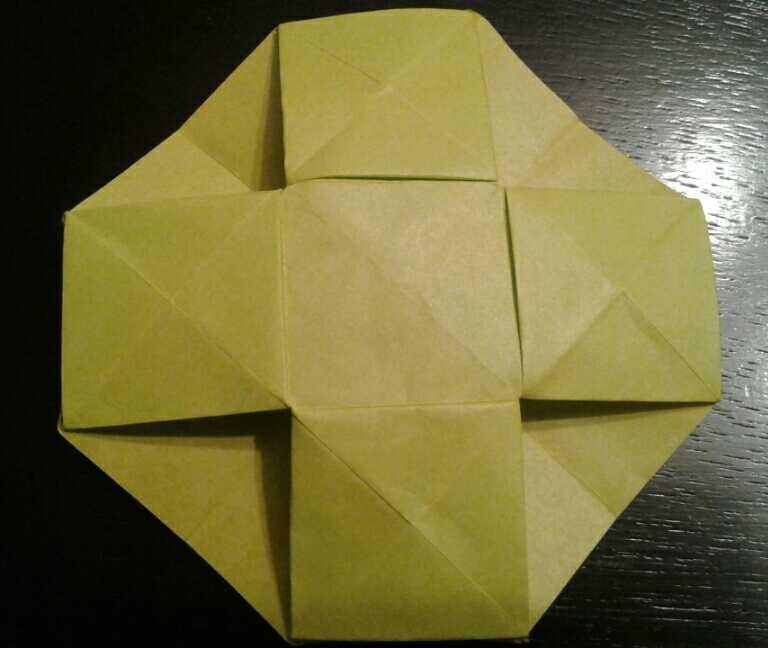
Turn the paper over and you will see that you have formed a tesselation square.
You can repeat the two diamonds above and beside the central diamond if desired.
And as I will show in my next post both can be turned into bowls/vases
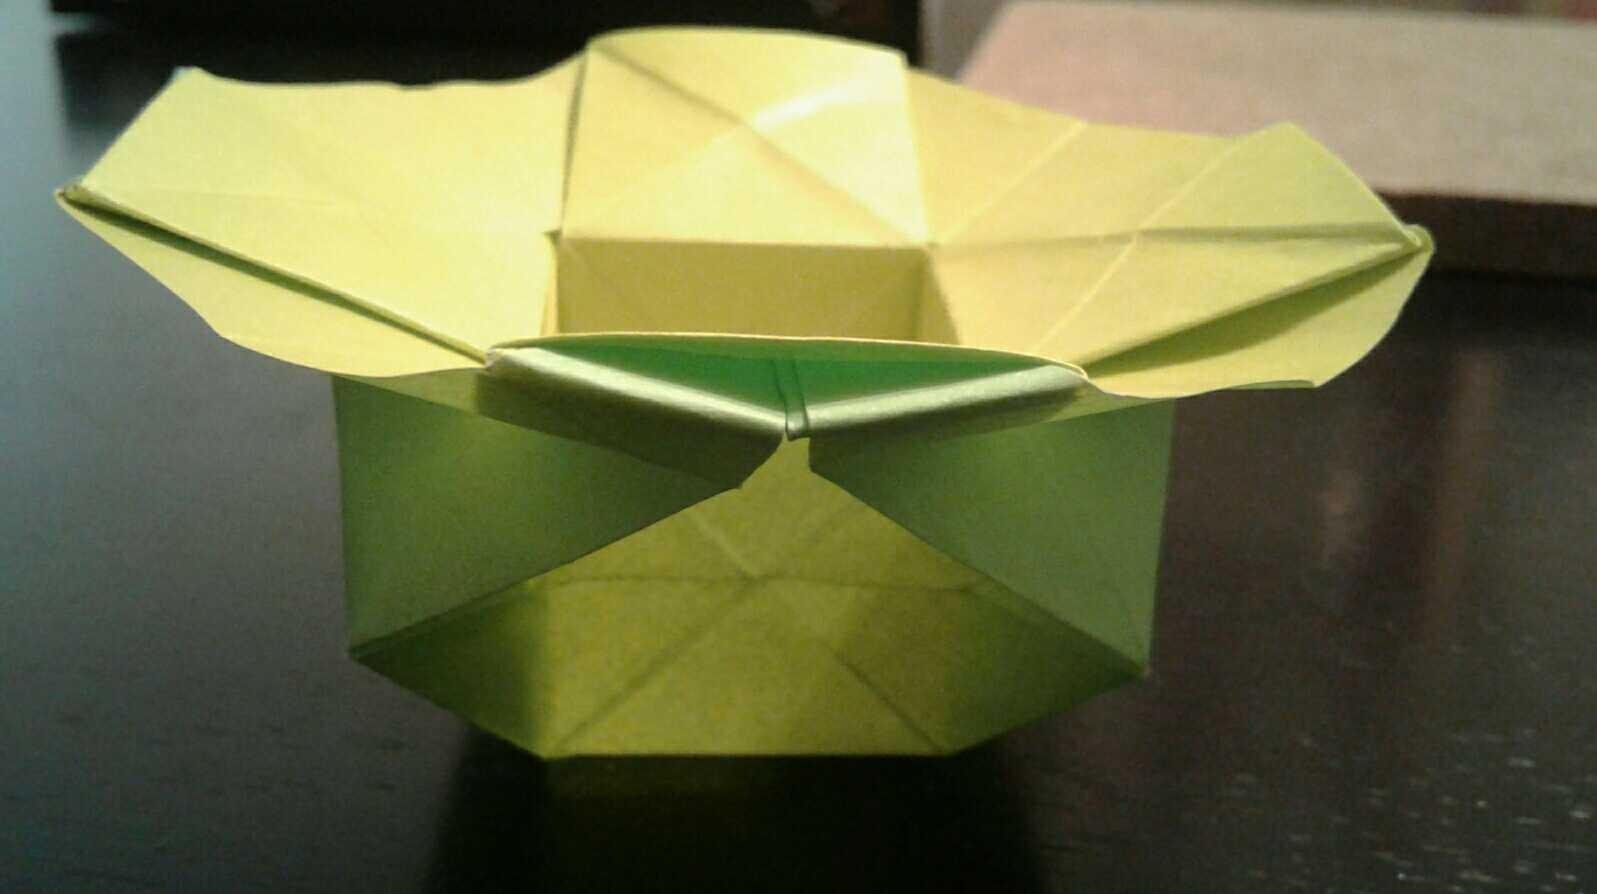
Happy folding, Grace.