Modular origami is a subcategory which uses multiple sheets of paper to make more complex models.
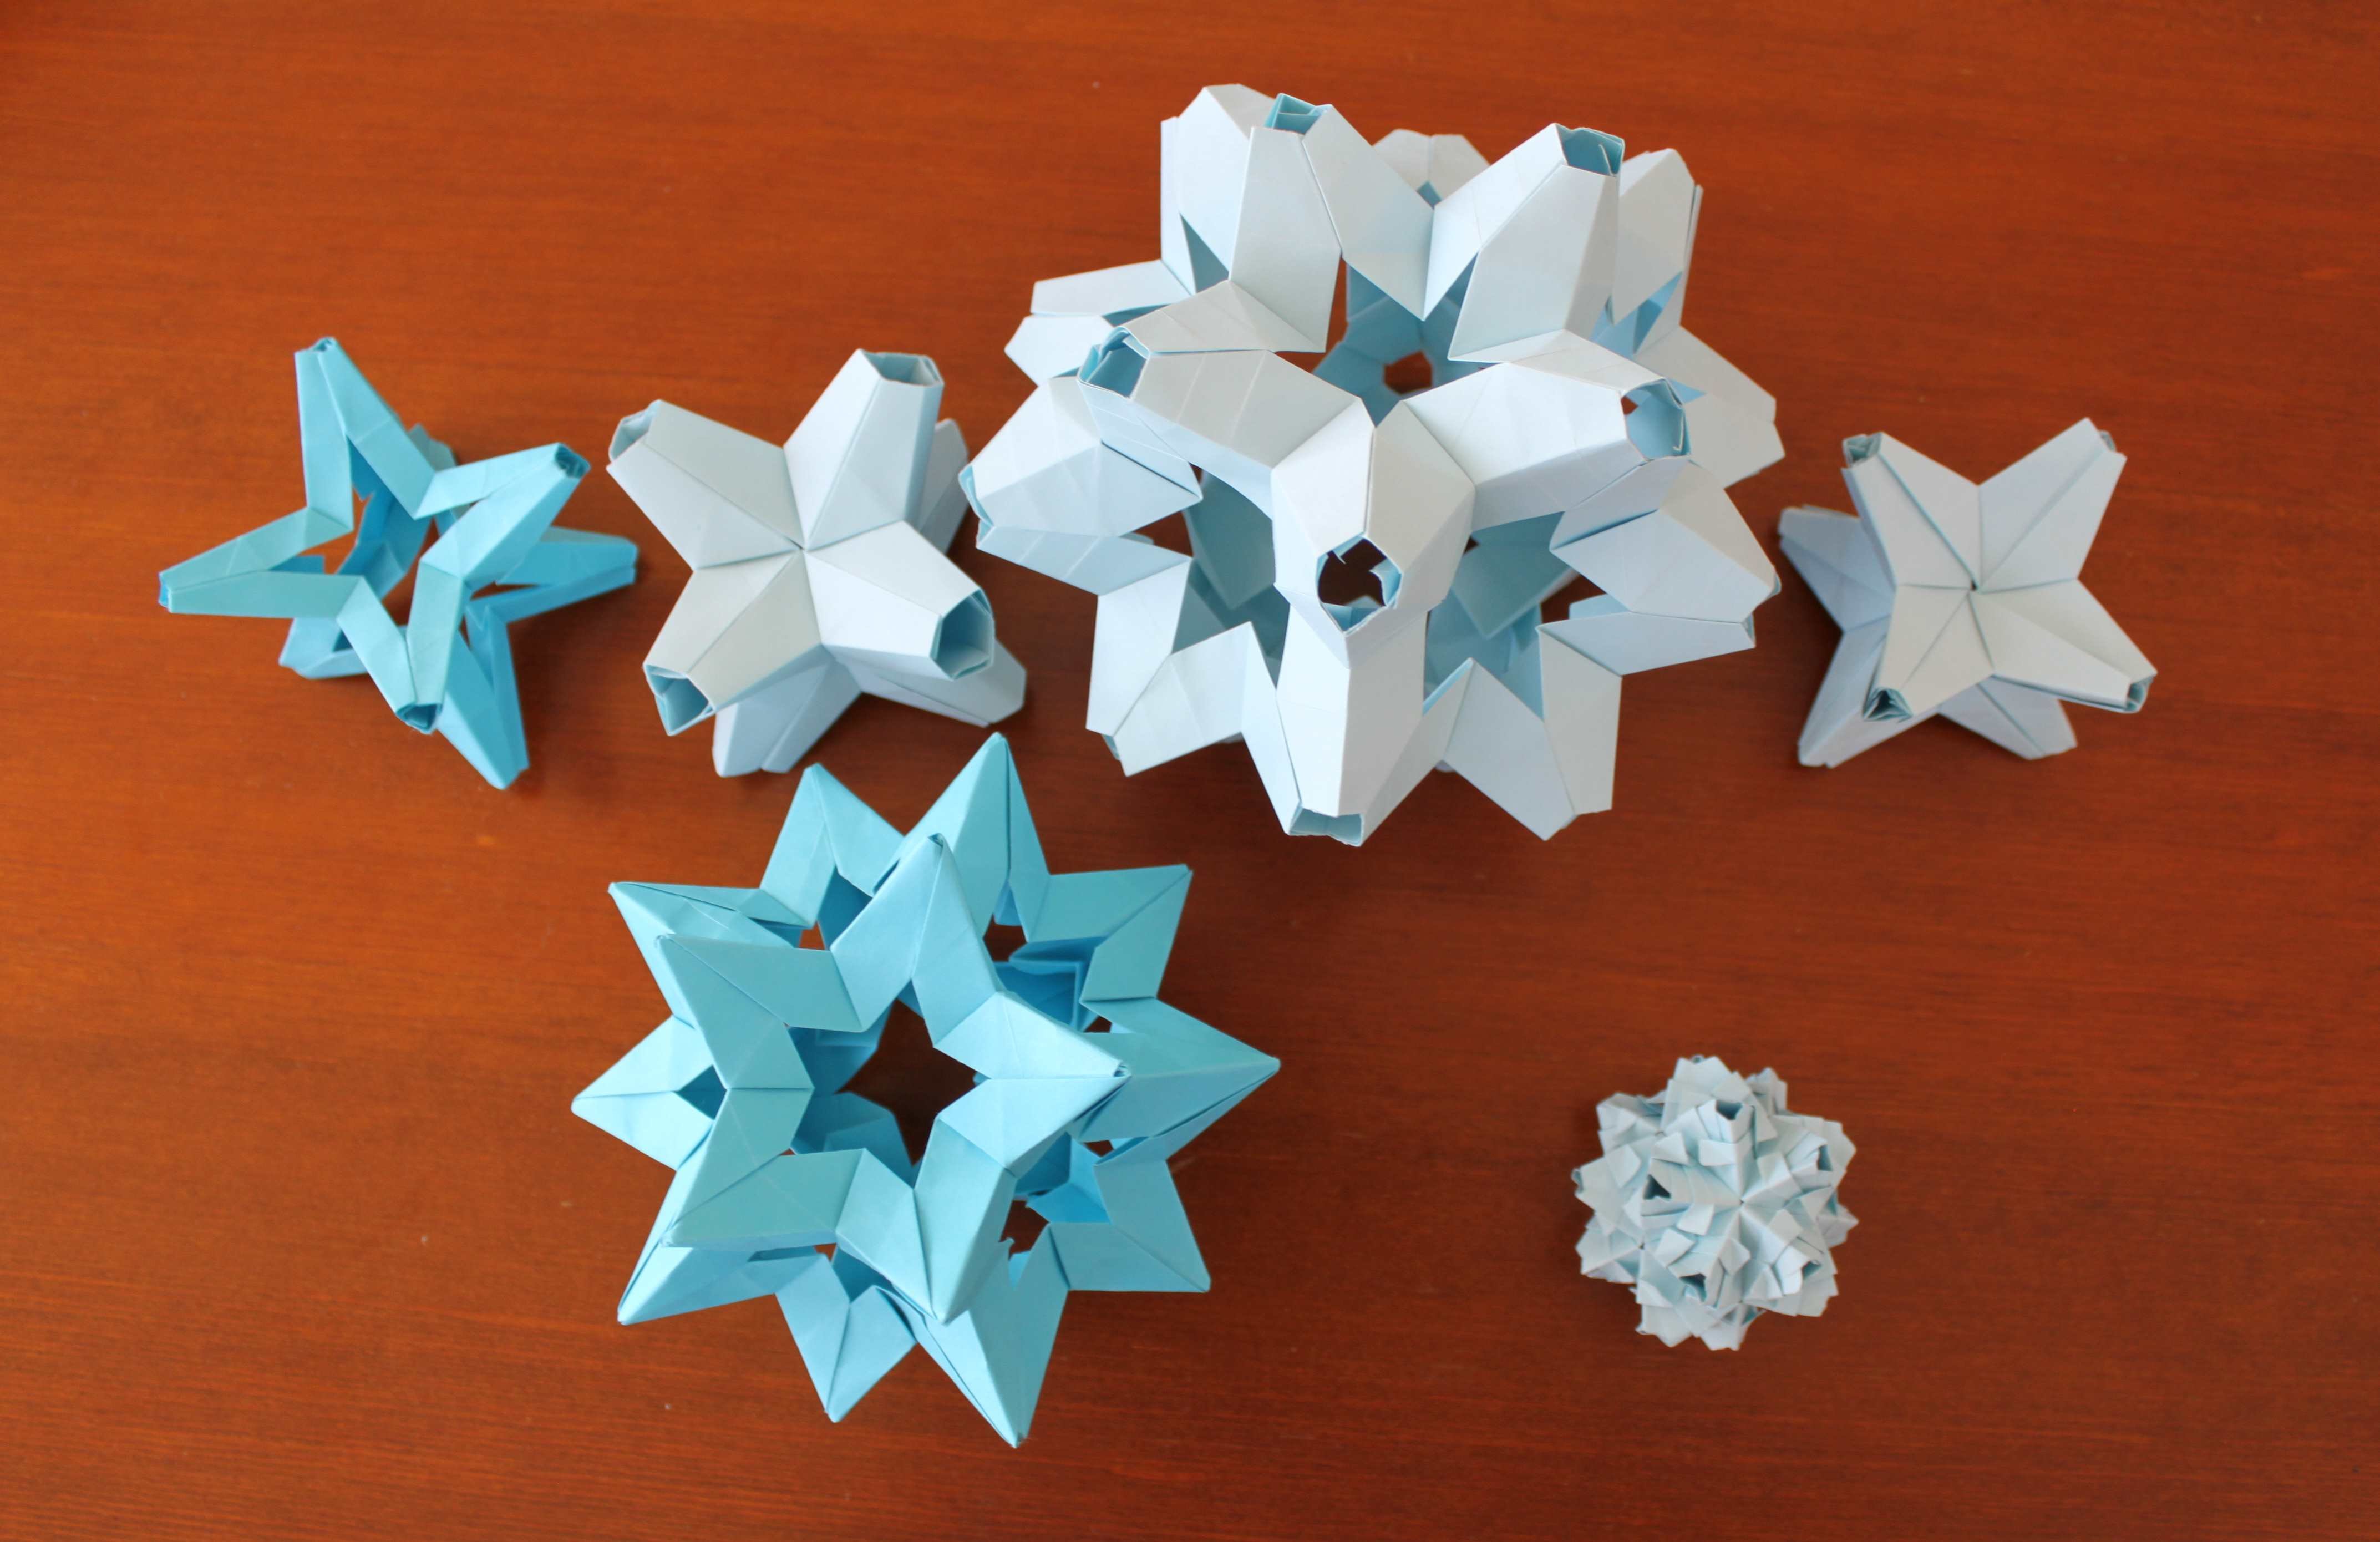
These are my first attempts of designing my own units/models inspired by two models I recently made posts on:
This one
I wanted to design a unit that was a combination of these two, gaps on inside and on corners which in theory would make a very unstable model. There are a few things to consider: Paper ratio, corner gap size, inside gap size. I used 7cm paper for all of these(7x3,5cm for the 1:2 ratio model). Another issue was the difference of the bases of the two models, since I got the general idea I decided to use the star model base.
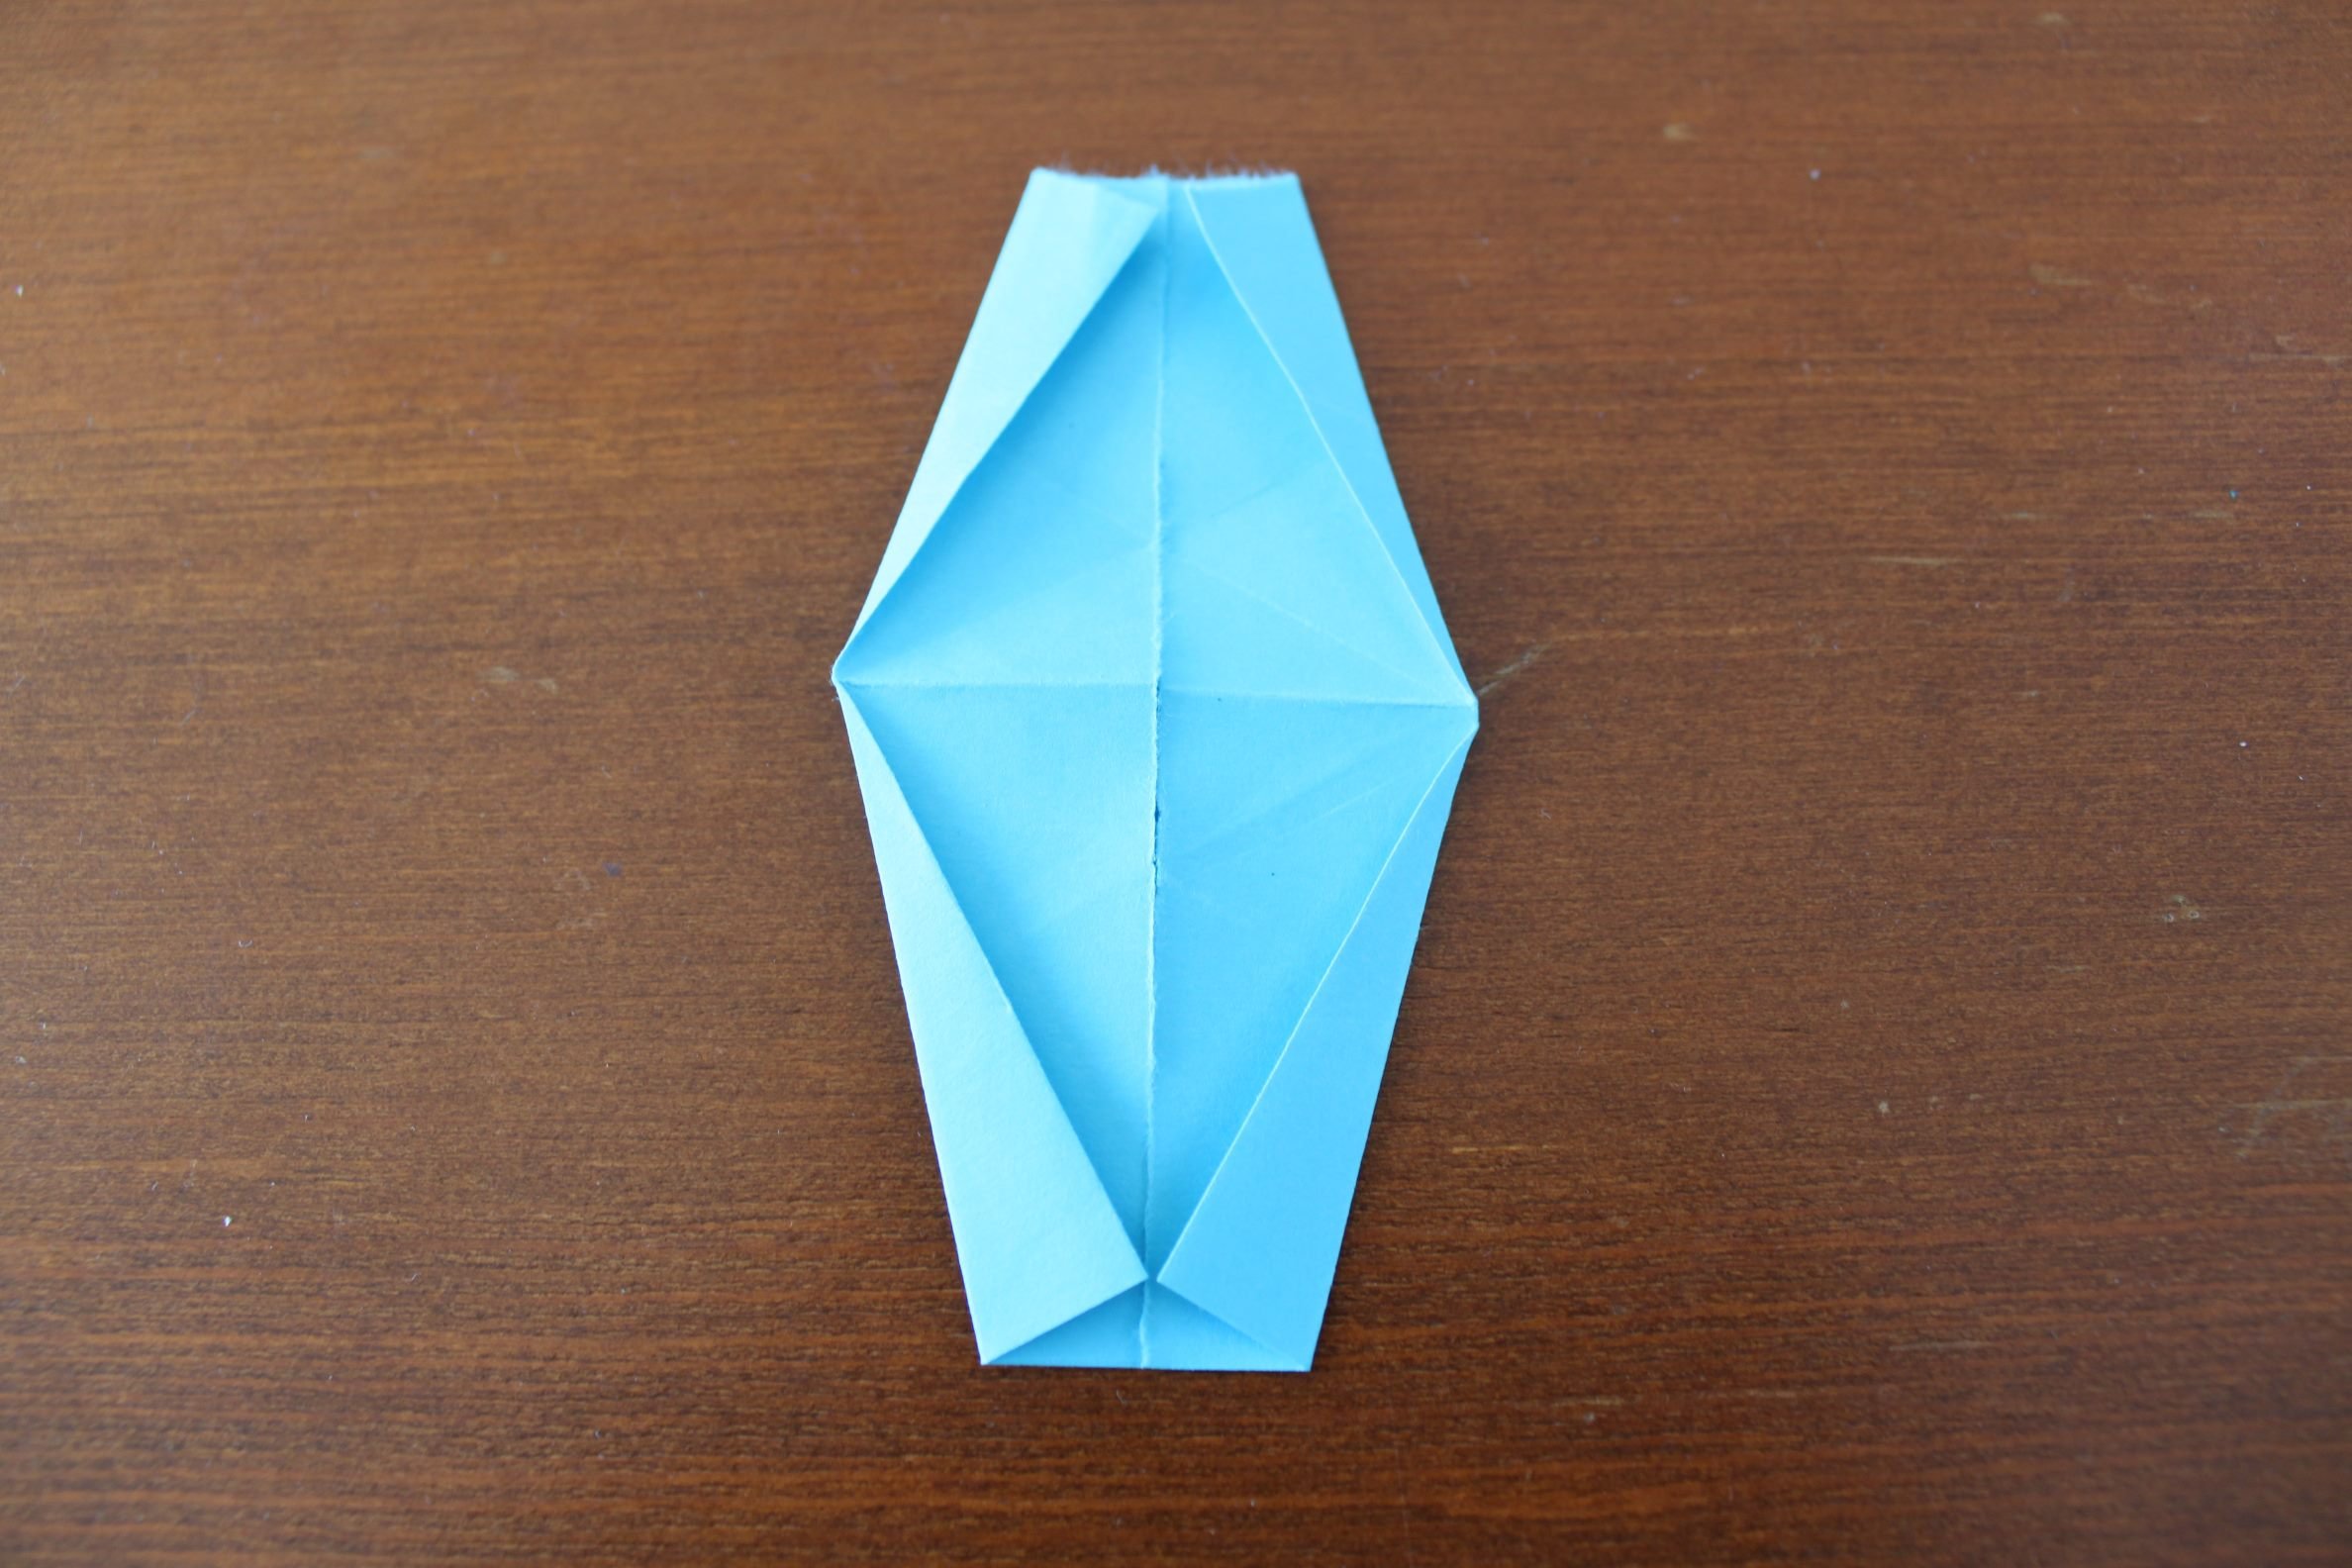
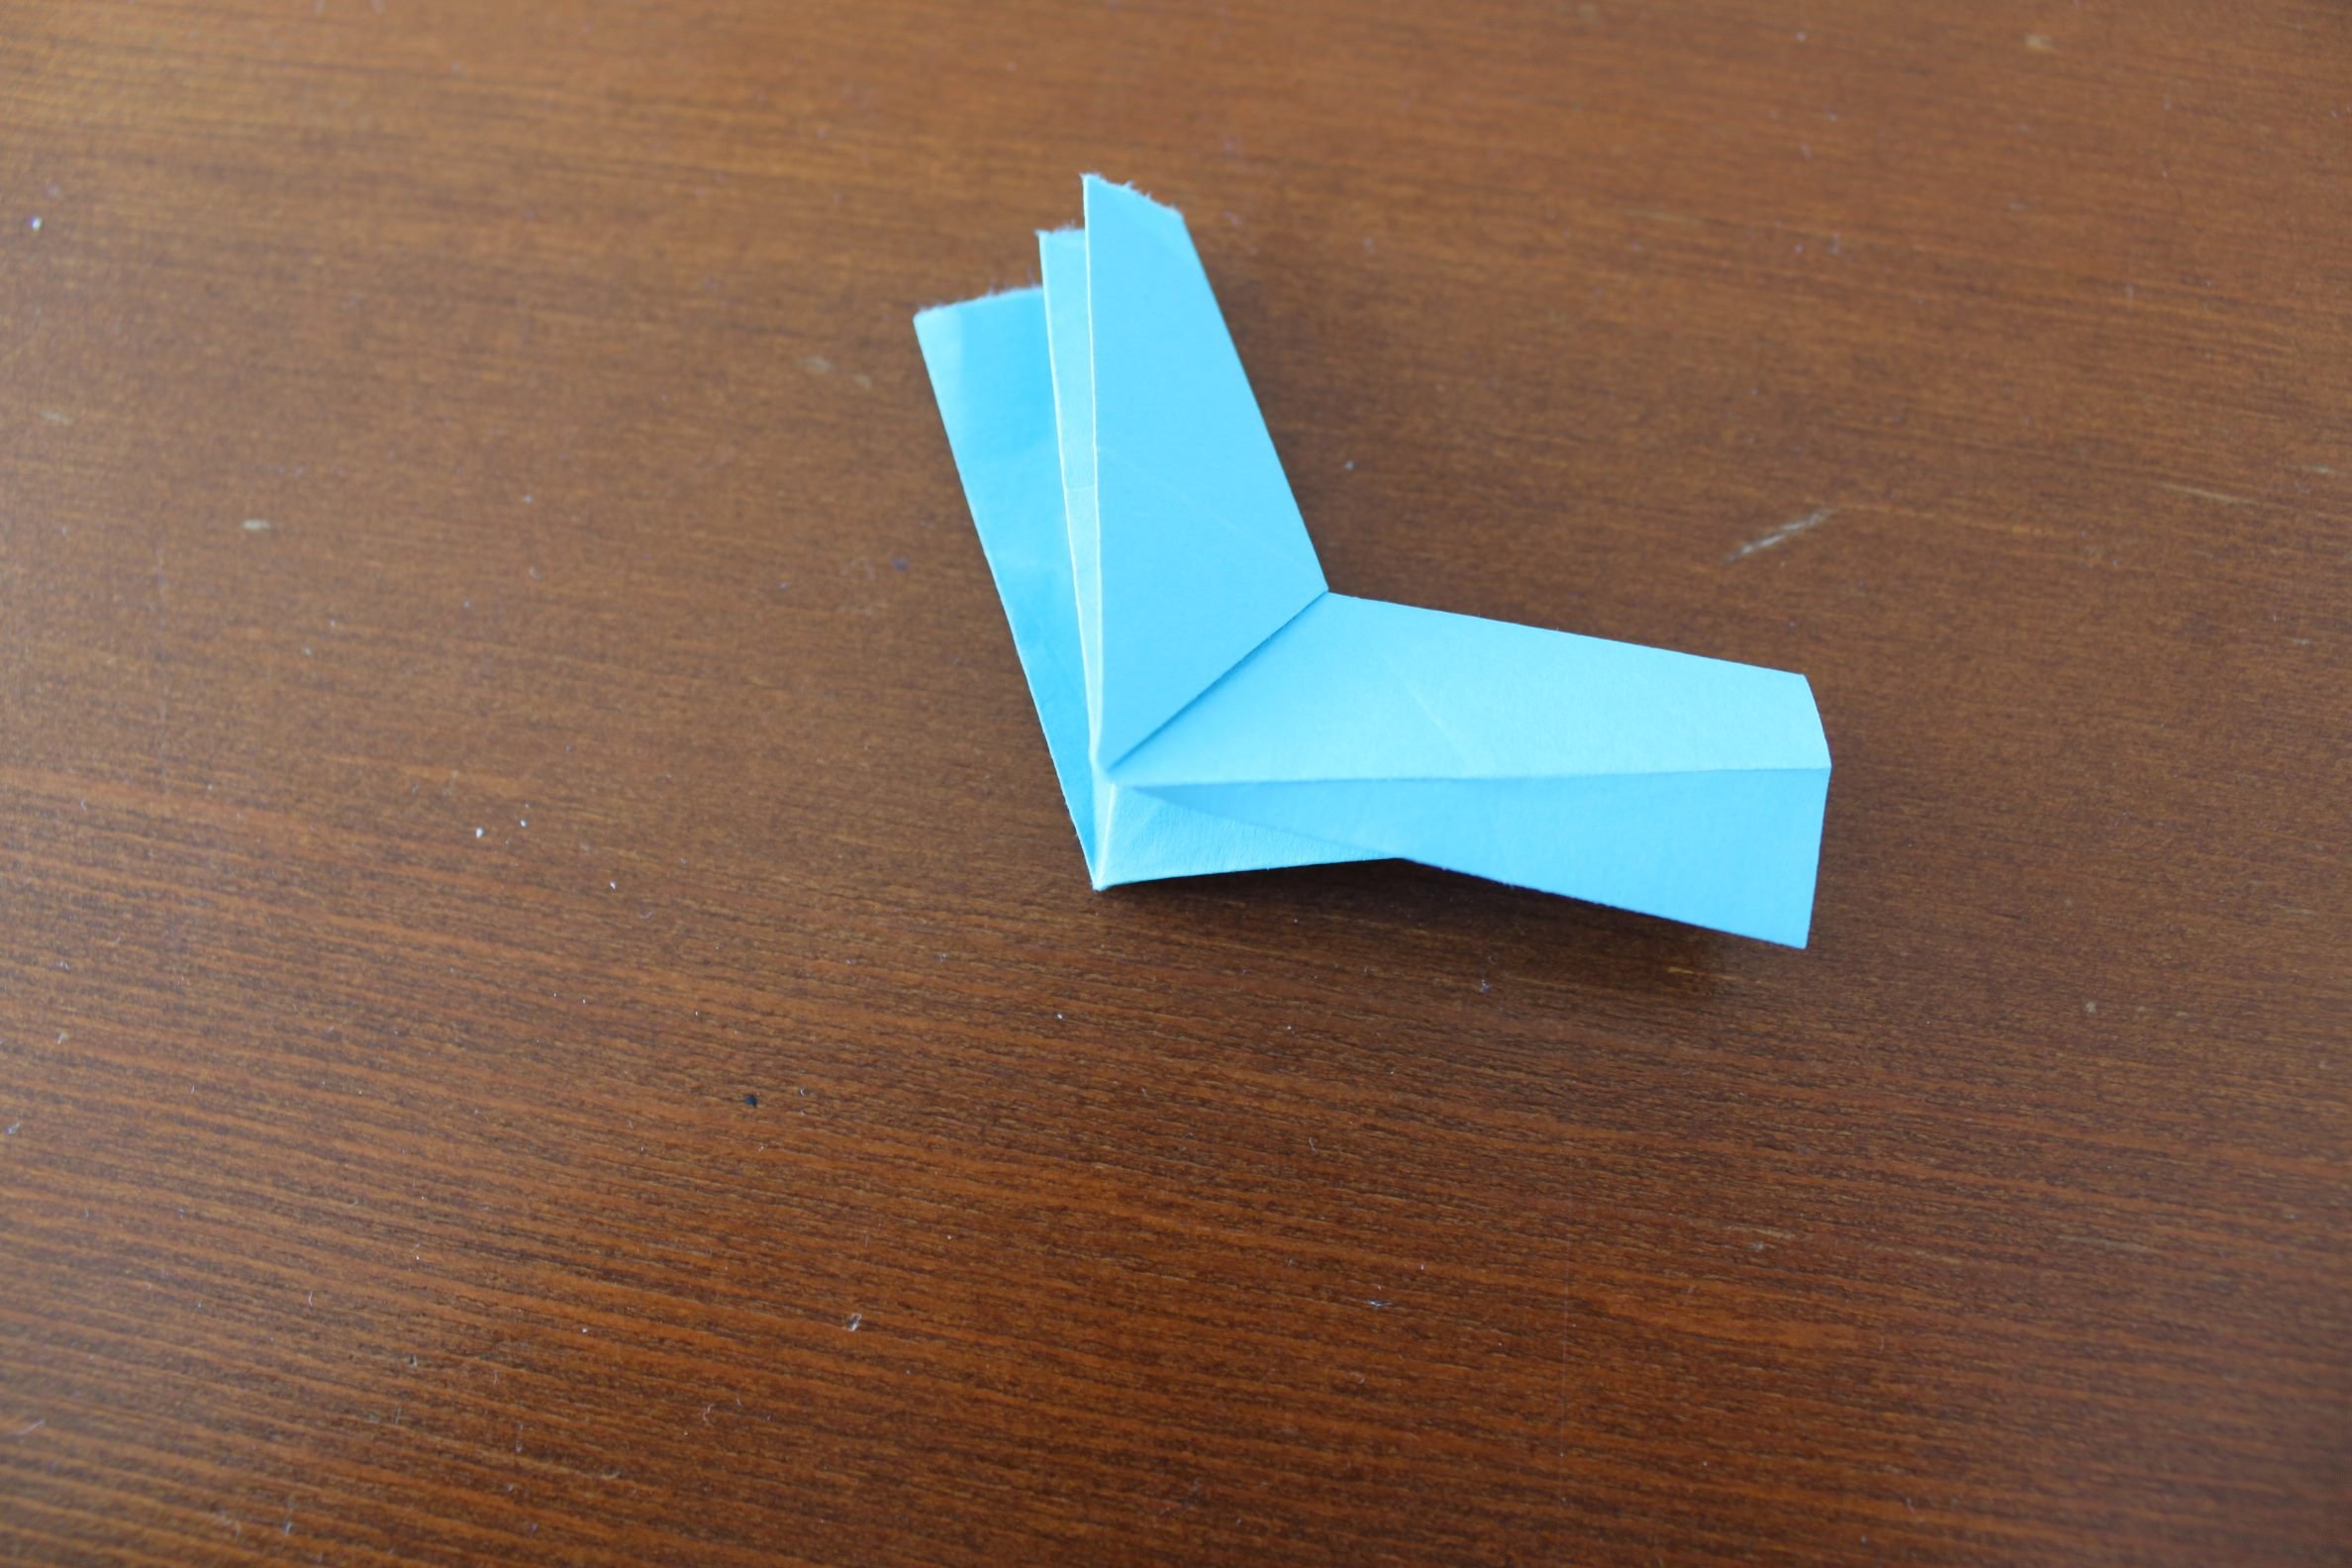
This is what I mean by base for the units:
Here's the first design.
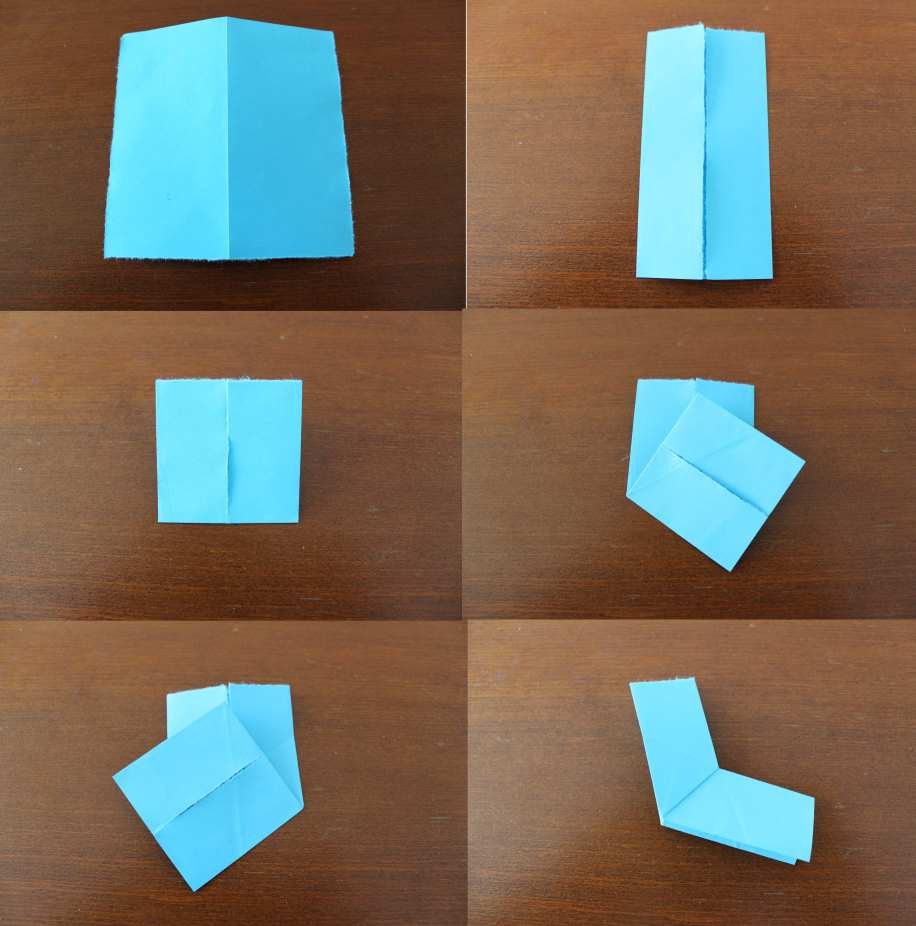
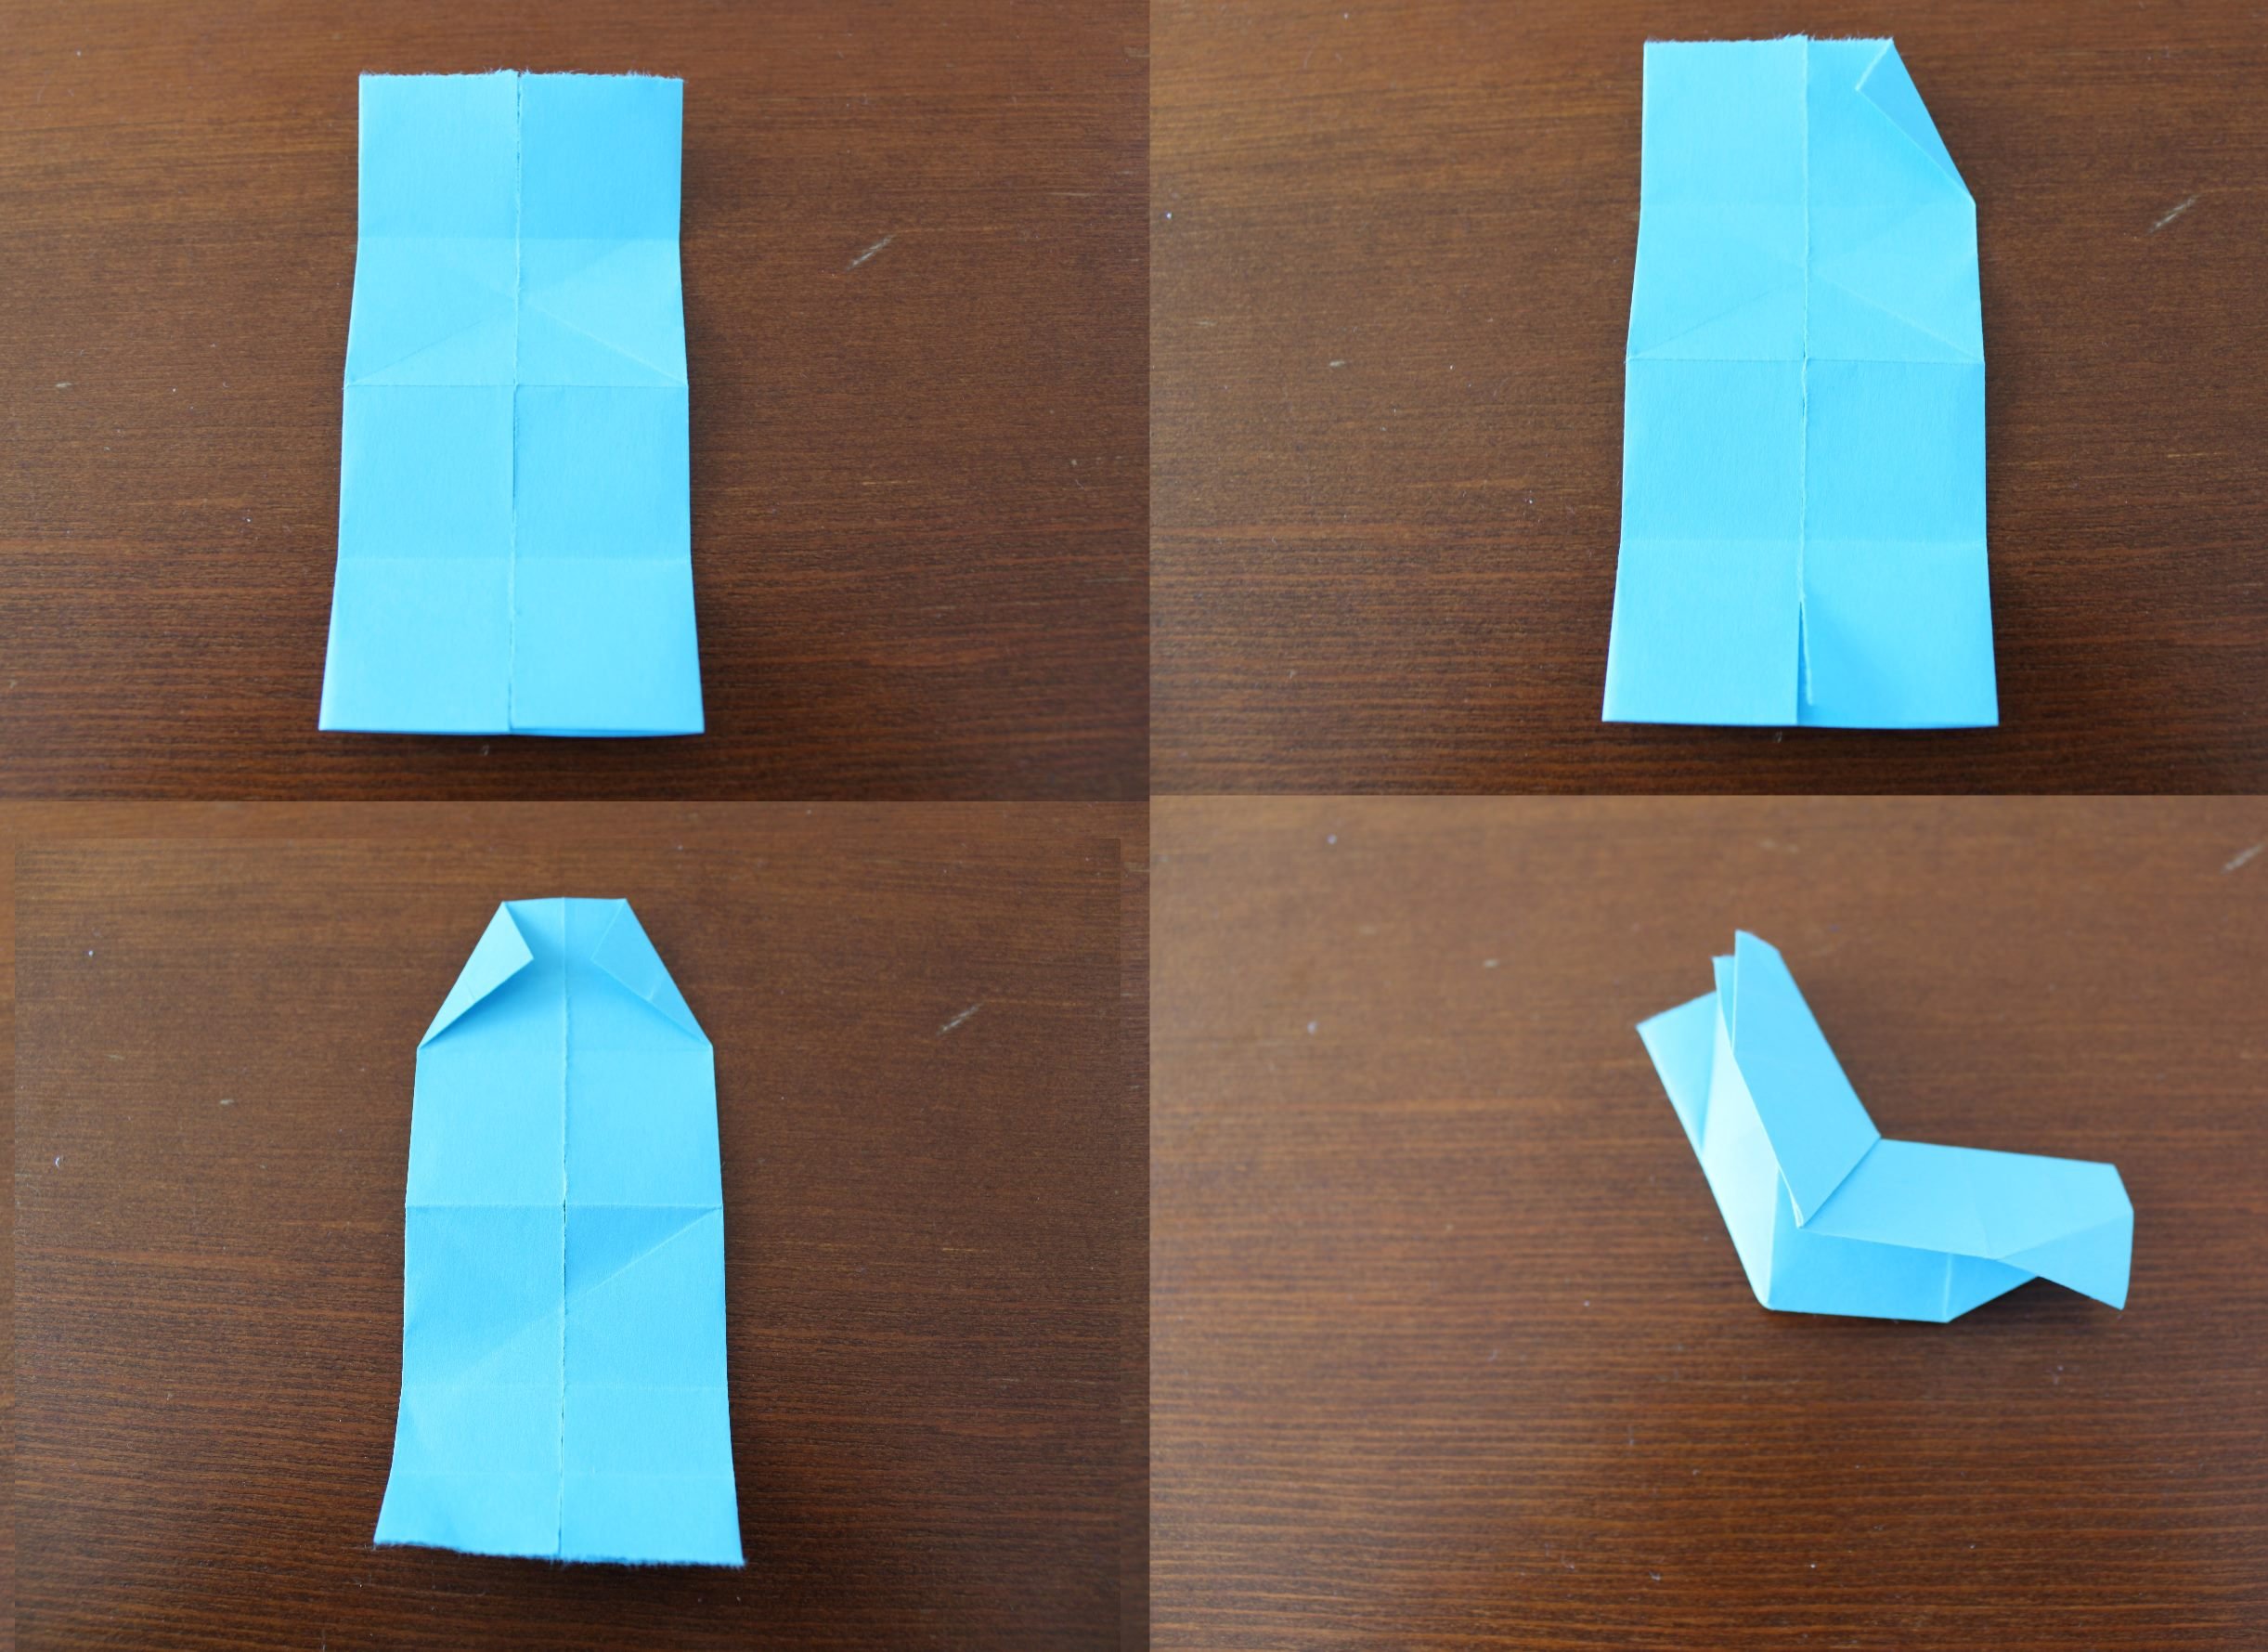
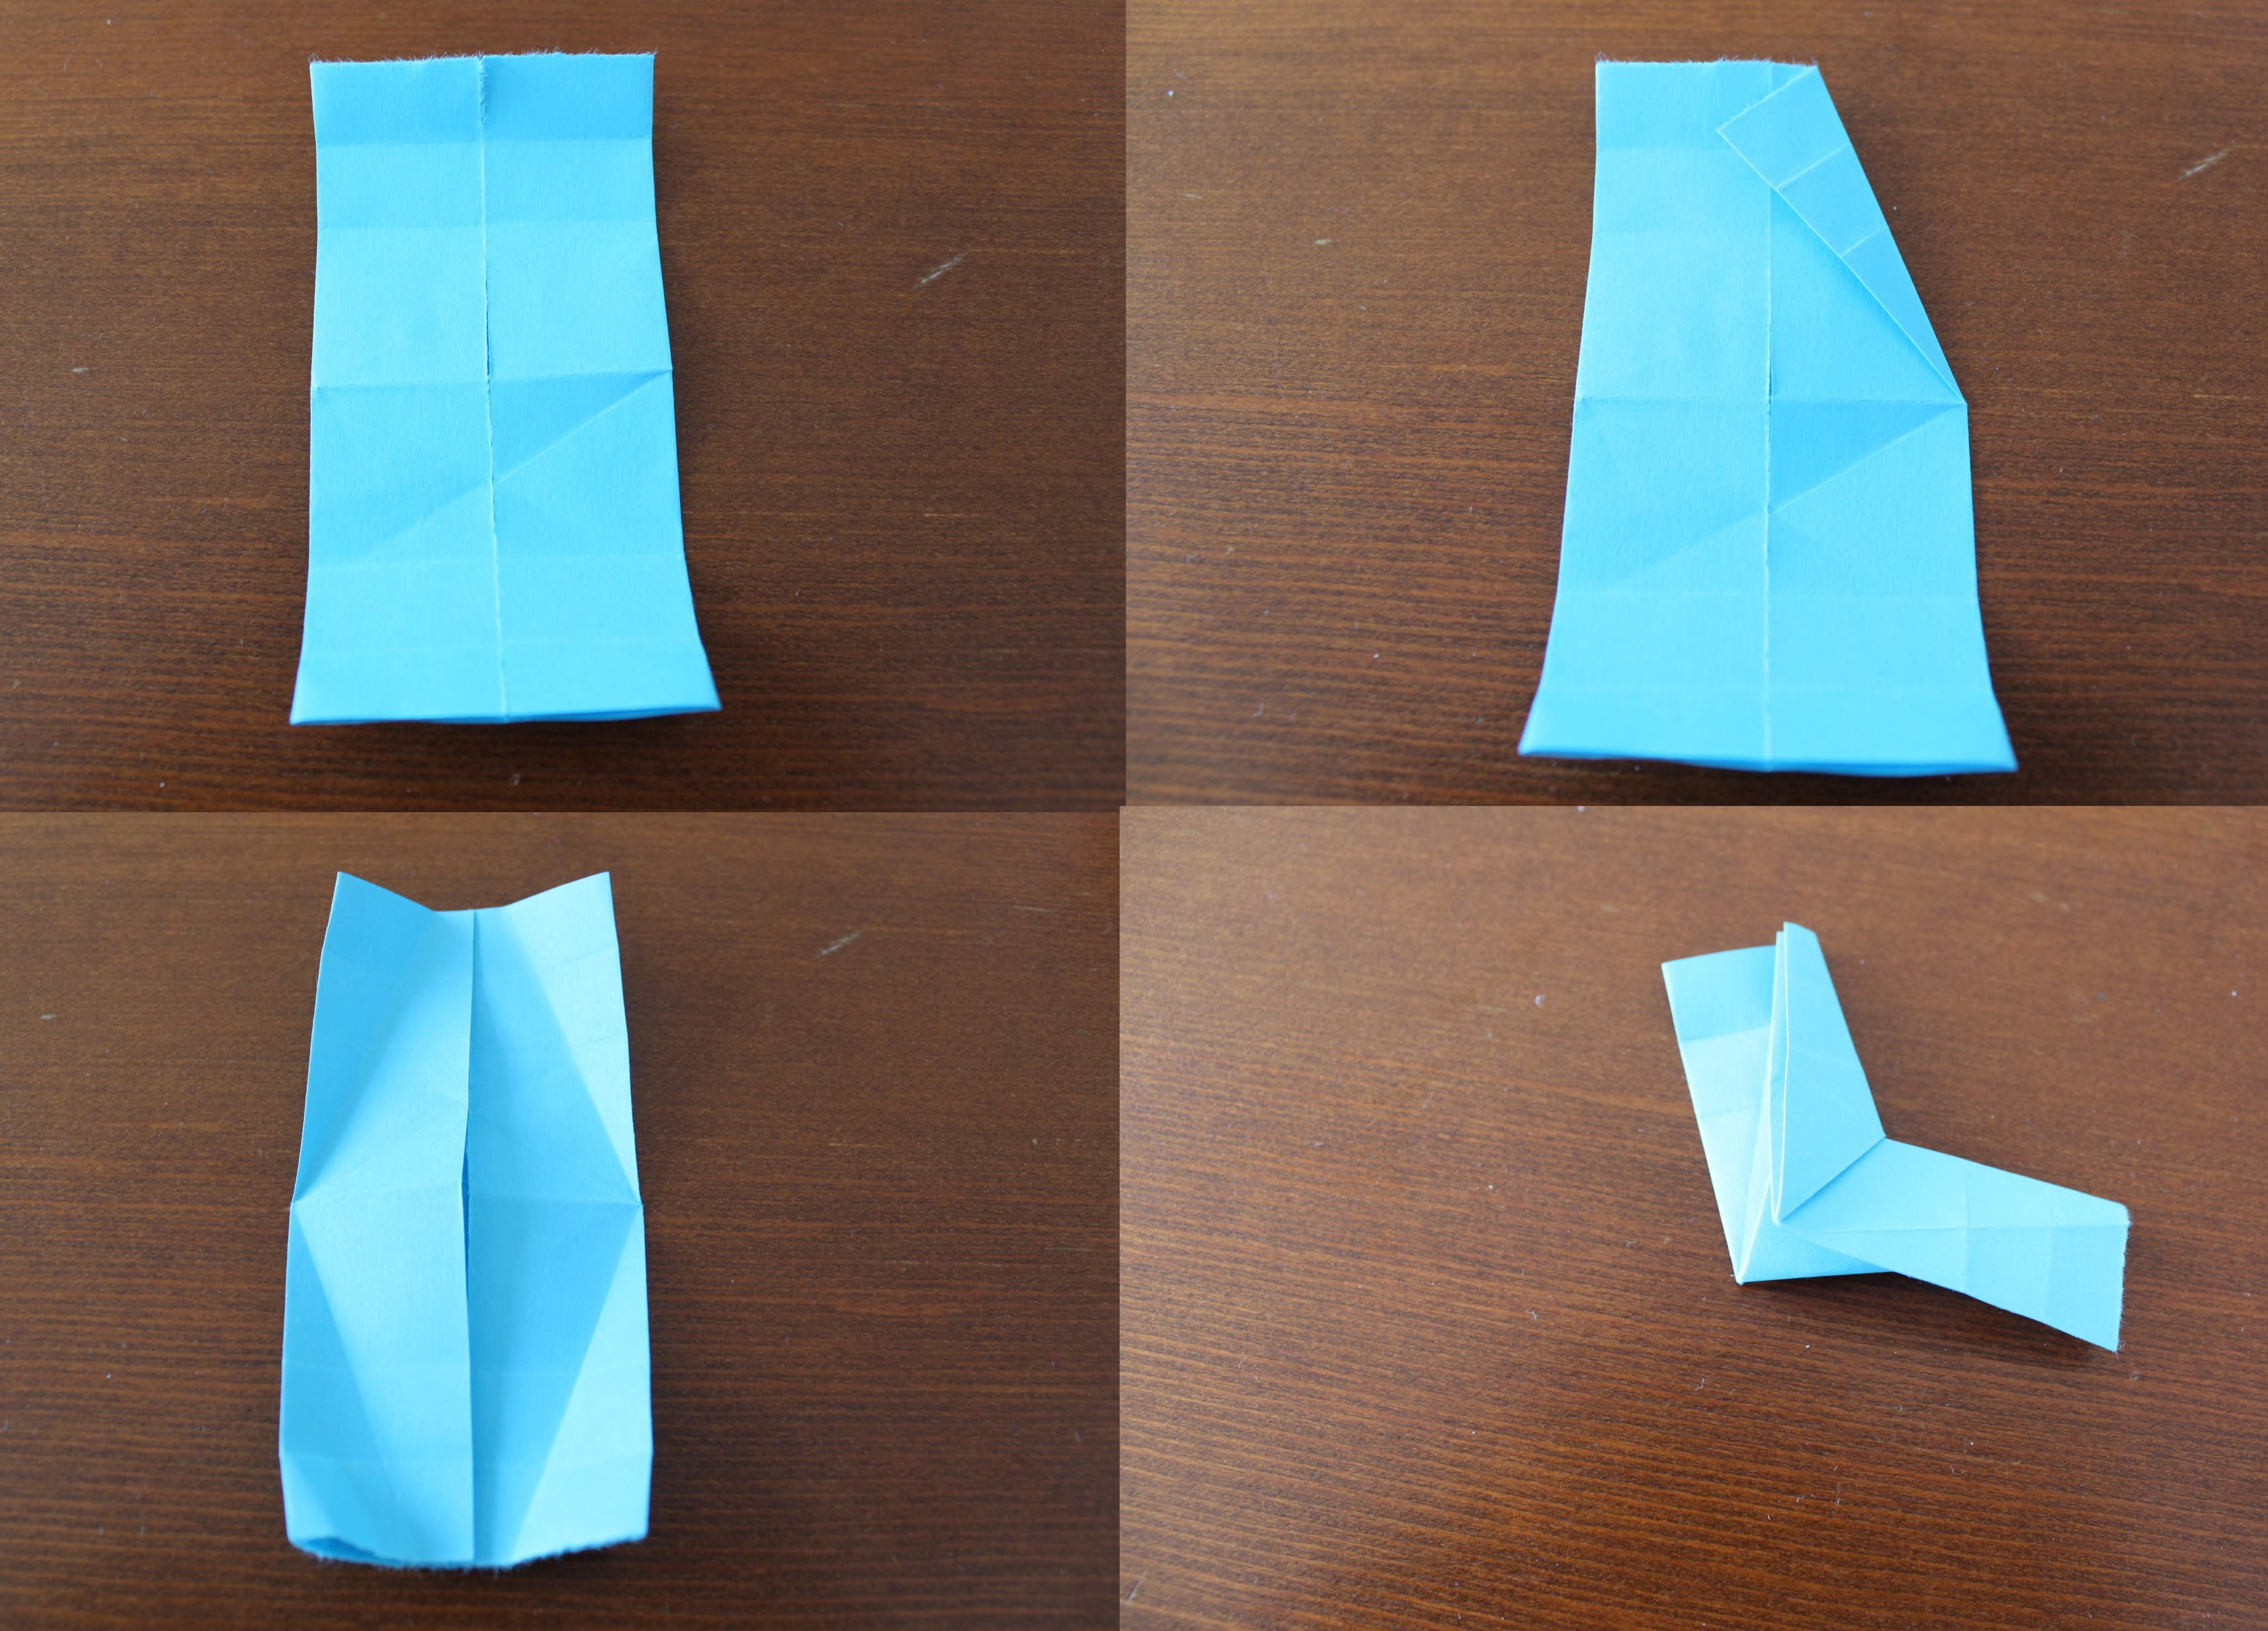
How I made the unit:
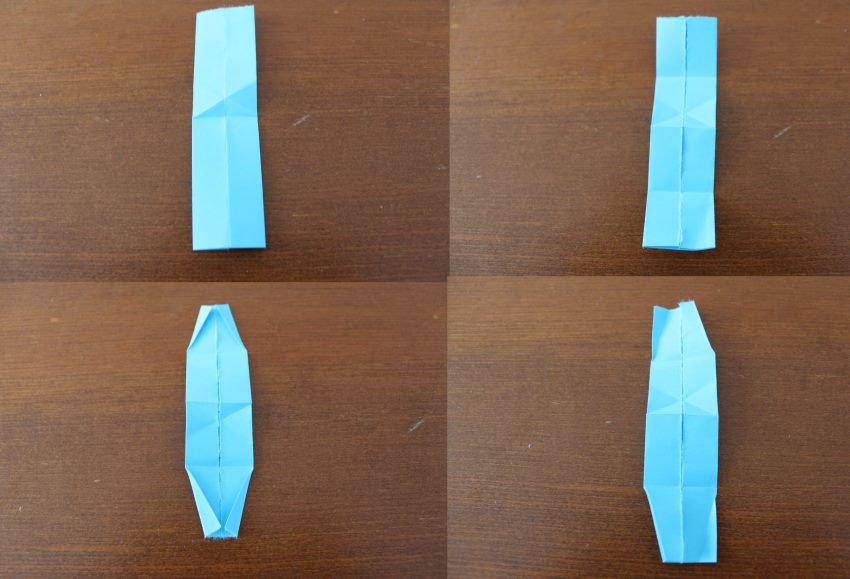
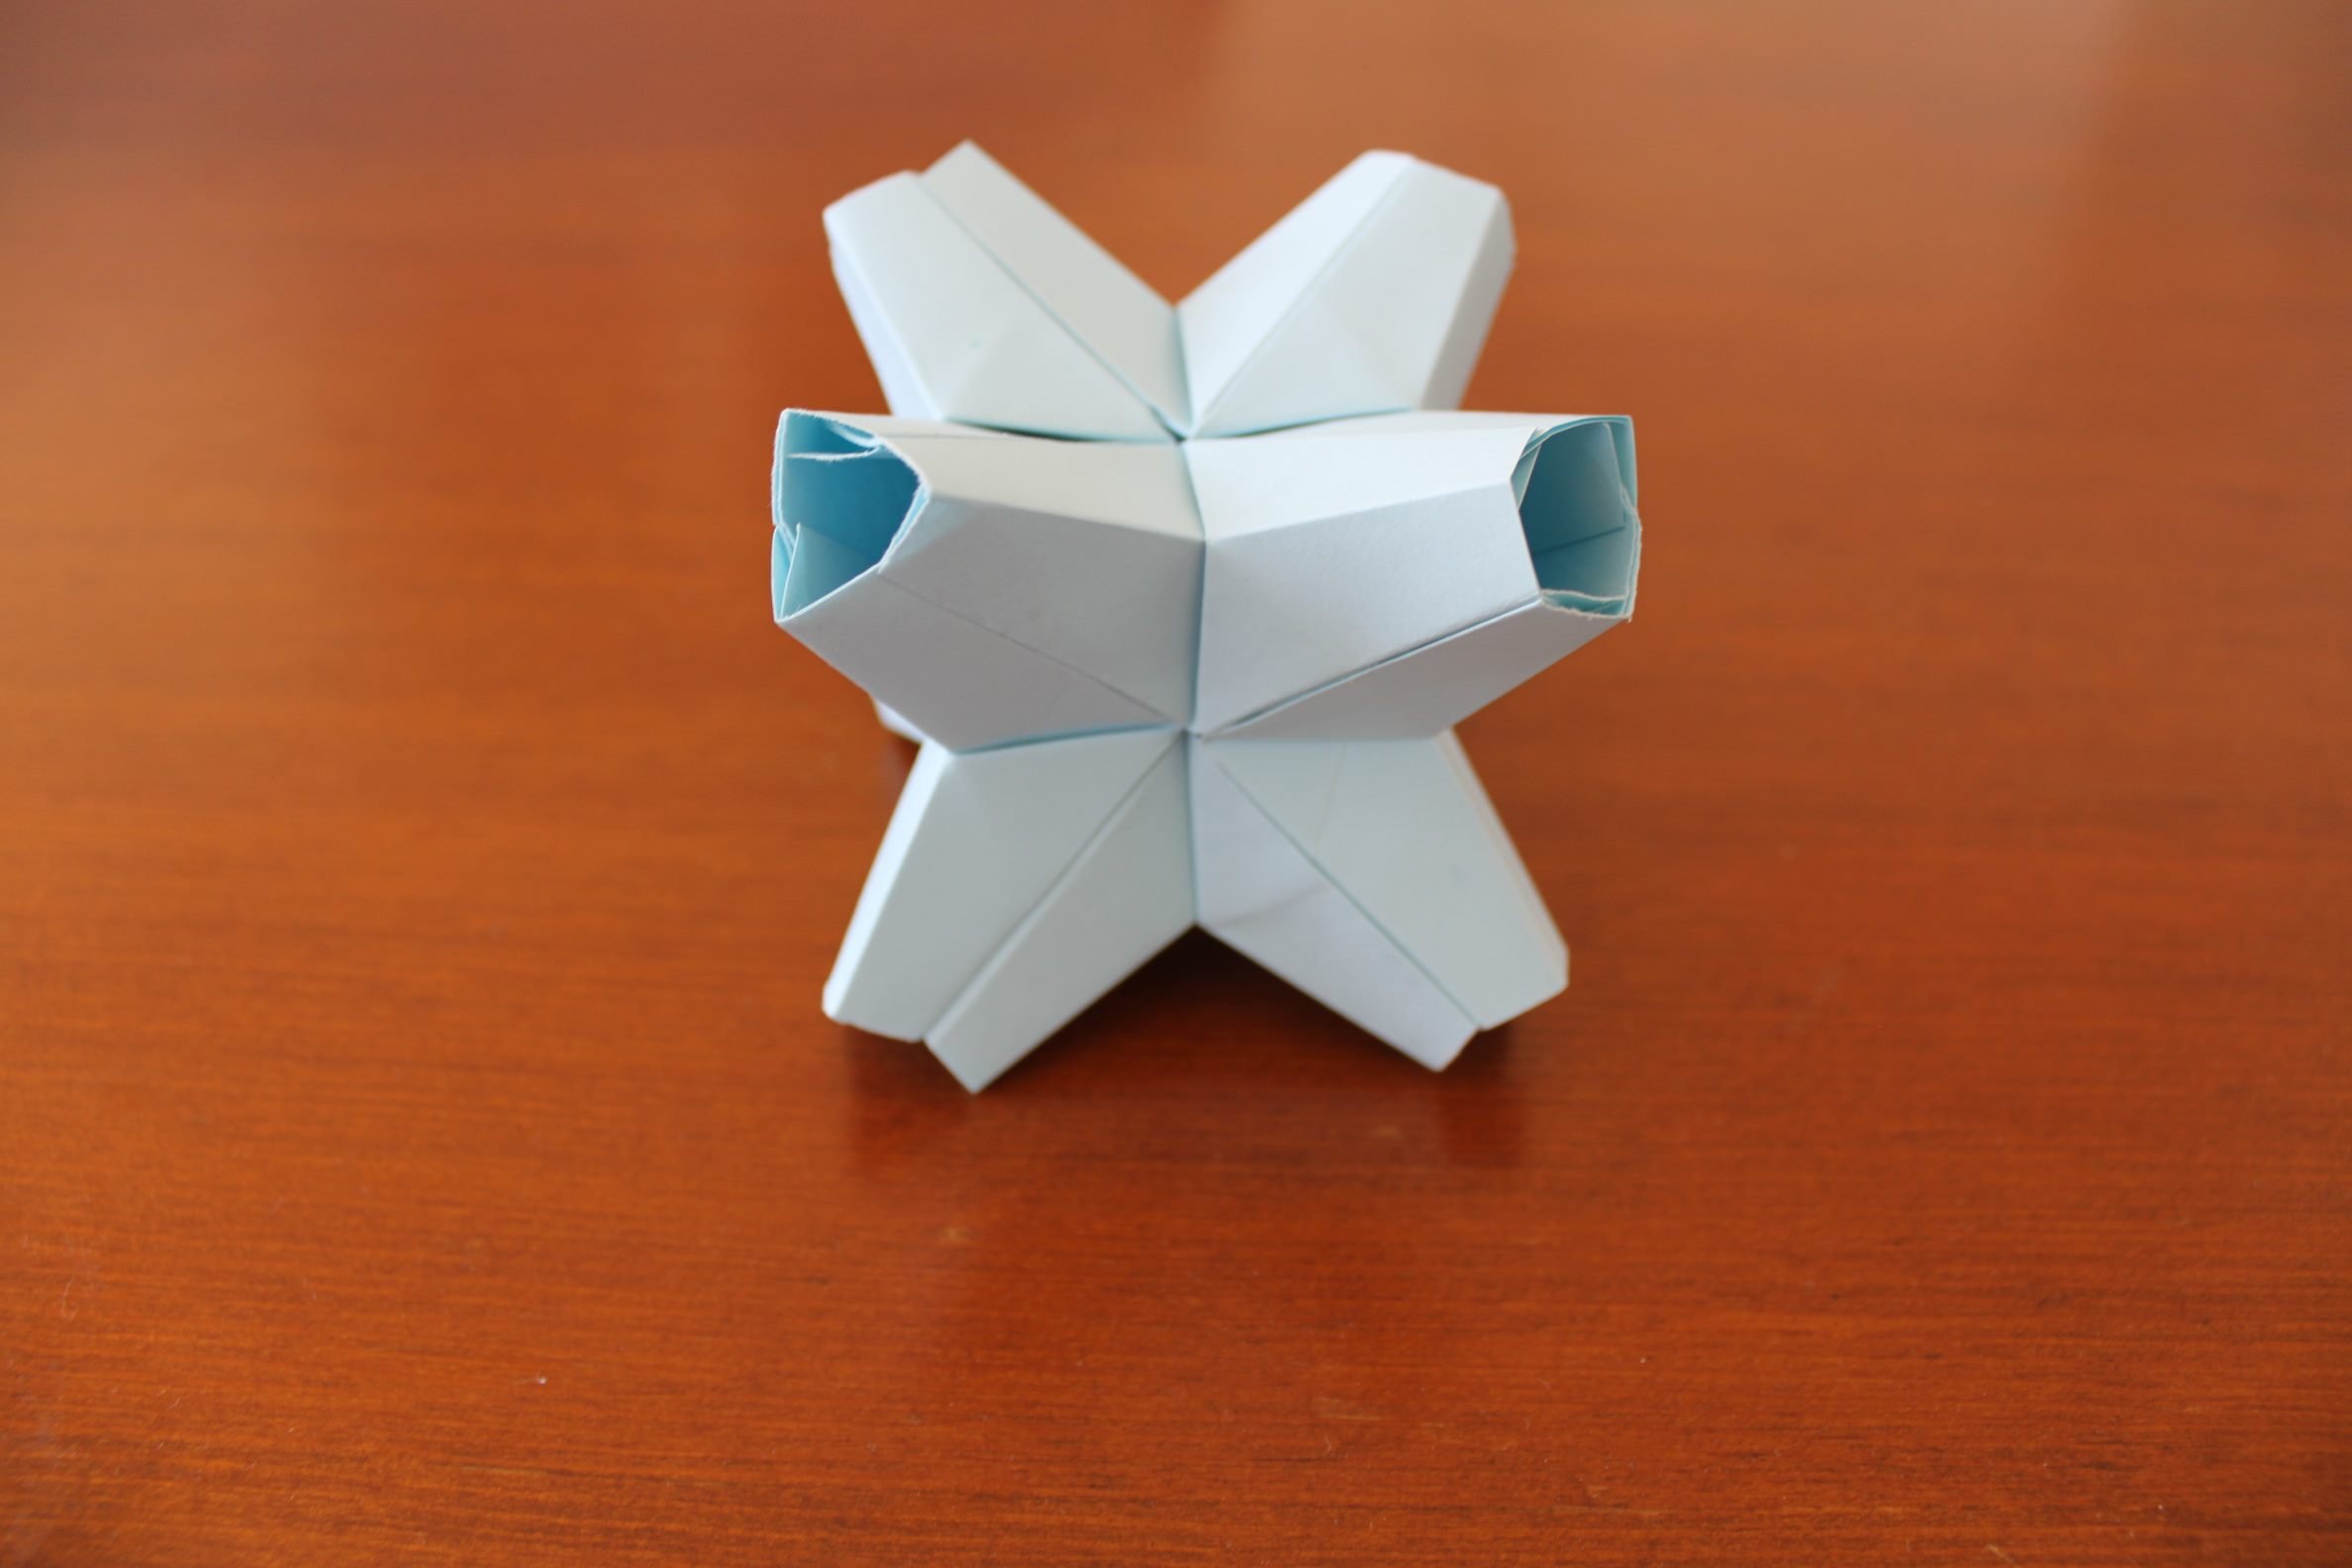
I decided to straight up just try adding corner gaps on the star model. This is when I figured out how the angle of the flaps/pockets determines the angle of the shapes, because I was changing the angle to add the gaps it made it too small for a dodecahedron(30 units) giving a four corner structure(12 units) instead. Another problem I figured out only later is that the flaps were too short making it nearly impossible to assemble without glue. To make it stable the flaps have to pass the middle line(so it gets hooked around the corner on the inside). Another important thing to keep in mind is that you're supposed to have a consistent point of reference to where to fold the flaps since otherwise the pieces wouldn't fit together.
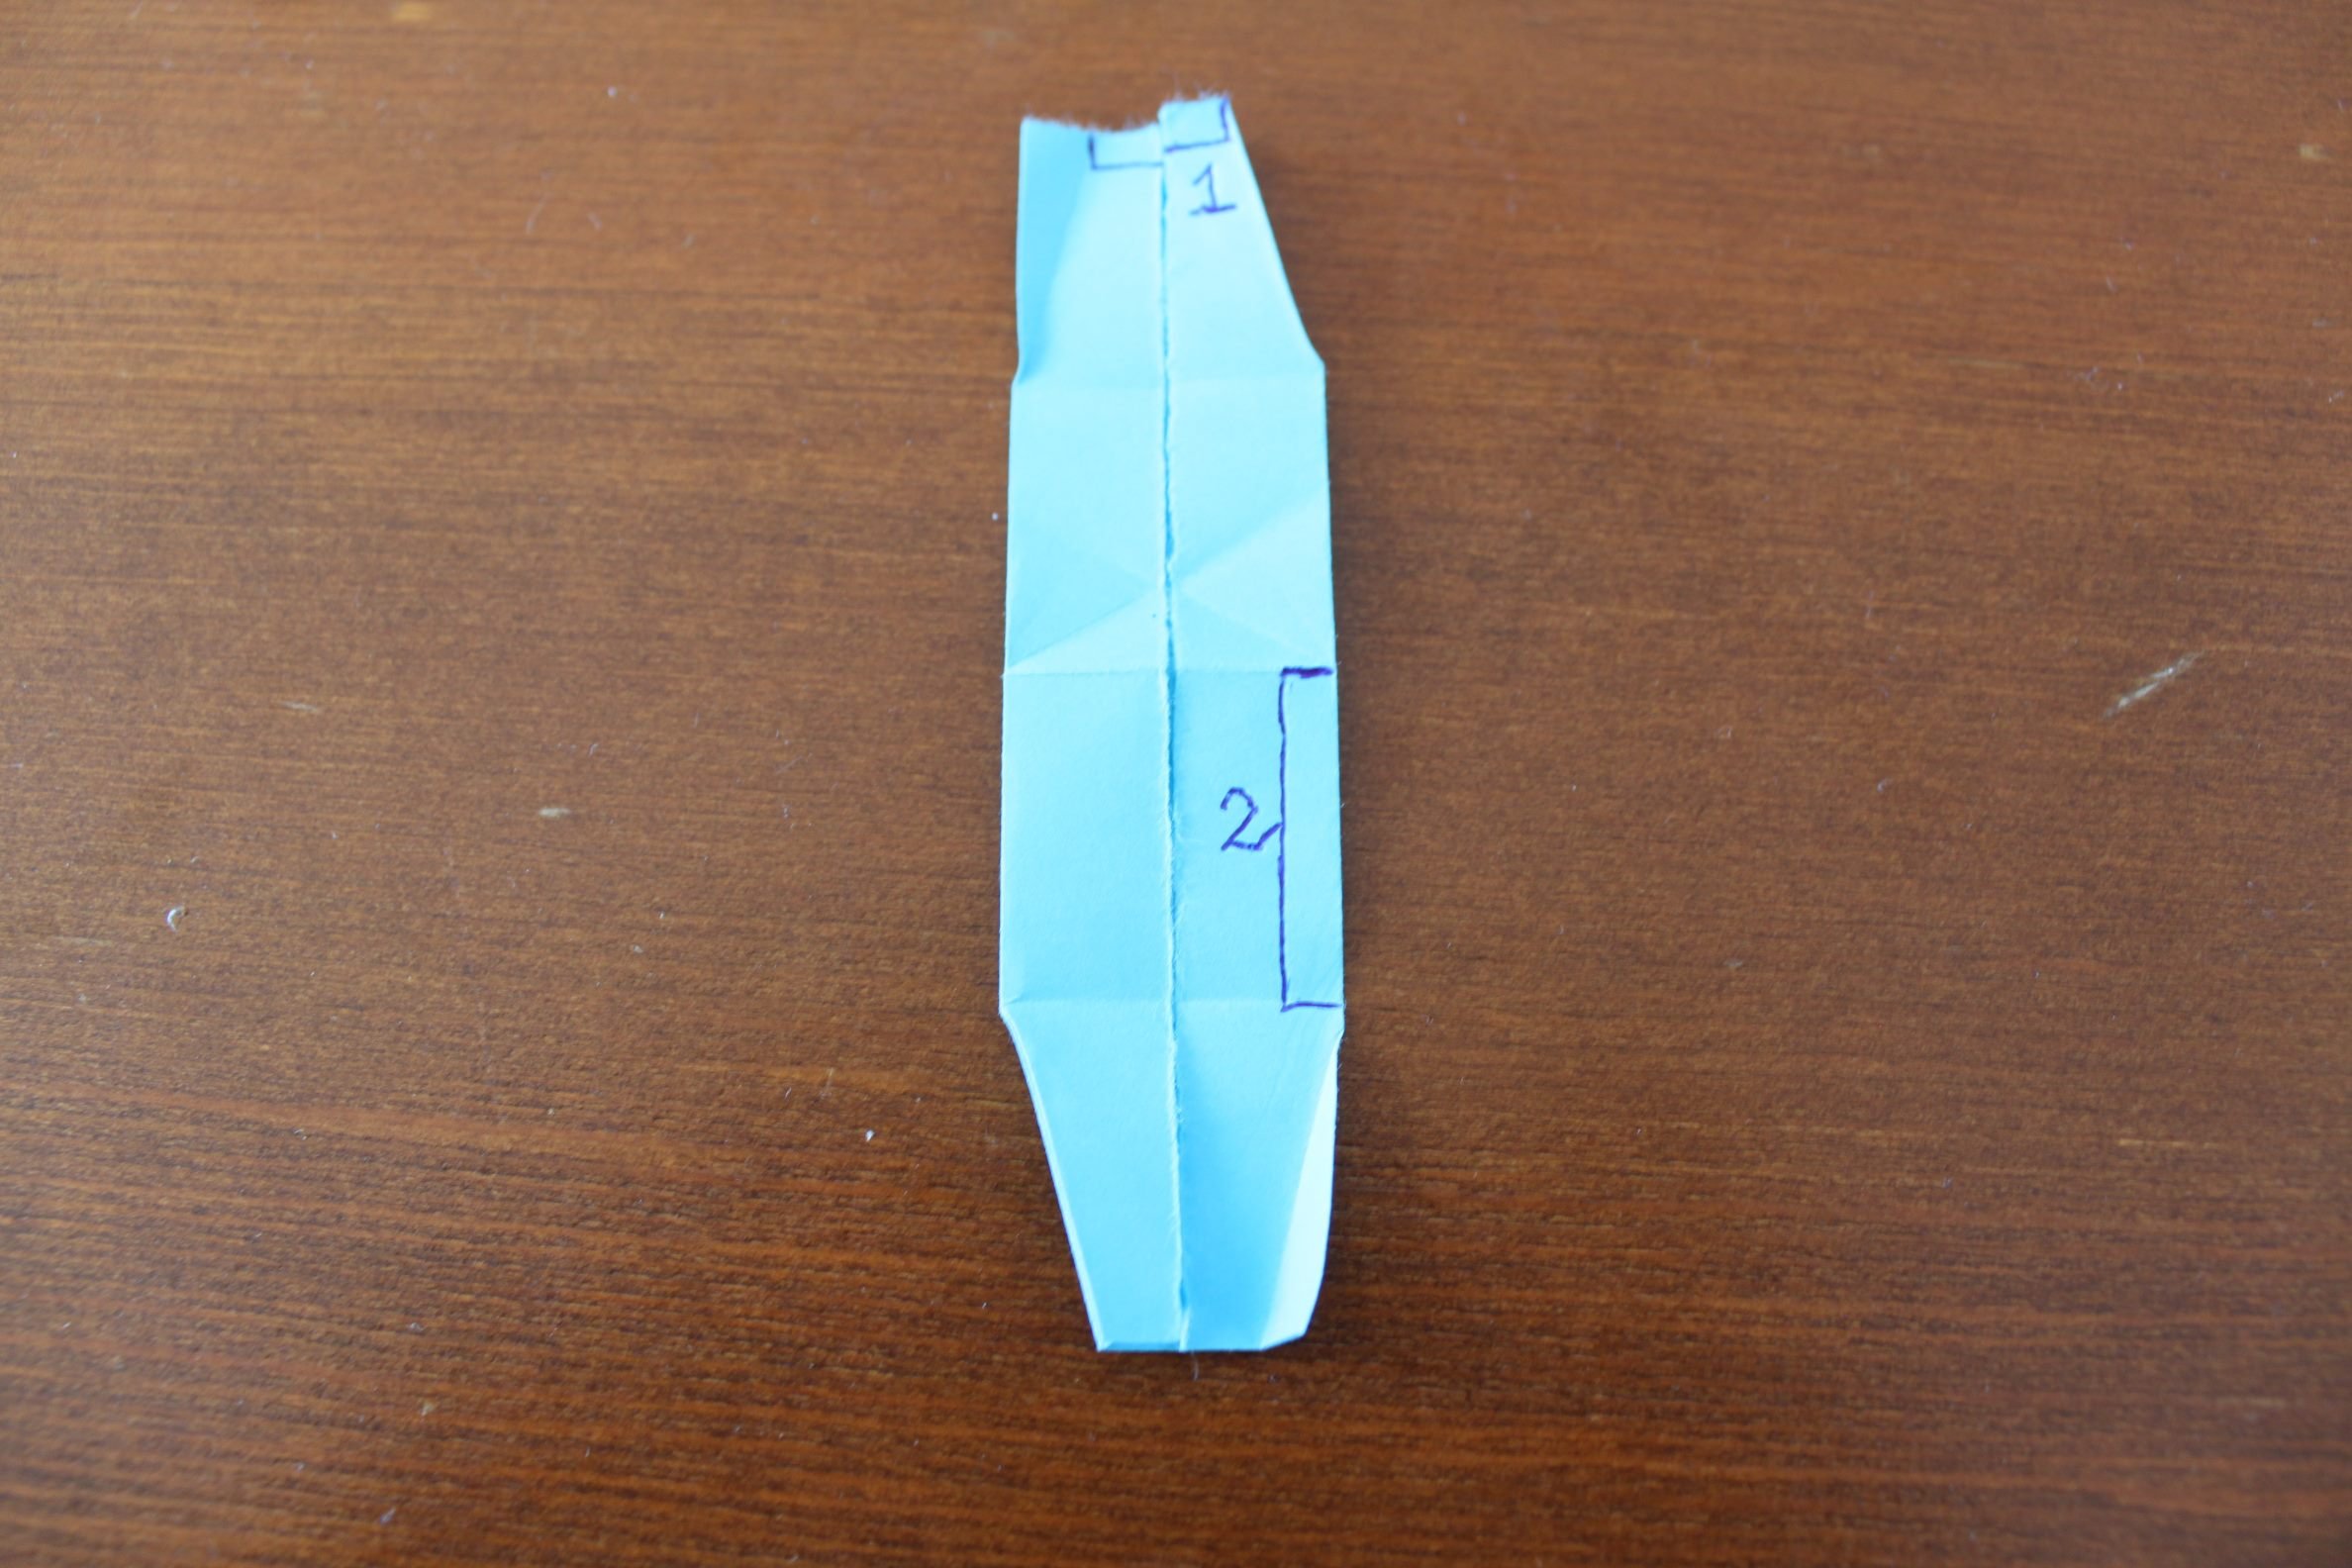
For reference, The distance labeled 1 determines the corner gap size while 2 determines the inner gap.
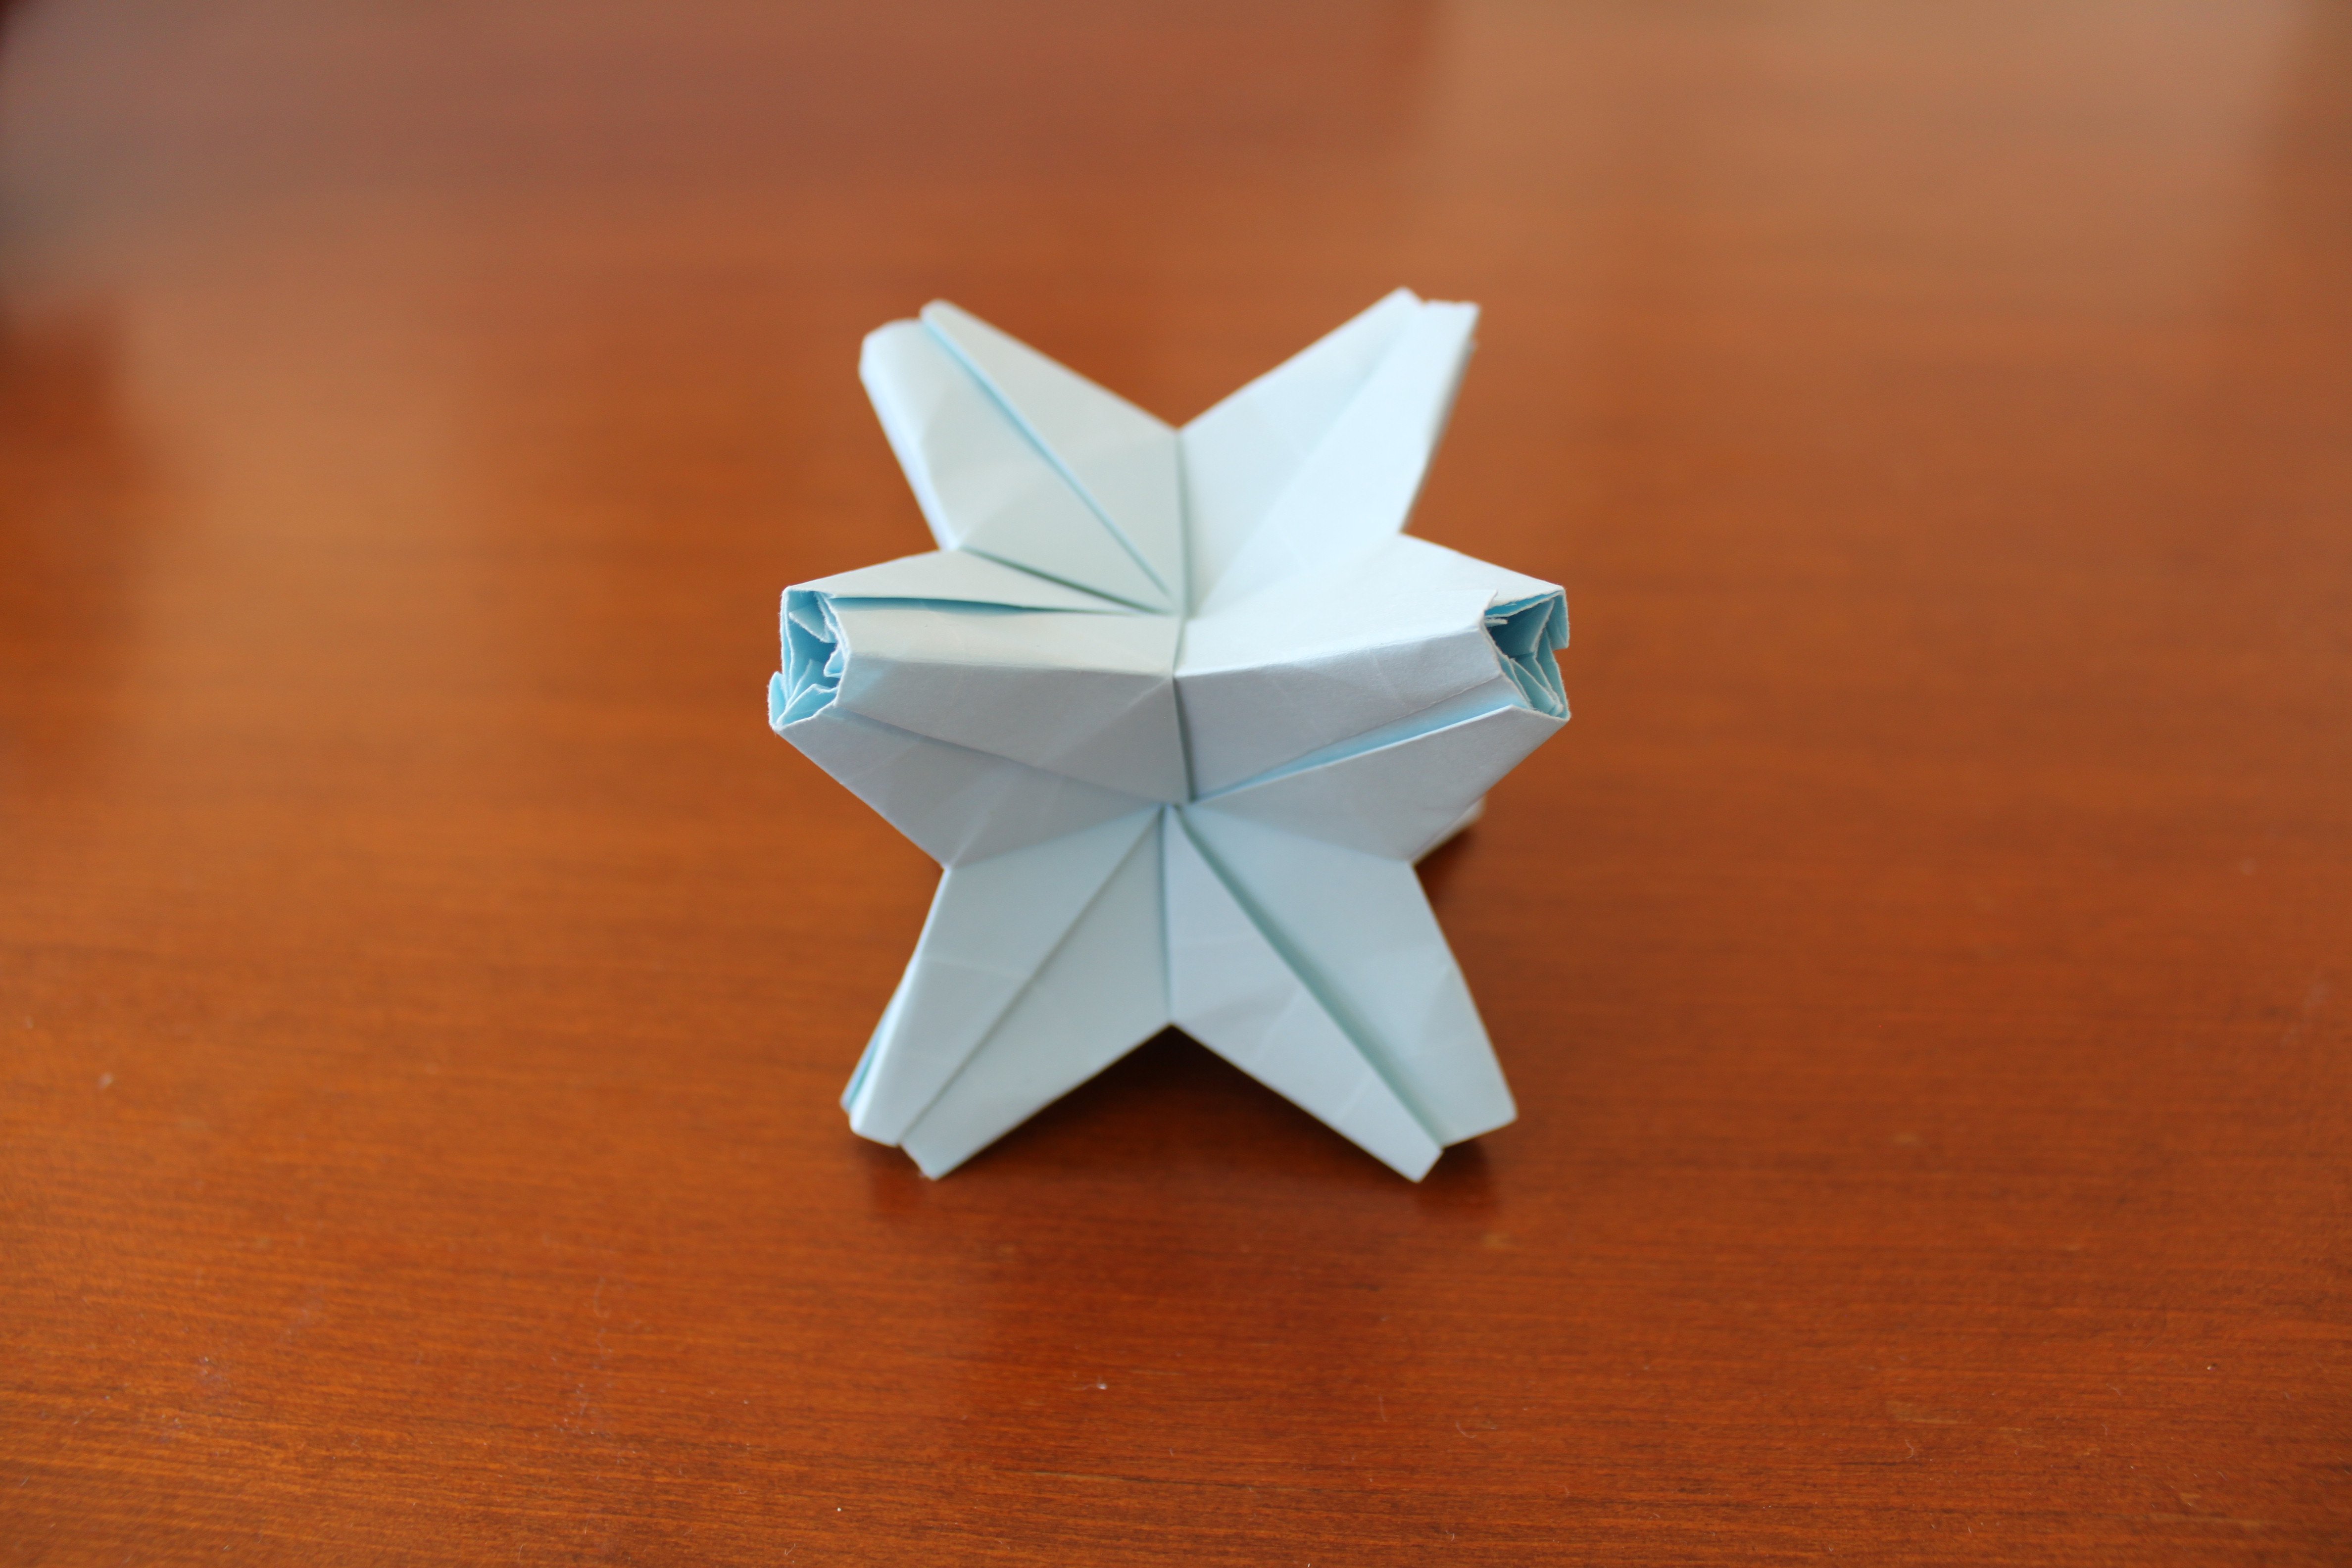
Here's the second:
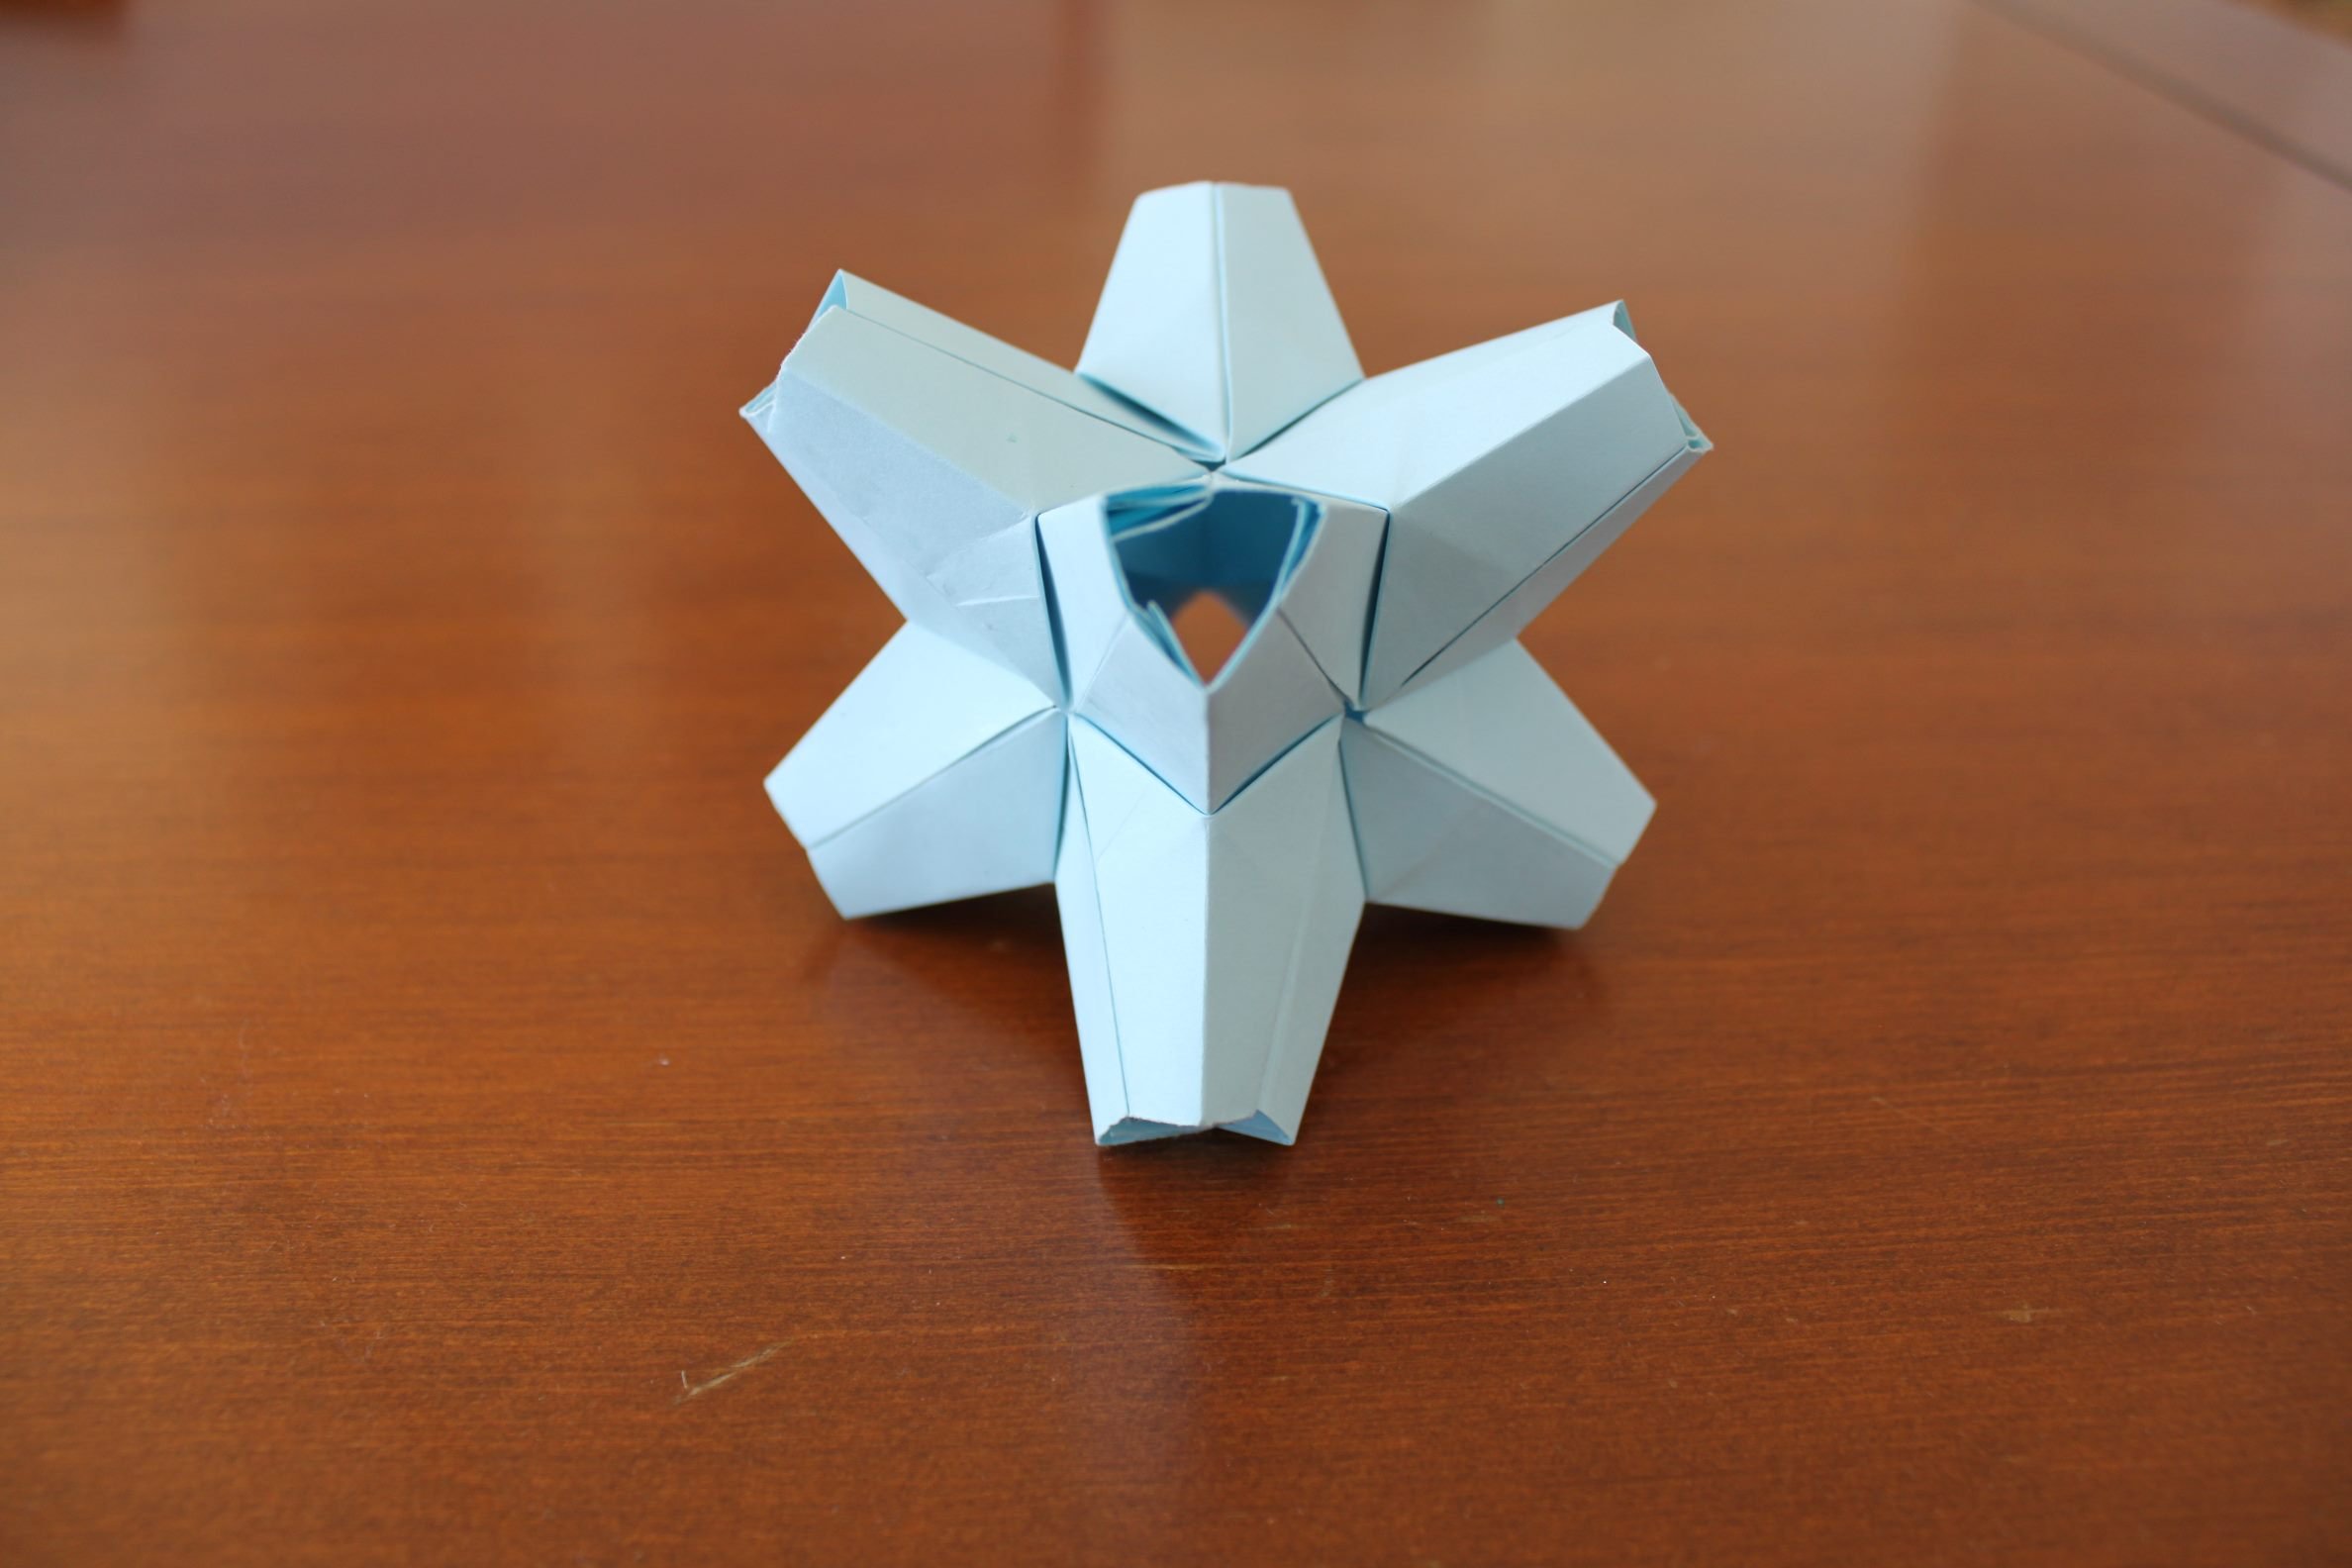
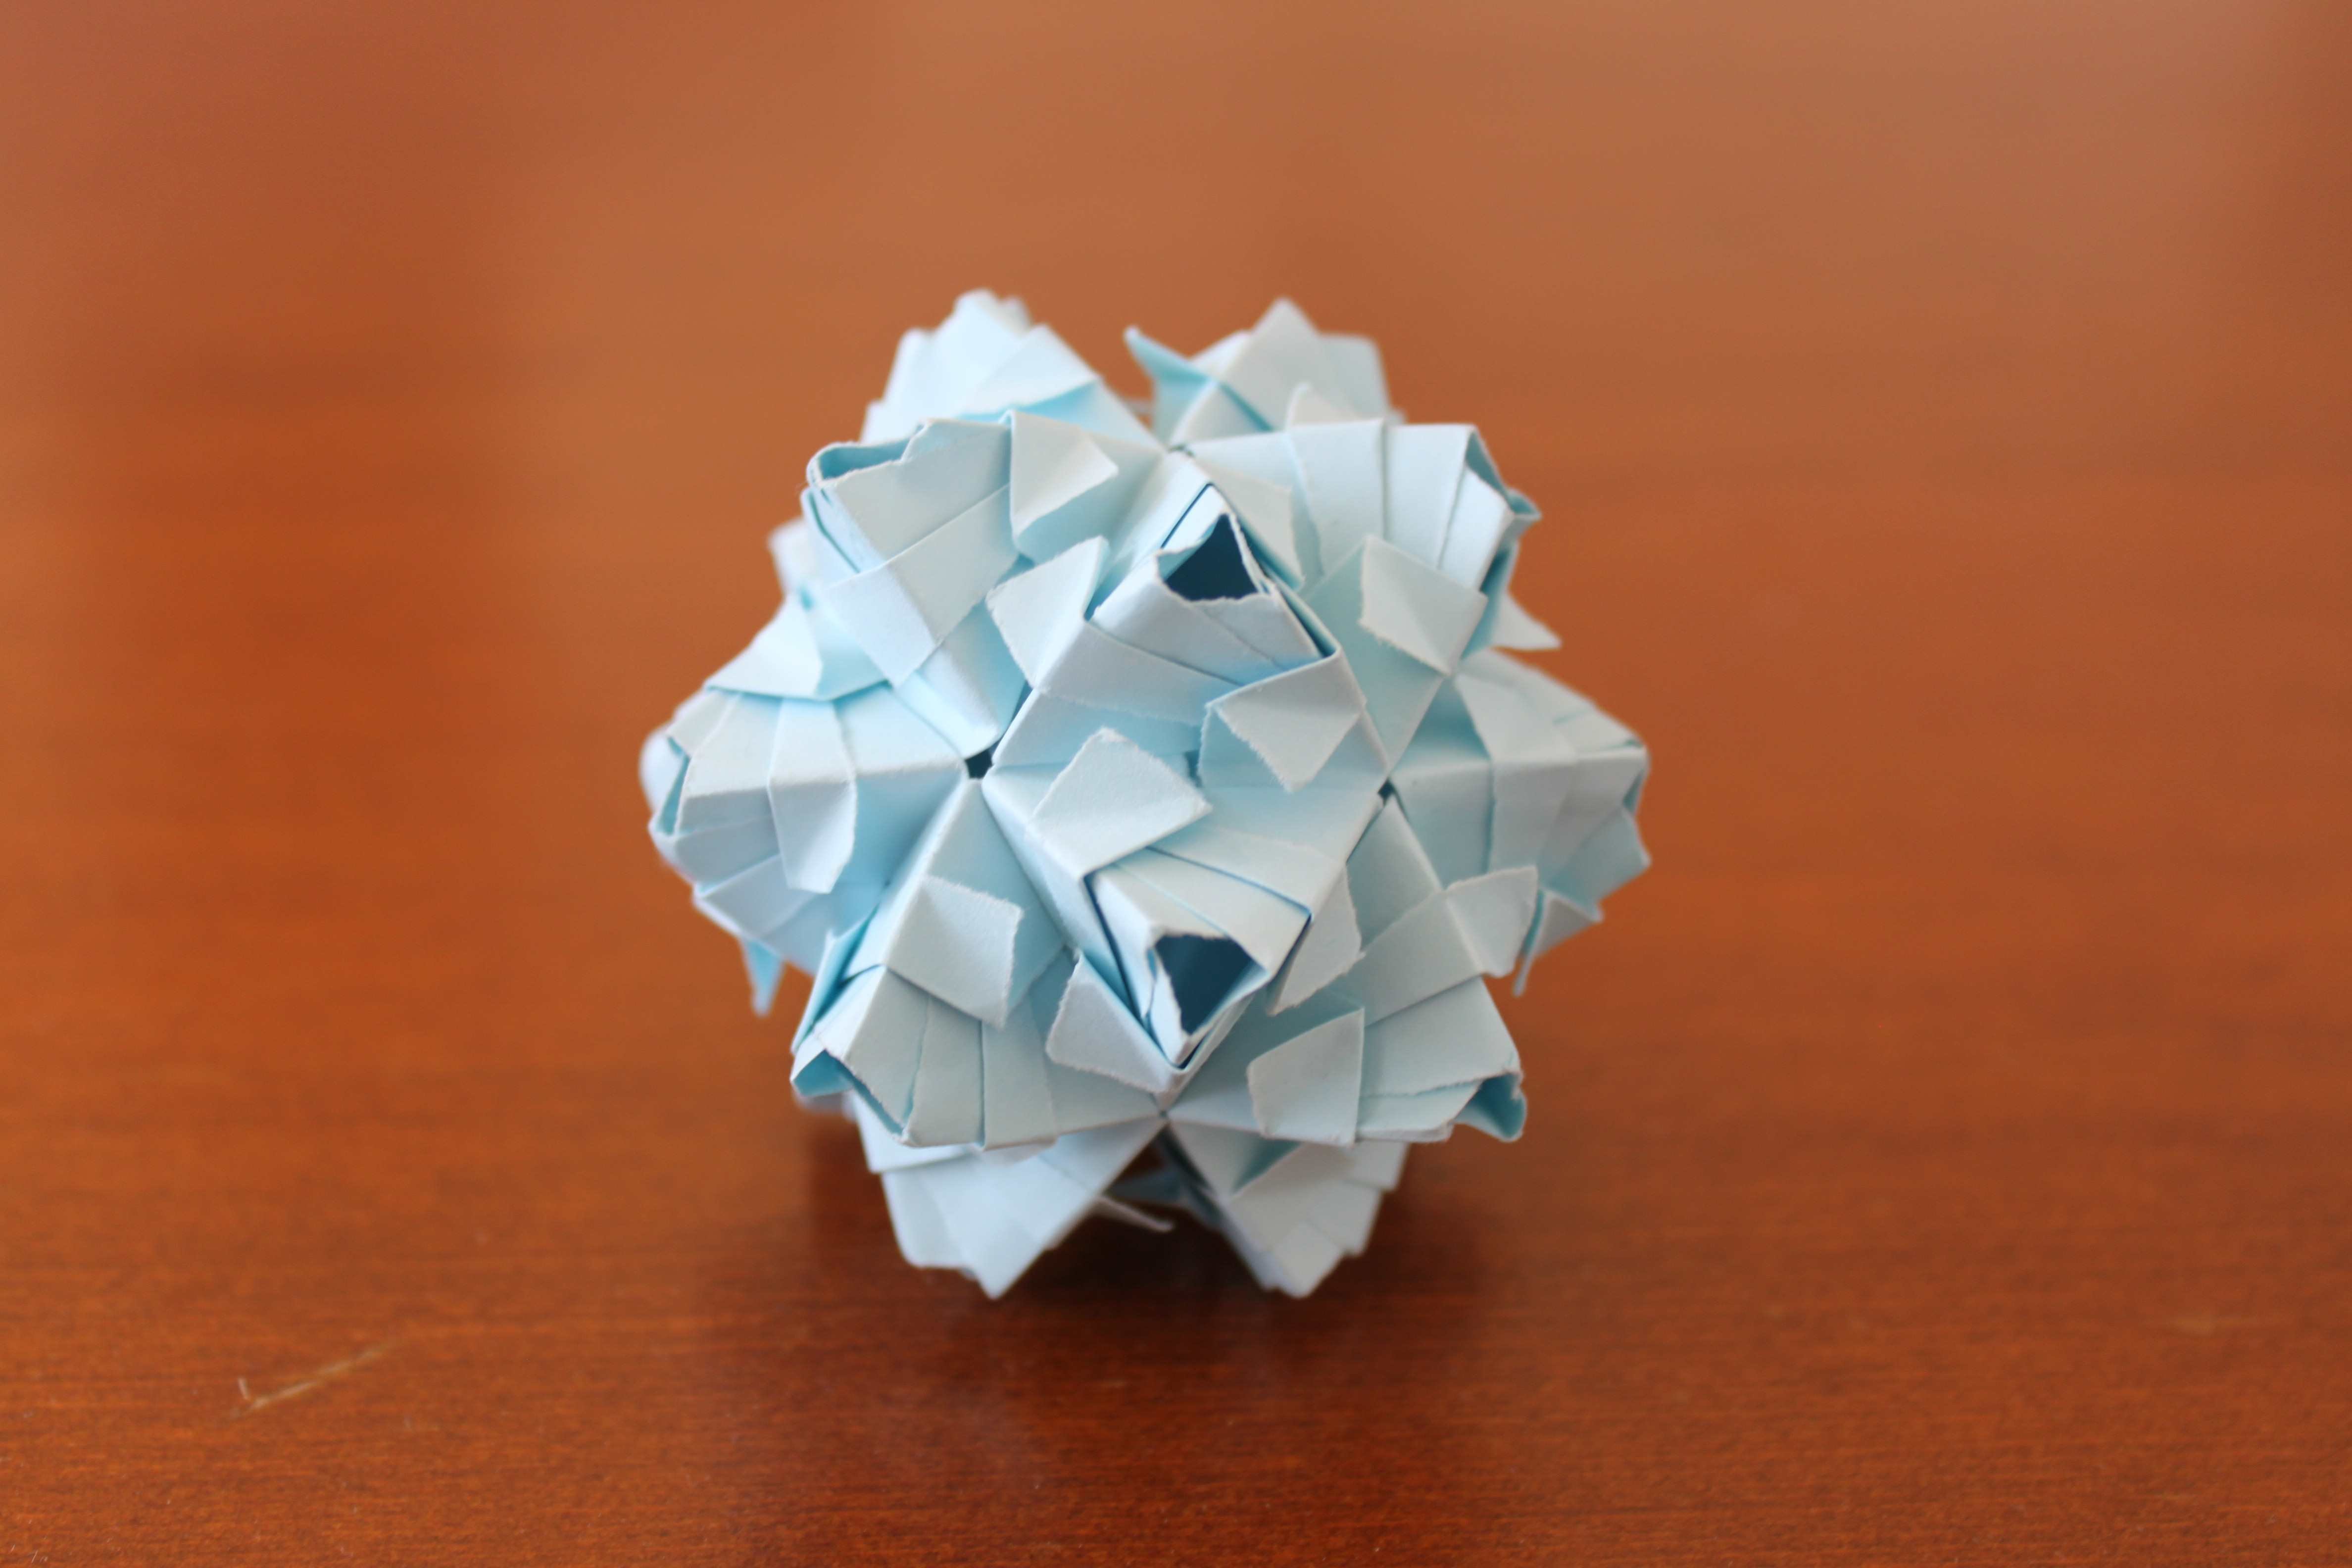
I decided to try a different approach, base from the star unit, no gap on the inside but holes on the corners which ended up looking like a four leaf clover. This is also the simplest one to make from all four.
Third:
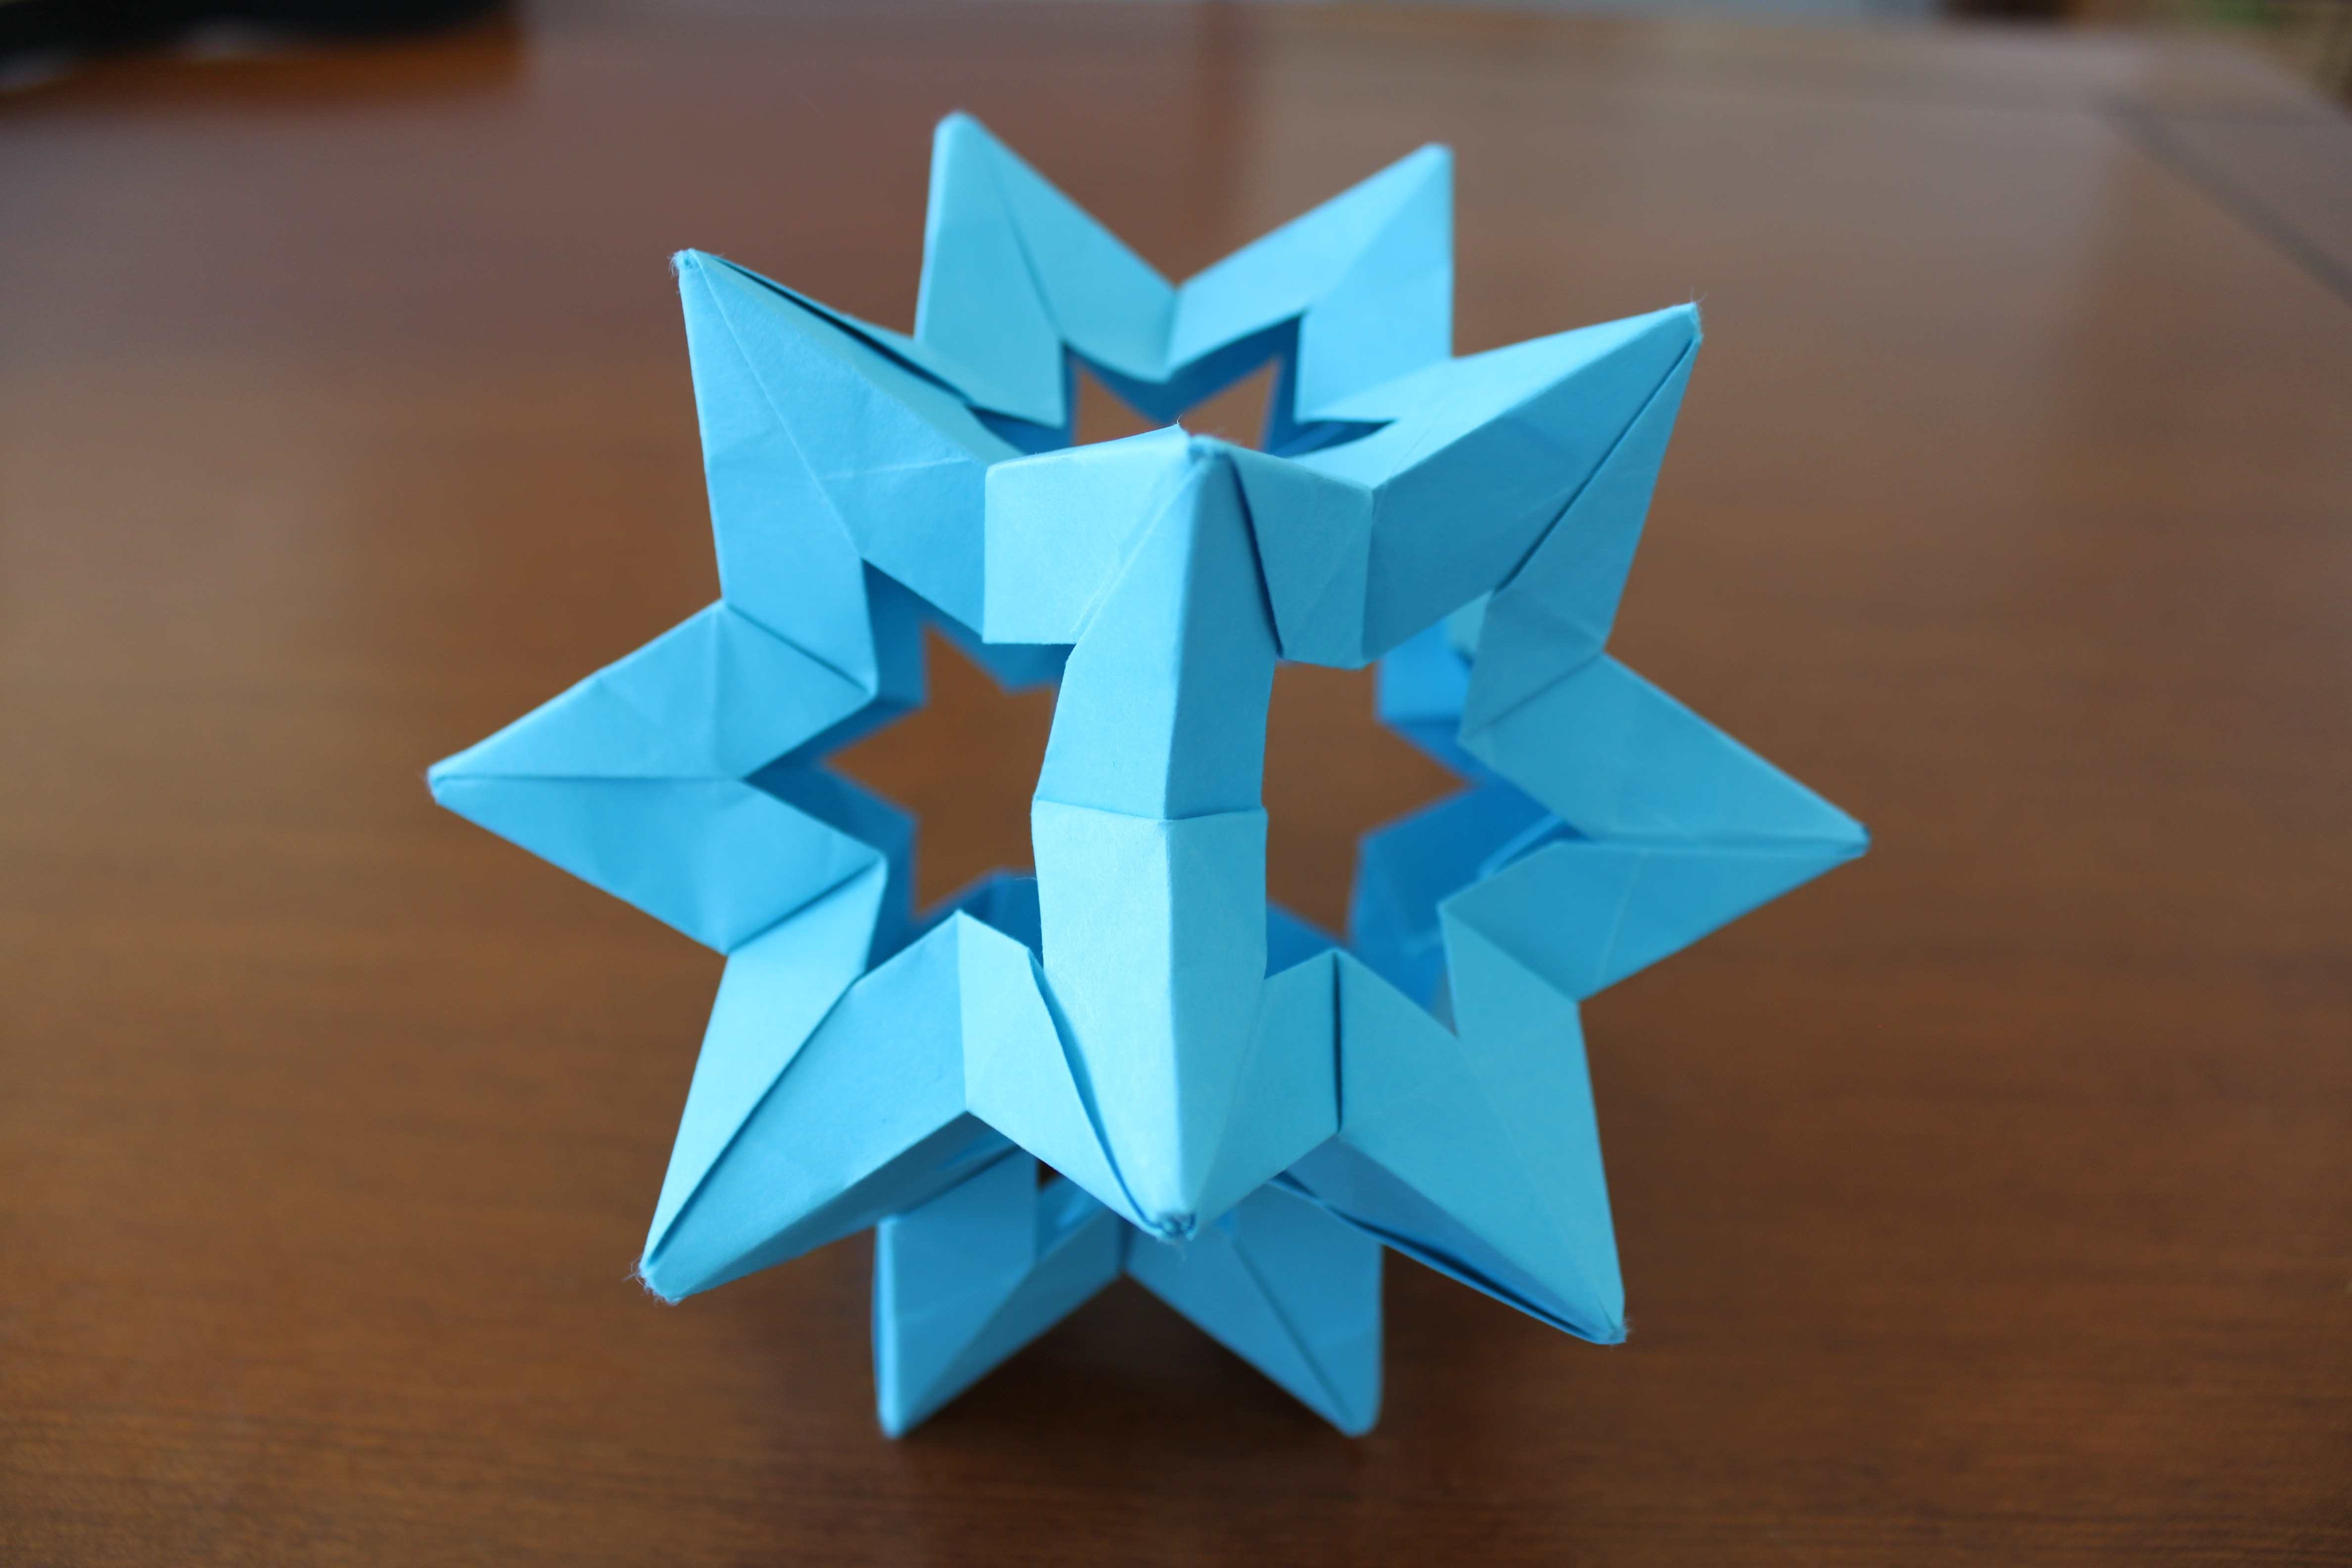
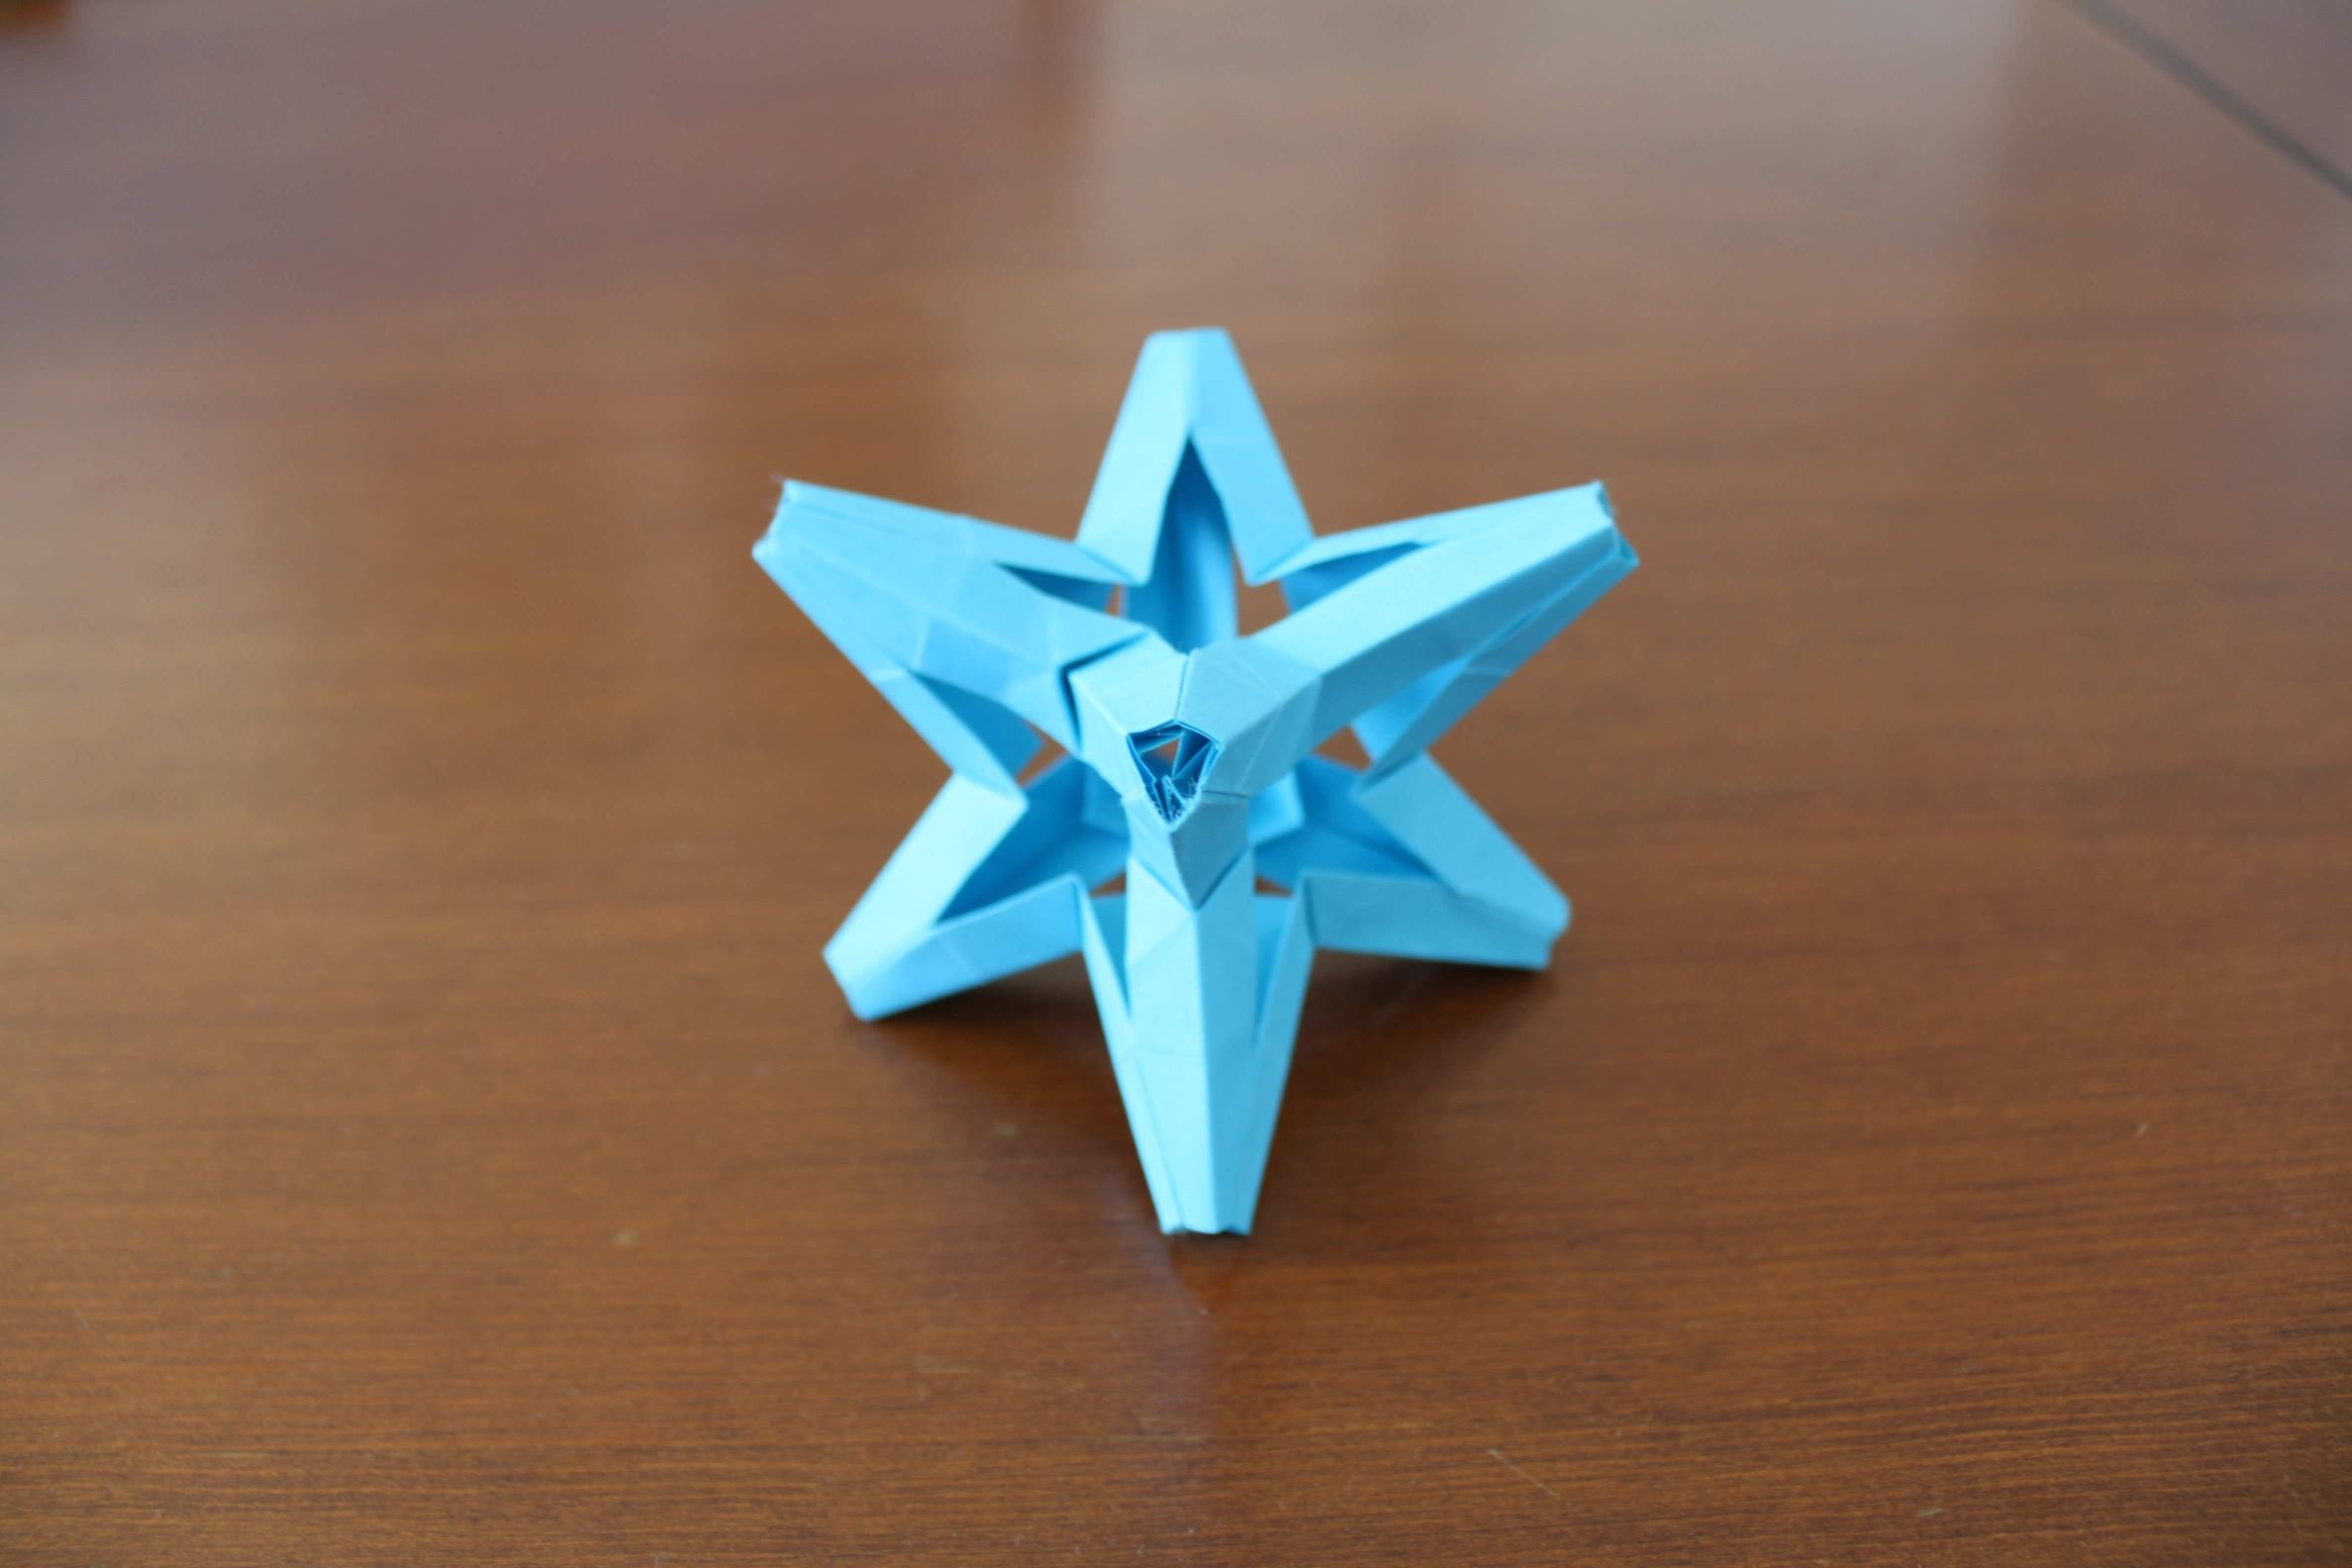
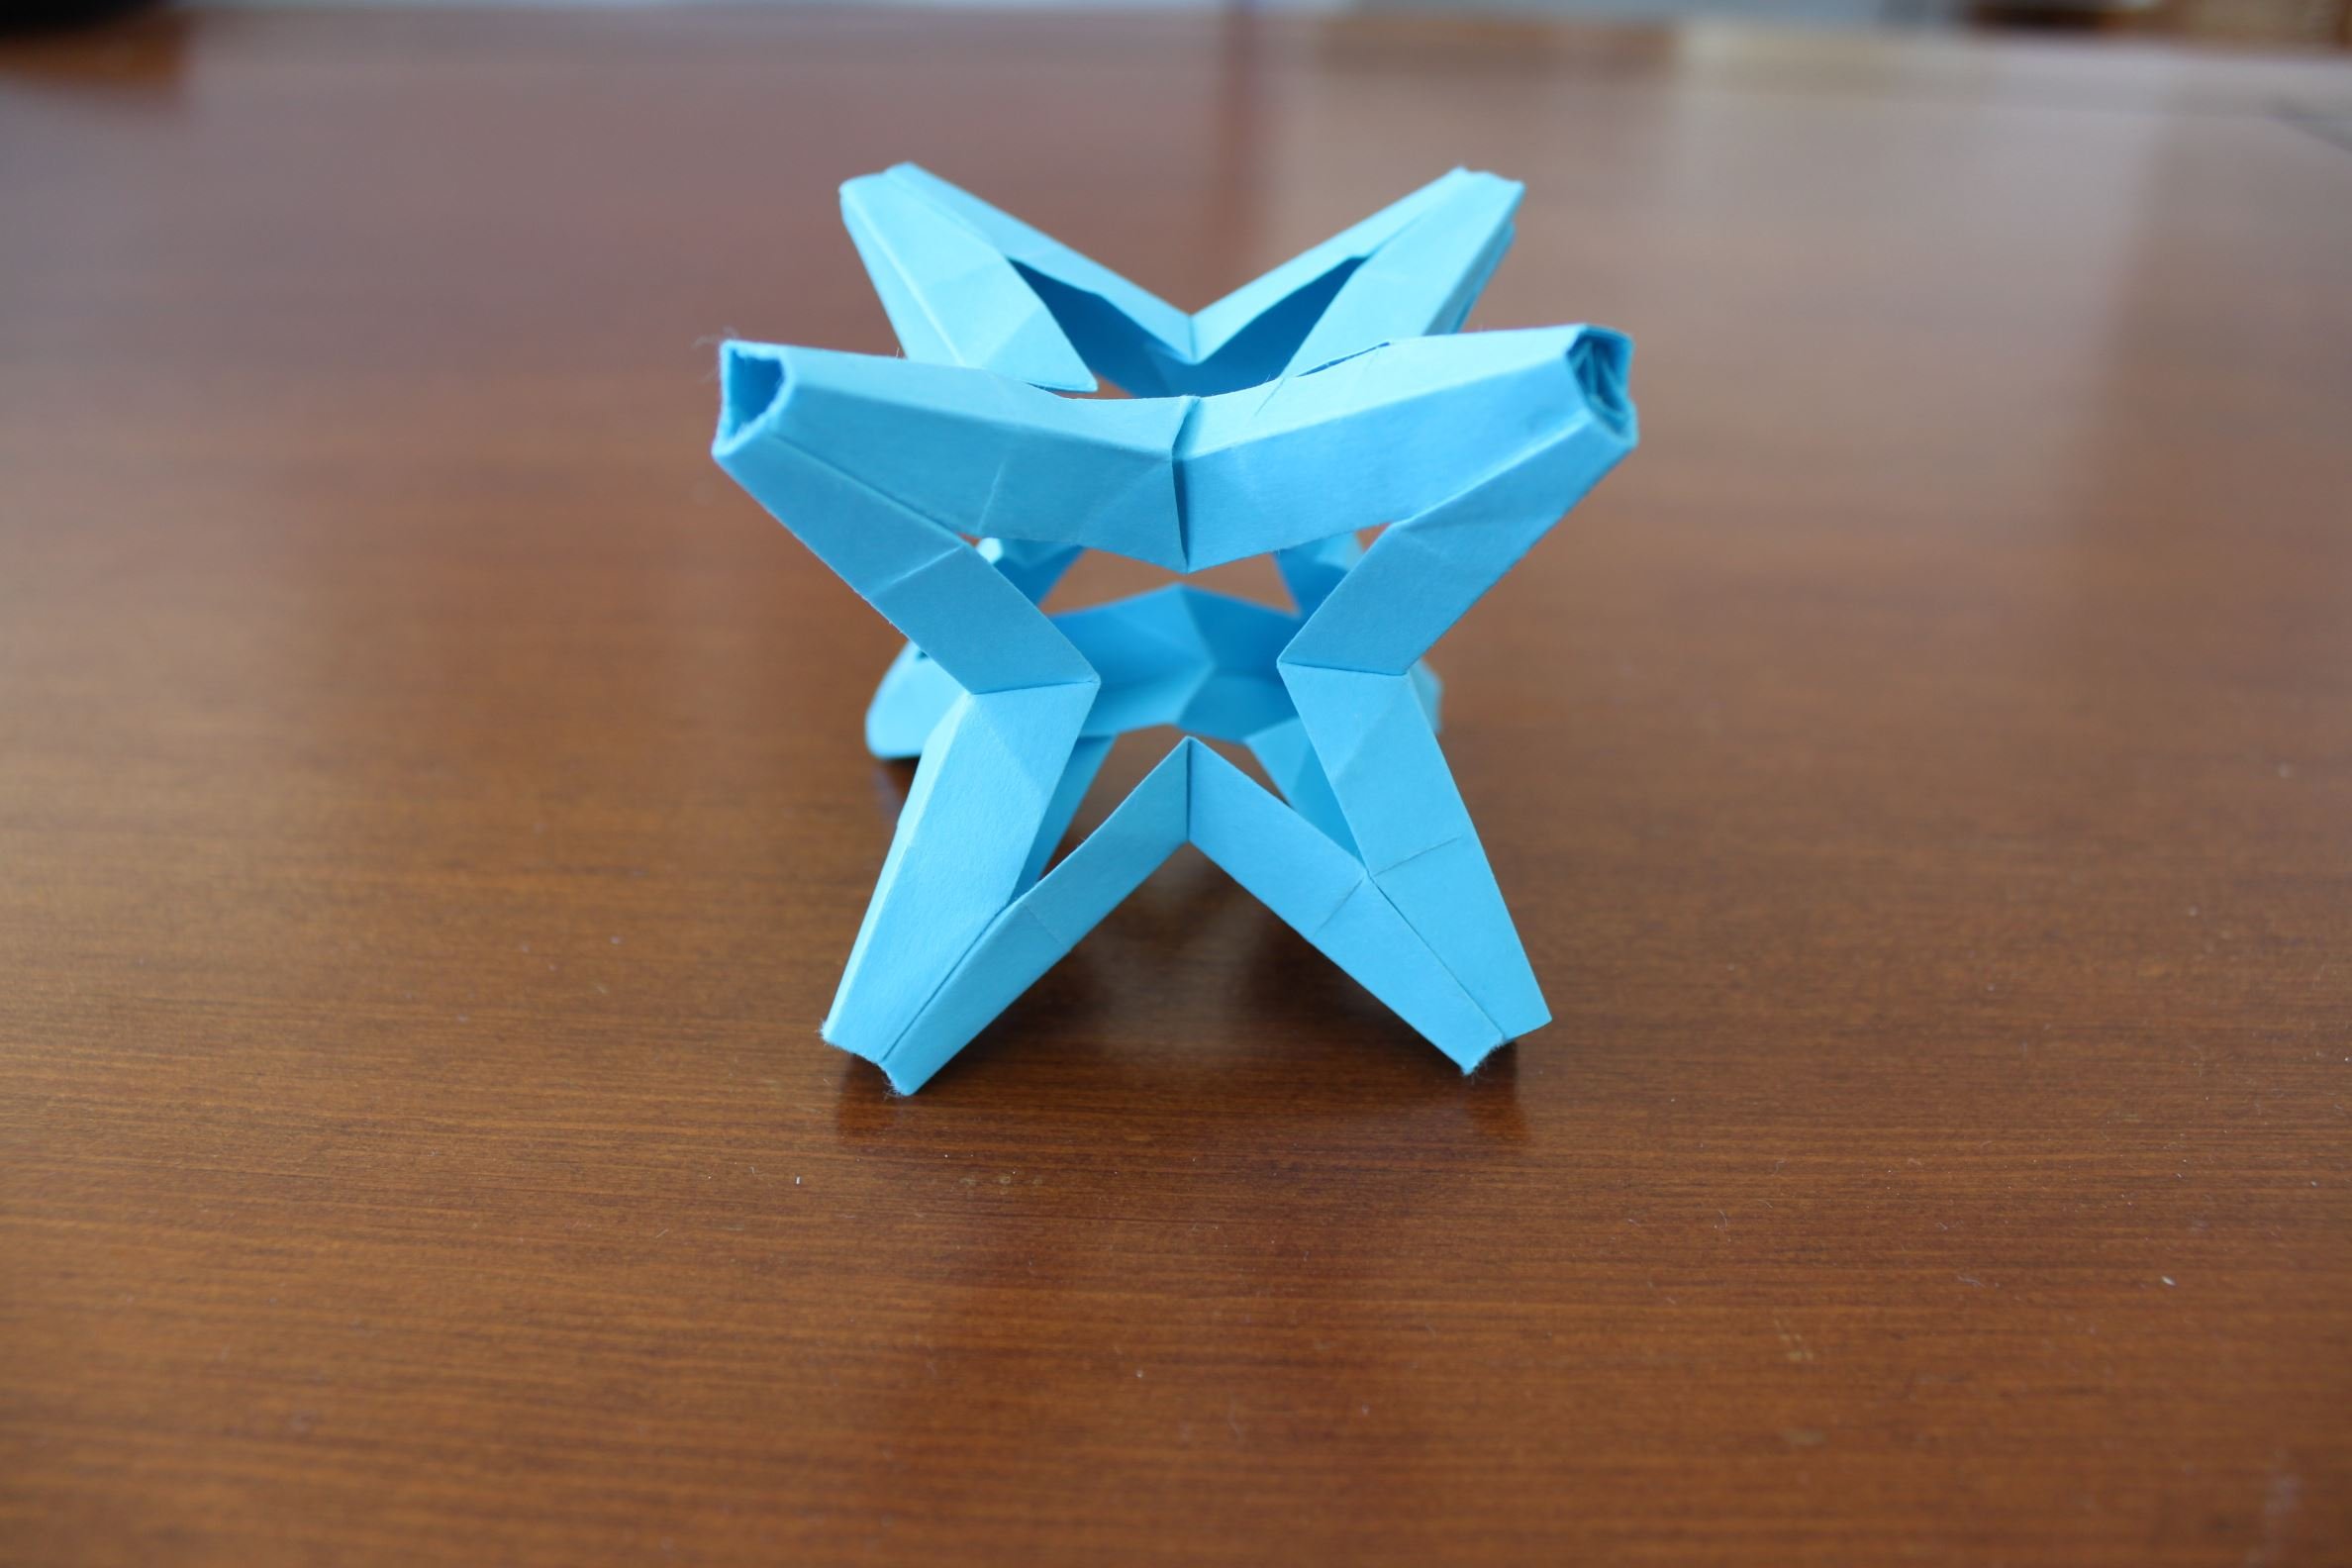
This is what I envisioned when I wanted to combine the two models, The reference lines add a nice snowflake effect, it's really flexible, fun to throw around. Only problem is the flaps are very short so there's glue here too, I'm not too bothered about using glue since I also do papercraft. This is also where the reference point became important, since by using a square and dividing the paper into quarters this way you can't pivot the flap to reach the middle shown in the second step. To circumvent this I divided the top into half and used that line as a reference instead as seen in the third step.
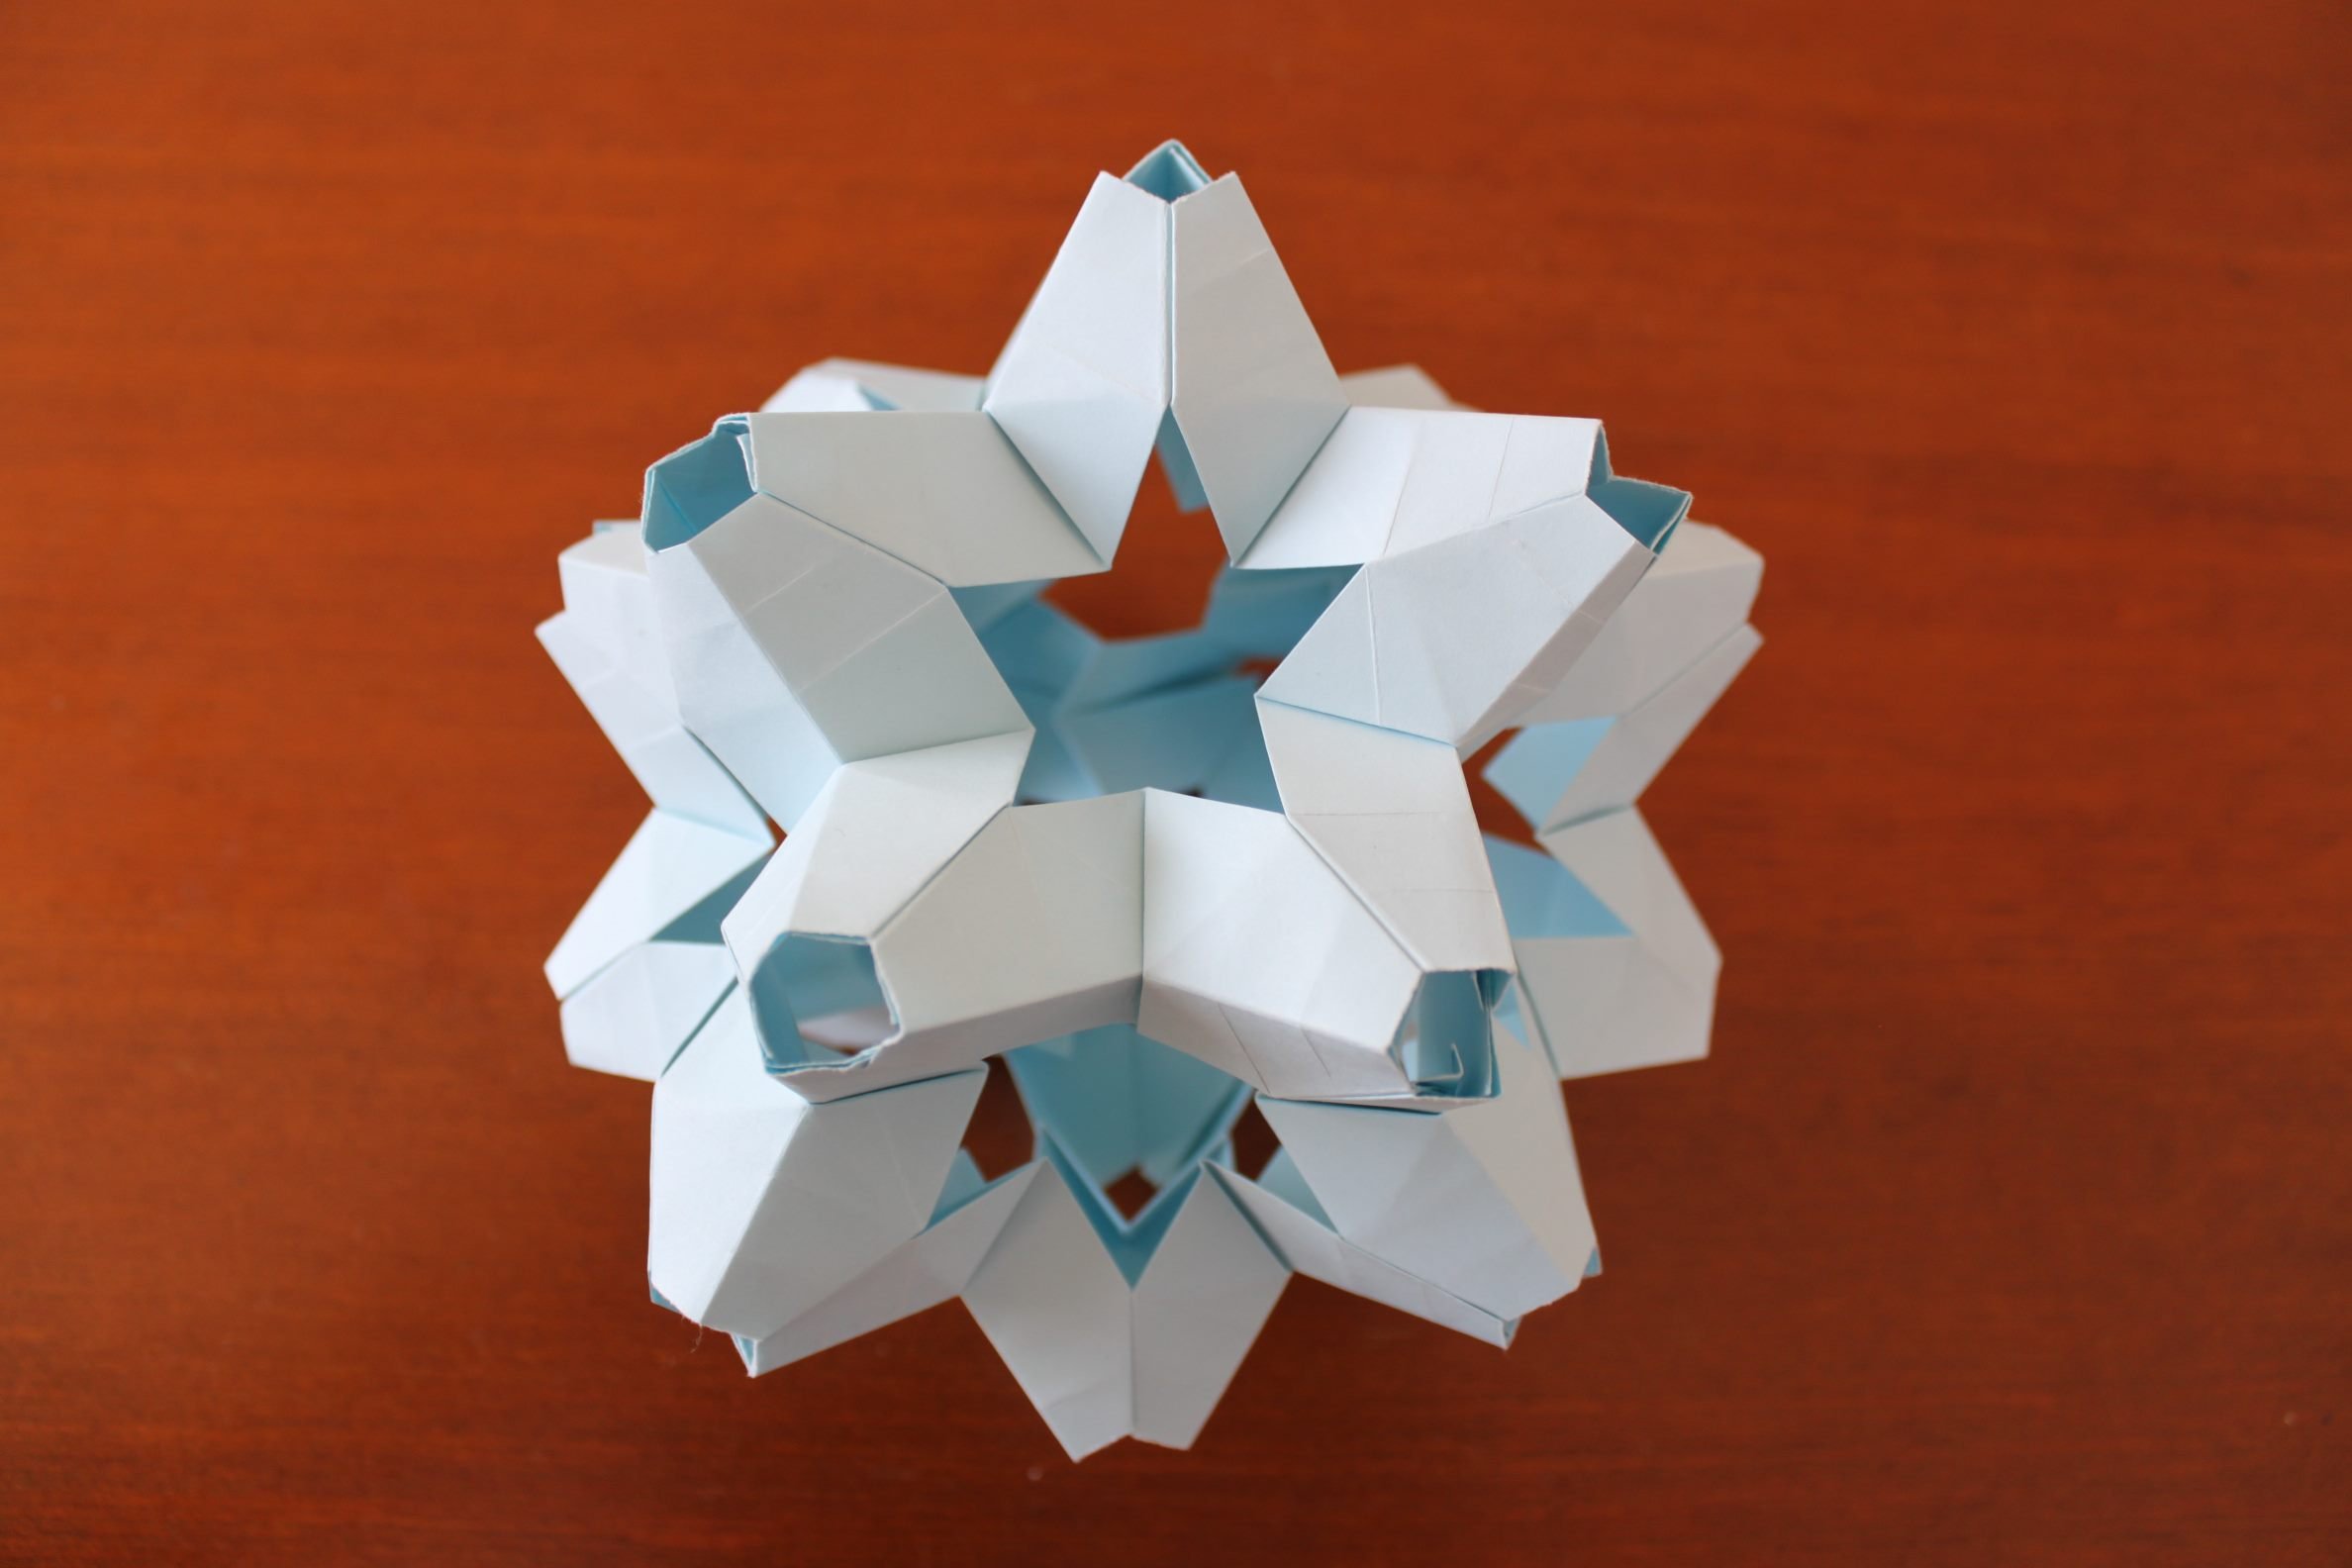
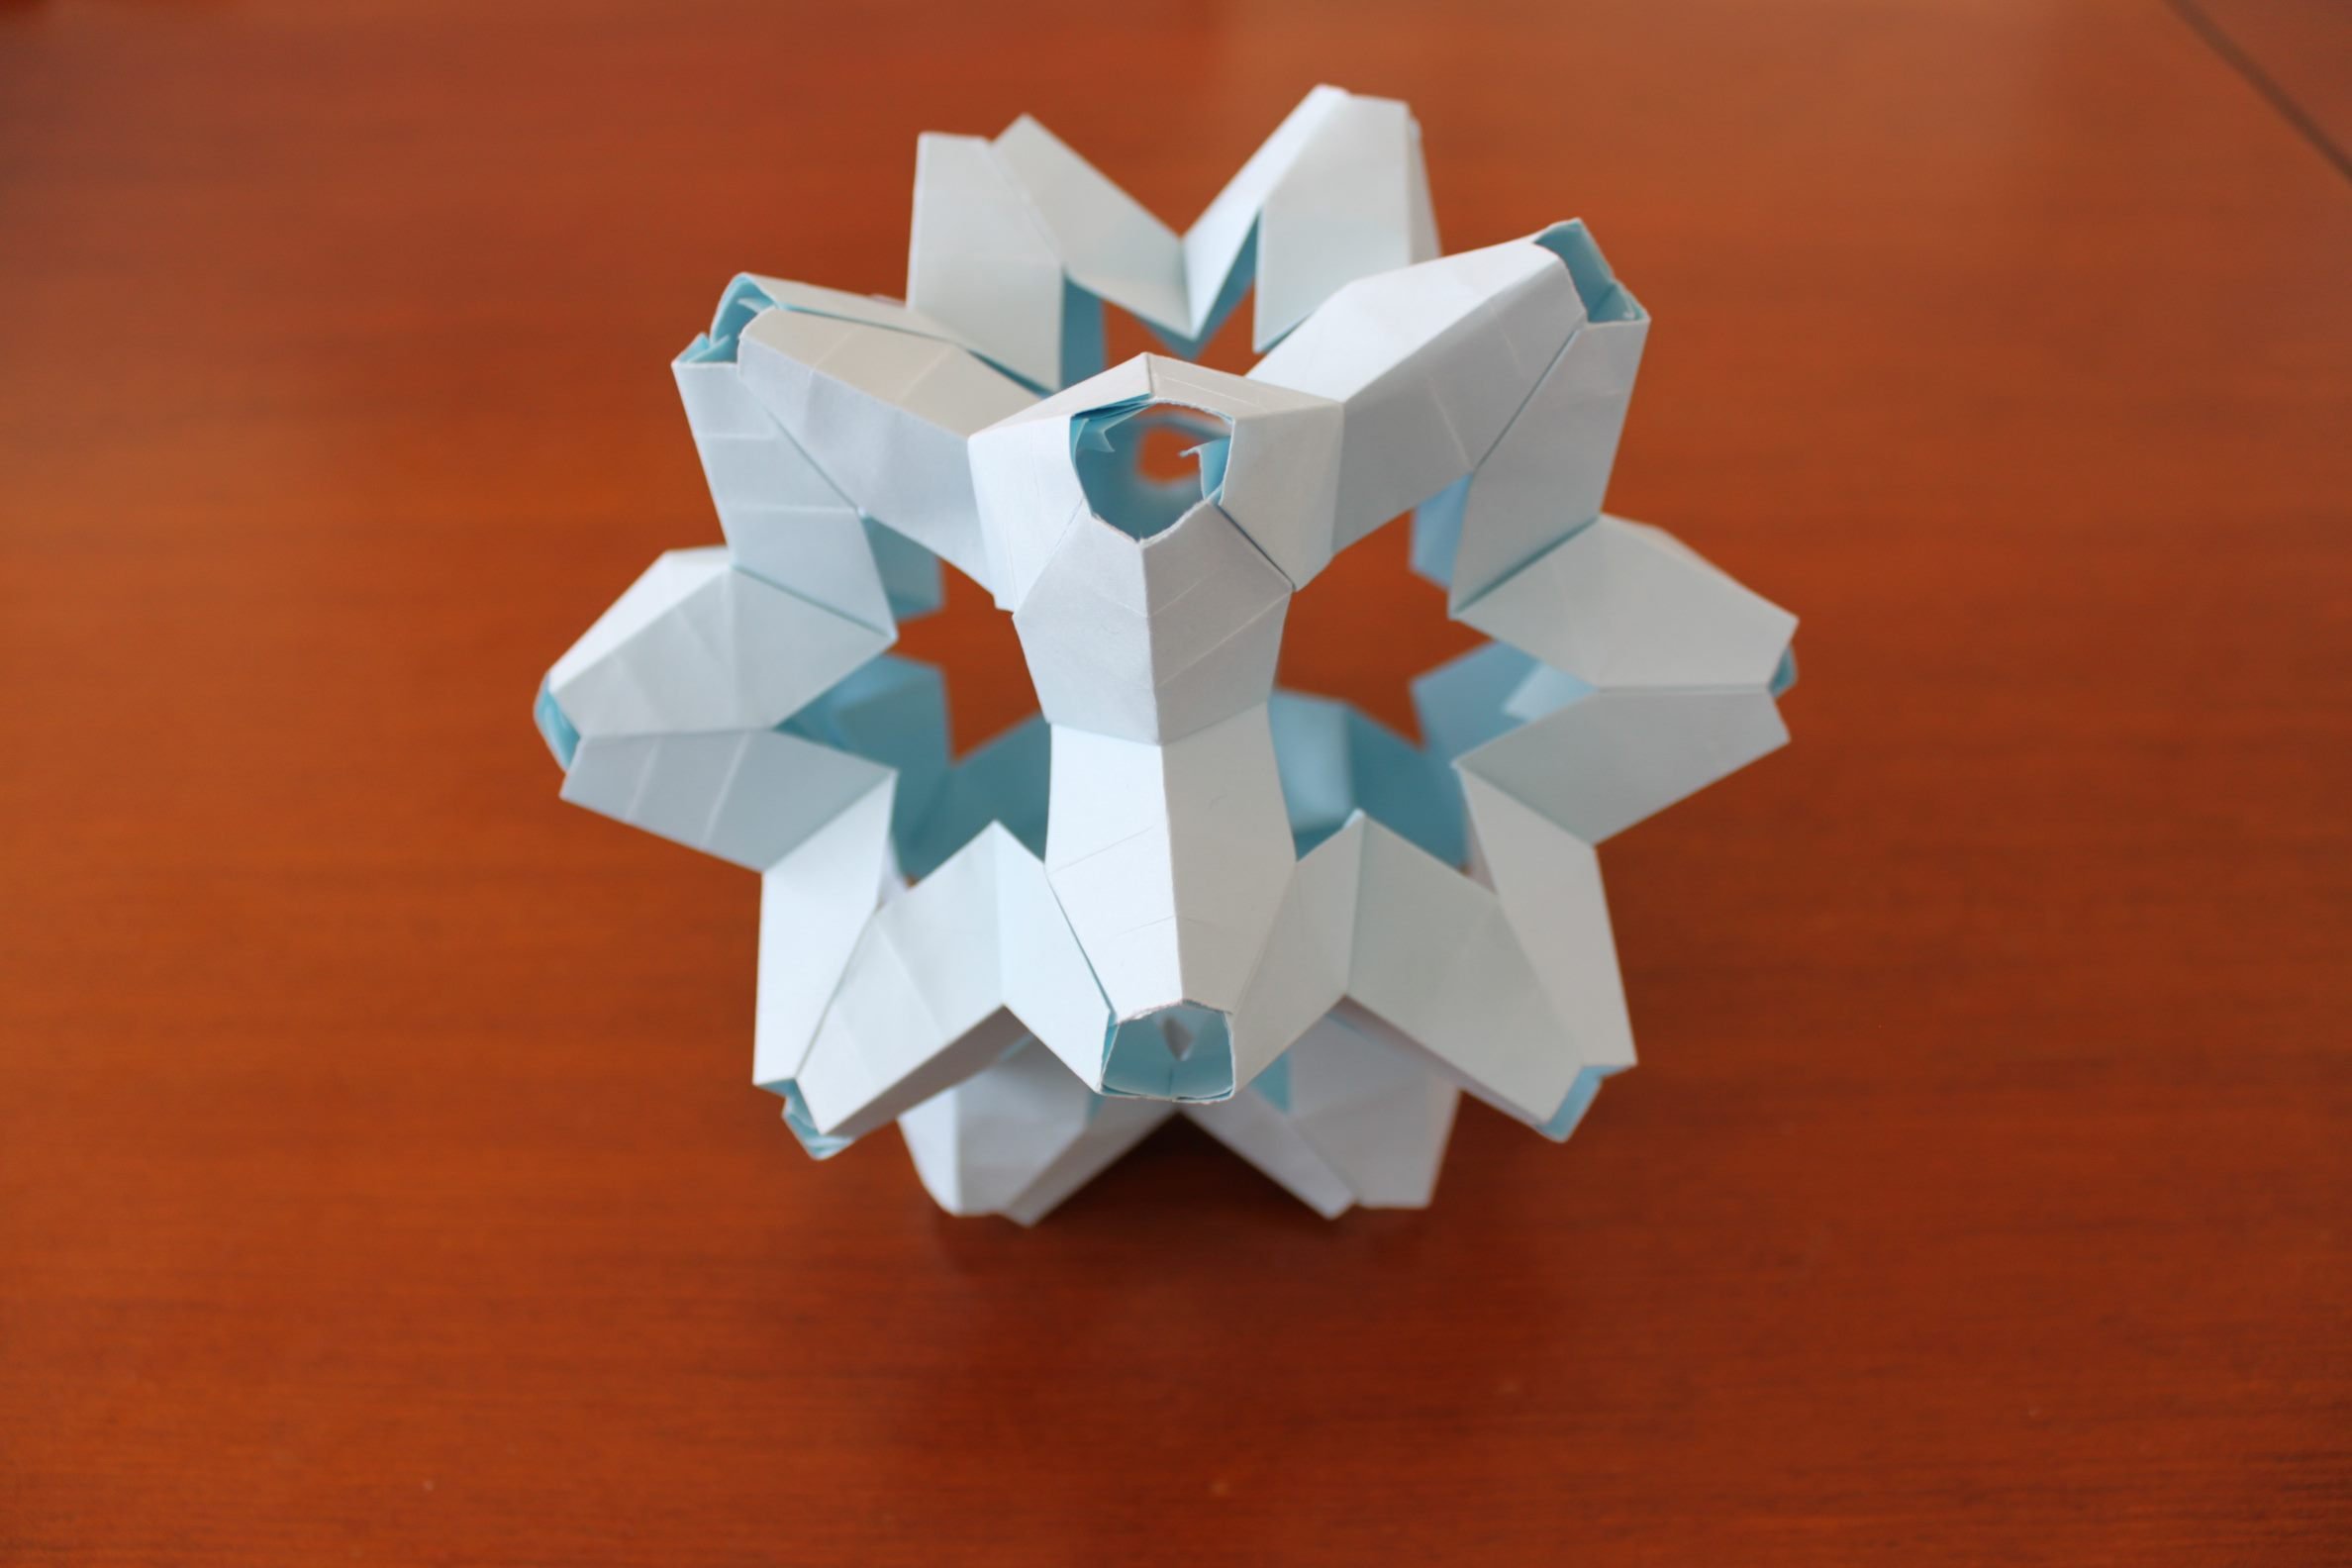
Fourth:
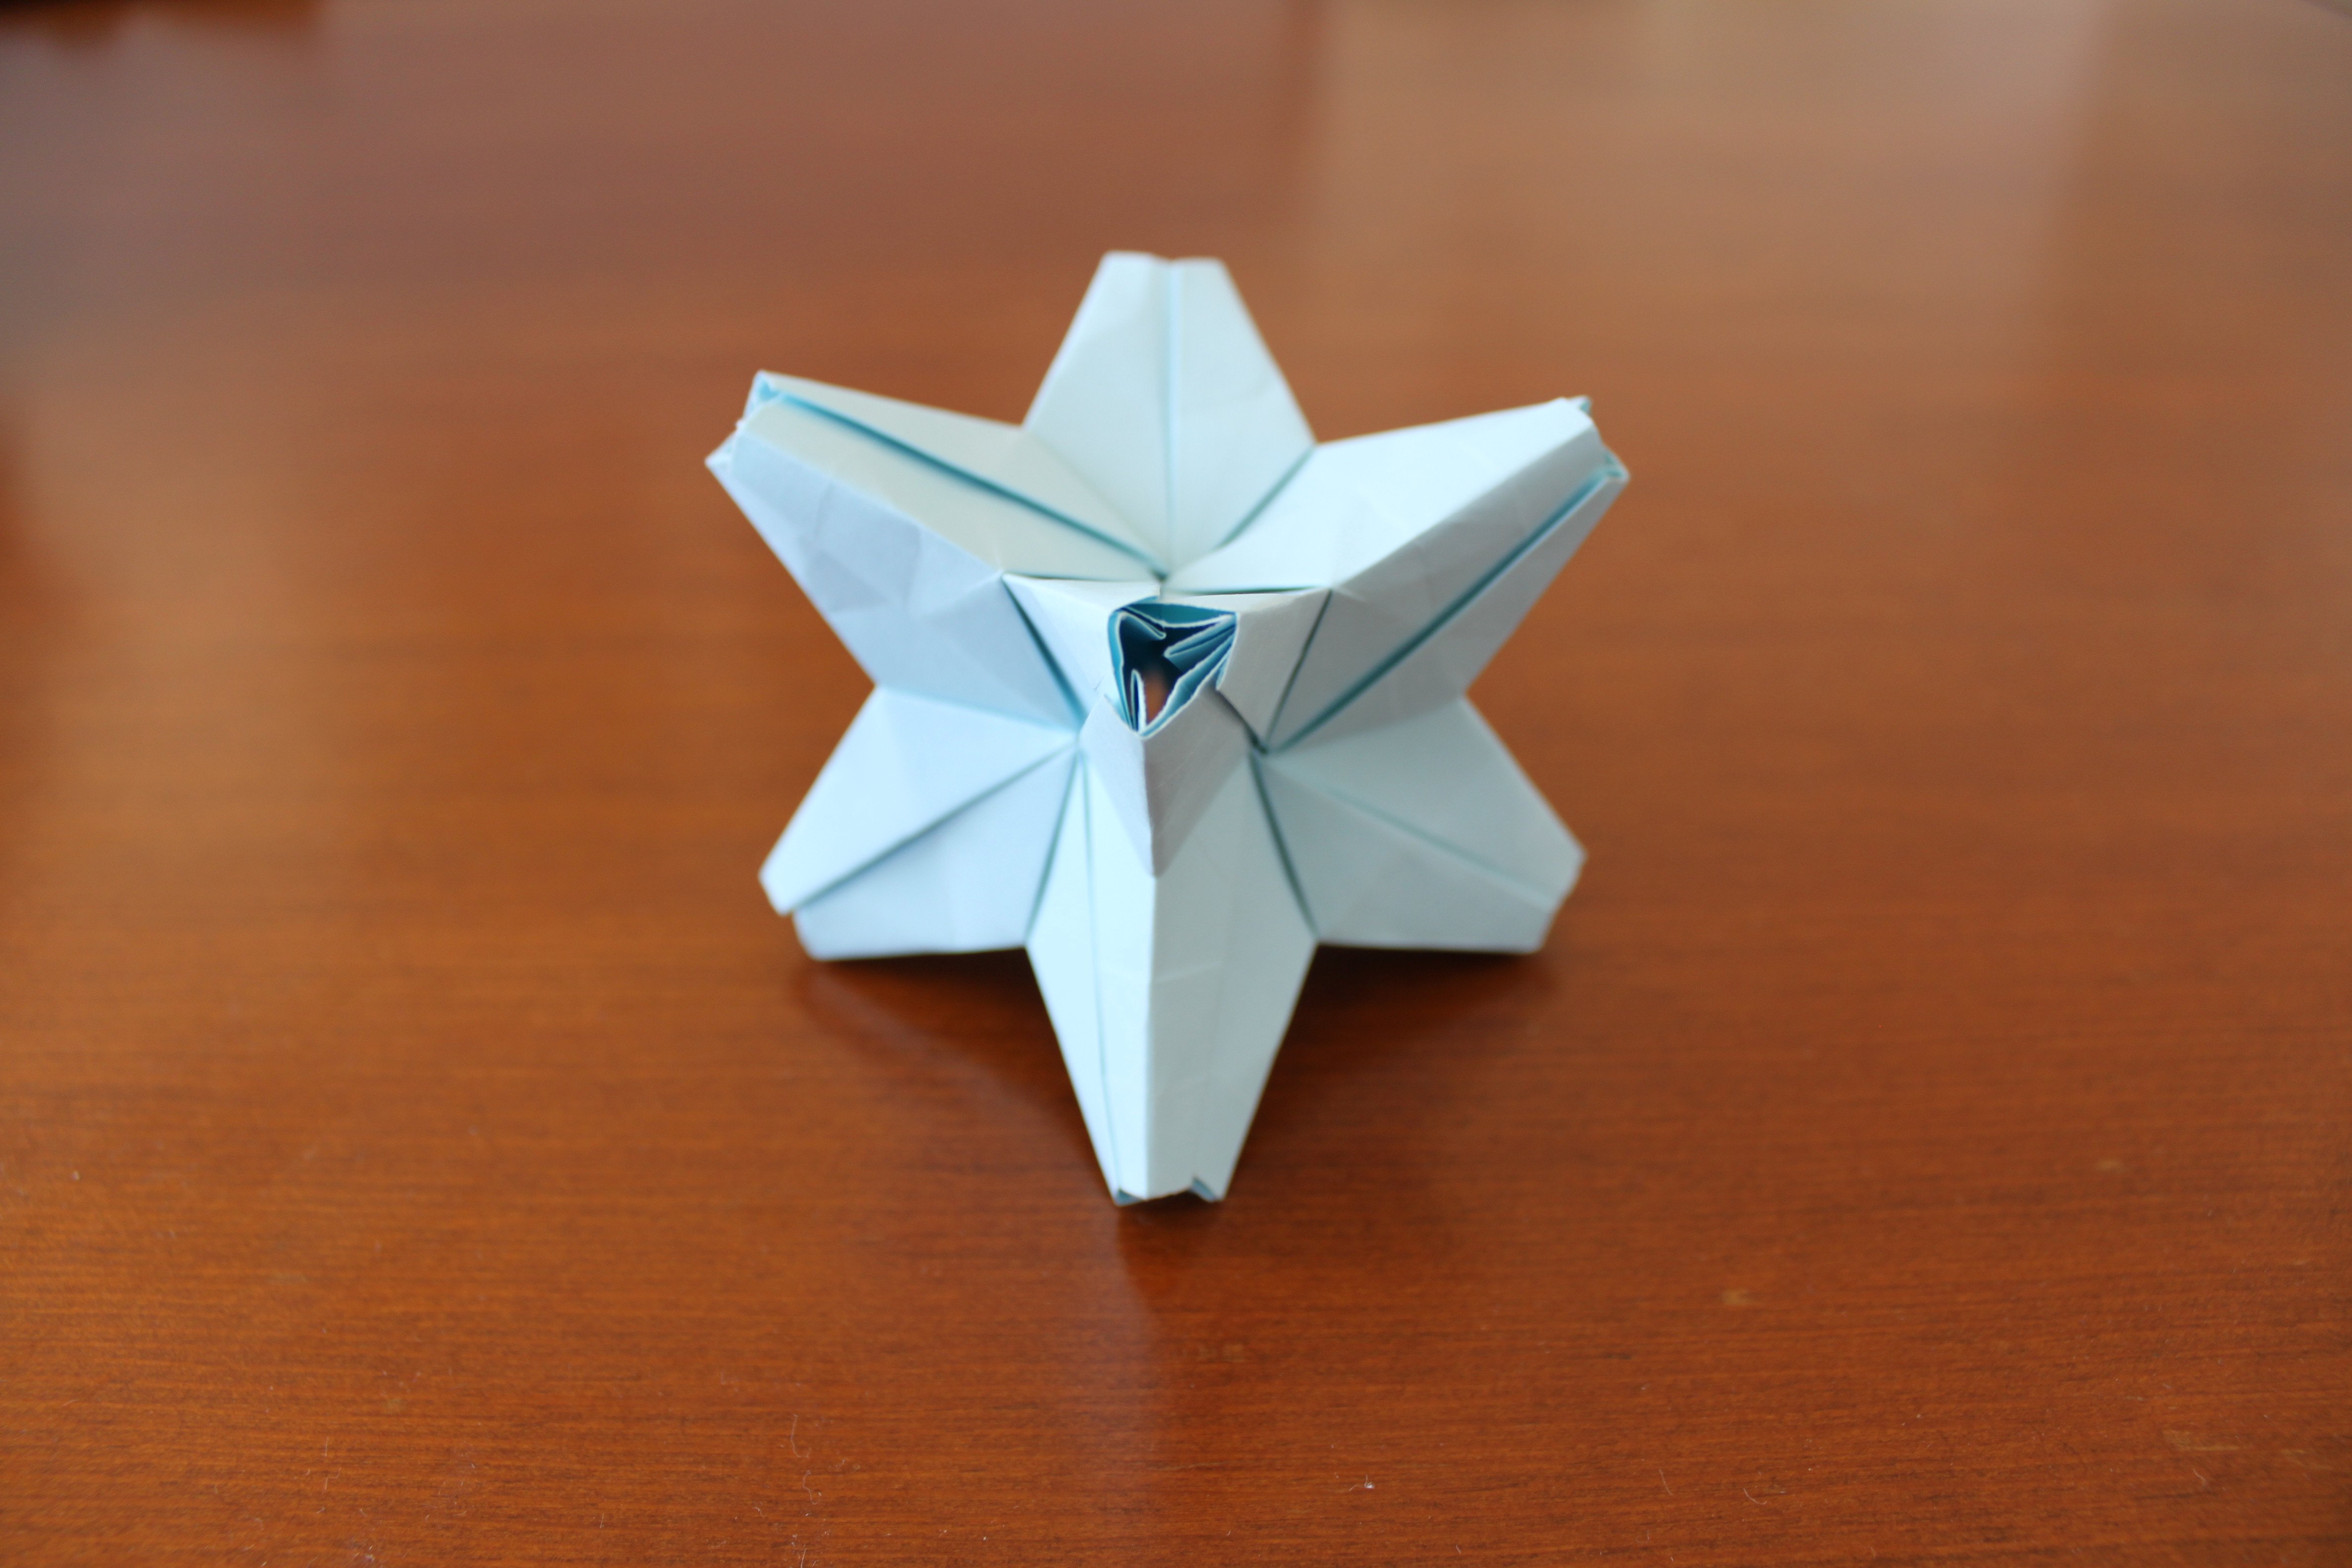
This is my final design, really happy with this one too since it's the first one that requires no glue. It uses the ideas from the second and third model, despite being concave it's relatively strong and stable when finished. The reason this one works is that the corners aren't forming 90 degree angles, by reversing the middle joint you could make it convex as well but would be very difficult to assemble.
Thank you @gmatthe2 for inspiring me to try designing something new.
Thanks for reading :)