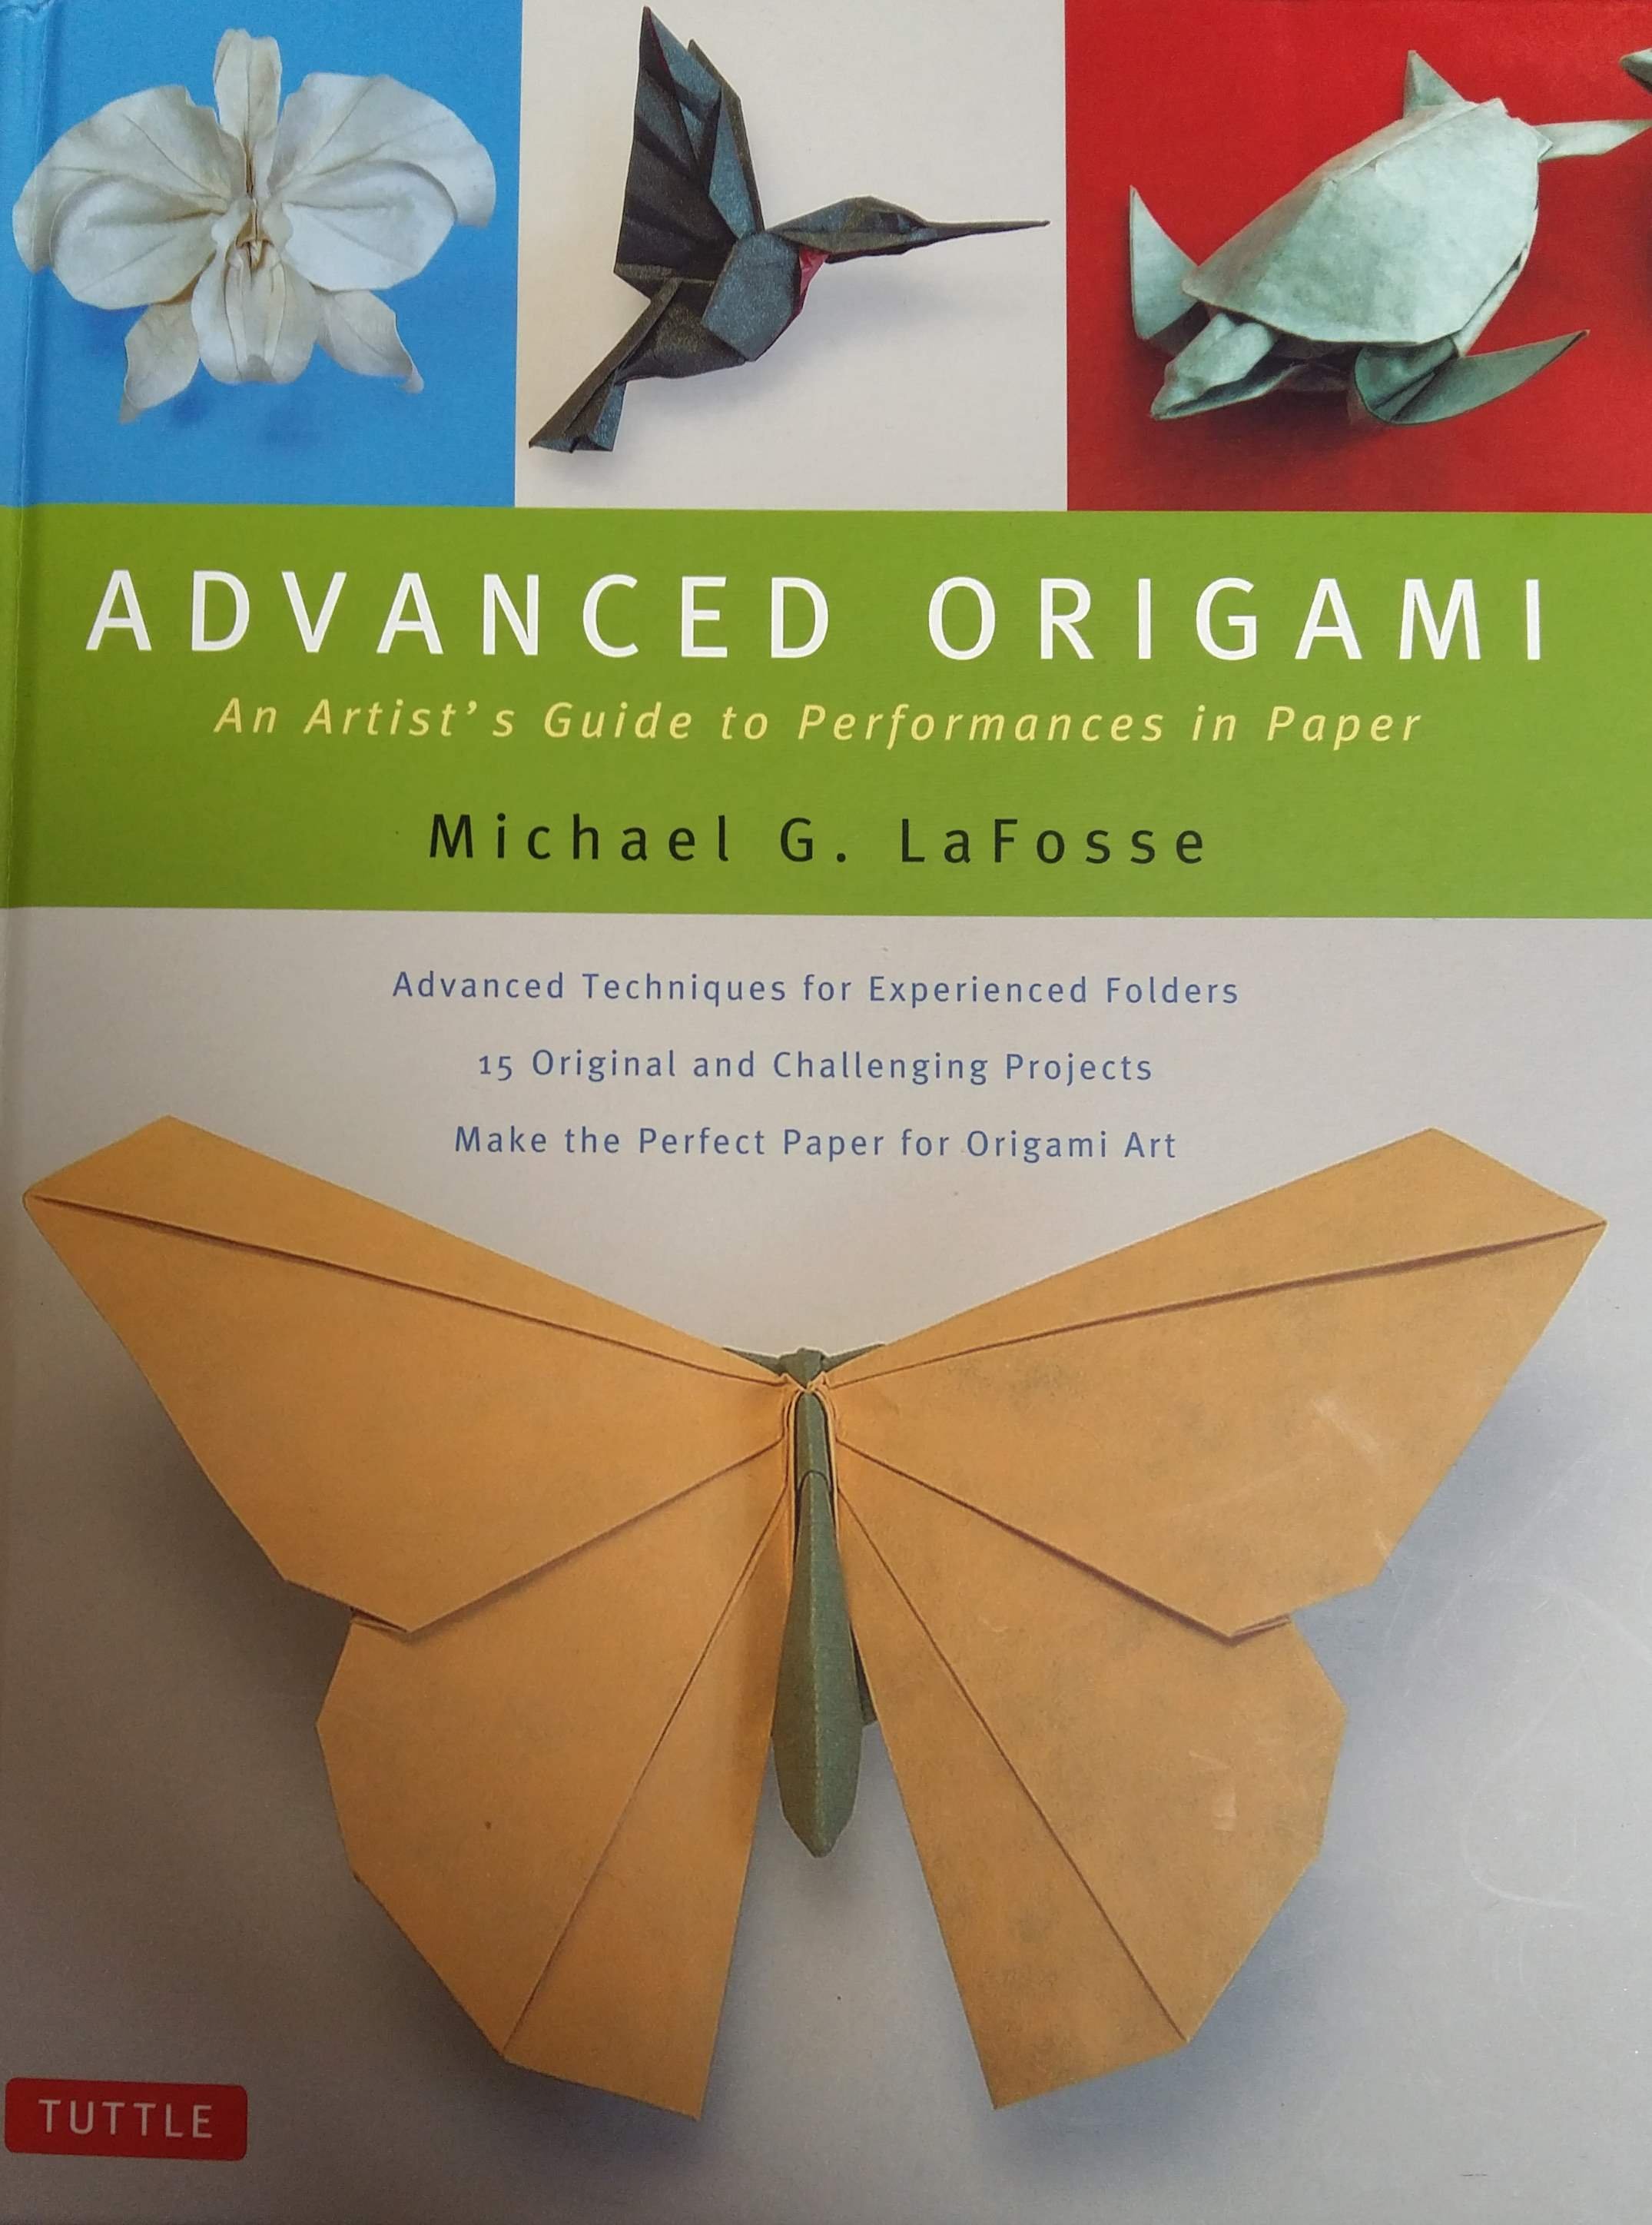
I got an intermediate origami book last winter holidays and tried out some models. This time I want to fold all of them concentrating on my mistakes and possible improvements. I don't have any fancy paper but I'll make some for the next part since there are models that require tissue-foil in this book.
The first model is this bird, It was pretty simple but there were some estimated folds which I'm not a fan of.
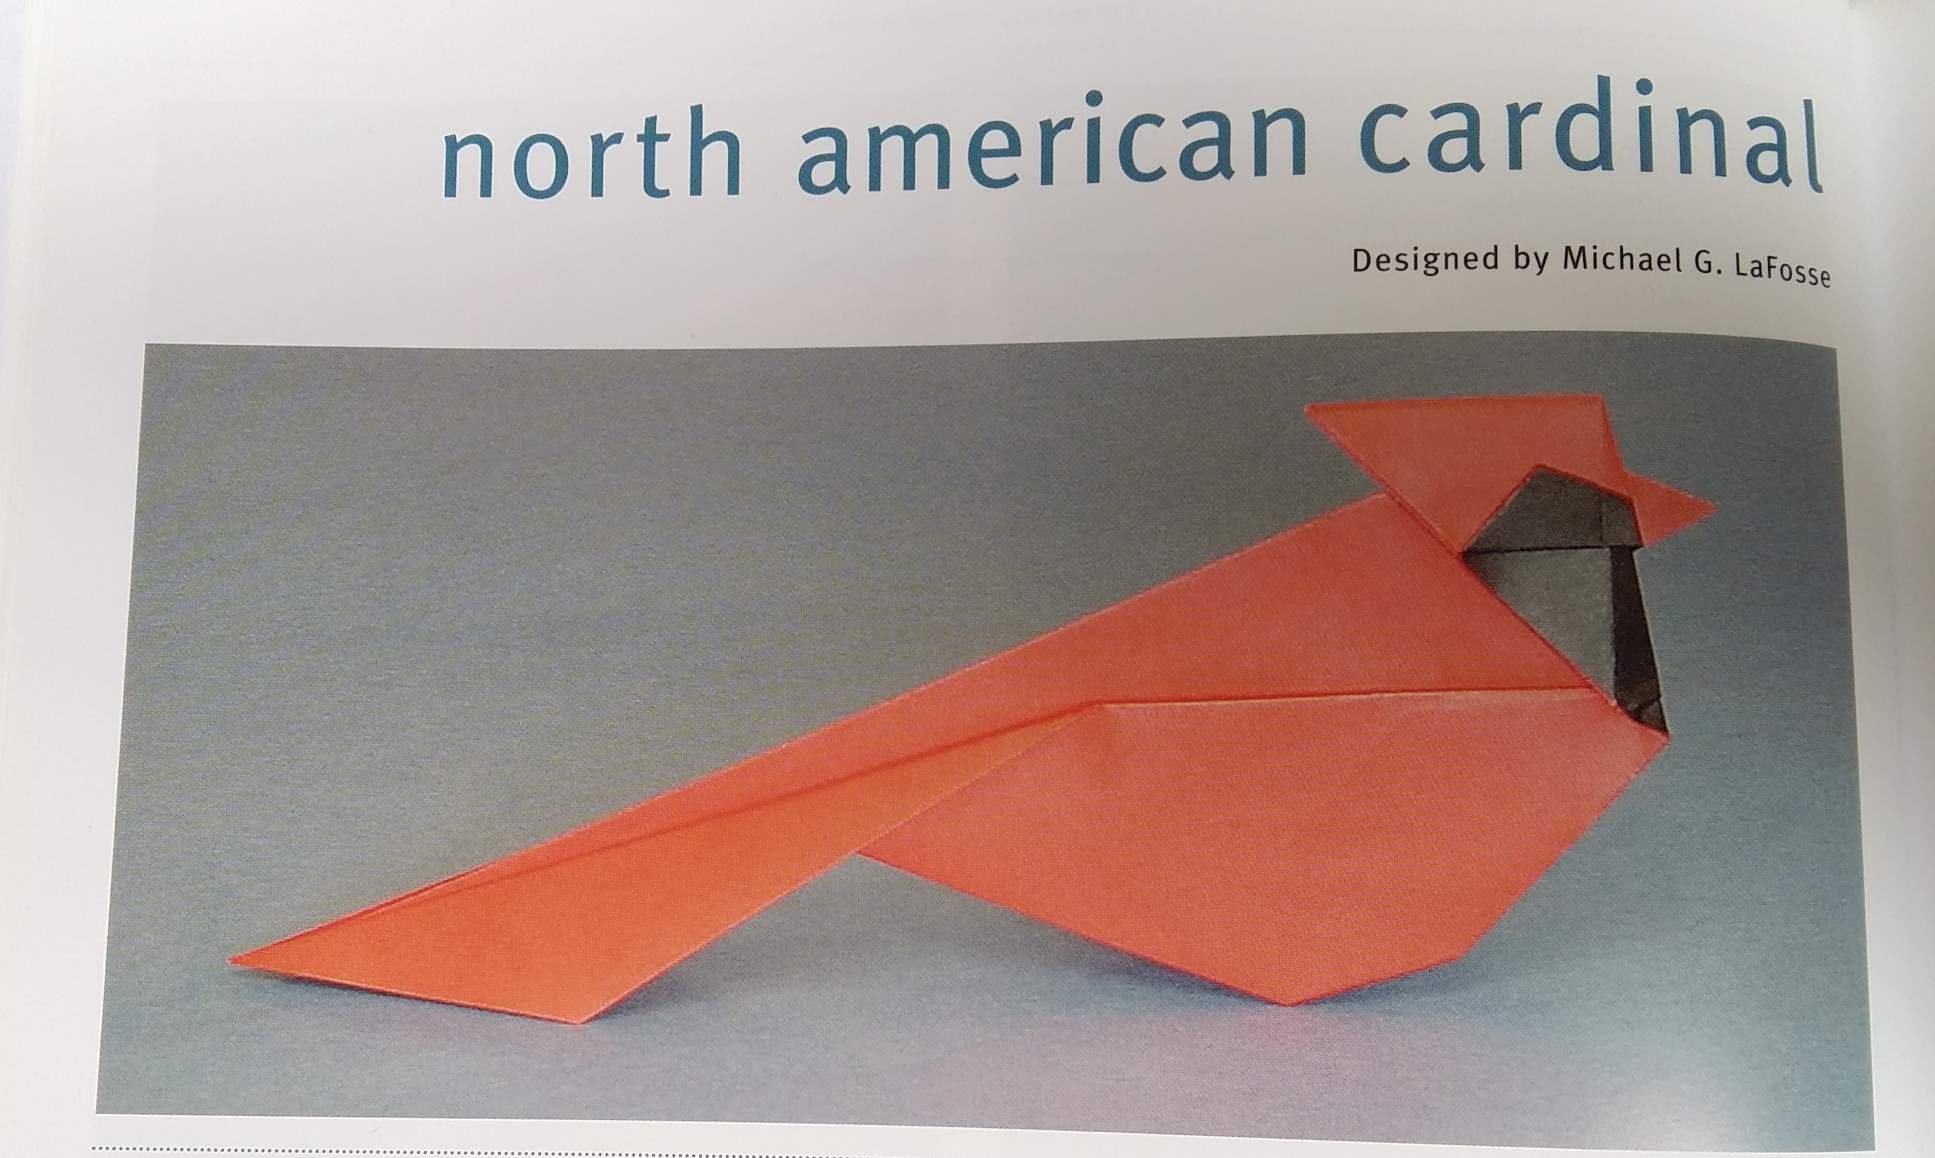
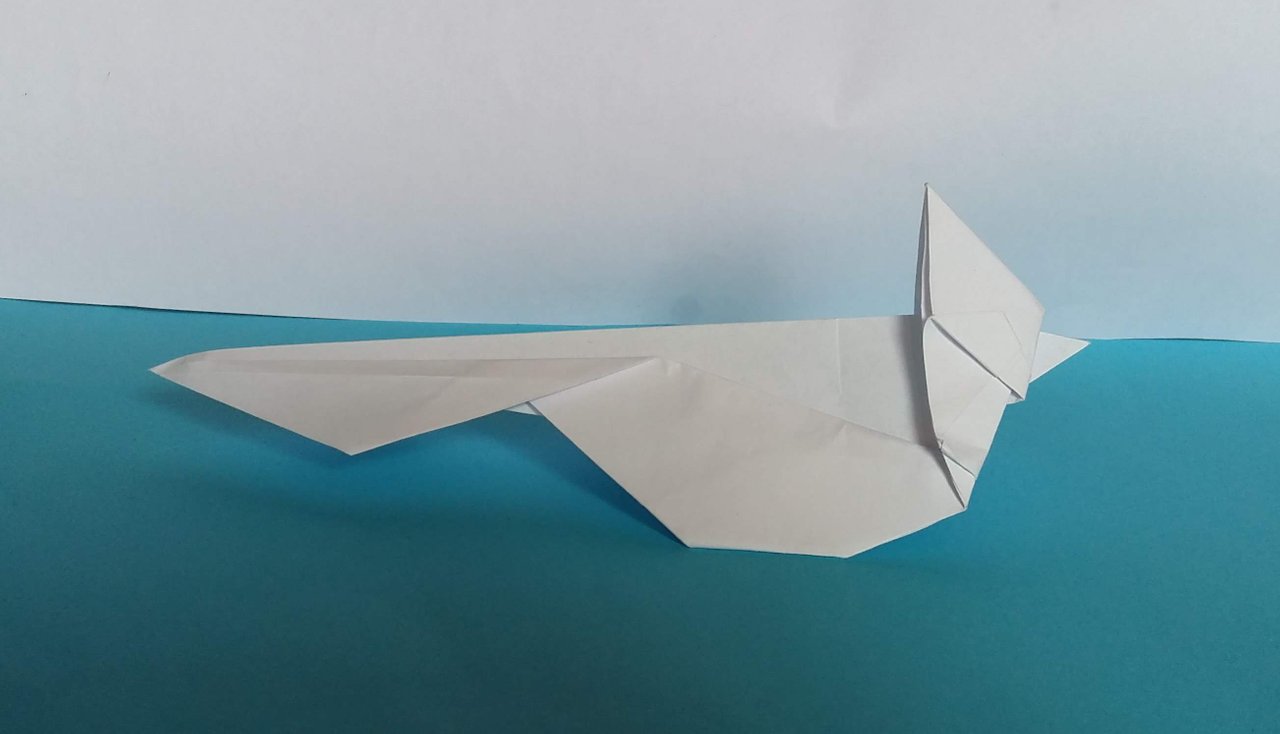
I messed up the tail slightly since at first I folded till the top and the line is visible. I angled the head a bit too much forward.
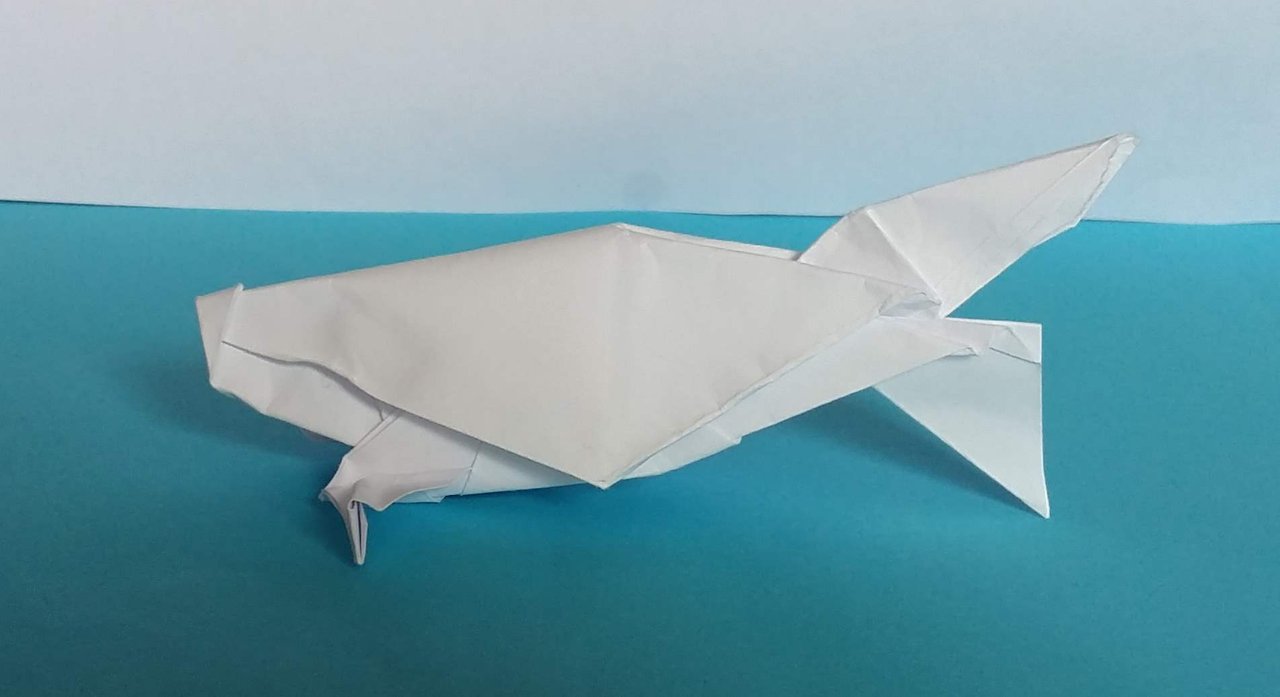
I didn't see a step in the middle since there were a few in one image. That's why the tail looks a bit weird and crumpled, I tried fixing it but it just made it worse. I'm really messing up the tails on these 😕
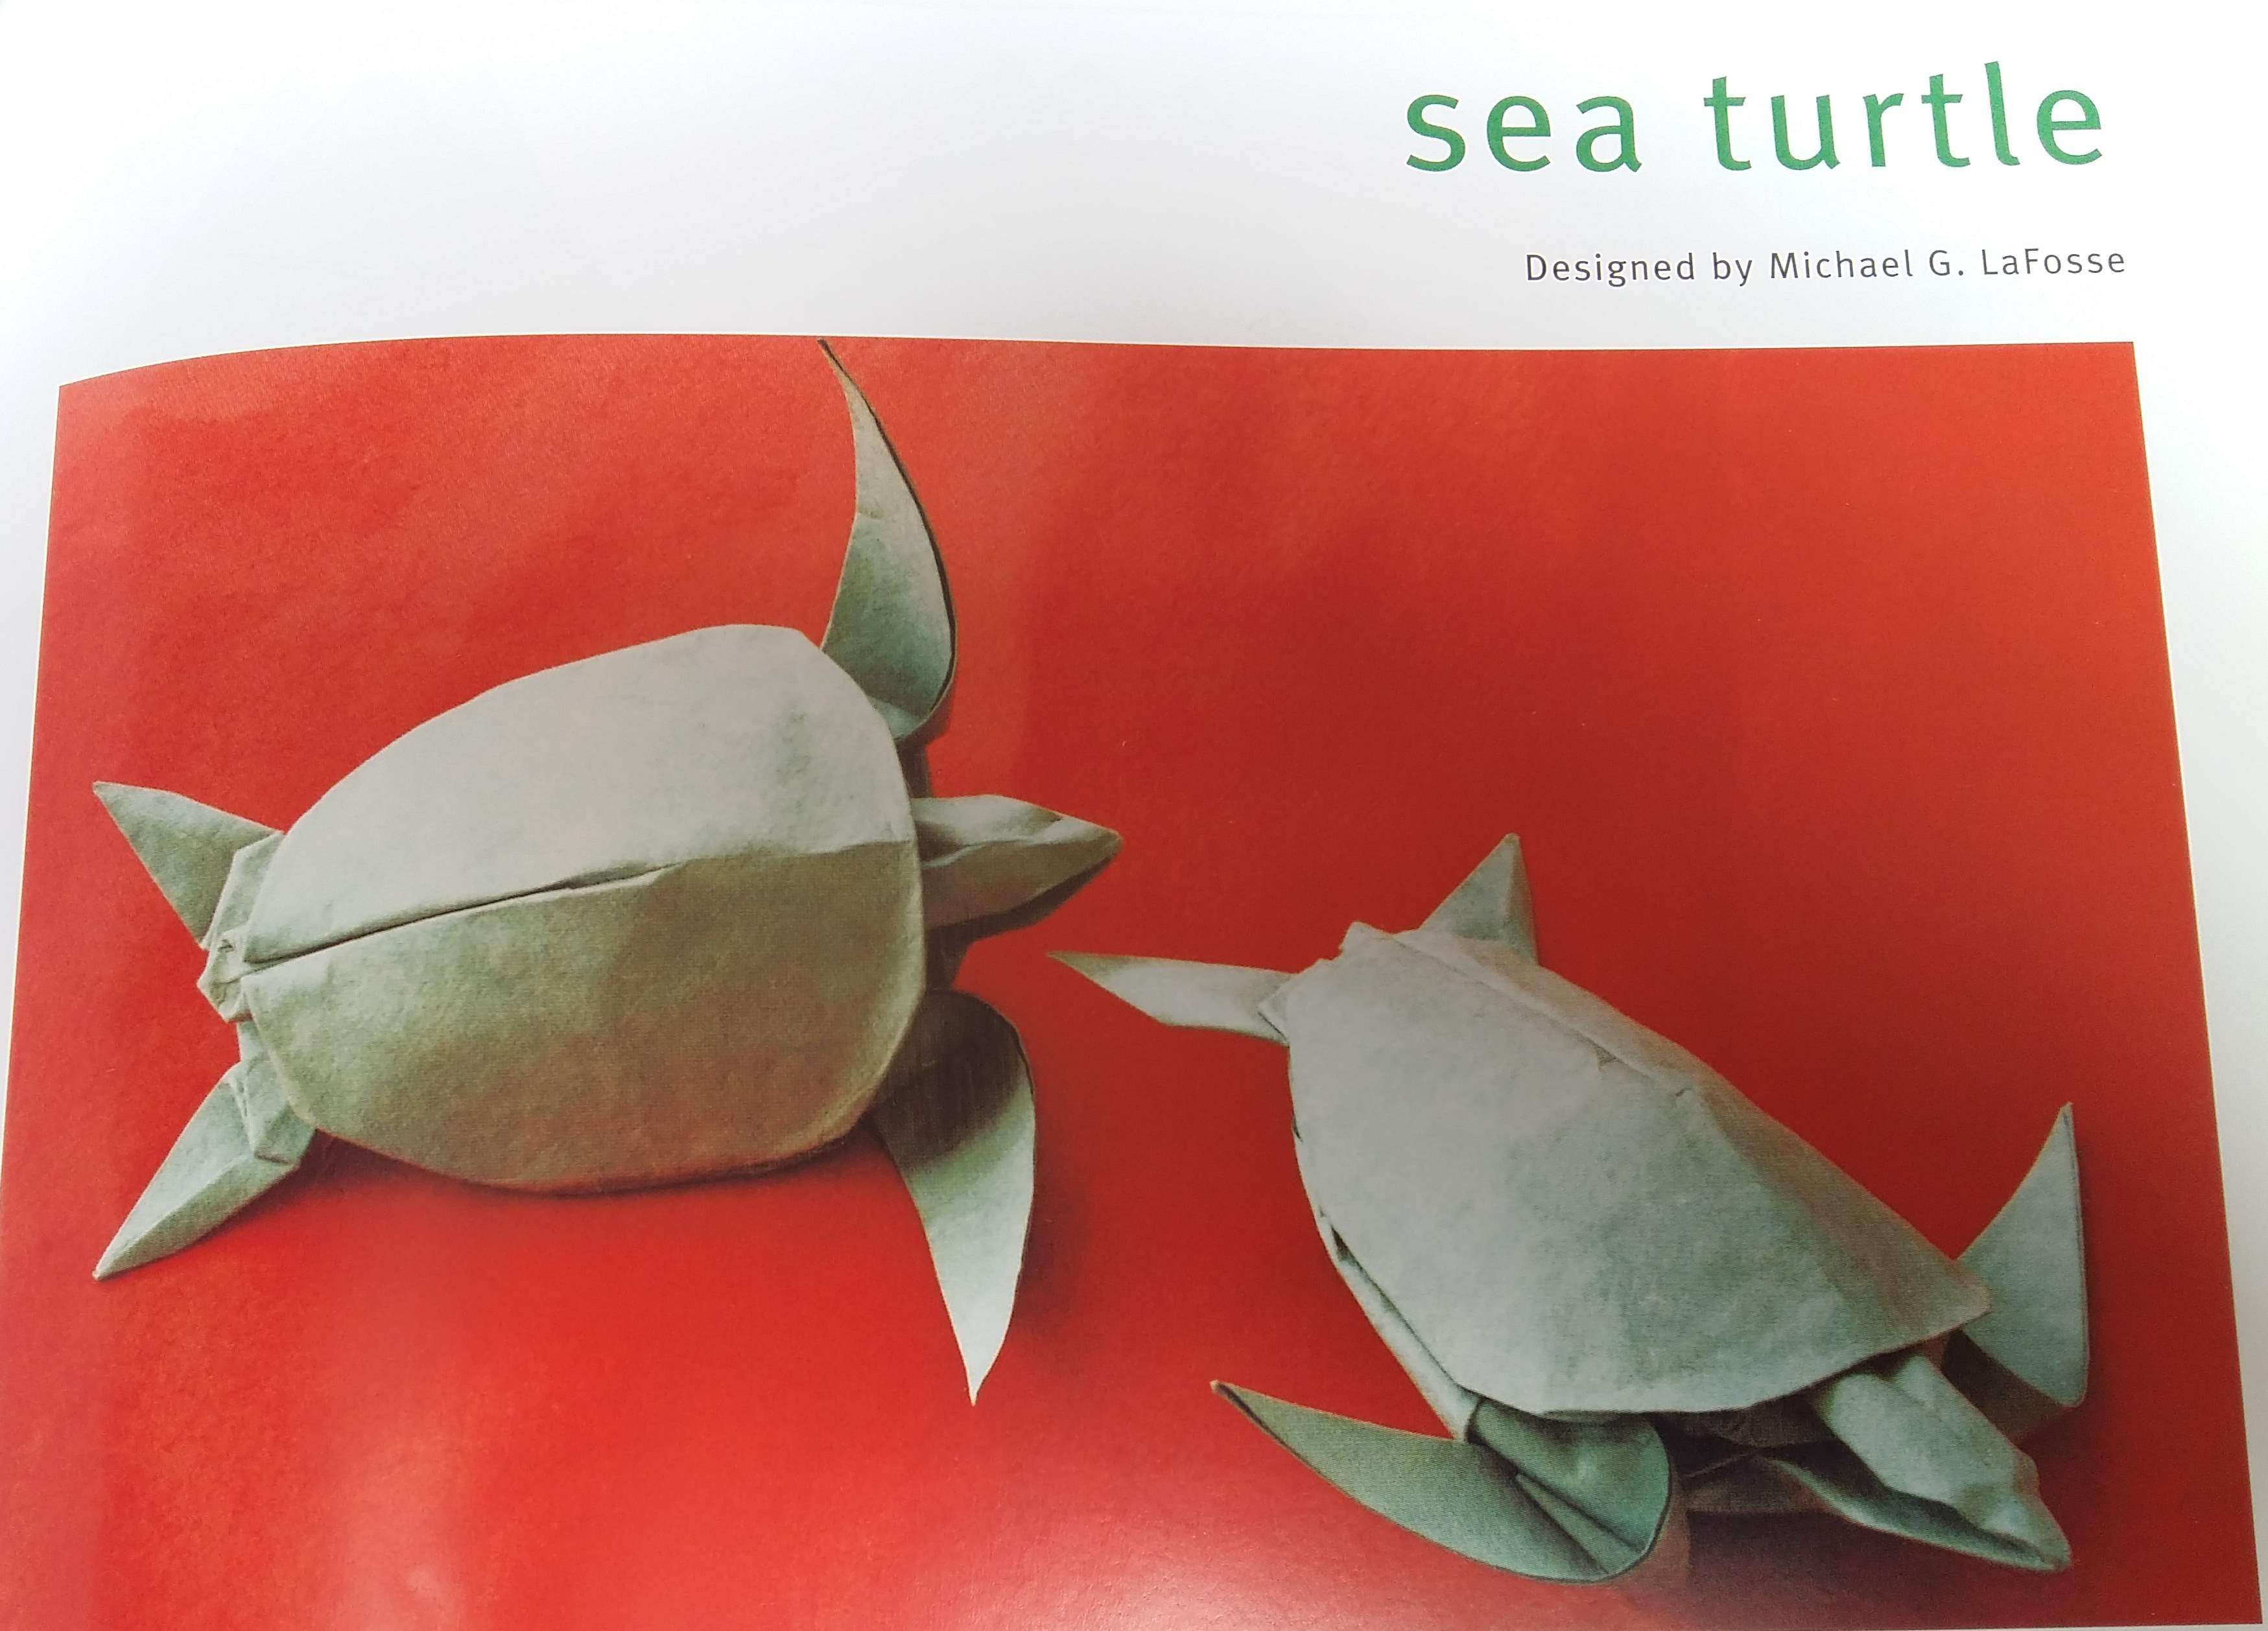

I really like this model but some of the steps are pretty confusing, especially the head which is really hard to puff up with standard printer paper. I couldn't figure out the hind legs so I improvised a bit.
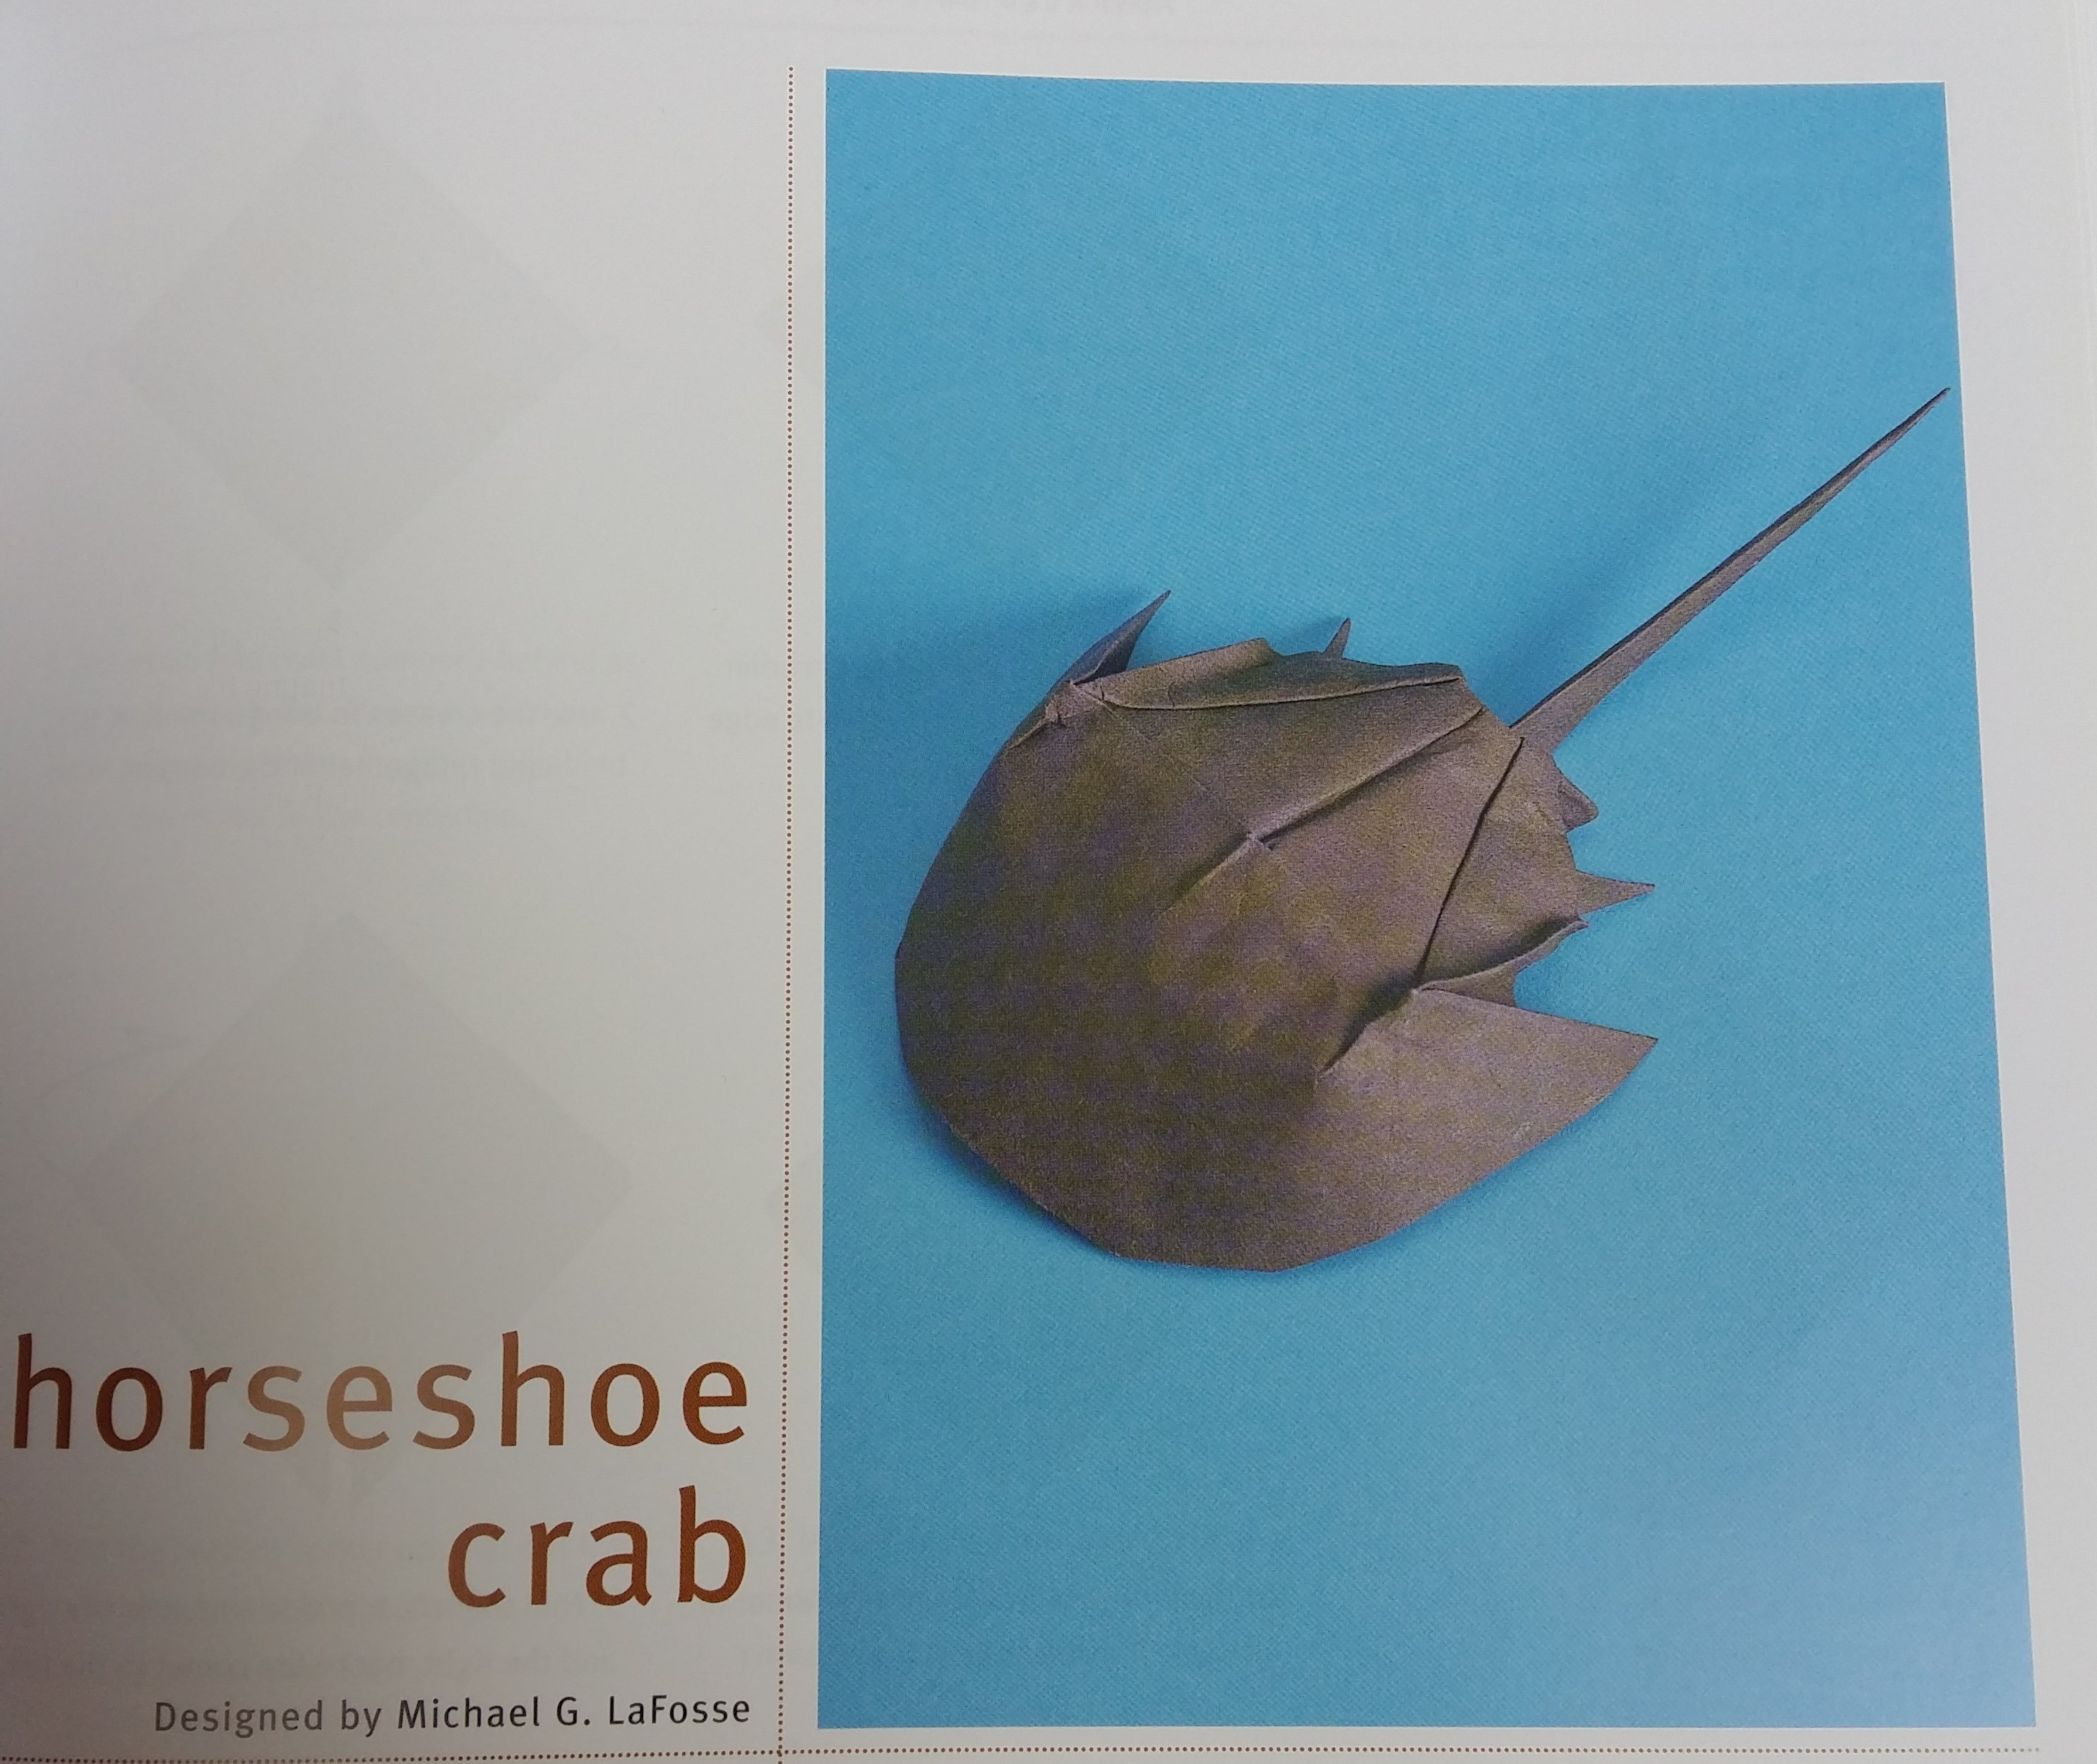
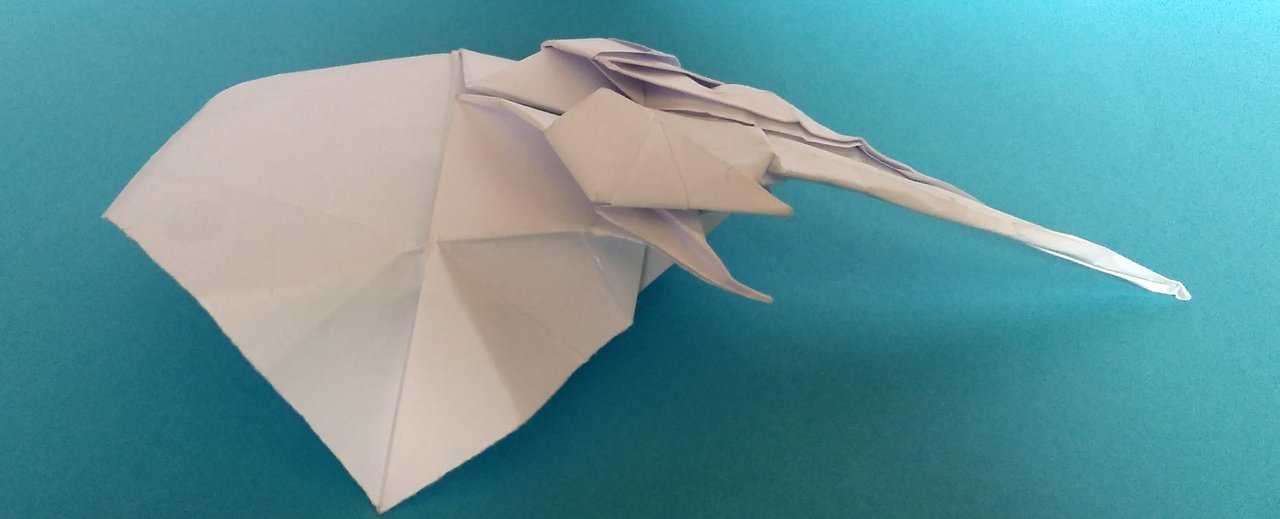
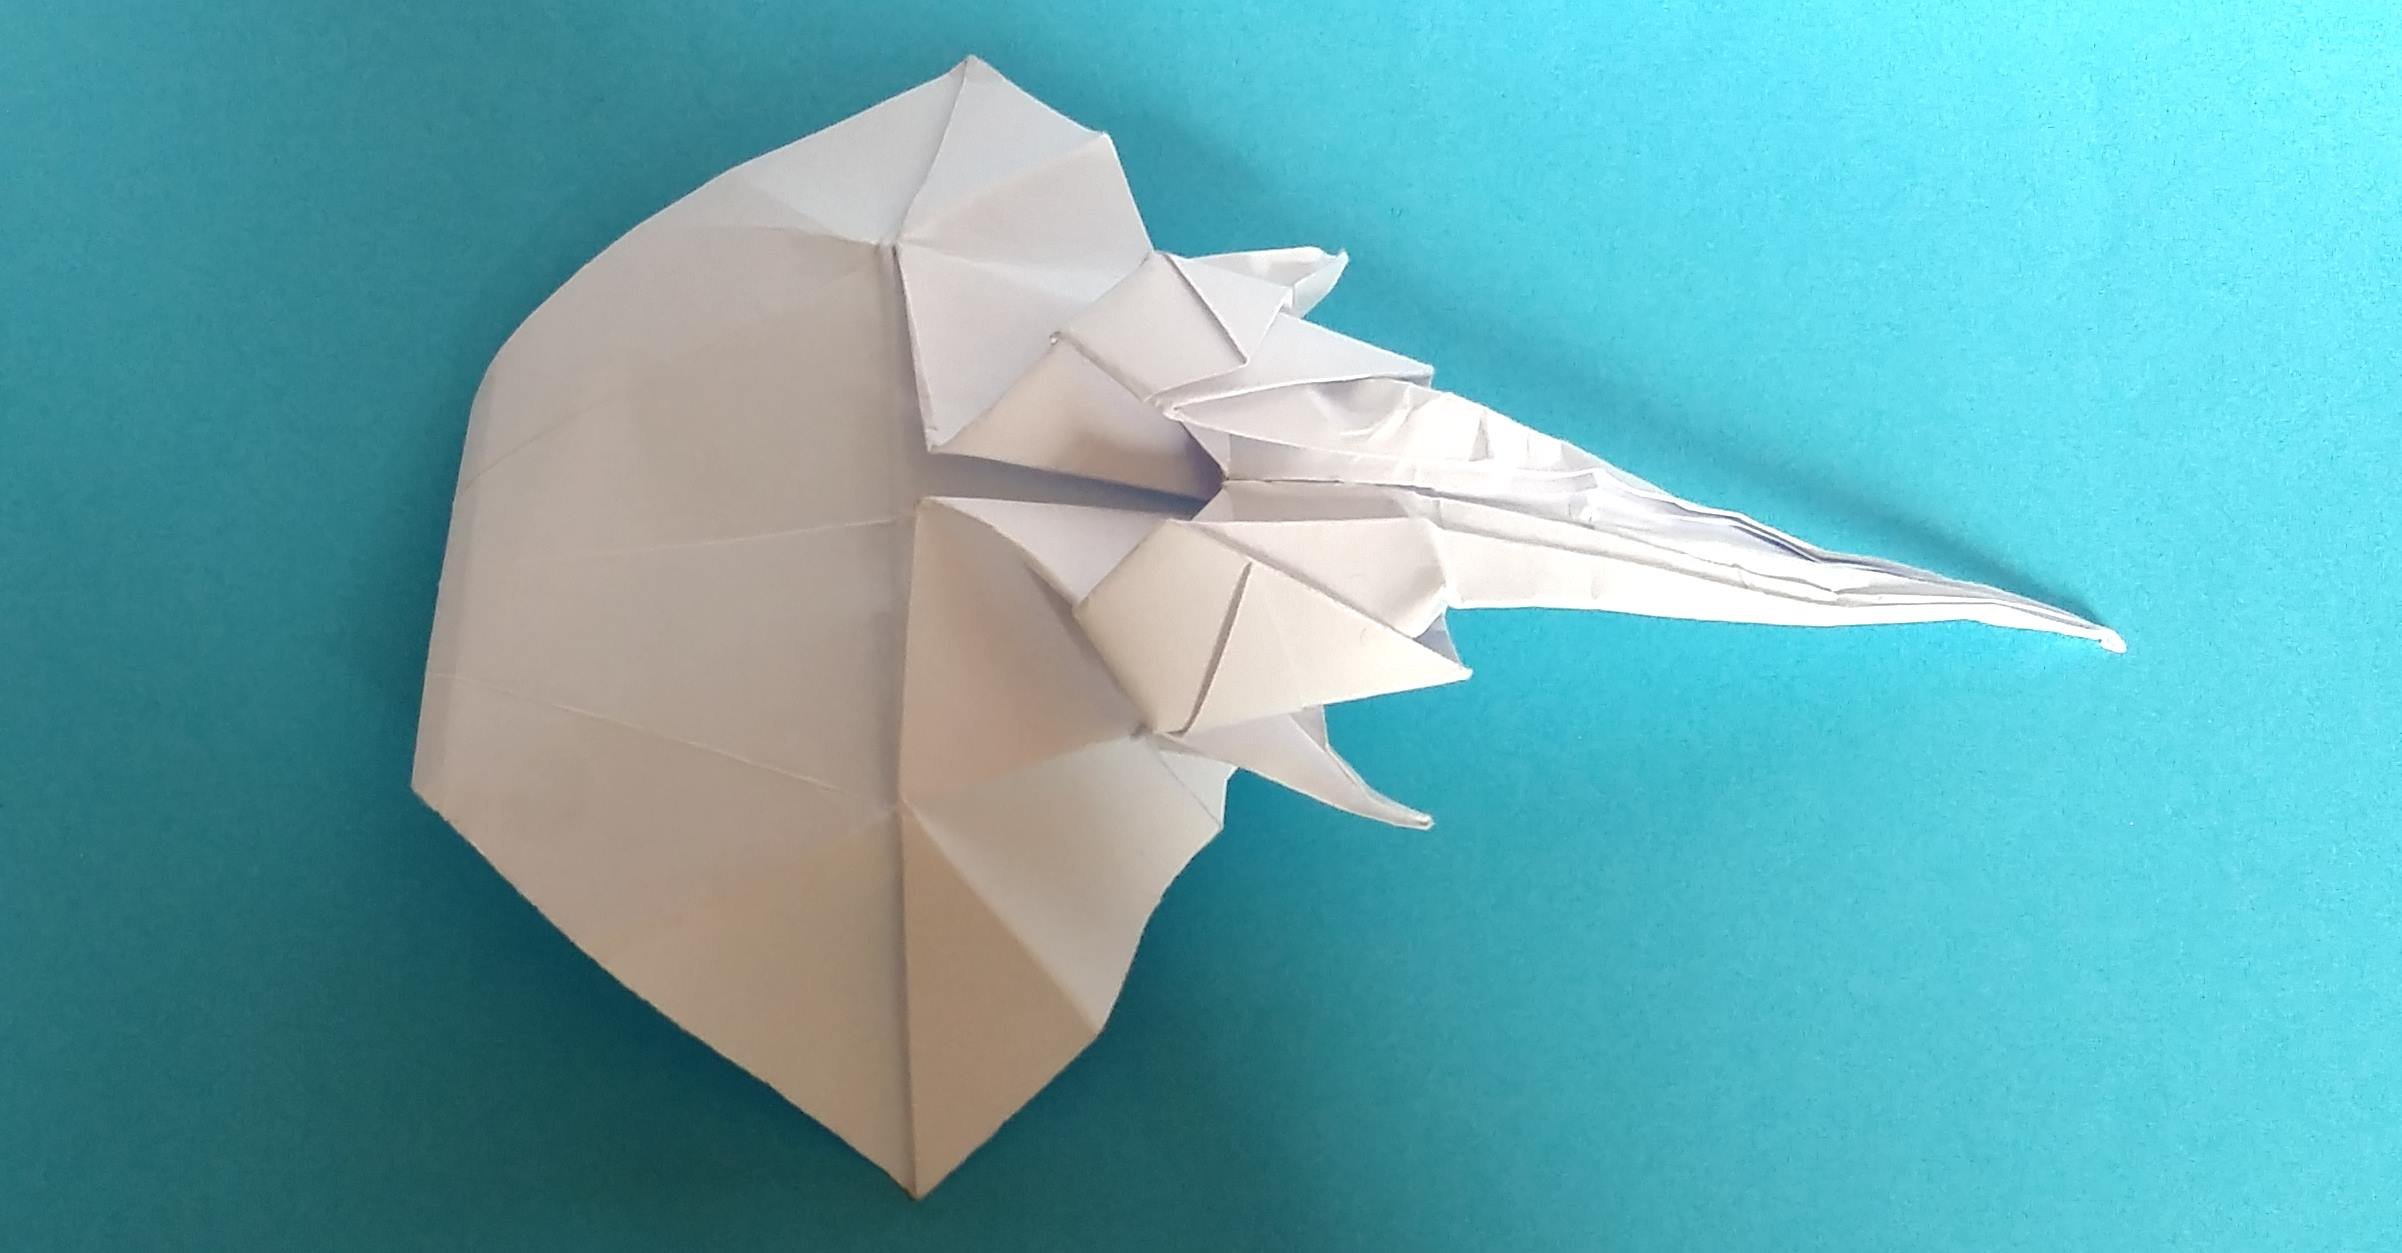
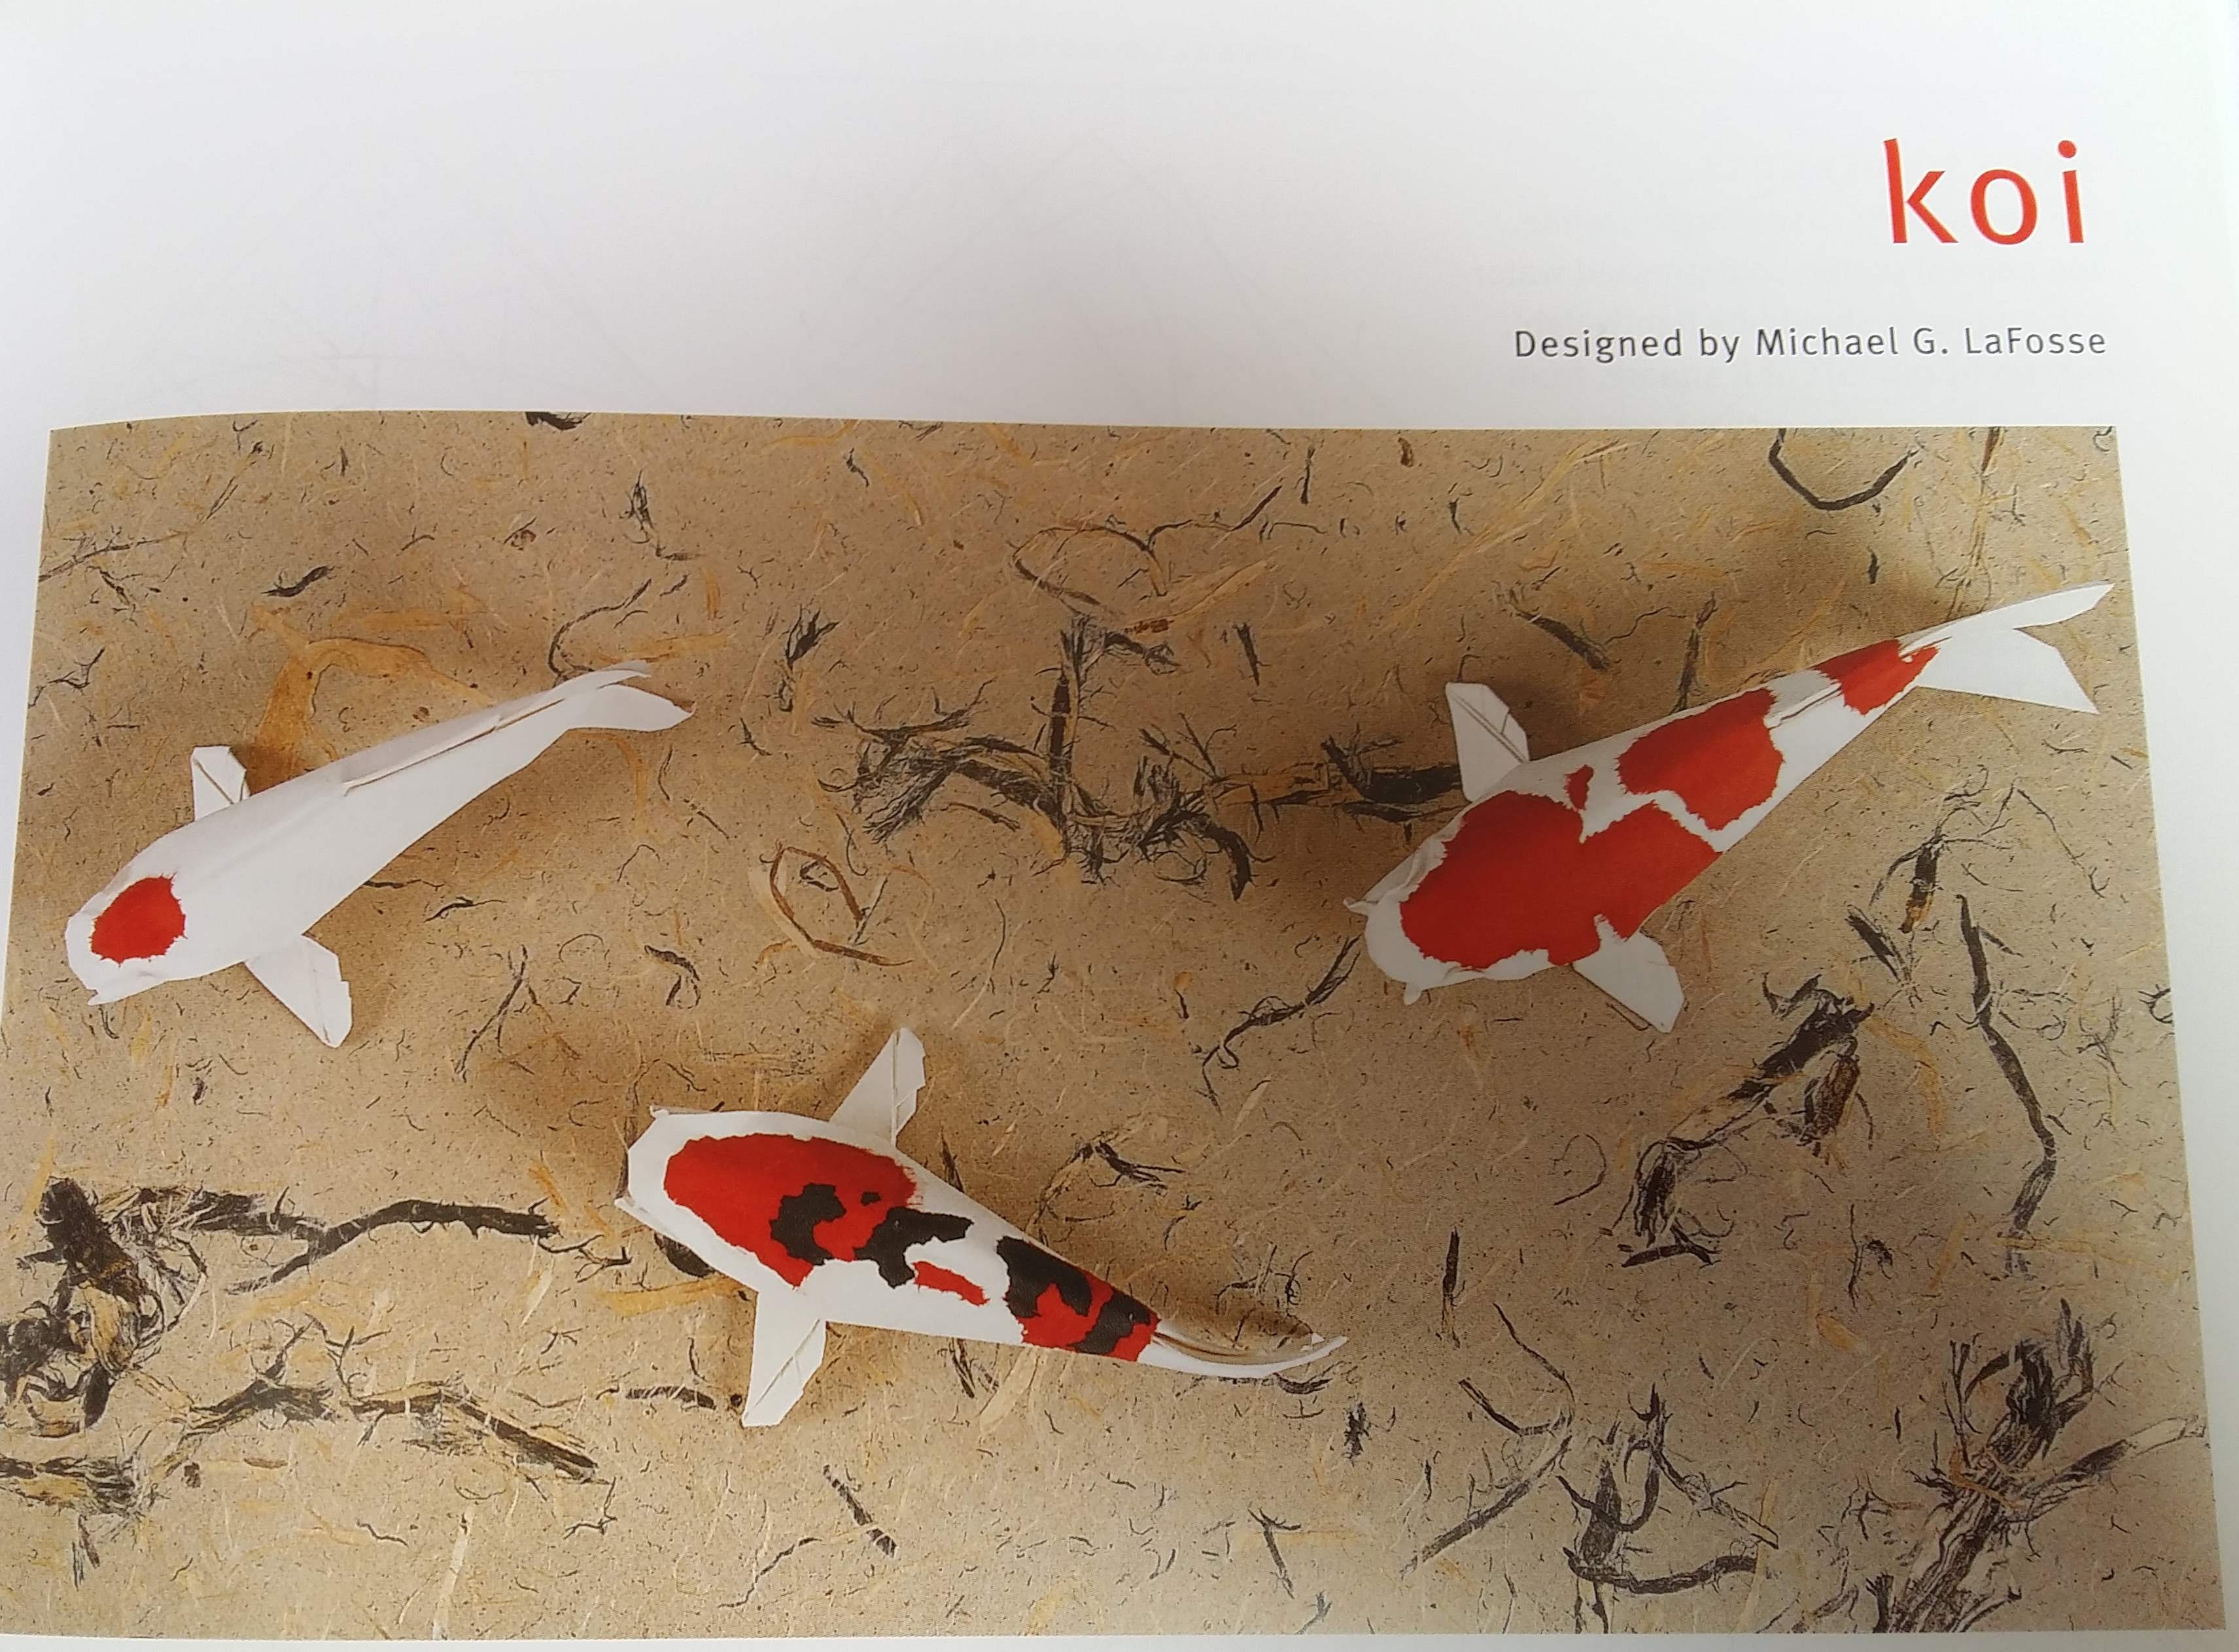
This was the hardest model yet in this book. I definitely need a different paper for this. The top image looks like wet folding, I might try it and post an update . The tail is very hard to fold that this since there are a lot of layers under and the head hold in place like the picture (nothing a little glue can't fix 😗).
These were some cool models, next part will have some harder stuff, expect a lot of crumpled paper.
Thanks for reading 😀
Origami - Improvement journey part 1
7 Comments