
This is to hoping that am not too late for the second day of the @merej99 10 post challenge... Mehn.....schoolwork is hectic...
This post which would serve as the second entry for @merej99 competition is about how to make a pixelation painting of a any still life of your choice....
Before I go on, note everything is done is by hand.. Lemme give a brief description of some terms...
Pixelation : In pixelation, what you aim to do is to create a design that is represented in such a way that looks the artwork look like it is actually broken down into pixels. This can be seen when you actually zoom an image too much; when it gets to a stage, the work looks blurry and you could see it in little little squares. That what we basically aim do to do when we render pixelation painting by hand...
The following are the steps involved in pixelating a traditional drummer picture...
STEP 1
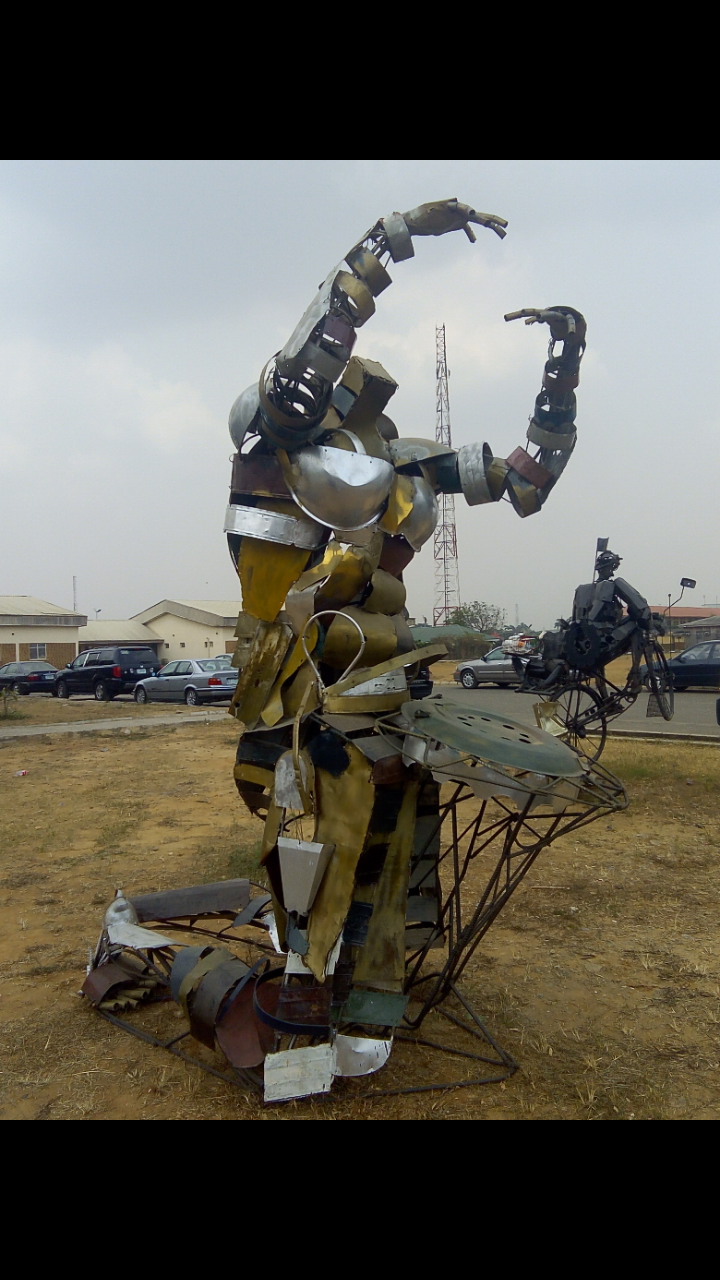
This involves choosing a still of your choice....
STEP 2
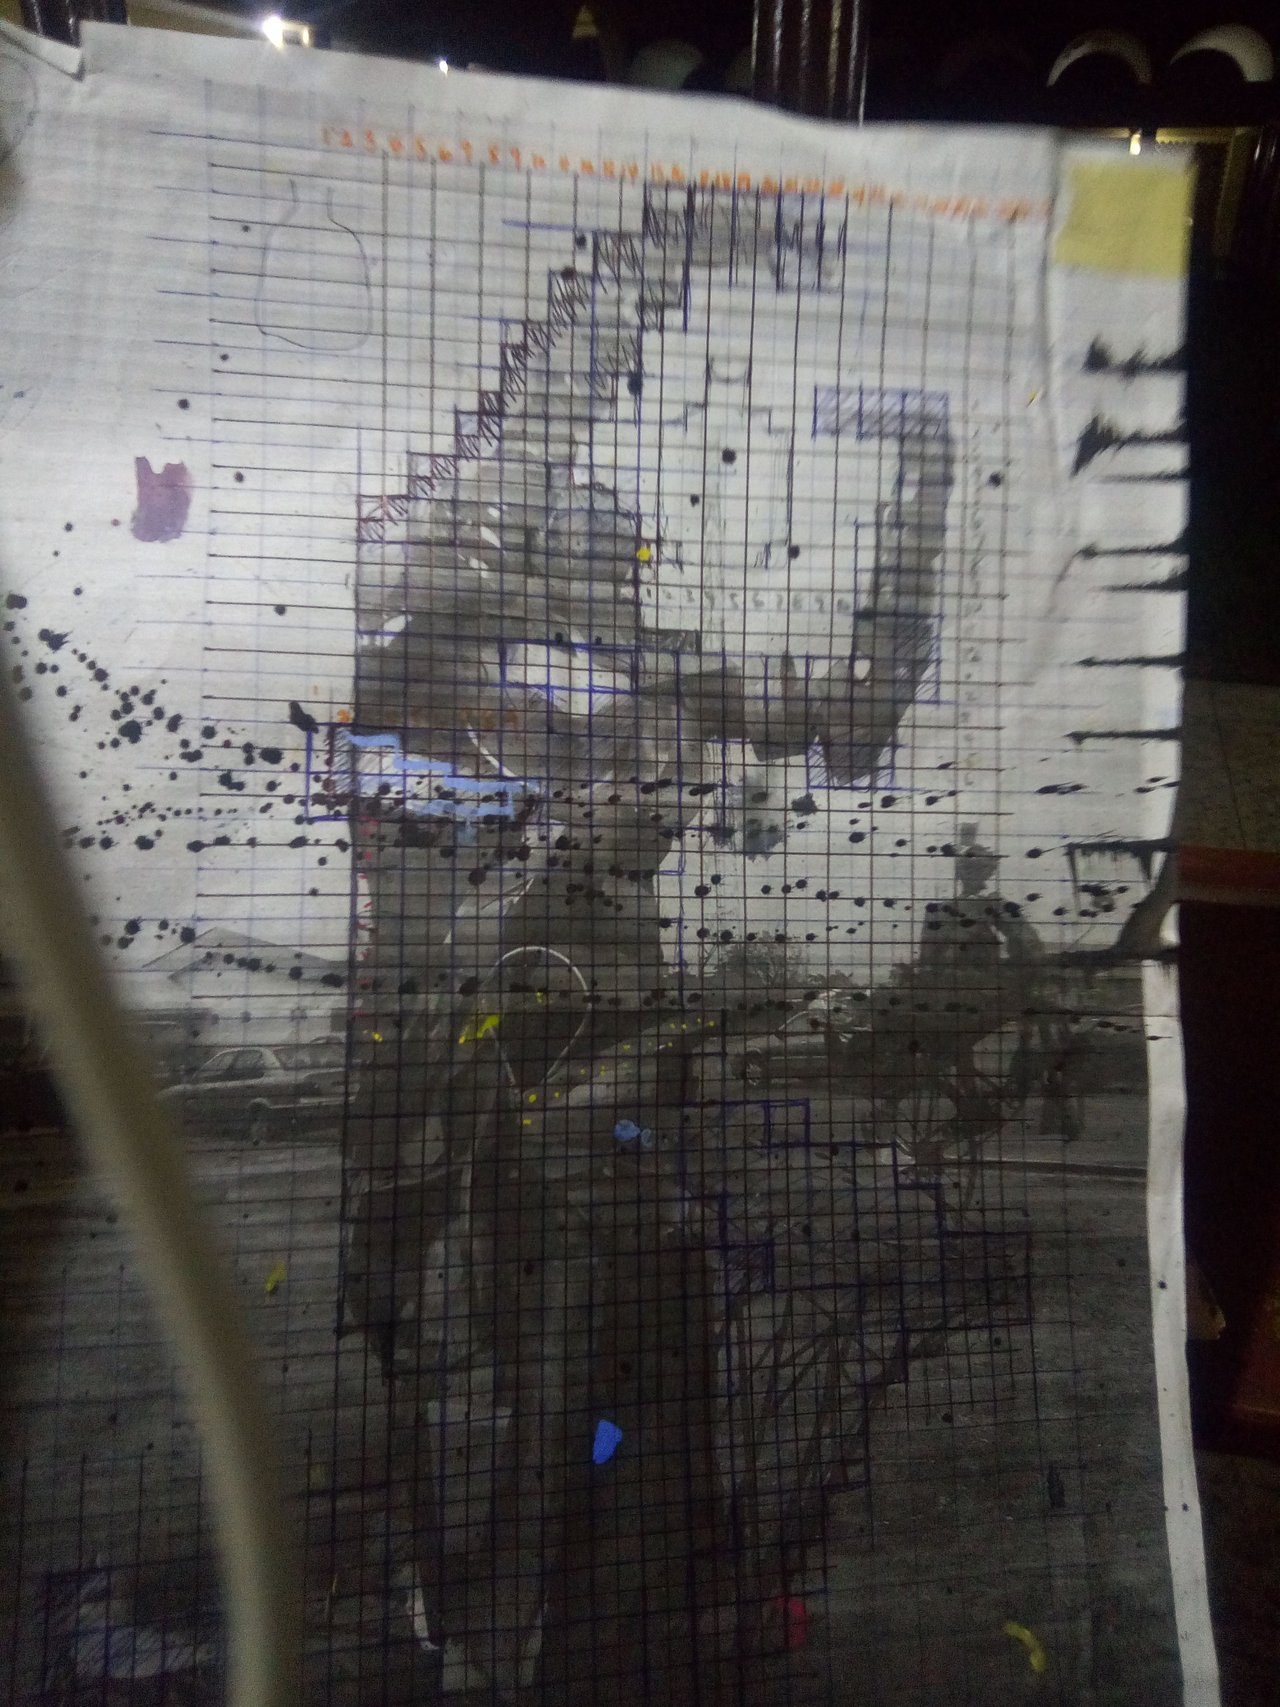
After selecting a picture, it is printed on an A3 paper. After which a square grid of half centimetres is ruled all over the paper.
STEP 3
The next step is to trace out the picture following the half centimetres on your stretched paper (made a post on how to stretch)
STEP 4
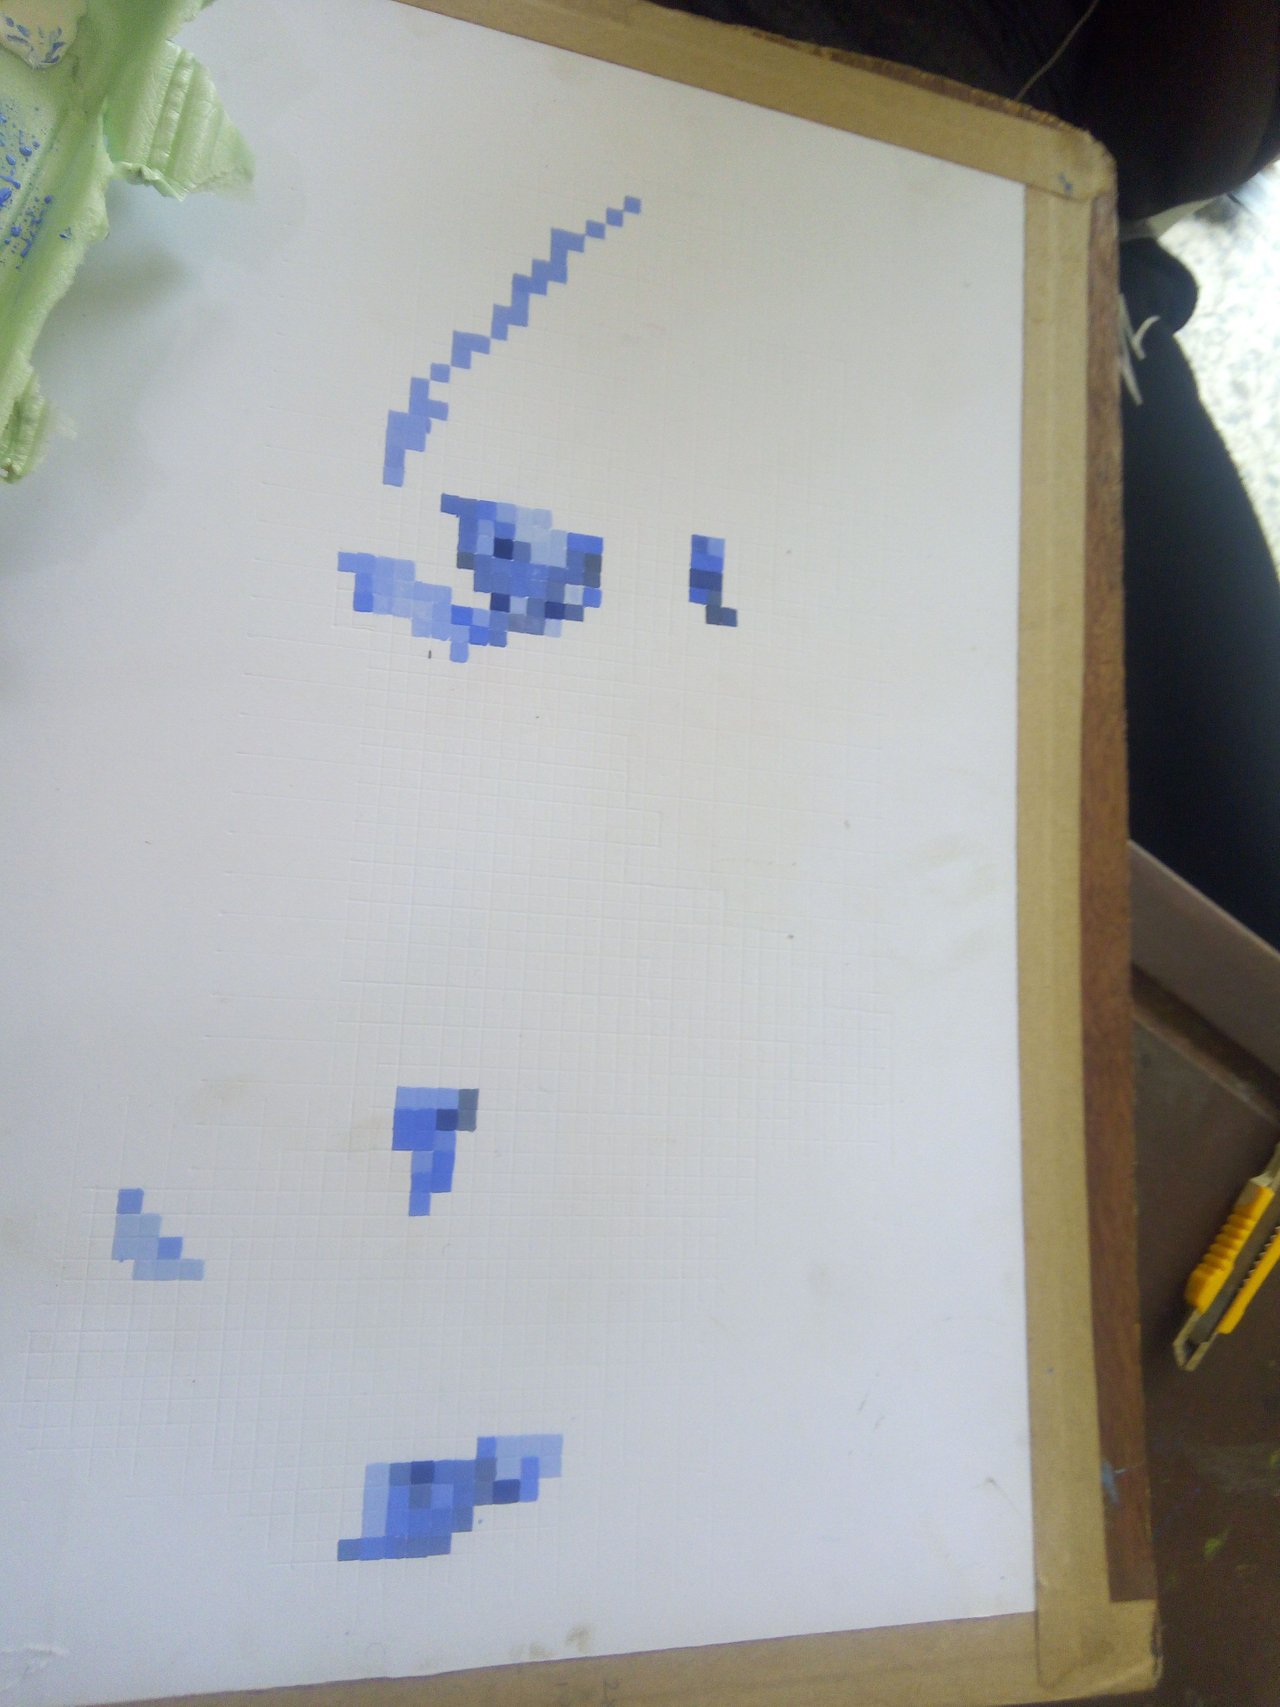
This is were the painting process begins... The three primary colours were used in accomplishing this artwork...
STEP 5
The painting process continues.... One has to be careful in the application of the different colours to their appropriate places. This is done until the work is finished... 
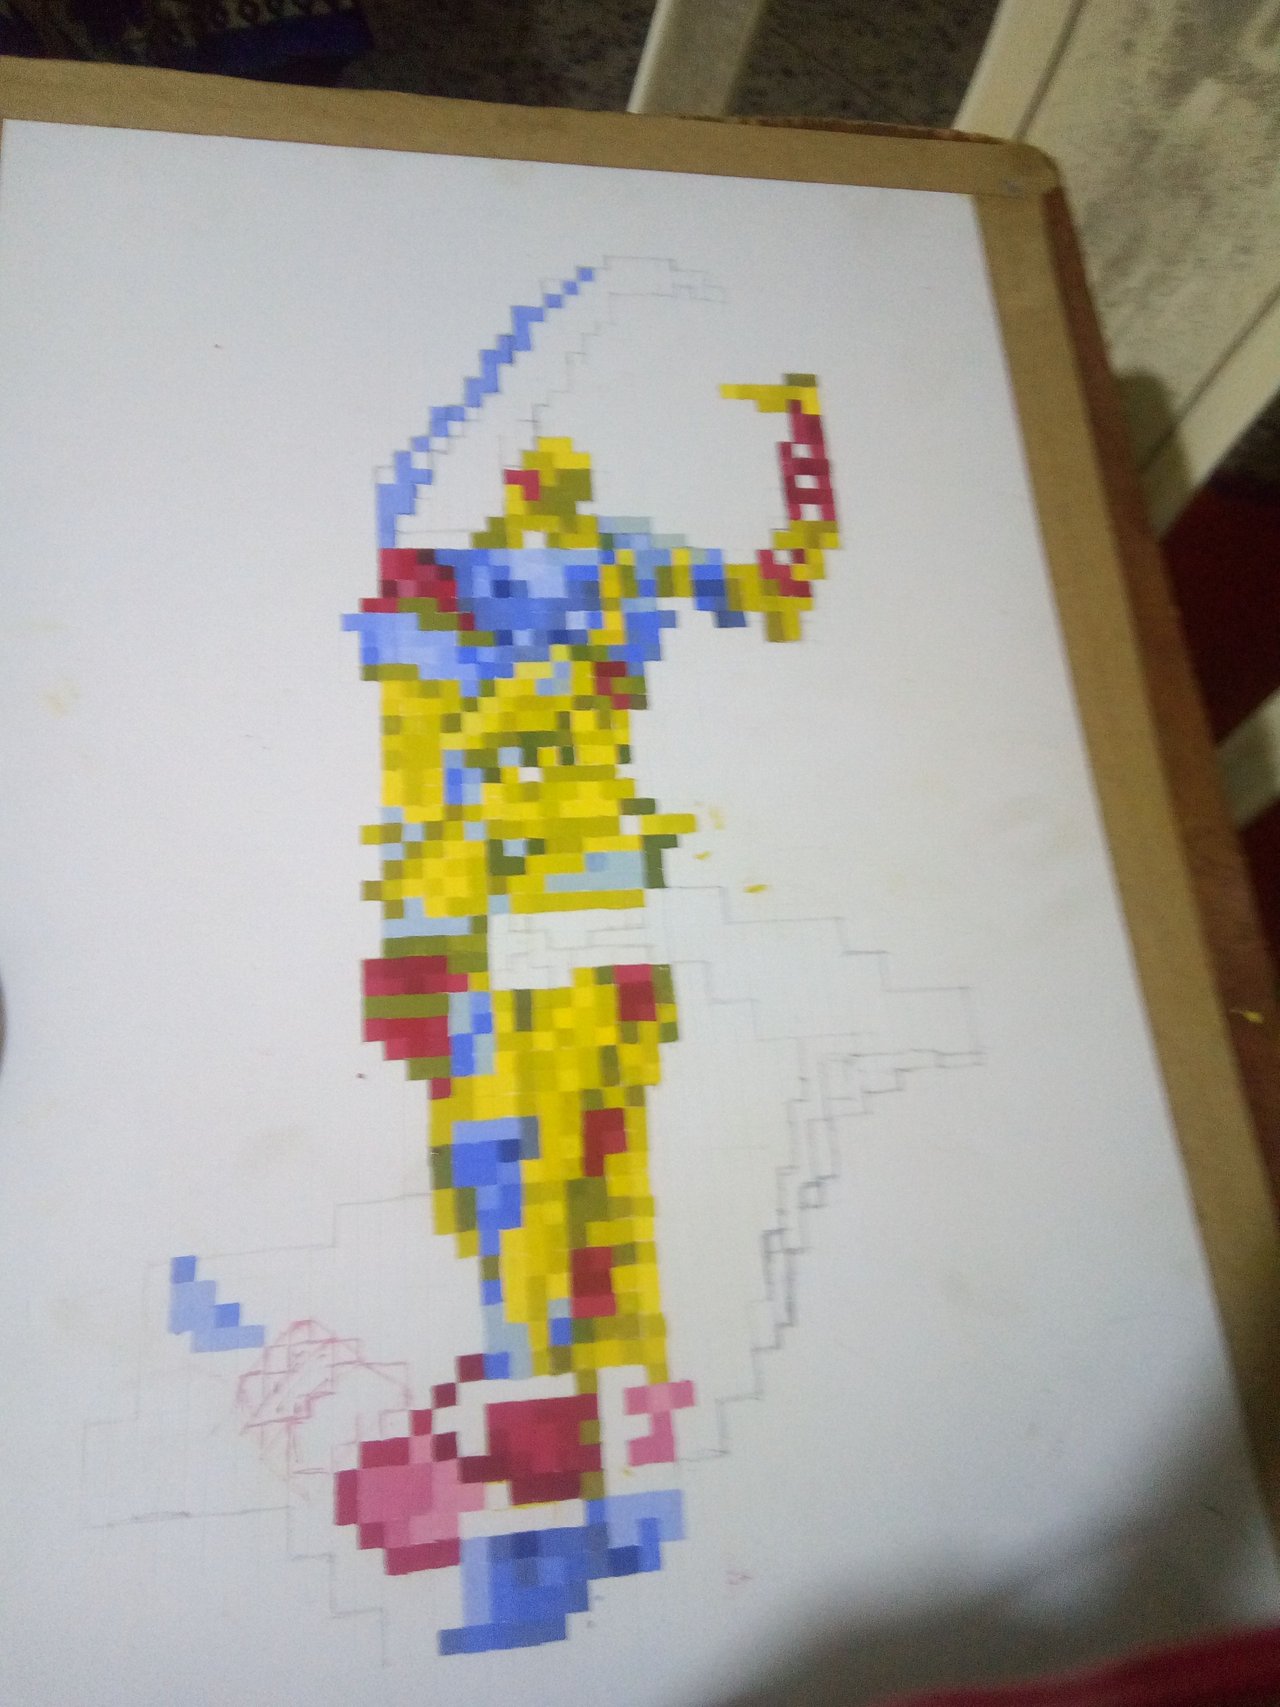
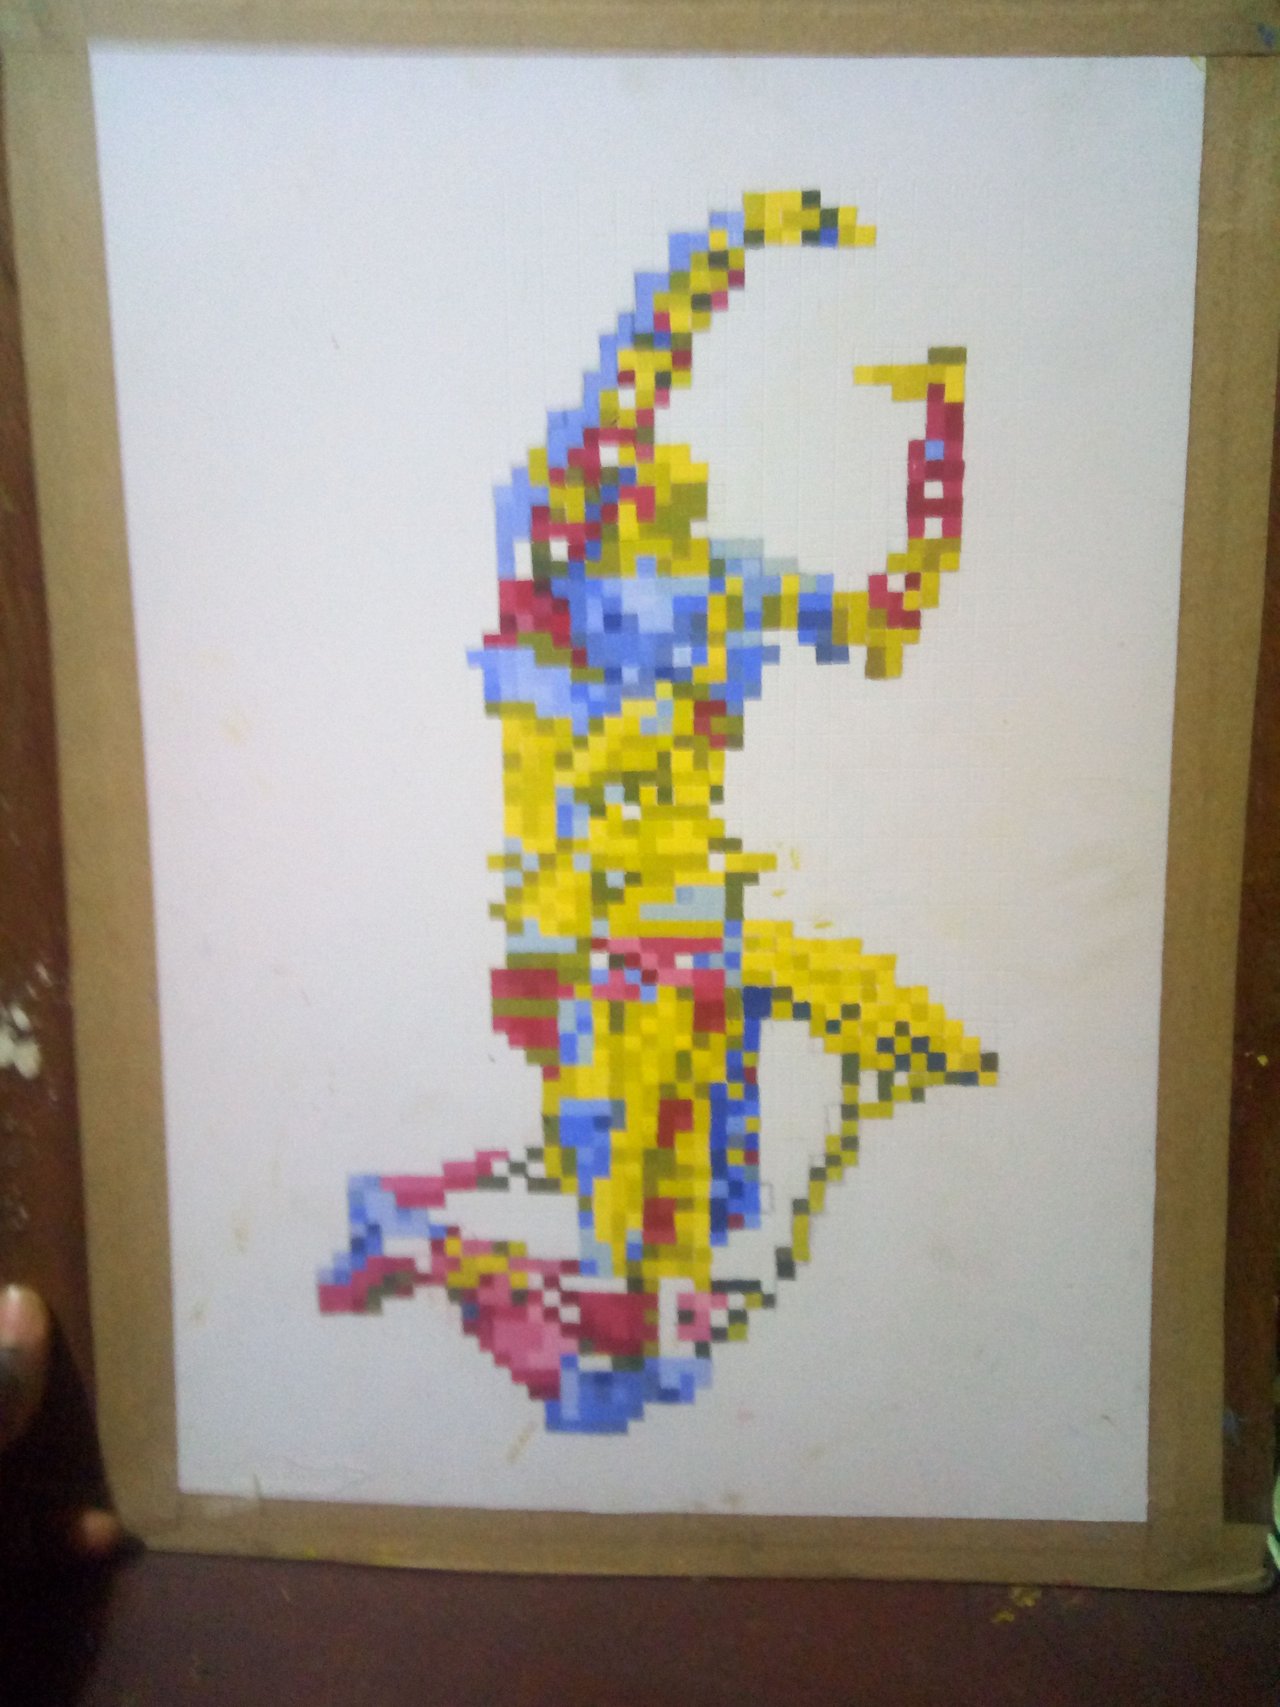
This piece really gave me a tough time...
P. S. @merej99.... Done and dusted
.............................................................
Currently a student at the University studying art as one of my specialization. Art. Poems. Books. Life