When I was a young girl my Nanna gave me a doll that had washed up on the beach on Hayling Island, off the coast of England. Where she came from no one knows. She was a rag doll and is my inspiration for the dolls I make. She had wonderfully long limbs, a soft body with yarn hair and a painted face. I treasured her and shared wonderful adventures with her. Unfortunately, I don’t know what happened to her, but she still has a very special place in my heart…
That lead me to forming “Haying Island Rag Dolls” and when our older kids were little, I used to make dolls for them, their friends and sell some too.
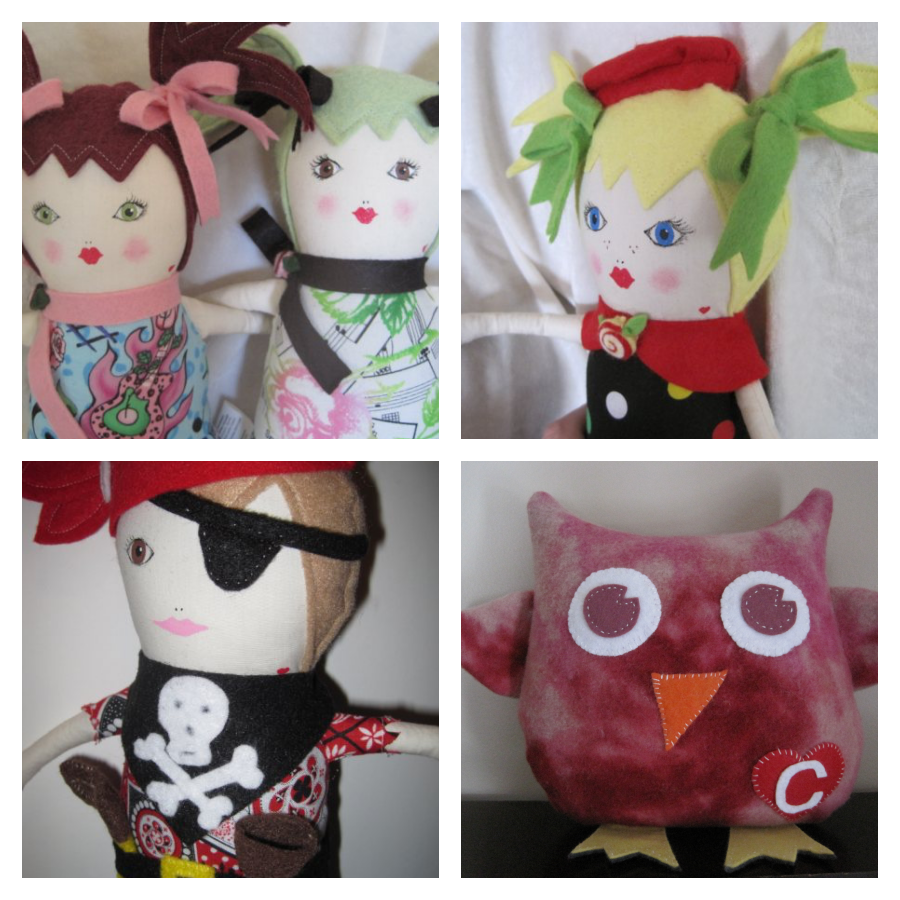
Each doll was custom made with same hair and eye color as the child who would be receiving them, together with a heart on their bum containing their initial. Body fabric and accessories could be chosen too. Regular boy or girl dolls, plus fairy or pirate dolls were available.
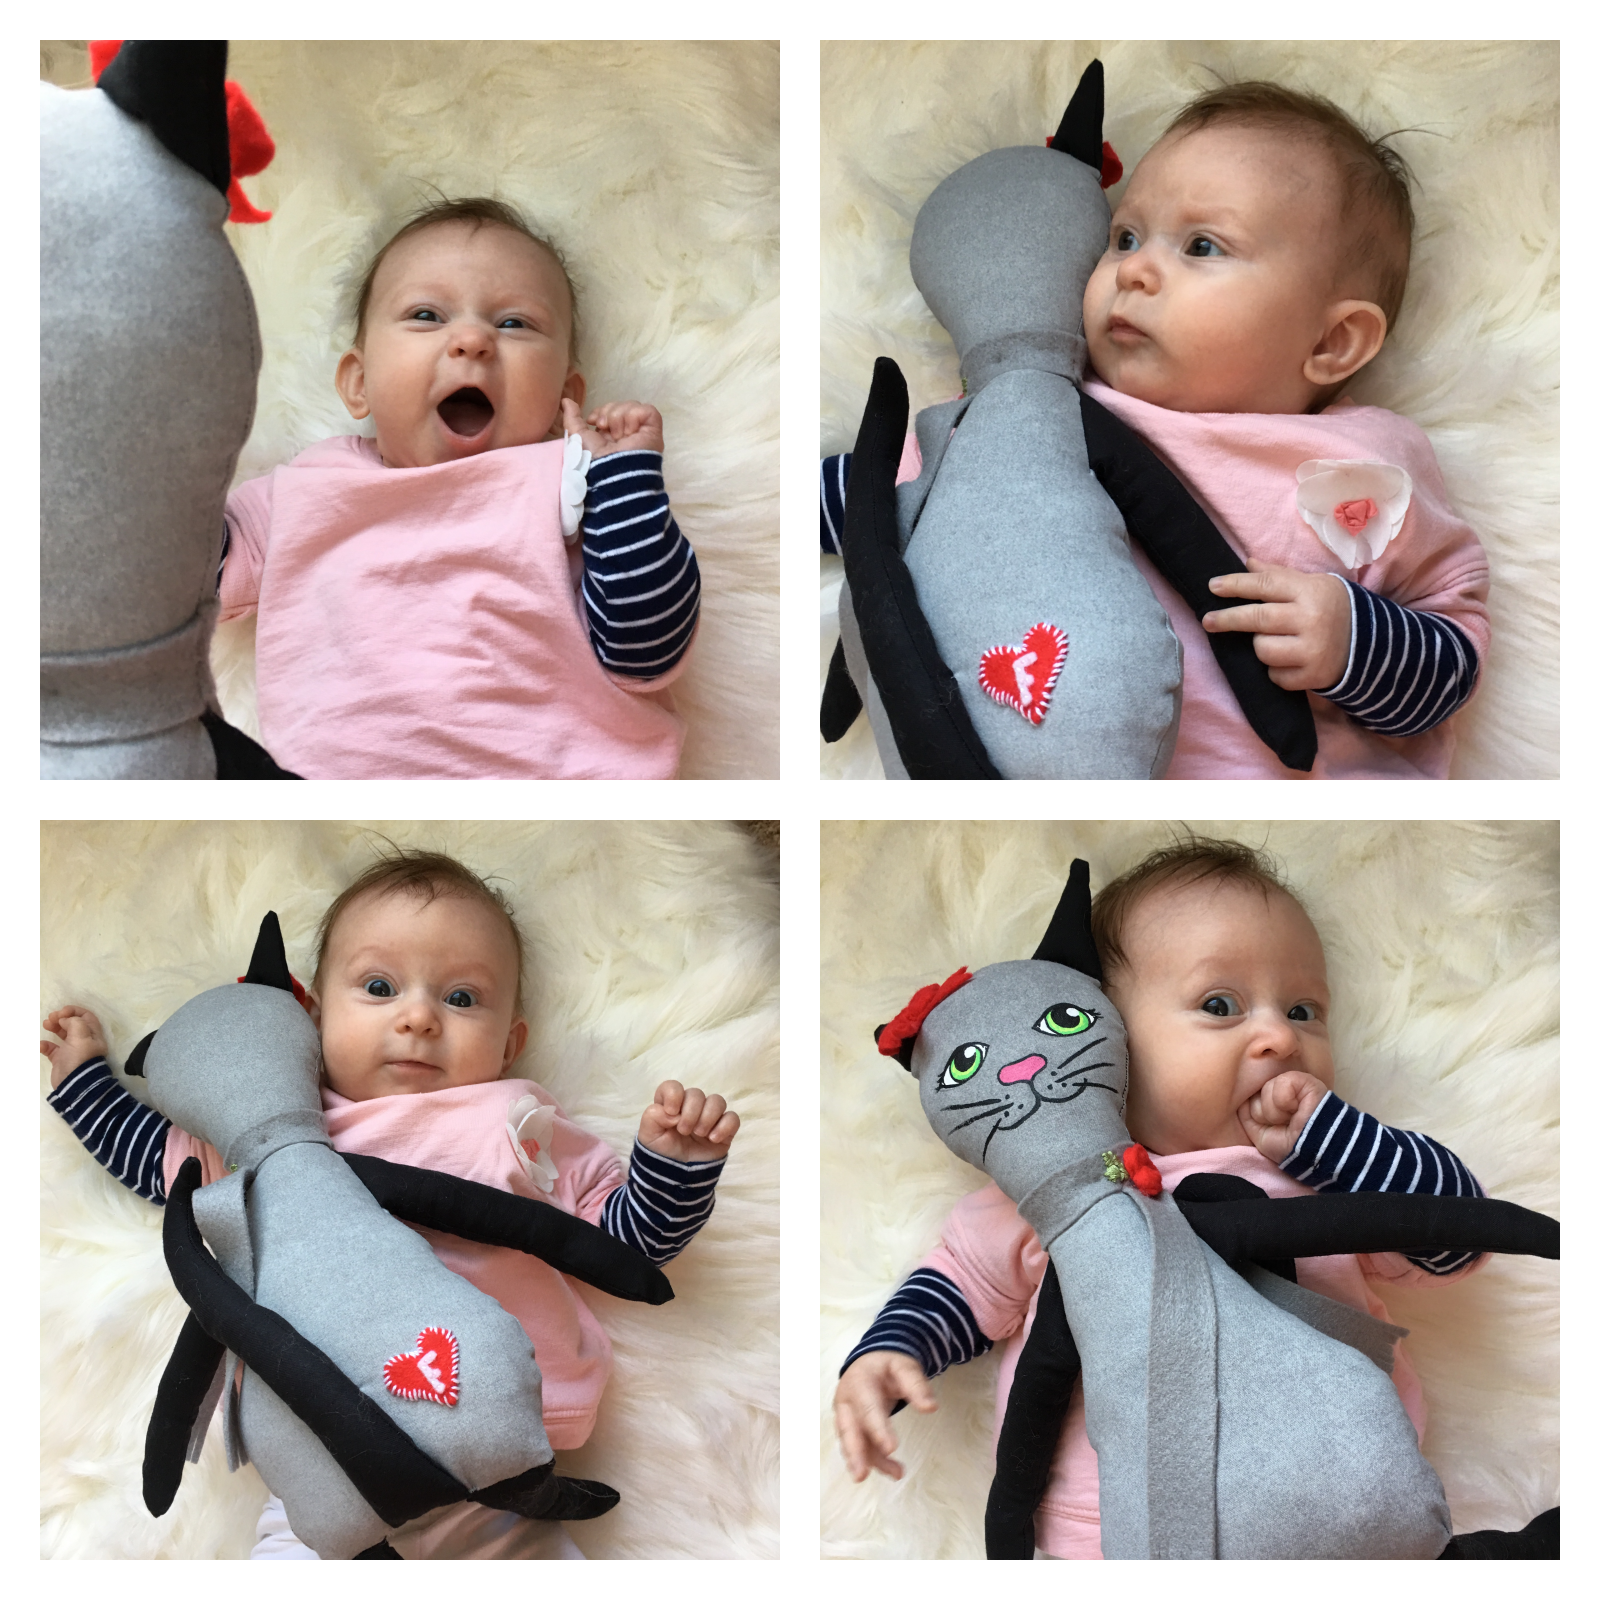
Just before Christmas I suddenly thought “wow, I haven’t made Frejya one?!” She did arrive 3 weeks early and I had fully intended on making her something before her grand entrance into the world, but somehow that didn’t happen…
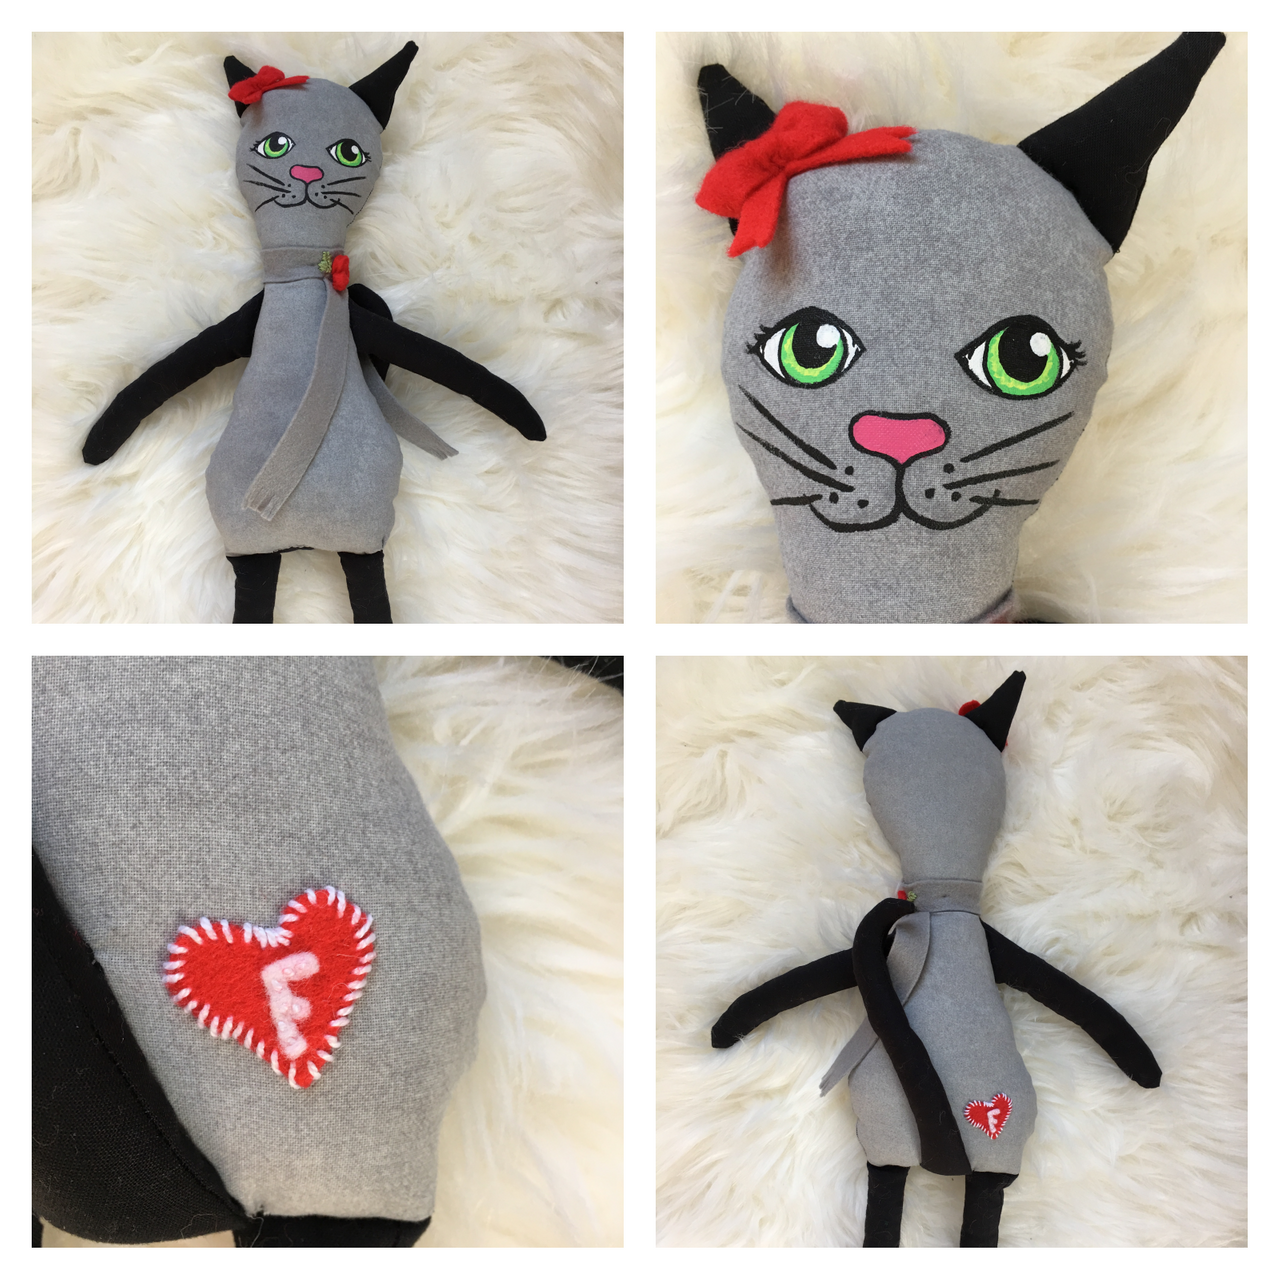
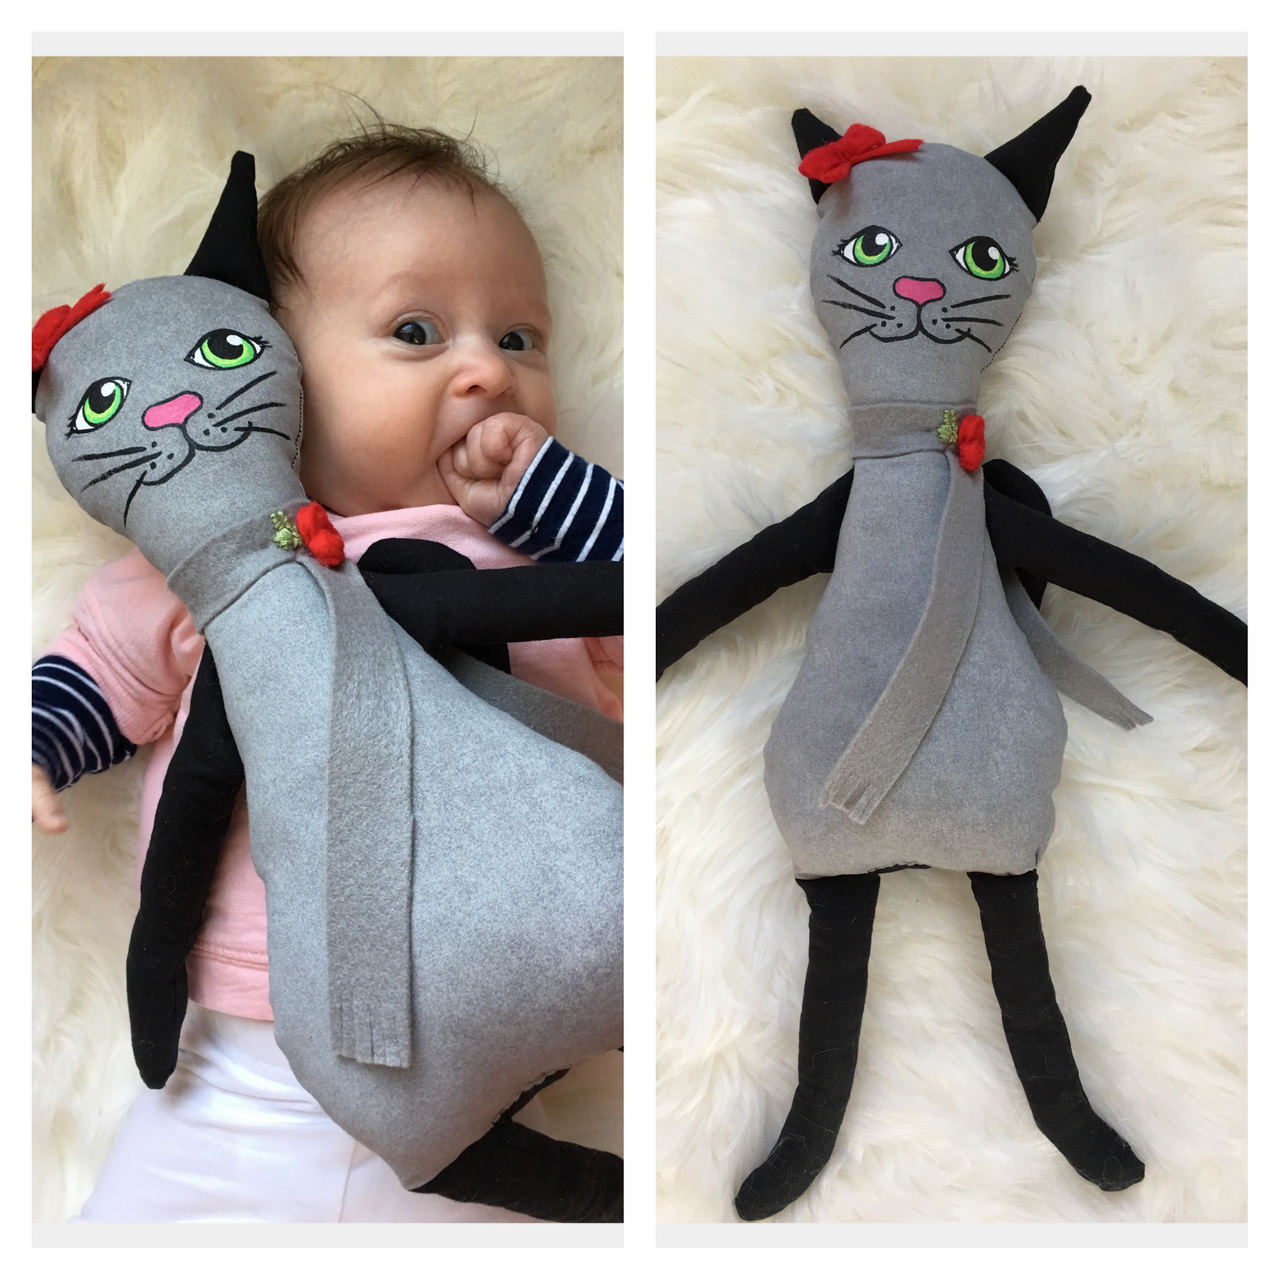
In this case, I didn’t want to make a “girl” but a kitty for her.
During naptime, I set about making the doll for her with her sleeping along with me in her carrier 😌
I rummaged in my fabric scraps and found enough to make a doll. I’d made a couple recently for our cousins’ twins, and they were cute, but I wanted a larger, longer version for Frejya.
I do use a pattern, but it’s one I create in my head and sketch on paper/card and sometimes tweak it as I’m making the doll.
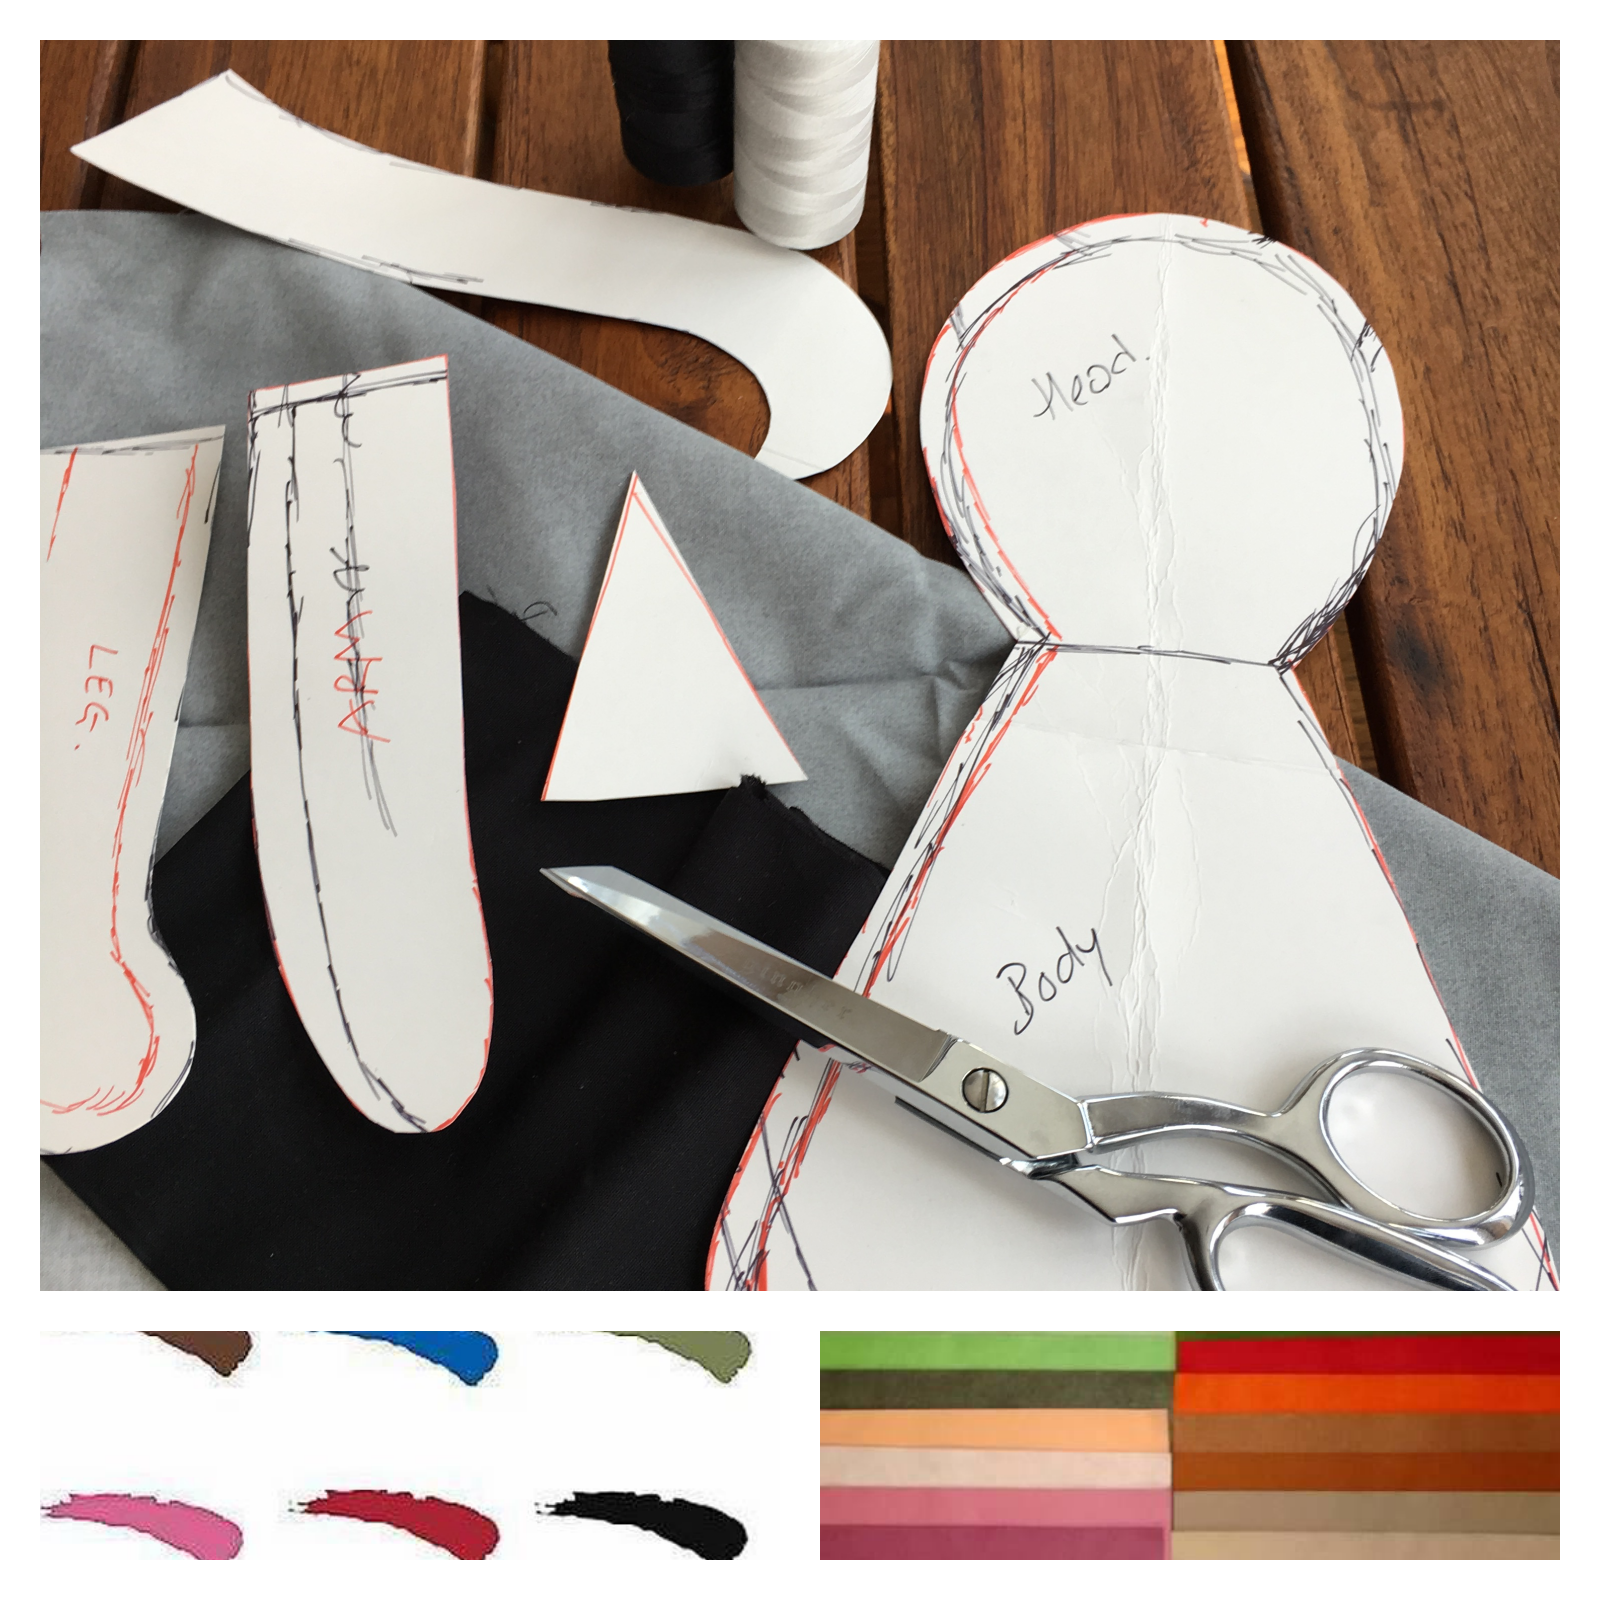
Once I was happy with the pattern, I traced it on the back of the fabric, marking with dressmakers’ chalk and cut out the pieces.
Pinning the two sides on the reverse I quickly stitched around the edges of the legs, arms, tail and ears.
Upon turning them the right way out, I stuffed them with Poly-fil before pinning them on the inside of the two body pieces and sewing around, leaving an opening at the bottom so that it can be turned the right side out and stuffed.
After stuffing the body and hand stitching the opening closed, I set about looking at what felt I had to embellish the kitty. I found some for her scarf and hair bow and a little extra to make some roses for her neck and the heart on her bum. All these embellishments were then hand sewn onto the doll.
Finally, I could paint her face using “Tulip” fabric paints and she was finished 😊
I wish now that I’d taken photos along the way, but I will do for the next one I make.
The finished kitty is about 20” long.
It’s my intent to return to making them again on a regular basis, hopefully soon.
Why not try your hand at making a rag doll for your little one, both girls and boys love interacting with their very own rag doll friend

Original content by @redwellies