My biggest struggle is balancing my time between the many things I do. This is not a post where I will start complaining about my life. In fact, I wish there's more than 24 hours in a day, so I'd have more time to do all those. There's no role I am currently performing that I do not enjoy. Some of them of course I enjoy more than others, but I am very thankful for having been given some talent and gifted by Allah with the opportunity.
One role I particularly would love to spend more time on is being a father to my little (well not so little anymore) princesses. There are times when I try rationalizing and telling myself that I am being a father in most of the things I do, but I know I am just lying to myslef when I do that. By staying in that box - thinking; I focus on myself, downplay my faults, exaggerate others' faults, and remove myself from any responsibility to try and do better.
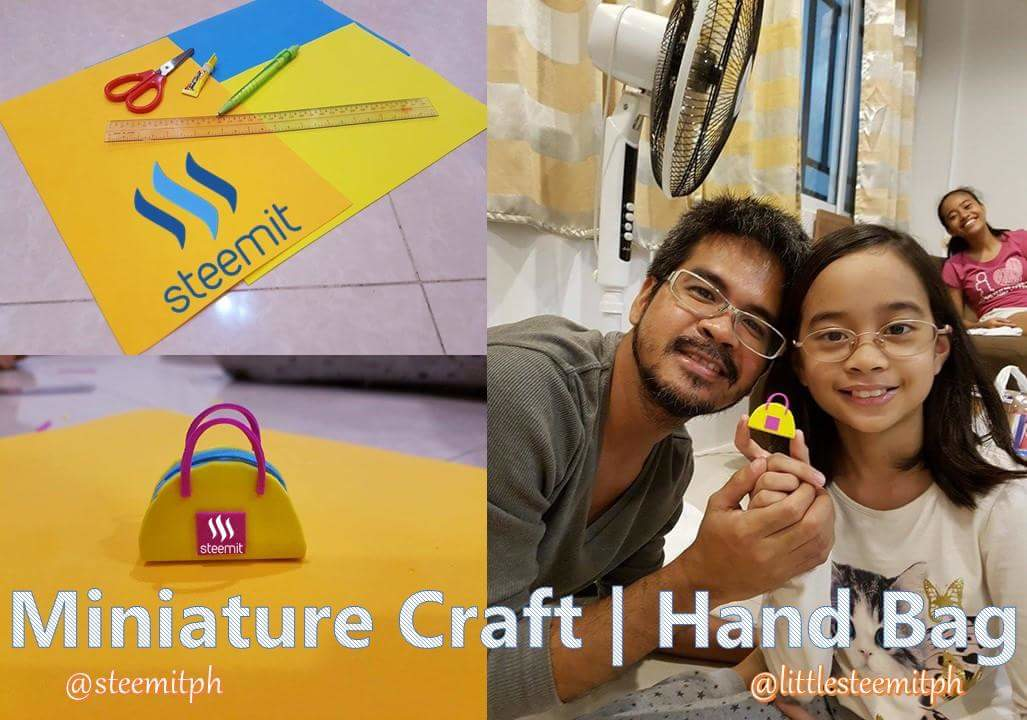
For the past couple of weeks now, we've been having miniature crafts making sessions. For a few hours on Sundays, we've agreed as a family to switch off the router, tv, and keep the portable devices away (except for the one we are using to help us make the project). I am no atrist, but will love for my kids to be exposed as much as they can to art. I will write all about that in another post. In the past couple of projects, we are following instructions from a youtuber whose miniature crafts are great.
Her channel can be accessed here: RainbowR Tinkle's World
Step 1 & What You
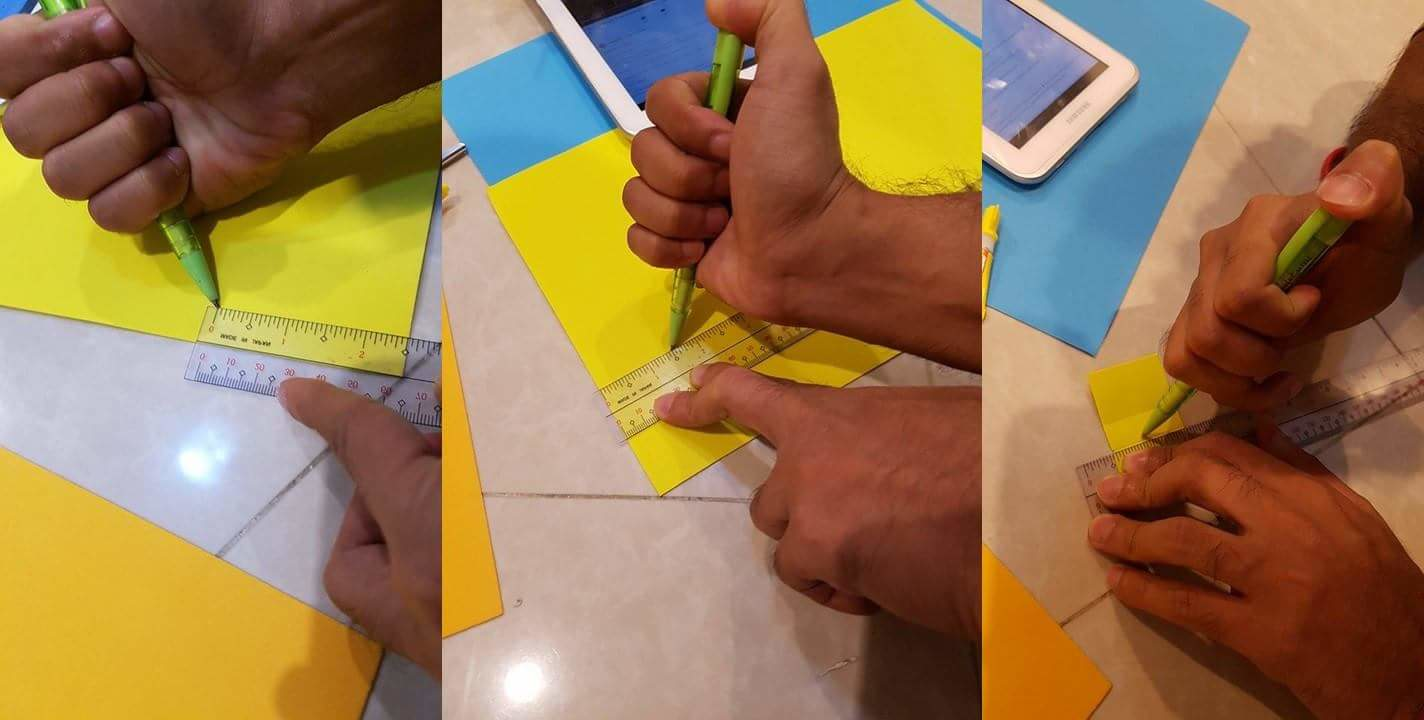
You'll need foam papers, scissors, ruler, mechanical pencil (no lead), cutter, and super glue. The first step is measurements and cutting the parts. Cut a rectangle two and a half inches in lenght, and one and a half inches in width. Mark the part with a straight line (end to end) at one inch, and one and a half inch. This needs to be done on both sides using a mechanical pencil (no lead). This part will be folded, and the marking will make it easier to do.
Step 2
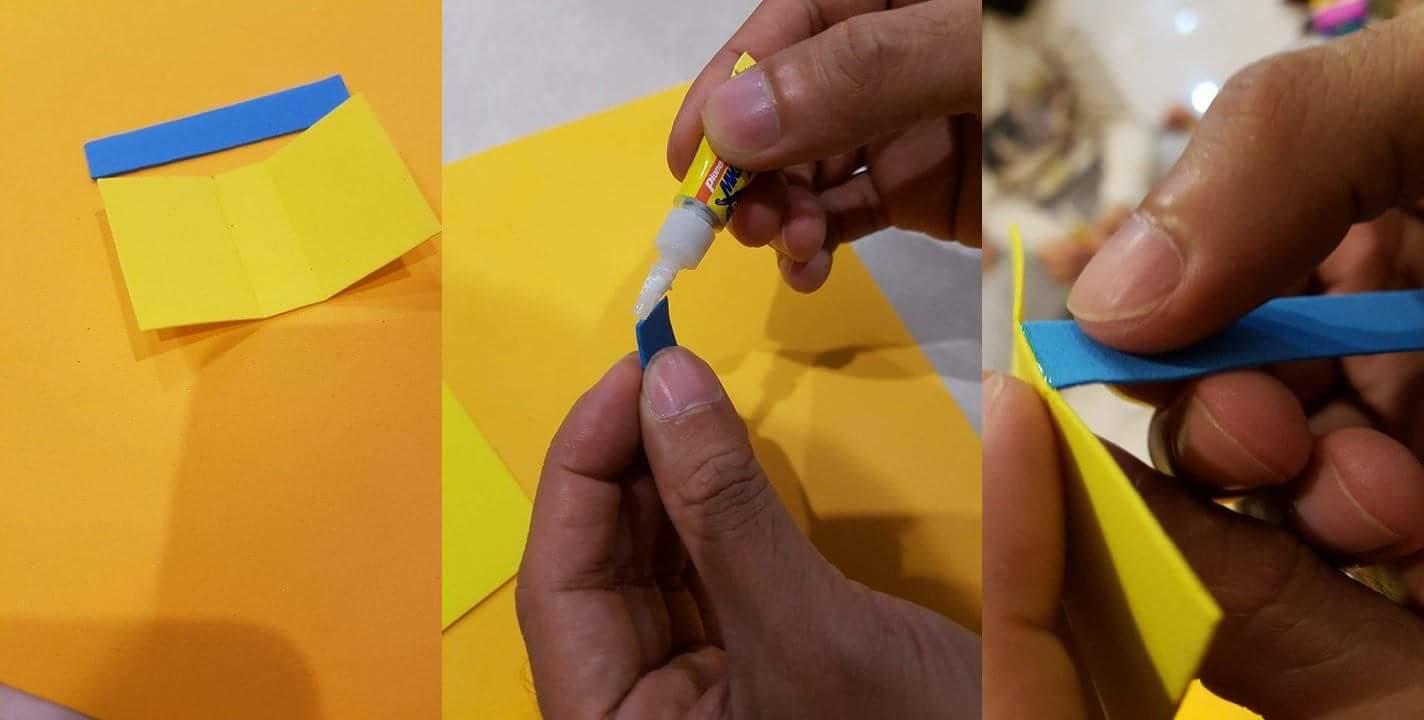
Cut a strip of two and a half inches long, half an inch in width foam paper - preferably with a contrast in color from the first part. Here we used a yellow one for the first part, and a blue one for the second part. Paste both ends of the blue part to the folded half an inch section of the first part.
Step 3
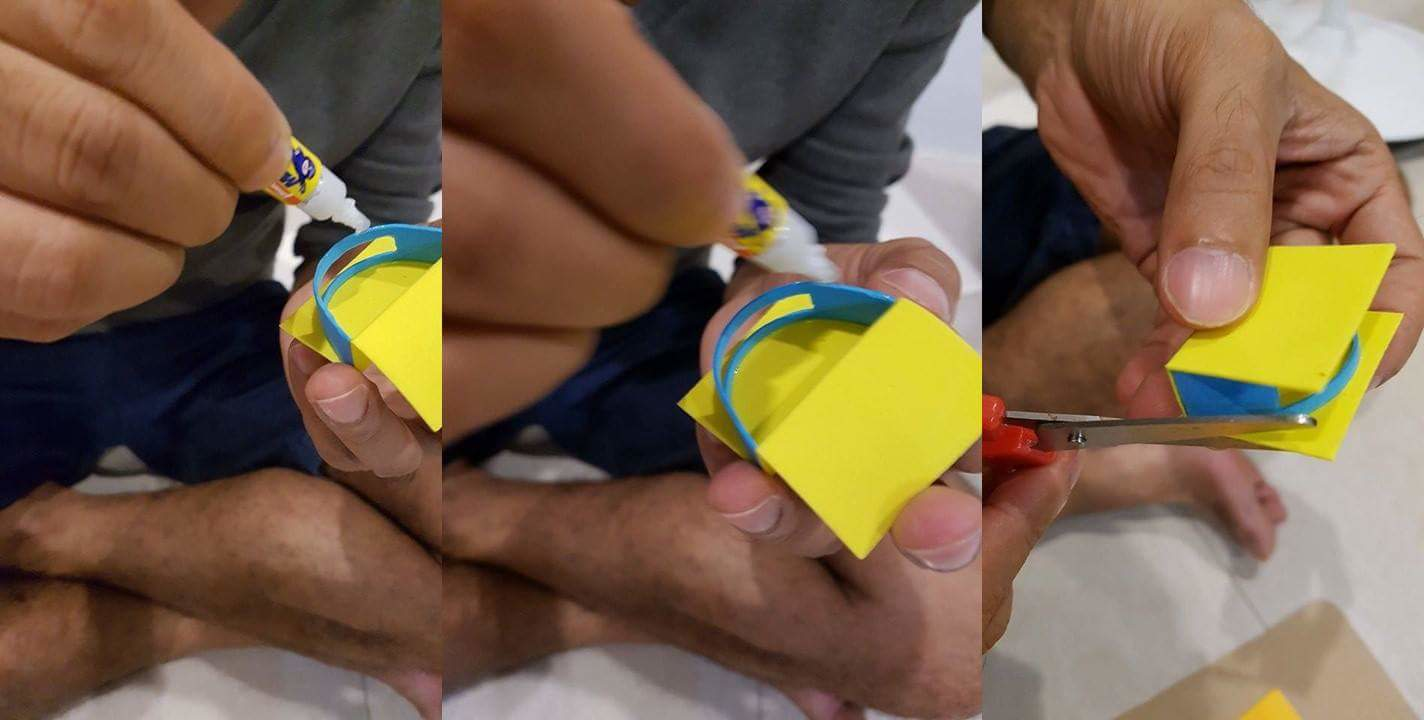
Using super gluglue still, paste the curve second part to the first part as shown in the photo, and trim the excess foam paper.
Step 4
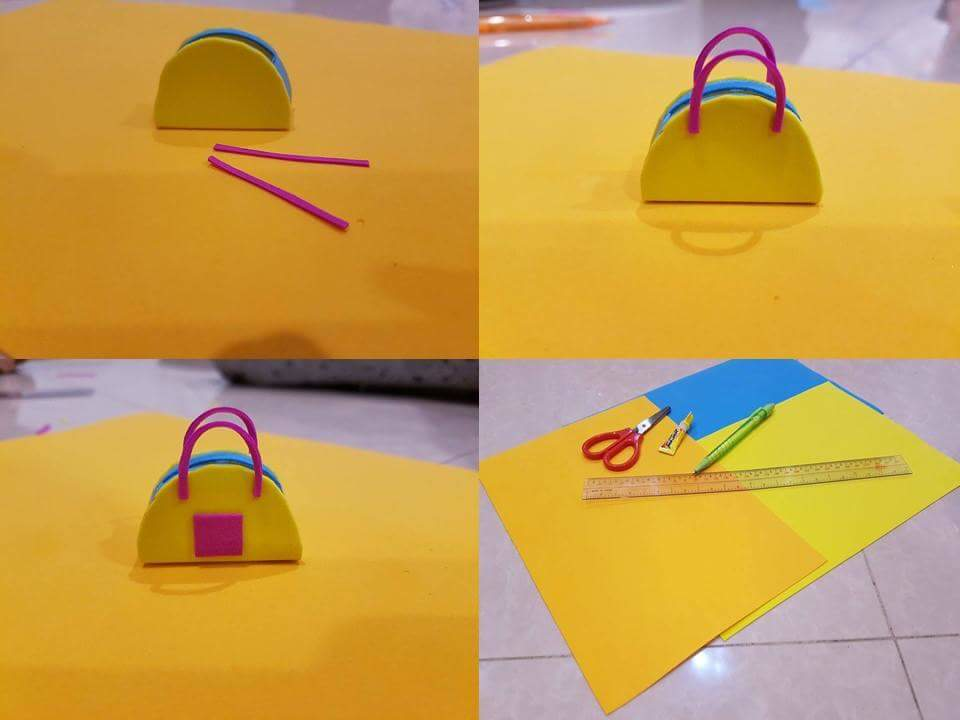
The upper left photo is how it will look like post cutting the excess foam paper. Cut a small strip of red foam paper and attach it to the first part as shown in the photo in the upper left photo. Using a small rectangular foam paper (same color as the handle), form a pocket for the handbag. The photo in the lower lefleft is the finish product. Sam loved it, she even made mini pencil and note pad that will fit in her new mini handbag.
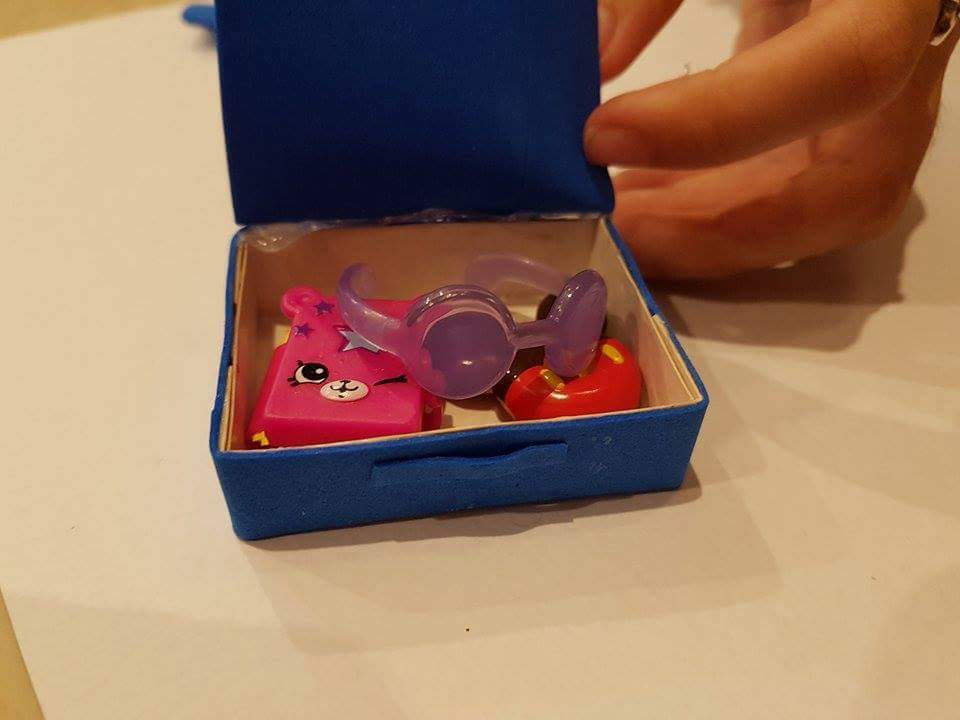
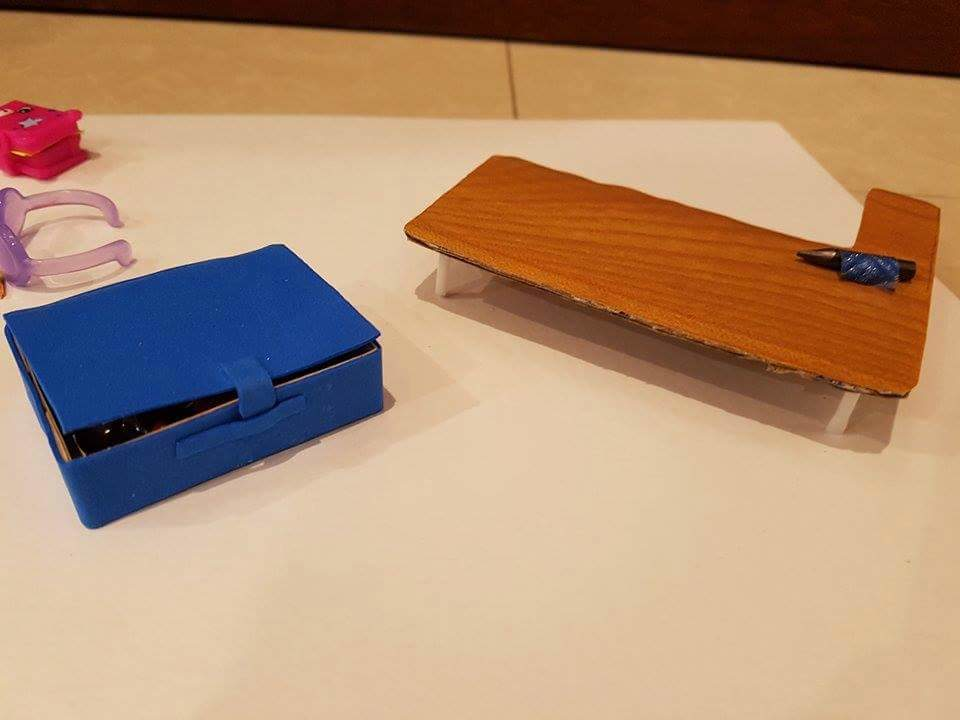
Here's a few photos from another session:
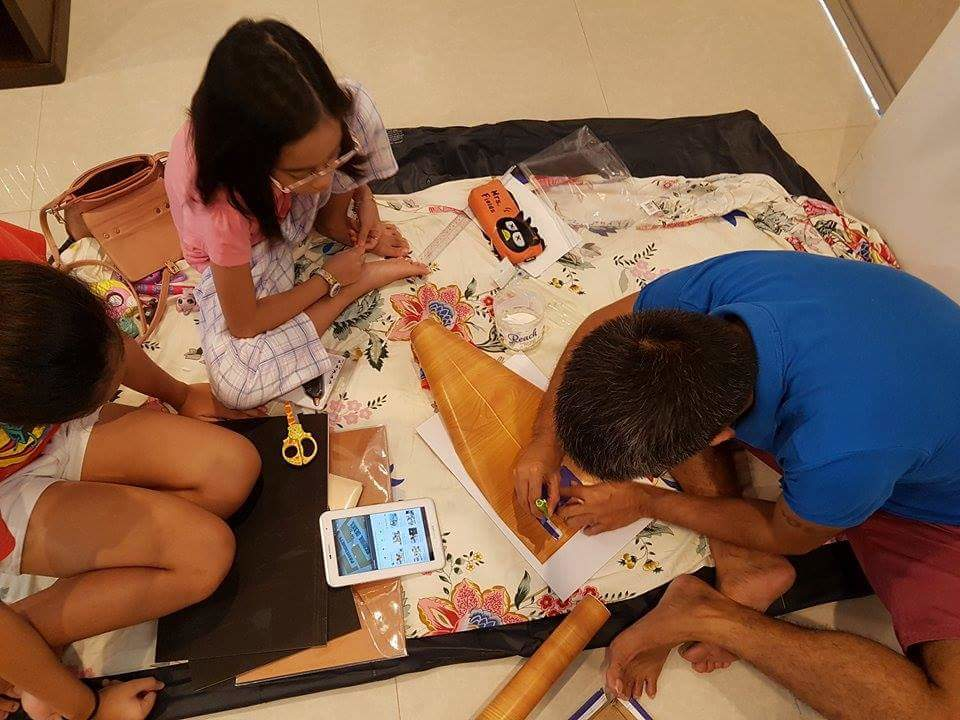
If I did not have other responsibilities as a dad, I'd really rather spend more time with my princesses. Though we all know that's not how life works. I am just glad we are able to do this bonding activity once a week.
