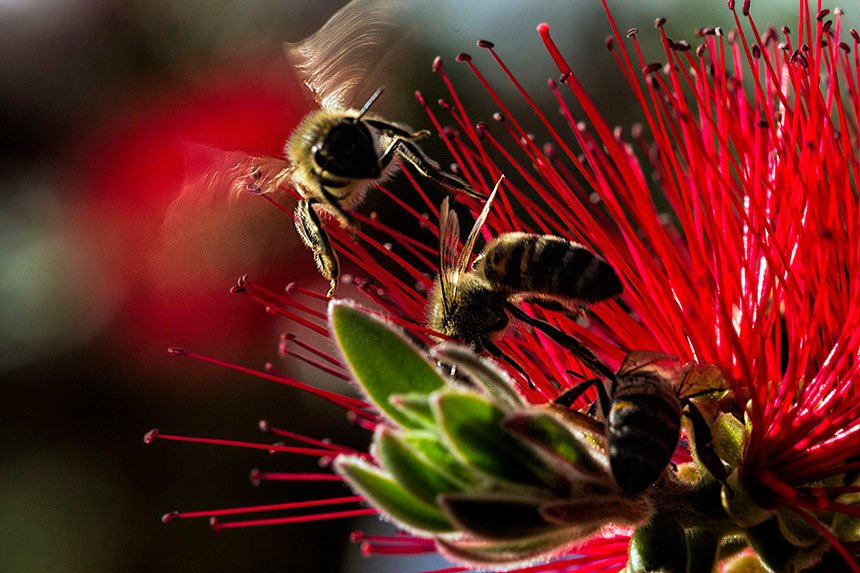
Macro photography
Life is in the little details, if you go by this motto then you are a big fan of macro photography like I am. I would like to share with you some tips and advises that I have accumulate over the years for my passion of photography.
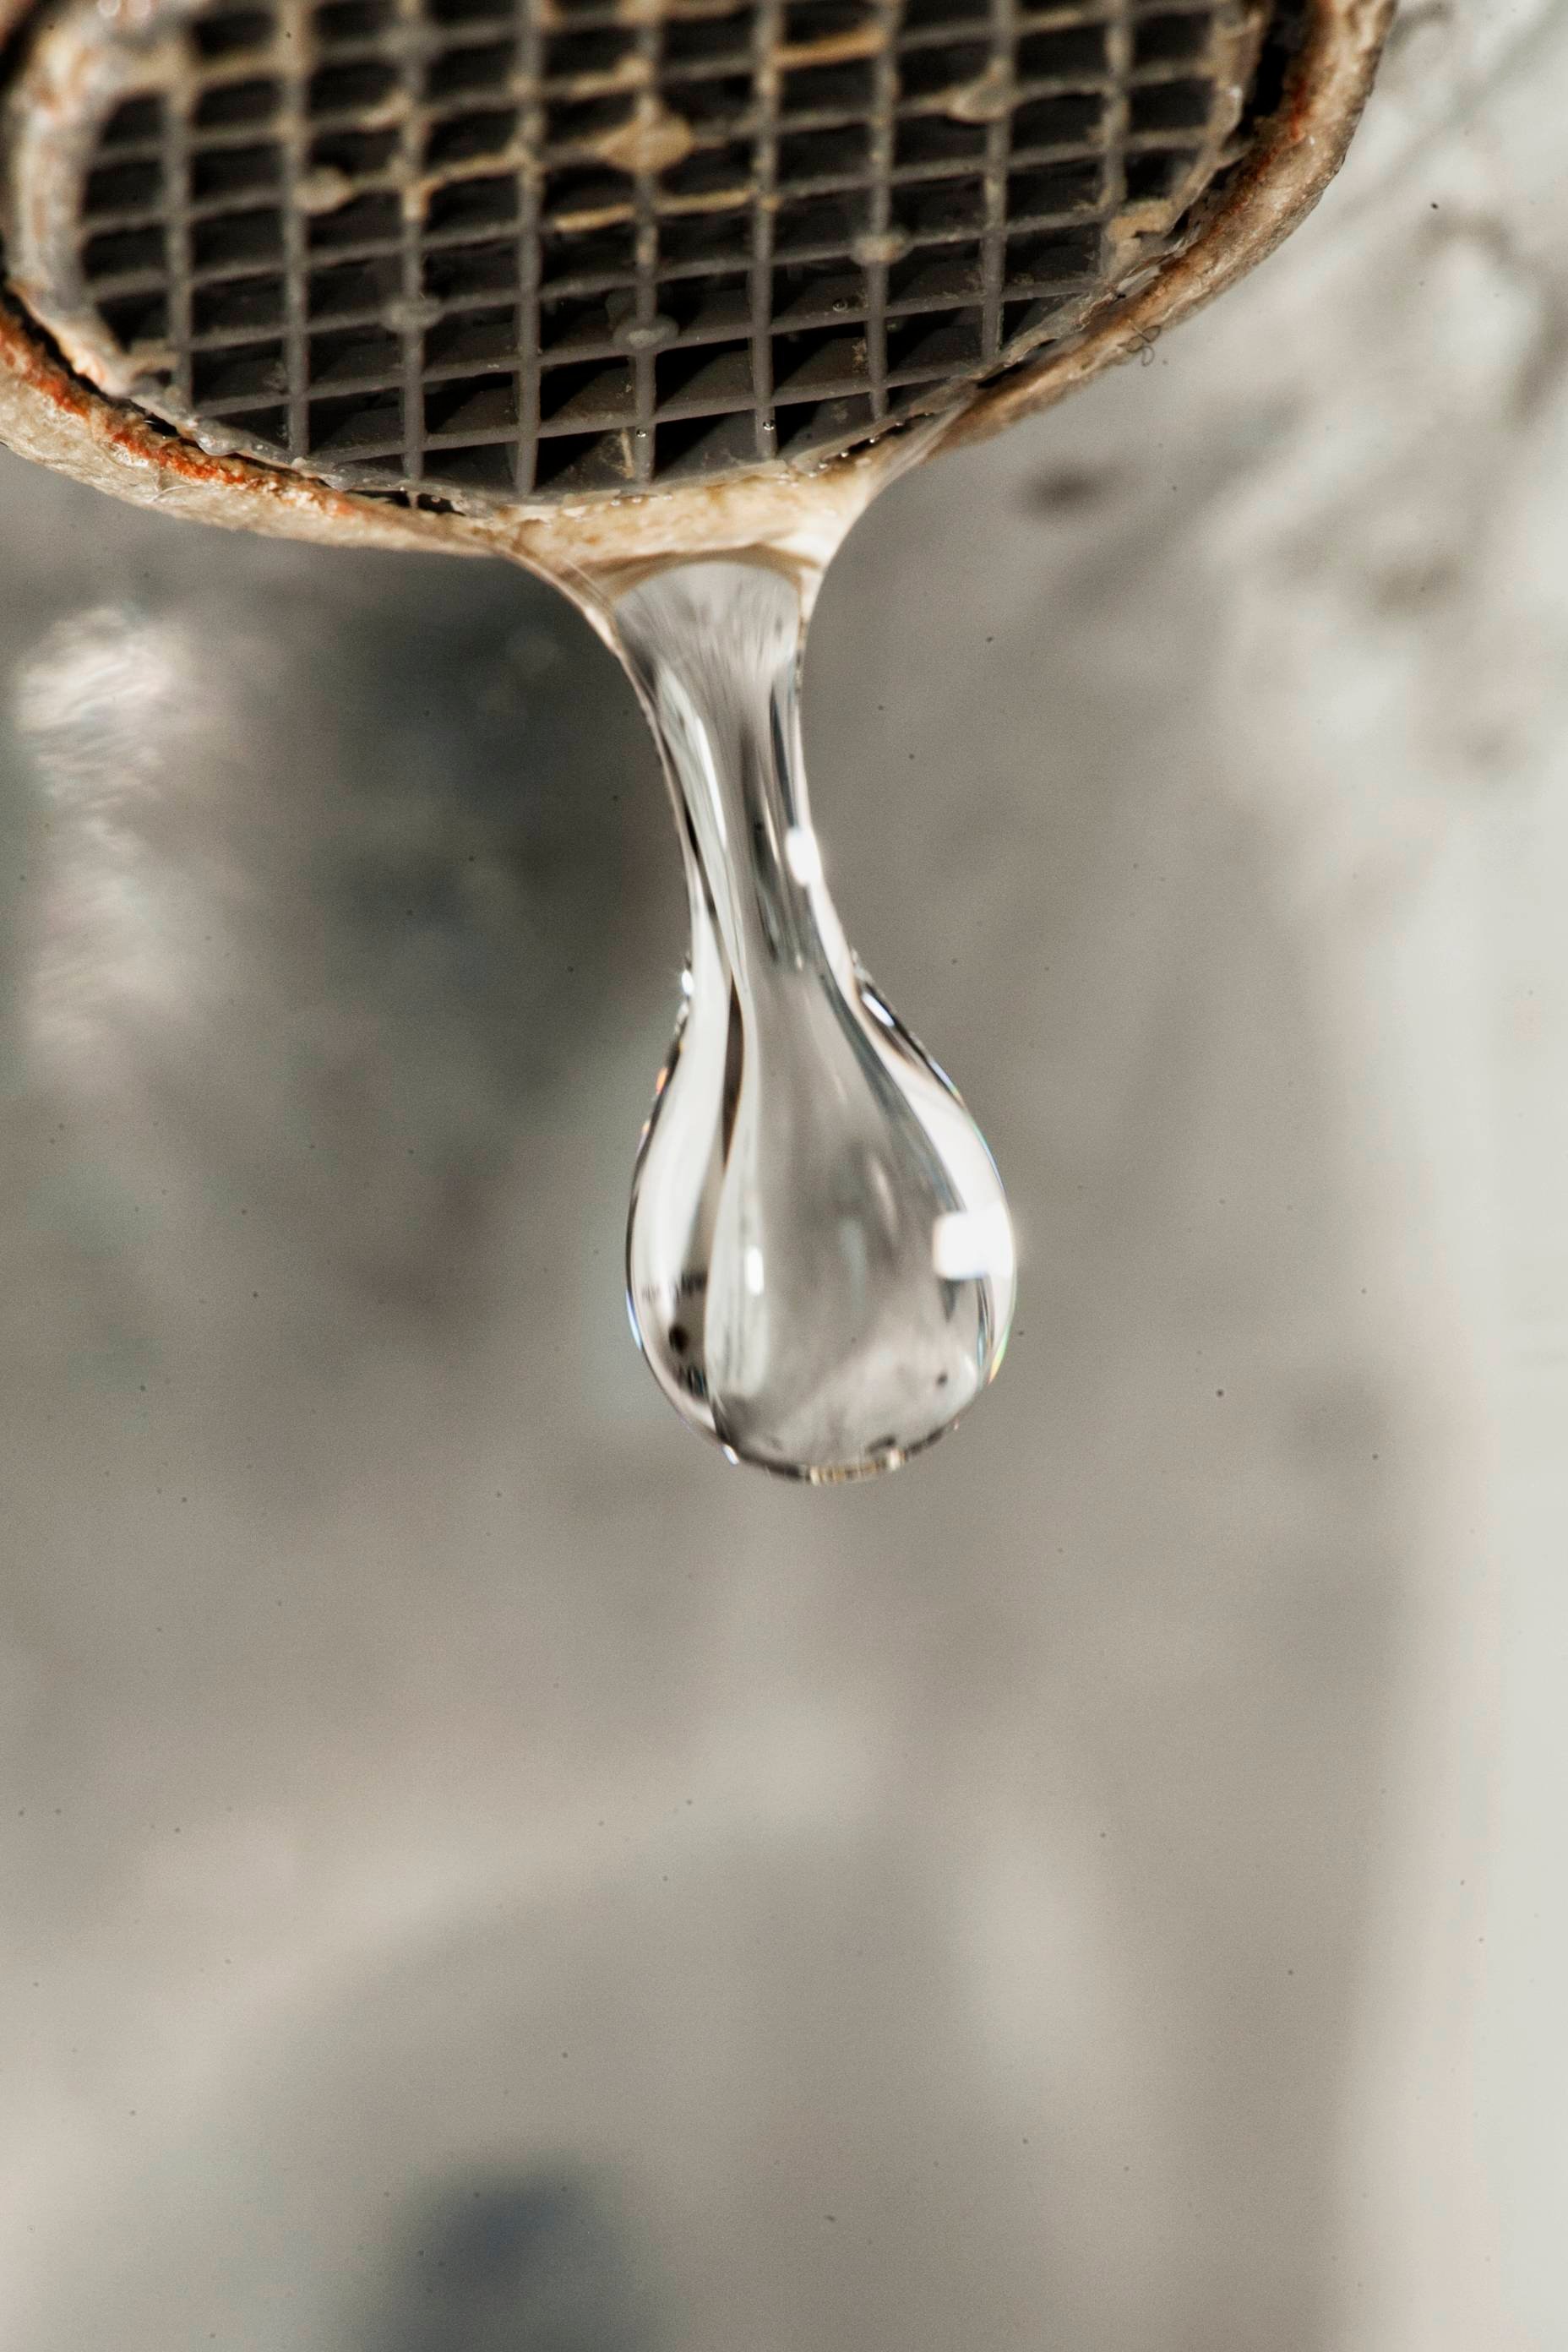
Introduction to macro (depth of field)
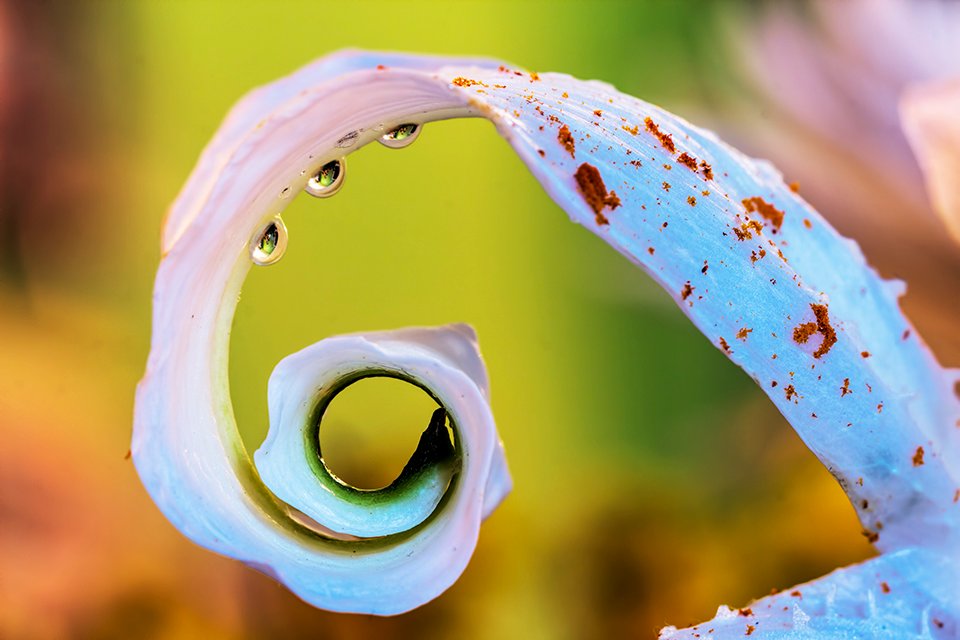
Macro lenses have an advantage over the rest of the photographic lenses, that is nothing more than their sharpness, having a perfectly sharp image is crucial for macro's anything less it is not accepted as a professional result., they will look ok for your Facebook page but that is where they should stay.
You need to make sure that your composition and your camera are perfectly leveled to achieve the most out of your lenses shooting upwards or downwards it is not a professional approach to macro and shouldn't be used by any means. Distortion of the image is your enemy.
Tripods are another crucial factor, since we aim for maximum sharpness handheld cameras, iPhone and mobiles and all cell phones in general should be discarded, they are not appropriate methods for macro's and should be avoided.
Auto focus, turn it off
Auto focus can be a very frustrating thing when it comes to macro shooting. I presume by now you have set up your tripod in a perfect level with your subject the next step would be to focus your lens on it, do so manually. With auto focus on your camera will be suffering to get a focal point and snap onto something since there are a lot of things like, refraction, reflections that are happening at the surface of your subject in that close range things will be very slow with your sensors trying to focus on it, turn it off and buy your self precious time.
Shutter button
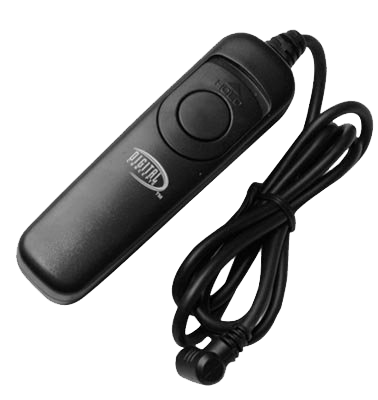
Abolish the bad habit of pressing the shutter button manually, in macro photography. This step is what will make the difference to your end result pictures and in combination with all the above tips will get you to the sharpest result your camera and your lens can give you. You can either use a remote controller, your camera's self timer,or a shutter release cable. Any of the three mentioned methods will work wonders, eliminating every and all vibrations that pressing the shutter button manually would caused other wise.
F-stop best option
Chose f-stop (f/22) here is why. The depth of field for macro lenses is very shallow, so you need to get a broad depth as possible. You could get away with f/16 or maybe f/11 but if you are aiming for the perfect and the maximum out of your shooting you will need that sweet f/22 (or higher if your lens is a beast)
Purchasing a macro lens
You can buy a macro lens if you don't have one already for less than $700 sigma are the cheapest ones with Canon and Nikon holding the award winners all over the place, but the quality comes with a price, and it is usually a big one.
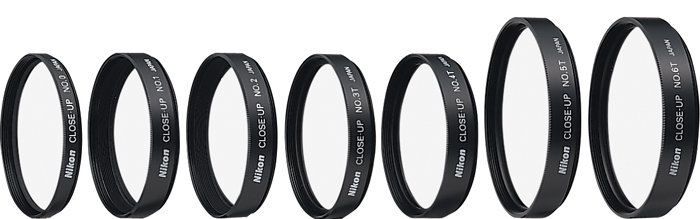
An economic solution would be close-up lens attachments to take advantage of your already existing lenses. Not a professional approach but way better than shooting macro with an I-phone.
Lighting
It might seem weird but most of professional macro shoots are produced in a studio and not outdoors. The reason for that is lighting, sun is ok but it cant get the job done by itself. You will need more than just one light source for a professional result. You need to enhance the shadows according to your subjects need, sunlight cannot achieve that by any means.
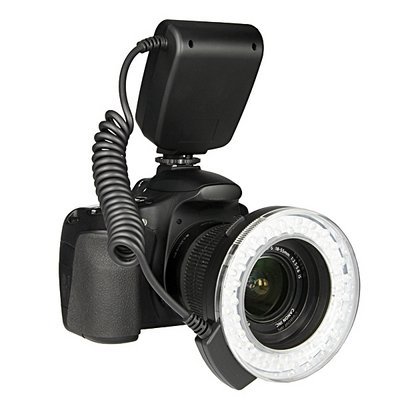
For that job there is a special flash in the market it is called a ring flash it is designed to even the lighting out to your subject by 3 ways ( top right left) this will make the final touch to get to the sharpest possible outcome, you will get to a professional level at your shoots and will create a huge impact of your pictures towards your viewer.

This sums up my advises for macro photography.
I hope they can help you get a better quality out of your work.
All of the photos used on this article are own works.
best regards.
