Exploring your cameras buttons, dials and settings. If you only read one article from this series, read this one.
Photography is a lot of fun and it would be easy just to put your camera in "Auto Mode" and shoot like crazy. Such a lazy approach would mean your potential as a photographer would plateau rather early, because you would be denying yourself the opportunity to shoot creatively and competently. The sooner you learn the most important features of your camera, the sooner you can apply that knowledge towards creating far better photographs.
Menu Settings
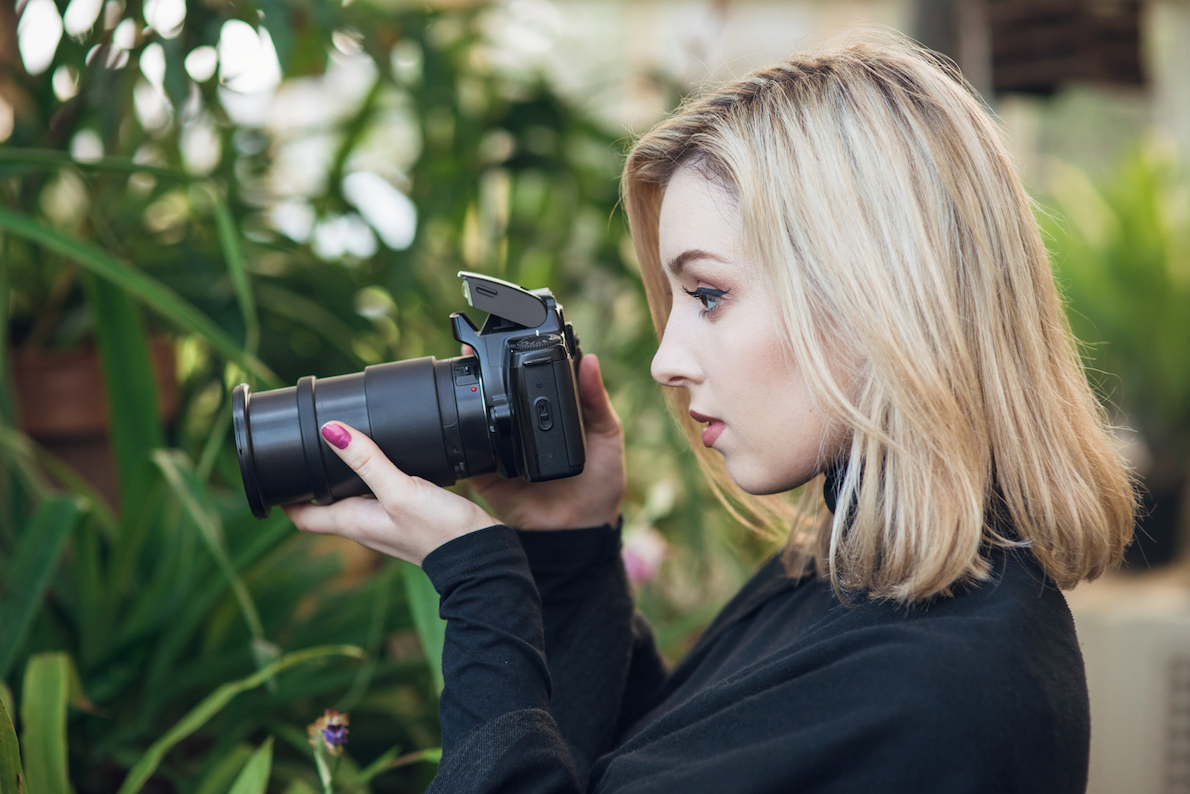
Most DSLRs and mirrorless cameras will give you a plethora of menu options, many of which are of little importance in most shooting situations. One setting is however, extremely important to most photographers: Image Quality/File Format.
JPG VS RAW
On Canons and Nikons, the file format option will be called "Image quality/size". Choosing the highest quality option will mean larger files, and getting less photos on your memory card. SD cards are very affordable these days, and most photographers will only shoot on the highest possible quality settings. There is also the question of image file format. Any good camera will allow you to shoot either a RAW file or a JPG file. A "JPG" file is the kind of image file used on web pages, whereas a "RAW" file is similar, but contains even more information, allowing the file to be edited without losing detail or adding noise, at least compared to editing a JPG. That's quite a simplified explanation, but rather than trudging through all of the jargon, let me summarise by saying this:
99% of serious photographers shoot in RAW format, and you should too.
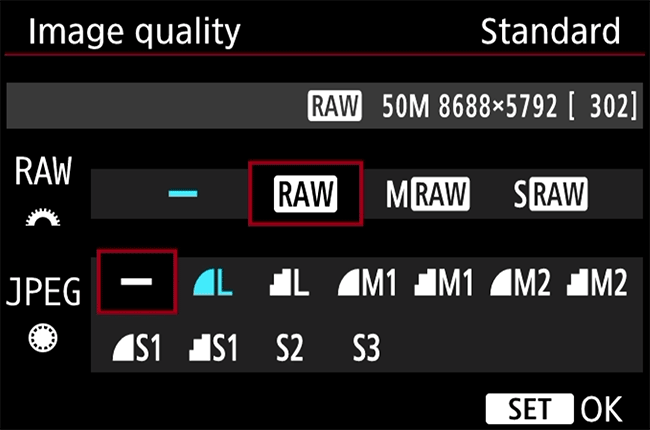
This Nikon camera menu (above) allows you to shoot your photos in both RAW and JPG file formats at the same time, should you wish to do so. Personally, I shoot only in RAW format. Keep in mind however, that RAW files aren't usually readable by your computer operating system or by web pages, and need to be edited and converted before publishing. I shoot in RAW, but once I've edited my photos, they are exported and published online in JPG format.
Shooting Modes
Auto VS Manual
It would be an over-simplification to say the goal of learning about photography is to enable one to use their camera in manual mode rather than automatic mode. There are semi-automatic modes which enable you to take creative control, while letting the camera do some of the "thinking" for you.
Look at the "mode dial" on the left of this Canon 5D mkIV, pictured below.
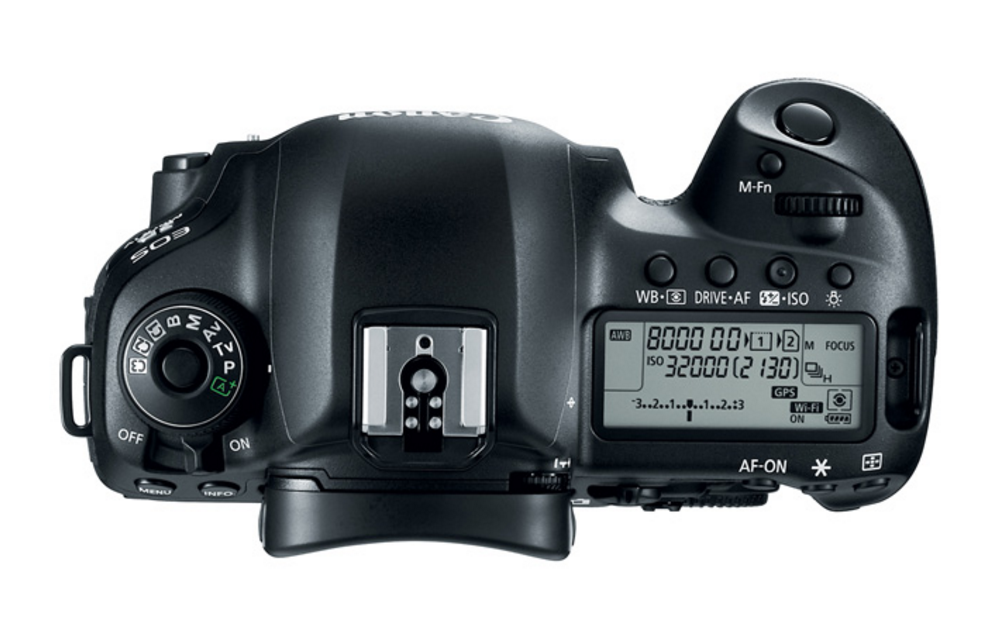
It features the most common shooting modes:
A = Automatic
P = Program Mode
Tv = Shutter ("time") Priority
Av = Aperture Priority
M = Full Manual Mode
B = Bulb Mode
The three modes between Automatic and Manual are semi-automatic.
A photo is the result of a combination of the cameras sensor being exposed to focussed light, through the aperture of a lens, for a period of time, via a shutter. When you shoot in Automatic mode, the camera automatically adjusts these settings. Creatively though, you may prefer a different depth of field (blurred background), exposure (brightness), or shutter speed (still or blurry subject).
Most beginners start with Auto mode, but I would encourage you to move to Av or P mode as soon as possible. This enables you to experiment with different aperture settings, while getting a correct exposure (not too dark or bright) every time. We will explore the subject of exposure more in the next article.
White Balance
Depending on your camera, this might be a menu setting or have a dedicated physical button/dial. To put it very simply, a correct white balance setting will ensure your photos don't have a color cast that makes them appear too "warm" or "cool". While not particularly noticeable to the human eye, different lighting environments such as a sunny day, fluorescent bulbs indoors, or evening sunset have vastly different color casts ("temperatures") so we "tell the camera" what to do to get the color just right. If you're shooting in RAW format, you can easily change the white balance during the editing phase, but it's somewhat more difficult to do so with a JPG file.
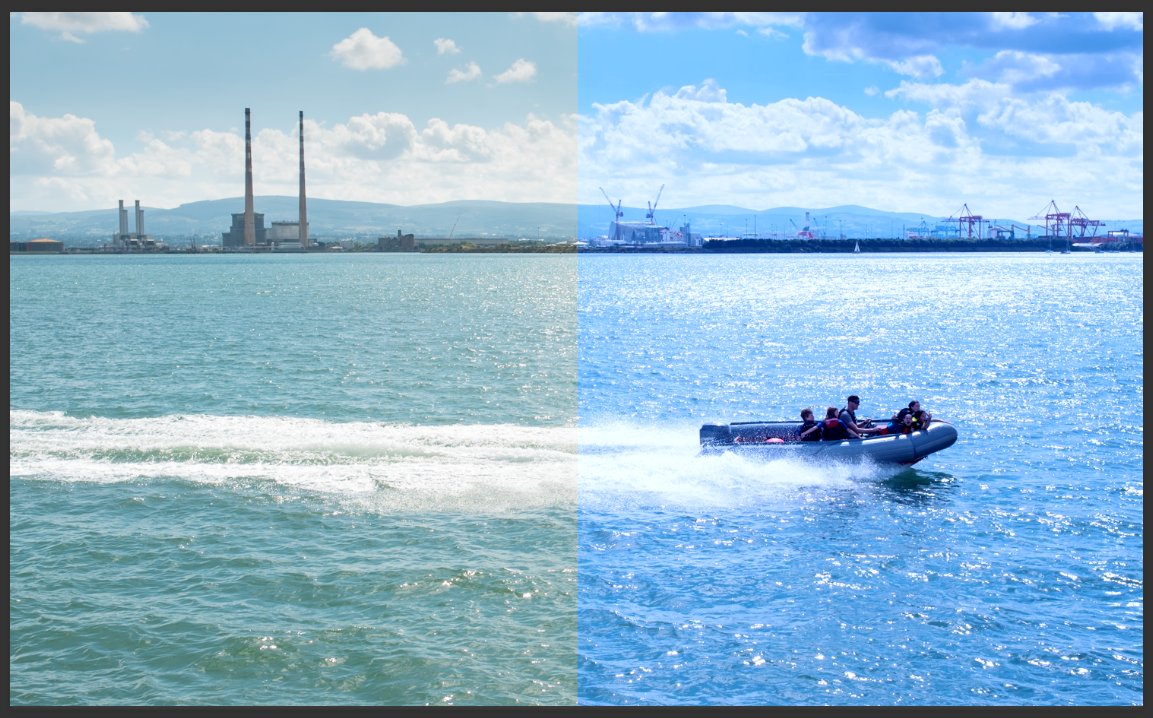
The section on the right of this photo (above) illustrates how the photo might look if the white balance was incorrectly set to "Tungsten" mode. Sunlight has a cool temperature, while Tungsten (indoor bulb) light is warm and orange. By setting the white balance to Tungsten mode, the camera attempts to compensate for this color cast.
Whether you are adjusting white balance in-camera, or during editing, it is crucial to get it right. One of the giveaways of an inexperienced photographer is incorrect white balance causing cool or warm color casts.
A brief overview of other settings which will be explored in more detail later in the series.
In the coming articles, we will dive into combining these camera settings to get perfect exposures, and creative results, but more importantly, I want to discuss the thought process behind approaching different photographic projects. If you have any questions or suggestions, please make a comment below.
Further Reading:
DIP01 - Intro
DIP02 - Do I Need A DSLR?
DIP03 - Camera Lenses
