Hello Steemians!
I’m pleased to be able to write about my true love in photography: portraits. Not just any dull bathroom selfie, but I want to write about how to take a fantastic portrait you would feel happy getting printed at twice the size, framed, and hung on your wall. I want to start with some beginner's guides to photography before delving into the complex and technical stuff. Follow me and if you know all of this, that's great, but I want to build a fan base before getting too complicated and niche. All that will come later on as I improve my craft.

(All praise to our leader Momofuku Ando the inventor of instant ramen noodles!)
Elements of a fantastic portrait:
• Lighting
• Composition
• Posing
• Equipment
- Lighting
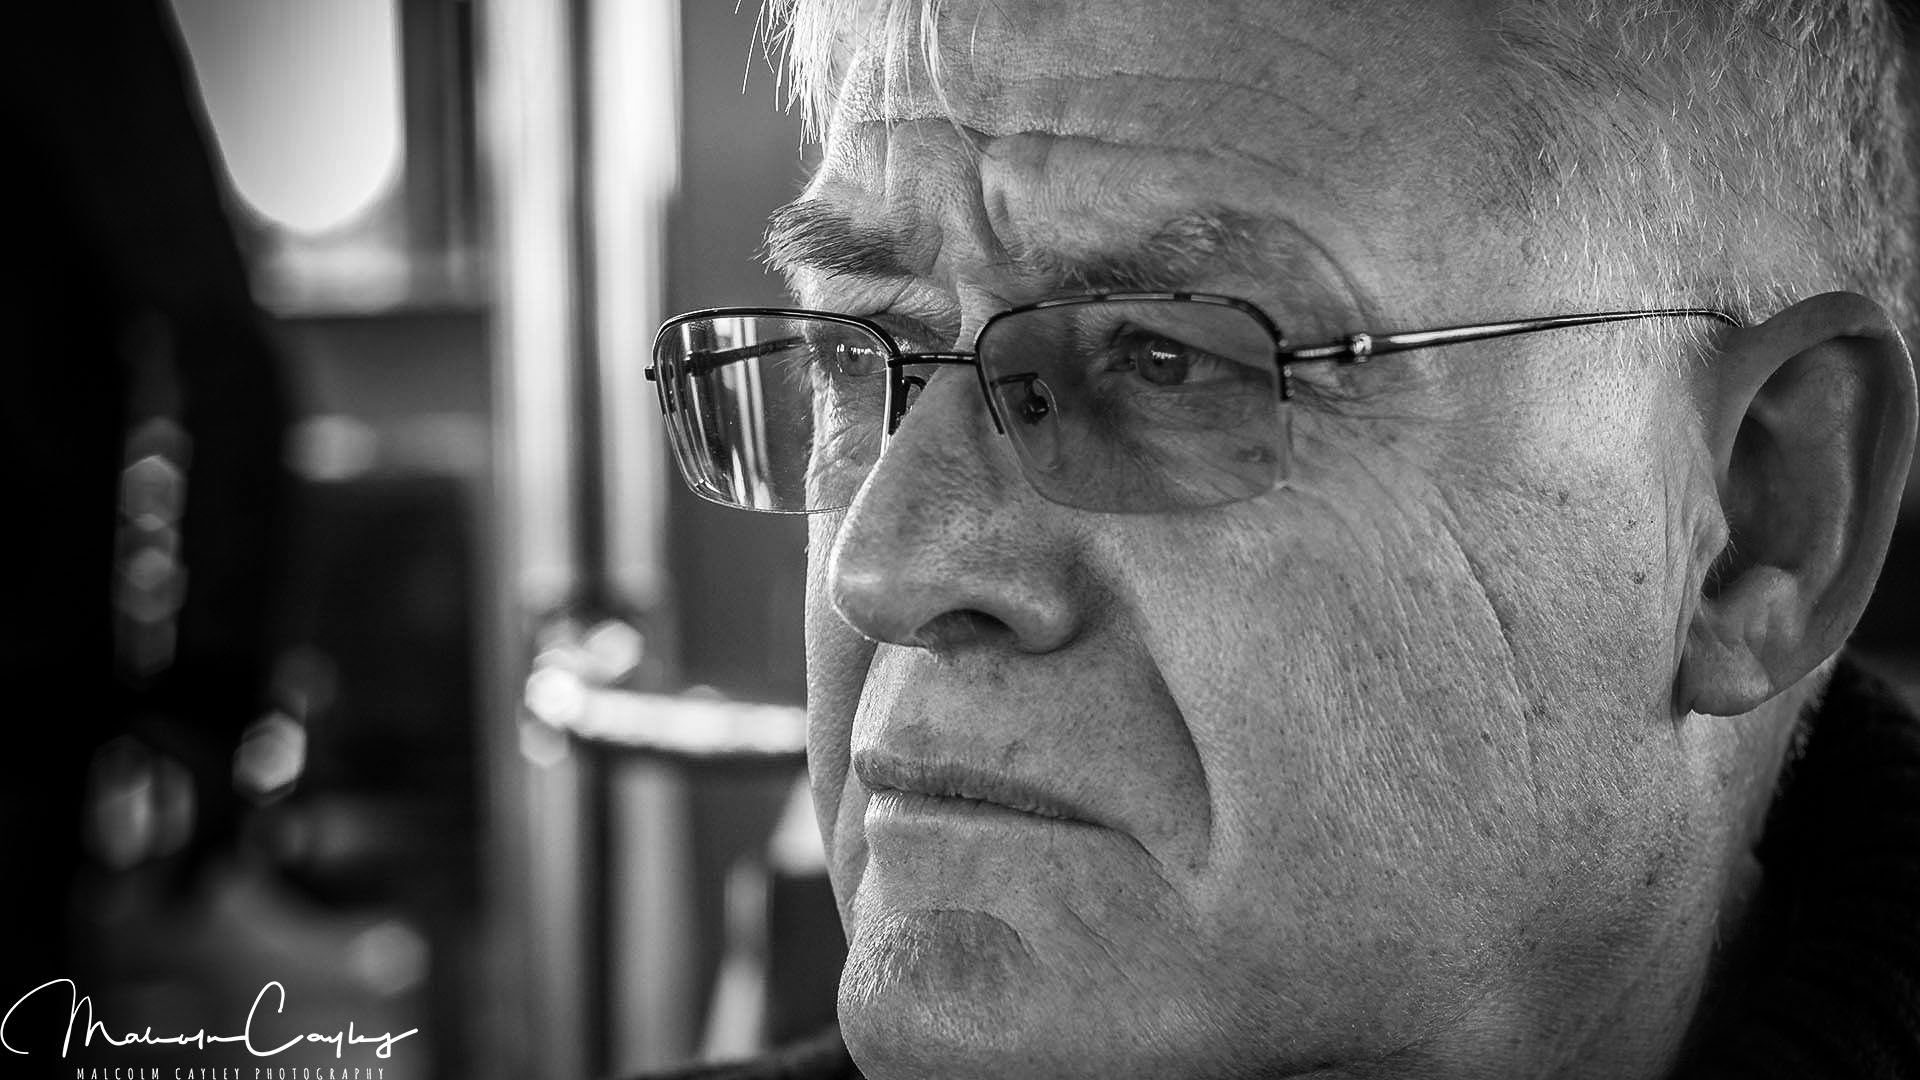
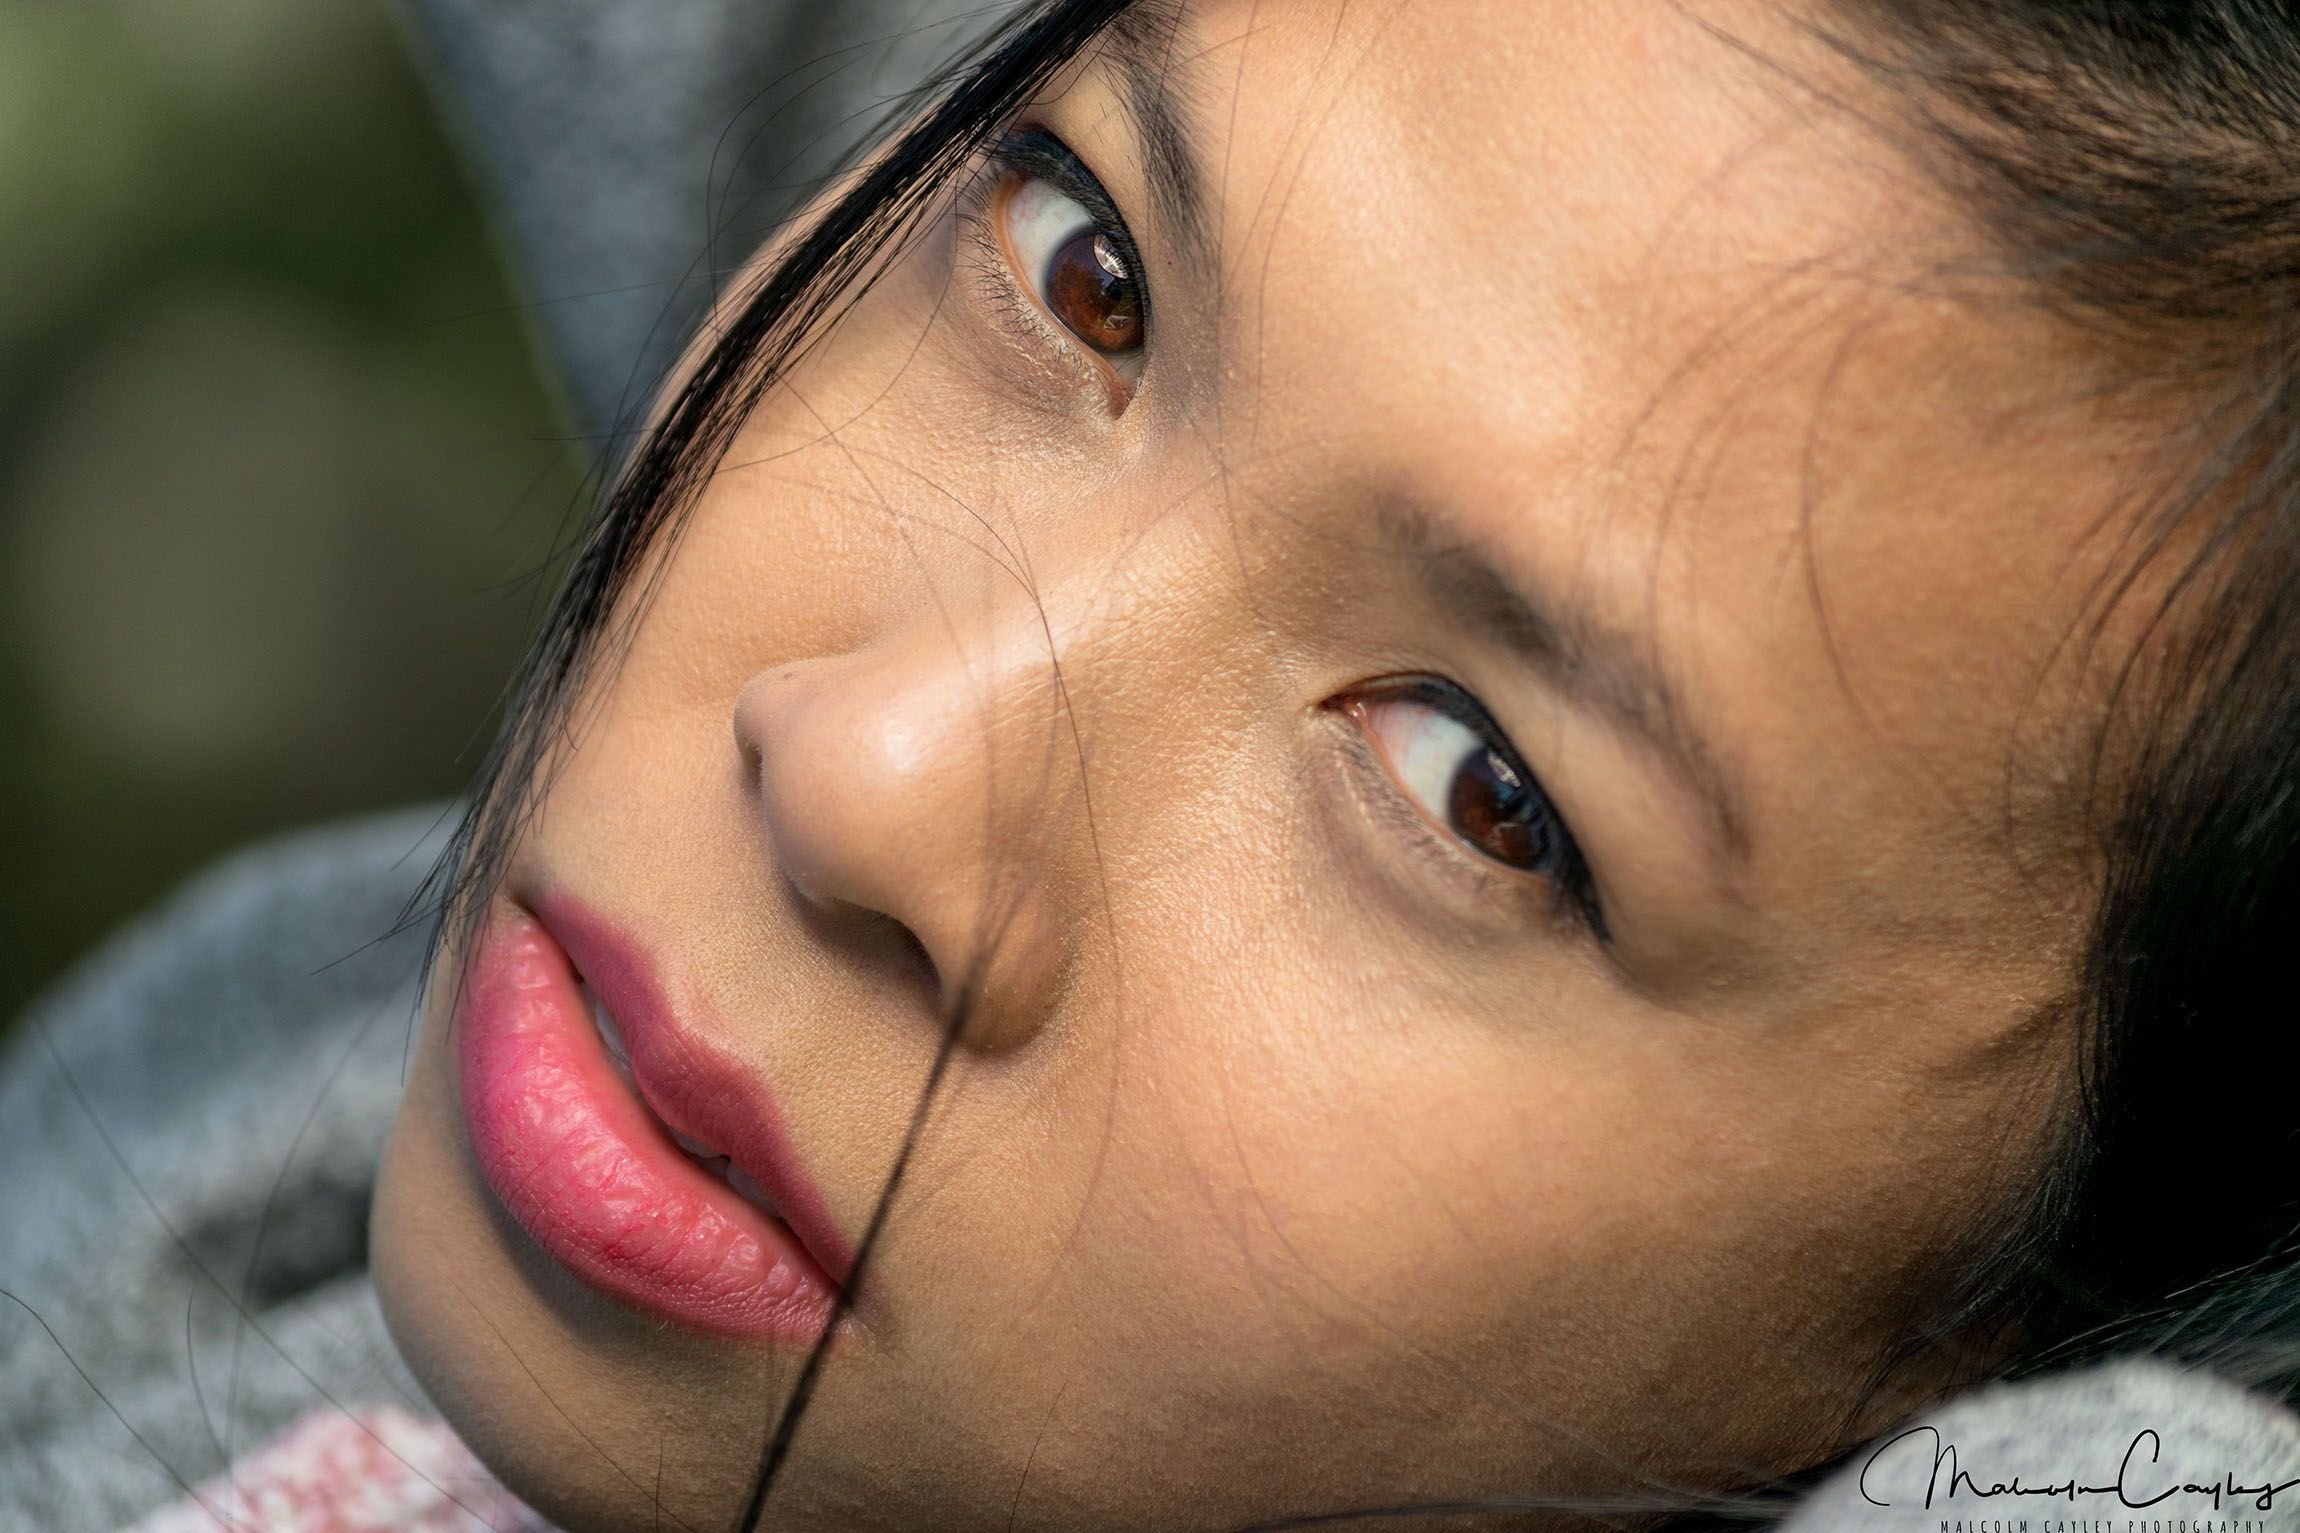
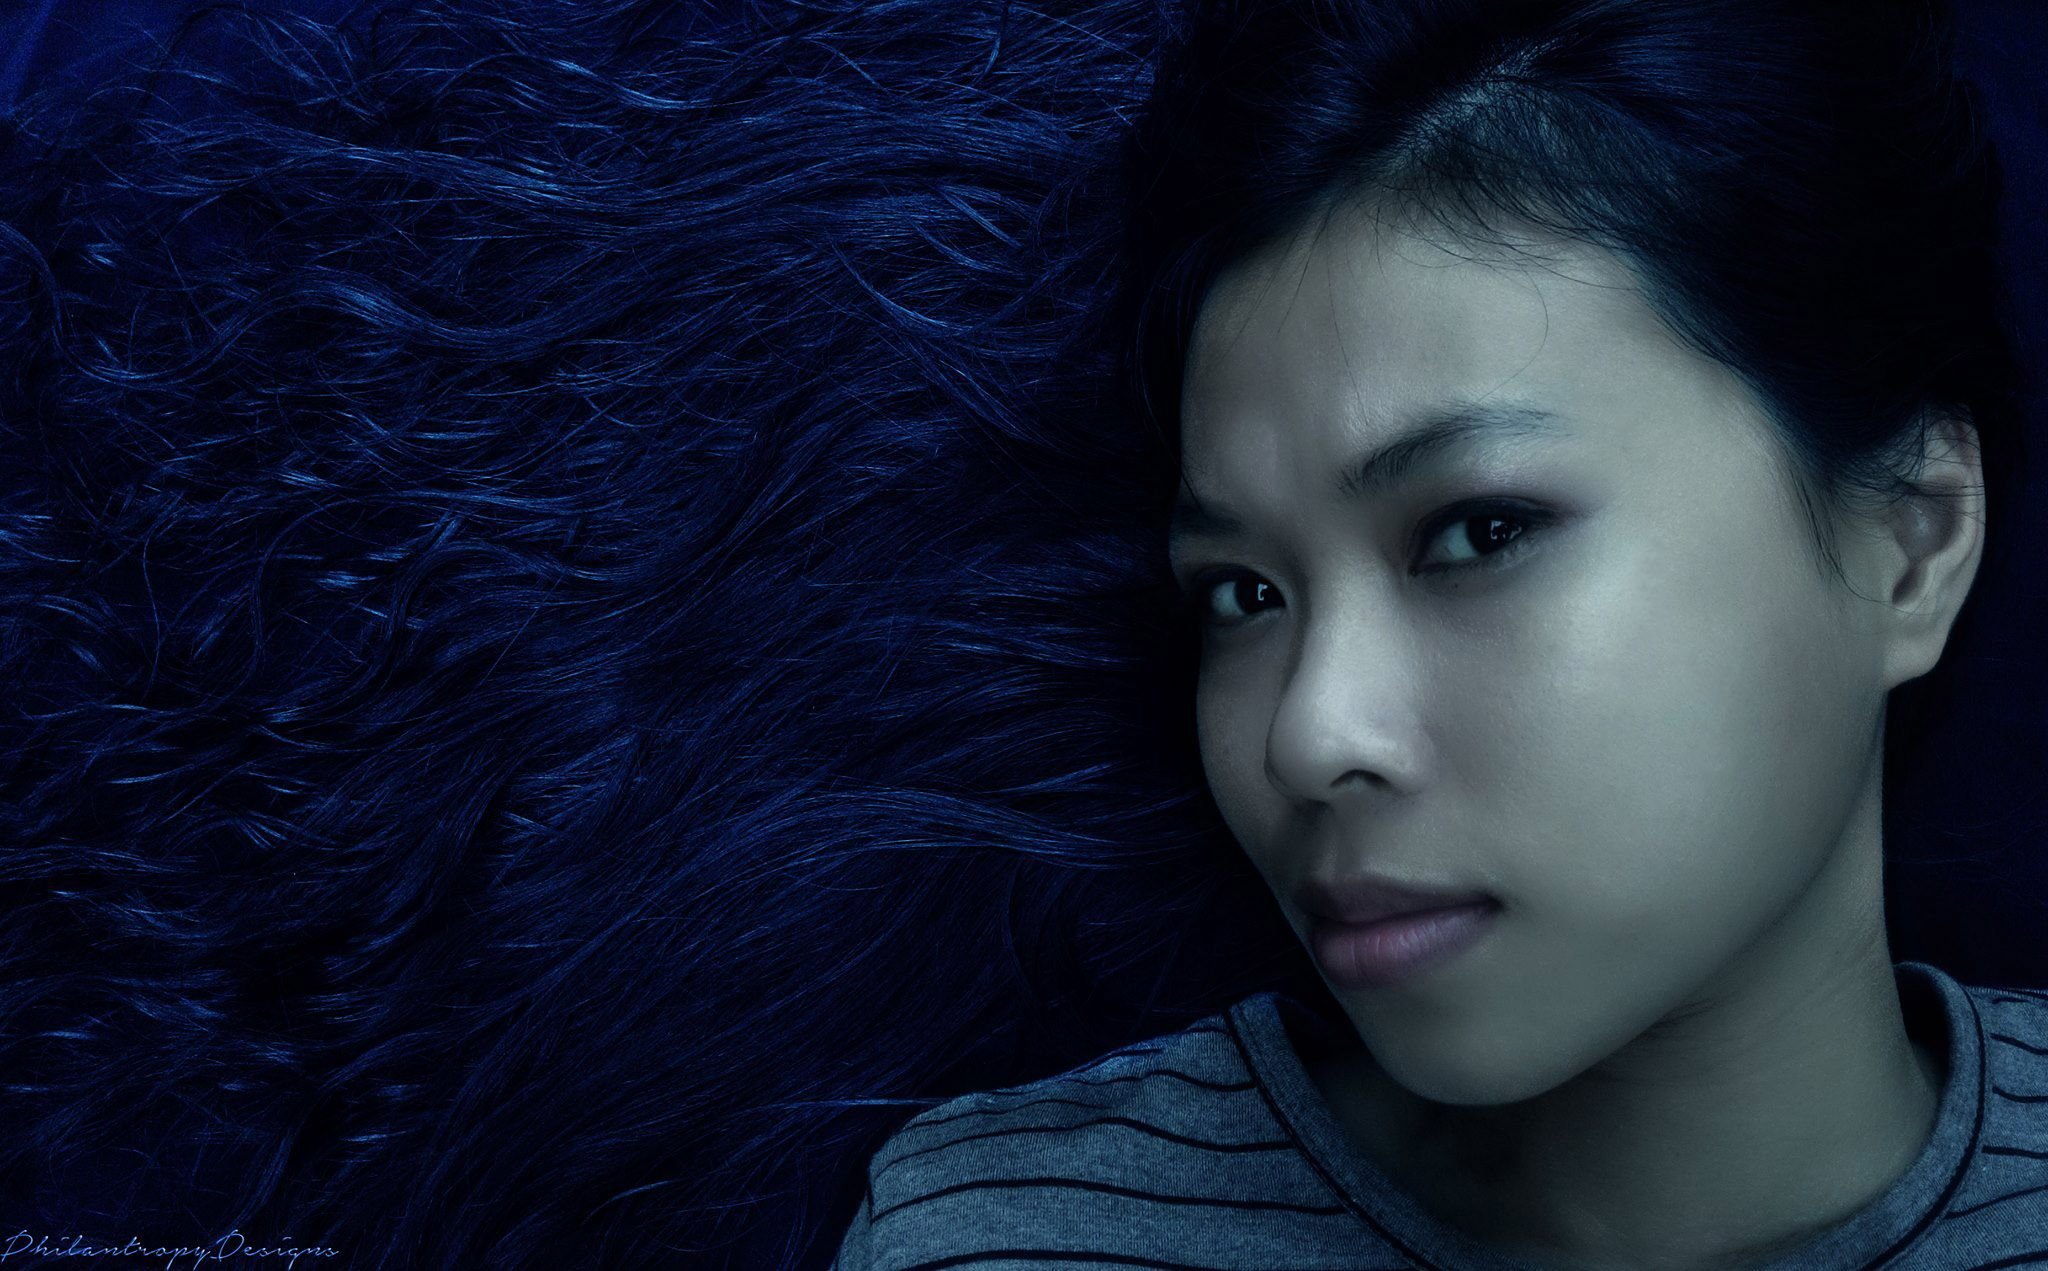
Lighting is essential for taking a fantastic portrait. There are, in general, two types of light: hard light and soft light. Hard light is created by a strong point light source such as the sun when outdoors or a light globe. The concentration of the light source means it will create harsh shadows in almost always unappealing places like under the eyes or across the face.
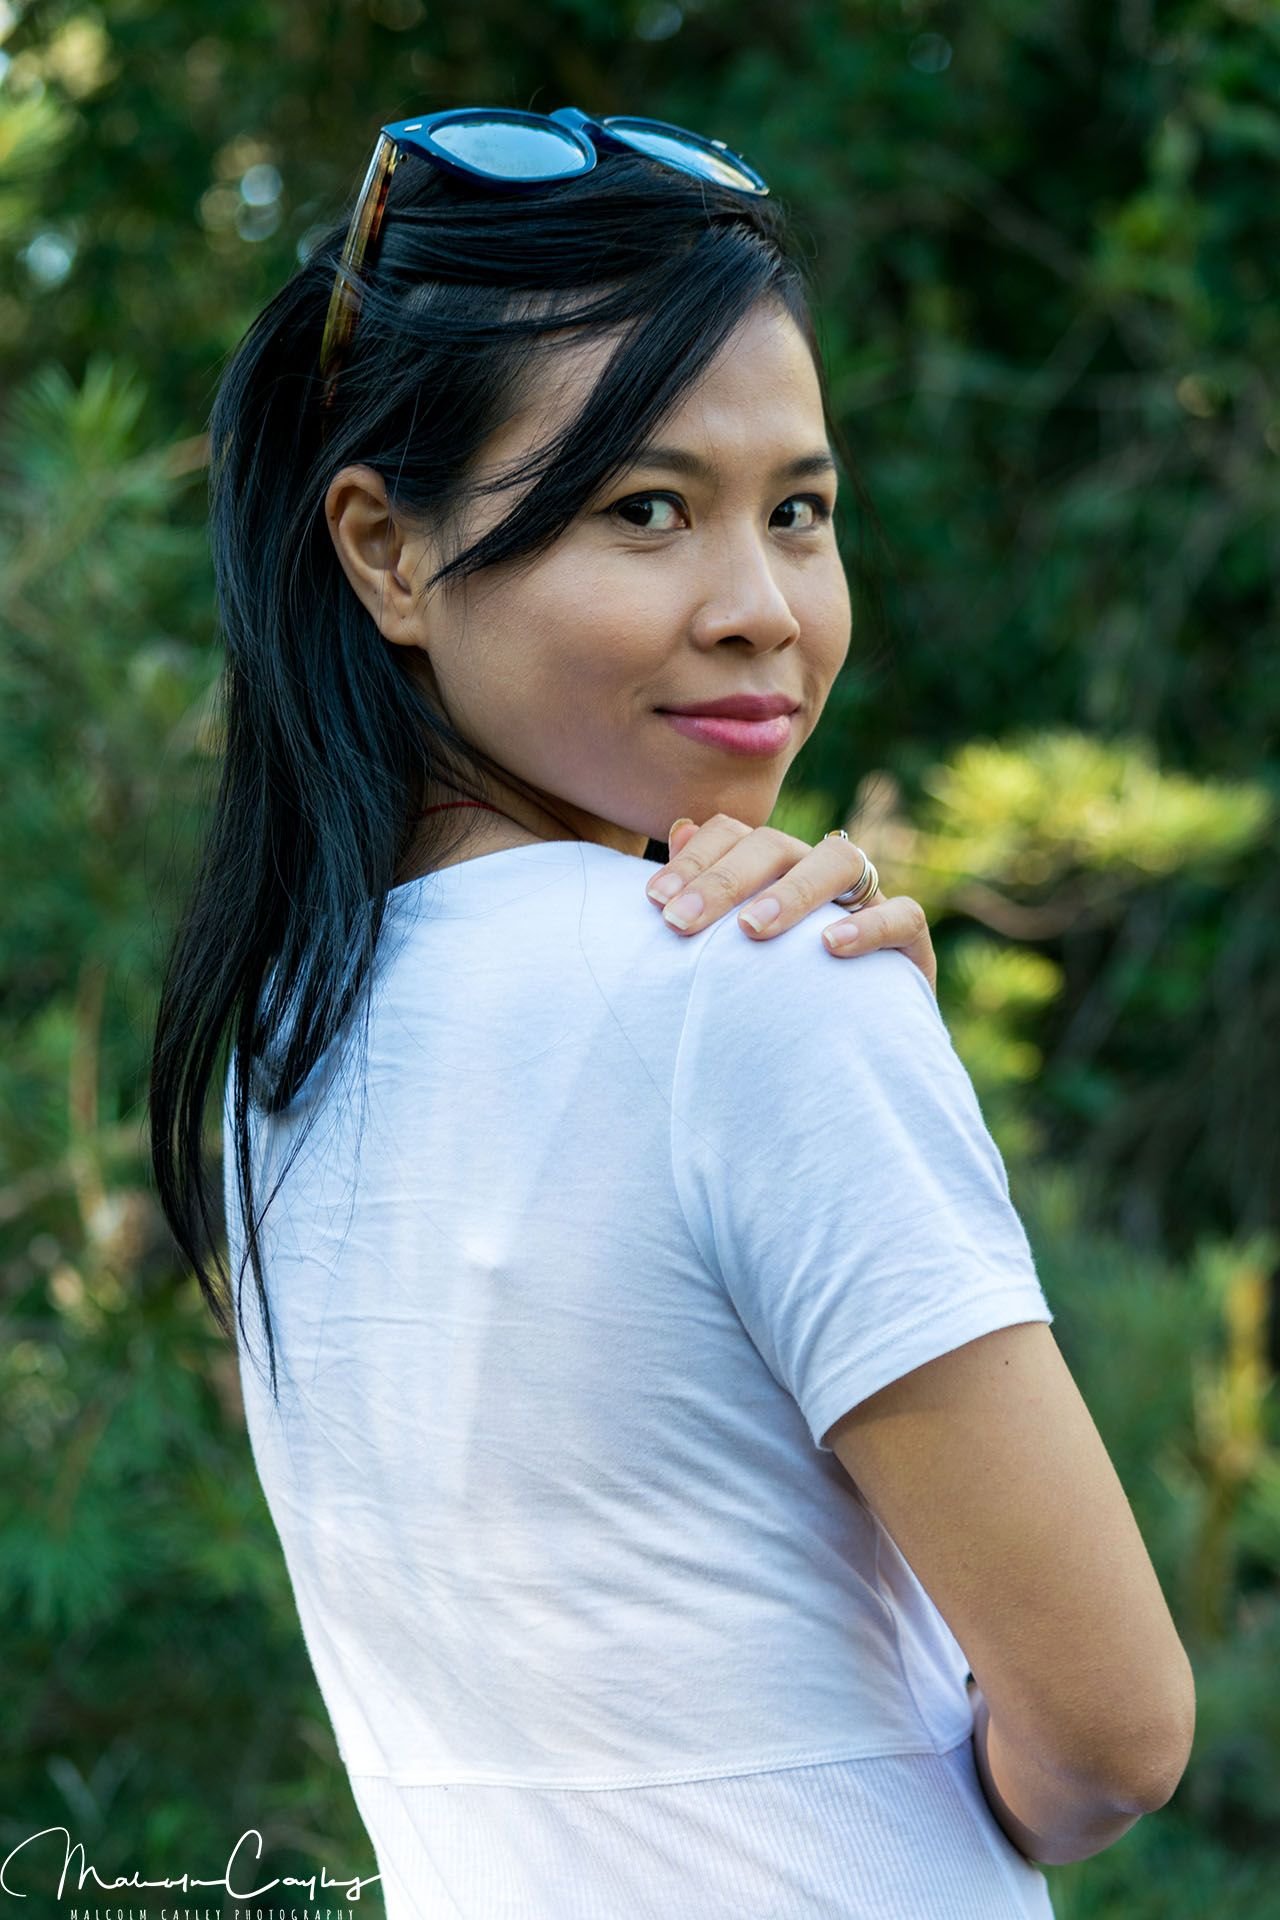
Soft light, in contrast, is created when something either surrounds the point light source or comes between the light source and your subject. This might be clouds when outside or it might be some type of diffusion material you place between the light source and your subject. Light diffusers come in many forms such as a softbox, plastic sheeting, and those reflectors that throw silver or gold onto your subject even have (usually) a diffuser built into them. Smoothing or spreading out the light through this material minimises the harshness of the shadows and creates a more flattering look.

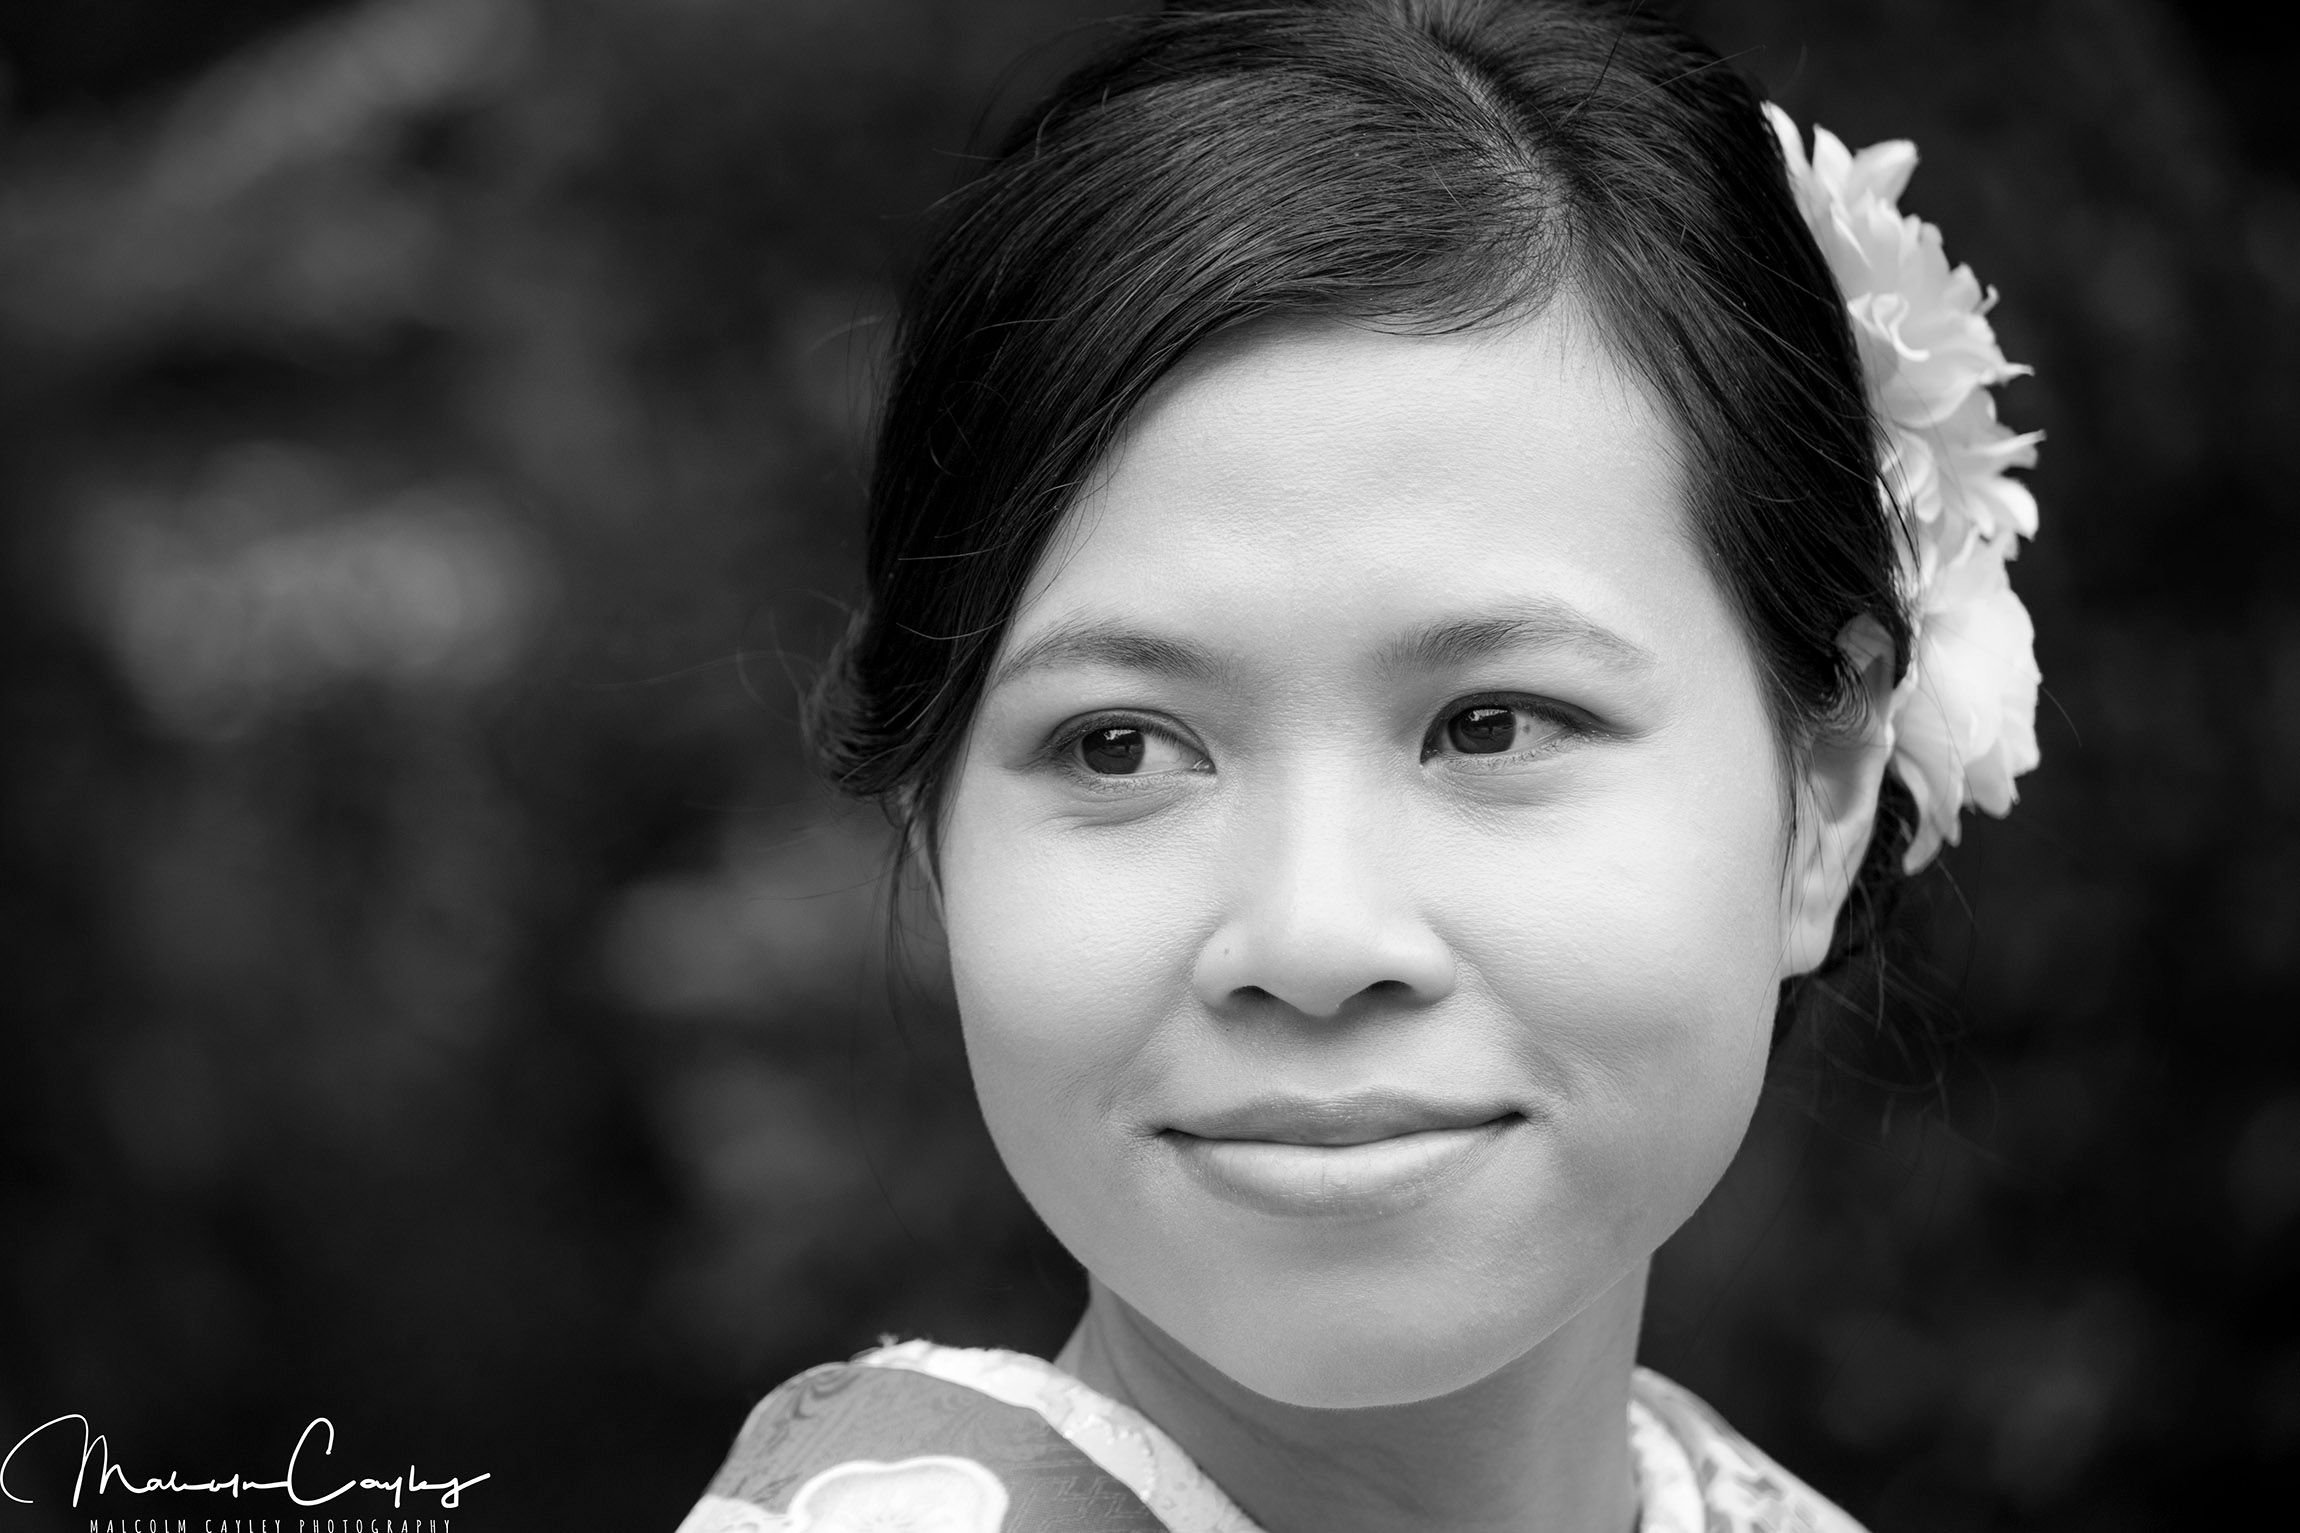
Here, for instance, Tammy is holding, just out of frame, a light diffuser while looking at me and I’m doing my best to block the sunlight from shining directly into her eyes. The size of the diffuser is small so you can still see a hotspot on her top. Regardless of the size of the diffuser it can still be used to great effect.
- Basic composition
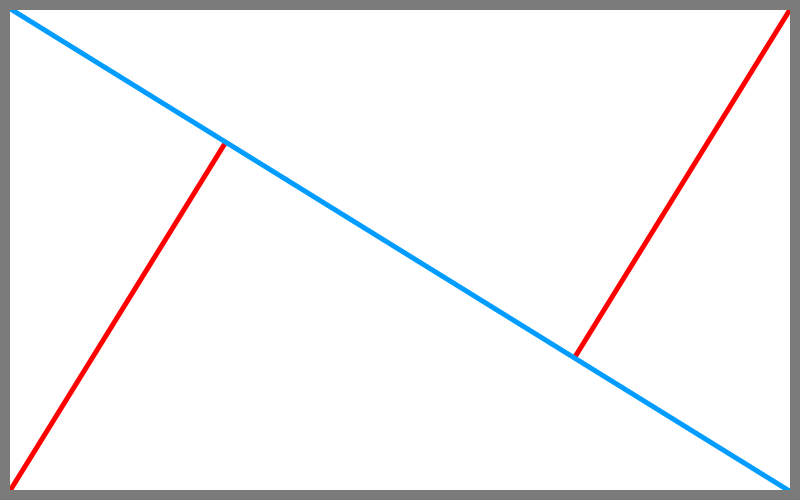
Composition is just a general guide. You can either follow it (easy) or break it (hard). If you choose to break the rules you had best have a good reason and that breaking the rules offers something to the photo. Like many rules it is usually best if you follow them until you're comfortable with relaxing their hold on your compositions. In any case here are two basic rules for compositions; there are many others and I hope you do some research on your own and find your own favourite composition.
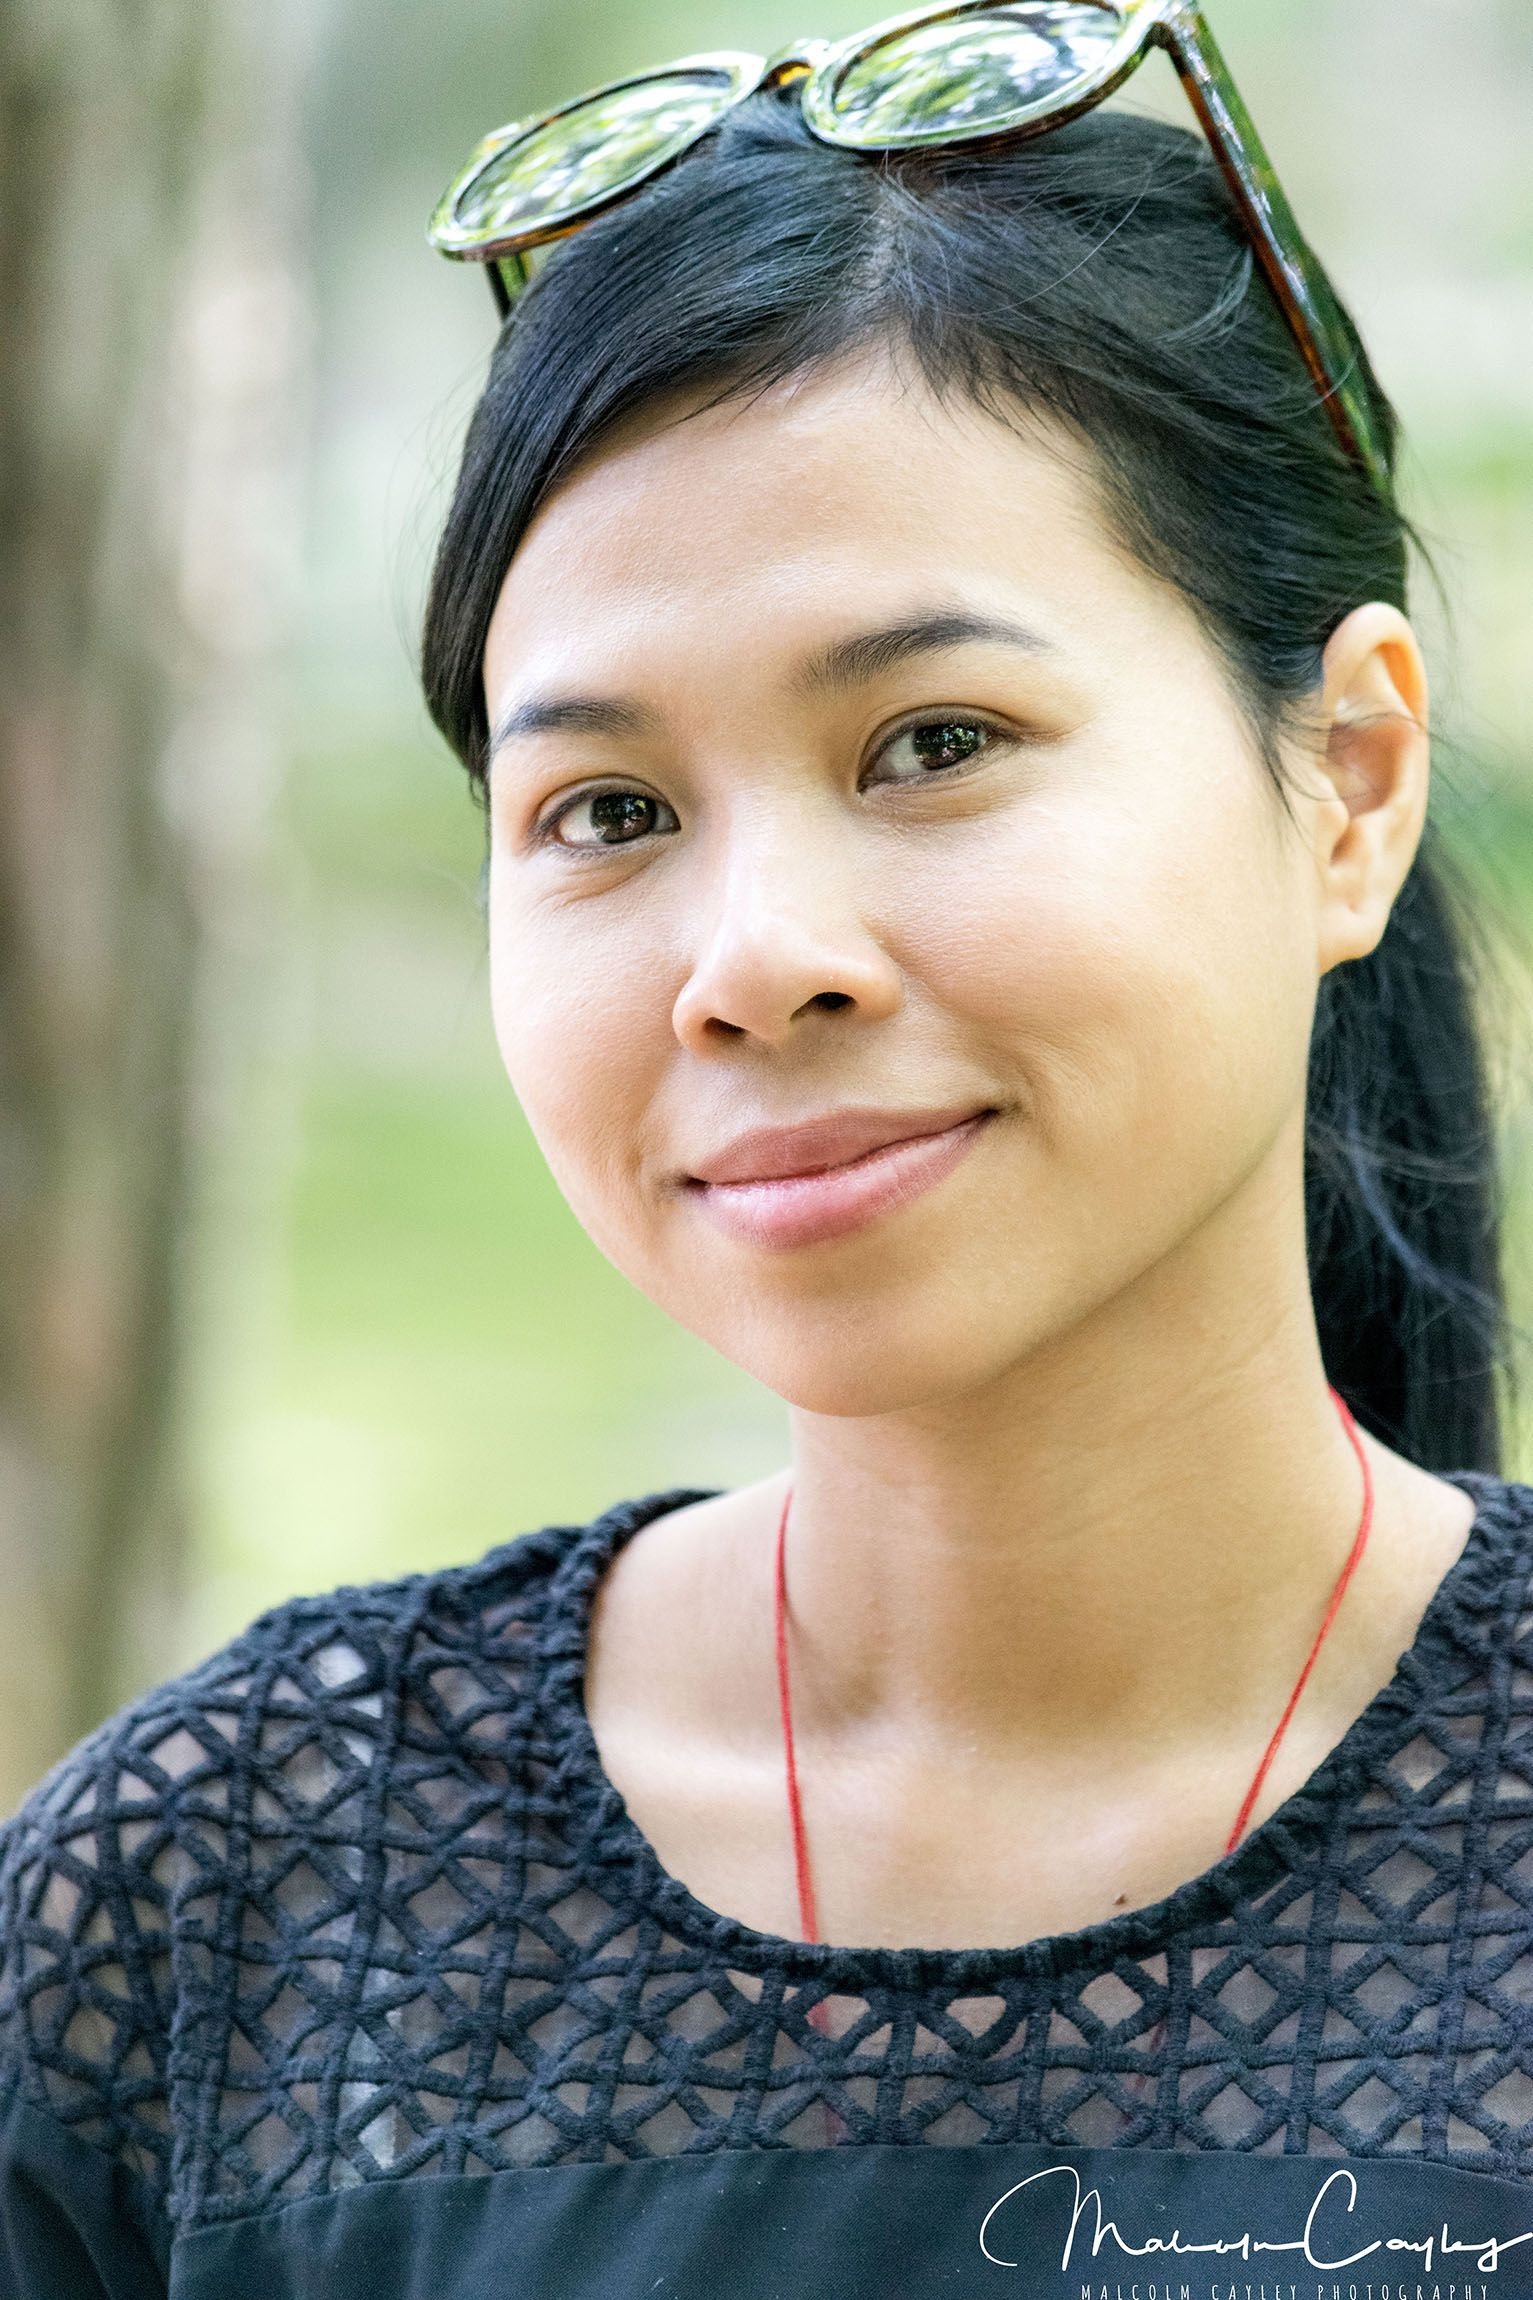
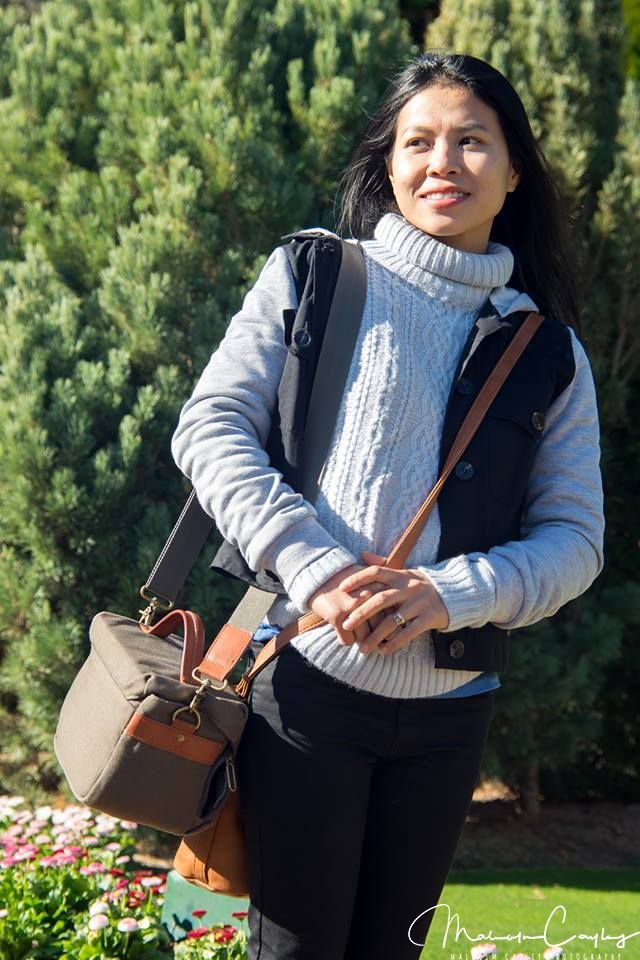
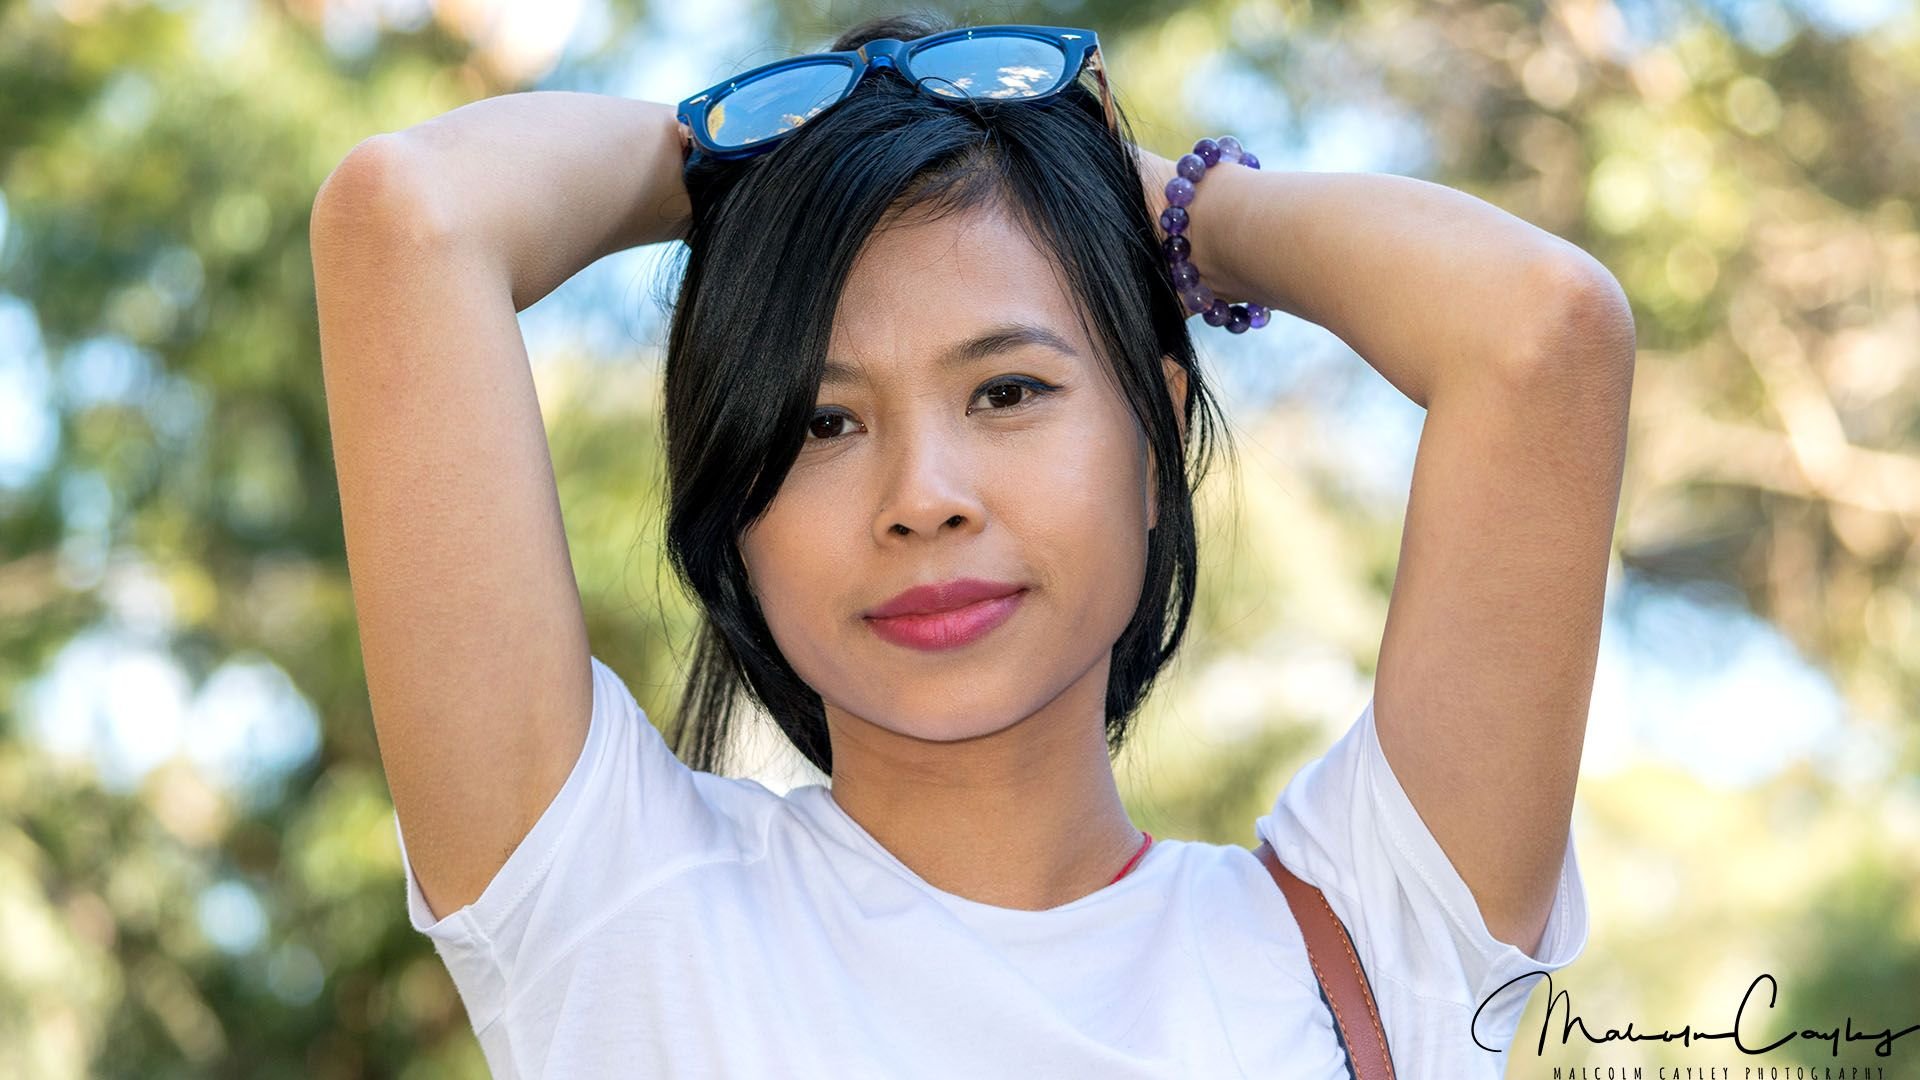
The rule of thirds states that things look better when placed slightly off to the side. Follow the guide lines to place your subject in the frame. I’m biased to the right of frame because I watch too much TV and movies. This is a standard in cinematic composition and should not be overlooked for its simplicity.

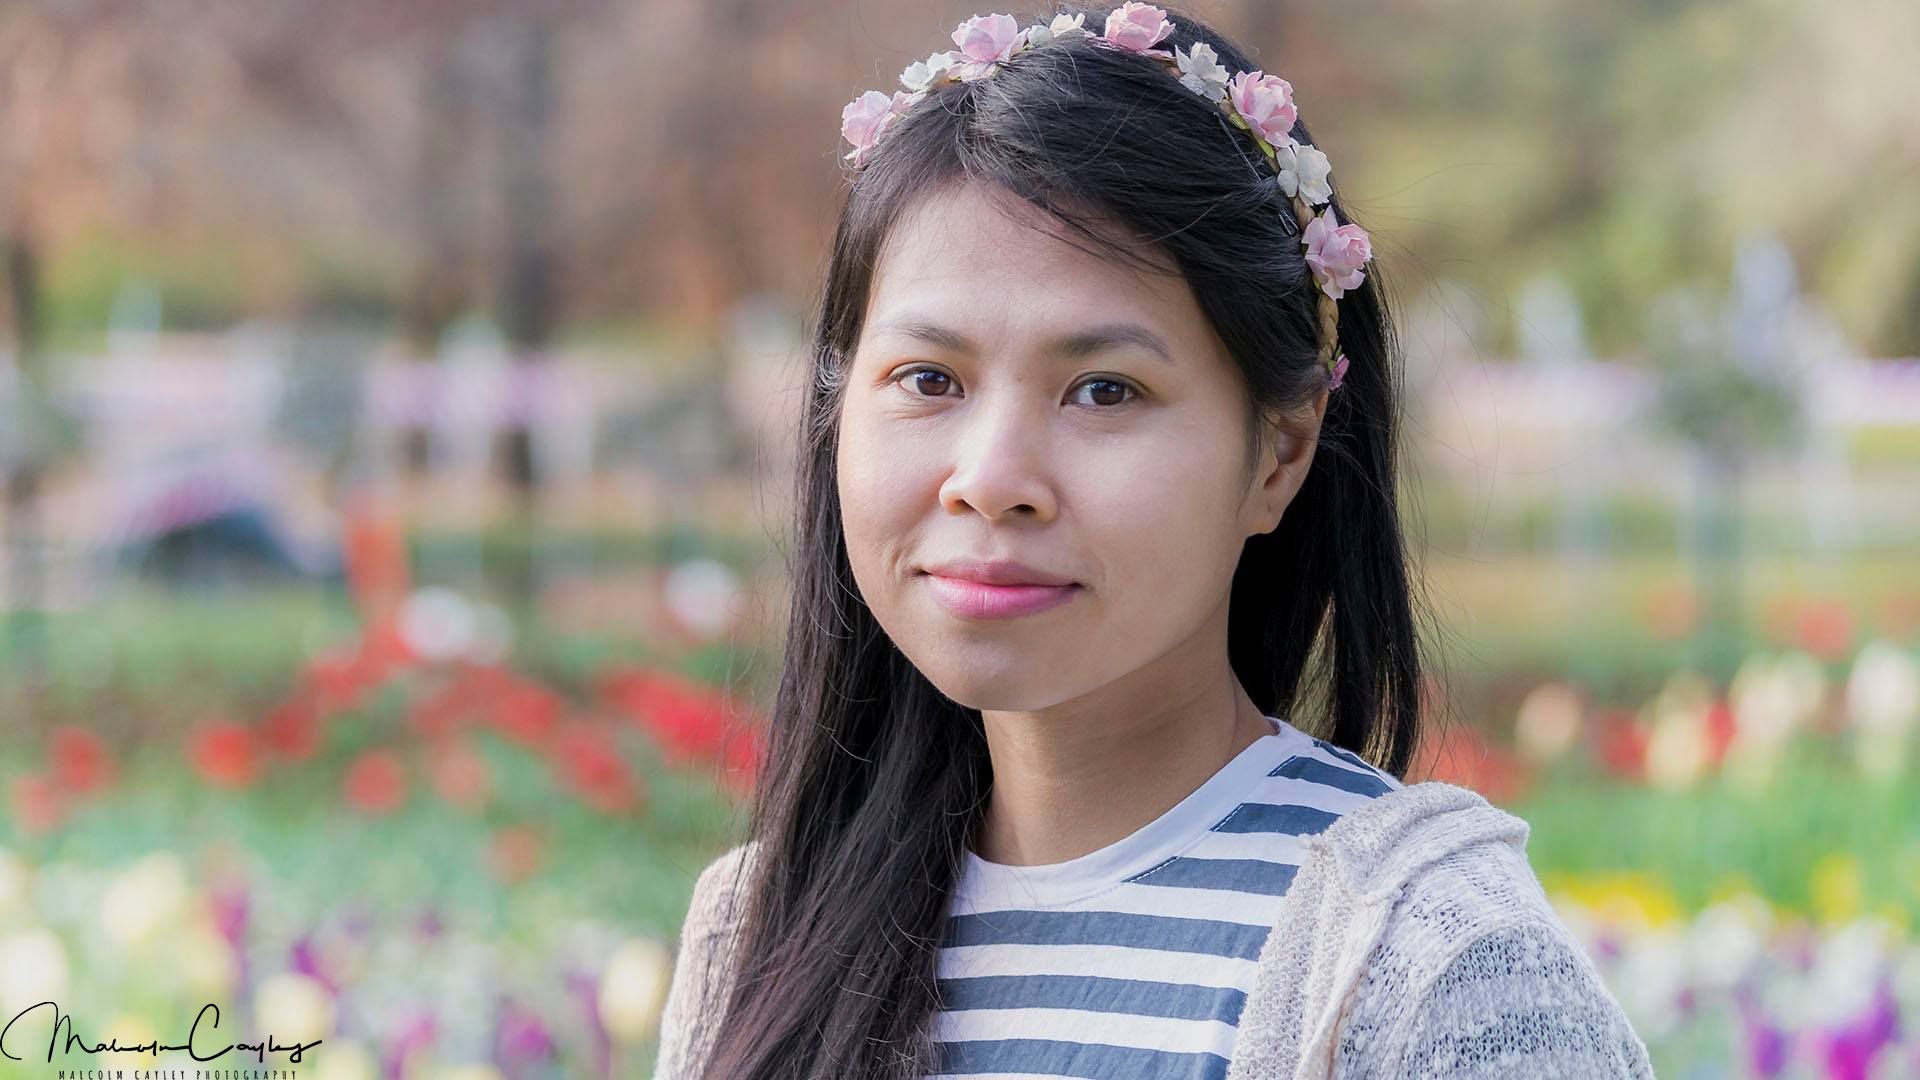
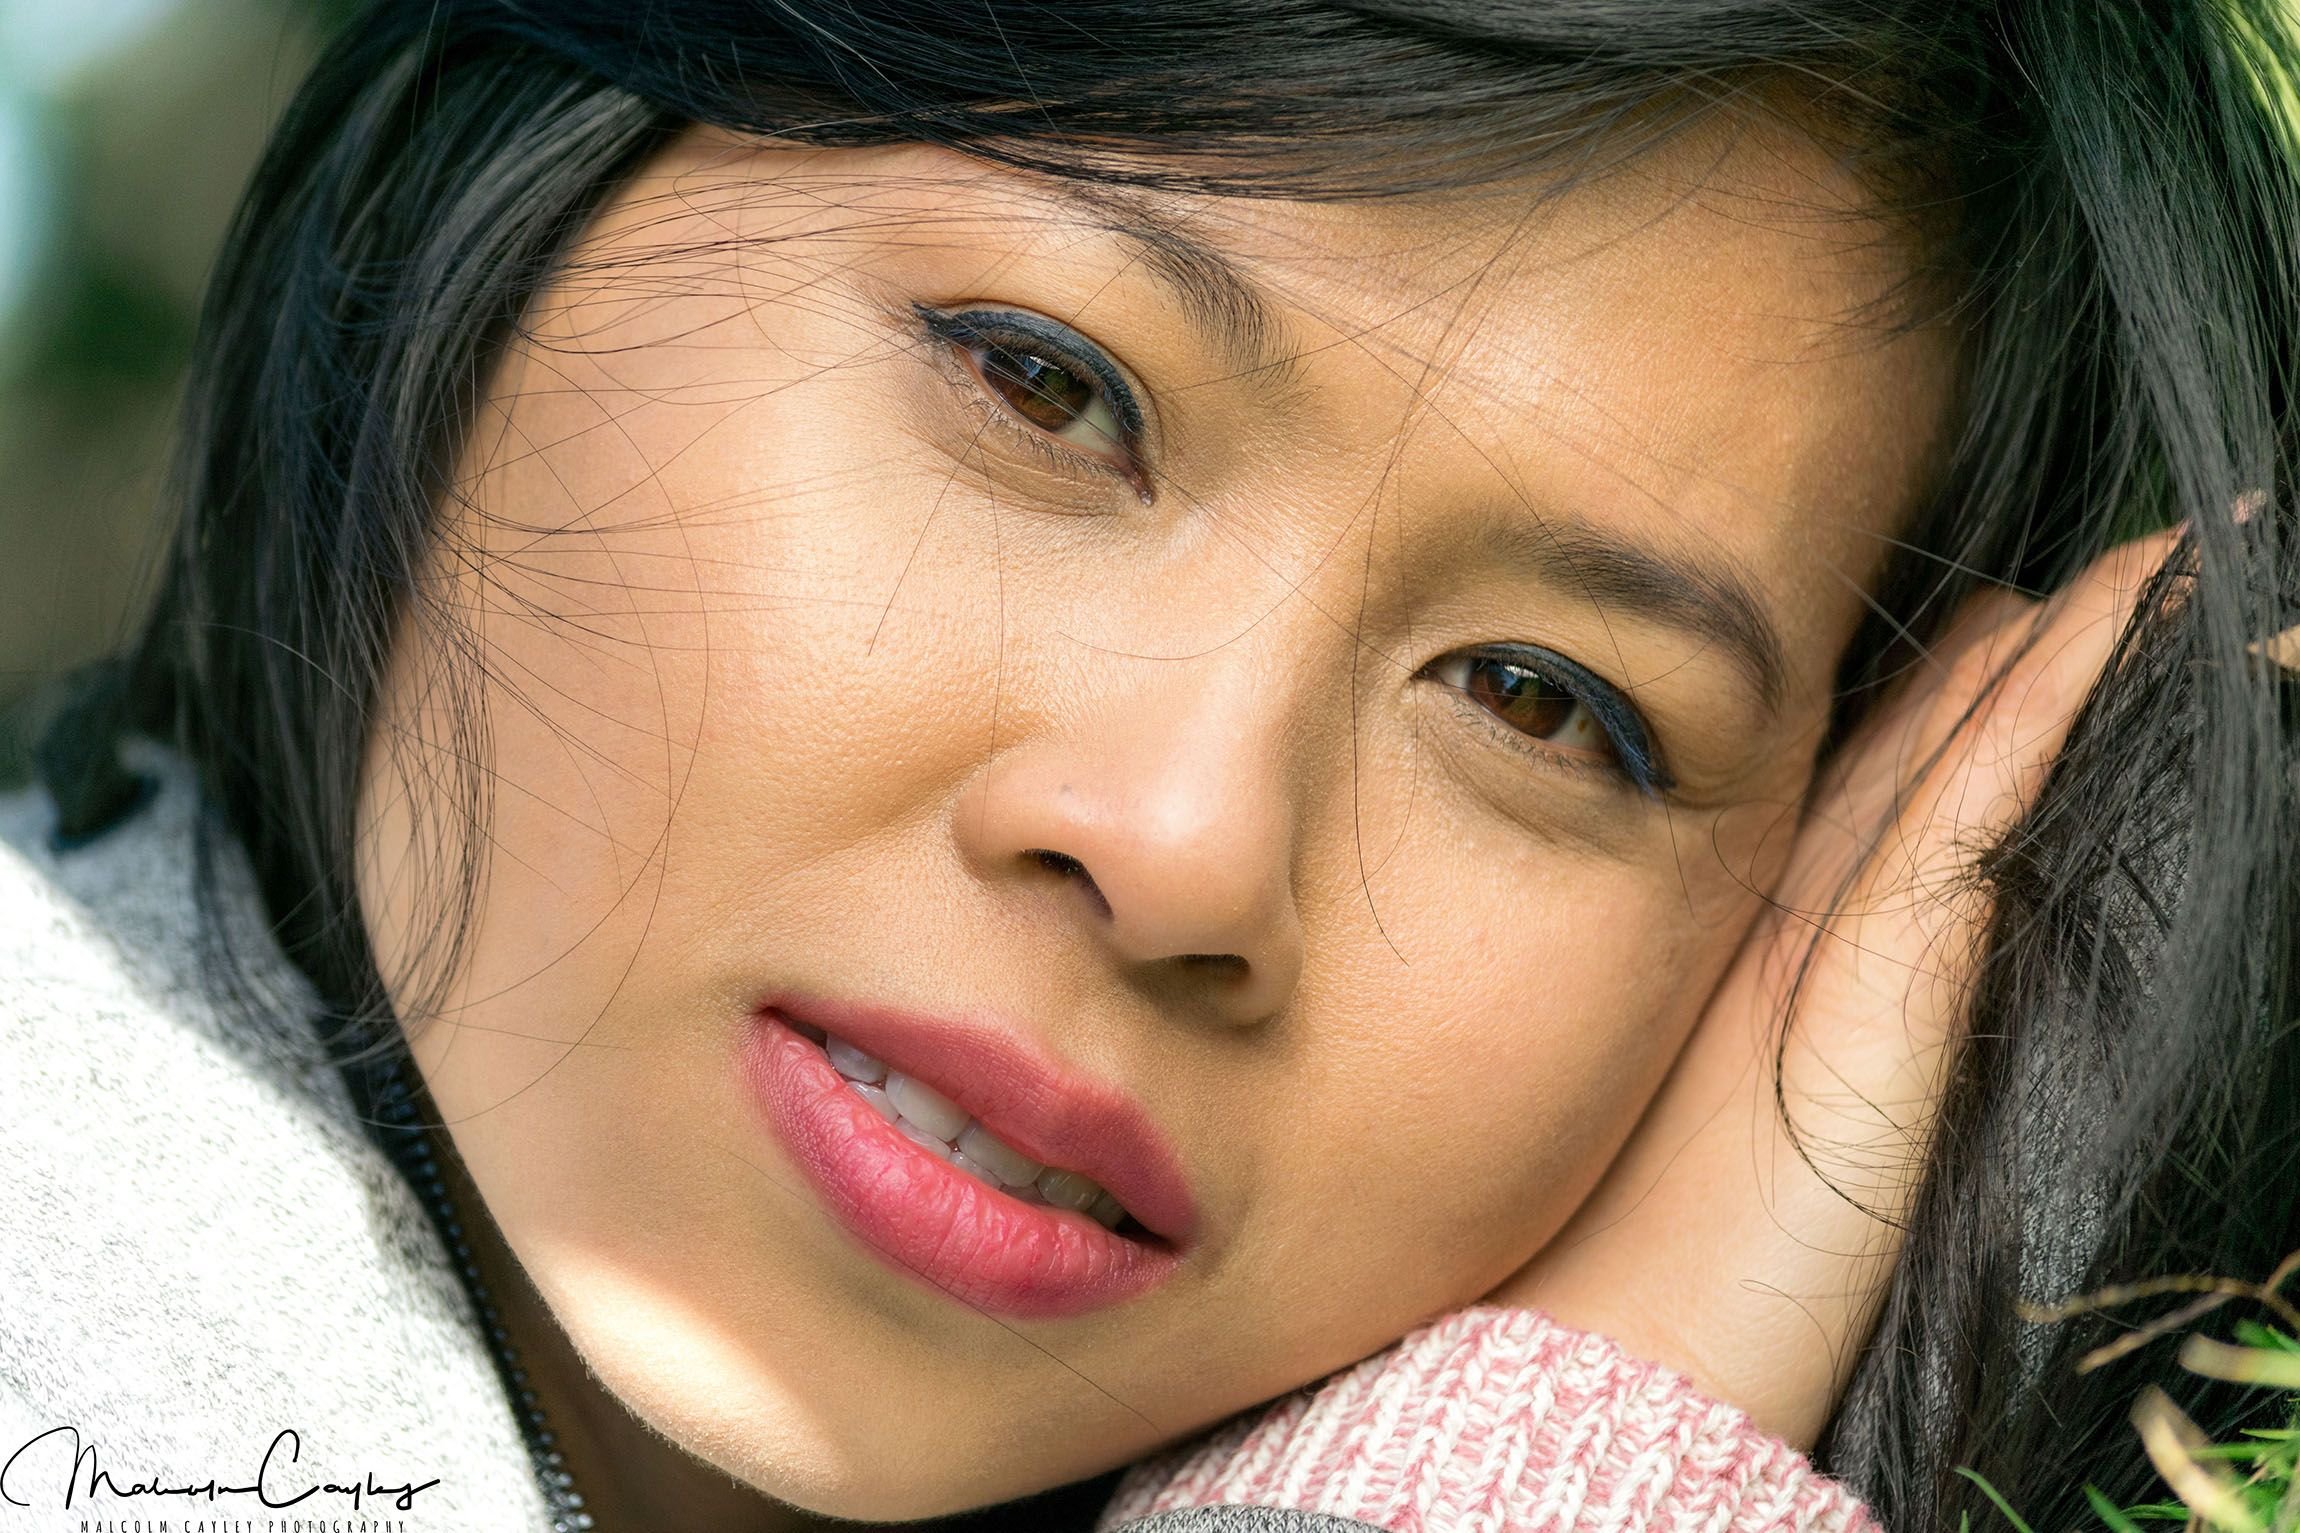
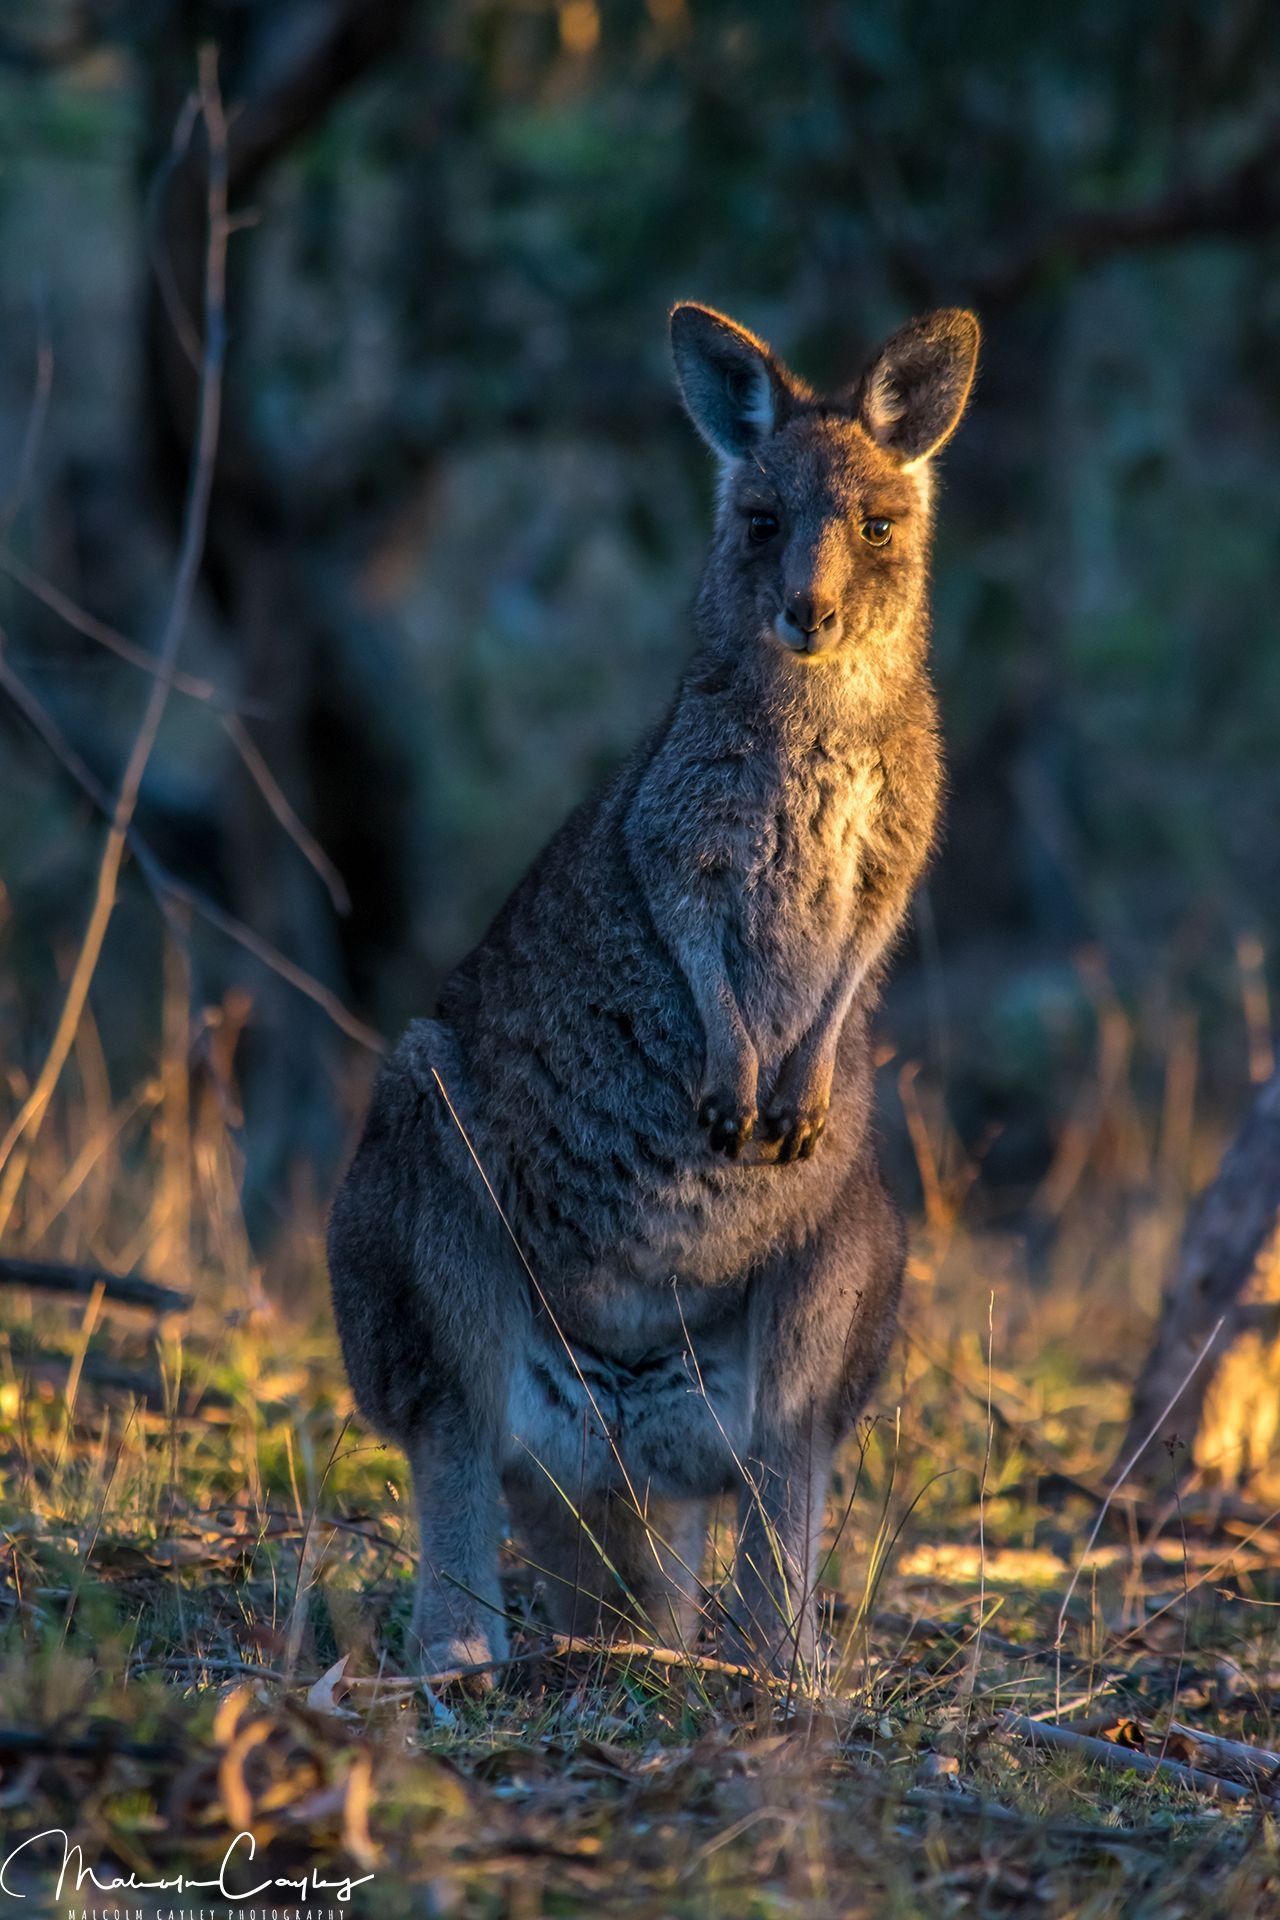
The same rules apply for all subjects!
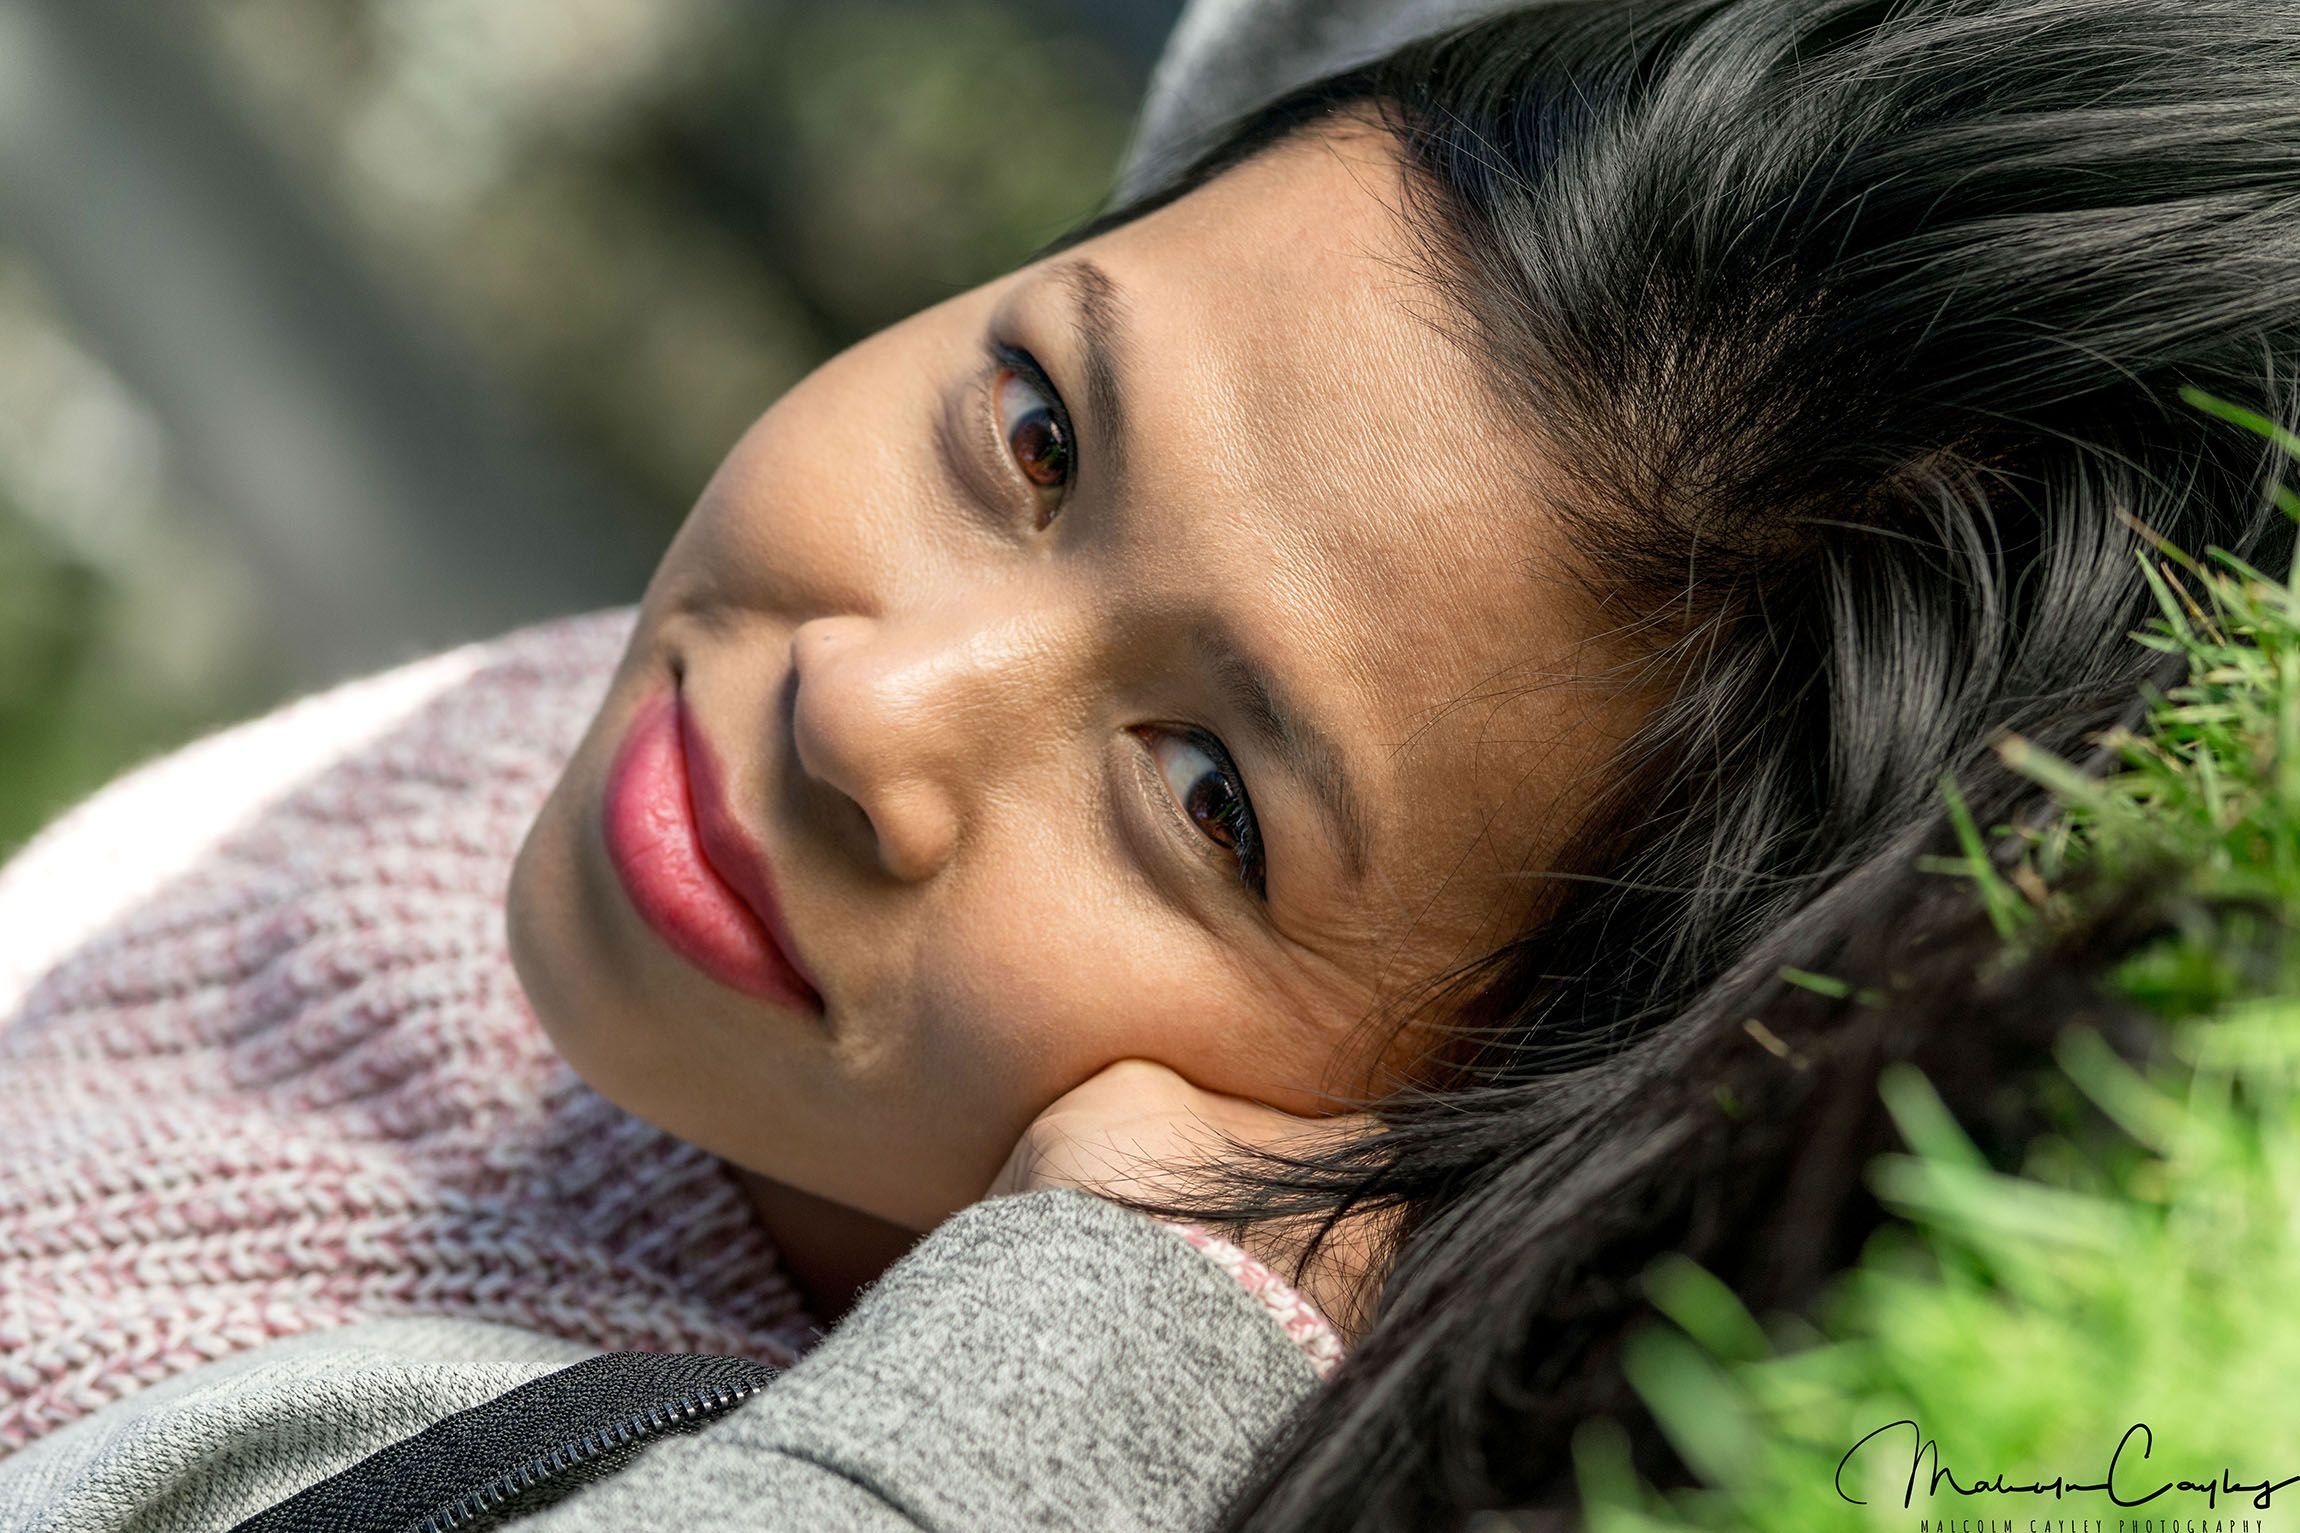
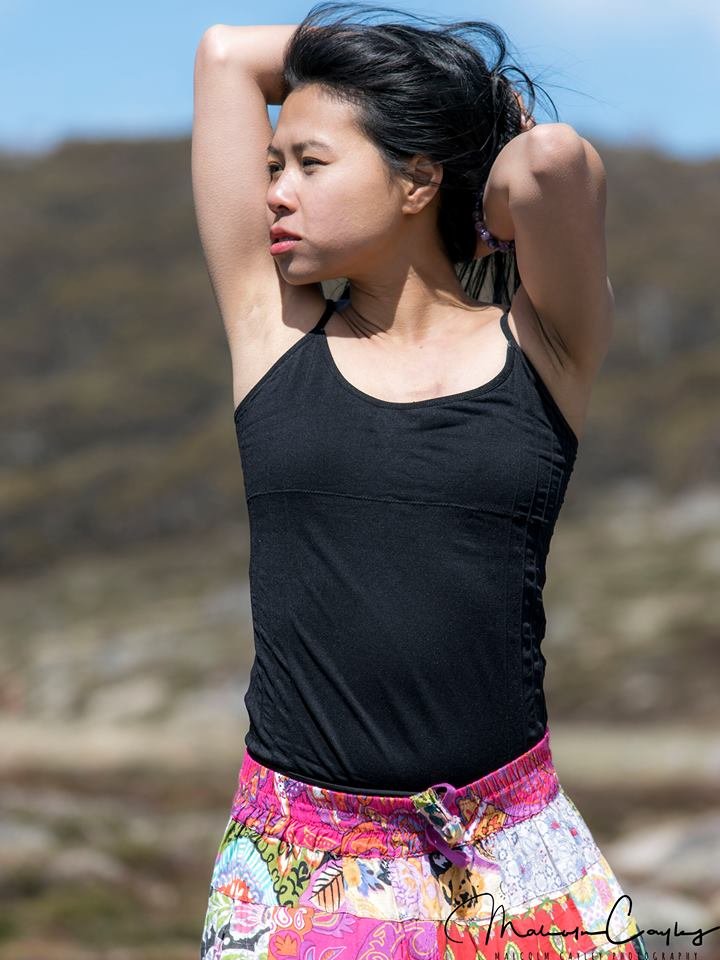
Diagonal lines can also create different areas of interest in the frame. The diagonal compositions can also create a feeling of distortion where you might not be completely sure of directions within the frame. Space and sci-fi movies often use this type of composition to increase the experience of being in space or in situations where physics are different.
3) Posing
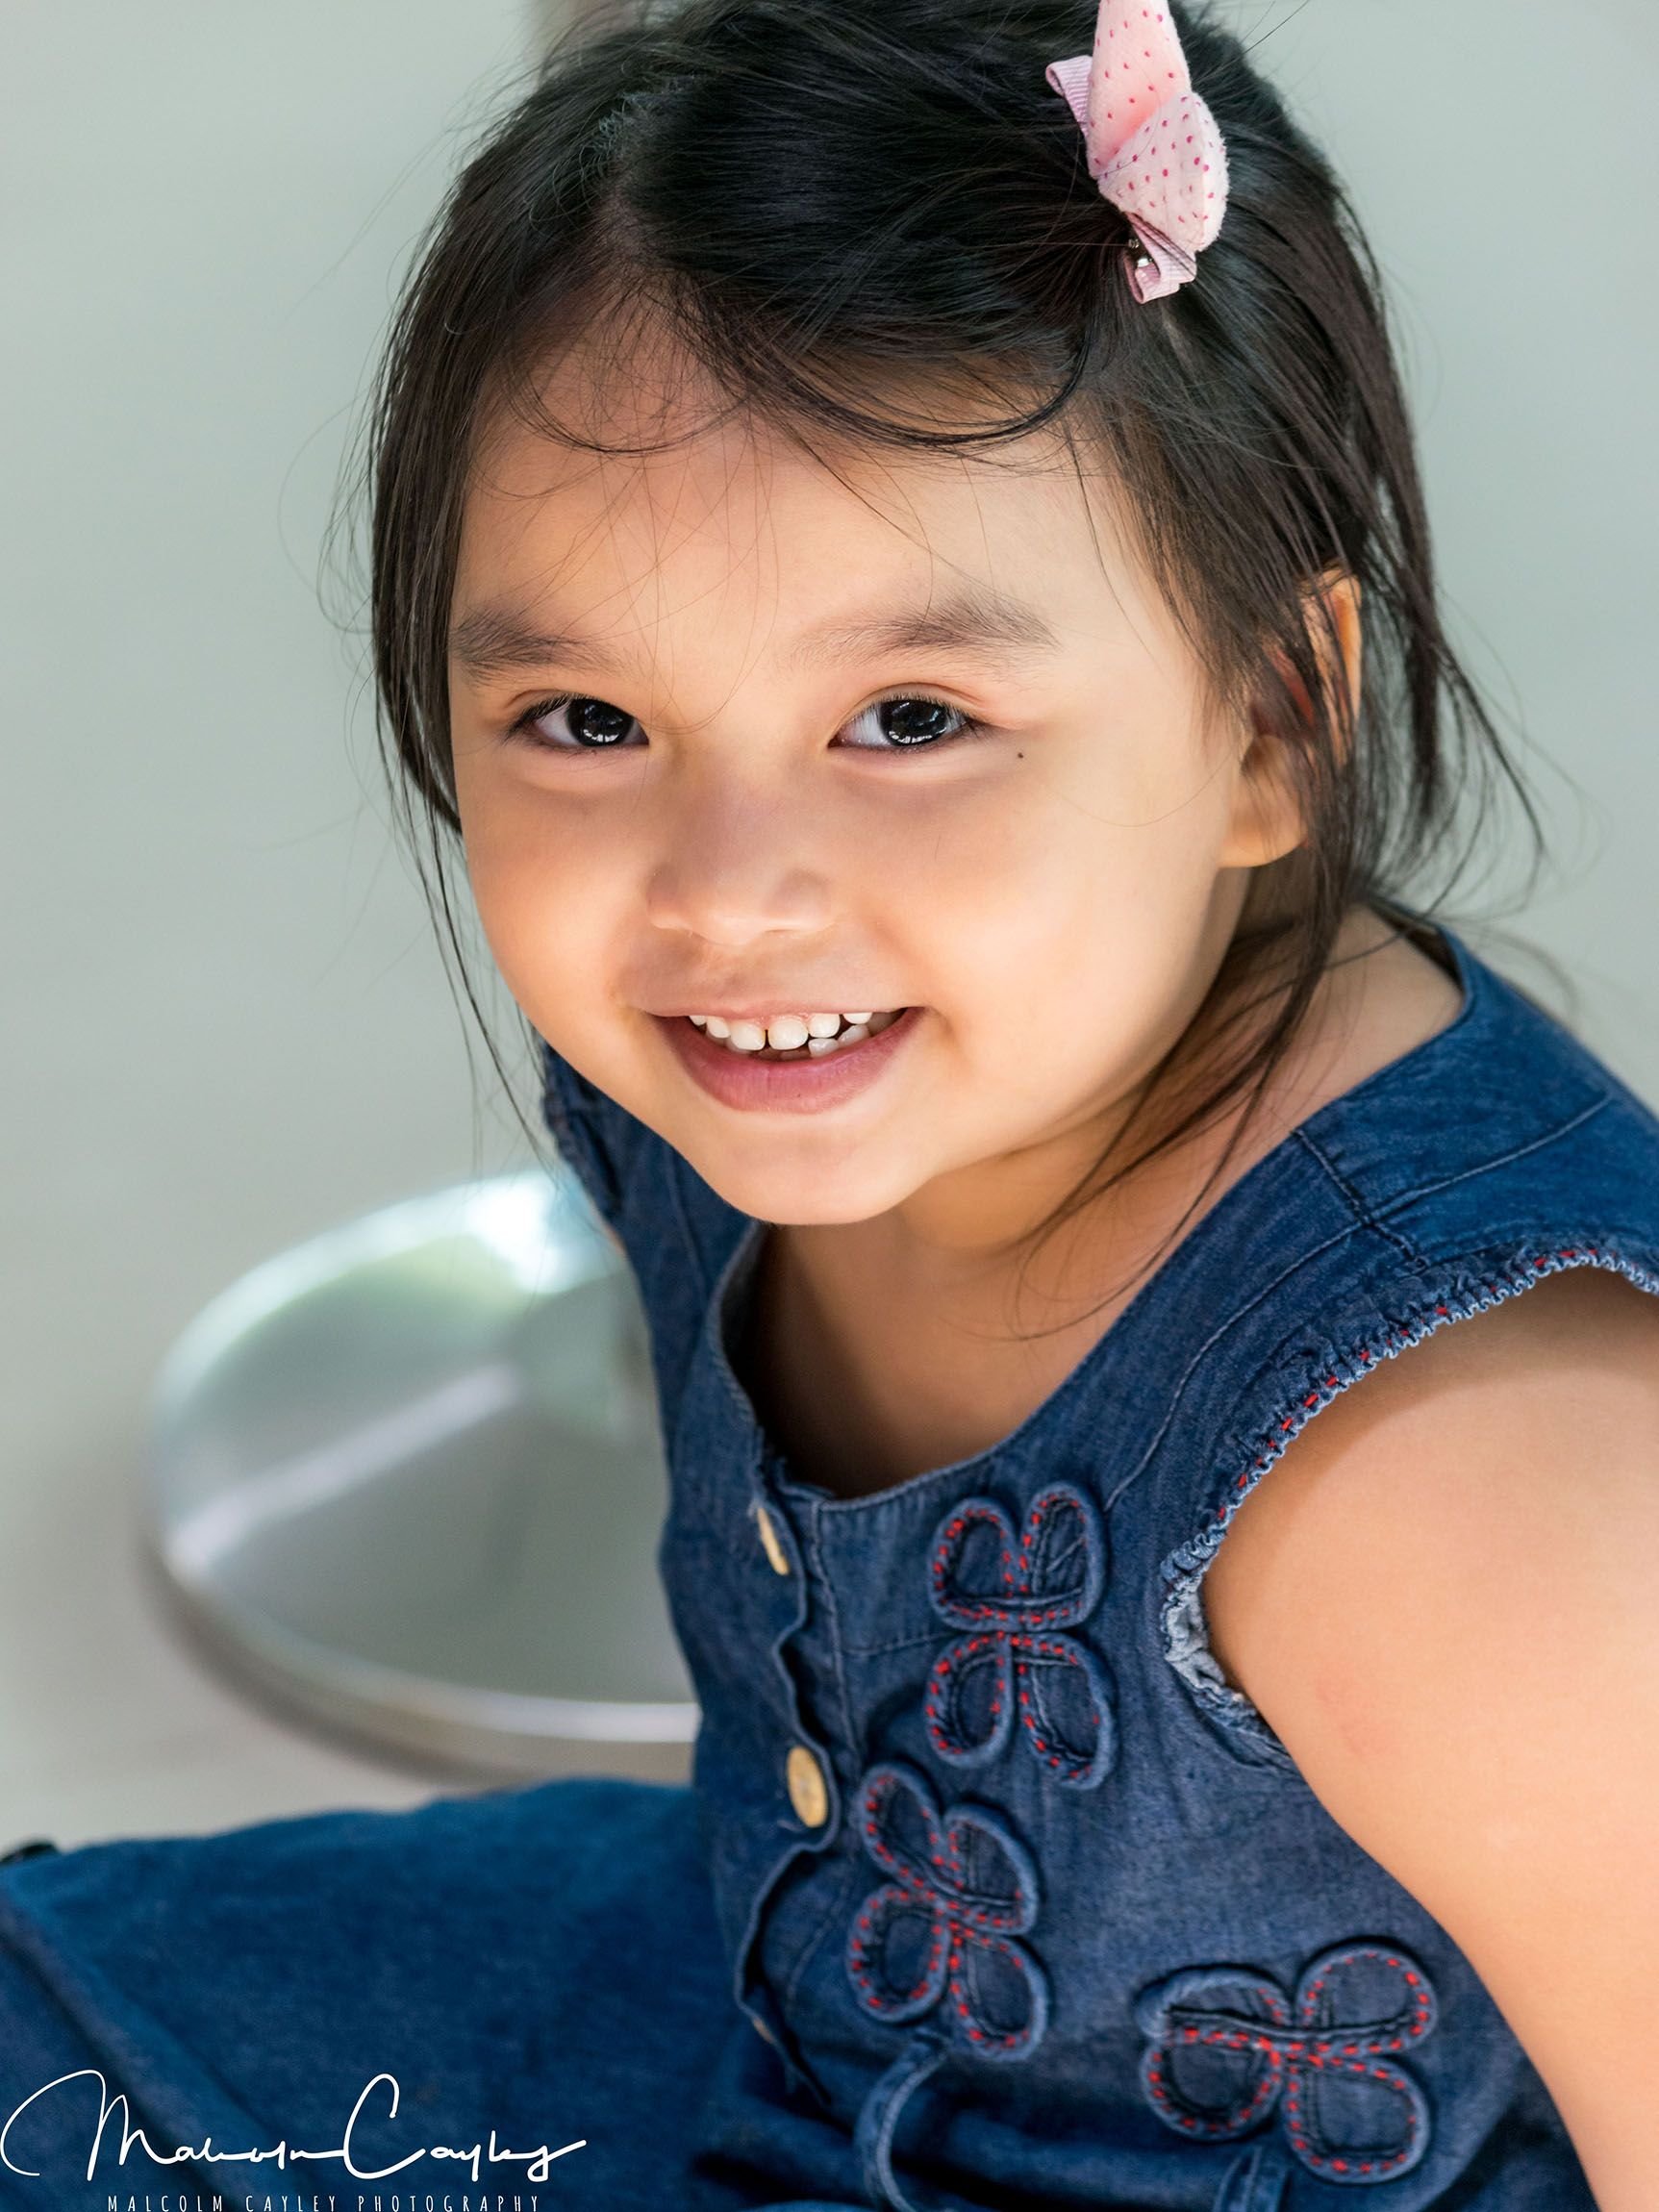
Posing the model is something deeply personal to the individual. A good tip would be to work with the model beforehand to see the types of emotions they can display on camera. Emotions travel through the lens far greater after you’ve finished the shoot and are back at home editing your photos: the scene is removed, memories fade, and all that is left is the photo itself. If the model is inexperienced or you’re working with friends, ask them to practice several “looks” in front of a mirror before the shoot. Make it a fun and exciting experience for them to assist the creation of a comfortable environment that is going to enable your photos to stand out and not appear awkward. People skills come in here and keeping the “talent” as happy as possible is always going to pay off in the end.


4) Equipment
The right tool for the job will always give you the best results. However, it is also a combination of factors that make a portrait fantastic and separate it from a quick bathroom selfie. A narrower depth of field provided by lens above 50mm is a good start to reduce the distortion that comes with shooting portraits with a wide angle lens close up.
Mobile or cell phones have a wider lens than is usually appropriate for portraits. That doesn’t mean you cannot take a portrait with a phone camera – you can – but you have to be aware of certain limitations when using this equipment. For instance, here is a shot I took from 2015 with my ASUS Zenfone 6. Notice the quality is low and the face appears distorted from the wide lens. Closeness to the subject is always something that might be uncomfortable if you don’t know your subject well so a longer lens allows the subject to relax.
My portraits are taken with my D3300. I have two lens I use for portraits: my manual Nikkor H 50mm from the 1960s and my telephoto Nikkor AFS 55-300. The minimum distance is a factor when using different lens: the 55-300 has a minimum focus distance of 1.5m while the Nikkor H is only .5m. Leica’s have a minimum focus distance of .35m which is really cool but its comes at great expense. This means that the camera will not focus on anything less than the minimum focus distance. Often, I pose my model and choose my shooting spot and have to roll over because I’m too close or not close enough. It depends on how you want to “work your shot” as well.
Working your shot means you move around try different compositions and angles and basically keep finding new shots until you’re confident you’ve got your shot. After that if you want to get experimental you can in the comfort of knowing you probably already have your shot and anything after that is going to be icing on top.
Check out some of my other posts if you enjoyed reading this :)
Manual photography: @deterrencepolicy/full-manual-photography-an-illustrated-tutorial-for-beginners
Owl Cafe: @deterrencepolicy/review-owl-cafe-akiba-fukurou-tokyo
Kimono Shoot: @deterrencepolicy/kimono-photoshoot-the-majesty-of-traditional-japanese-clothing
Thanks for reading! :) If you learned something or want to ask a question please do so :) Questions, comments, and feedback most welcome :)