Hello Steemians!
Many people struggle with shooting full manual on a DSLR and while this isn’t really necessary for most modern cameras, making the big move to “M” on the dial really puts you – the photographer – in the driver’s seat.
Sure, modes like Aperture Priority and Shutter Priority and even auto ISO are helpful, but they remove you from understanding how light is interacting around your scene. Plus, if you put the effort in shooting manual on your digital camera you can easily use any camera no matter how old because the basic principles have not changed since the dawn of photography.
I was lucky to take a short course on shooting large format with a pre-film technique called wet-plate collodion which gives you a cool image on a thin piece of metal with the skills I learned using manual mode on my camera. If you want to shoot film, manual is standard on most older film cameras so learning this means that you have absolute choice when it comes to photography.
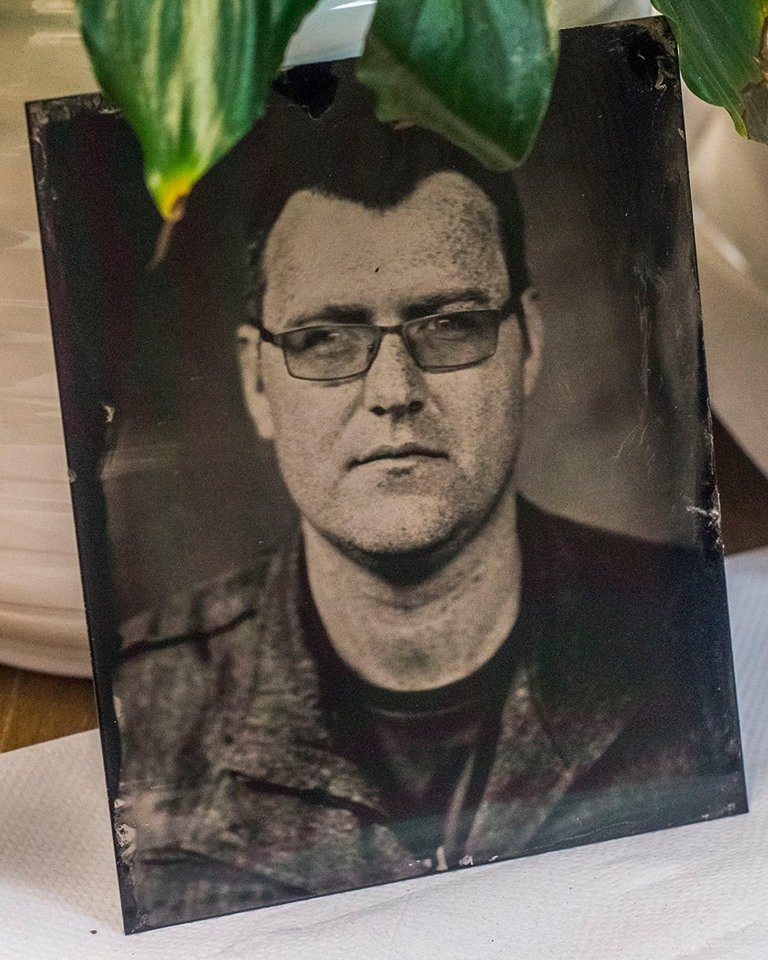
(result from the wet plate collodion class)
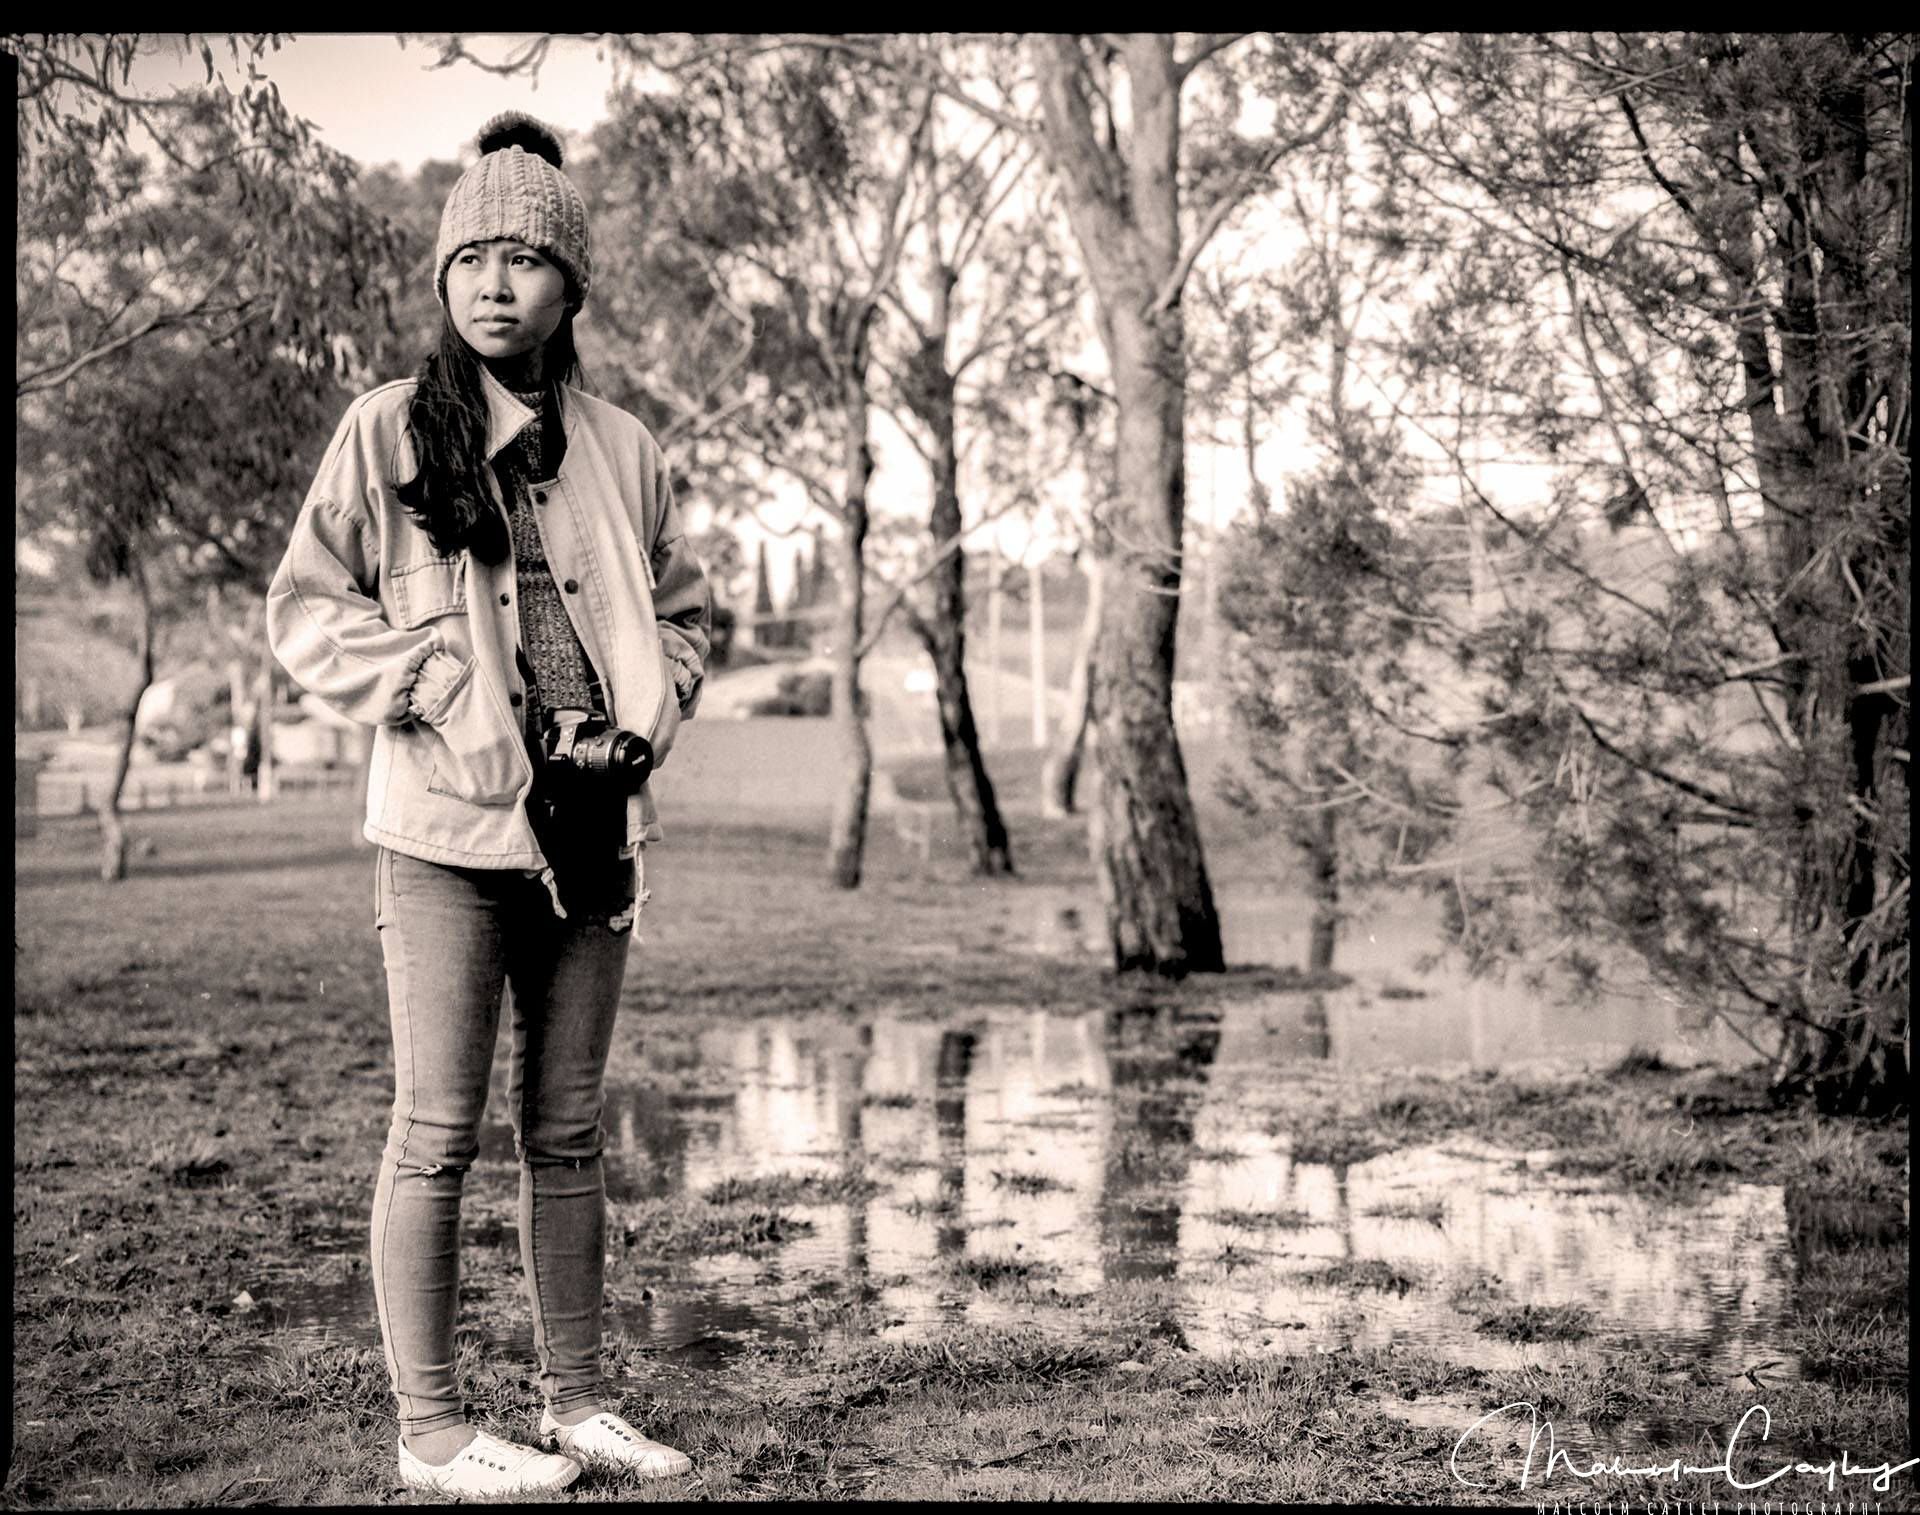
(Film photo shot with my Bronica ETRS and scanned)
The Exposure Triangle
/The_Exposure_Triangle1.jpg)
The biggest mistake that people new to M make is failing to understand that each element of the ISO triangle controls two aspects. These aspects are not necessarily completely good or bad but situationally dependent and can be used to achieve your creative visions.
ISO: this is the film or the sensor’s sensitivity to light. Turning it up increases the brightness of your photos. However, high ISO values are also very grainy. My D3300, for instance, is comfortable shooting up to 1600 for excellent results. It goes up higher but at significant quality reduction. The famous Canon 5D Mark IV (several times the value of my camera) shoots quality photos at higher ISO. The D3300 is also a “crop frame” sensor as opposed to the full frame 5D. This means that the physical size of the sensor is larger on the 5D meaning it is exposed to more light.
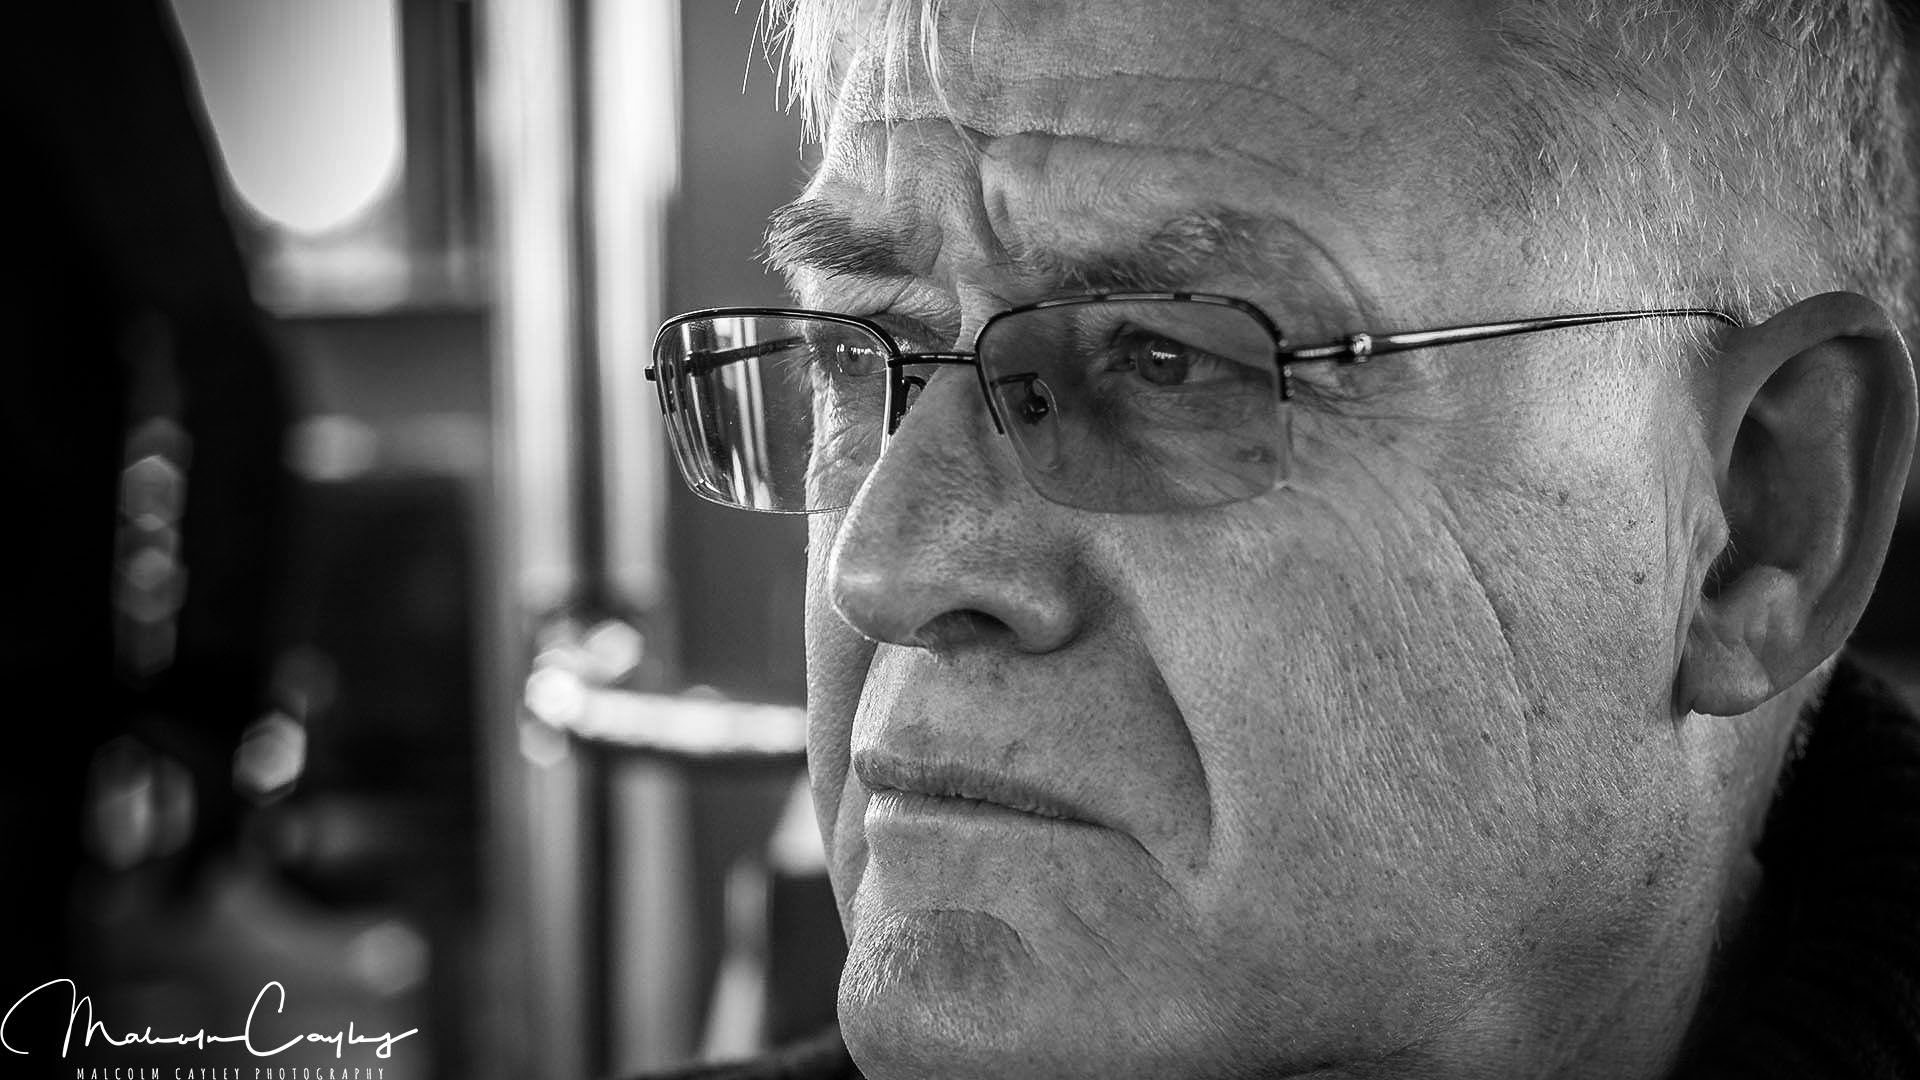

Aperture: the term aperture is just a fancy word for “hole”. It controls the Depth of Field (DOF) and the amount of light that is let in through the lens. Aperture is measured as a ratio which might seem counter-intuitive to beginners: a higher aperture number will give greater DOF. Landscape photographers usually shoot at values starting at f16. Portraits generally require a lower value. For professional studio work, however, everything might need to be razor sharp and thus require greater DOF.


Shutter speed: the shutter speed controls motion blur and the amount of light let in through the lens. Adjusting the shutter speed can give you silky waterfalls for low shutter speed (combined with a neutral density filter (ND)) while a fast shutter speed can give you perfectly frozen children leaping about or animals chasing each other or race cars frozen around the track. Shutter speed is represented by either seconds for slow speeds or fractions of a second for fast speeds. For instance, 1/4000 means 4000th of a second while 1 means 1 second.
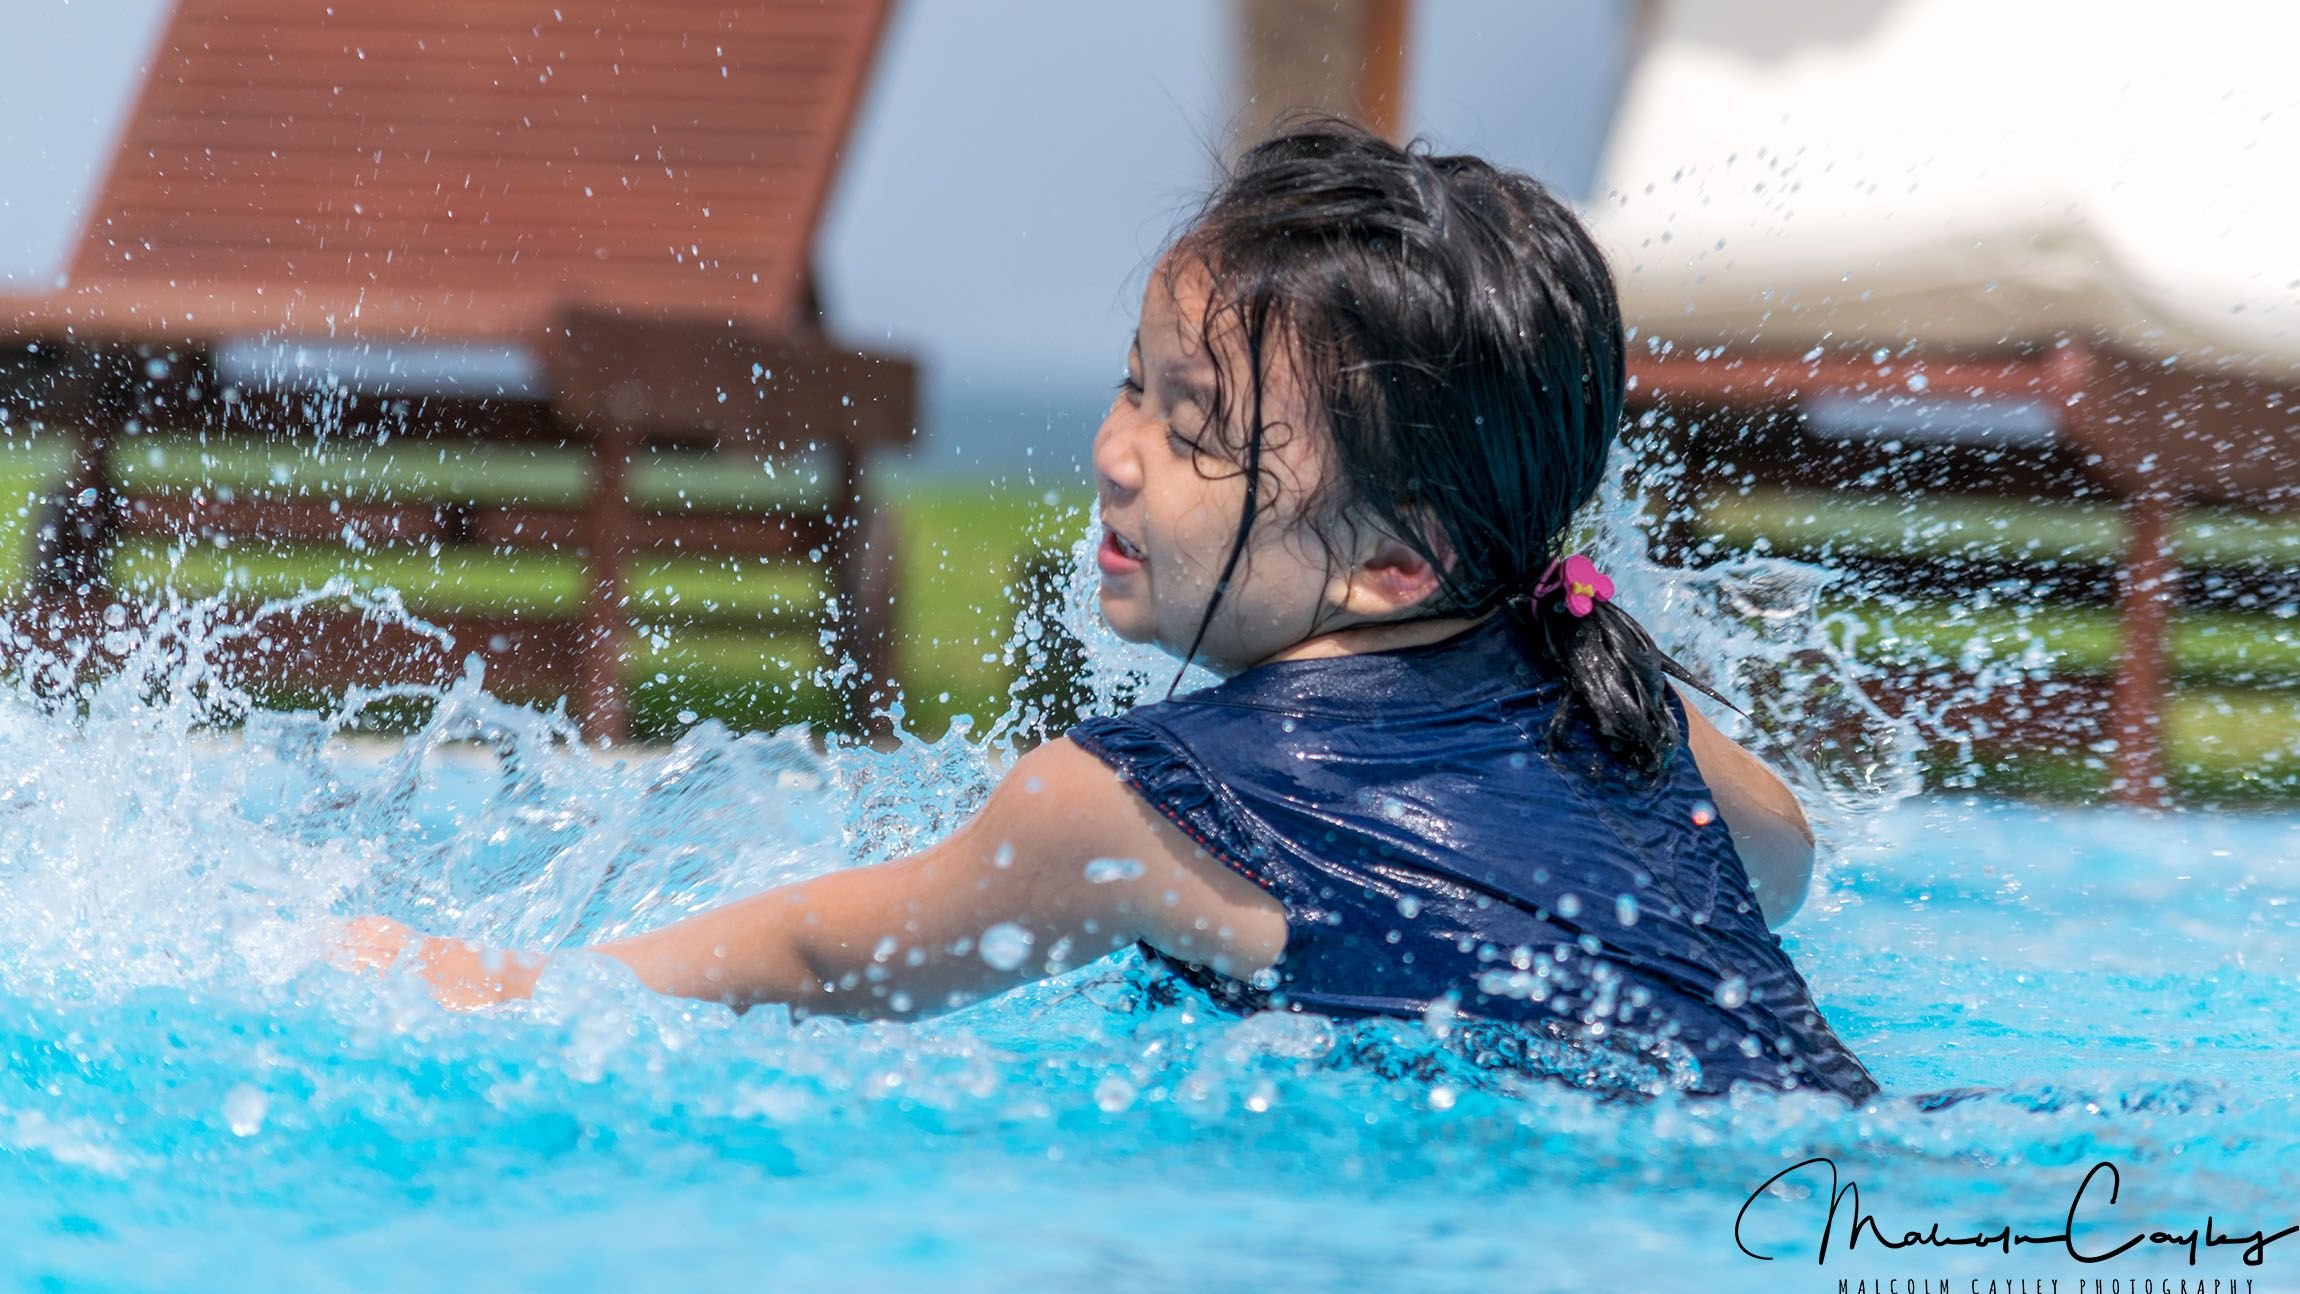
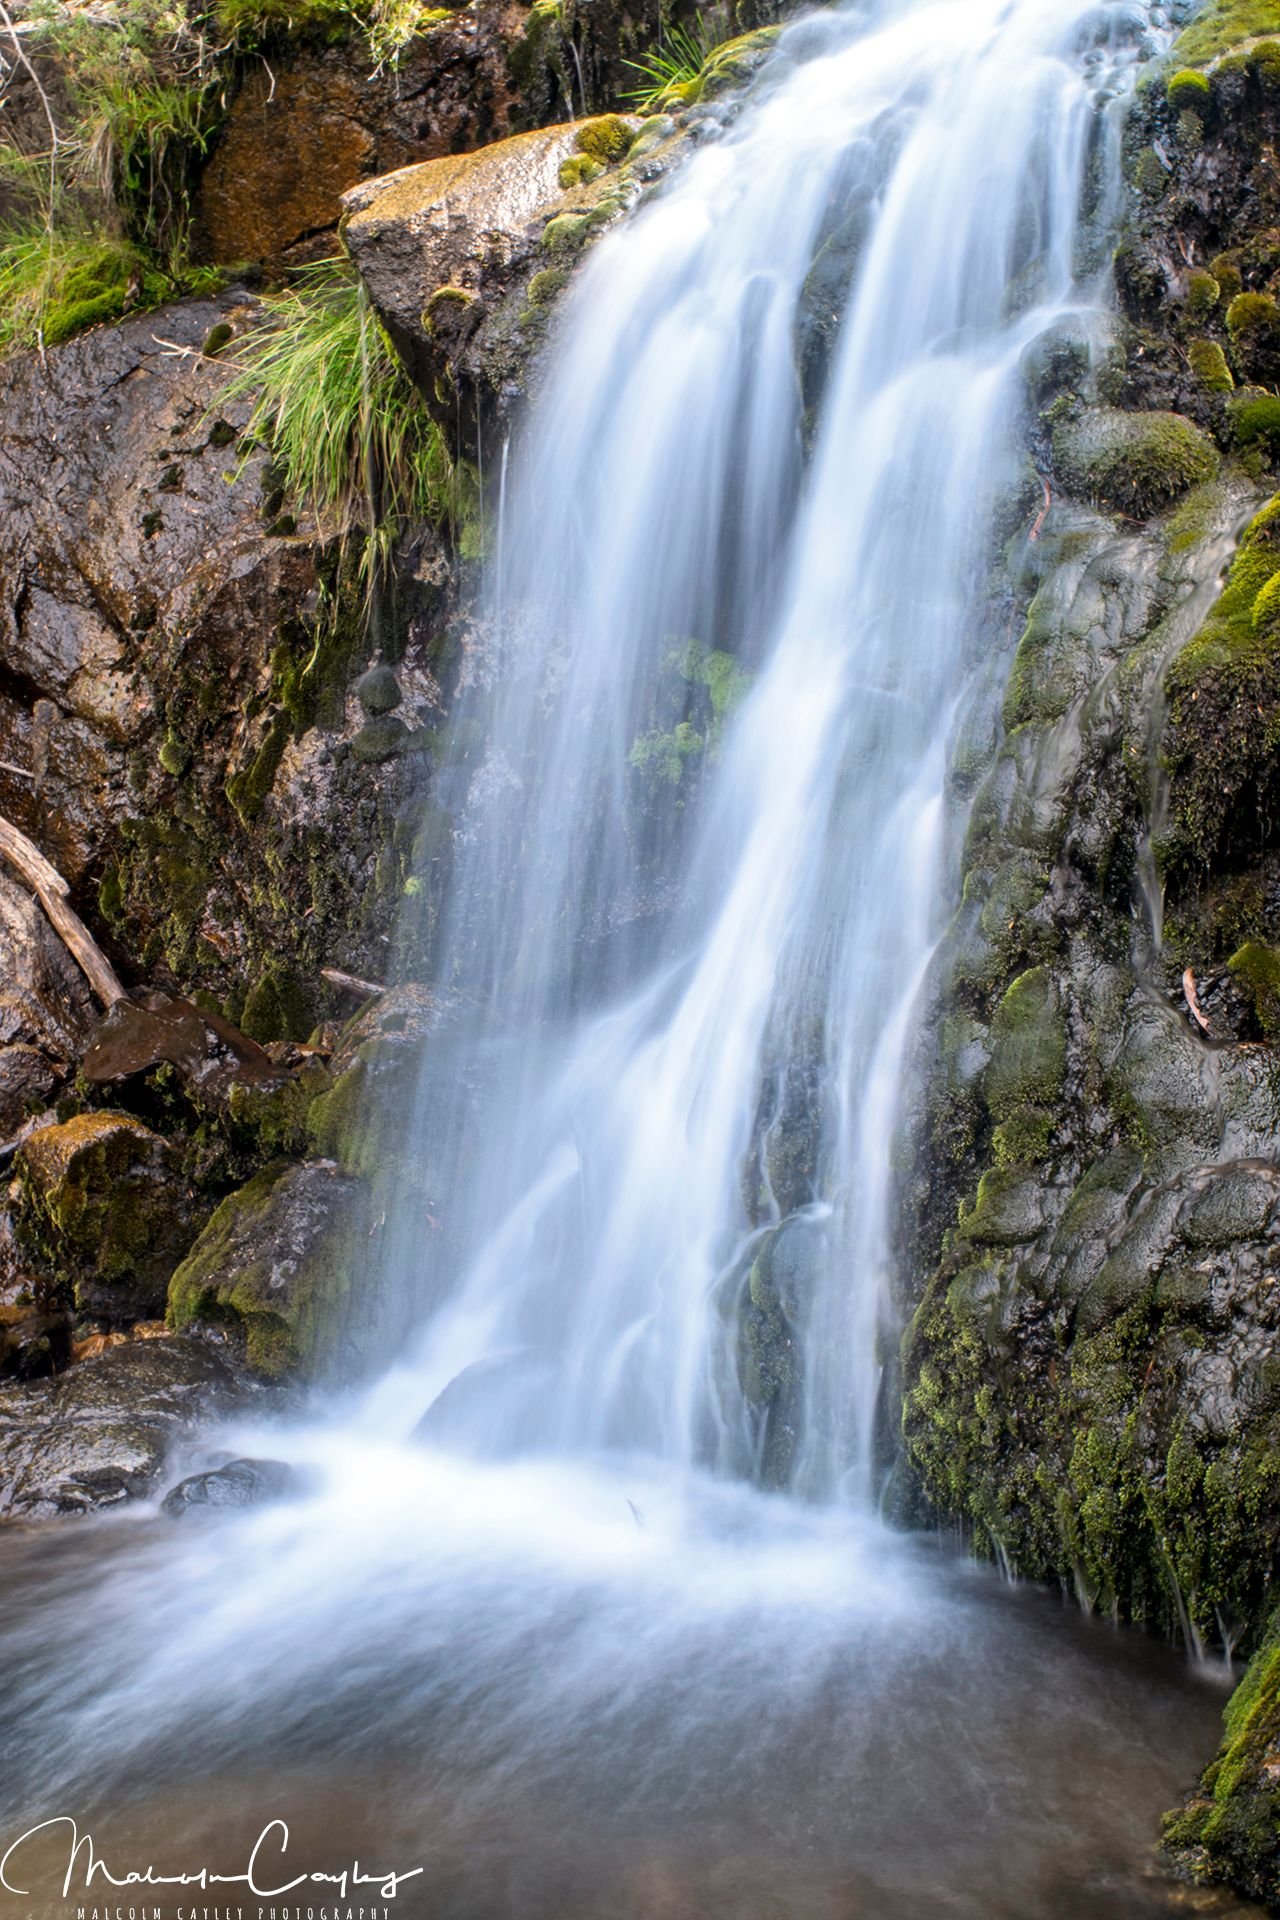
You will need to adjust the three settings for the type of photos you want to take. Checking the light meter through the lens (TTL) is preferred rather than pointing the camera downward because the amount of light hitting your scene versus the light hitting near your feet is going to be drastically different.
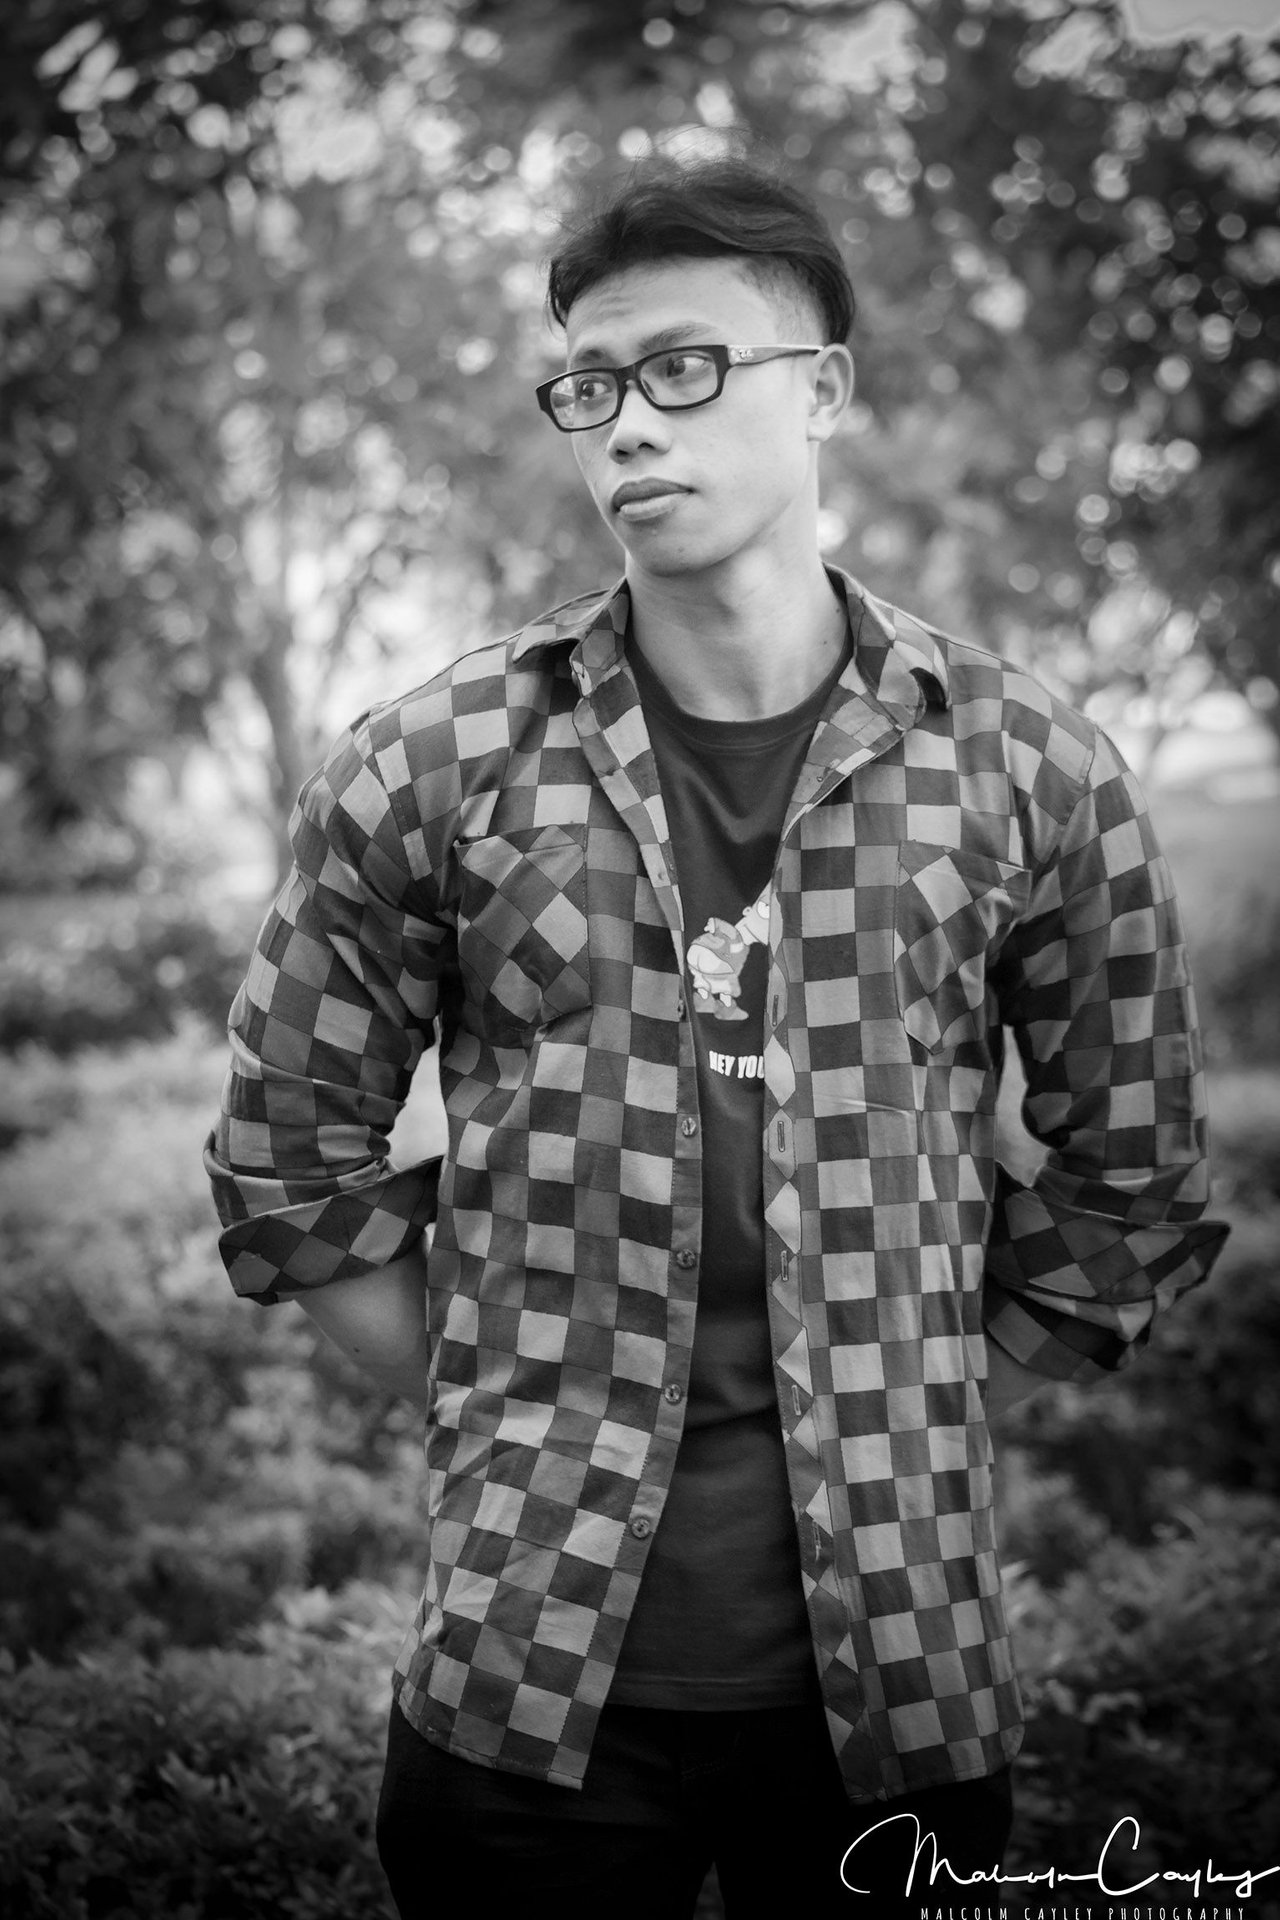
So, to sum up: ISO = sensitivity to light at the cost of noise; aperture = depth at the cost of light; shutter speed = motion control at the cost of light. But read the other way it might also mean: Low ISO: loss of grain; Low Aperture: loss of sharpness (Depth); Fast shutter speed: loss of blur.
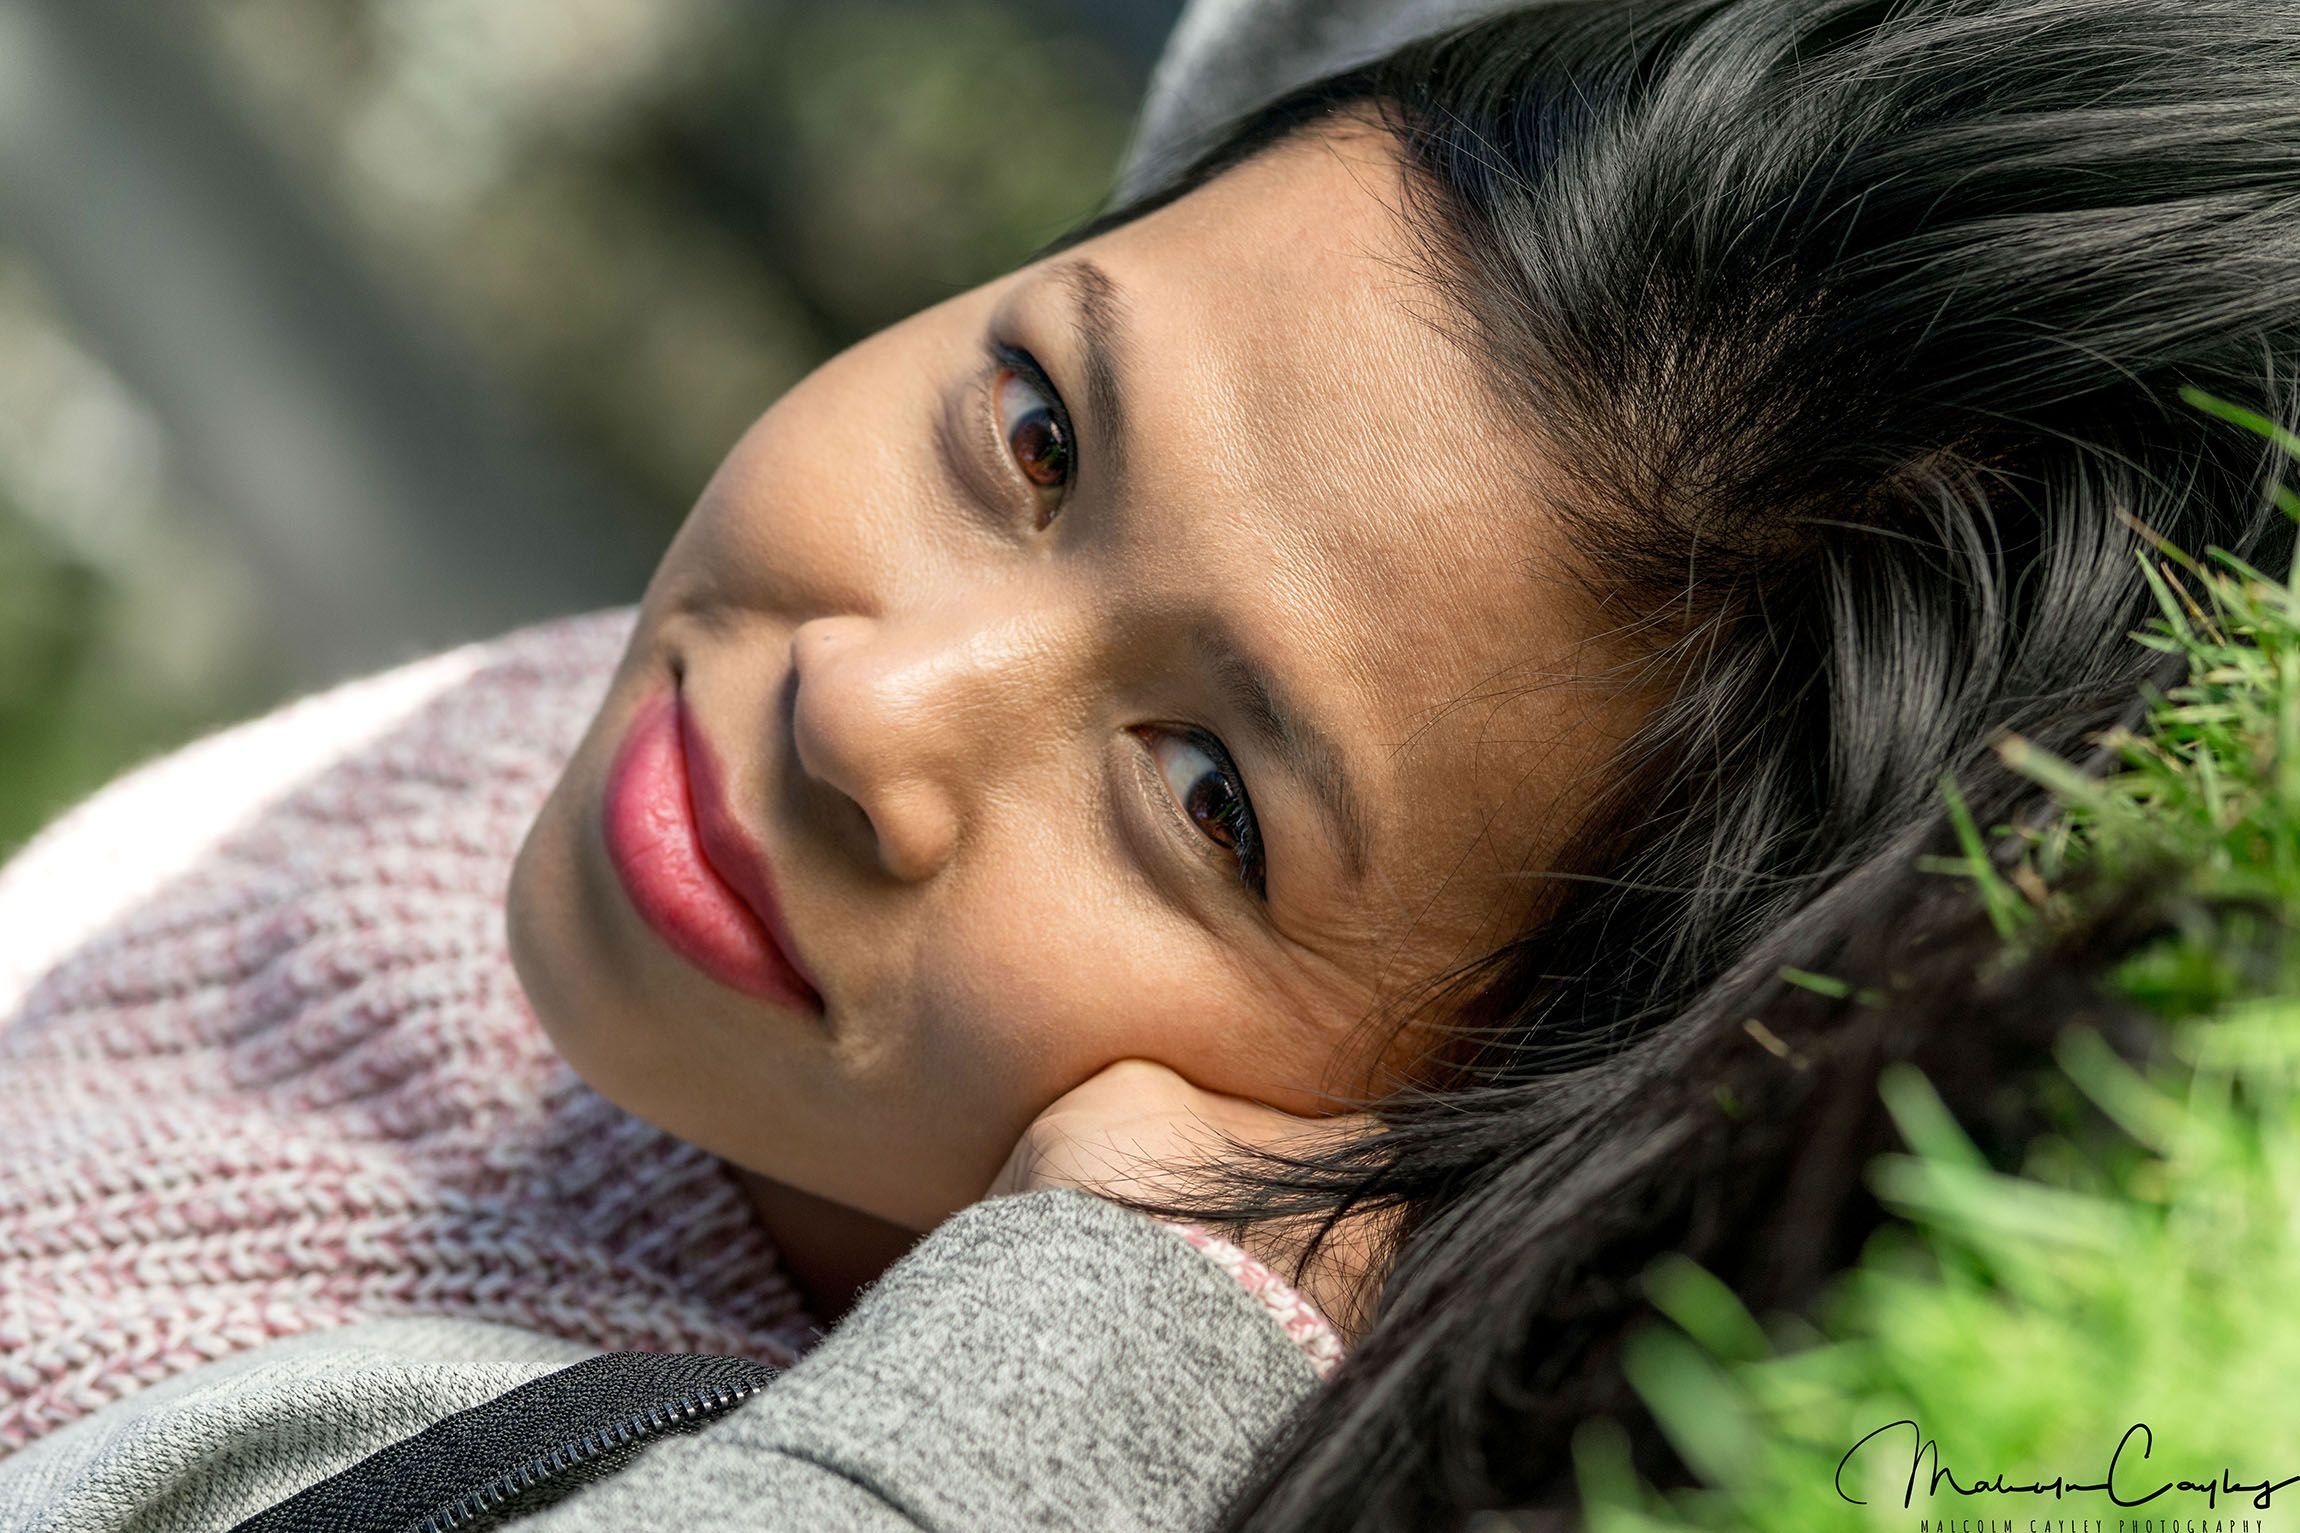
Play around with the settings and take some photos for practice to get the hang of it! All of my photos above (except the wet-plate and the film photo) were shot with my Nikon D3300 with various lens like my Nikkor 55-300 AFS, Nikkor H 50mm, and Nikkor H.C 28mm. Someday I might be able to afford better equipment, but, as you can see, (I hope!) good photos need not break your budget.
Thanks for reading!
