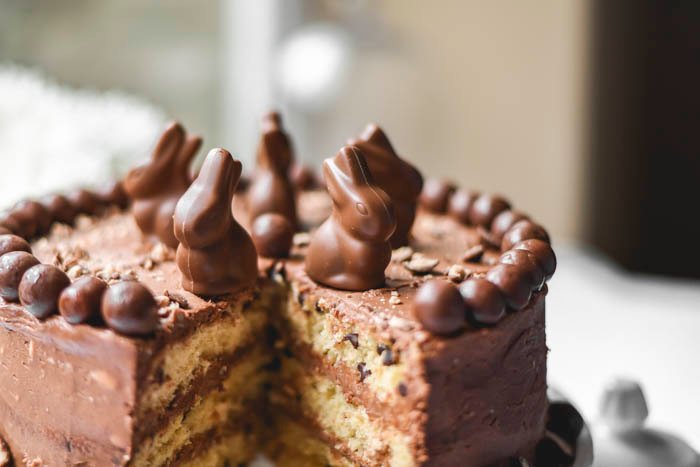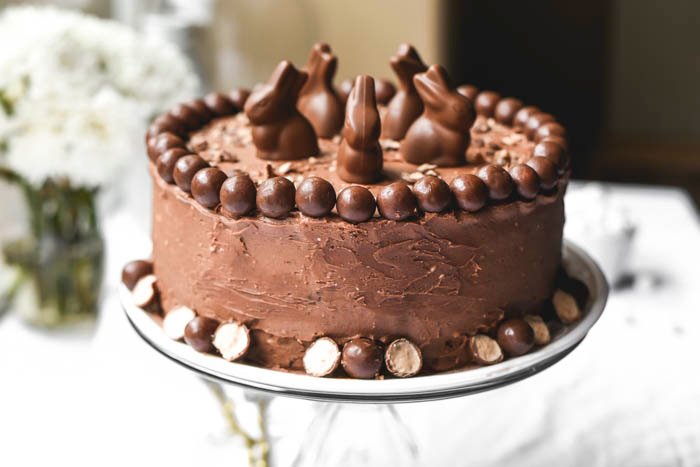
Okay, I know, I know…………. moist is not the greatest adjective there is…….but can we all agree it’s really hard to find a replacement for it in situations like this when describing a cake.
So I have a little secret to tell you guys. I’ve been playing with video this week! Honestly, I’ve been putting it off because, knowing myself around photography alone, I’ve always known I’d be super obsessive about perfecting it and video editing takes at least three times as long as photos.
Well, I was right about the perfectionism thing but what I didn’t realize is how much fun I’d have with all the possibilities for editing and creative filming. Especially now that I’ve gotten more familiar with it and I’m finally getting passed the learning curve. So I can’t give exact dates for when I’ll start sharing them but I am in the process and I’ve caught the video bug so it’s only a matter of time.
Not sure if I’ll start doing them just a few times a month or possibly making them weekly or even a few times a week. I guess it depends on if I can speed up my workflow. Speaking of workflow, that’s something I get asked about a lot so let me know, you guys, would you like me to also include videos of behind the scenes sometimes? I’m about to create some new backdrops for my setups and I was thinking you might like to see that.
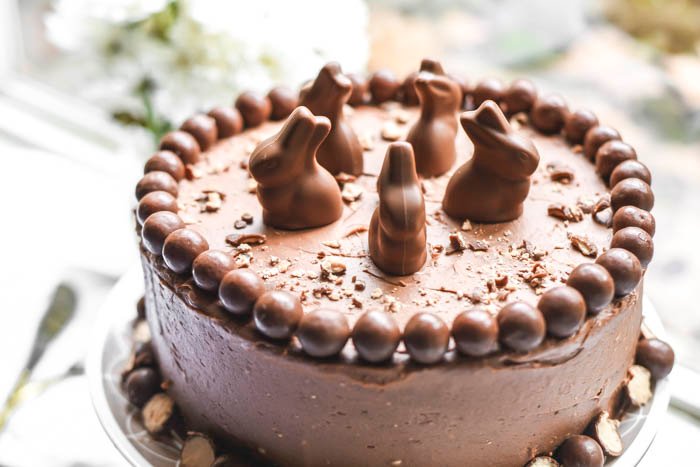
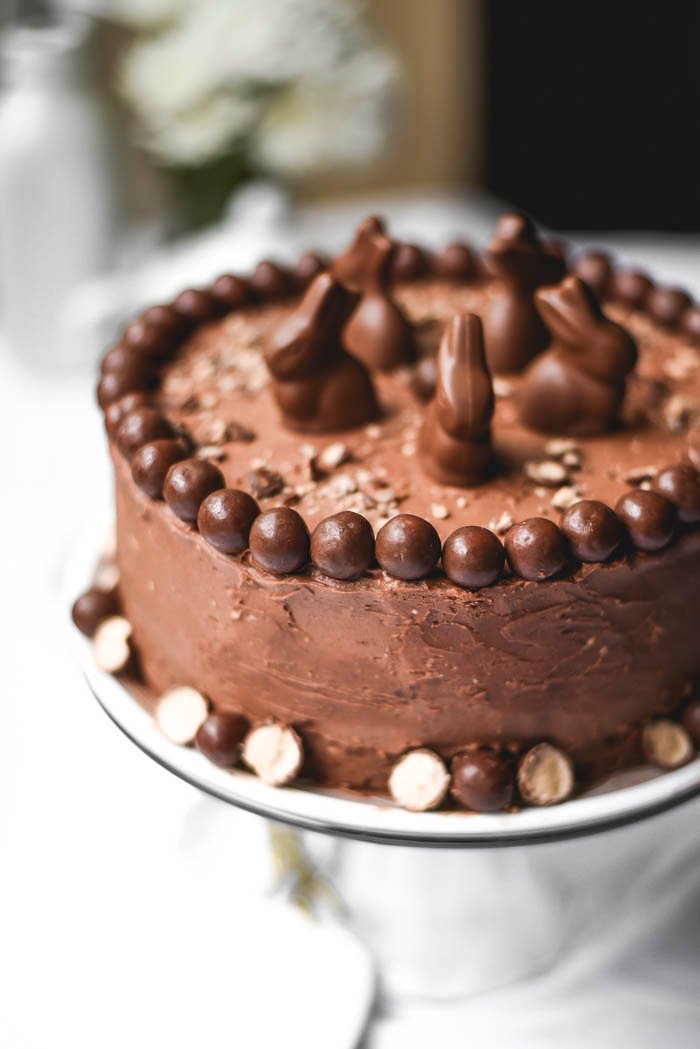
But now let’s talk about this super, errrr, moist (for lack of a better word) cake. So my parents happened to be going to dinner at my aunt and uncle’s the day I made this and I was happy to send it along. I was even happier when I heard how well received it was. My younger sister told me she ate almost 3 slices. and while this sister can definitely eat what she wants (read squirrel metabolism), cake isn’t typically her choice so that’s really saying something that she liked it so much.
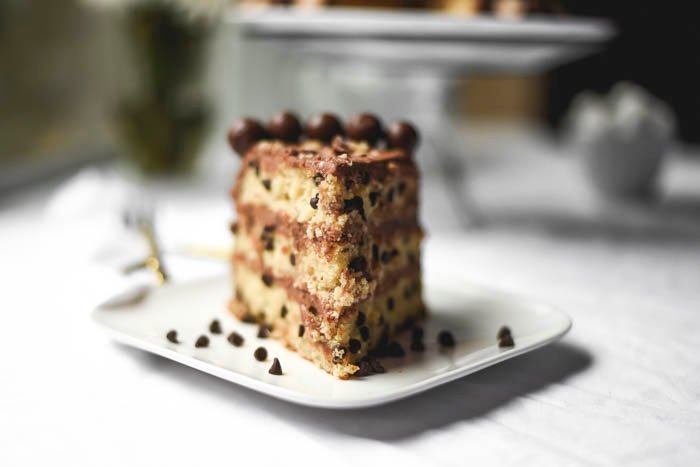
I’ve worked with malt in baking before many times and if you have also you might know that it’s very tricky to include it without drying out the final product. Cookies, brownies, and muffins I’ve used it in have all turned out like rocks in the past.
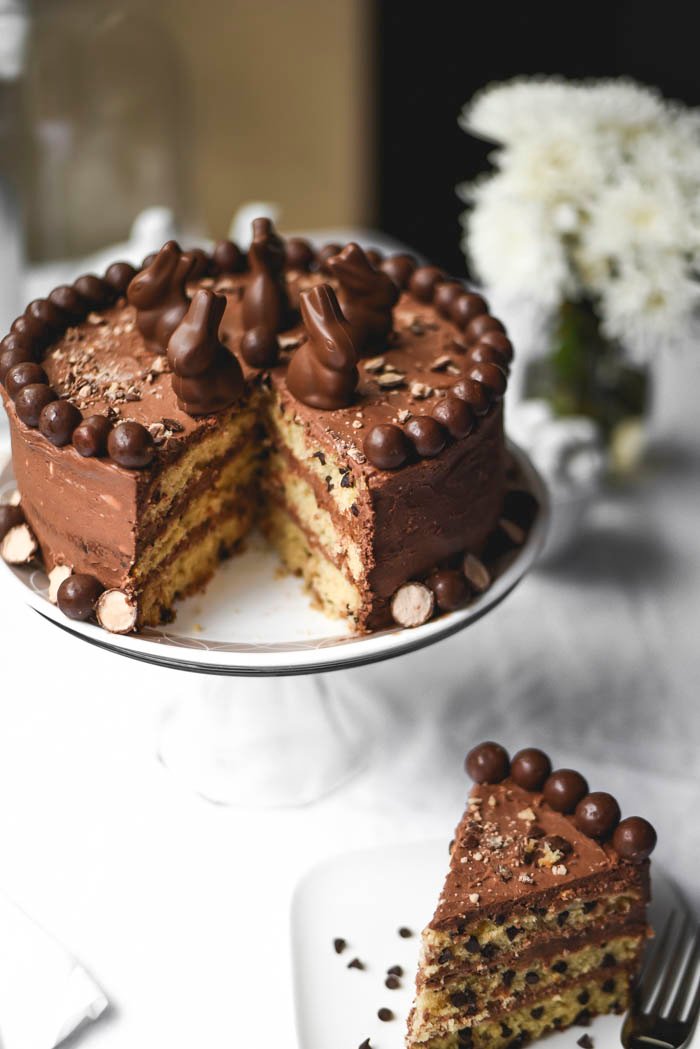
The malted milk balls (whoppers/maltesers) are also difficult to work with because, if baked, the balls tend to get candied and very hard. While some people might like a the chewy toffee-like texture they get, my younger brothers hate getting it stuck in teeth and I personally am not a fan either. That’s why for this recipe I realized they needed to remain a topping and instead adding them to the cake I used mini chocolate chips because you can never go wrong there.
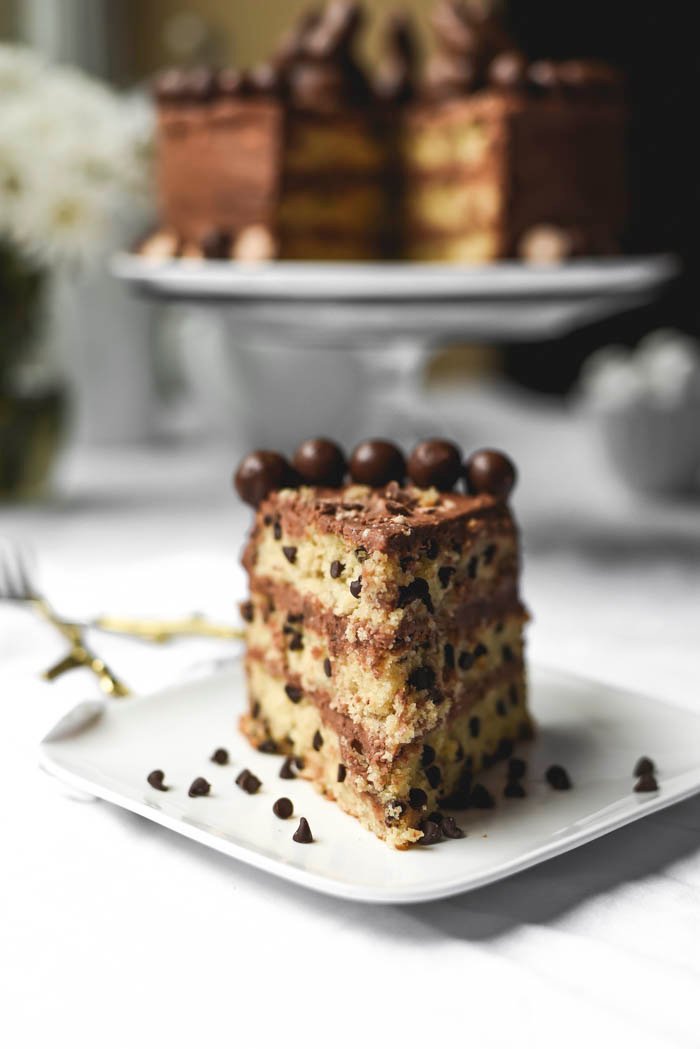
Okay, and here’s where I tell you the secret to why the cake is so….soft………it was the sour cream. Yeah, it’s not that unusual. I’ve actually used sour cream in many cakes before, but I don’t know, something about this combination turned out epic. Sort of like a chocolate malt milkshake in a cake form. I’ve already promised to make it again very soon. Hey it would be a great recipe to make about a week after Easter to use up all the extra candy, right?
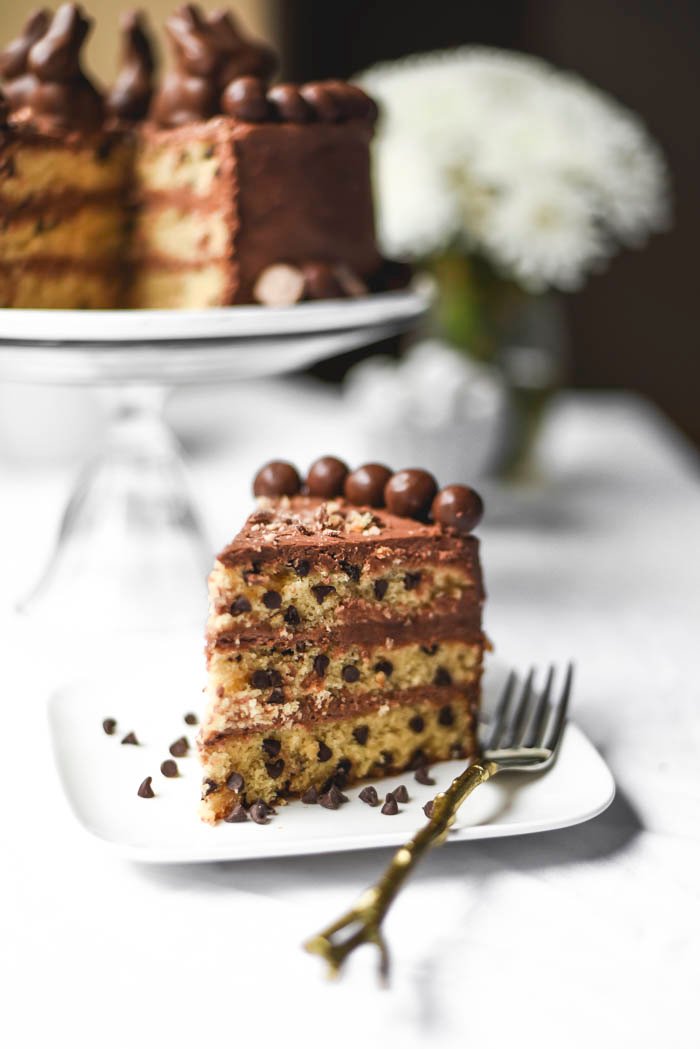
I hope you get the chance to try it out either now or later and I also hope you enjoy your Easter weekend!
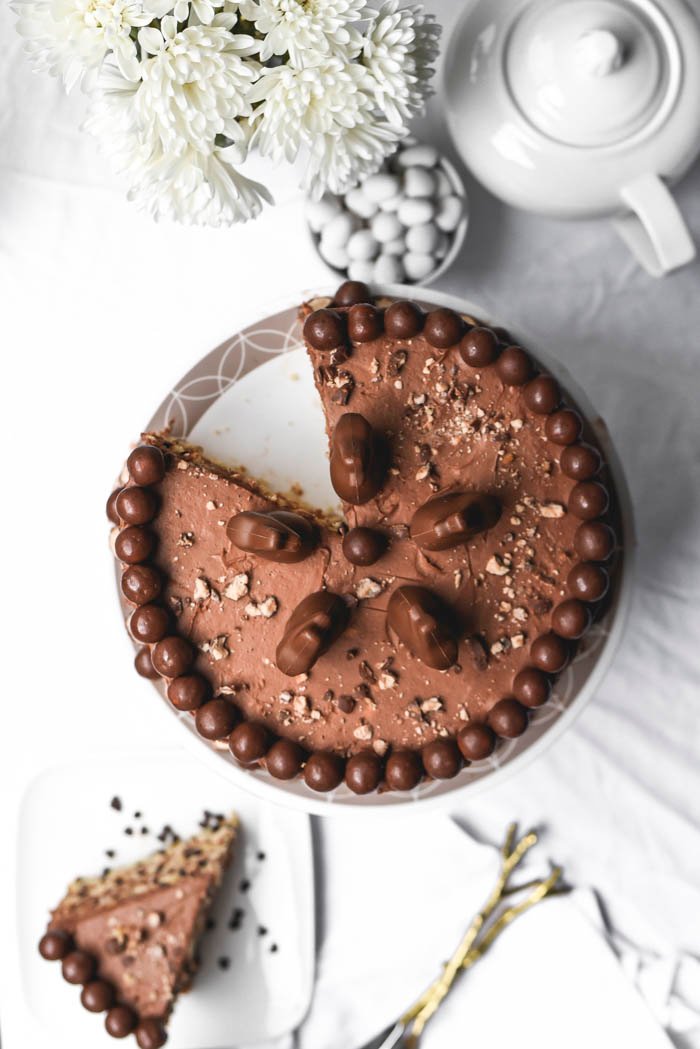
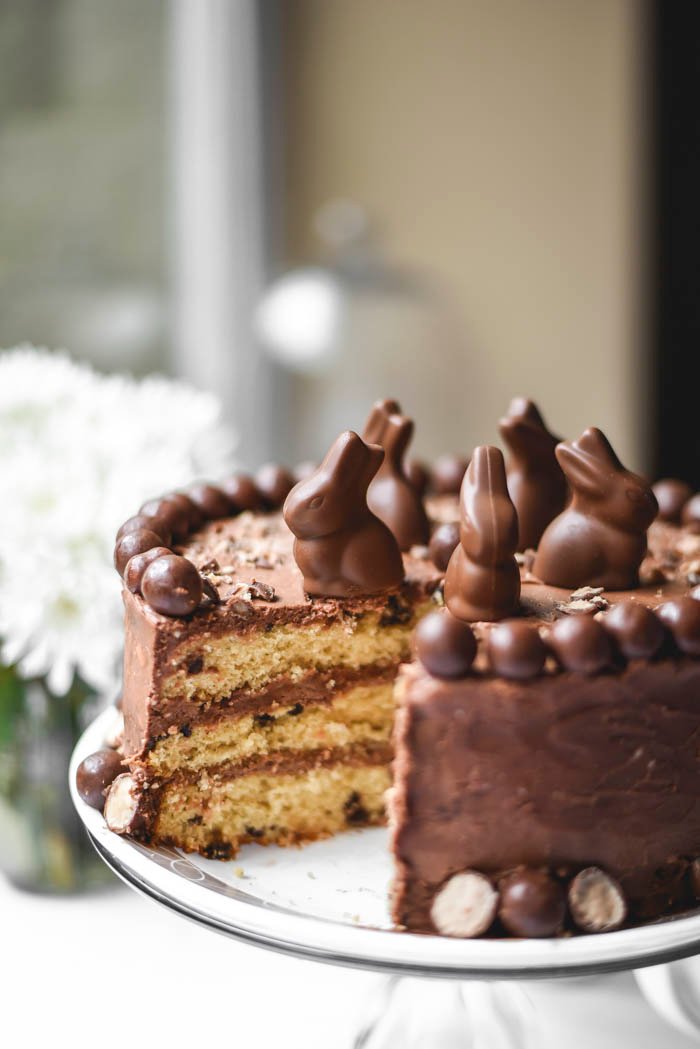
Super Moist Malted Milk Chocolate Chip Bunny Cake
Prep Time: 45 minutes
Cook Time: 45 minutes
Total Time: 3 hours
Yield: 1 cake (about 16 servings)
Ingredients
Cake:
1/2 cup (1 stick) butter, melted
1/2 cup oil
1 1/2 cups sugar
4 eggs
2 teaspoons baking powder
1 teaspoon salt
2 teaspoons vanilla extract
3/4 cup malted milk powder
1 cup sour cream
1 3/4 cups flour
1 cup mini chocolate chips
Chocolate Malt Frosting:
1 cup (2 sticks) butter, softened
2 teaspoons vanilla extract
1/3 cup cocoa powder
1/2 cup malted milk powder
1/4 cup half and half
1/8 teaspoon salt
3 cups powdered sugar
Optional Toppings:
chocolate bunnies
1 cup chocolate malted milk balls
Instructions
Cake:
Preheat oven to 350 degrees F (180 C) and grease 3, 9-inch (or 8 inch) round cake pan with oil and line with circles of parchment. Whisk together butter and sugar until creamed then add oil and beat in eggs well. Add salt, baking powder, vanilla, and cocoa and stir until smooth. Stir in the sour cream followed by flour, then stir in the mini chocolate chips until batter is smooth.
Divide batter among the prepared pan and place in oven. Bake for 30 - 35 minutes until toothpick comes out clean (ovens may vary so if it's not quite done give it a bit longer). Remove from oven and allow to cool for about 15 minutes then loosen edges with knife and remove cakes from the pans by inverting them over large plates. Once you've taken them all out, cover them with plastic wrap to seal then place in the freezer for a minimum of 30 minutes.
Chocolate Malt Frosting:
In the bowl of a stand mixer fitted with whisk attachment beat the butter and one cup of powdered sugar on low until combined, repeat with the remaining 2 cups then add the remaining ingredients. Beat on high until light and fluffy
Assemble:
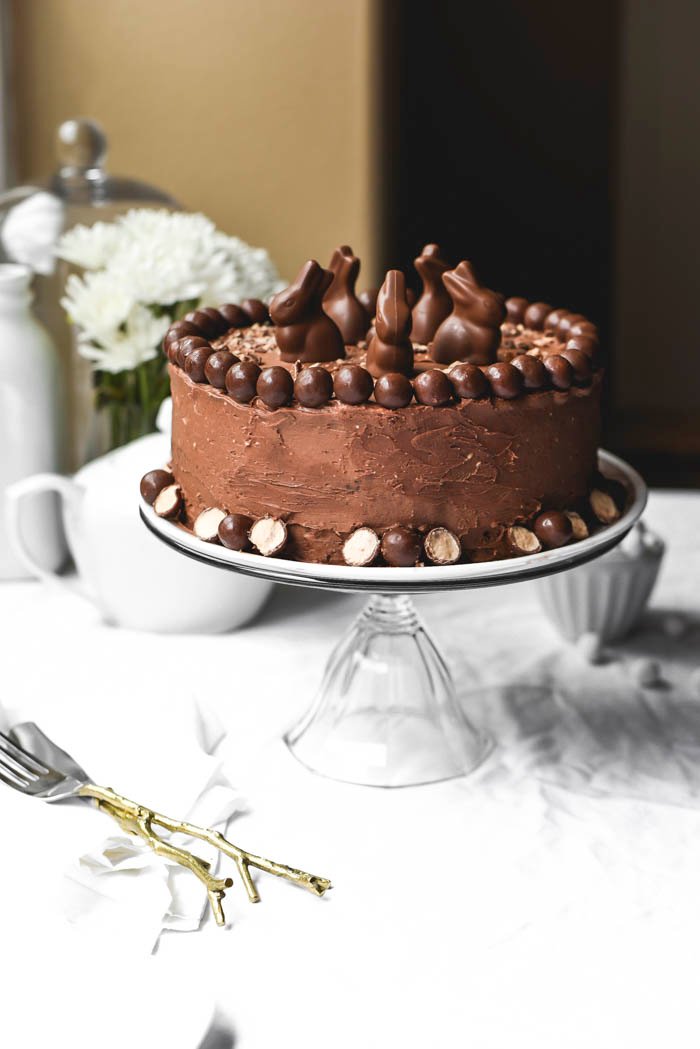
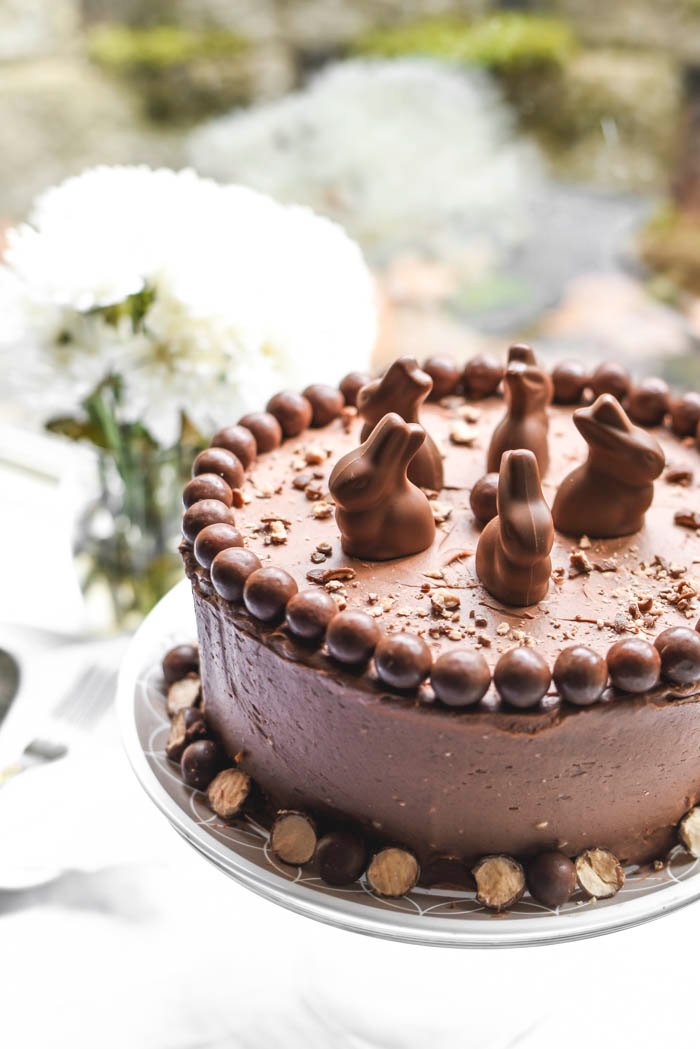
Remove cakes from freezer and if needed, trim to level with a serrated edge knife. Spread a generous amount of the frosting on one of the layers.Repeat last step for the next two layers of cake, then spread frosting around the outside of the cake in a smooth coating. If desired, top the cake with chocolate bunnies and place malt balls along the top and bottom edge.

For more great food ideas, please do not forget to look at my other recent food posts
- Roasted Purple Potatoes & Cod Sheet Pan Dinner
- Tropical Breeze Carrot Juice Smoothie
- Toasted Peeps S’mores Skillet Brownie
- Chocolate Hazelnut Granola Orange Greek Yogurt Bowl
- Coconut Macaroon Nest Shortbread Cookie Tarts
- Coconut Vanilla Fluffy Bunny Ears Cupcakes
- 30-Minute Thai Basil Asian Steak Stir-Fry
- Nutella Tiramisu
- Hummus & Veggies Mediterranean Mezze Board
- Spring Bunny Tracks Confetti Blondies
ALL CONTENT IS MINE AND ORIGINAL! All of these food photos were taken with my Nikon D750 and my favorite Lens, the Nikon AF-S FX NIKKOR 50mm f/1.8G. You can find out more in my INTRO POST.
And, by the way, to all the minnows out there, my intro post did a huge $0.21. The key to success on Steemit is to be consistent and persistent. Click on the link below for some great tutorials on how you can also succeed on the steem blockchain:
Master Toolkit: Steemit Resource Guide Illustrated by @sndbox

Also, a huge shoutout to @rigaronib for designing my logo!

Do you want to learn more about me? Click here to see a recent @wadepaterson interview with me - 20 questions with @gringalicious
