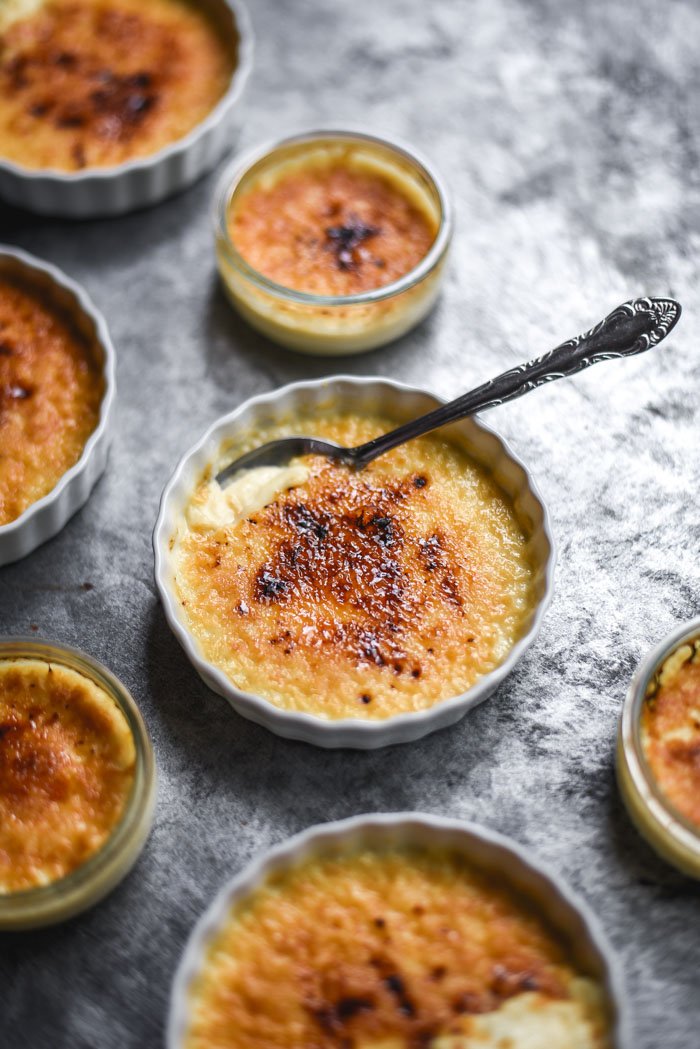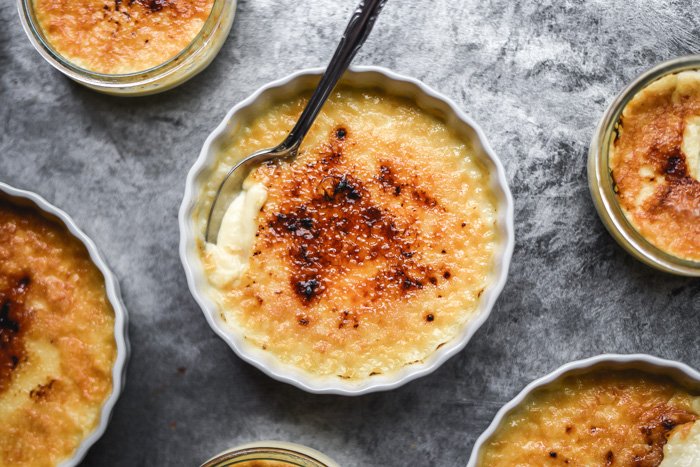
Remember when I told you about those cute little creme brulee dishes I got? Well………
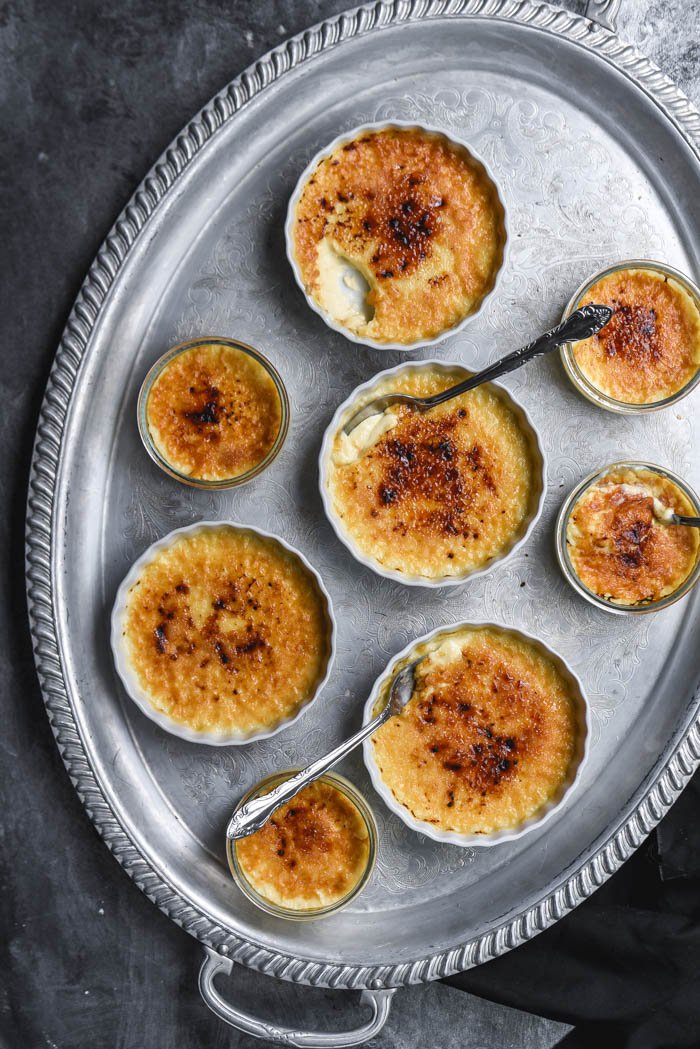
I finally managed to create a recipe to use them for and I’m pretty excited to share it because it’s so simple. Slight confession here, this is yet another first for me. I’ve always been a little intimidated to try it at home because it seemed too fancy and complicated for any of the humble little kitchens I’ve cooked in over the past few years.
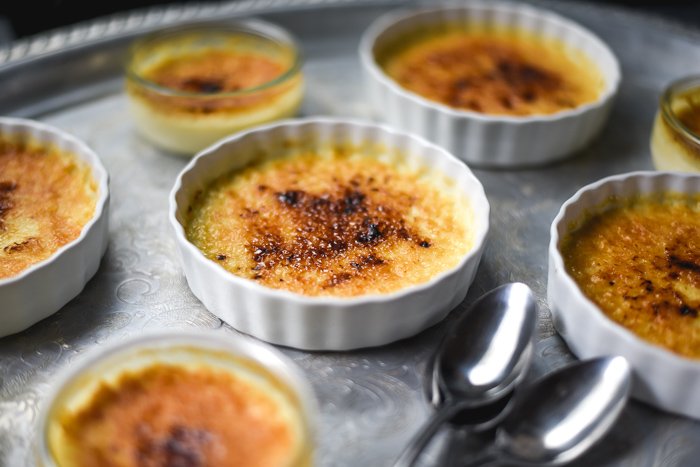
Sure, the traditional method of stirring the custard slowly over the stove can be only too easy to mess up, but not with this recipe. I’m pretty sure I’ve broken some culinary laws with this one actually. You know what though? I’m just gonna go with it because I’m not apologizing for it. Are you curious what the secret to making these so quickly is?
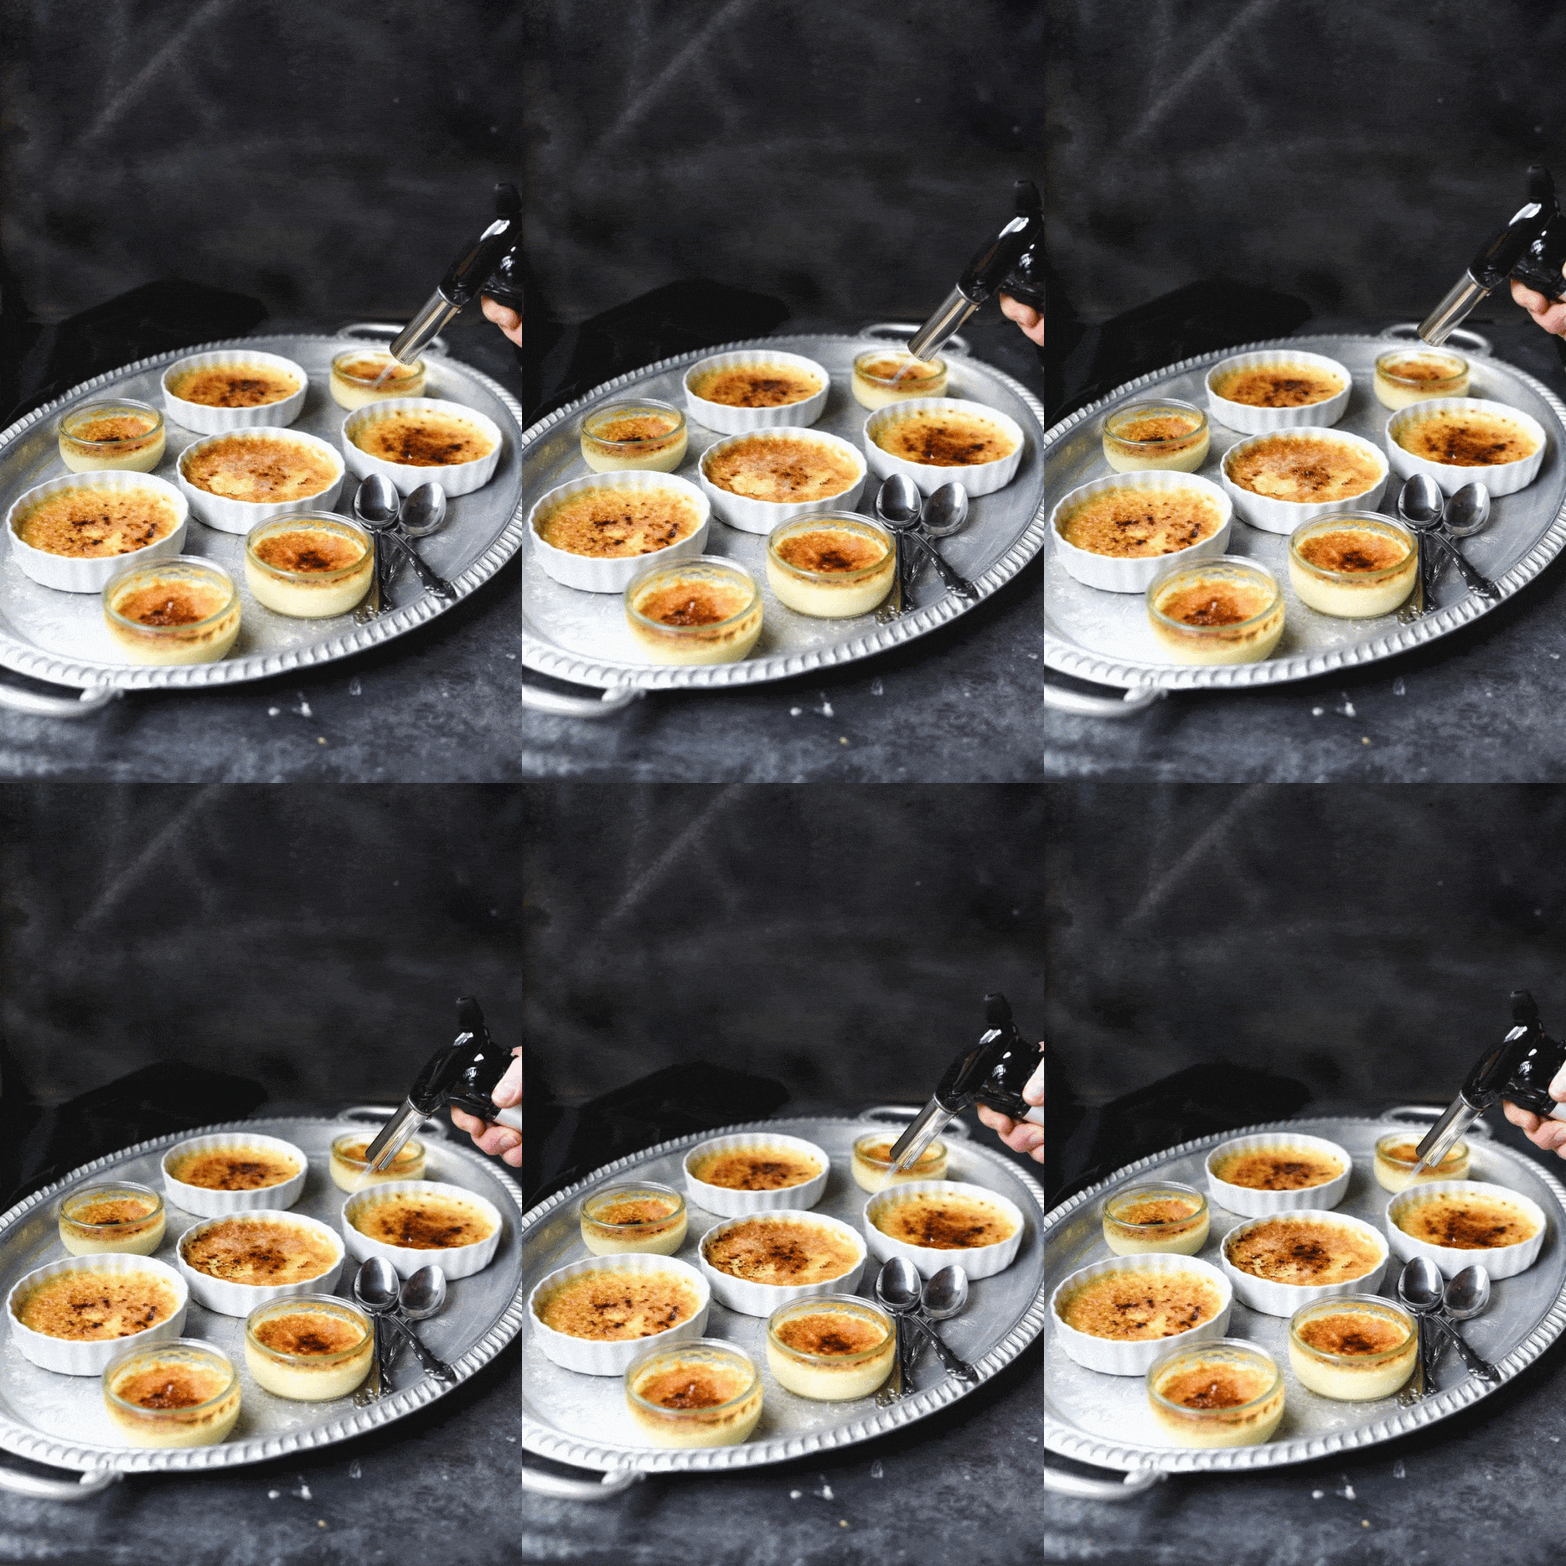
It’s pretty simple really, all you need is a blender or food processor, which I’m sure you probably already have in your kitchen. Literally, all you do is throw the ingredients into it, pour the mixture into your dishes, and bake until done. Of course, then you can’t forget the brulee part, but that’s not too hard. I used a kitchen torch, but if you don’t have one you can use the broiler in your oven to get the tops pretty well “bruleed”. The only drawback to that method is that it takes a bit longer but it’s not that big of a difference.
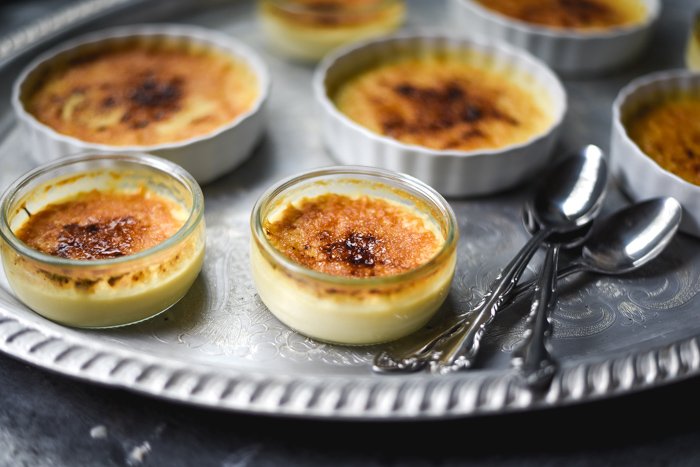
If you’ve been following for any amount of time you’ll probably be able to guess one of my favorite things about this recipe. So I’ve been testing out some recipes involving meringue recently and I’ve had a ton of leftover egg yolks. Well, this was the perfect way to use them. I don’t know about you but I am always excited to find new ways to avoid wasting food.
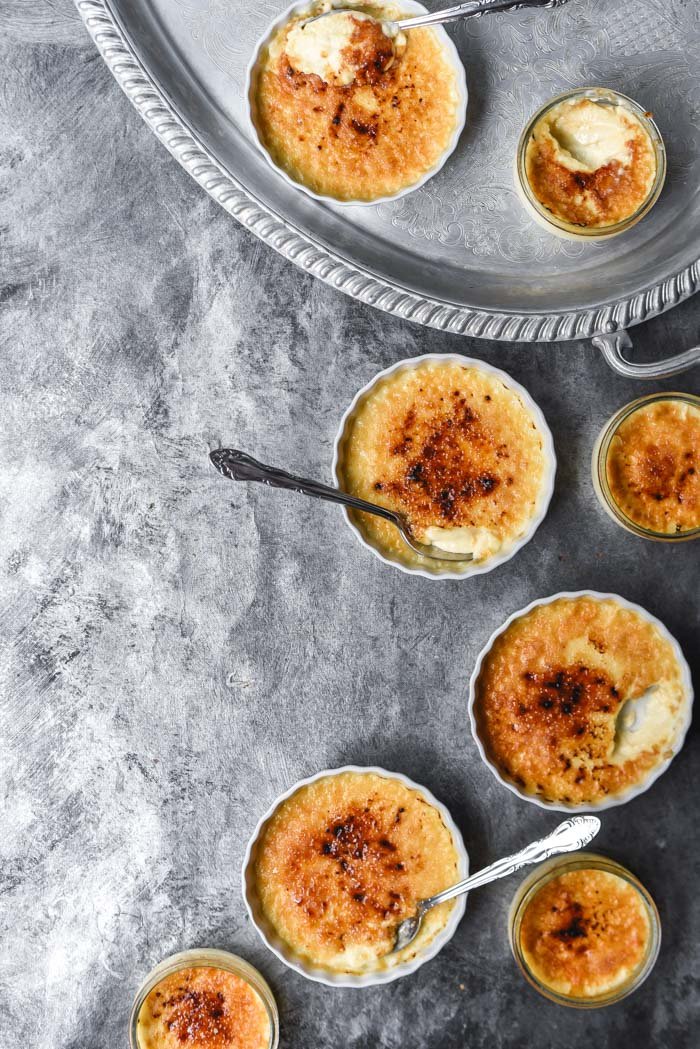
This is also the best excuse to make a new dessert, right? You’re “being thrifty”. Well, I’m definitely using this excuse. Not that you really need one though, because as soon as you share this no one will care. De-lish!
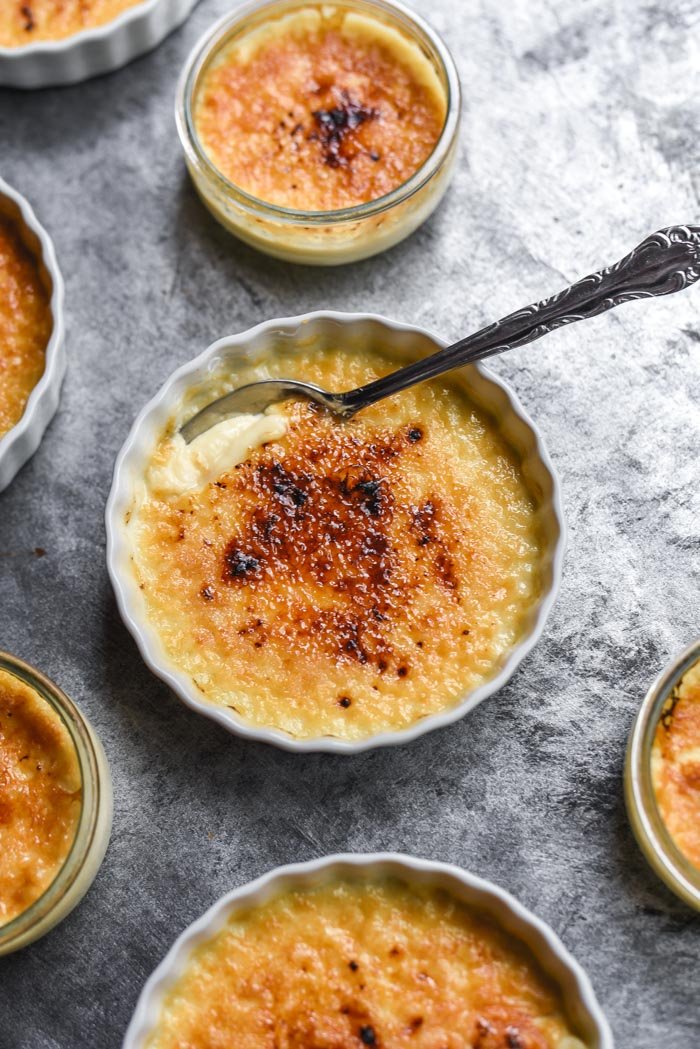
The Easiest Creme Brulee Ever
Prep Time: 15 minutes
Cook Time: 1 hour
Total Time: 3 hours
Yield: 6 - 8 servings
Take the intimidation out of this classic dessert with a super easy method. Creme brulee is the perfect dessert for any occasion.
Ingredients
1 cup granulated sugar
6 egg yolks
2 1/2 cups half & half
1 tablespoon pure vanilla extract
pinch of sea salt
1/2 cup granulated sugar (for topping)
Instructions
Preheat oven to 350 degrees F (180 C) and grease 6 (4-inch) creme brulee dishes (or 12 smaller ones)
Combine all of the ingredients for the custard in a blender or food processor and blend until smooth. Pour the mixture evenly into the dishes and place them in a large cake pan or baking sheet with an edge that's at least 1-inch tall. (you want enough height to be able to surround the dishes with water about halfway up) Place the pan or tray into the heated oven and pour a few cups of water in until you've got enough to come halfway up the dishes' sides. Bake for 45 - 50 minutes until the tops are starting to darken and the custard is solid.
Remove them from the oven and carefully remove from the water bath to a cooling rack. If you are using a torch for the topping then allow them to cool completely. If using the broiler element on your oven turn it on, dump the water from baking tray, and place the creme brulee dishes back on the tray. Sprinkle the additional sugar over the tops and bake on broil for 4-5 minutes watching very carefully, until the sugar on the tops begins to bubble and caramelize. Remove them from oven and cool completely.
Once cool to the touch, cover the dishes and place them in the fridge to chill for about 2 hours or up to overnight. If you chose the broil method they're ready to serve when chilled. If you're using a torch, remove them from fridge when ready to serve and sprinkle the additional sugar on the tops and individually caramelize the sugar on the top of each dish with torch. Serve and enjoy.

For more great food ideas and inspiration, please do not forget to look at my other recent posts
- Quick & Easy Vegetarian Egg Rolls
- One-Pot Creamy Mushroom Chicken & Broccoli Gnocchi
- Chocolate, Caramel, & Banana "Banoffee" Cake
- Avocado Chicken Green Enchilada Bake
- White Chocolate Peanut Butter Cup Cheesecake
- Monster Cookie Ice Cream Sandwiches
- Sun-Dried Tomato Pesto & Havarti Grilled Cheese
- Caramel Milkshakes + Celebrating 15,000 Followers!
- Easy Cinnamon Sweet Potato Quick Bread
- Sweet Hot Sesame Mustard Chicken Pizza
ALL CONTENT IS MINE AND ORIGINAL! All of these food photos were taken with my Nikon D750 and my favorite Lens, the Nikon AF-S FX NIKKOR 50mm f/1.8G. You can find out more in my INTRO POST.
And, by the way, to all the minnows out there, my intro post did a huge $0.21. The key to success on Steemit is to be consistent and persistent. Click on the link below for some great tutorials on how you can also succeed on the steem blockchain:
Master Toolkit: Steemit Resource Guide Illustrated by @sndbox

Also, a huge shoutout to @rigaronib for designing my logo!

Do you want to learn more about me? Click here to see a recent @wadepaterson interview with me - 20 questions with @gringalicious
