I never have considered myself a camera scientist and used to be intimidated by technical aspects of photography when I would look at books on ISO, Aperture, Shutter Speed, Inverse Square Law, Depth of Field, Stops of Light, etc, etc, etc.
For years I shot with Canon's first little point and shoot digital camera and had no idea what the hell I was doing. I could never understand why certain images looked like hell in low light. I couldn't explain the technical and quite frankly it intimidated me.
Fast forward almost a decade and I am using those same settings that gave me crappy images and turning them into art. I have figured out how to break down the technical stuff and unpack in such a way I know how to creatively look at things like aperture, shutter and ISO. This lesson is aimed to inspire you and get you out shooting something that most photographers are afraid to do or don't know how to do. It's techy, but I break it down easy....real easy.
I look at the technical side of photography creatively YOU CAN TOO!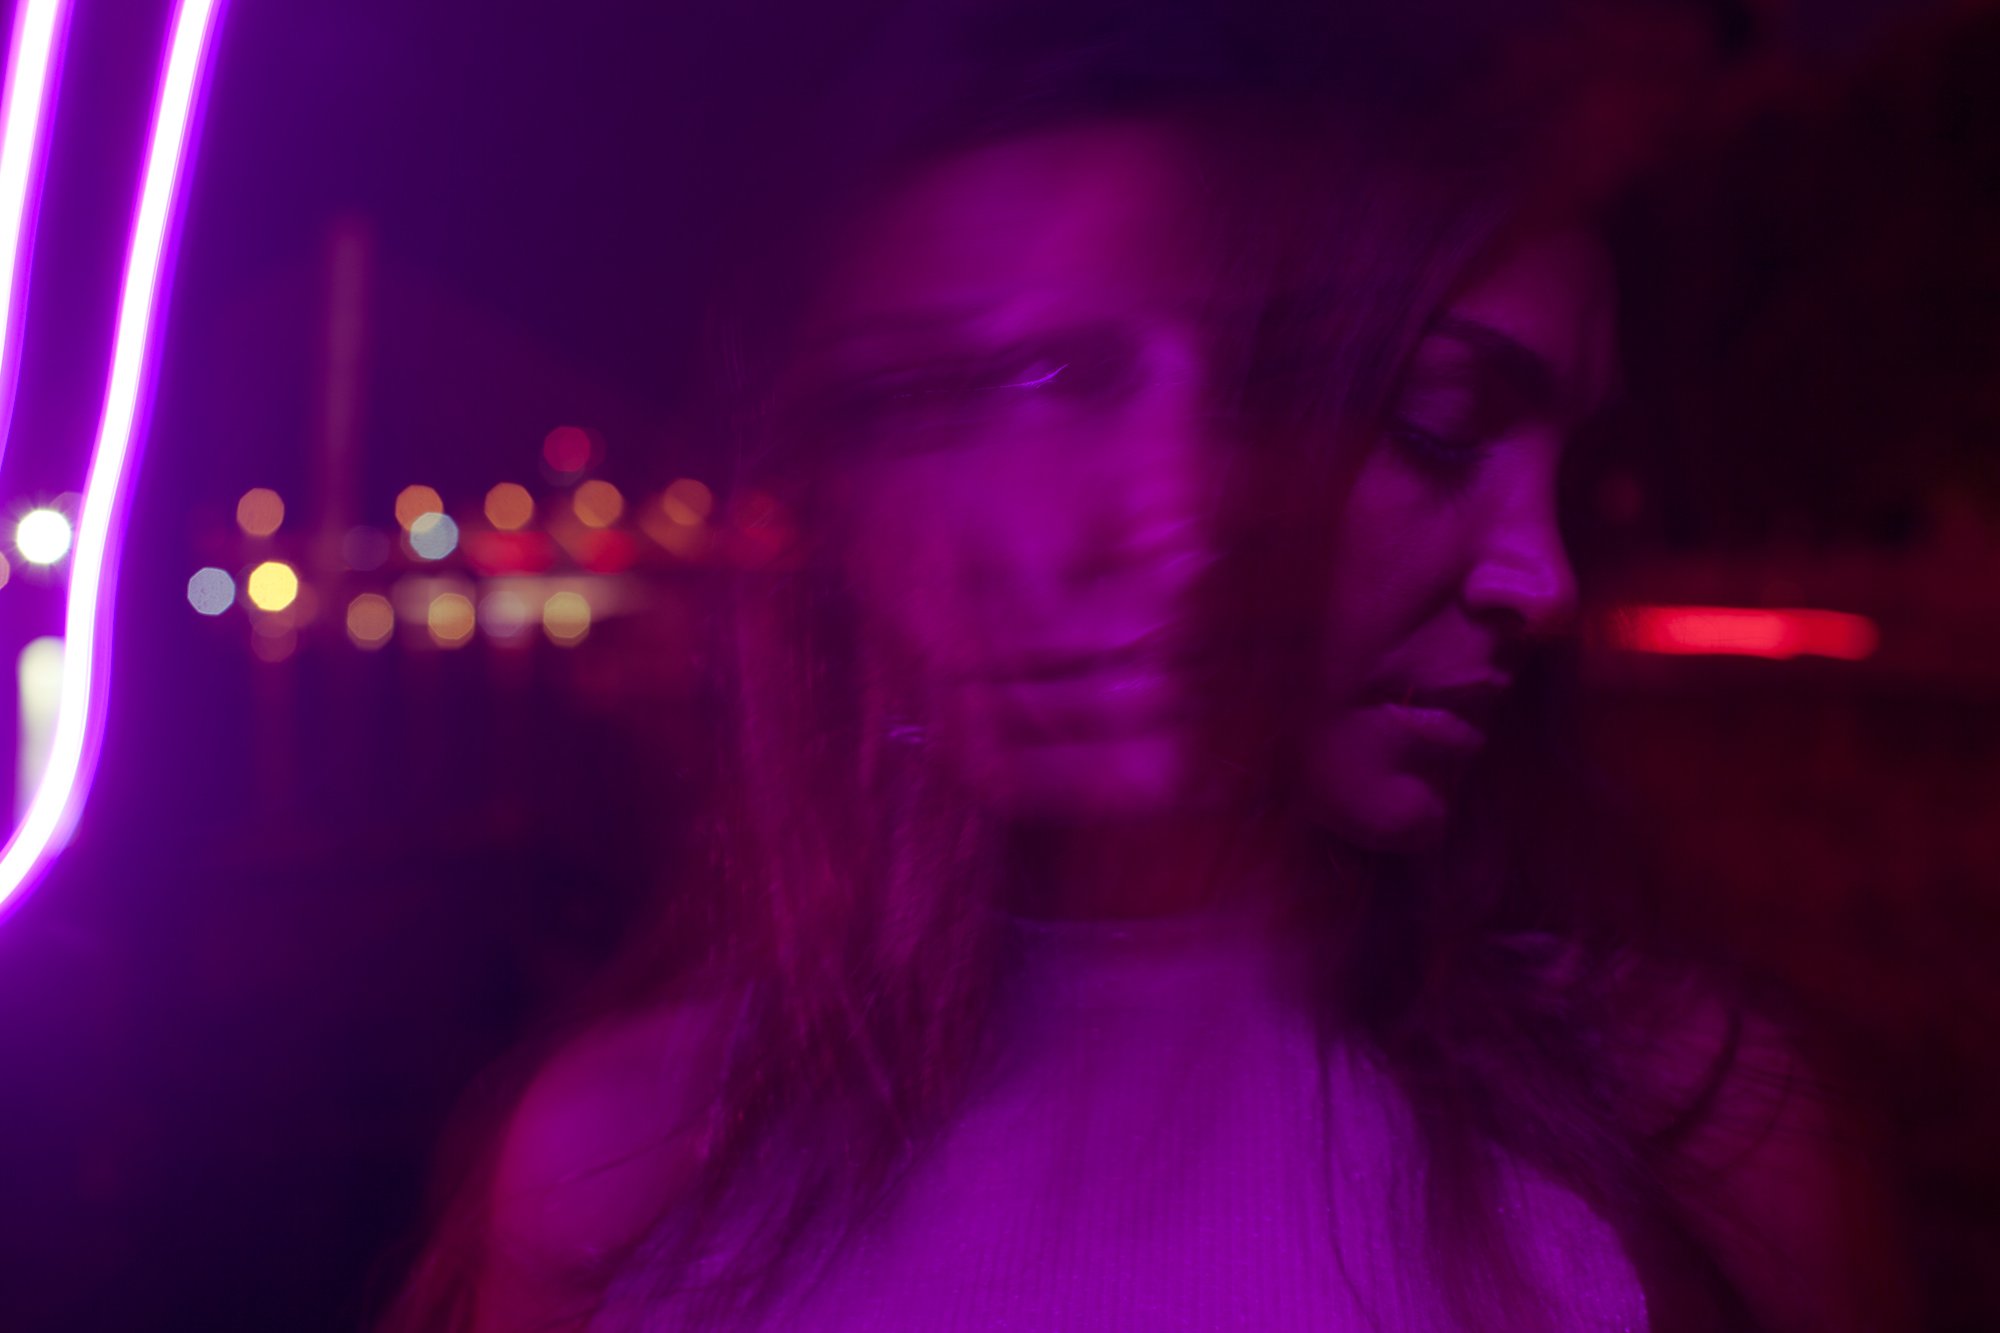
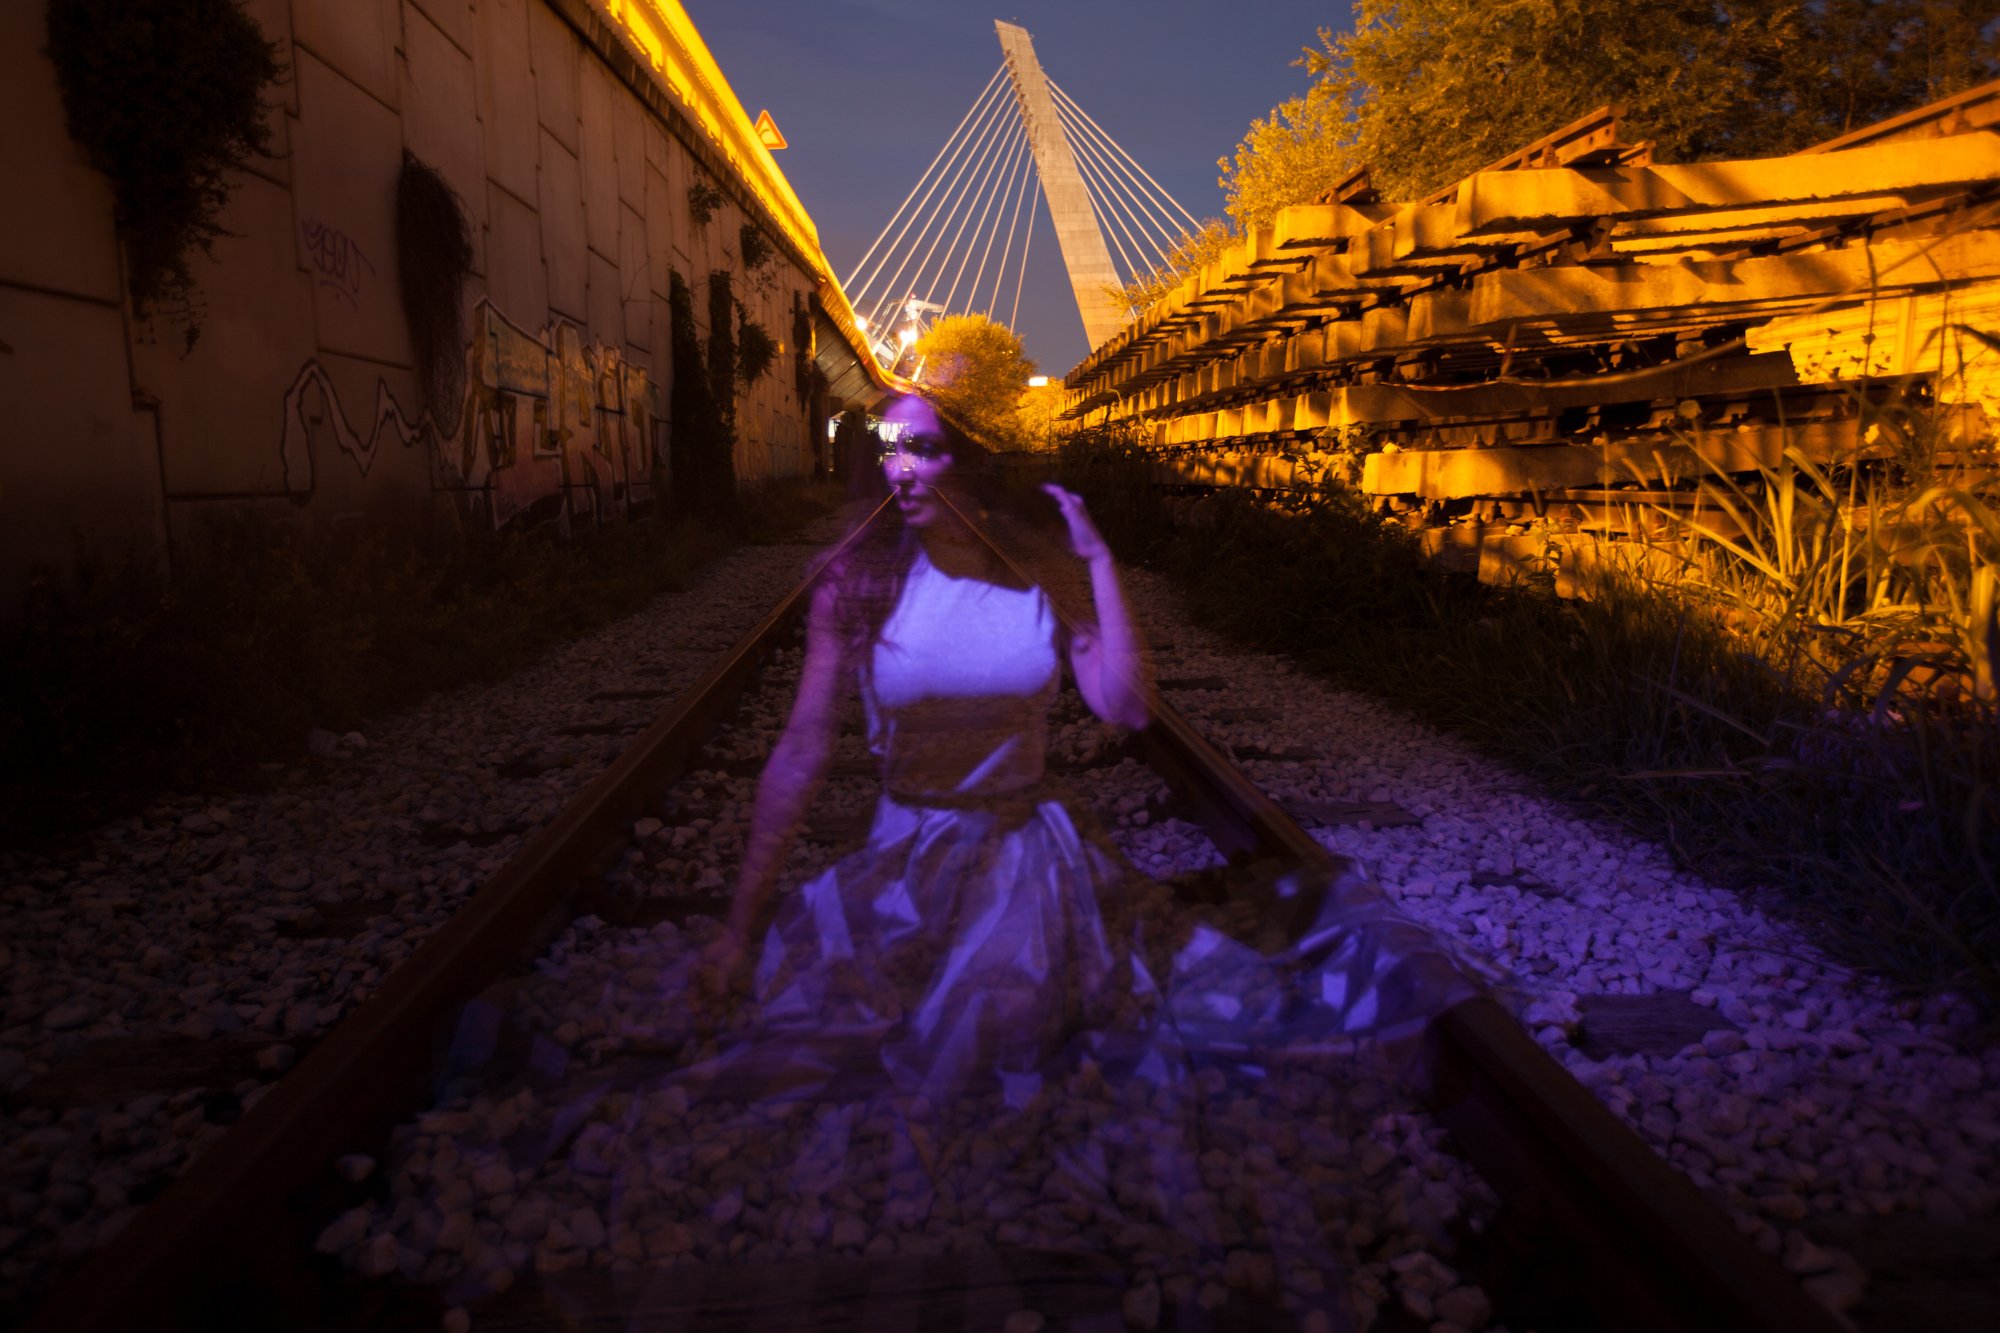
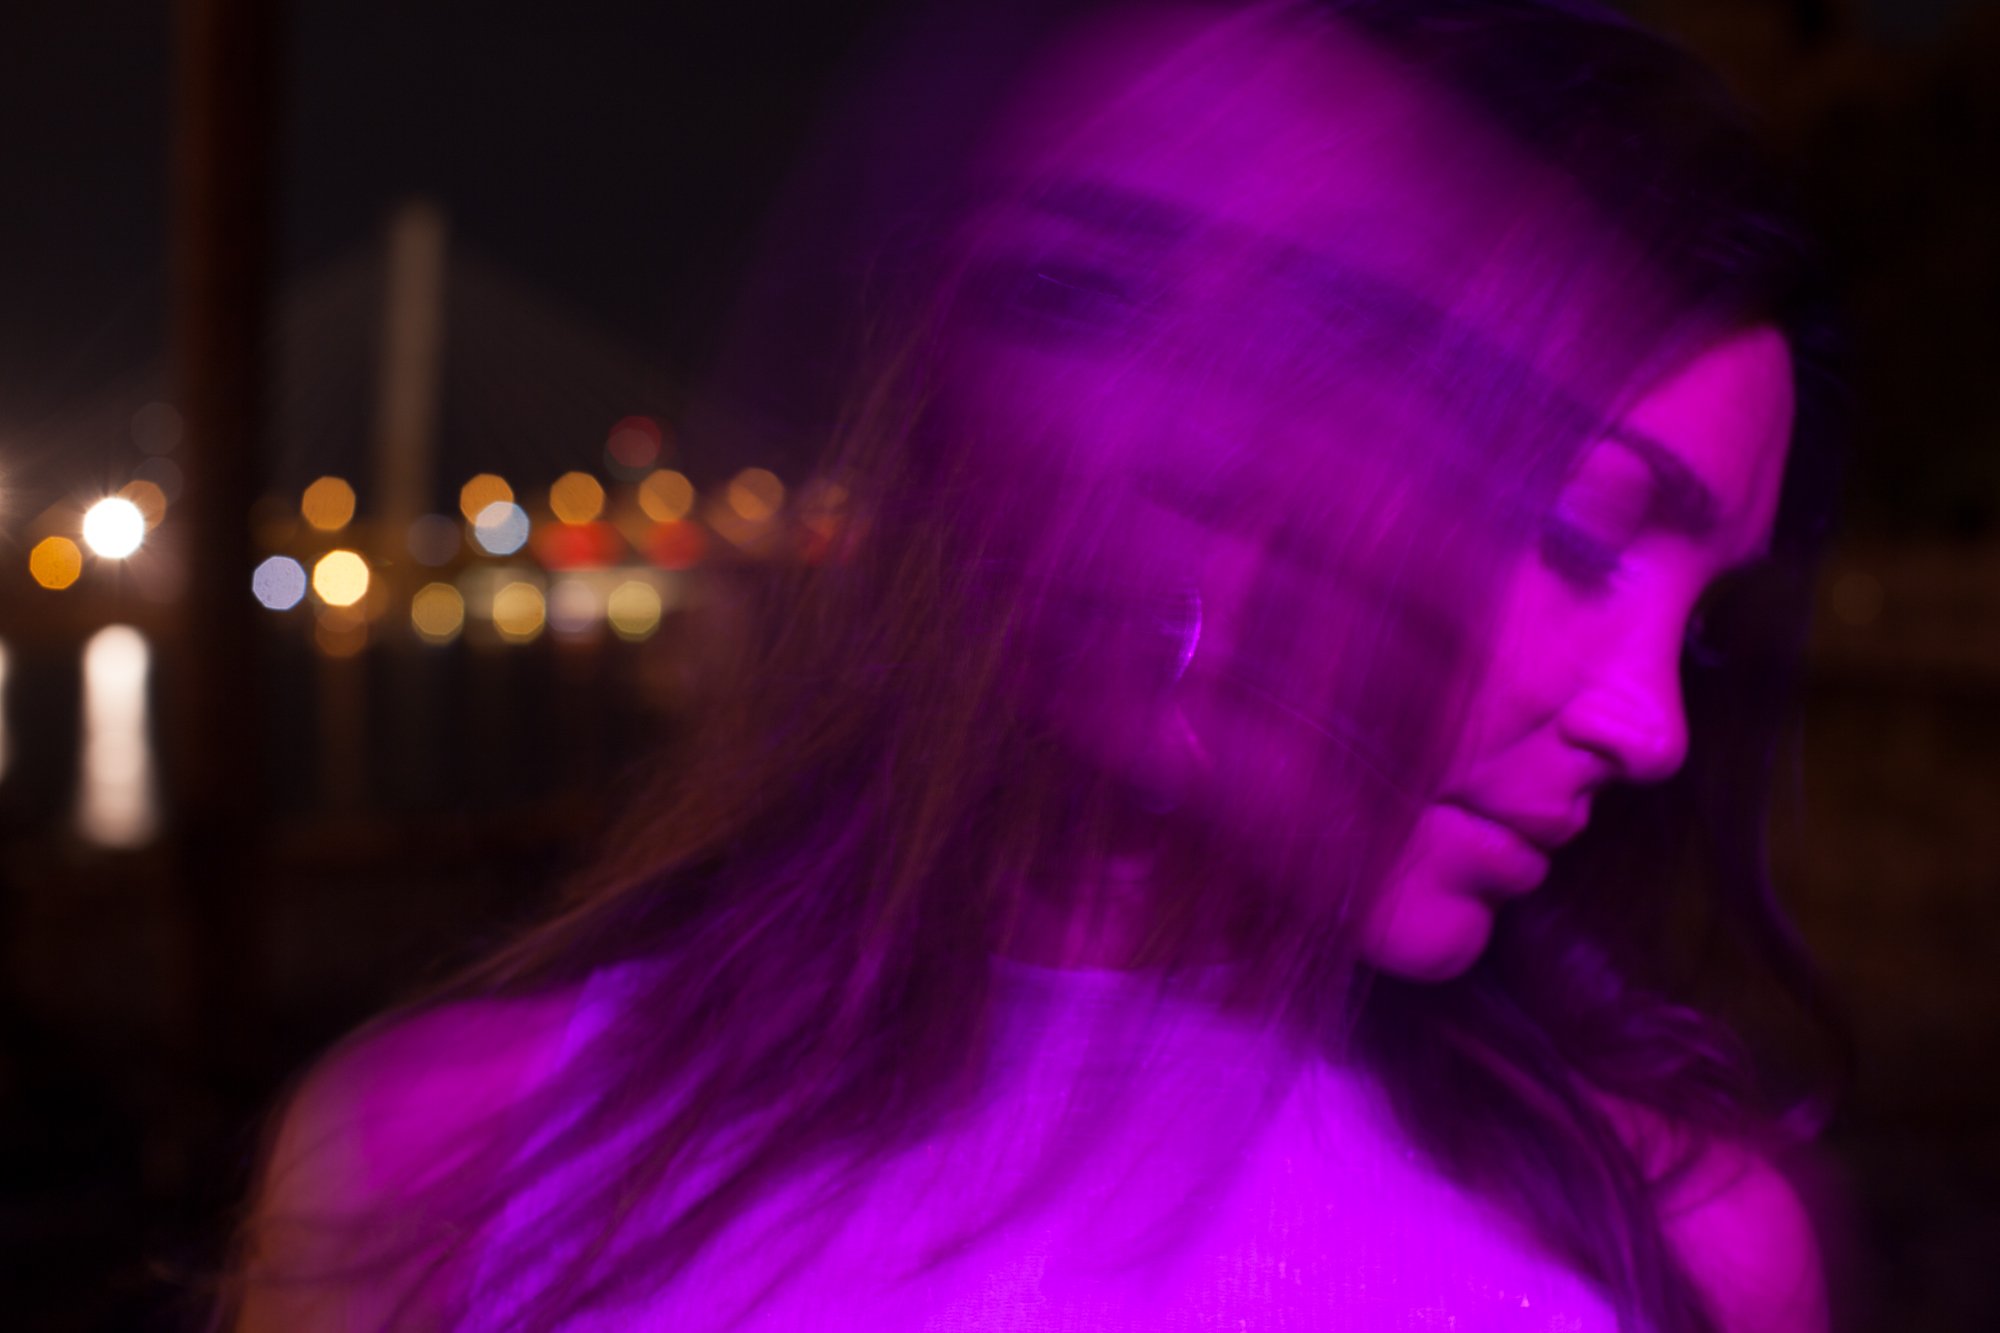
Long Exposure I did last night of Chiara from Venice, Italy. Sure it's a little abstract and not everyone is going to like it. But let's dive further into this technique, you might find a niche that's right for you.
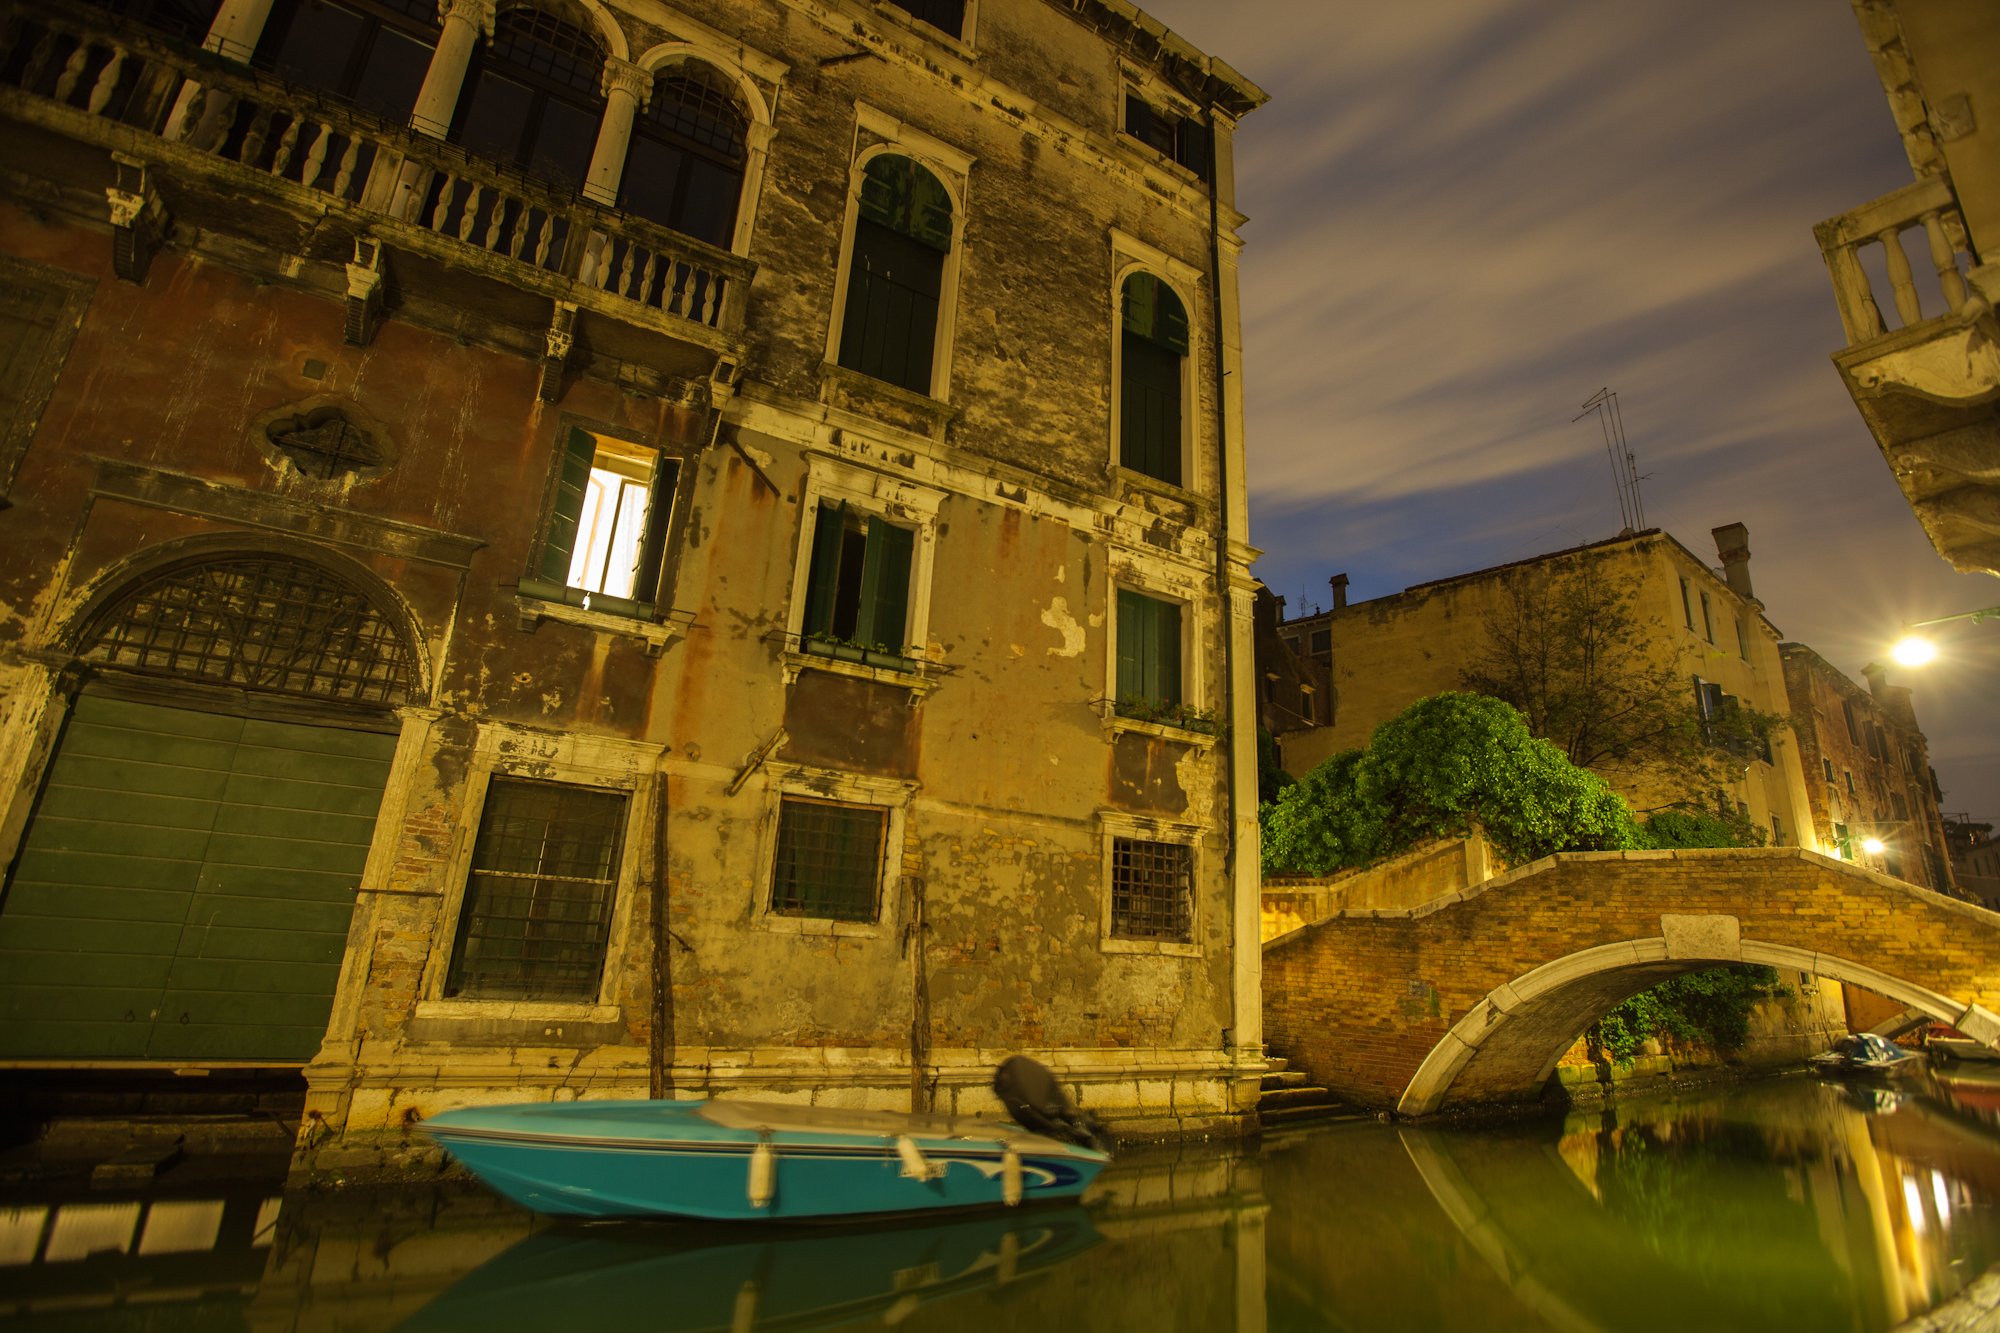
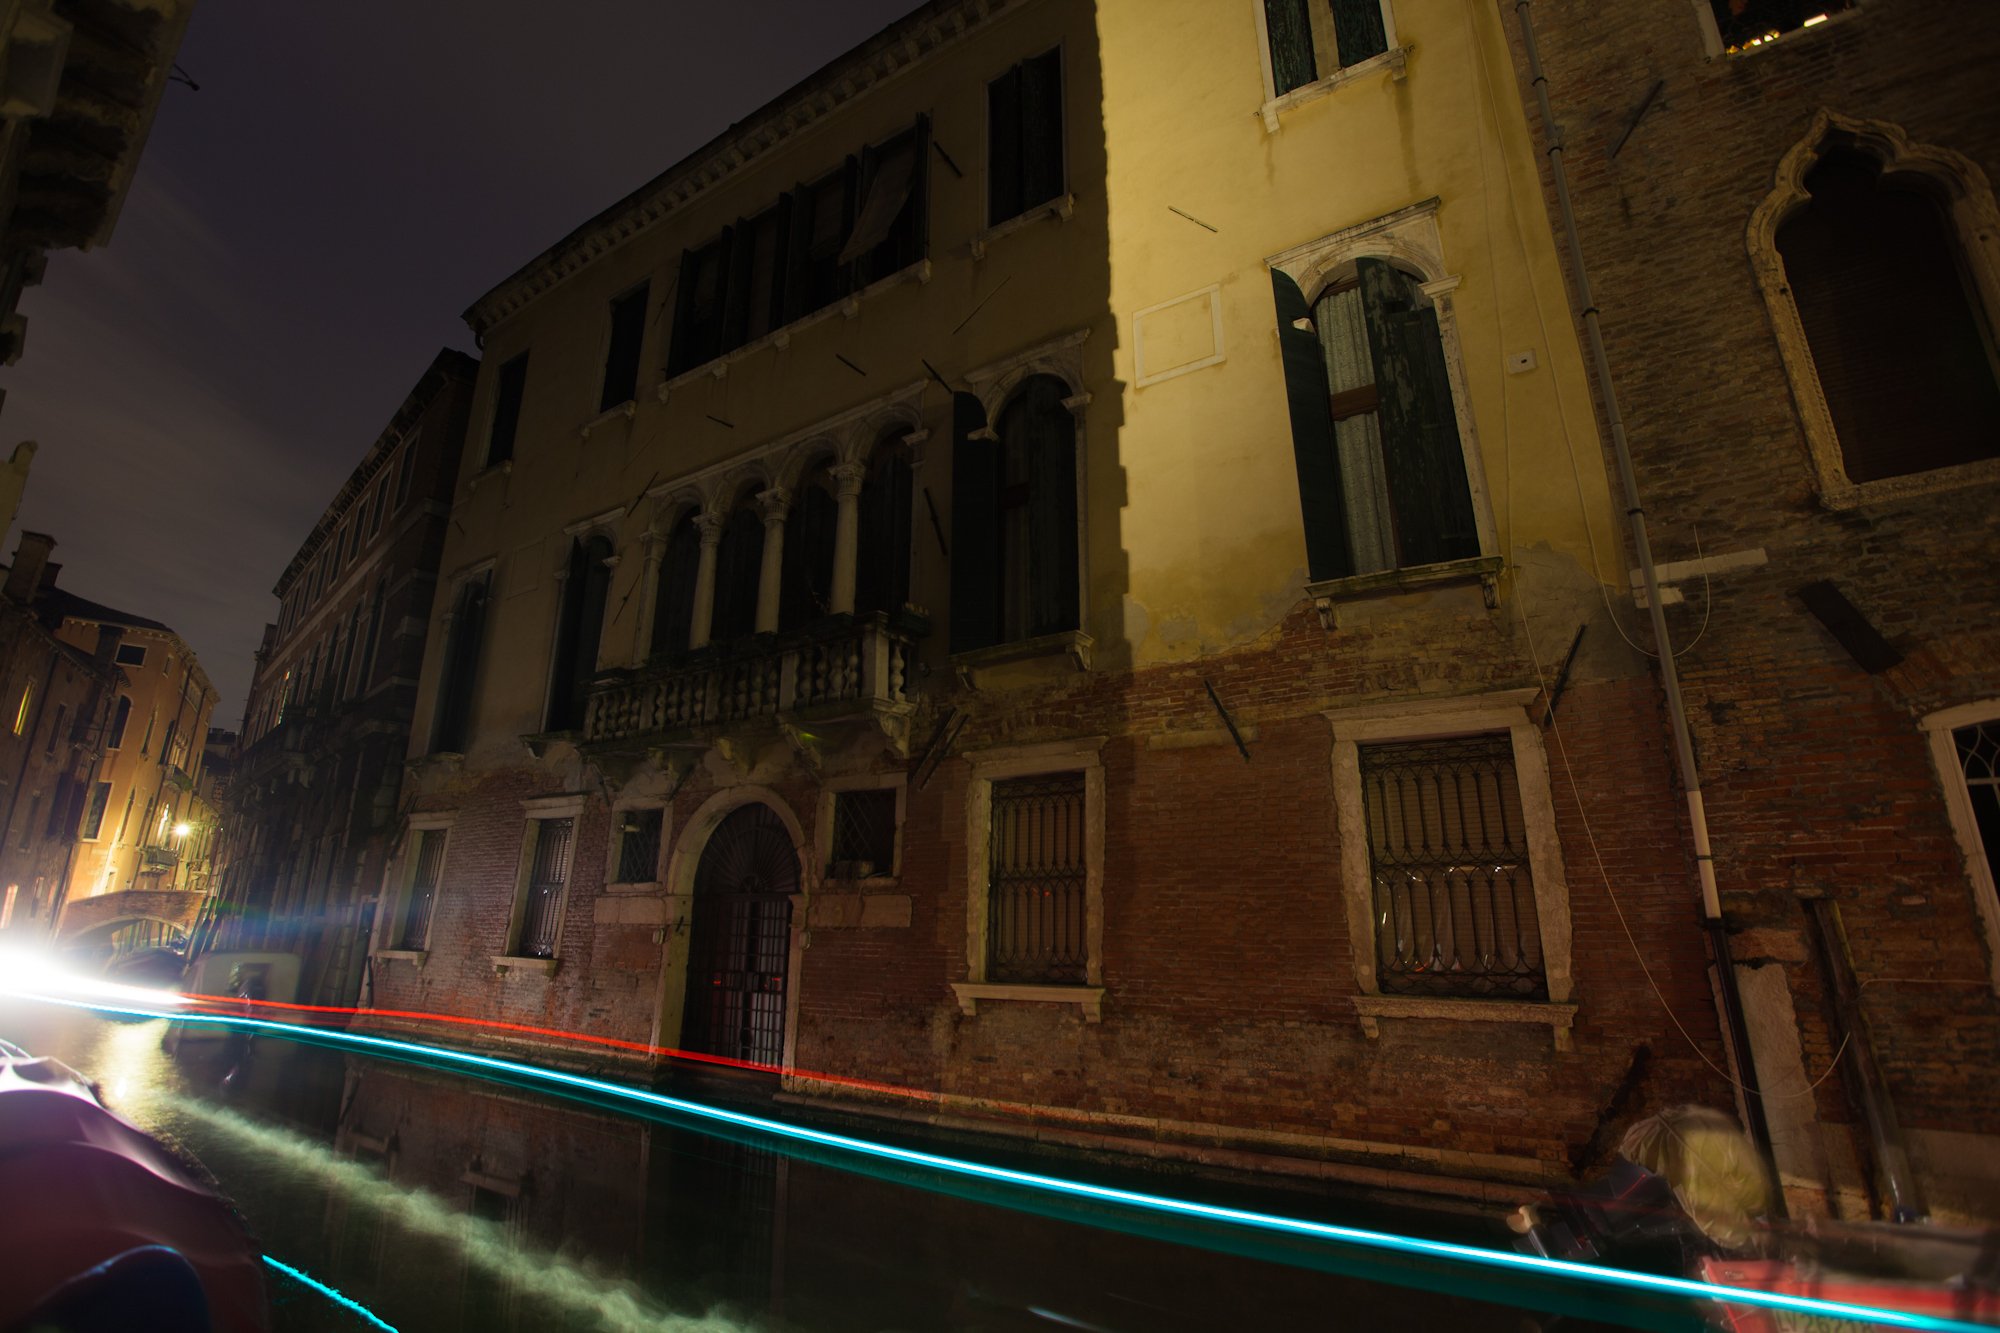
Almost the same exact camera settings as the portrait of Chiara above in purple. Totally different images. Notice the movement in the clouds. How many seconds does that take? What gear are you going to need?
Almost all digital cameras can be put into manual mode which gives you complete creative control
Snapshot of the technical settings (variables of exposure) and how they are used creatively I will break down each camera setting in detail later in the post.
- ISO - your camera's sensitivity to light. In low light situations understand ISO can come in handy. It could mean the difference of nailing a crisp shot or having a blurry image. The other problem is that the higher the ISO, the more digital noise you're going to have. ISO can be measured in stops of light (each variable can be measured in stops of light and I'll explain more later). All you need to know is that ISO is the camera's sensitivity to light; the less light, the more sensitive you need to make your camera to light. When it's bright as hell, you'll need less ISO. Some cameras have an auto ISO so you don't have to jack with it, but I prefer the manual. It only takes a second to dial in these exposures manually.
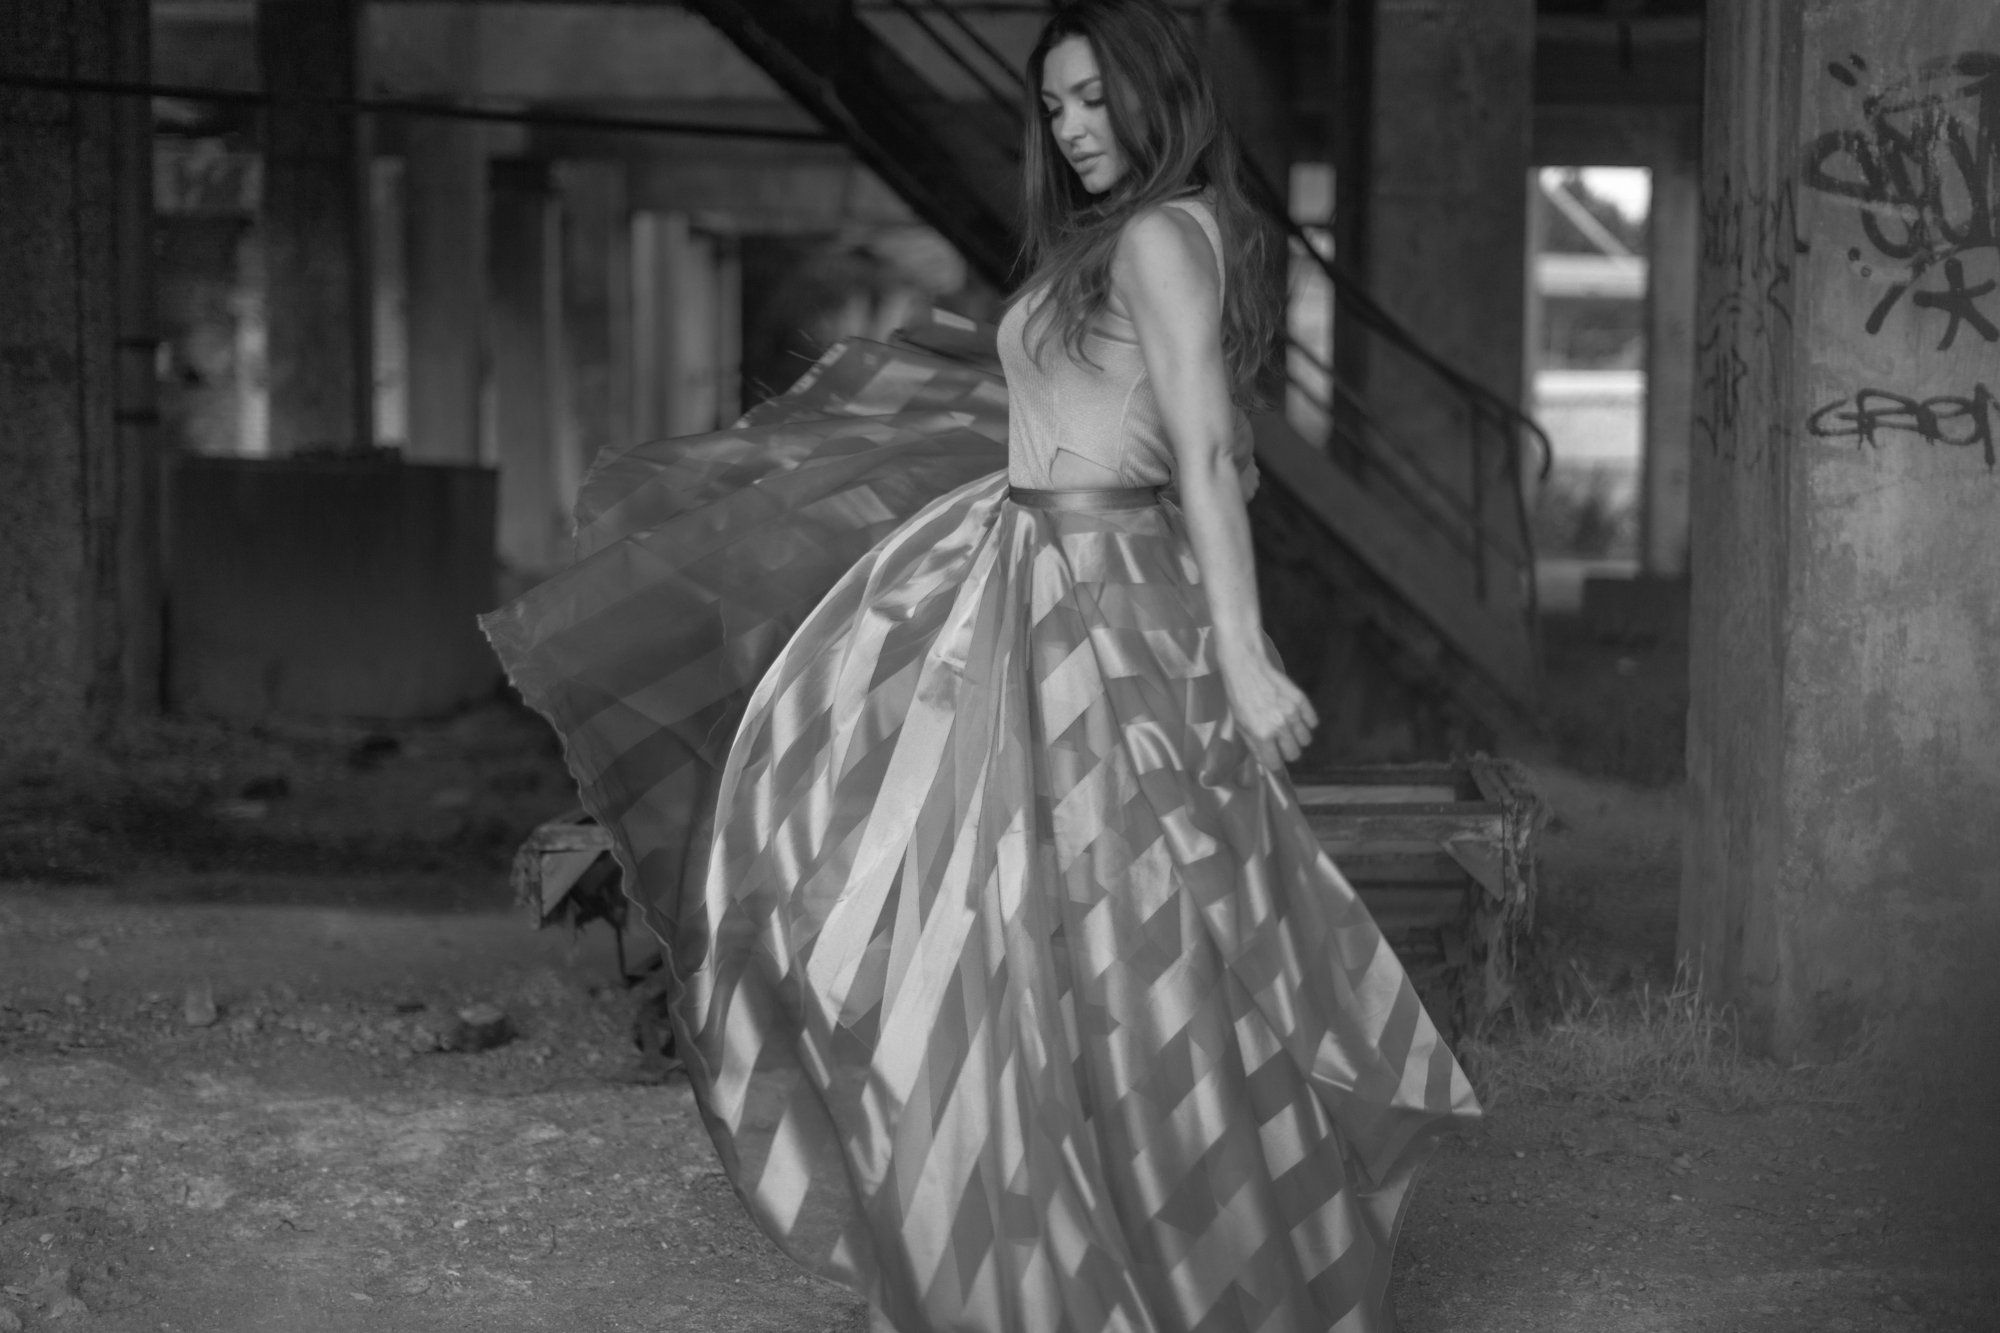
- Shutter Speed - this is how long your camera let's light in. This can also be measured in stops of light. Creatively you have two options to consider or ask yourself: 1. "Do I want to see motion blur?" 2. "Should I freeze the motion?" See this example:

The girl is jumping in the air. But you don't see any motion blur, I froze her in action in the air. My shutter speed was fast enough. This gets a little tricky when you use different lenses. I'll get more into this later. Here's an example of motion blur:
See the movement? A long shutter speed creates motion. You see the movement.
Play around with shutter speed. Put your camera in manual mode (M) or shutter priority mode (S) and mess around. Play with 1/2 second, 1 second or even longer. Then shoot at 1/200 of a second. Go through the motions...LOL.
Part 2 will be more extensive. Try it out. Ask questions in the comment section and I'll respond.
Some other examples (can you guess the shutter speeds?):