Hello friends,
I was going to teach you how to cook an eggplant stew with root veggies according to my family’s recipe. But then I realised that eggplant wouldn’t be vegan. So we’re going to cook an aubergine instead! ;-) :-P

This dish is perfectly timed for the early autumn season (if you have one in your part of the world), when aubergines, pumpkins, cucumbers and root vegetables of all sorts are usually harvested.

Like I mentioned, this recipe has been in our family for decades. For this session I modified it slightly, by adding carrots. Also, usually when I cook it for myself, I add one red hot chili pepper. But that’s because I like hot spicy food. If you’re not into, you can simply follow the recipe below.
You will need:
- One large aubergine (or an eggplant, if you’re either American or not a vegan ;))
- One large onion
- One large carrot
- 2–3 large tomatoes or a pack of preserved tomato pulp, if you don’t have have fresh tomatoes lying around
- a few table spoons of vegetable oil (I prefer olive oil, but any vegetable oil will do)
- and your favourite seasonings, such as herbal or sea salt, black pepper etc.
And you can see, this recipe can be scale very easily! Just replaced the adjective “large” in the list above with “medium-size” or “small” and there you go! Or, if you are cooking for many people, add multiples of 2, 3 and so on. The list of ingedients above is enough for two servings. Meaning that two people will get a serving each. Or one very hungry person would be happy to eat it all by her/himself. (In case you’re wondering, I am that very hungry person in that purely hypothetical example!)
Start by chopping carrots and onions, while heating up the olive oil on a frying pan. As I mentioned, I’m using organic virgin olive oil for my cooking:


You don’t have to chop the carrots and onions too fine. The pieces should be small, but not tiny:

Then put the chopped vegetables in the frying pan. The oil should be hot by now. Don’t forget to stir the veggies at regular intervals! You fry them until the colour of onions turns golden.

While the carrots and onions are frying, start working the aubergine:

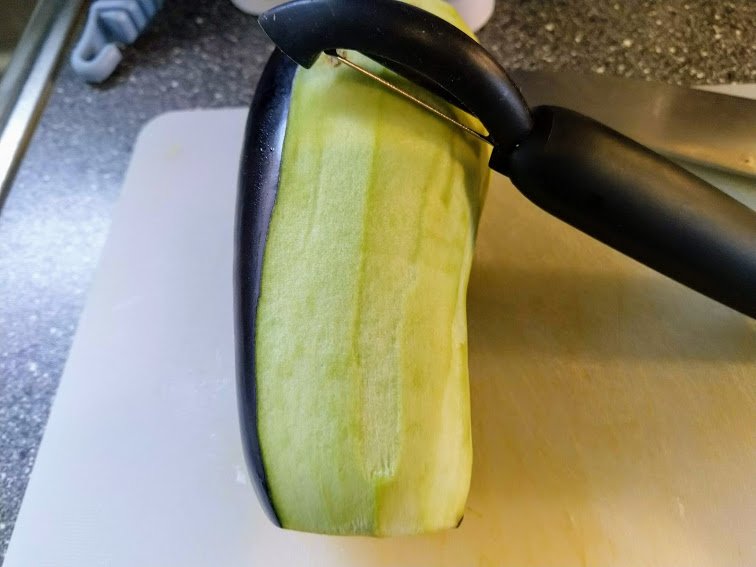
You will want to peel it first. You can use a normal vegetable peeler, like the one we’re normally using to peel potatoes and carrots:
Then you chop it into (not tiny!) cubes:


The onions and the carrots should be about ready by now. So you chop the tomatoes into small pieces or, if you’re lazy like I am or don’t have access to fresh tomatoes, you can open a box or a jar of preserved tomato pulp. Again, I’m using organic product here:


Put your chopped tomatoes – or the content of the box or jar – into a pot. The tomatoes shouldn’t take more than half of its volume. You will need the remaining space for the carrots, onions and aubergine!

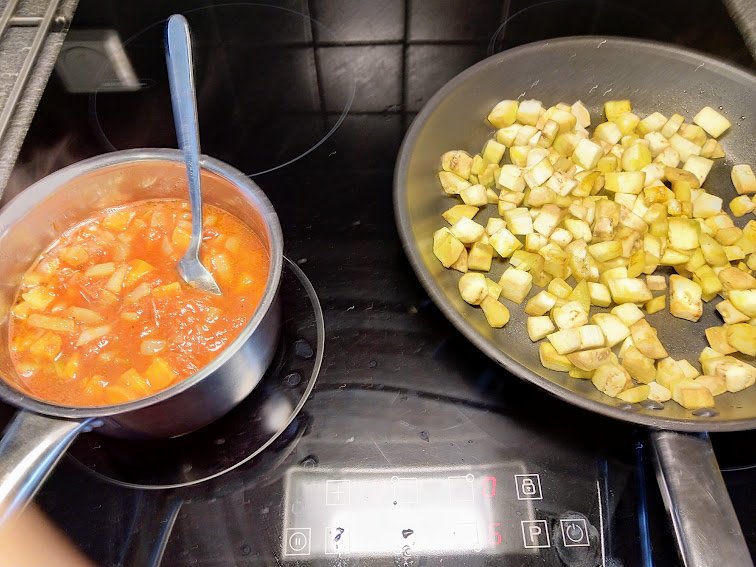
Now add the onions and carrots – that should have a lovely golden tint by now – into the pot with the tomatoes and put it on a low-flame (or a low-intensity, if you’re electric stove like I do) burner. At the same time, put the chopped aubergine into the same frying pan where the onions and carrots used to fry. You will want to add more oil to the frying pan, before you put the aubergine into it:

At this point you can your favourite seasonings to the pot with tomatoes, carrots and onions. Here I used black pepper and herbal salt. But it can be any dried herbs and spices that you like:

And don’t forget to stir the veggies in the pot from time to time, as they cook, and the aubergine on the pan. Ideally you want all sides of the aubergine cubes to touch the surface of the pan at some point during the frying process.
You will know the the aubergine is ready, because the cubes will start turning slightly transluscent, sort of like sea glass:

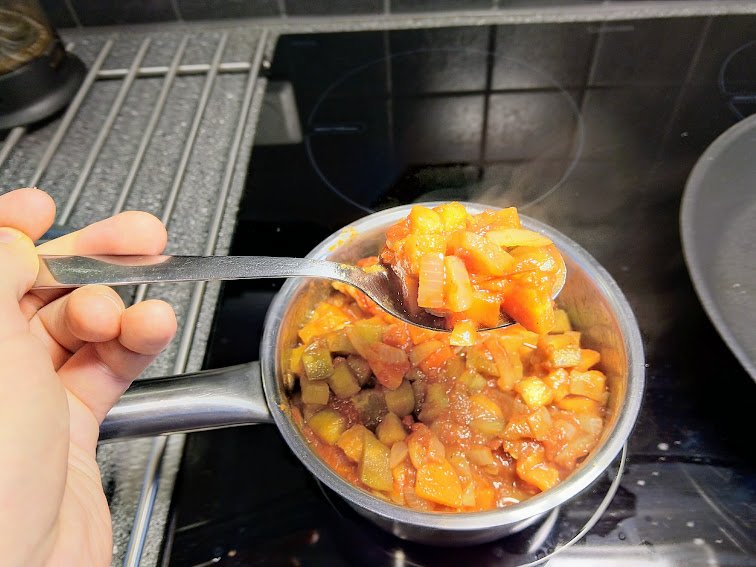
At this stage you can add the aubergine into the pot with the other veggies and let them stew together for another ten minutes or so. Keep the heat low and don’t forget to stir!


After ten minutes turn the heat off completely and let the stew stay on the stove and cool down slowly. The longer the better, but fifteen minutes should do, at the very least. And then it’s ready to be served!

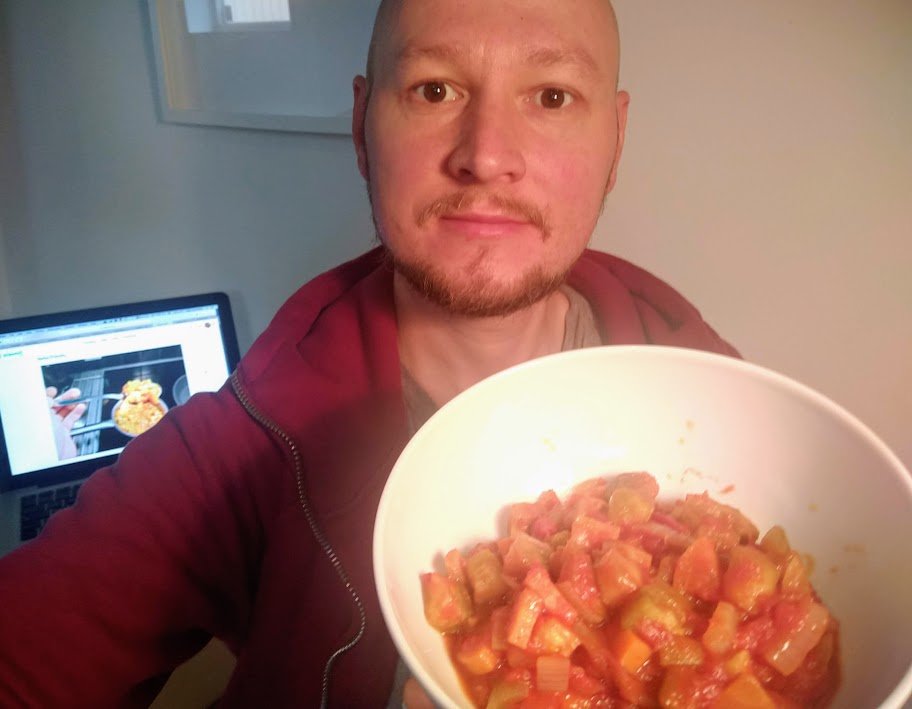
Bon appétit!! :)
P.S.: I typed this post, while eating the stew. I simply hadn’t the patience to wait until it’s published!!