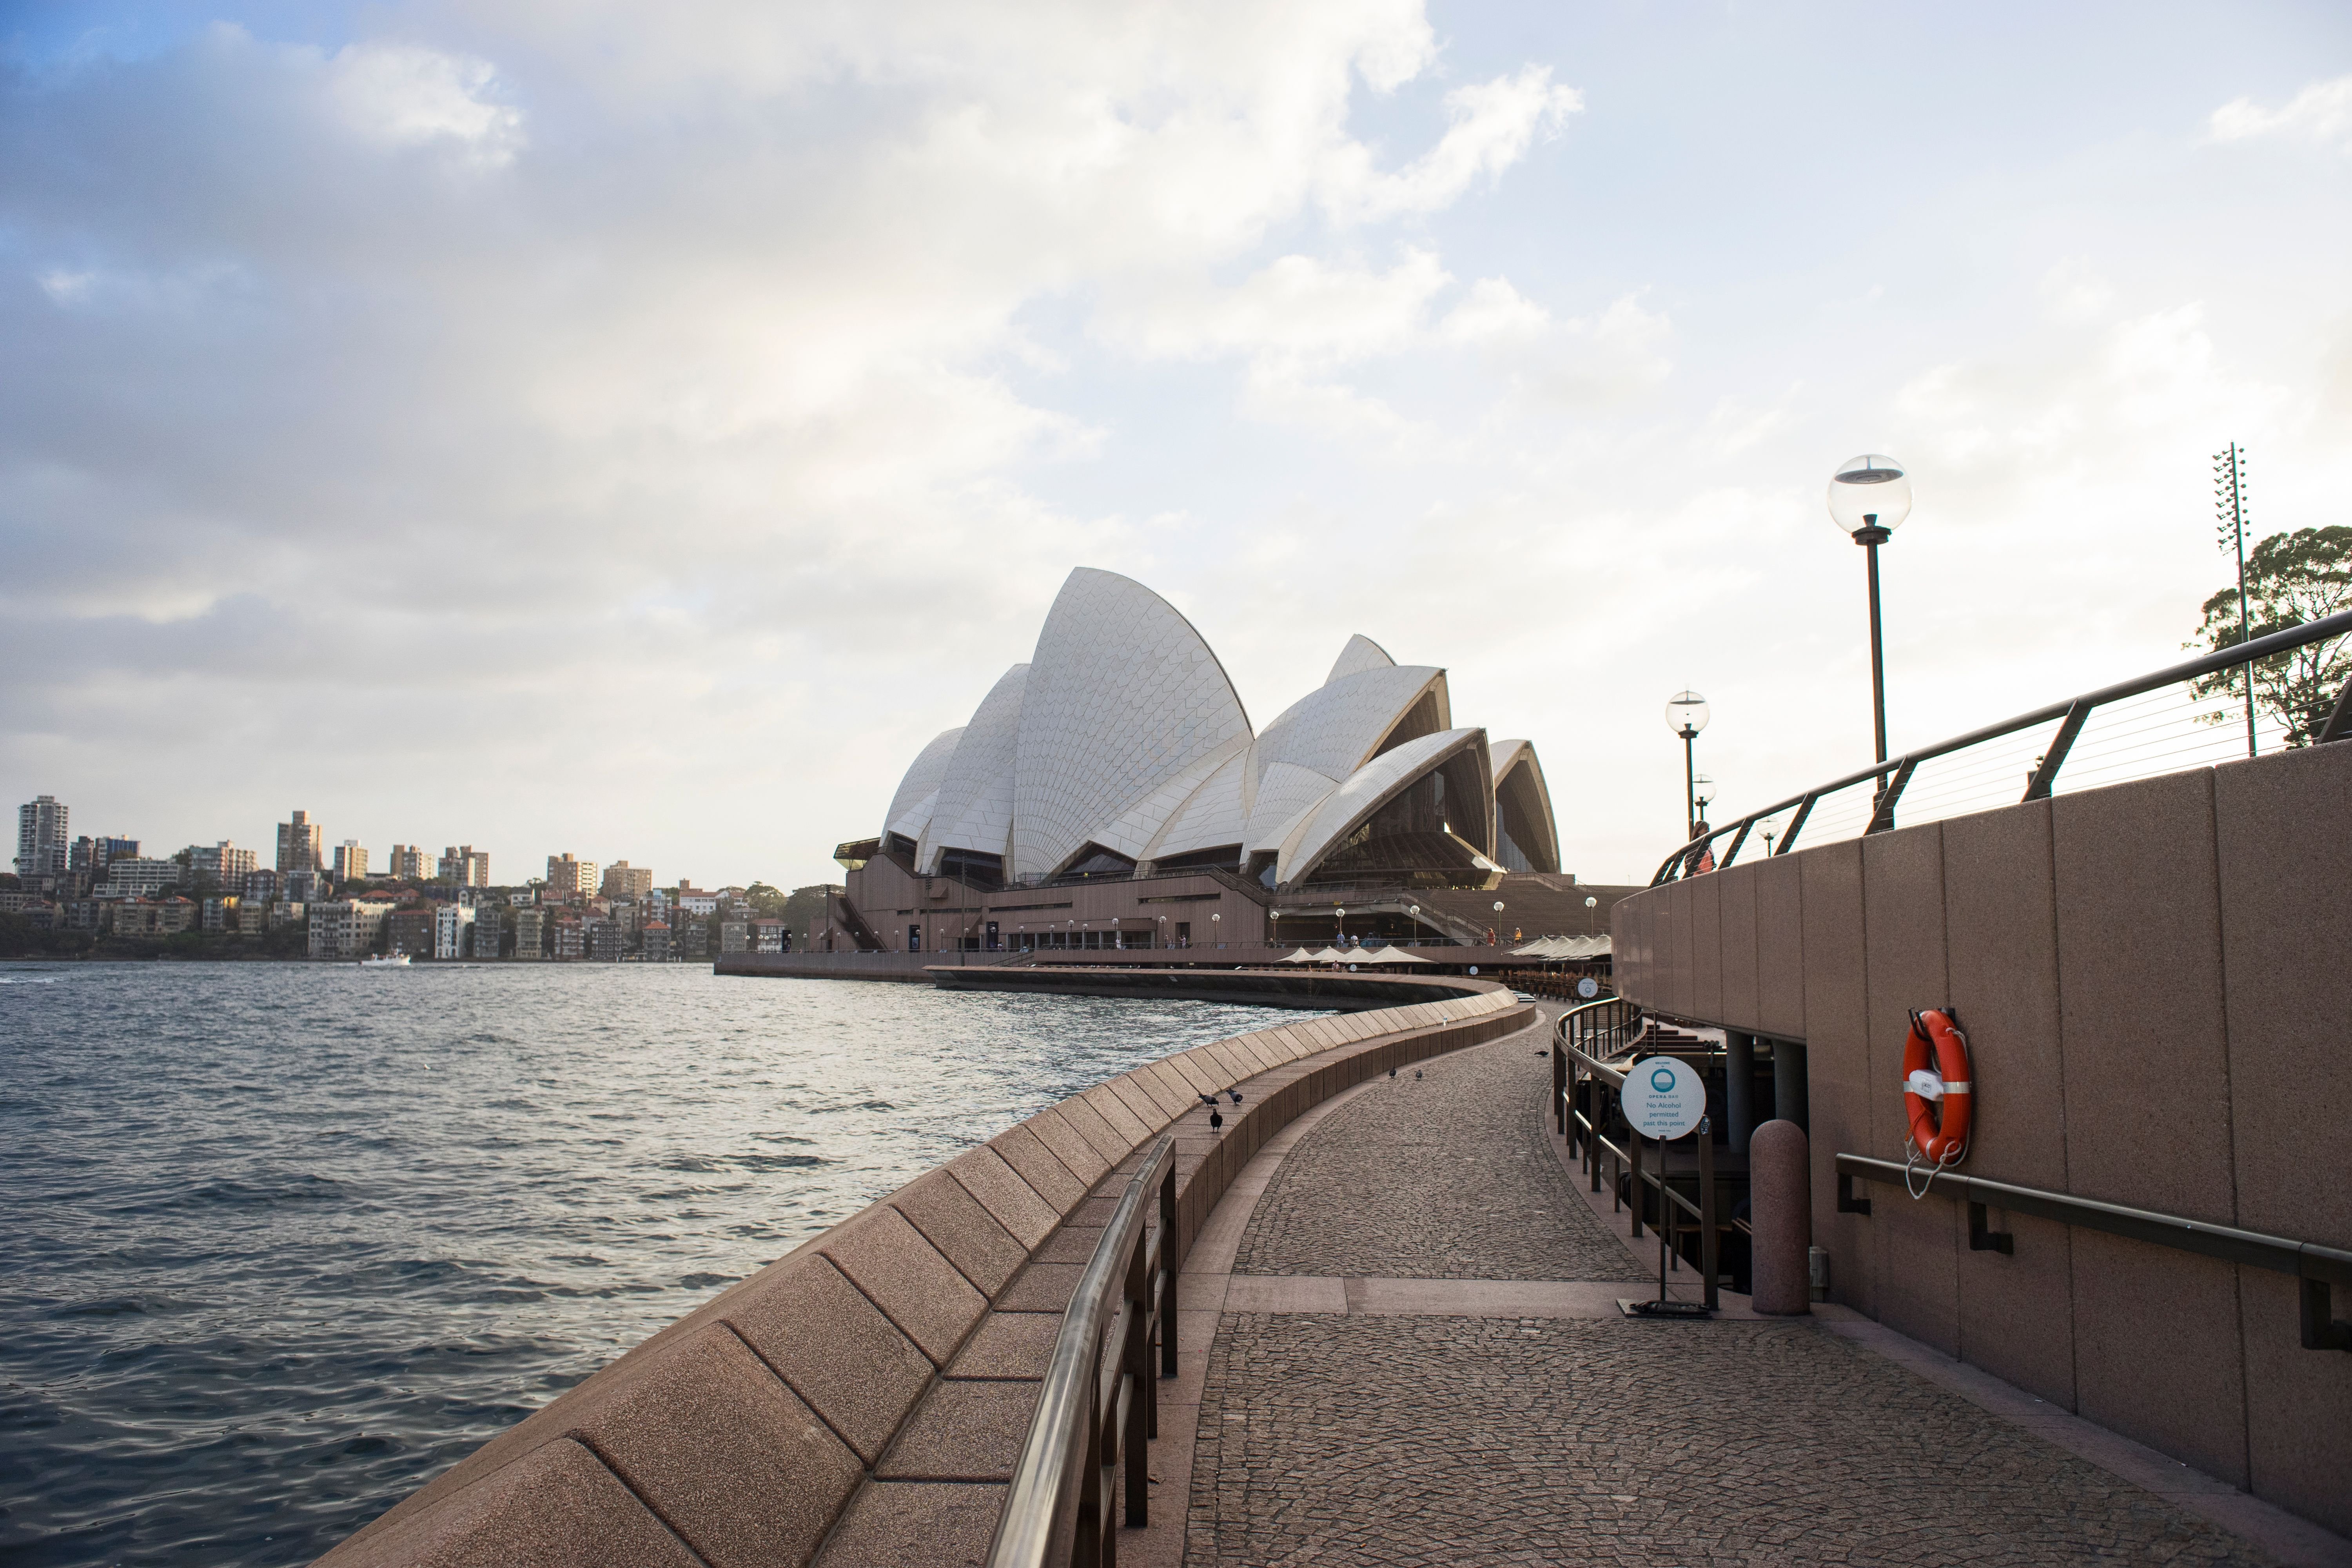
Photo Title: [•] Sydney Opera House - Camera Sony A7II with Metabones Adaptor FD to E, Canon FD 28mm F2 Lens
Step 1) Open RAW File in Adobe Bridge.
.png)
Step 2)Right Click "Open in Camera Raw"
.png)
Step 3) Make Desired Adjustments to Exposure, Contrast, Highlights, Shadows, Black, Clarity, Vibrance and Saturation. (If Lens Correction needed click the lens icon and make the changes if needed) Click OK to proceed to Photoshop.
.png)
Step 4) Duplicate Original Layer.
.png)
Step 5) Add Lucis Art Filter.
.png)
Lucis Art Adjustments as per screenshot
.png)
Step 6) Adjust Lucis Art Layer and drop the Opacity to 20% and Fill layer to 20% then Duplicate Original Layer and Edited Lucis Art layer and Merge as one.
.png)
Step 8) Add On1 Filter Effect in this example the Fuji Velvia 50 Filter was selected.
.png)
.png)
Step 9) Drop the Opacity to 65% and Fill Layer 65% Most filter effects are to harsh to an image and you want the finished photograph to still look natural. Don't get caught out with an over processed image as a general rule keep it clean and simple.
.png)
Step 10) Save as a Jepg and Upload to Social Media :-) Then Get LiKeS & UpVoTes :-)
Regards,
[•] p 🔺 z r 🔺 h n
Powered by all things Photography
