Summer is a great time to photograph the milky way in the northern hemisphere. During the summer here in Korea, the milky way is most visible from 11PM to 3AM. I went out one night to capture the milky way, and except for the mosquitoes, it was a great experience. Here are a couple of my favorite photos.
Fujifilm X-E1 + Samyang 12mm f/2.0 + Tripod

Fujifilm X-E1 + Samyang 12mm f/2.0 + Tripod
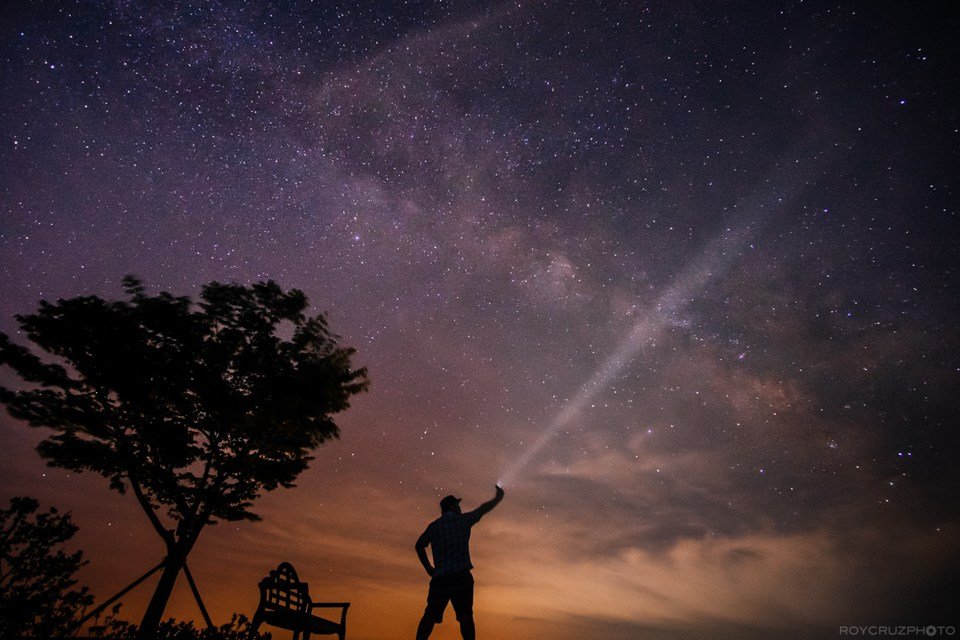
And one taken during a trip to the Philippines:
 ?
?
Fujifilm X-E1 + Samyang 12mm f/2.0 + Tripod
Here are some astro photography tips if you would like to photograph the milky way:
Milky Way Photography Tips
Proper gear. To capture the whole milky way, you will need a fast, wide lens and a camera with good high ISO performance. Lenses from 10mm to 24mm focal lengths with an aperture of 1.4 to 2.8 would work very well. You will also need a sturdy tripod, as a long exposure will be necessary. A cable release is also helpful.
Location. The farther away you are from city lights, the better. Do your research and scout a location that will have minimal light pollution. This usually involves a bit of travel outside of big cities. Also choose a location that will give you a nice foreground, such as trees, rock formations, or an old house. Incorporating foreground elements make your photos much more interesting than photographing just the sky.
Weather conditions and moon phase. To more easily photograph the milky way, you will need clear skies and no moonlight. Take note of the next New Moon phase as well as the weather forecast and make your plans accordingly.
Time and direction. Smartphone apps are the easiest way to check what time the milky way will be visible and what direction to point your camera. My favorite app is called Sky Safari. It tells you where the milky way will be and at what time, even weeks or months ahead of time. It also uses your phone’s GPS and gyroscope to let you point the phone at the sky to find the position. There are many apps that do this.
Exposure time. To find the right exposure for your shot, use the 500 rule. Simply divide your lens focal length by 500 to get the best shutter speed for crisp, sharp stars. For example, for my 18mm lens, 500/18 = 27.77 seconds. So I need to use a shutter speed of 27 seconds or shorter to get sharper stars. Any longer than this shutter speed and you will start to record the star movement and get trails/blur. Of course, you will also adjust ISO and aperture according to this shutter speed.
Typical settings. All cameras and lenses are different, but these are my typical settings: 18mm lens, ISO 3200, f/2.0, 25 seconds. Use these settings only as a starting point and adjust according to your gear and needs.