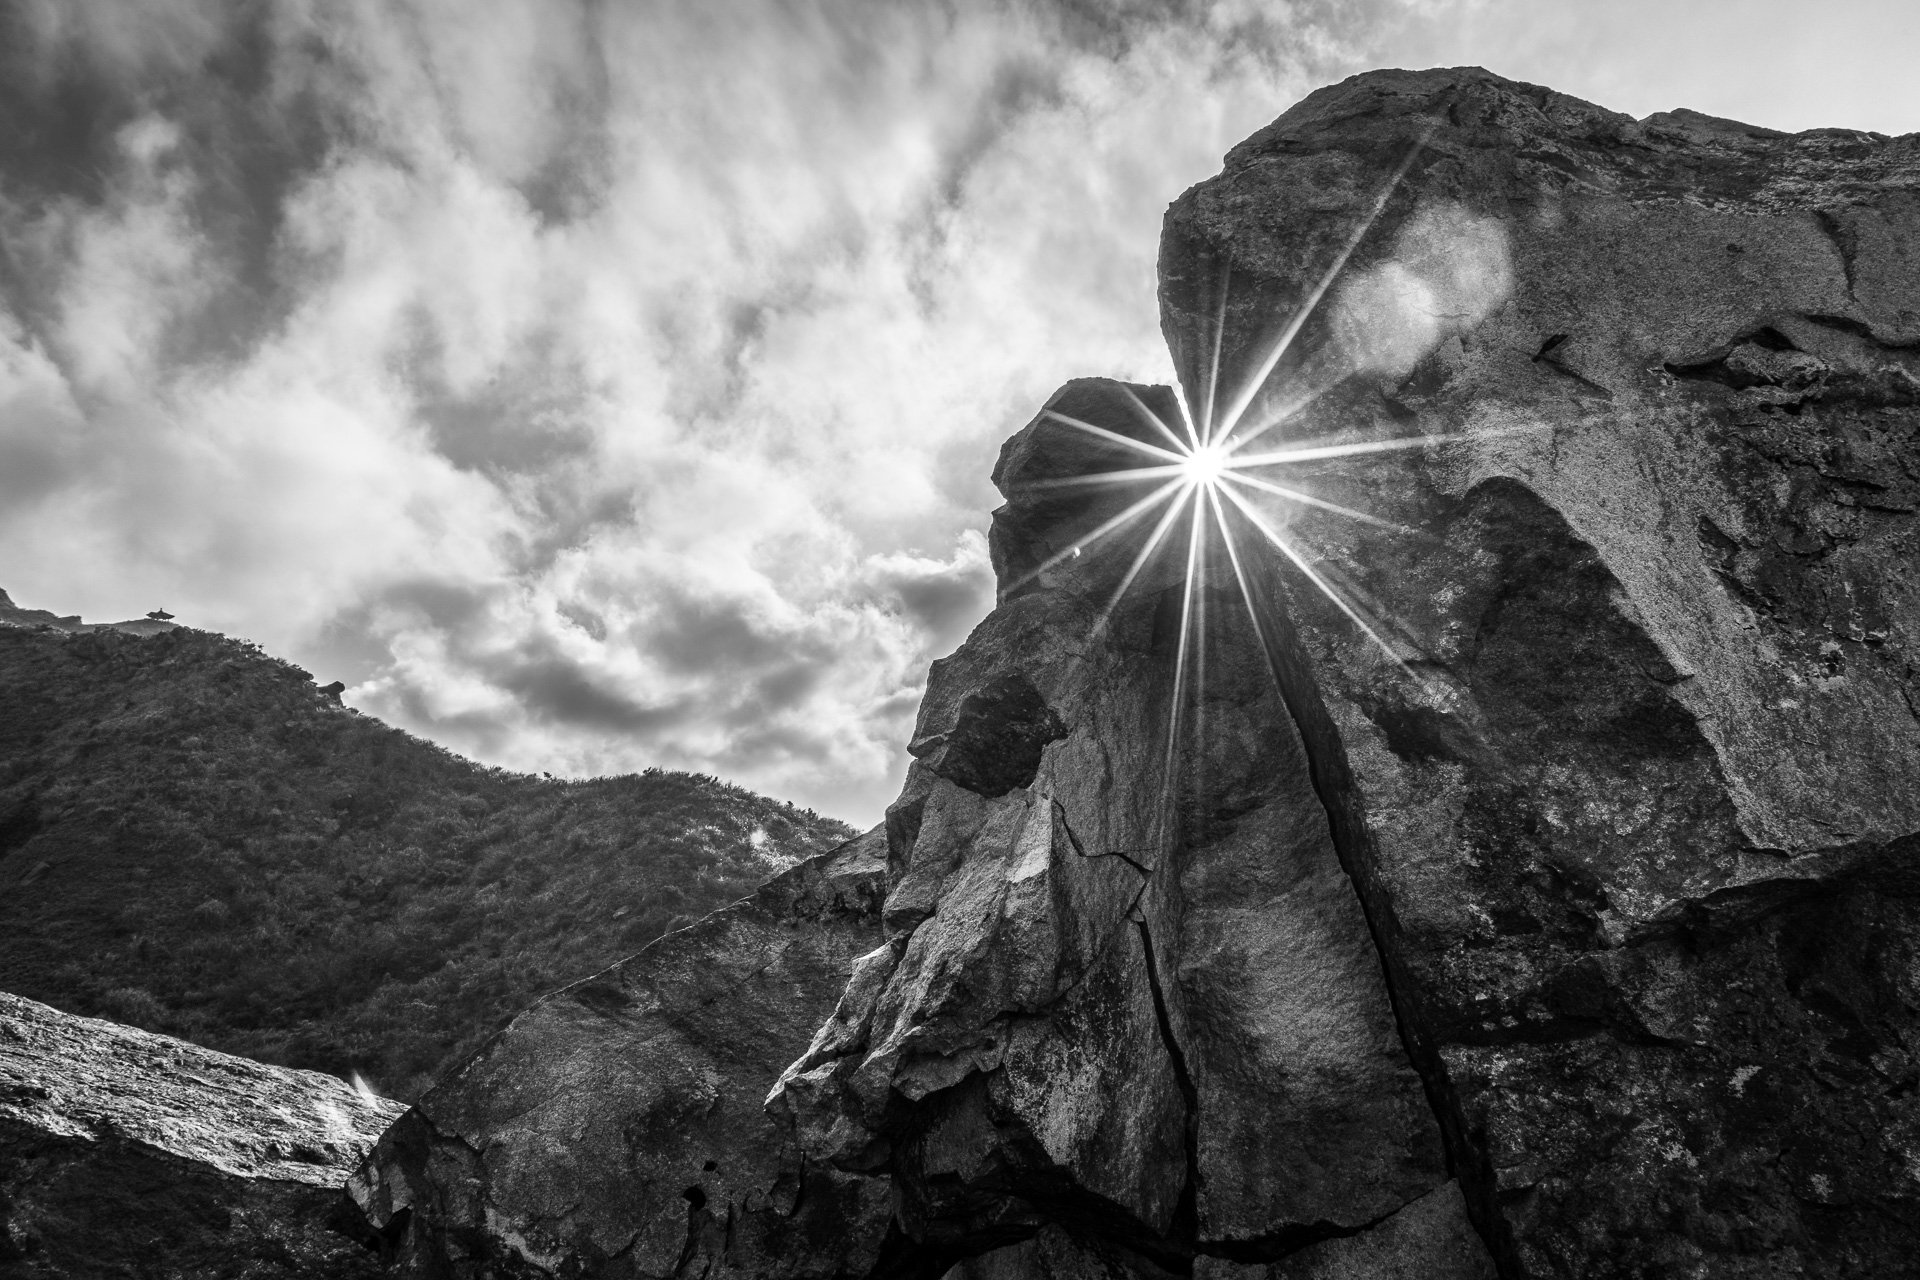
Hey friends, in this post I show you guys the insane amount of details that can be recovered from a RAW image file! This is the final edit, in black and white:
大家好,今天來跟各位分享RAW檔的厲害!這是修好的黑白版:

f/22 | 1/125 s | ISO 100
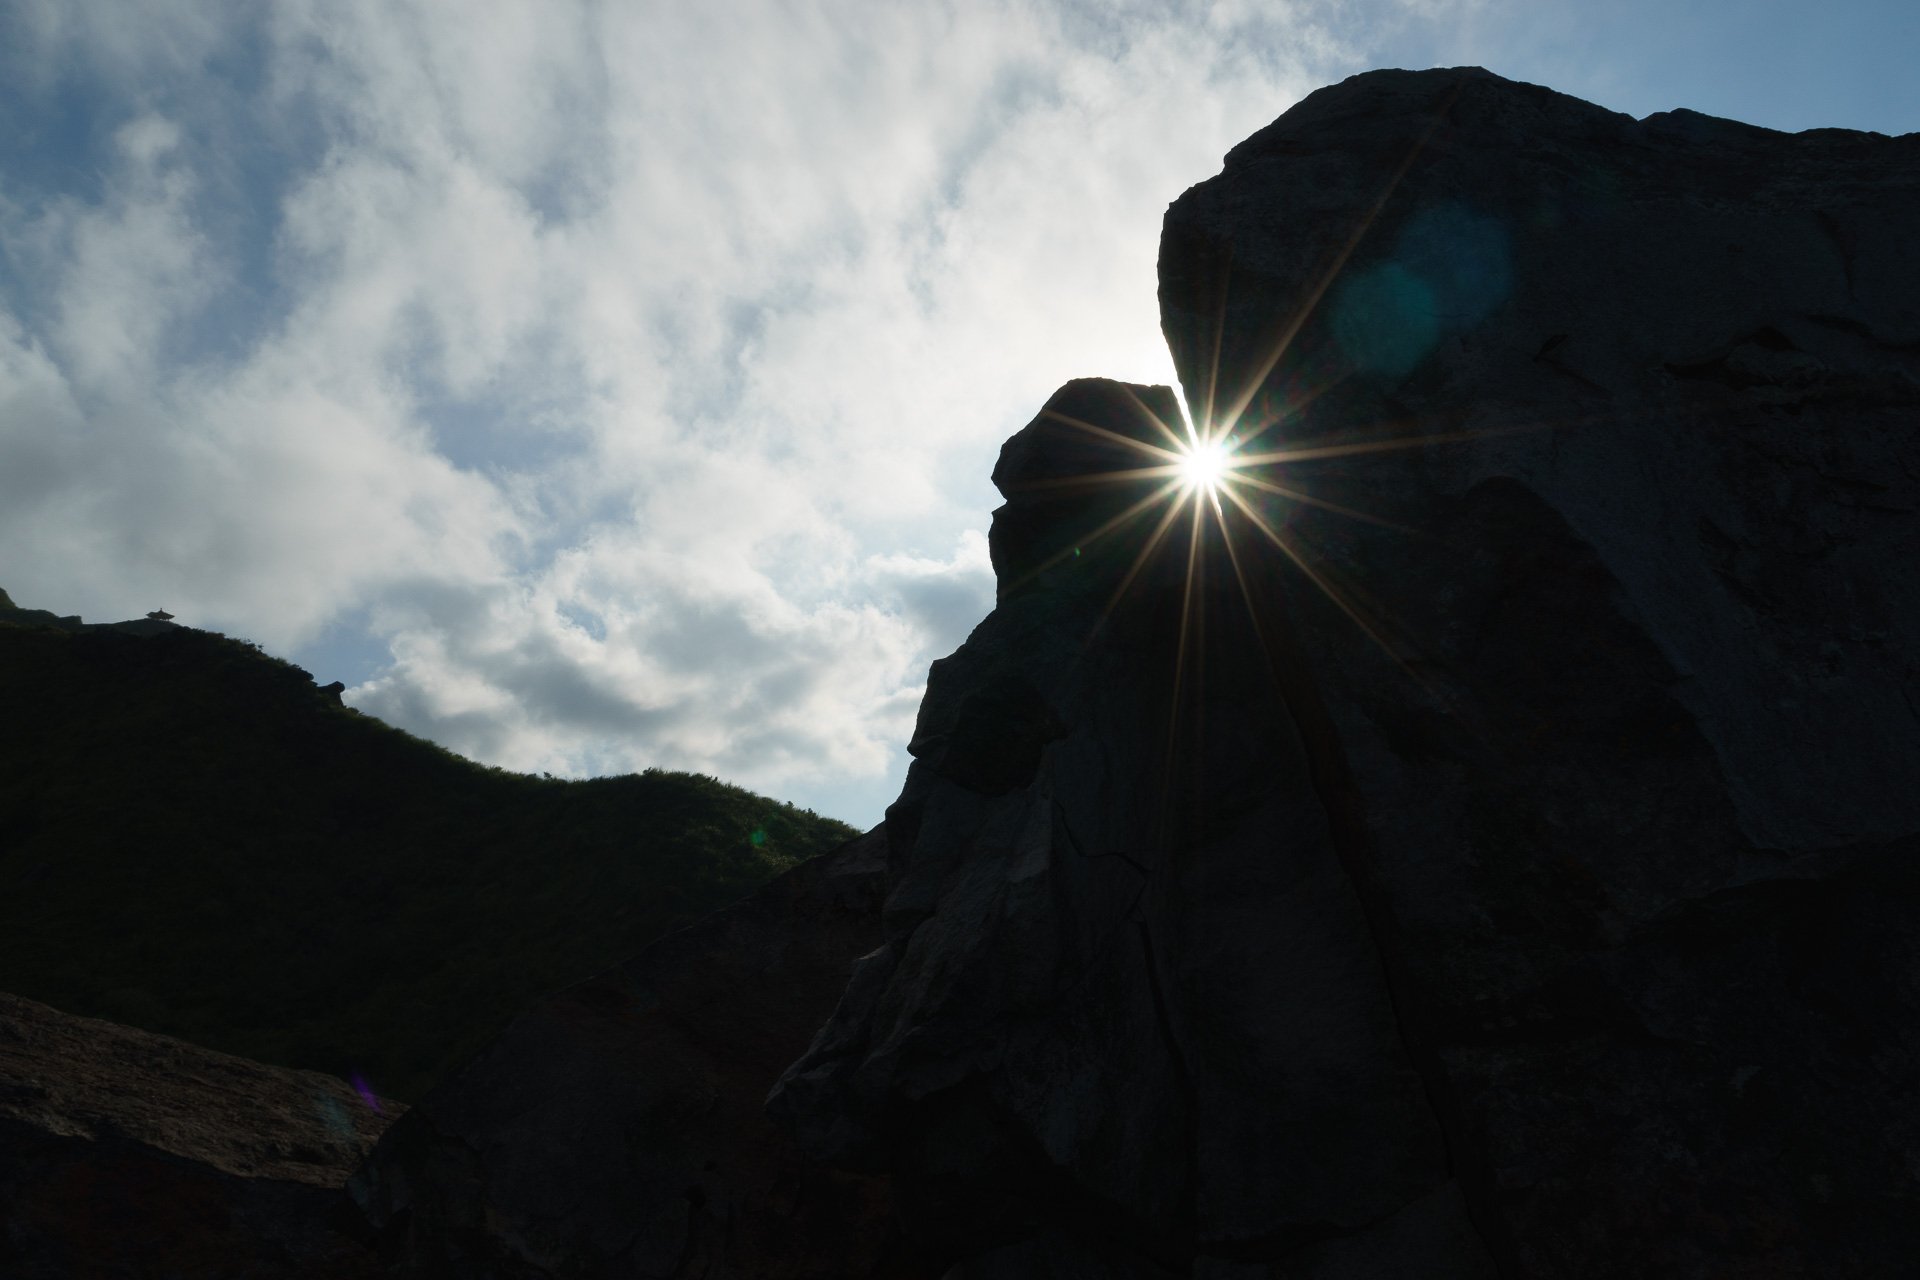
Notice that this is a back-lit scene, but the details in both the sky and the shadow areas are visible. Normally this is achieved through HDR, but here I was able to recover the shadow area details from one image. Here is what the imported RAW file looks like:
這是一個標準的背光景,可是亮部及暗部細節都還看得出,通常這種情況需要采用HDR但是我這裏只拍了一張RAW檔。這是RAW檔的原樣:

Imported RAW, no edits
I exposed for the highlights, making sure not to overexpose the clouds, which left the shadows almost completely black. Because I shot in RAW and cameras nowadays have insane dynamic range, I was able to pull the shadow details back out, this is why I almost always shoot RAW (like 99% of the time). This also gives me maximize image detail when I edit the image, which is essential because I want to be able to control what the image ultimately looks like, as opposed to letting the camera decide for me if I shoot in JPG.
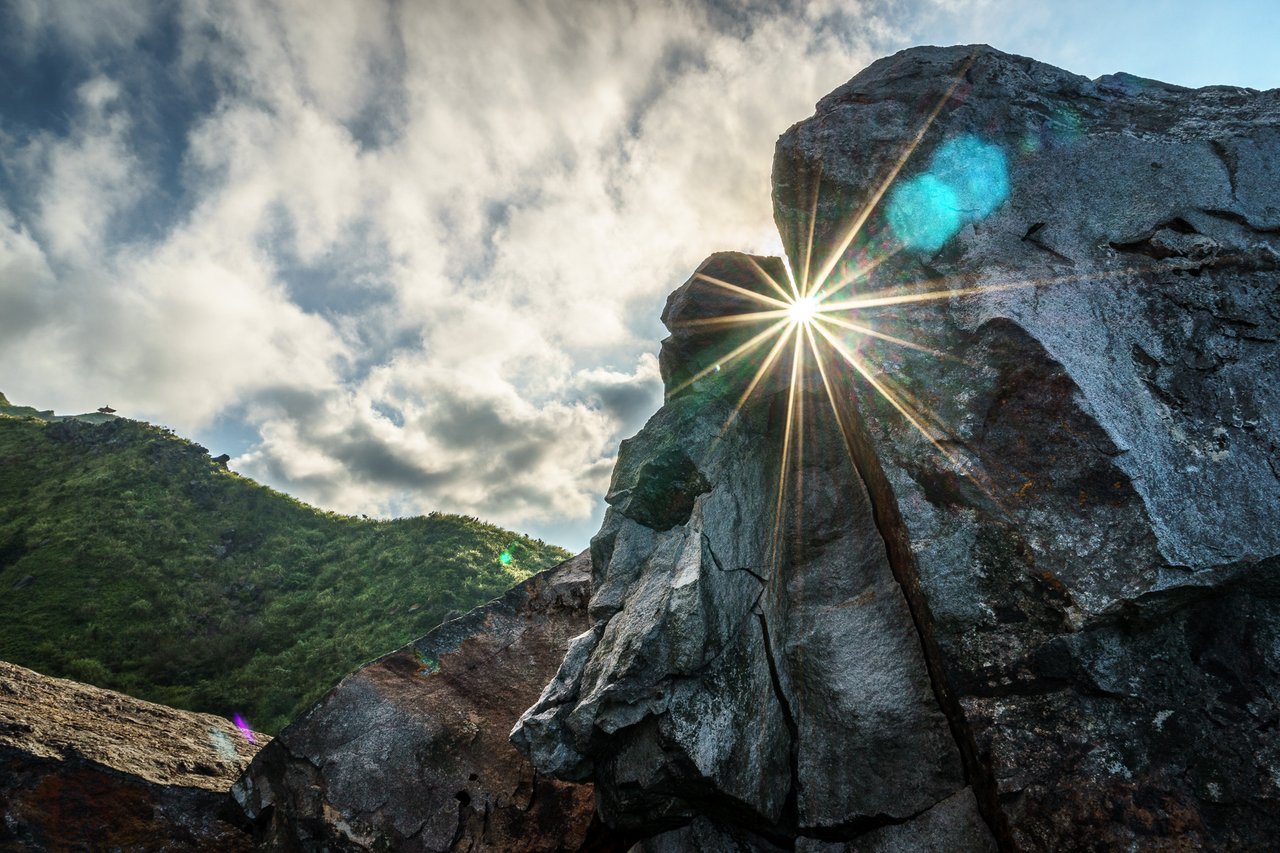
Here's the edited version, in color:
曝光時針對天空(亮部)測光,避免雲過曝,這時暗部看起來幾乎全黑。但因爲我用RAW拍攝,還是能夠透過修圖軟件來將暗部細節救回。因此我幾乎都拍RAW檔,這也能夠讓我在修圖時達到最佳畫質。以下是修過的彩色版:

Edited
There is some noise in the recovered shadow areas, but I think it is acceptable. Looking back, I probably should have taken a few more shots with varying exposure. I think it is possible to have exposed more to retain even more information in the shadows without clipping the clouds.
救回的暗部有點雜訊但還可接受,下次拍攝可以多拍幾張曝光值不同的照片,然後選出最好的來修圖。
!steemitworldmap 25.110000 lat 121.867392 long d3scr
Equipment Used / 使用攝影器材
- Camera: Sony A7
- Lens: Sony Zeiss FE 24-70mm f/4
- Software: Adobe Lightroom

