Introduction
I have been gradually scanning some of the Polaroid photos I took using my 250 Land camera. It is a very slow and painstaking process. Seems to take forever. Now I remember why I hate scanning! The files end up being huge and you can never get rid of all the dust.
Printed photos particularly polaroids are very sensitive to damage. I haven't cleaned these up at all because that takes an age in itself. For a comparison I've added a copy of "Darkness" a polaroid that I previously posted to demonstrate a cleaned up shot and to also show the difference in contrast between the actual polaroid photo and the inverted negative (which has more detail due to less contrast).
Some people prefer to keep and use the negatives because of this. I haven't had much luck as they always seem to get dirty. Also the quality of the polaroid film stocks are highly variable as they have all been discontinued and are expiring. They are very sensitive to temperature and storage conditions even when new.
I will try to post more once they are ready. Apologies if they are not as clean or perfect as my normal shots.
Scroll to the bottom of the post for Camera Info
The Photos (model is Rachelle Summers)

1

2 - some minor damage here.

3

4

5 - this one and below are quite damaged - not sure what caused the lines and marks

6 - Again it's damaged but I love this shot. I might have a go at cleaning it in PS - not sure it will work though.

7

8 - Old shot of "Darkness" which was cleaned up in Photoshop to compare with inverted negative.

9 - The Negative of the same "Darkness" shot (inverted like to a positive in PS). This demonstrates the less contrasty and more vintage look. It also show the problems with how easily the much wetter negative gets dirty and damaged. The tone and tint is also quite different.
(All the photos were taken using natural light.)
The Polaroid Automatic 250 Land Camera
Apologies for the low quality of these shots which I took with my Ipod camera. Also sorry for the filthy desk - didn't have anywhere else suitable to put the camera and take shots of it and my cats have a tendency to walk dirt and dust all over my desk! They saw this as the perfect opportunity to start playing on it.
I first became familiar with this camera on the recommendation of one of my favourite photographers, Emily Soto. She showed me how to use it at one of her workshops 3 years ago and I immediately fell in love with it. Sadly soon after buying it (I think only a week or two) Fuji announced that they were discontinuing the main FP-3000B film (see image below) that I use.
Although there are other film types that may still be available via the Impossible Project that are compatible with this camera they don't have the same characteristics as the 3000B. Most importantly the 3000B has very high contrast and extremely high light sensitivity.
Also the Impossible Project film is very expensive. Prices of old Fuji stock have gone up quite significantly and thats if you can find it or get it to work. I think out of my final 5 canisters only about 20% of the photos were usable and most of them had defects due to deteriorating film.
It is sad because this is a fantastic camera and a great way for those of us who are only really familiar with digital photography to try using film in a very safe and easy to use manner (no chemistry degree required).
The camera itself is from the 1960s and I purchased it from the Film Photography Project website. They refurbish all their old cameras and provide a guarantee with them. It is quite advanced for the time with it's special Zeiss Optics and Viewfinder as well as an advanced (for the time) auto exposure system. The refubished cameras have been modified to take a regular battery (the original had a custom one that was impossible to find after being discontinued).
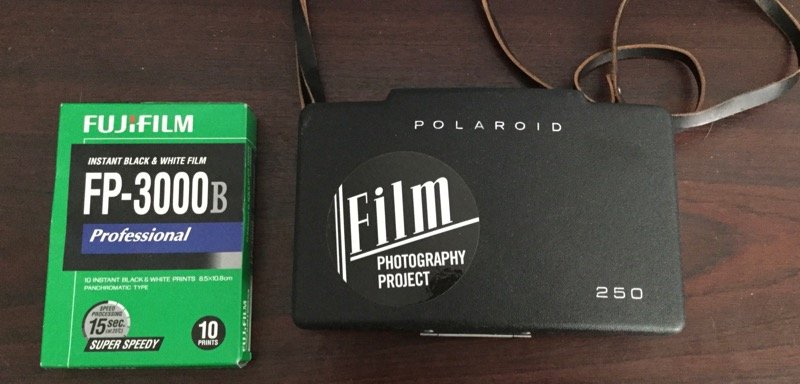
Here you can see the folded camera body with the now discontinued high contrast 3000 ISO film - unfortunately this is my last canister so I couldn't show what the inside canister looks like without ruining it.

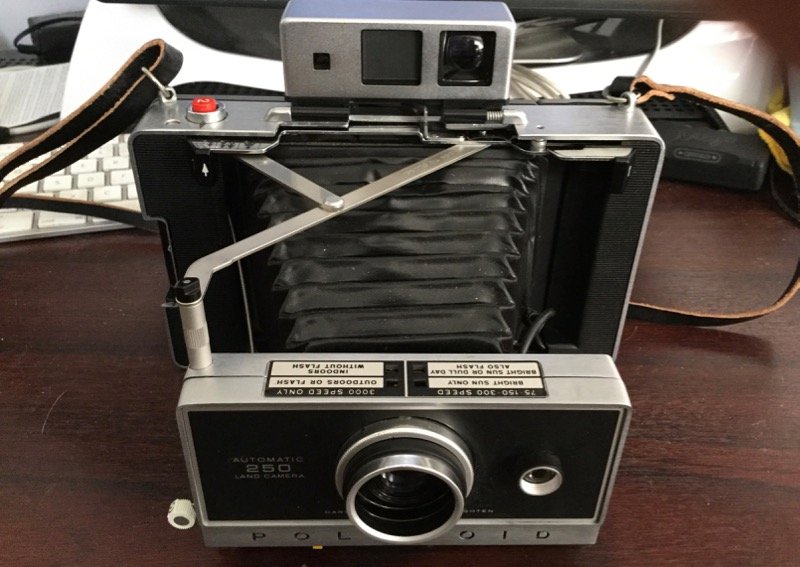
The 250 when open. The little pocket holds the original manual and film cooling metal plate.
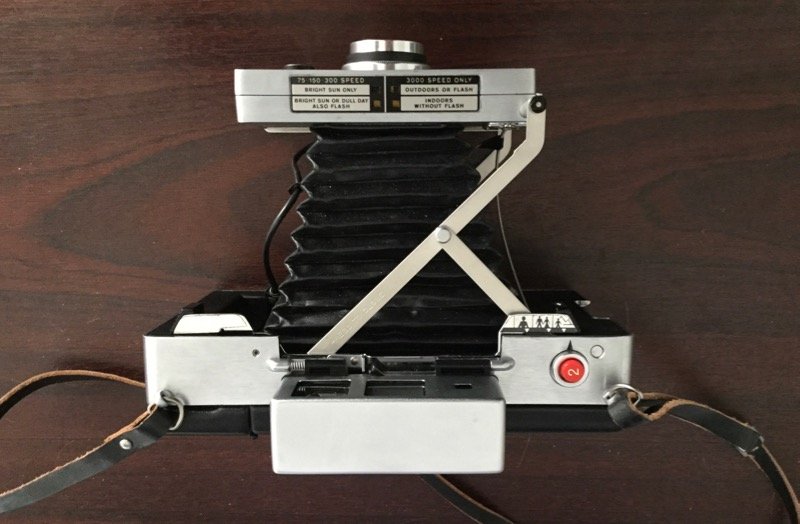
The front of the camera is on bellows that need to be pulled out.
The focusing system is quite weird an uses a rangefinder type system where you must manually line up 2 images. I can't show it here but you can probably read more about it online. It is quite tricky to use.

This shows the simplicity of the camera and also the back plate where the film canister is loaded.
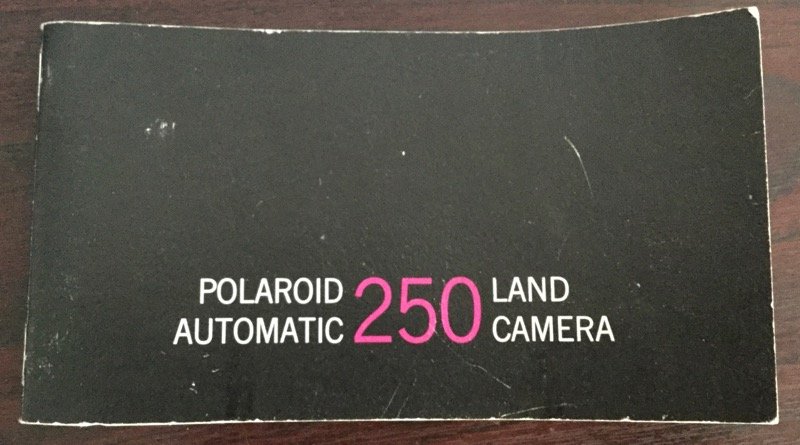
The funky 1960s manual is in surprisingly good condition.
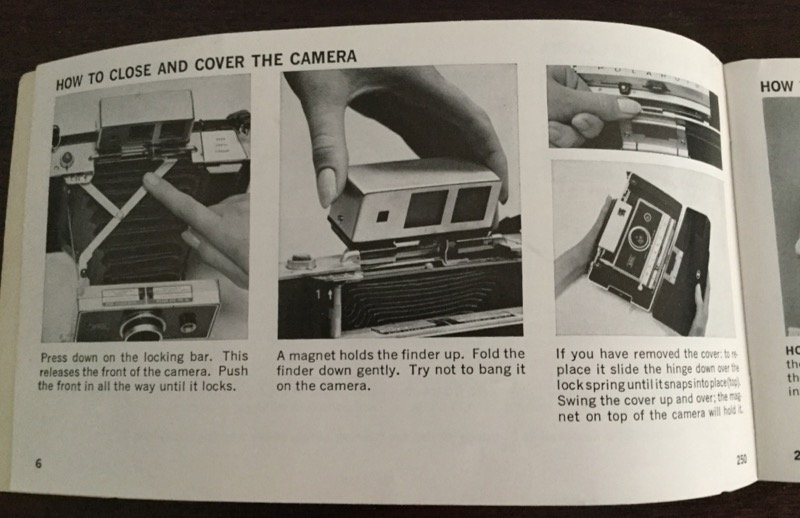
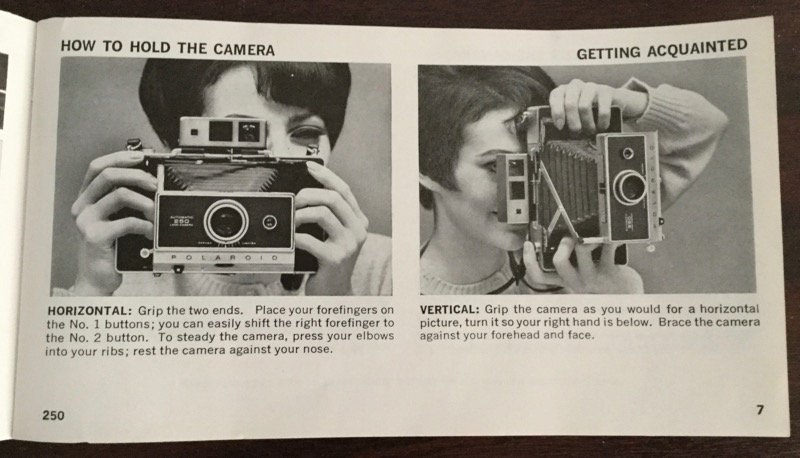
I love 1960s stuff. Could these images be from any other time?
You can see more of my work @thecryptofiend - hope you enjoy.
(Verification for me here: http://www.aapicture.com/about-me)