
A friend of mine is really into HDR. This wasn’t something that I was really aware of on my early days in photography and because I’m curious by nature I did a little research about what HDR is, what photographs make for a good HDR project and how to go about doing it.
What is HDR (or HDRI)?
HDR or High Dynamic Range usually takes a normally exposed digital image and allows you to enhance it emphasizing the differences in the light and dark areas on the photograph. Some times HDR is used to improve the look of the photograph so it looks more naturally enhanced.
Other times it is used to create a creative effect that is less like a photograph and more like a piece of digital art. At its essence HDR is about light - about capturing a shot at different exposure levels and then merging those different shots to get the best of each of the exposure points.
A simple analogy about HDR
This is where I personally had the Aha!, I get it, moment. You are putting on makeup and you have different grades of makeup you have the full coverage, the light coverage and the stuff you use when you are going out to see people you haven’t seen in ten years and you broke out the night before. HDR is like using each of those different makeups on your face in different areas so that you are perfectly highlighted with cheek bones and no under eye circles even though you have a baby that isn’t sleeping for more then 3 hours at a time.
How do you get an image suitable for HDR?
There are two sets of ideas here.
Number I
that you should shoot with the purposes of HDR in mind and you should take pictures of the same subject using a tripod to ensure you are getting the exact same shot at different exposures. You then use the different exposures of the same shot to merge into a single image creating the HDR. You could also use AEB (auto exposure bracketing) but that’s for a different post.
Number II
you take one picture and using a photo editing tool you alter the exposure of the shot saving the shot at different exposures (lightness/darkness) and you use these photos to create your HDR.
What type of shot makes for a good candidate?
It always depends on your preferences, I personally prefer making HDR images on my landscape shots.
Remember that HDR is about the merger of light and dark so photos that have different areas of lightness and darkness that can be manipulated greatly by exposure are good candidates. The larger the contrast the larger the impact you can make with your HDR shot.
How did I do it for the first time?
I used to follow the conventional method which is shooting on different exposures but I find it tedious. Since I always shoot on a RAW+JPG format, I adjust the exposure value on Photoshop.
For this quick exercise, i am going to use the images below which I took in Bohol, Philippines.
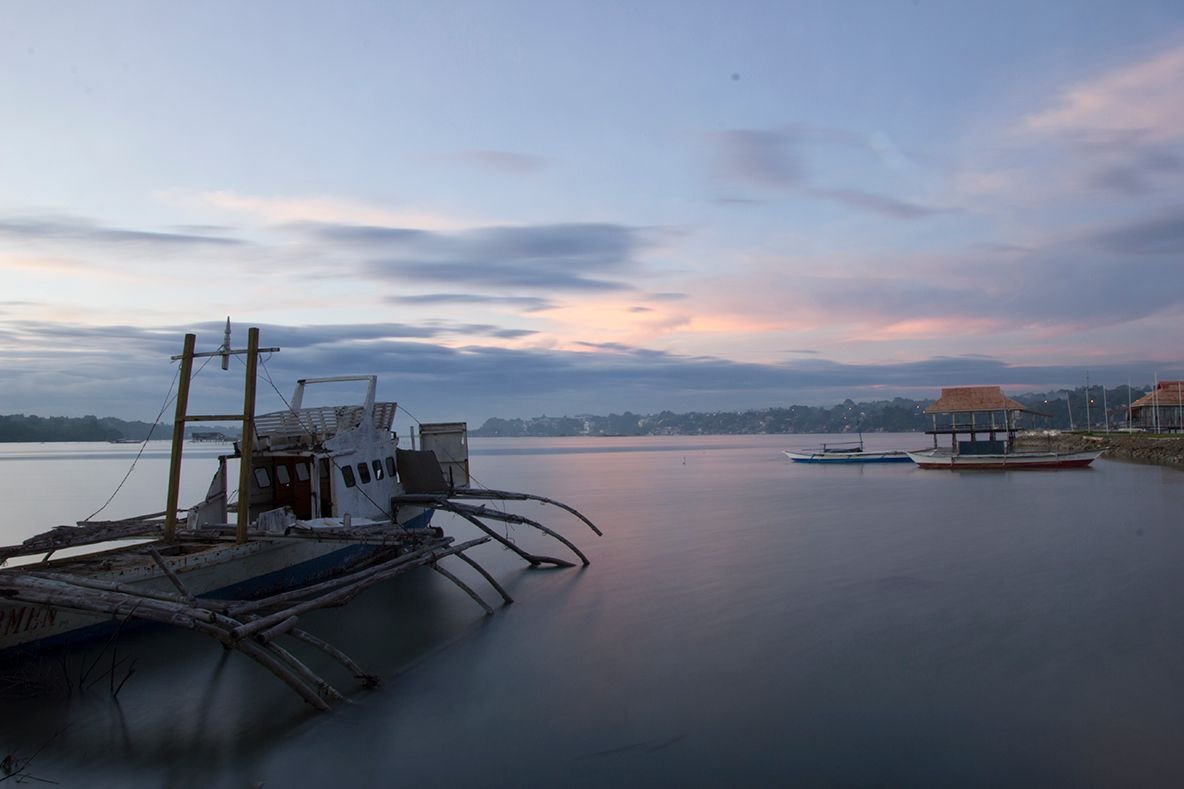 Image No. 1
|
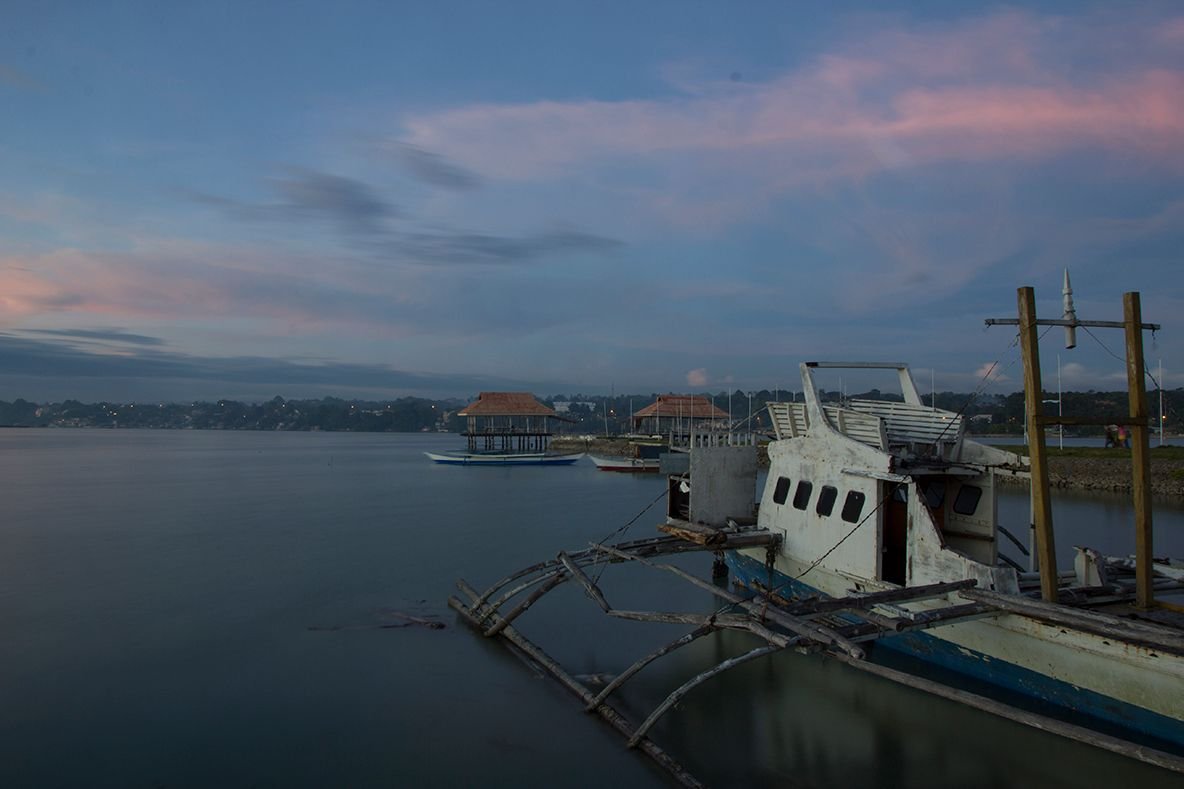 Image No. 2
|
Using the raw file of the photo above, I created 2 duplicate versions of each photo at different exposures, one photo is overexposed (+1) and one photo is underexposed (-1). This is what I’ve done:
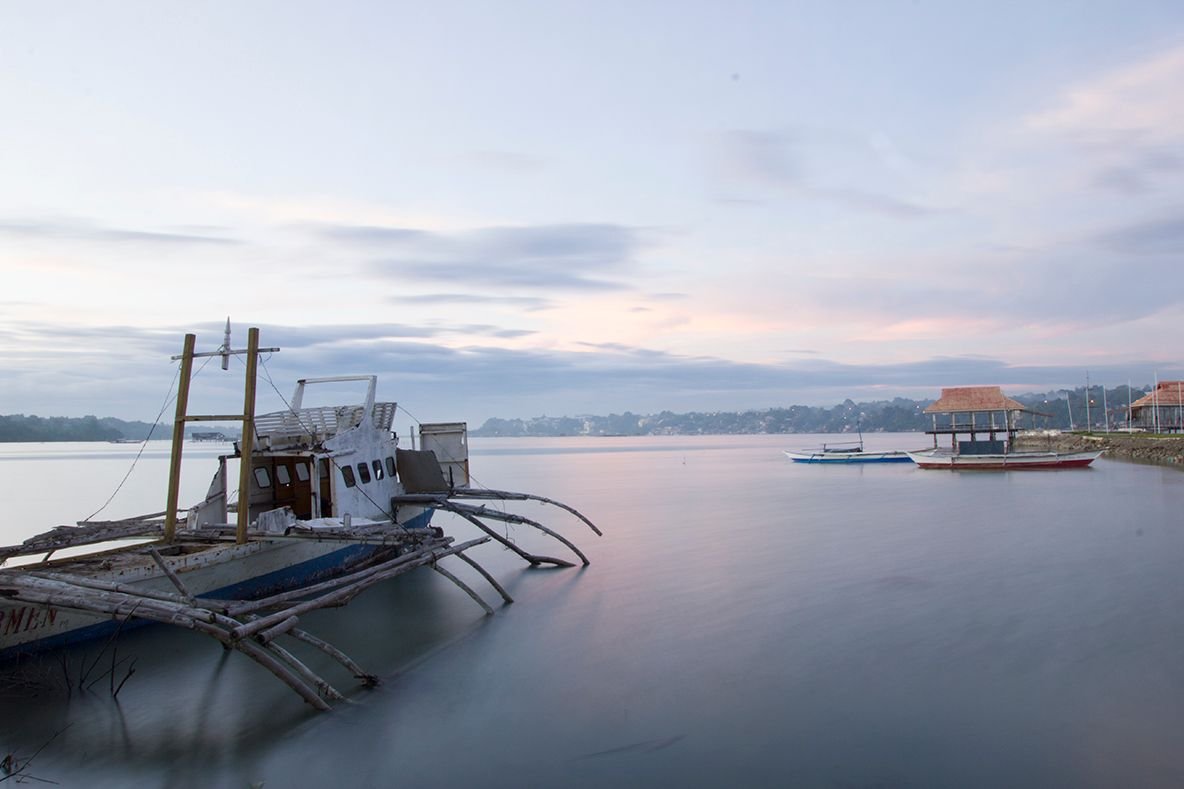 Image Exposure is set +1
|
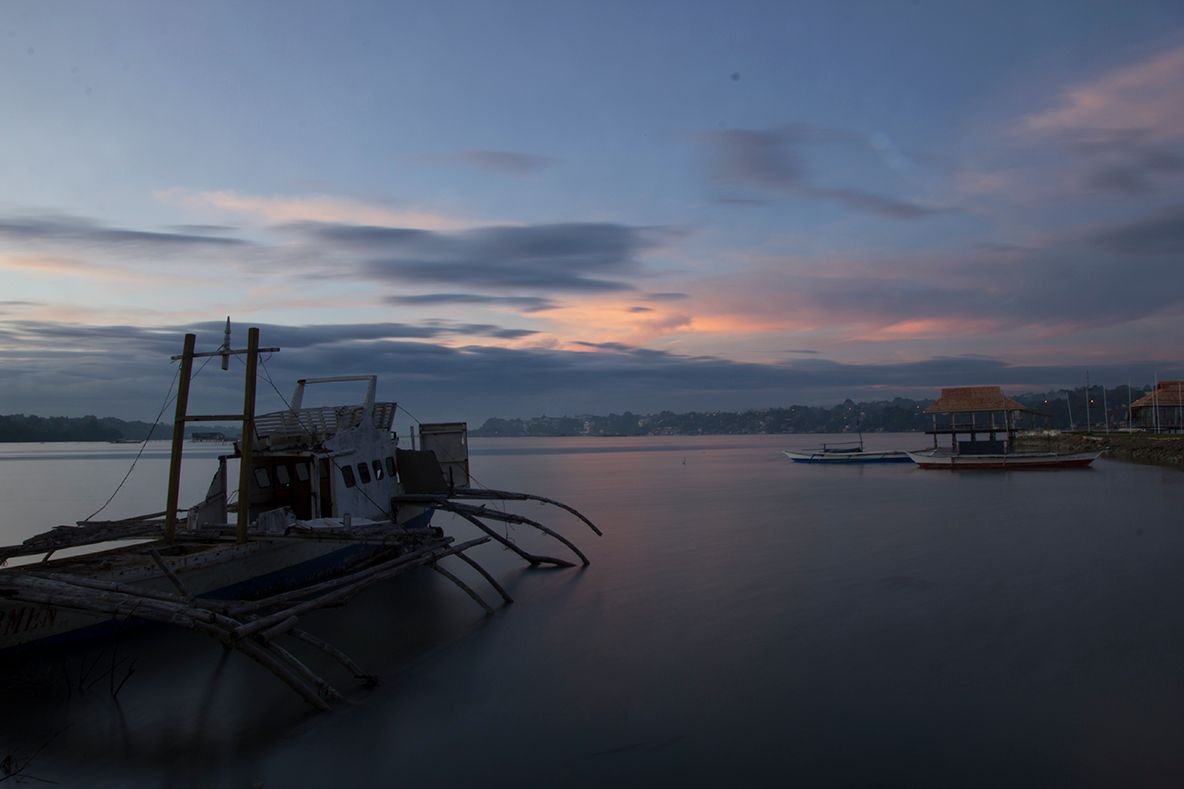 Image Exposure is set -1
|
 Image Exposure is set +1
|
 Image Exposure is set -1
|
Now you use a tool such as Photomatix (Photoshop does have a plug in for this, as does a few other photo editing tools). You can download a free trial for experimentation purposes.
Here's a quick introduction of how Photomatix works.
Here are the results using the tool. It quite impressive right? I was really amazd when I first used it. The photos below are then enhanced a bit through Photoshop.
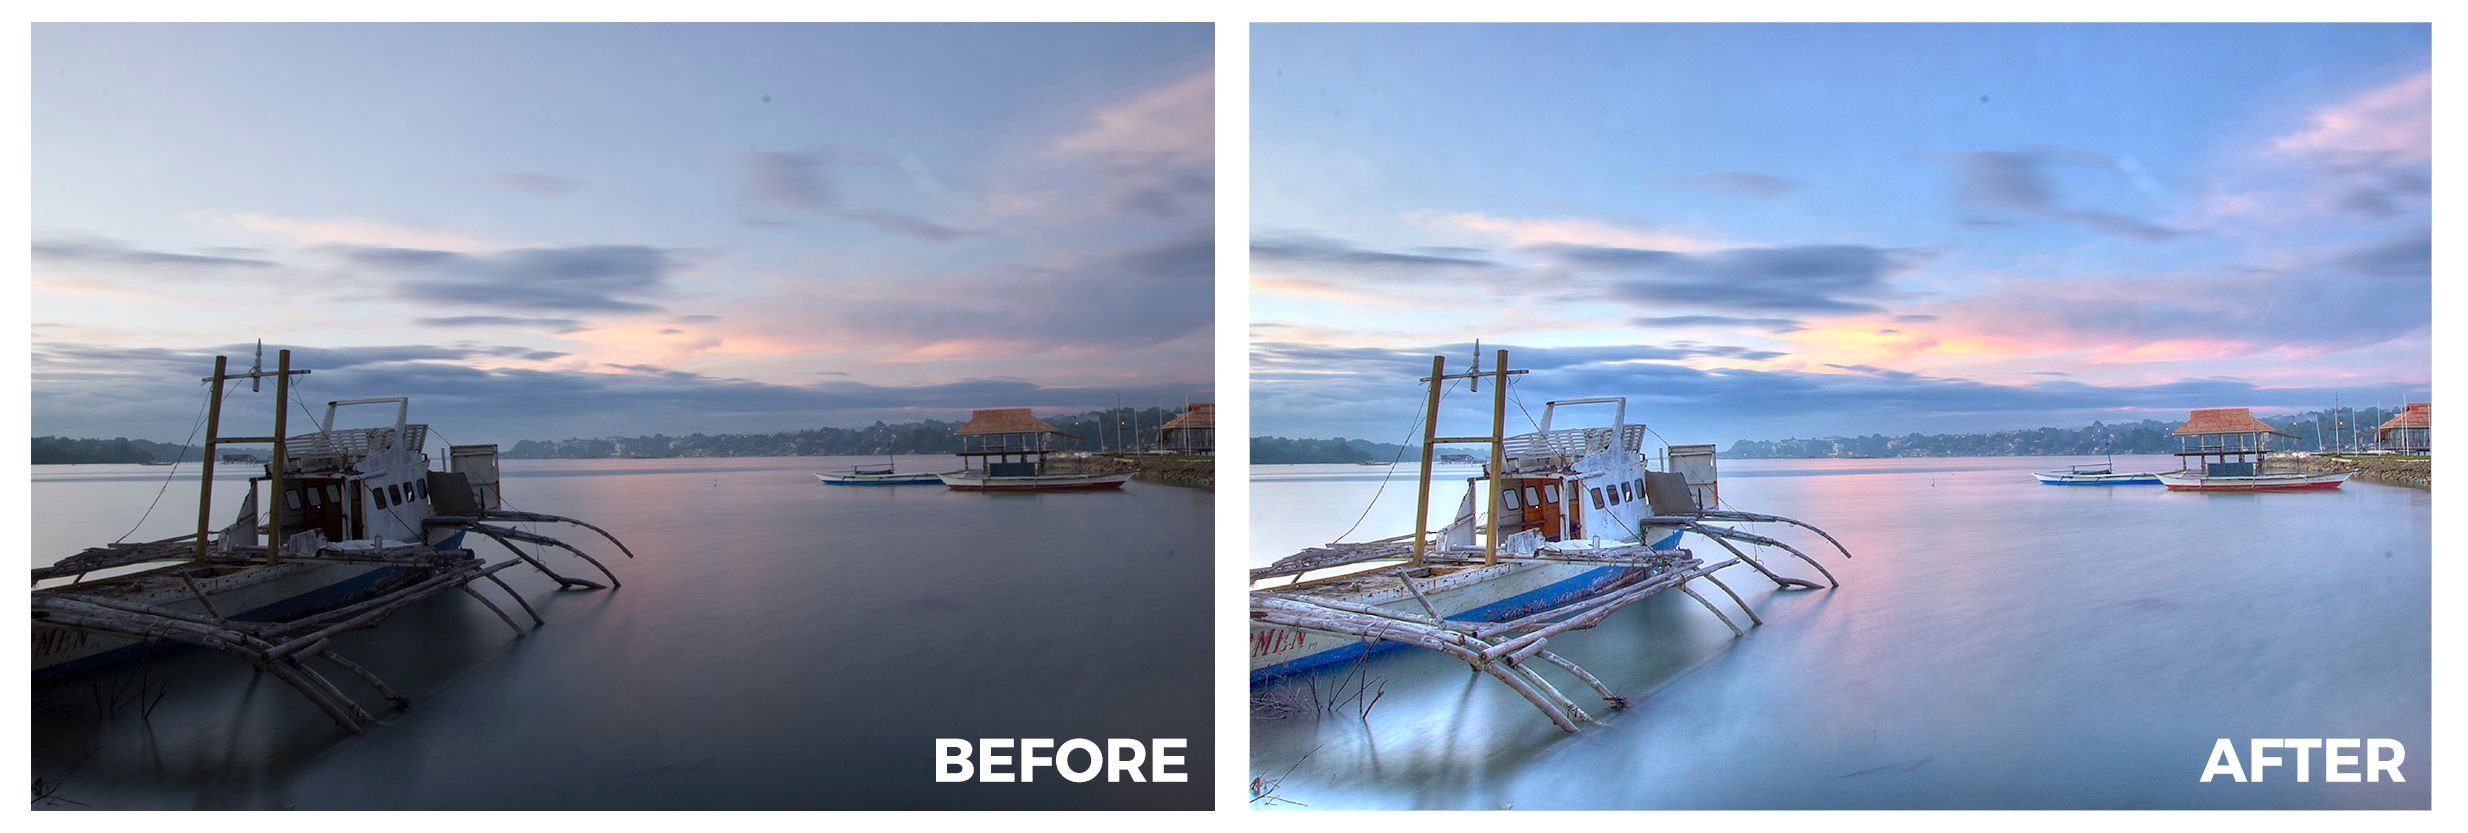
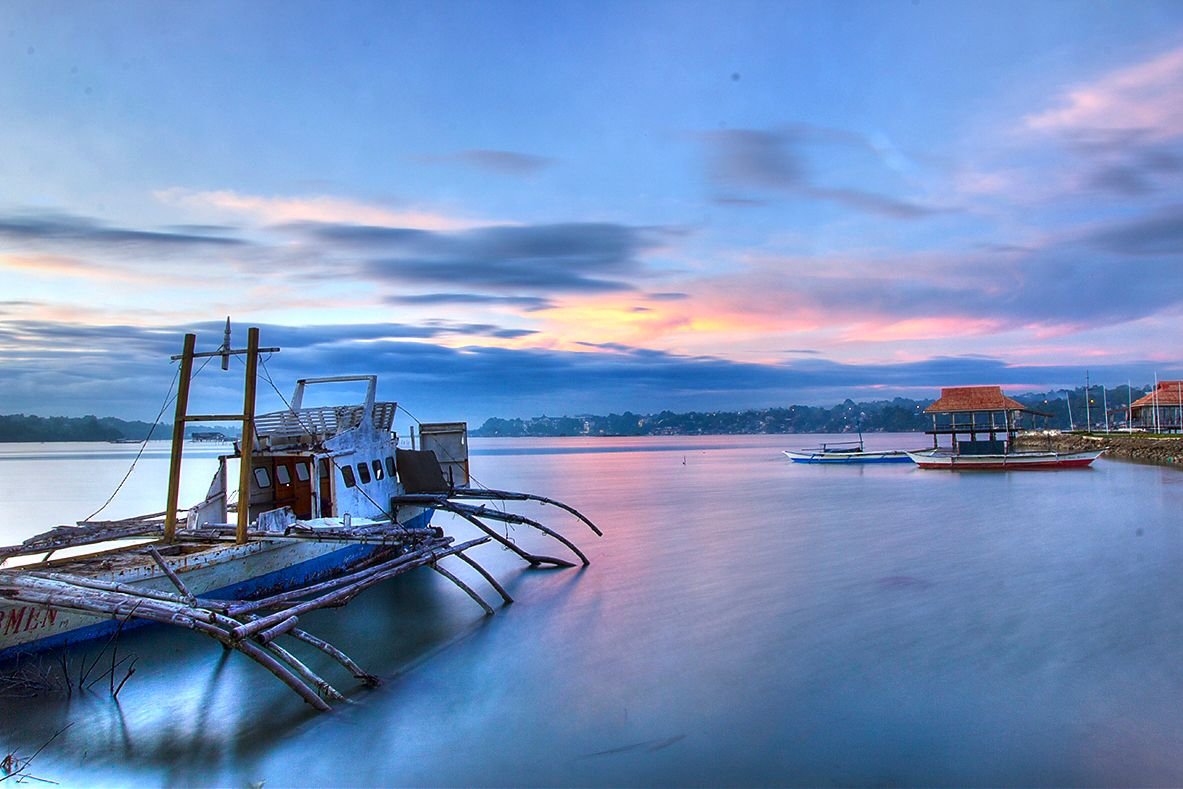
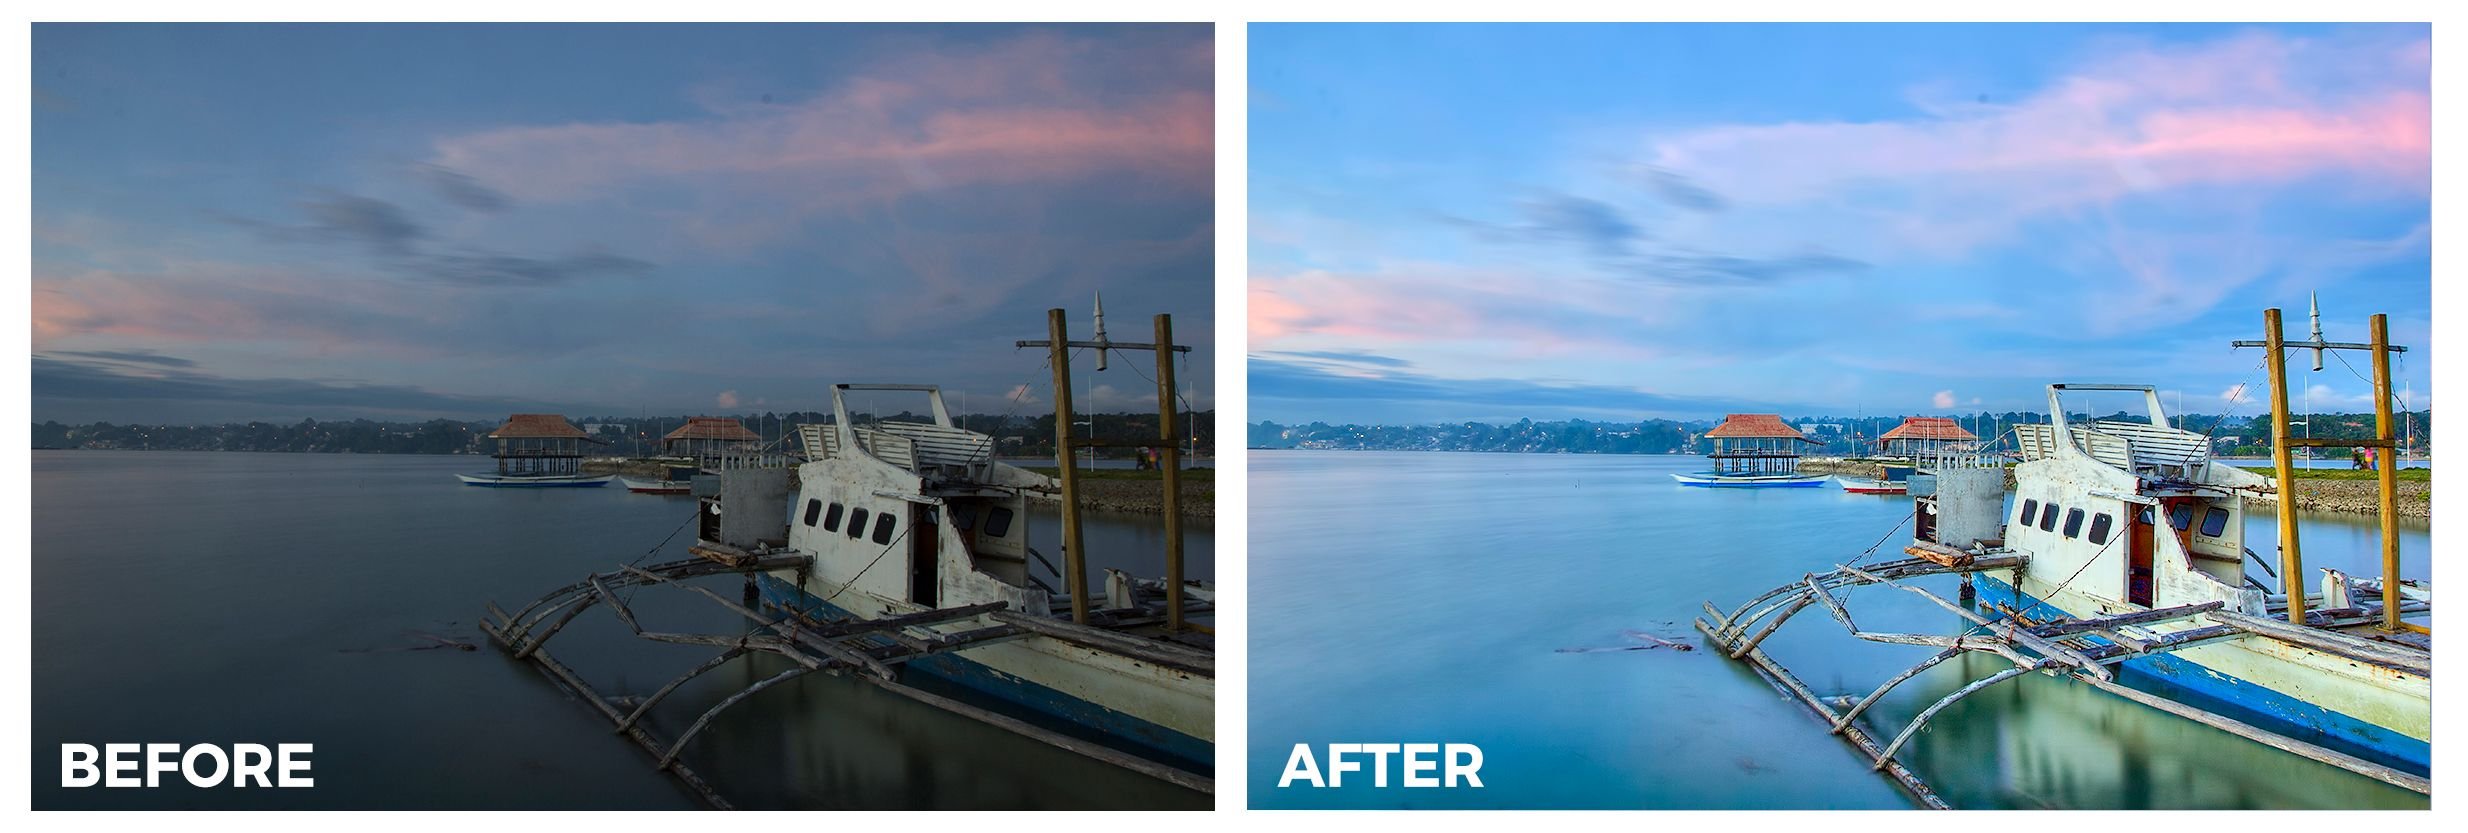
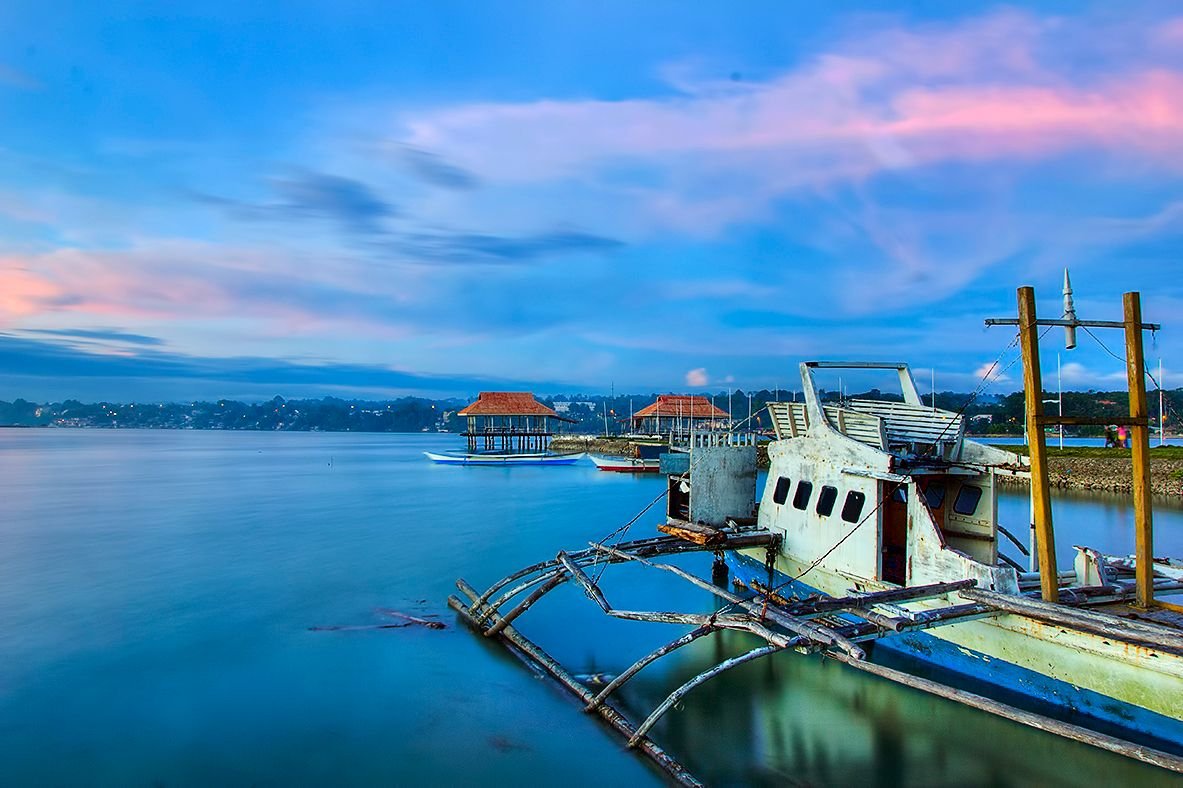
There you have it, an HDR image image processed using Photomatix.

Note: All materials used on this post except the Youtube video is solely owned by Herbert Kikoy, that's me :)

