
Welcome to:
Hola #uloggers! 👋
I’m sure my co Filipino Steemians are familiar with the expression ”Ang damit ko, hindi basta basta nauubos. Pero ang kasya, konting konti nalang!” ( English: I have a lot of clothes, but I still have nothing to wear!😂🙊🙈 . Just kidding! ).

I still have two luggages of clothes and other accessories(winter & summer clothes) that I don’t use anymore. Some of them are too old to use, some don’t look flattering and simply won’t fit me anymore 😔. The ones that are quality and still in very good condition, either I gave it to relatives or friends whom I have the same size and donated some awhile ago to MABS Foundation , the nearest charity shop from us here in Spain (for auction to raise money for the MABS Cancer Support).
Since I’m also a fan of DIY’s, this afternoon I made an apron and kitchen gloves out from my old denim and blouse instead of buying a new one.
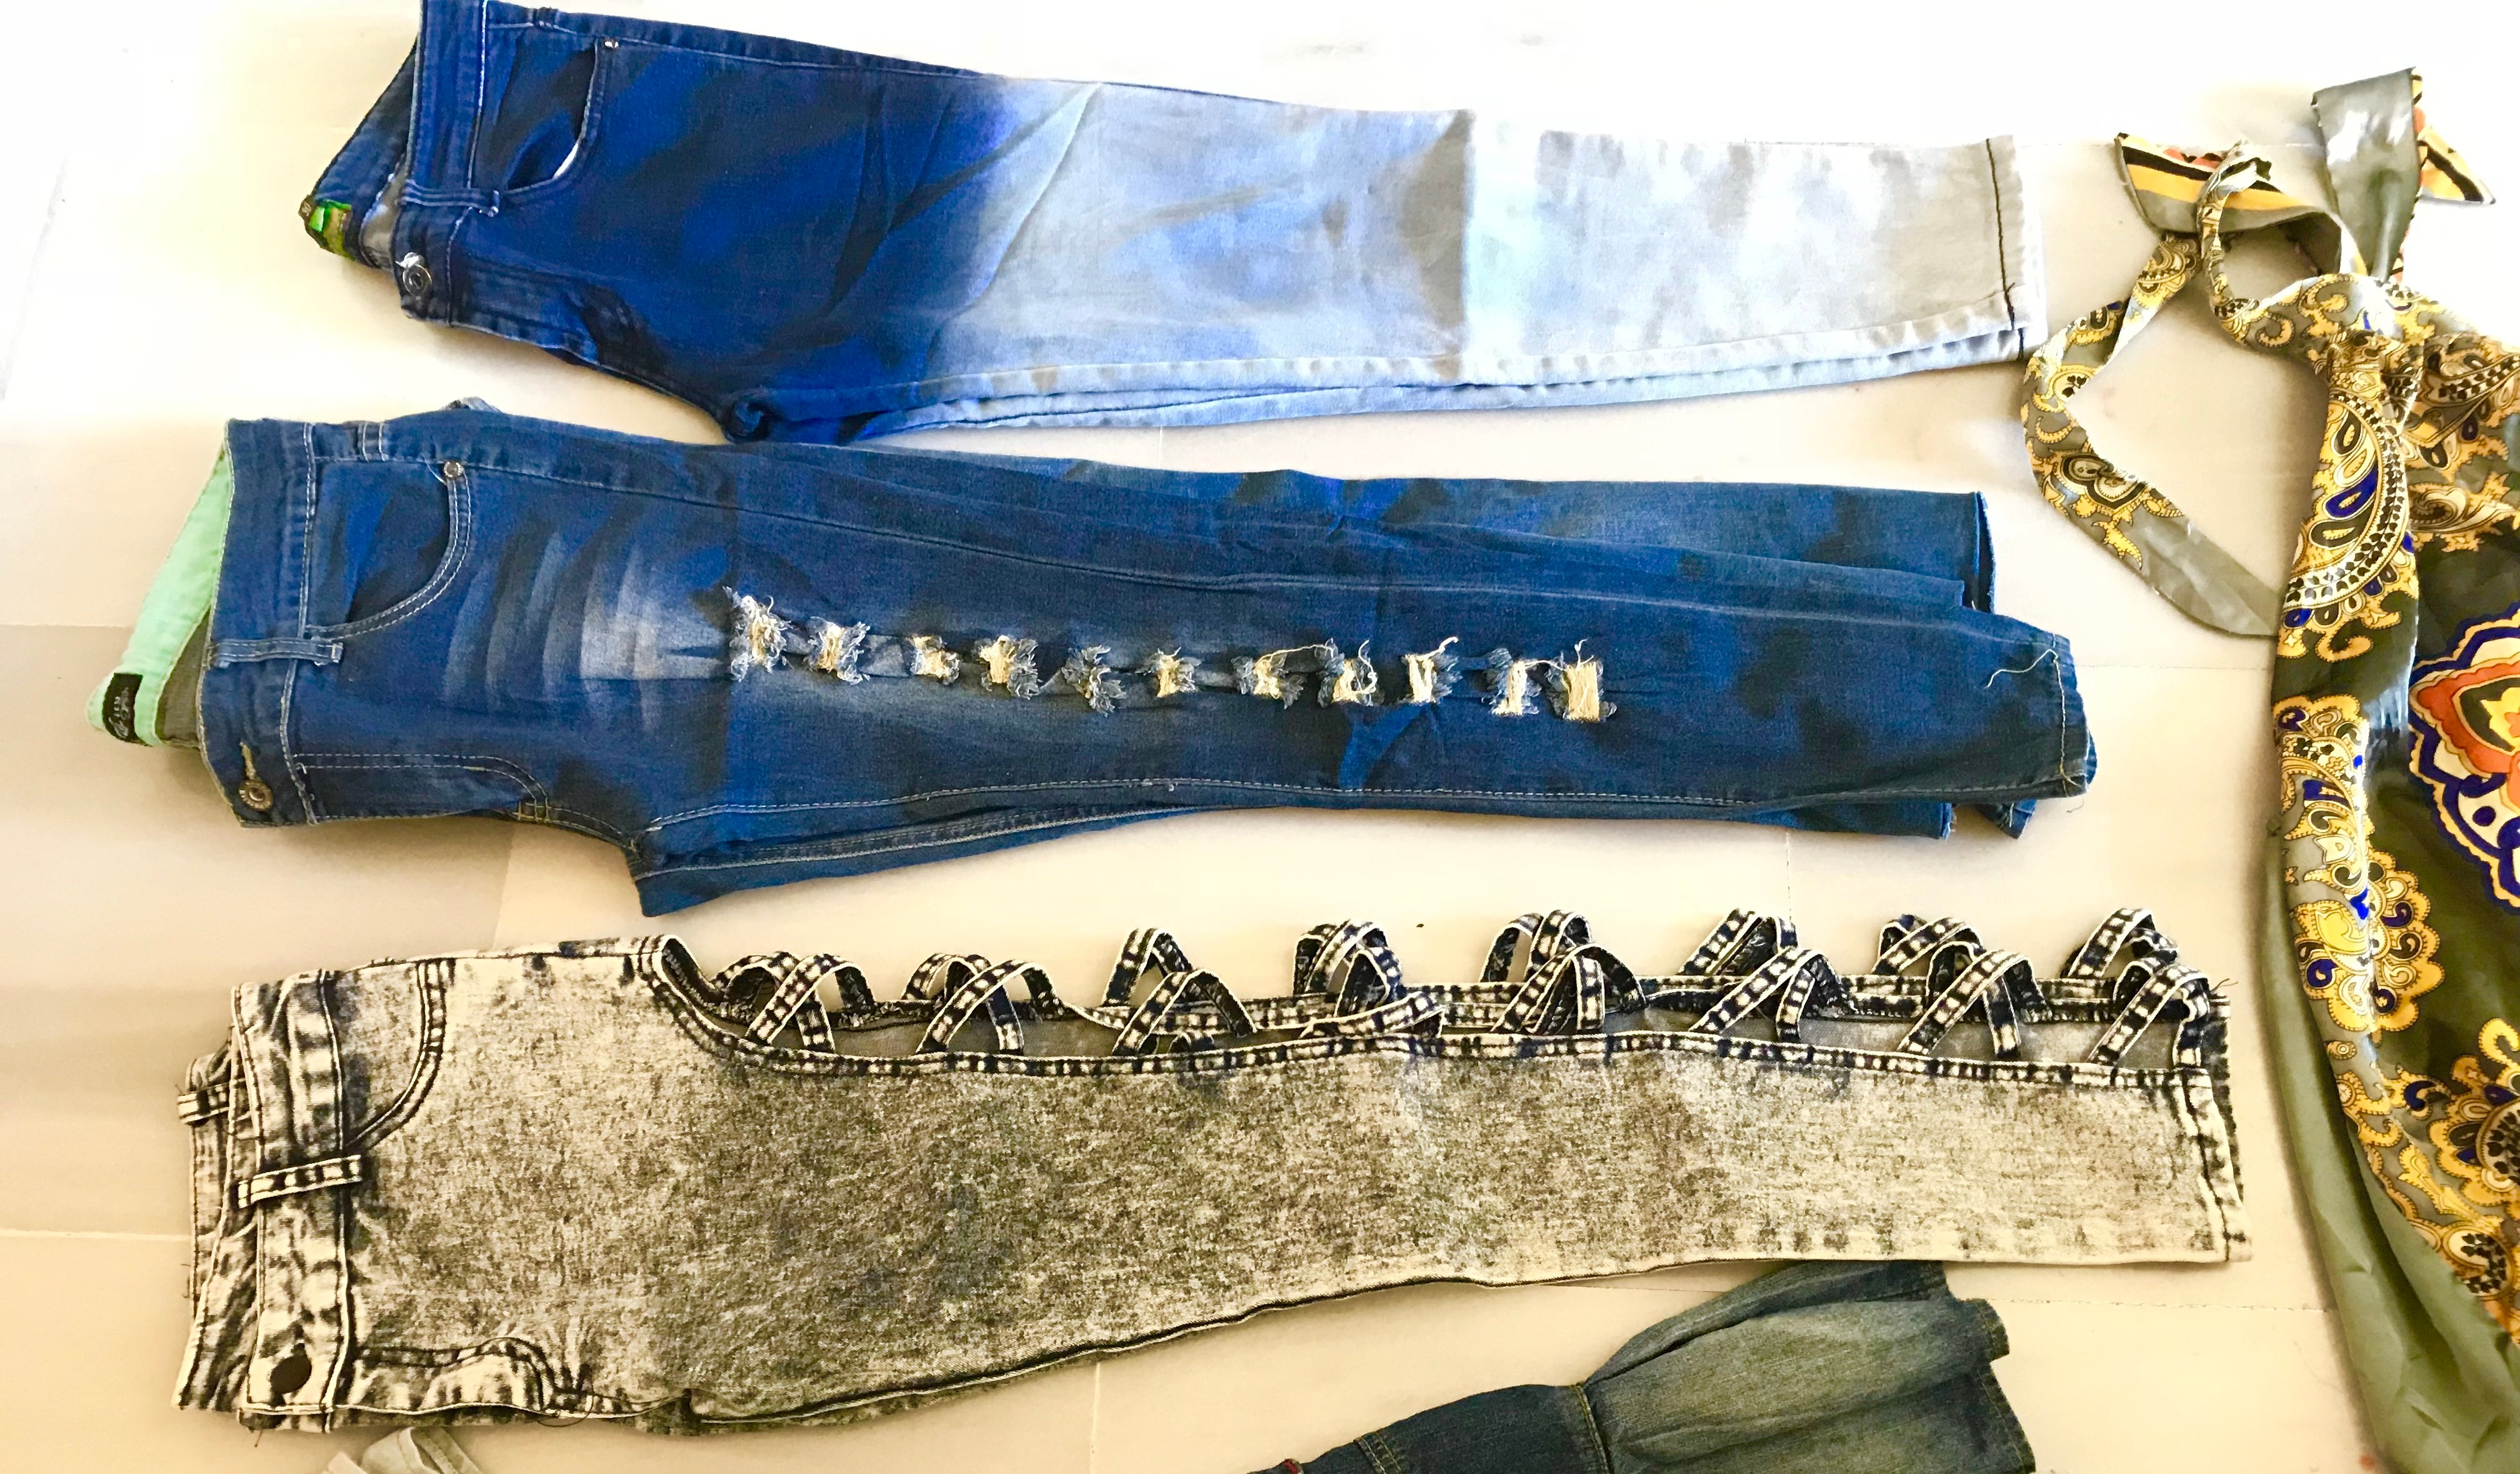
I didn’t spend any money to create my sassy apron set as I already have the following things needed for this DIY. I only invest my precious four hours for outlining, cutting and assembling minus the thirty minutes in the storage room looking for my sewing kit but it didn’t show up (lol), so I end up using the glue gun and if you like this DIY idea, below is the step-by-step process.

You Will Need
- Used old denim and top
- Glue gun & stick glue (or sewing kit)
- Ruler or tape measure
- Marker
- Sharp Scissor
- Cottons
APRON Process
The Cutting
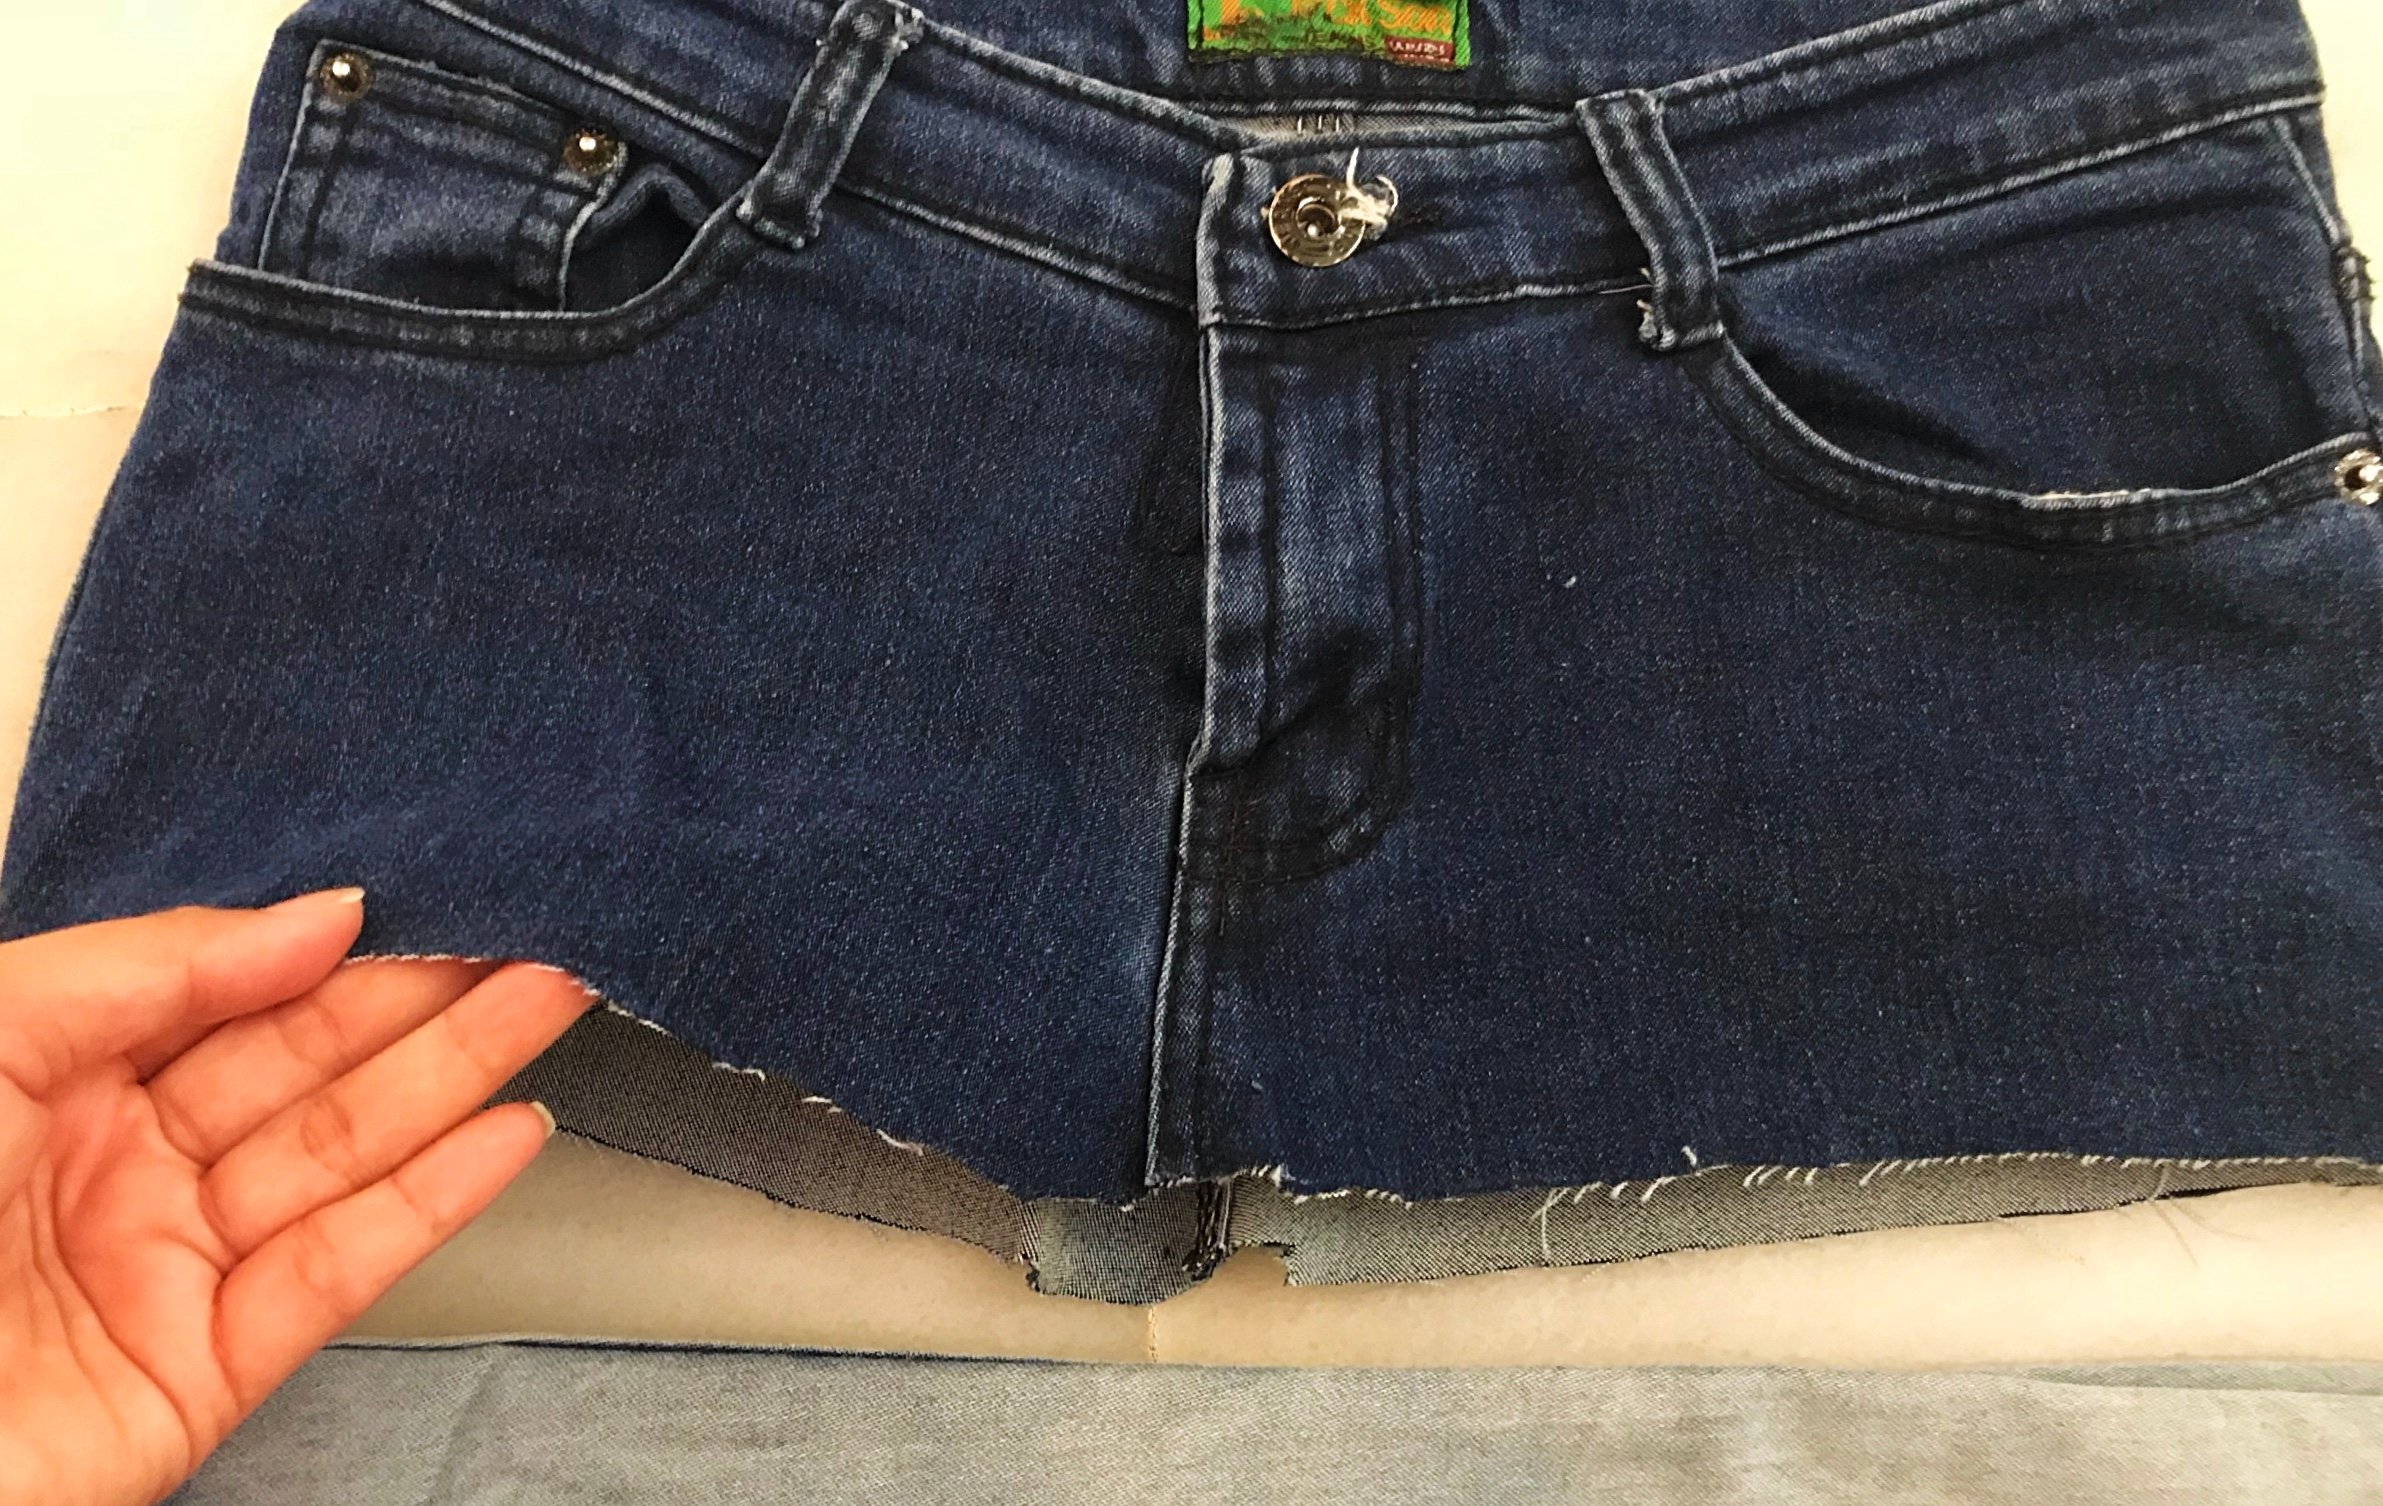
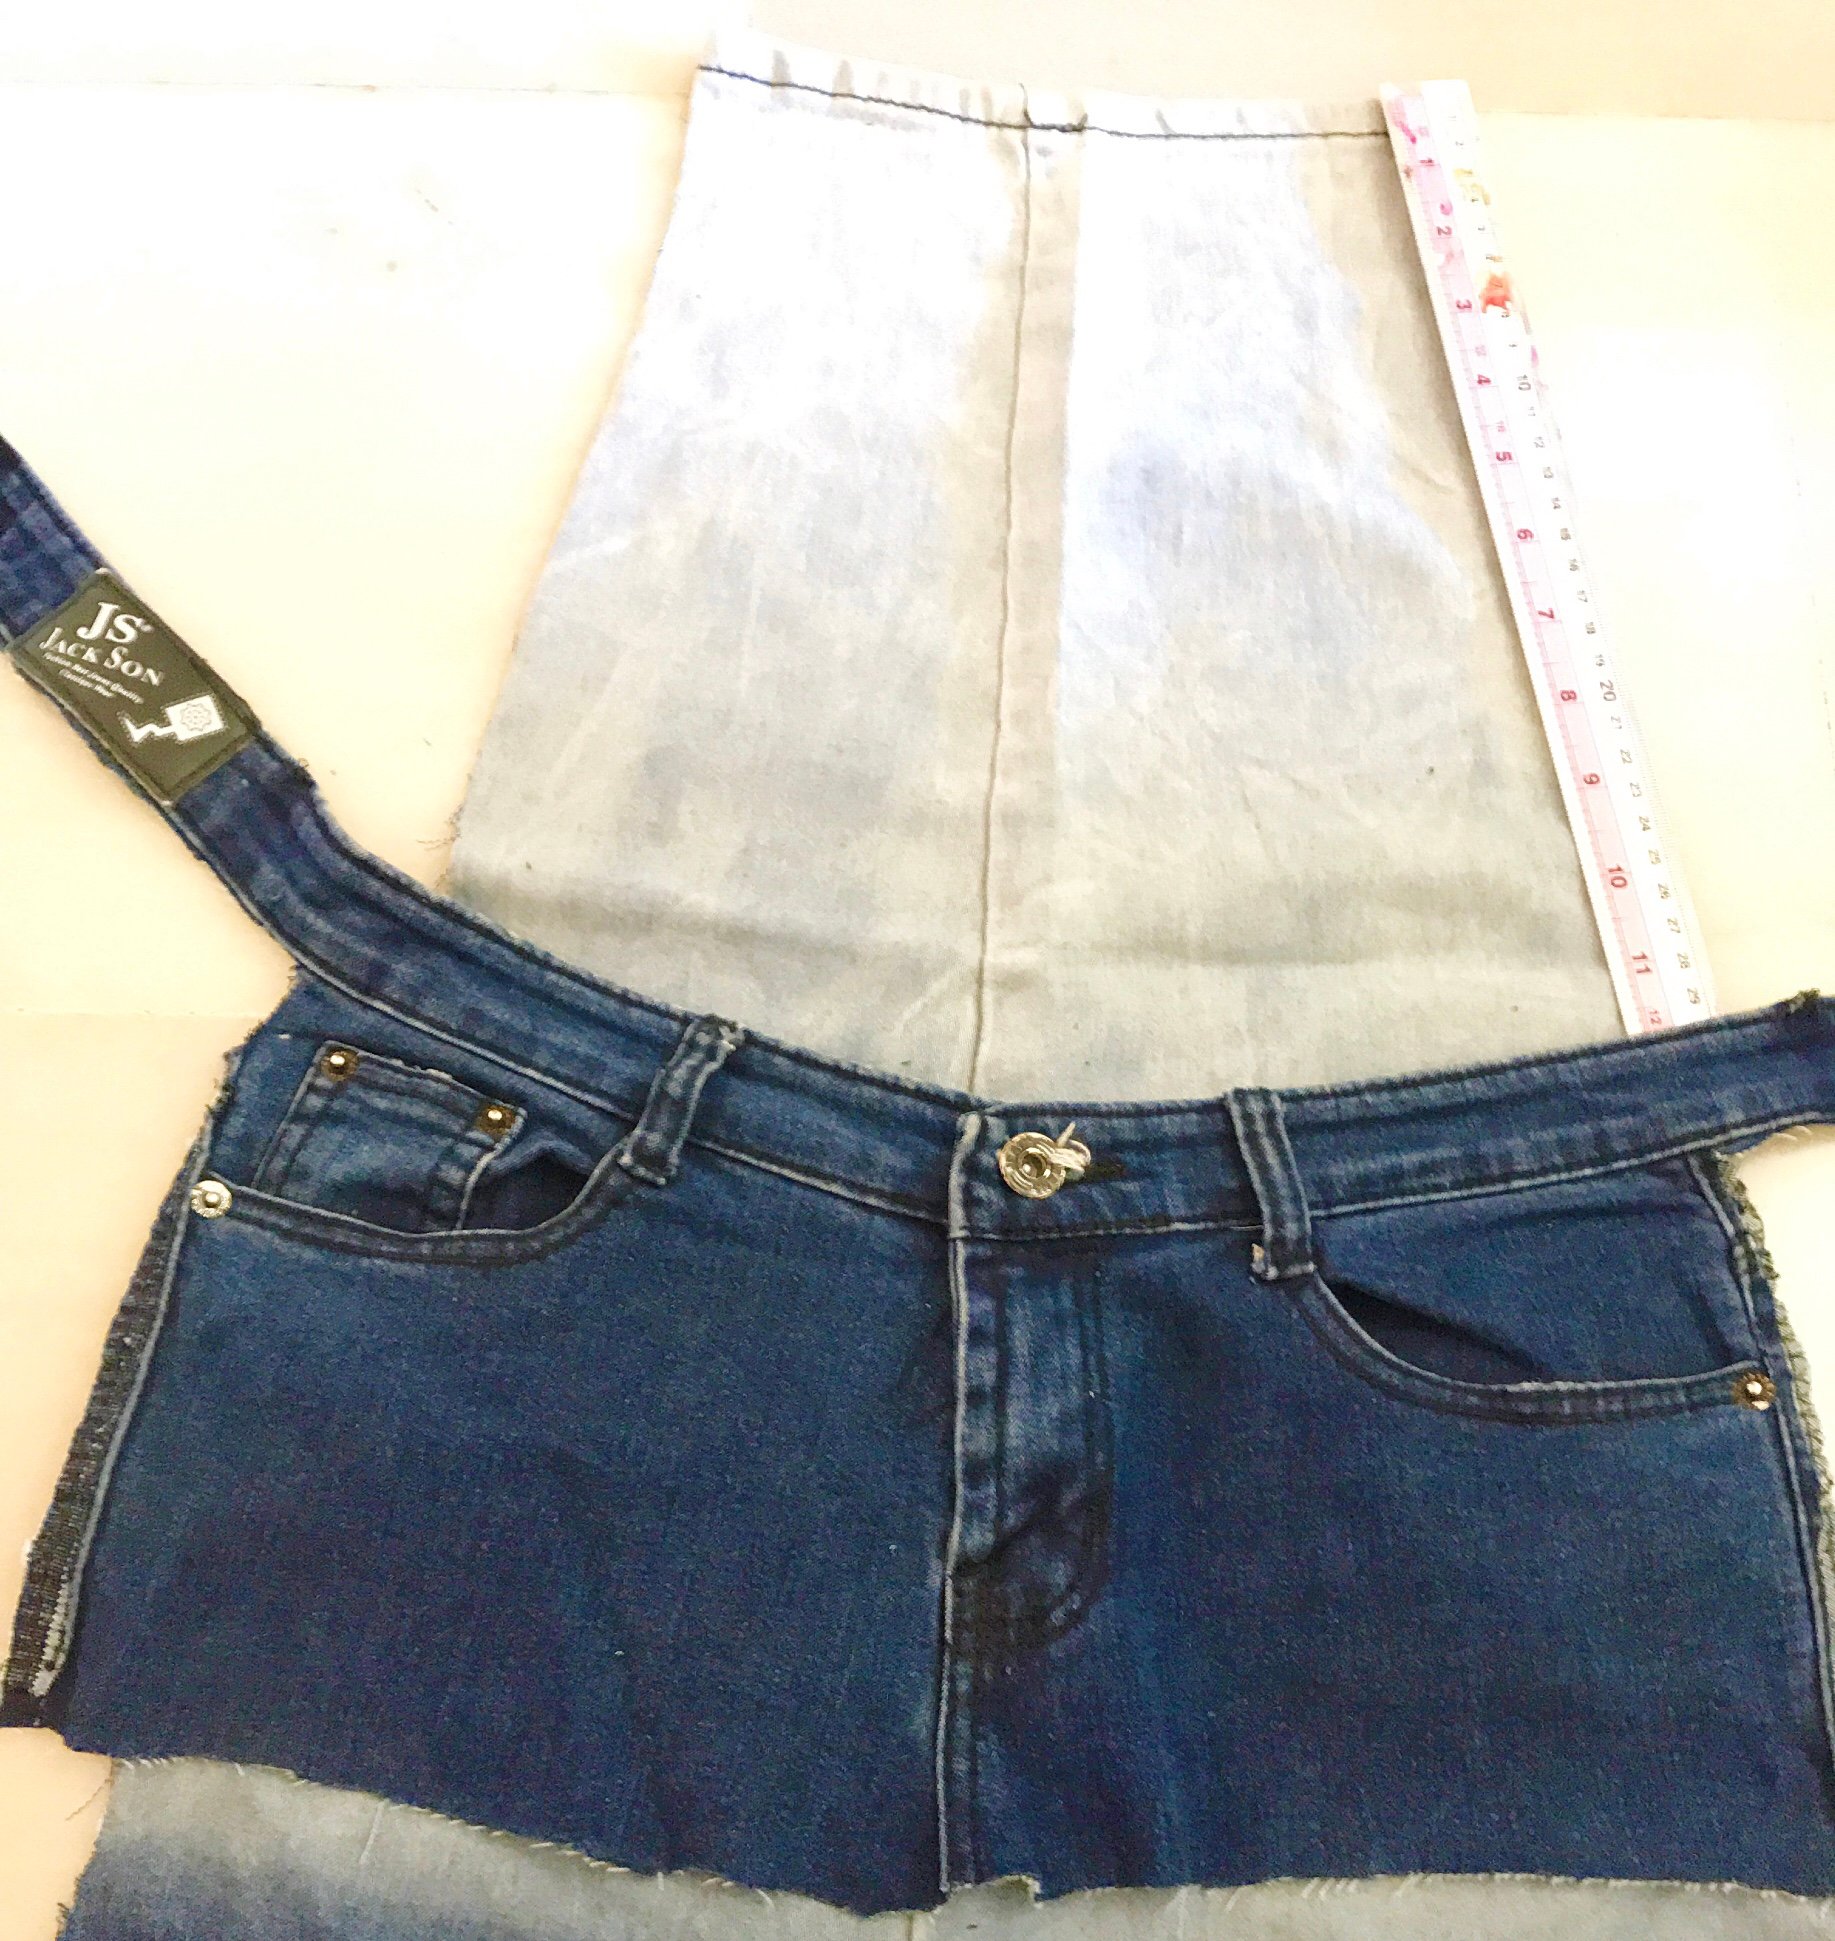
Cut out between the legs and hip parts of the jeans where you can also create a mini skirt.
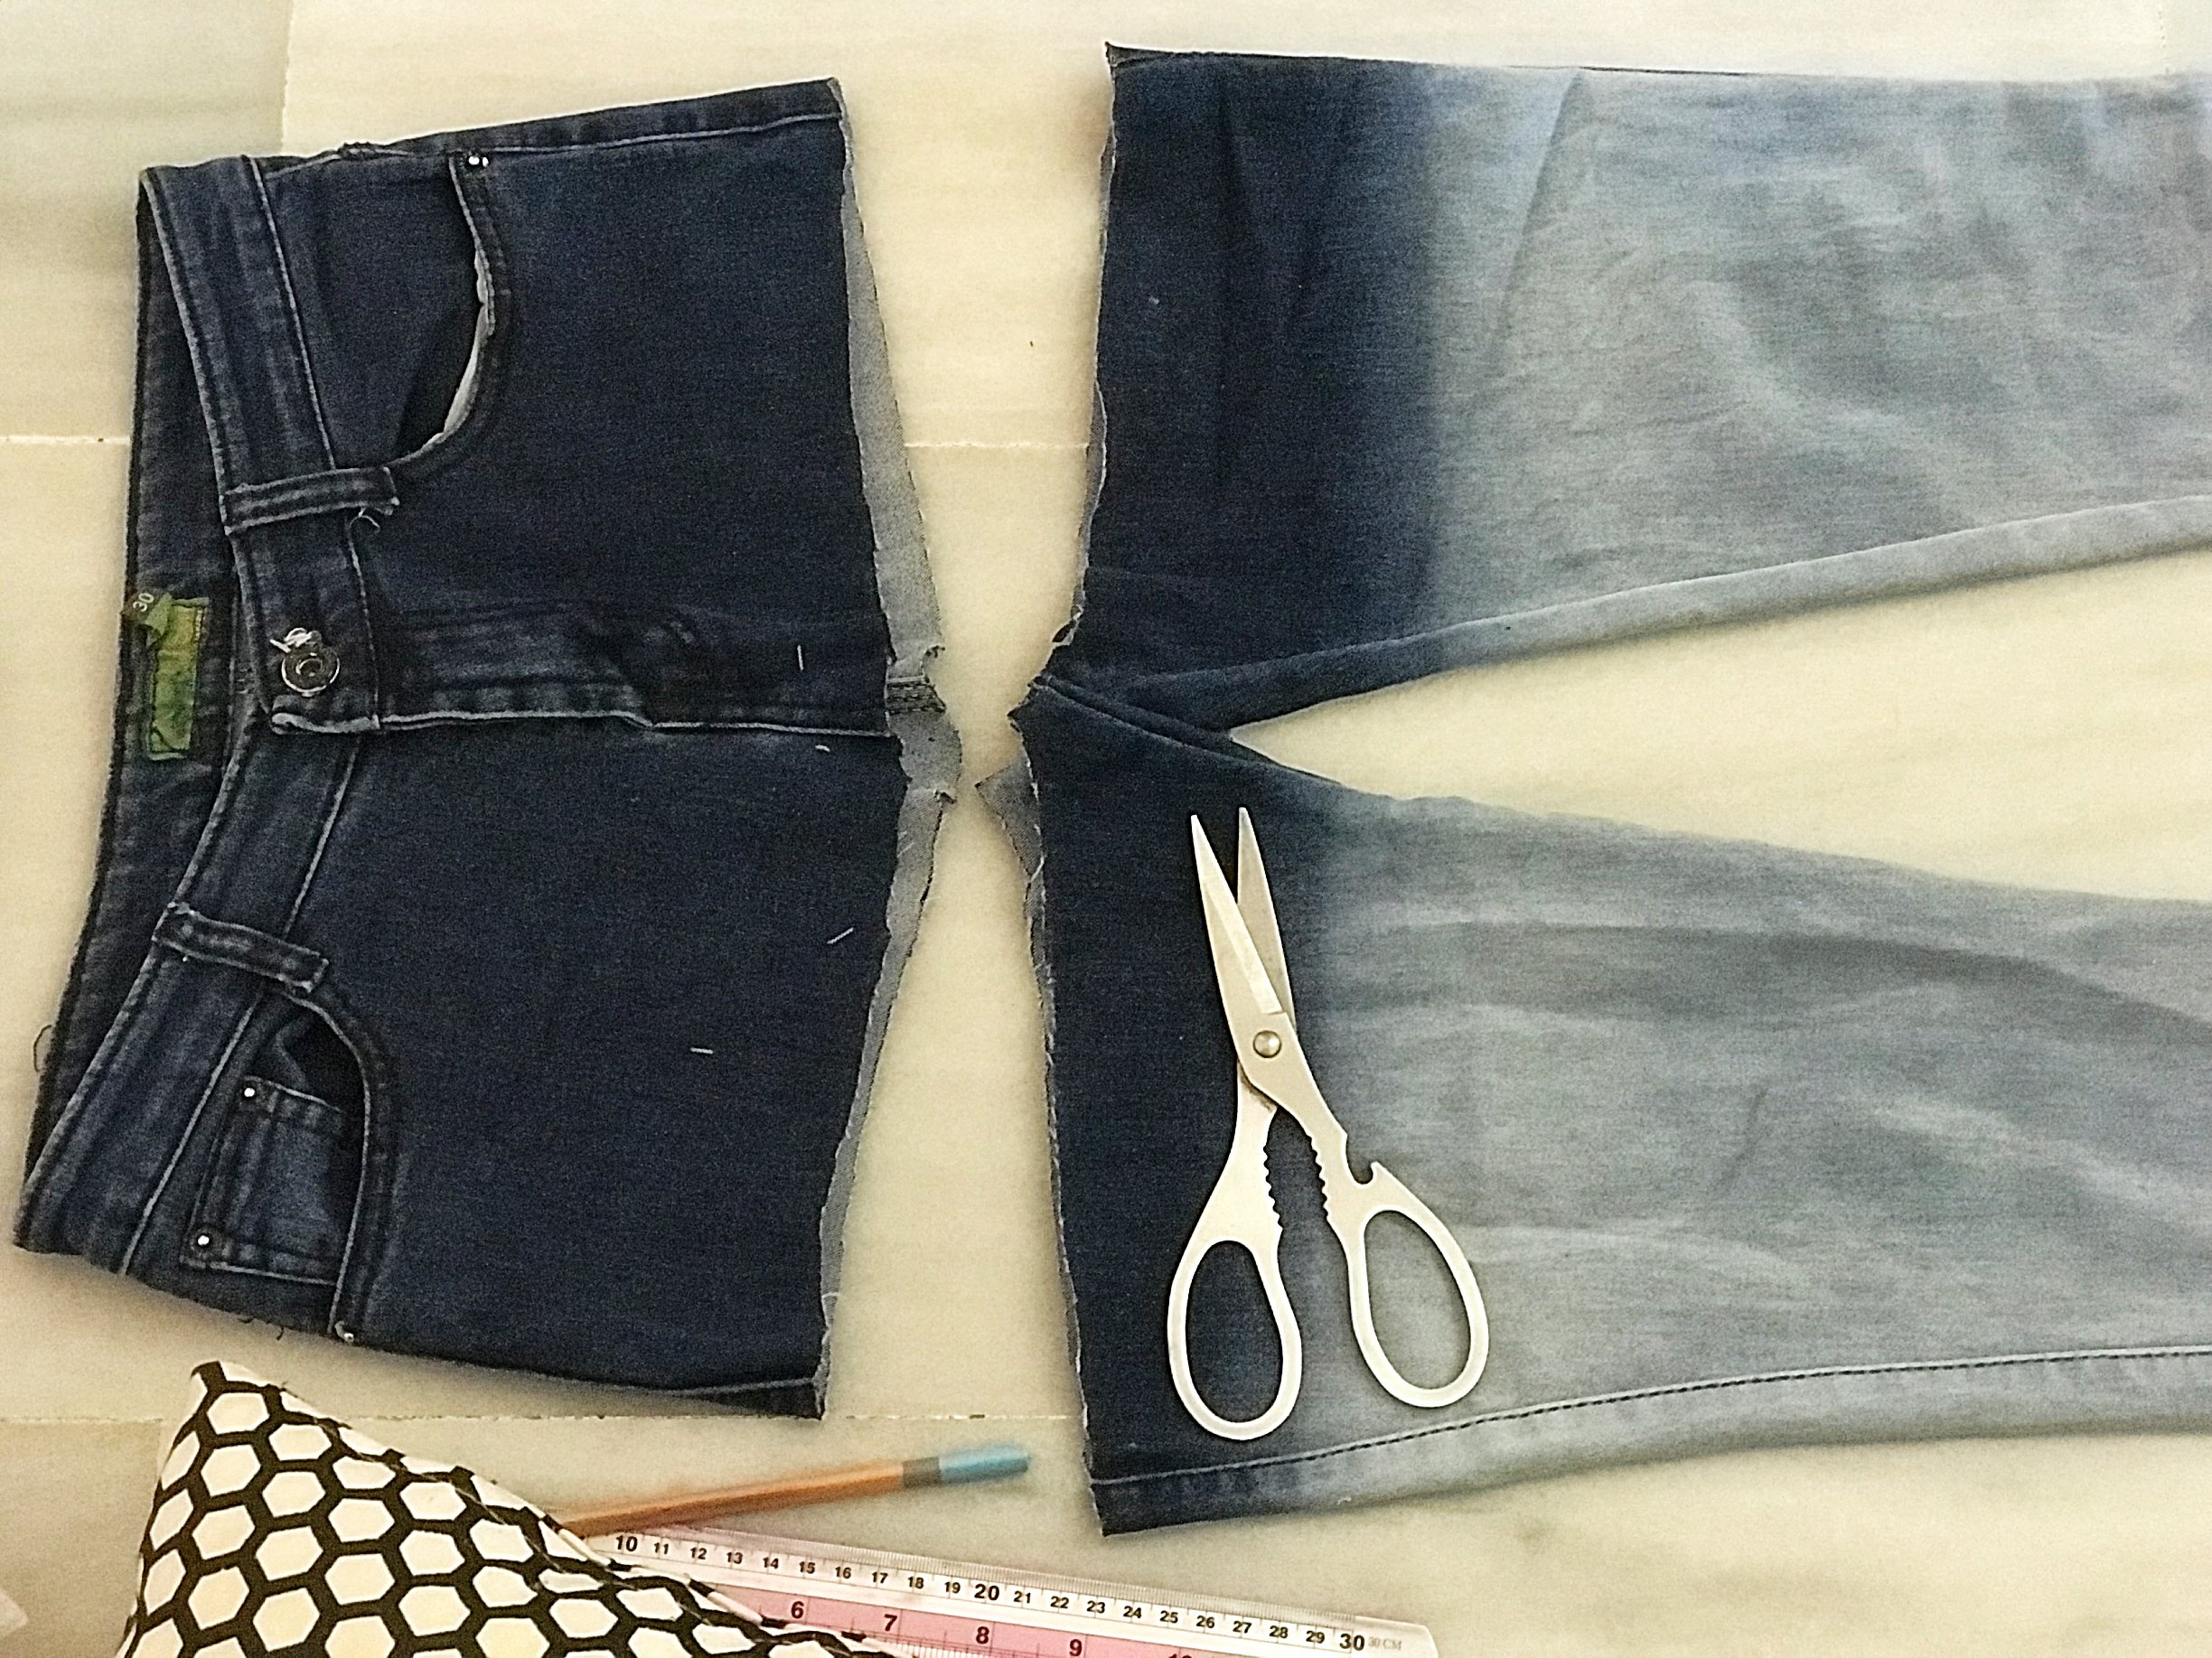
Next, cut any side of one leg part
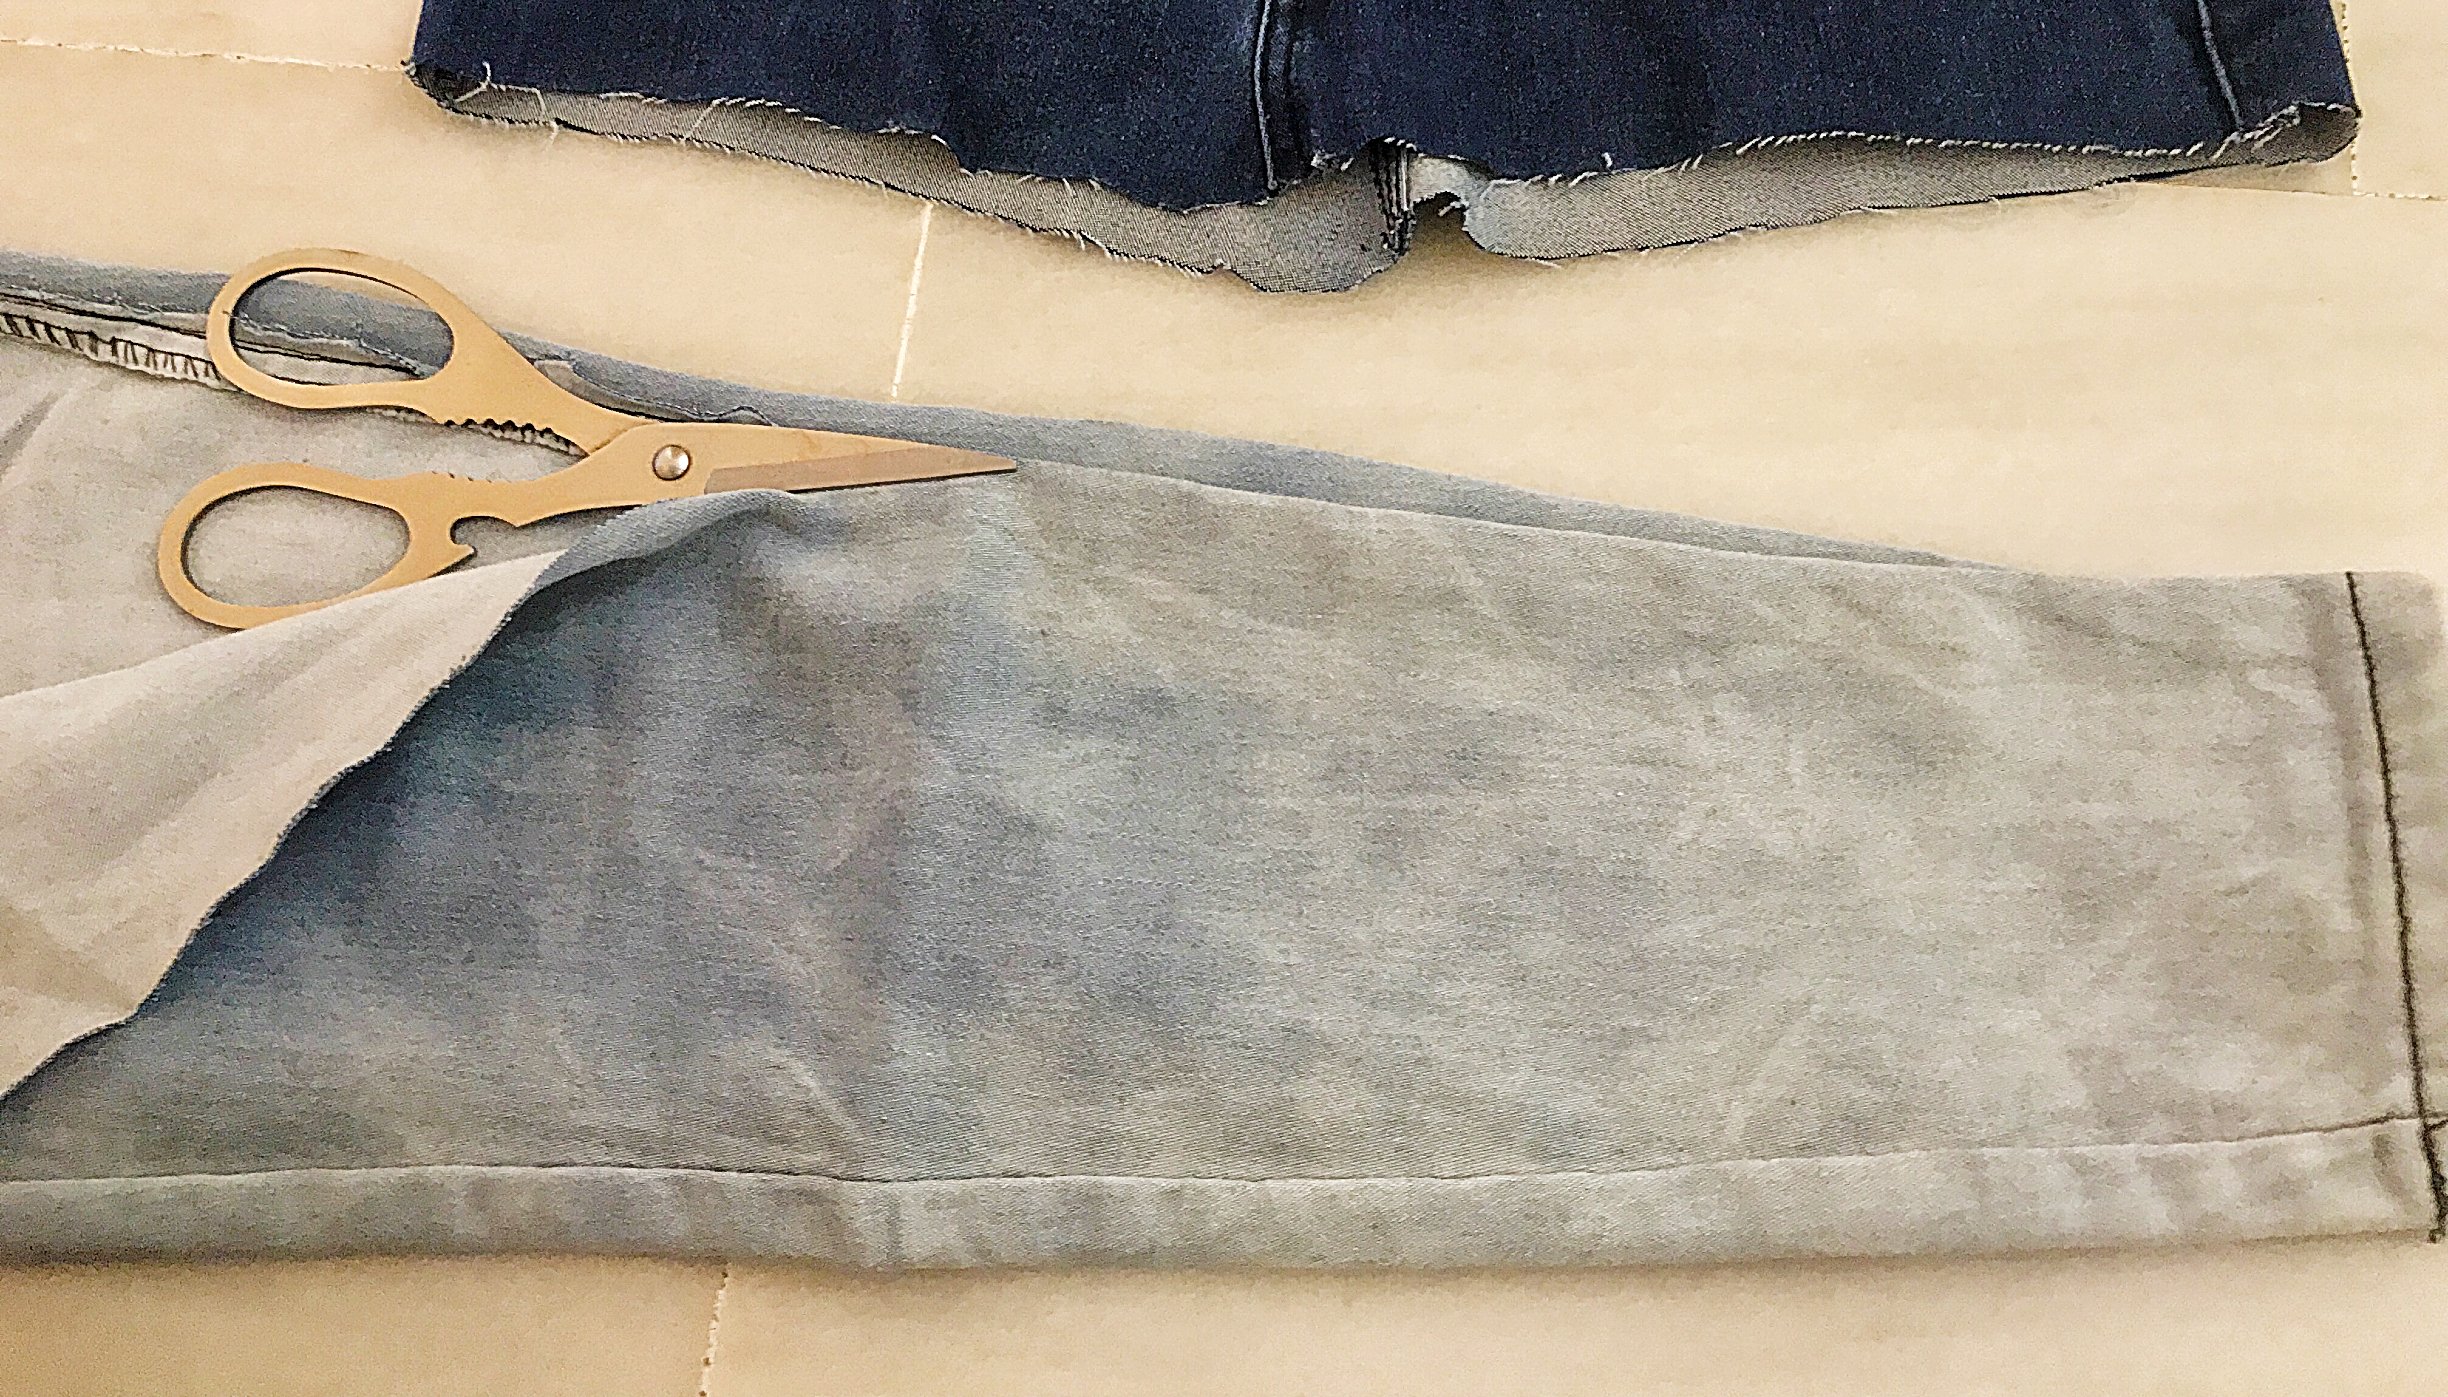
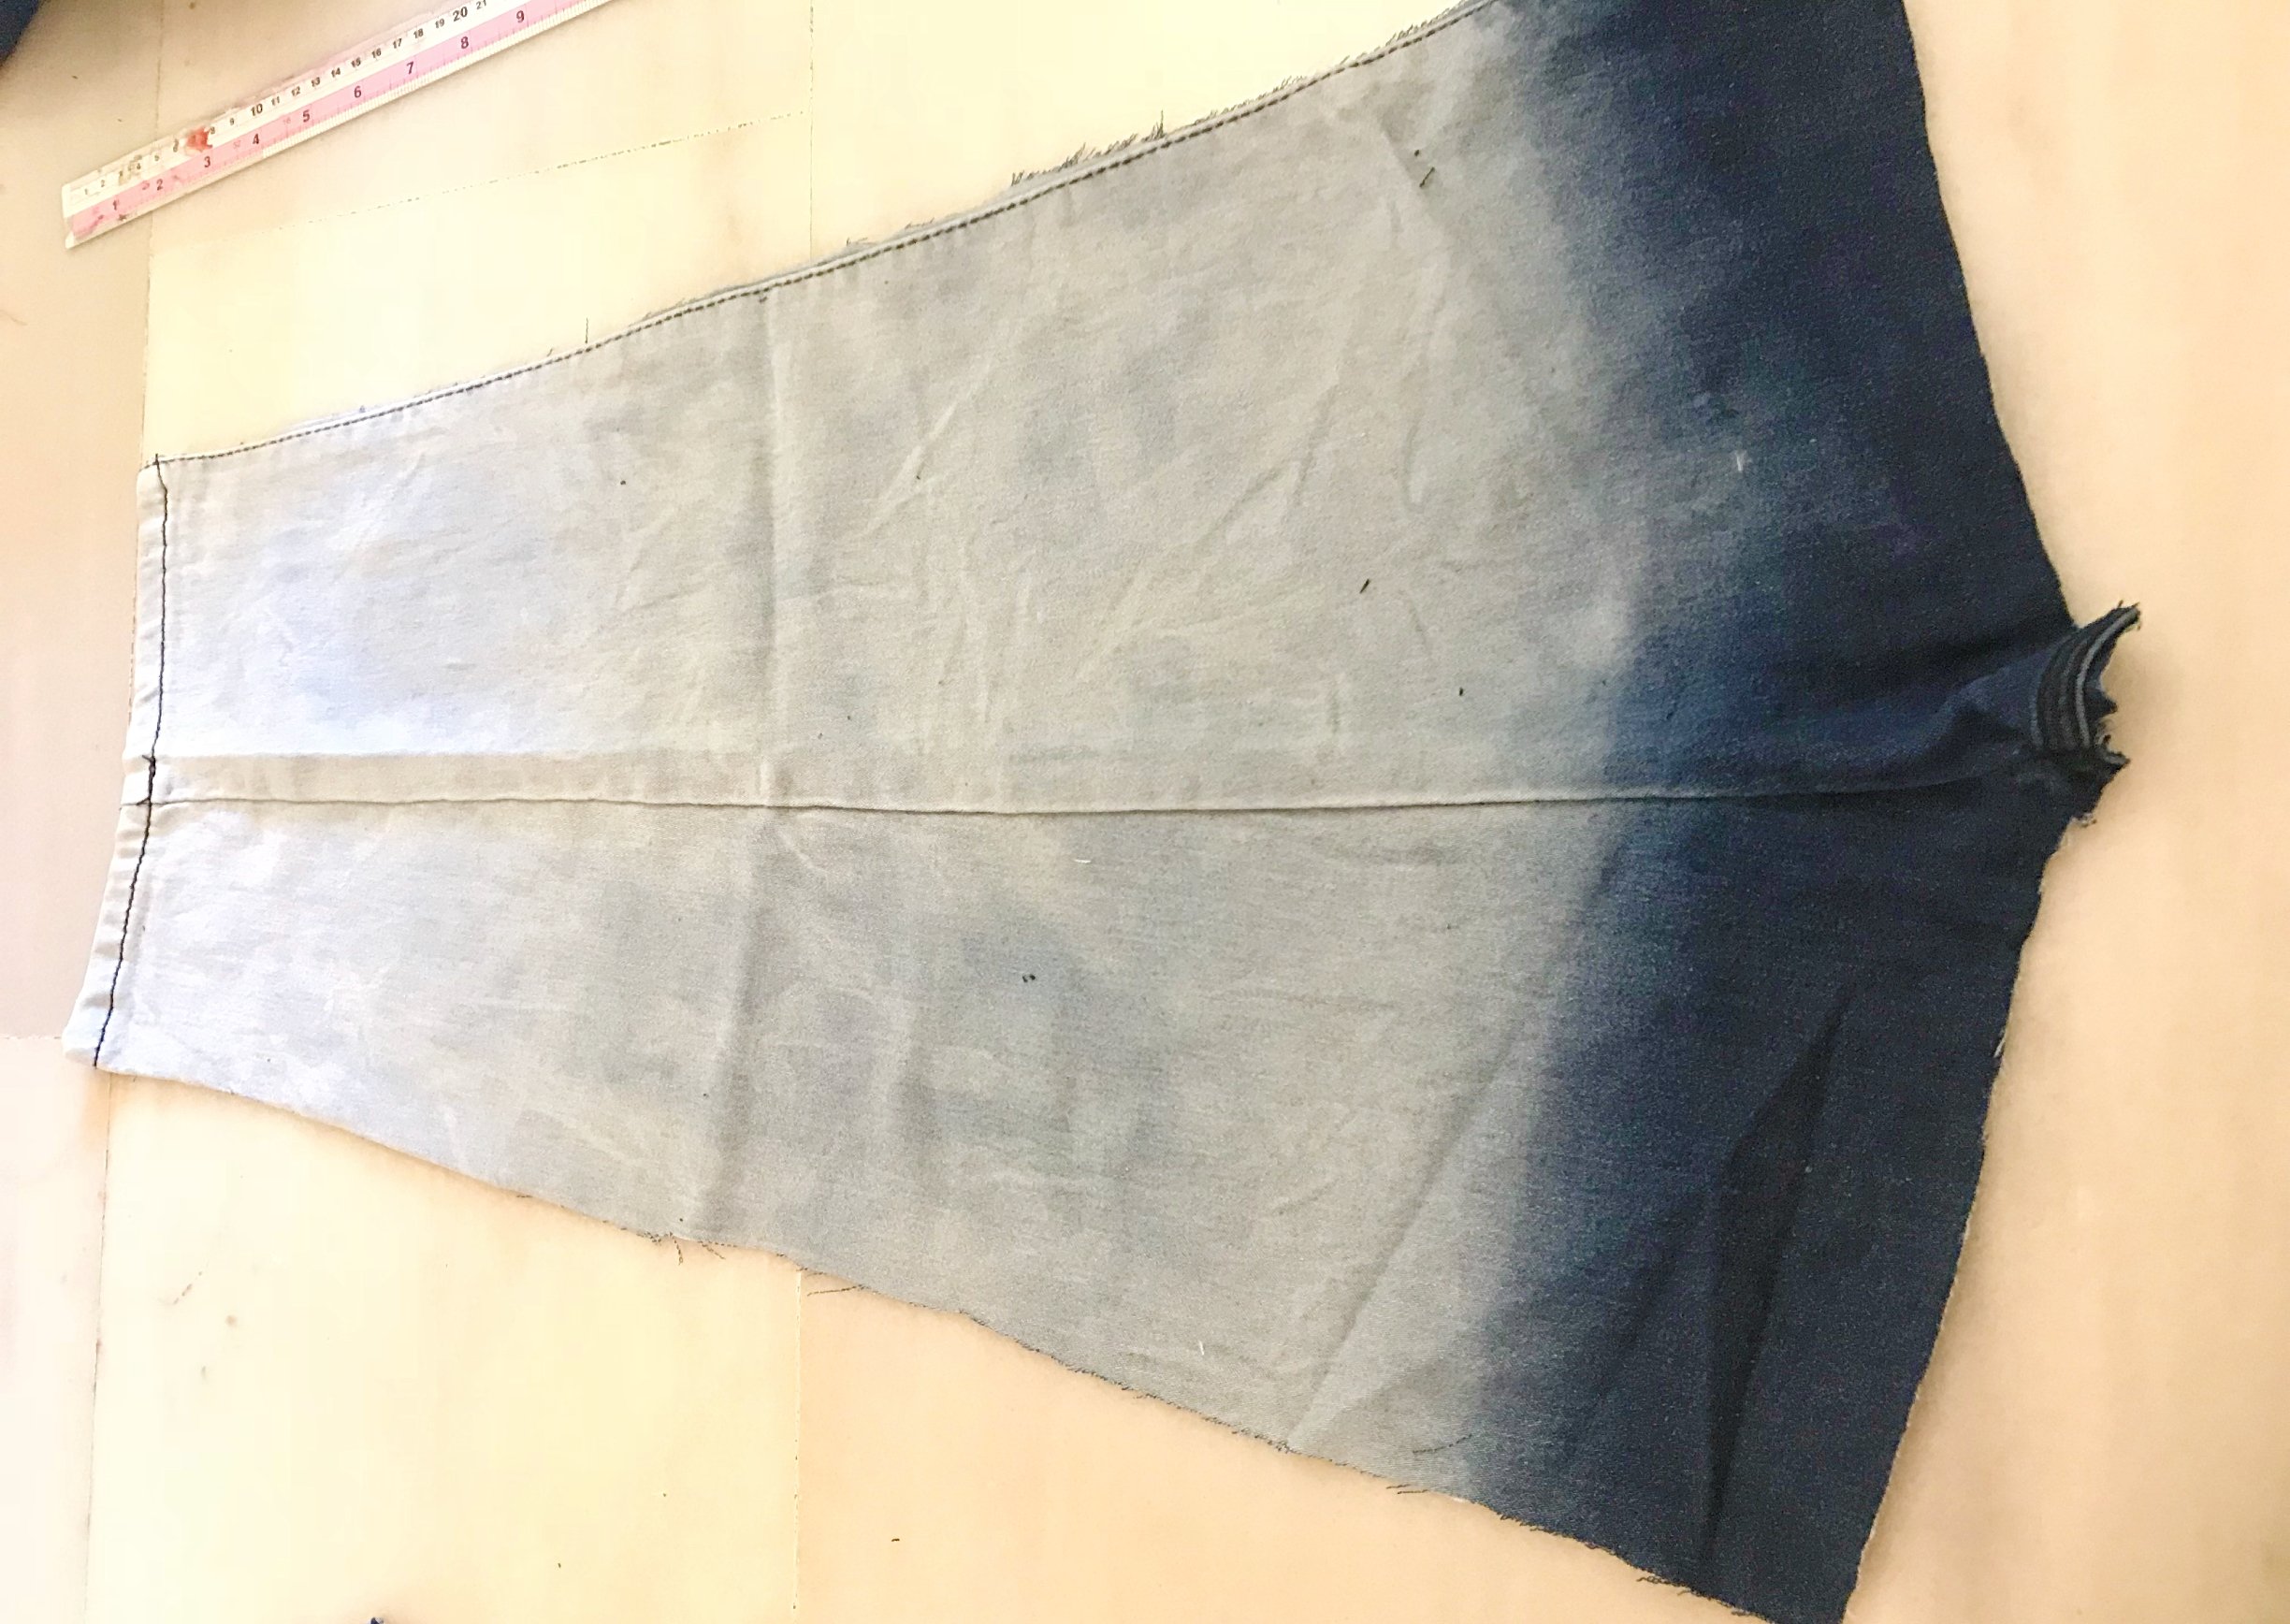
Cut both sides of the now mini skirt denim. You can cut all the way to the top but I leave the belt part to use it as a tie.
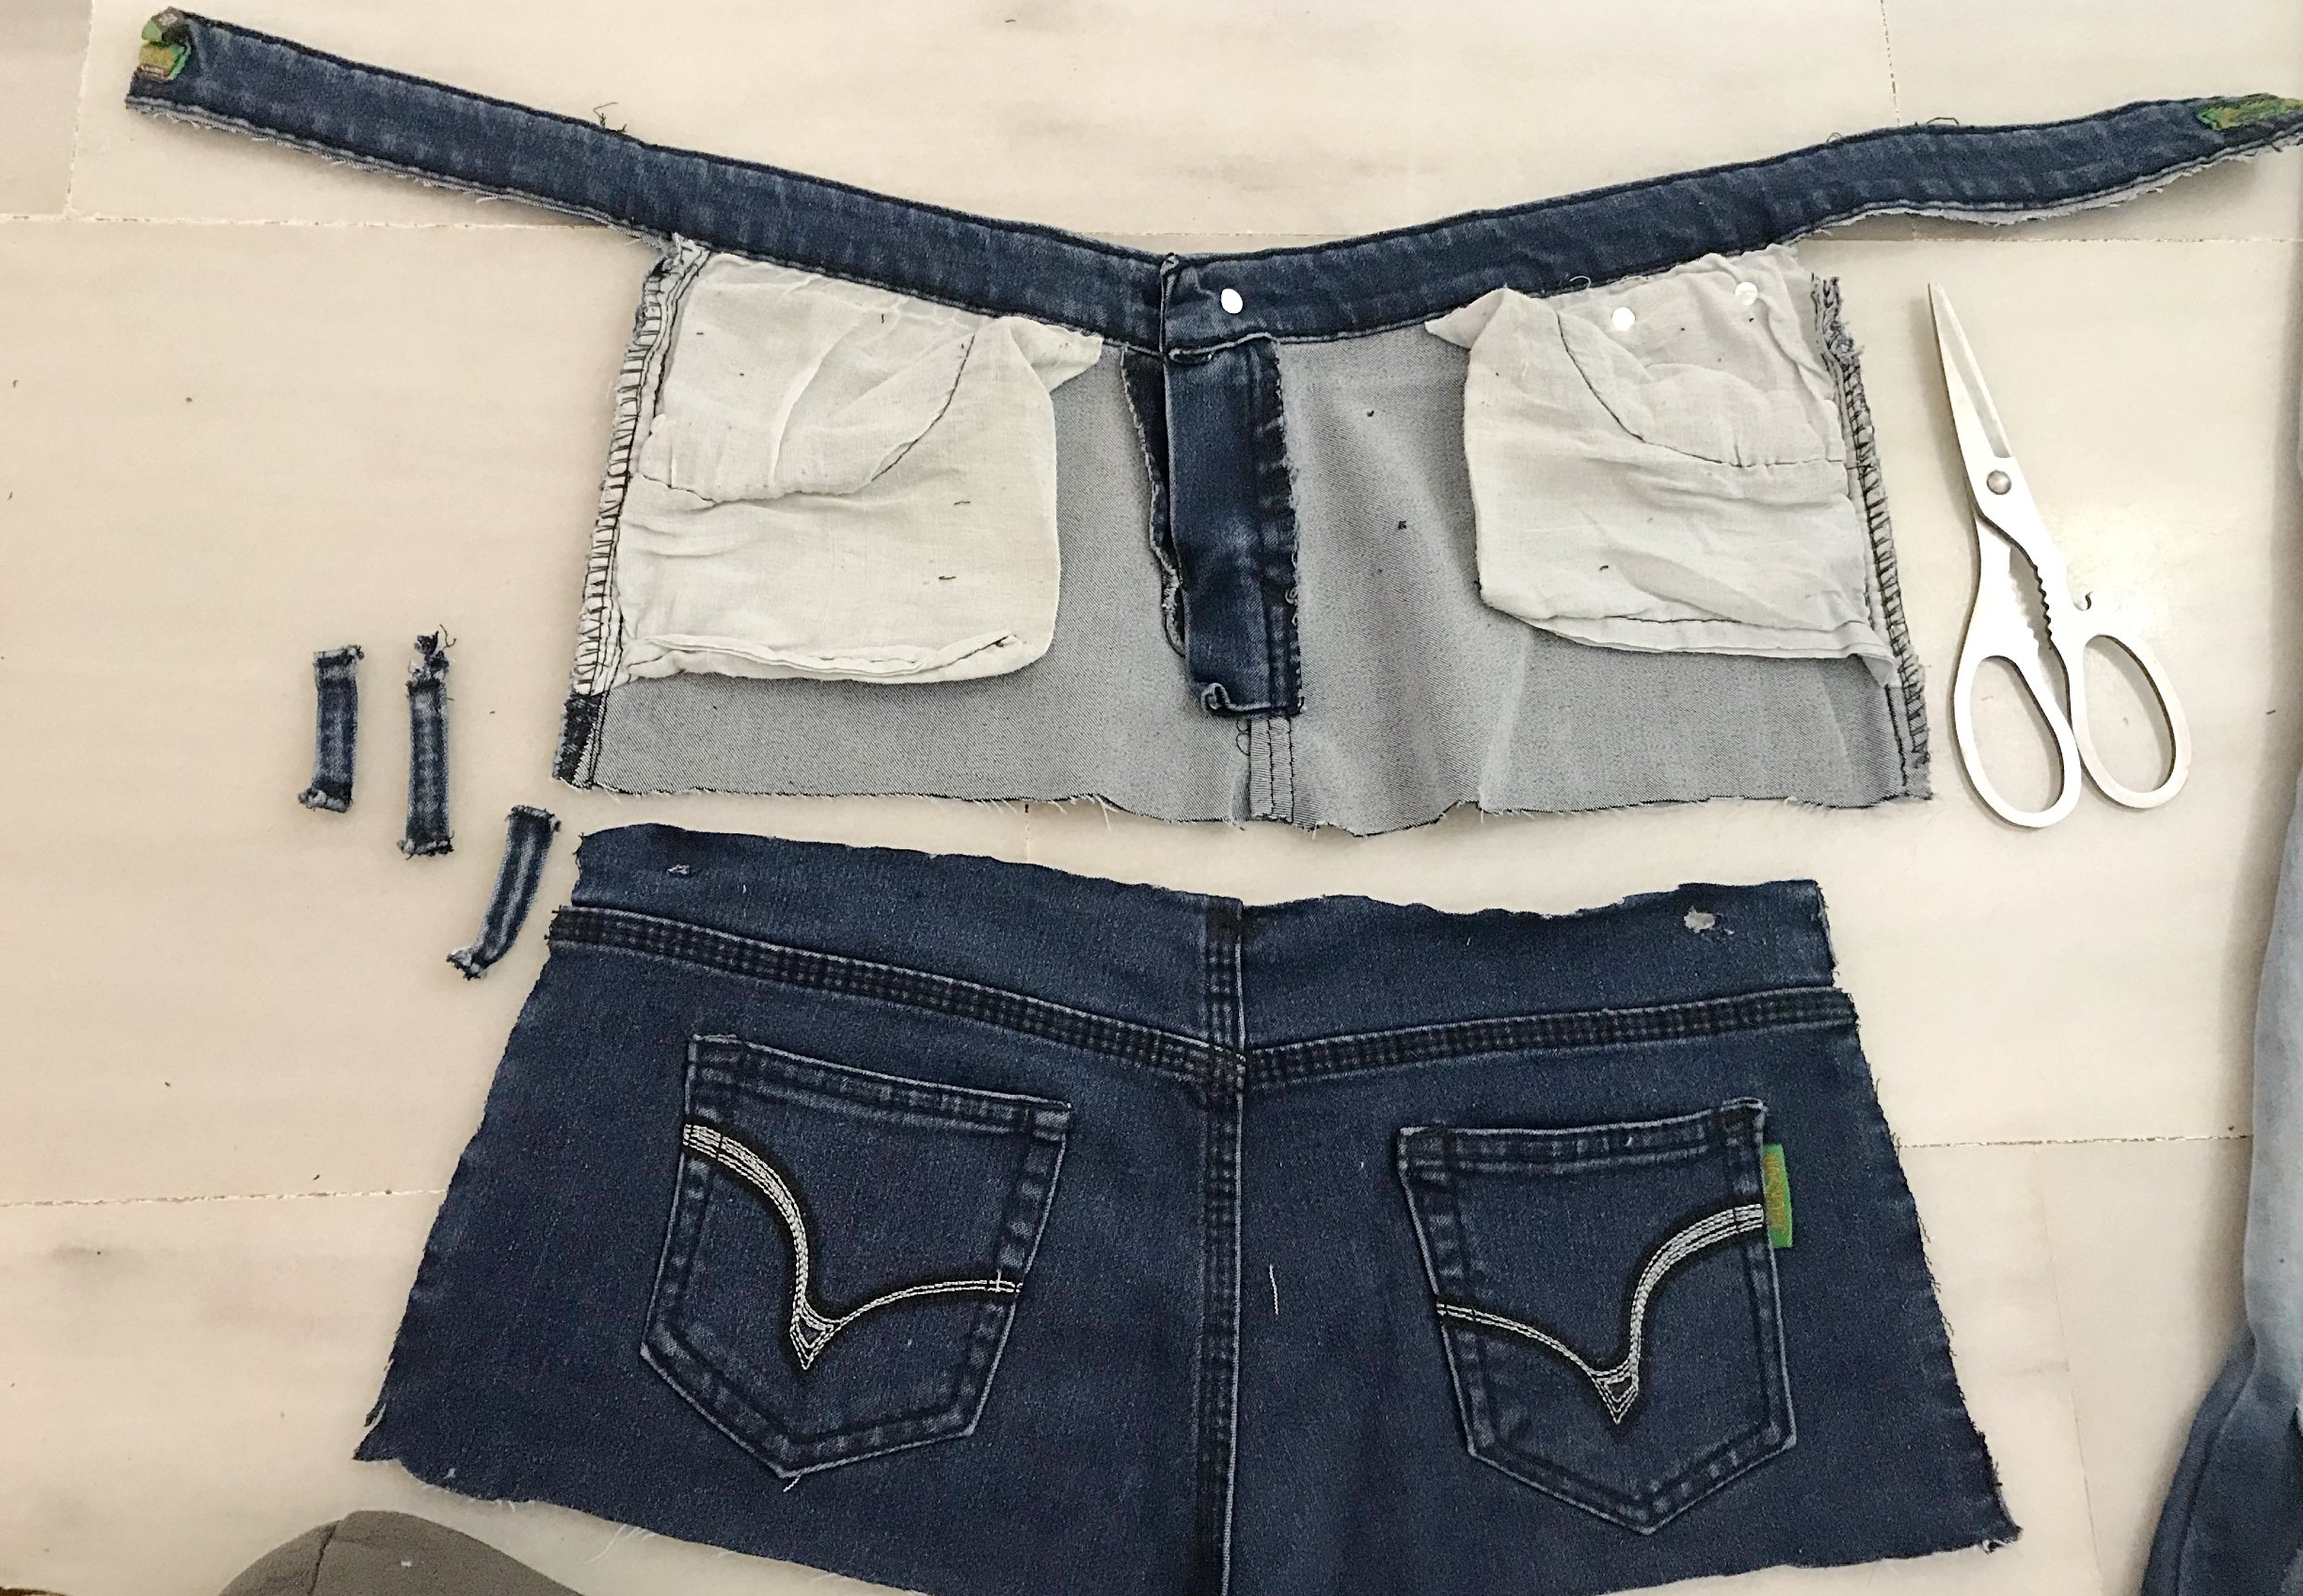
I cut the top, both side end parts of the blouses and cut some 4 inches trips from an old blouse for a sassy denim decoration.
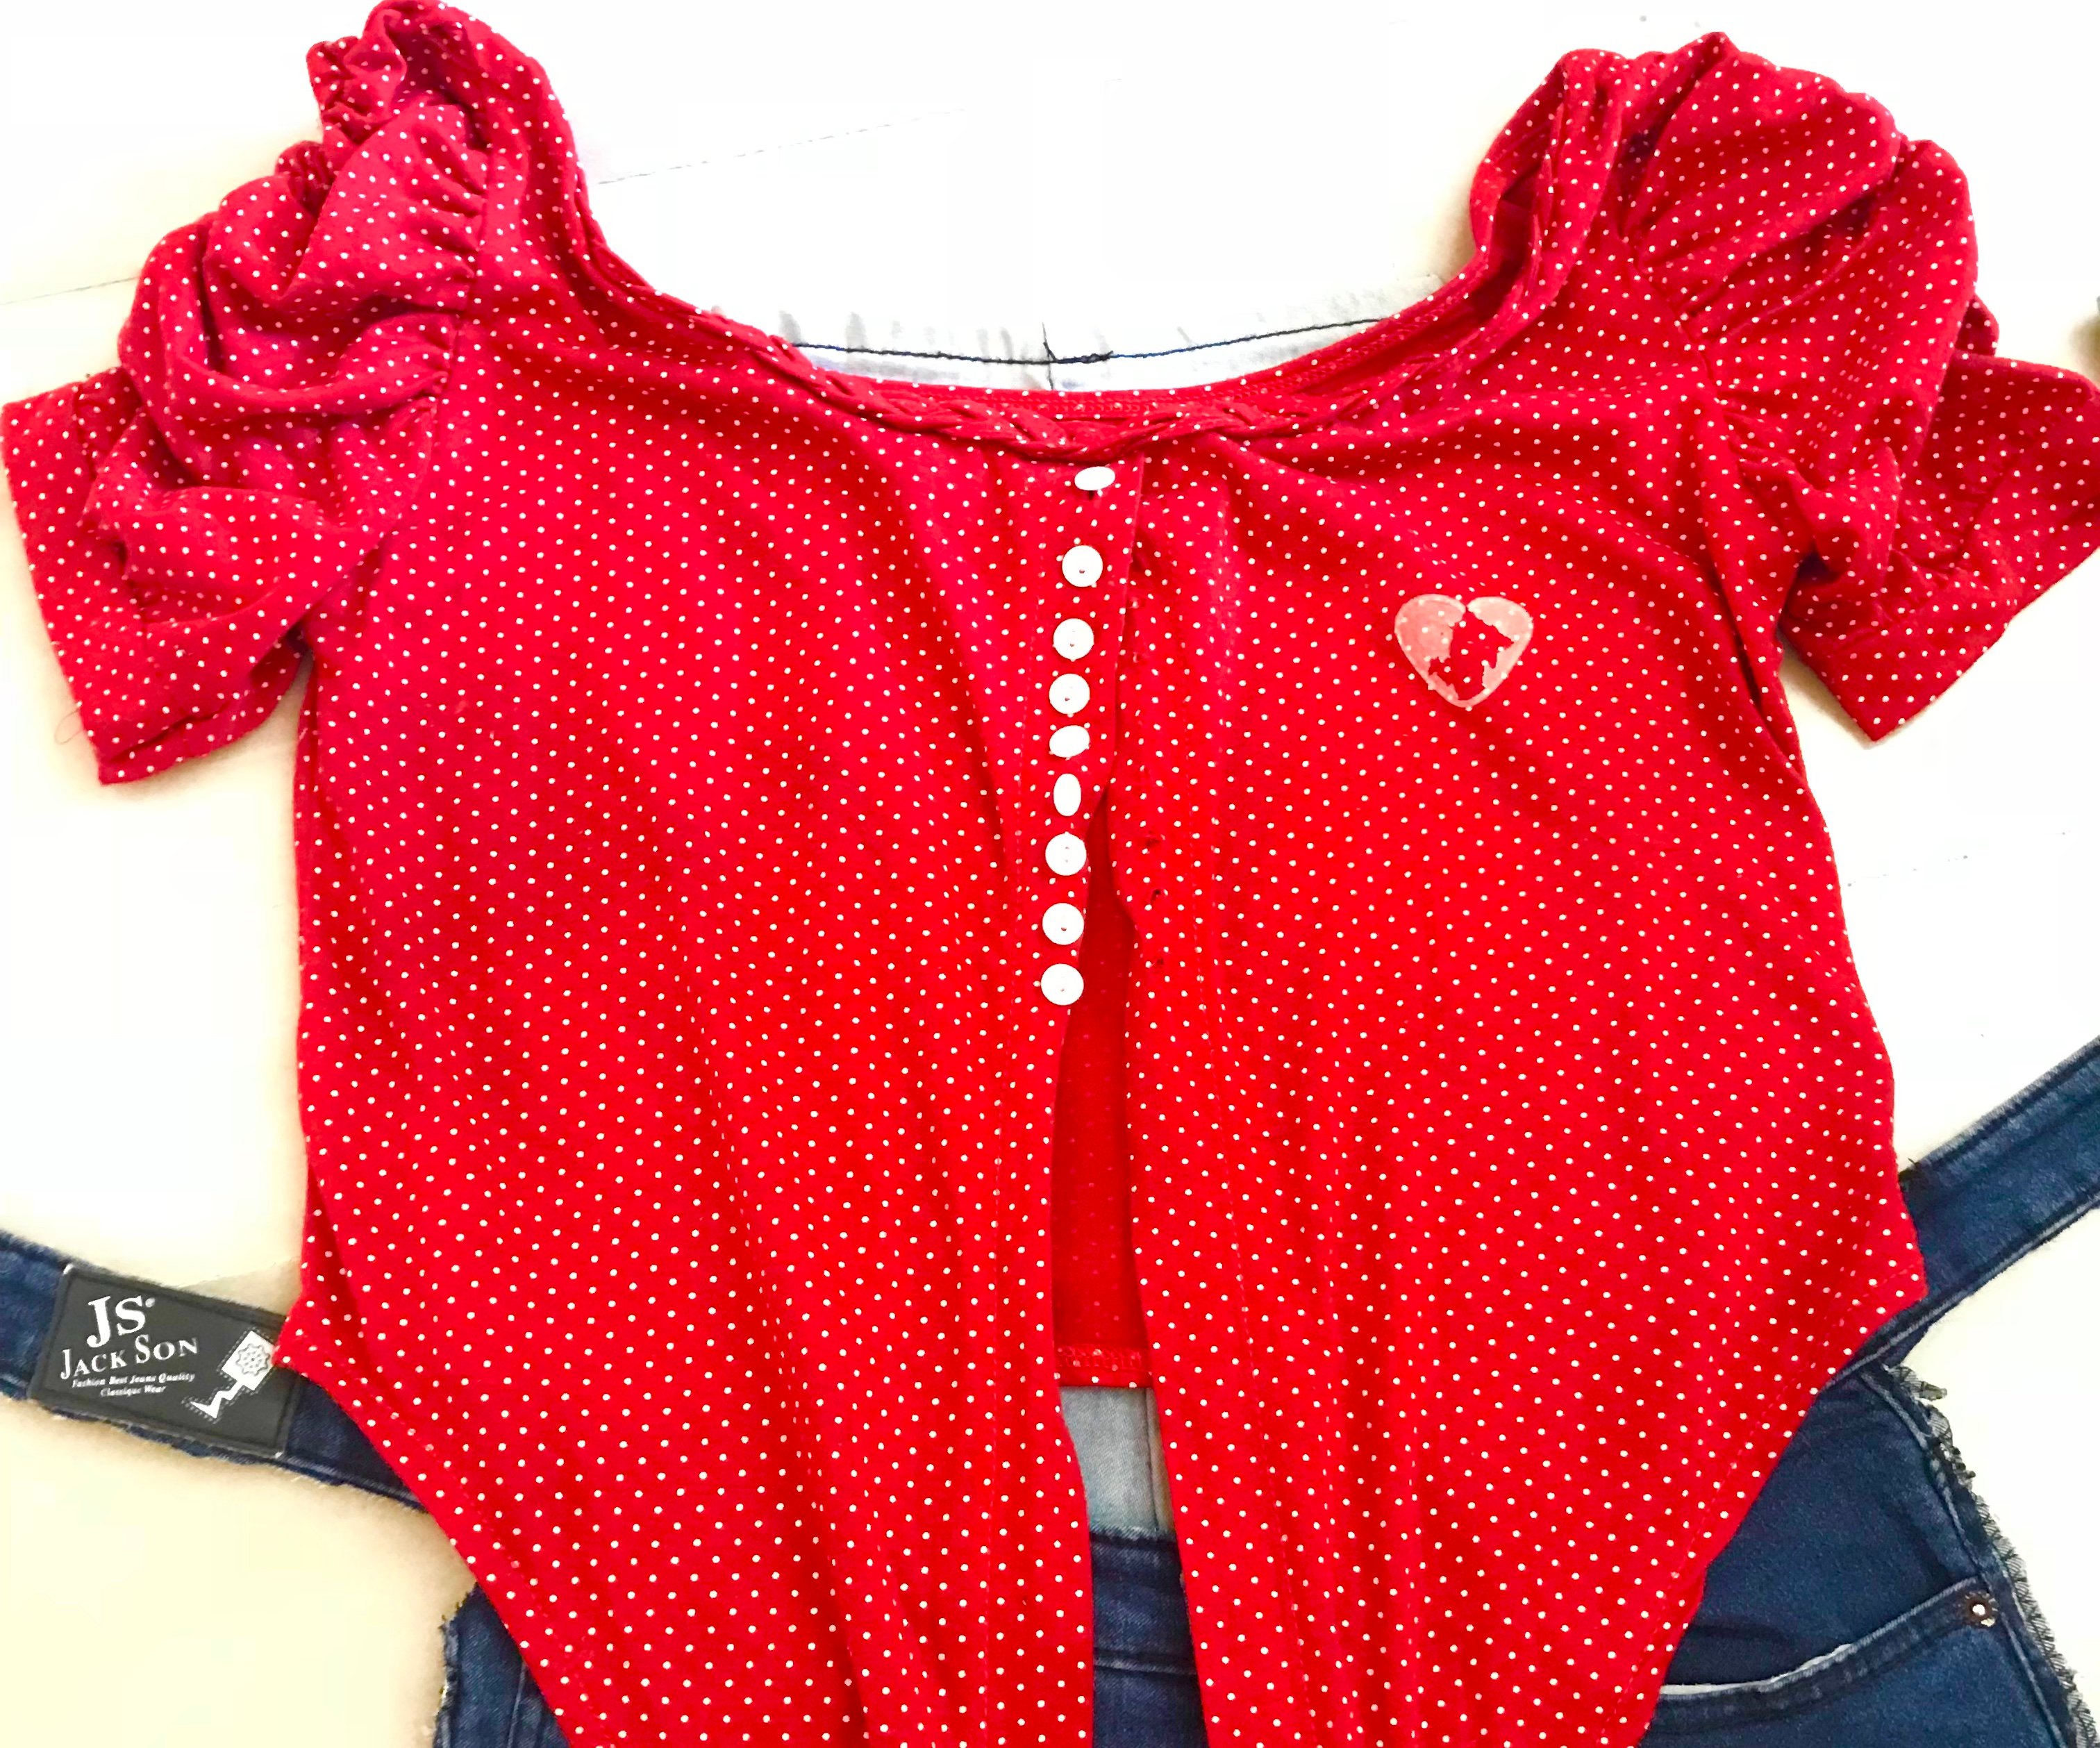
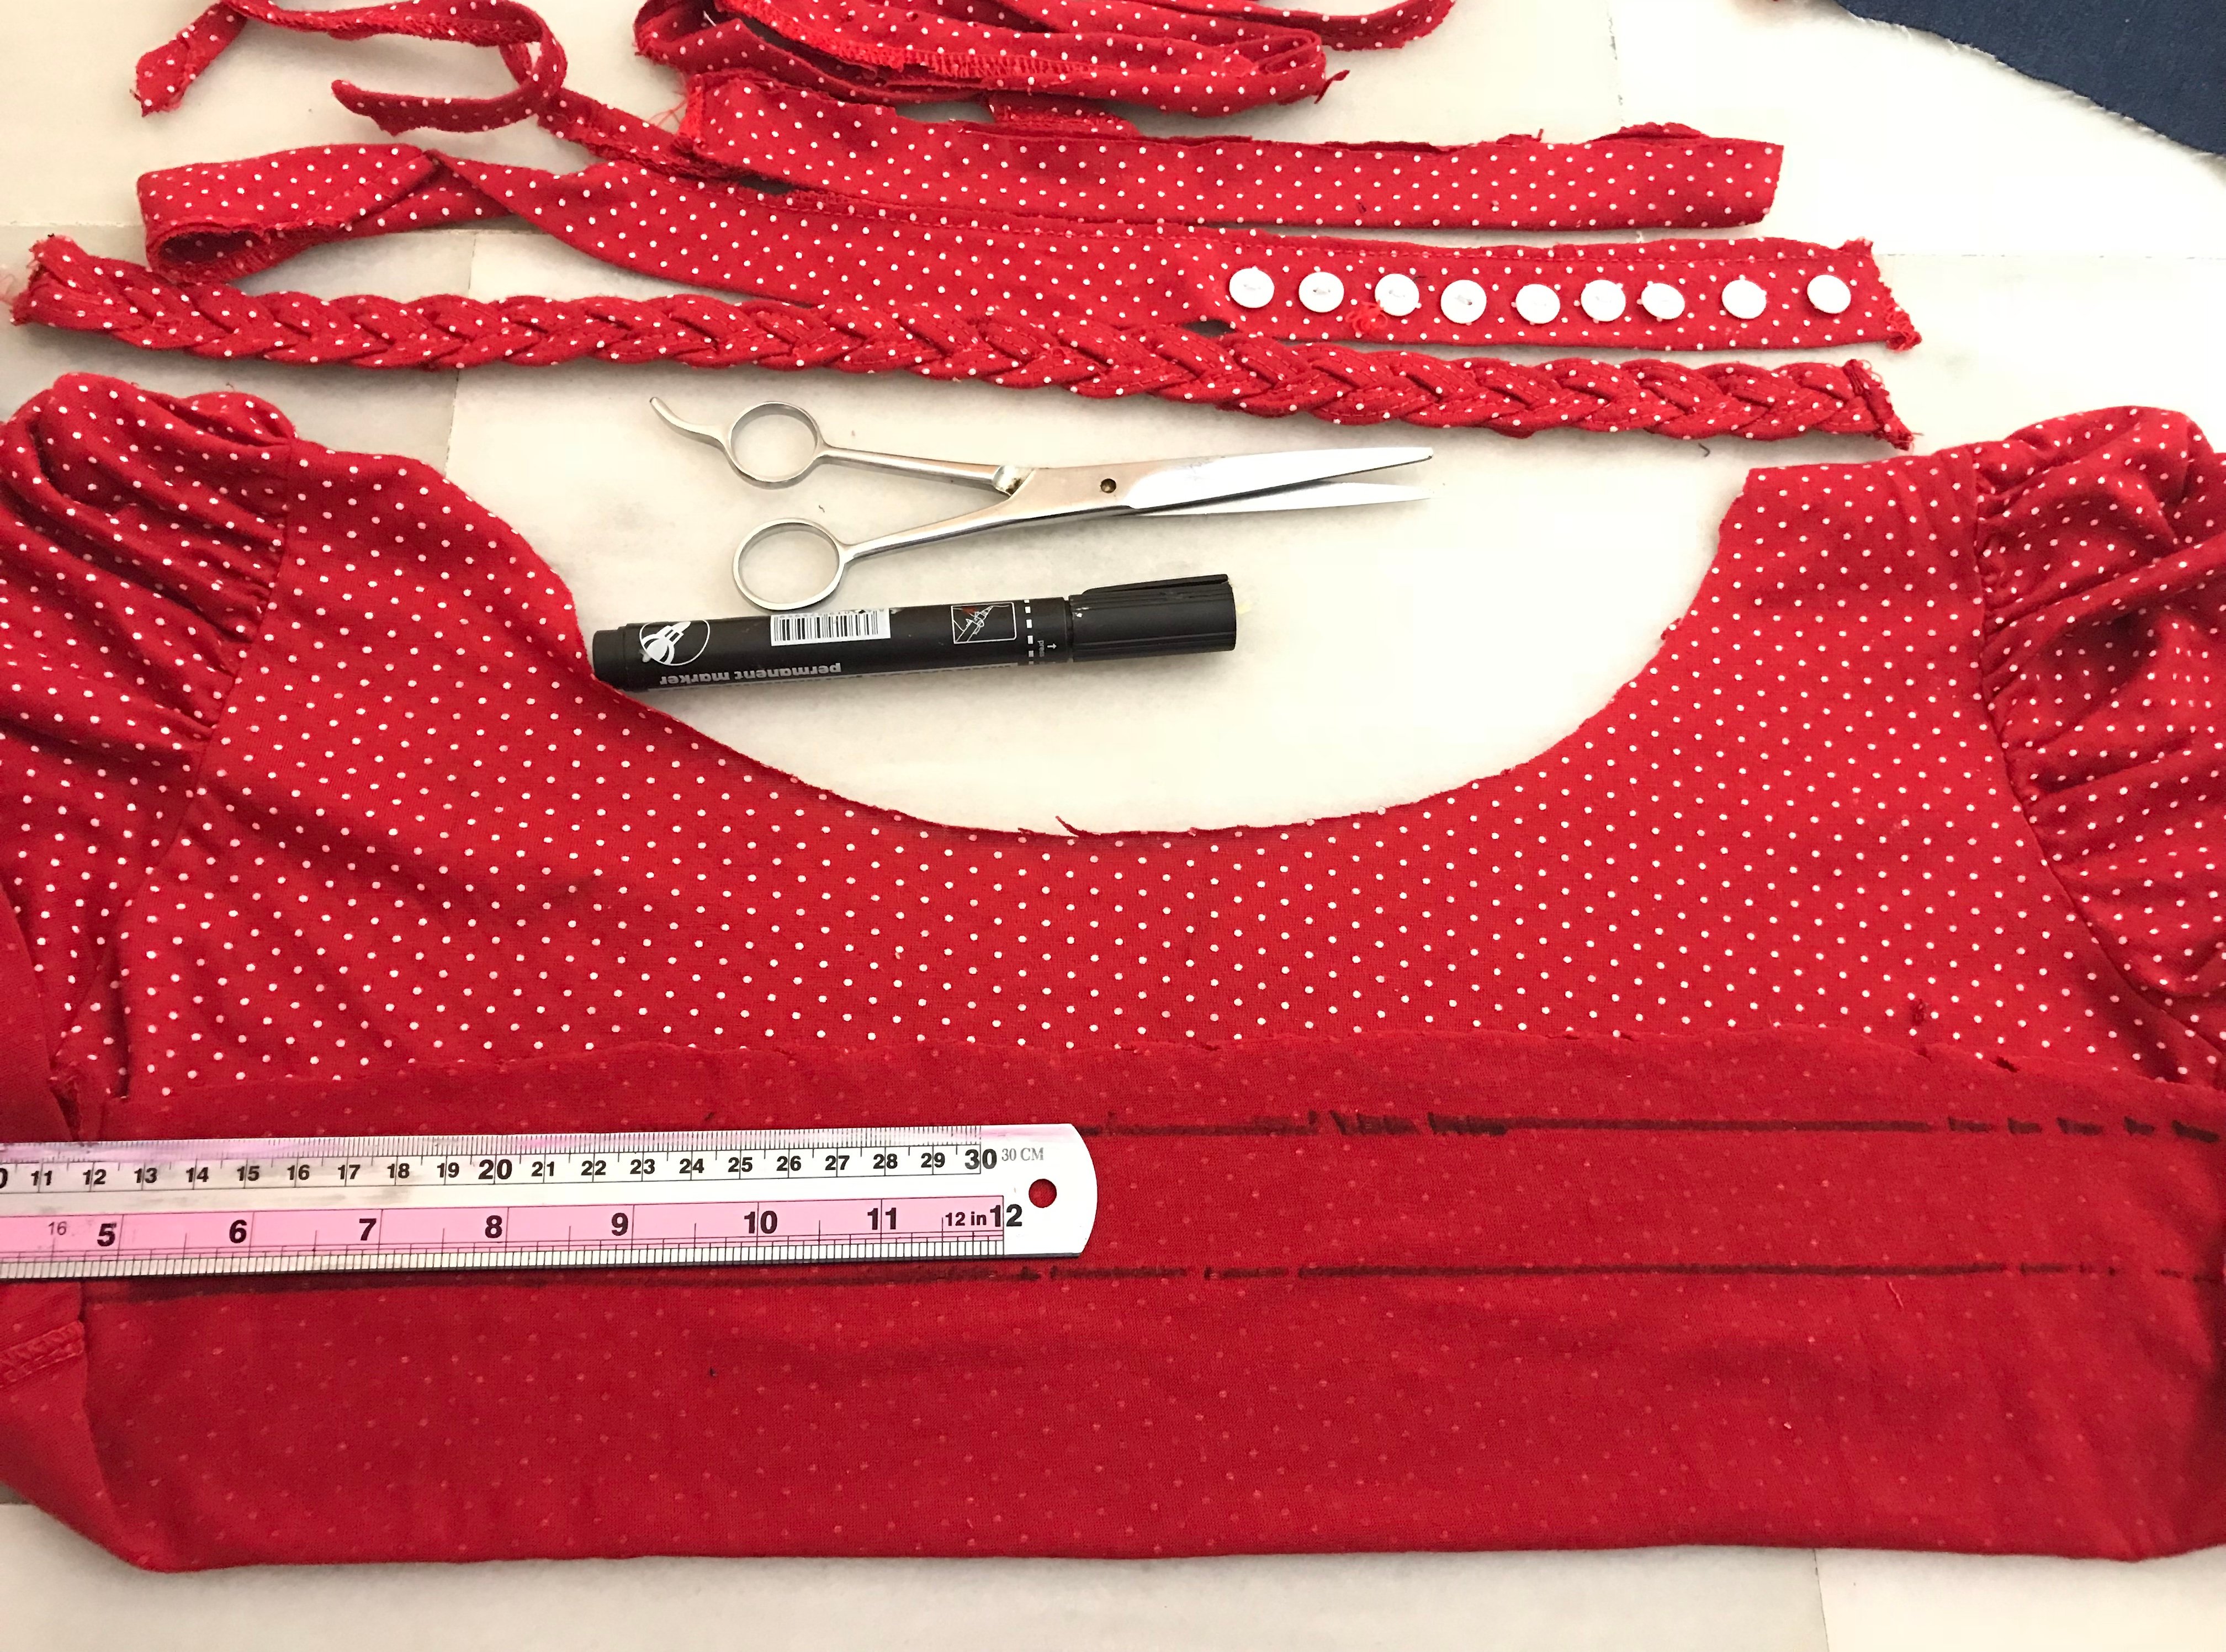
ASSEMBLE TIME!
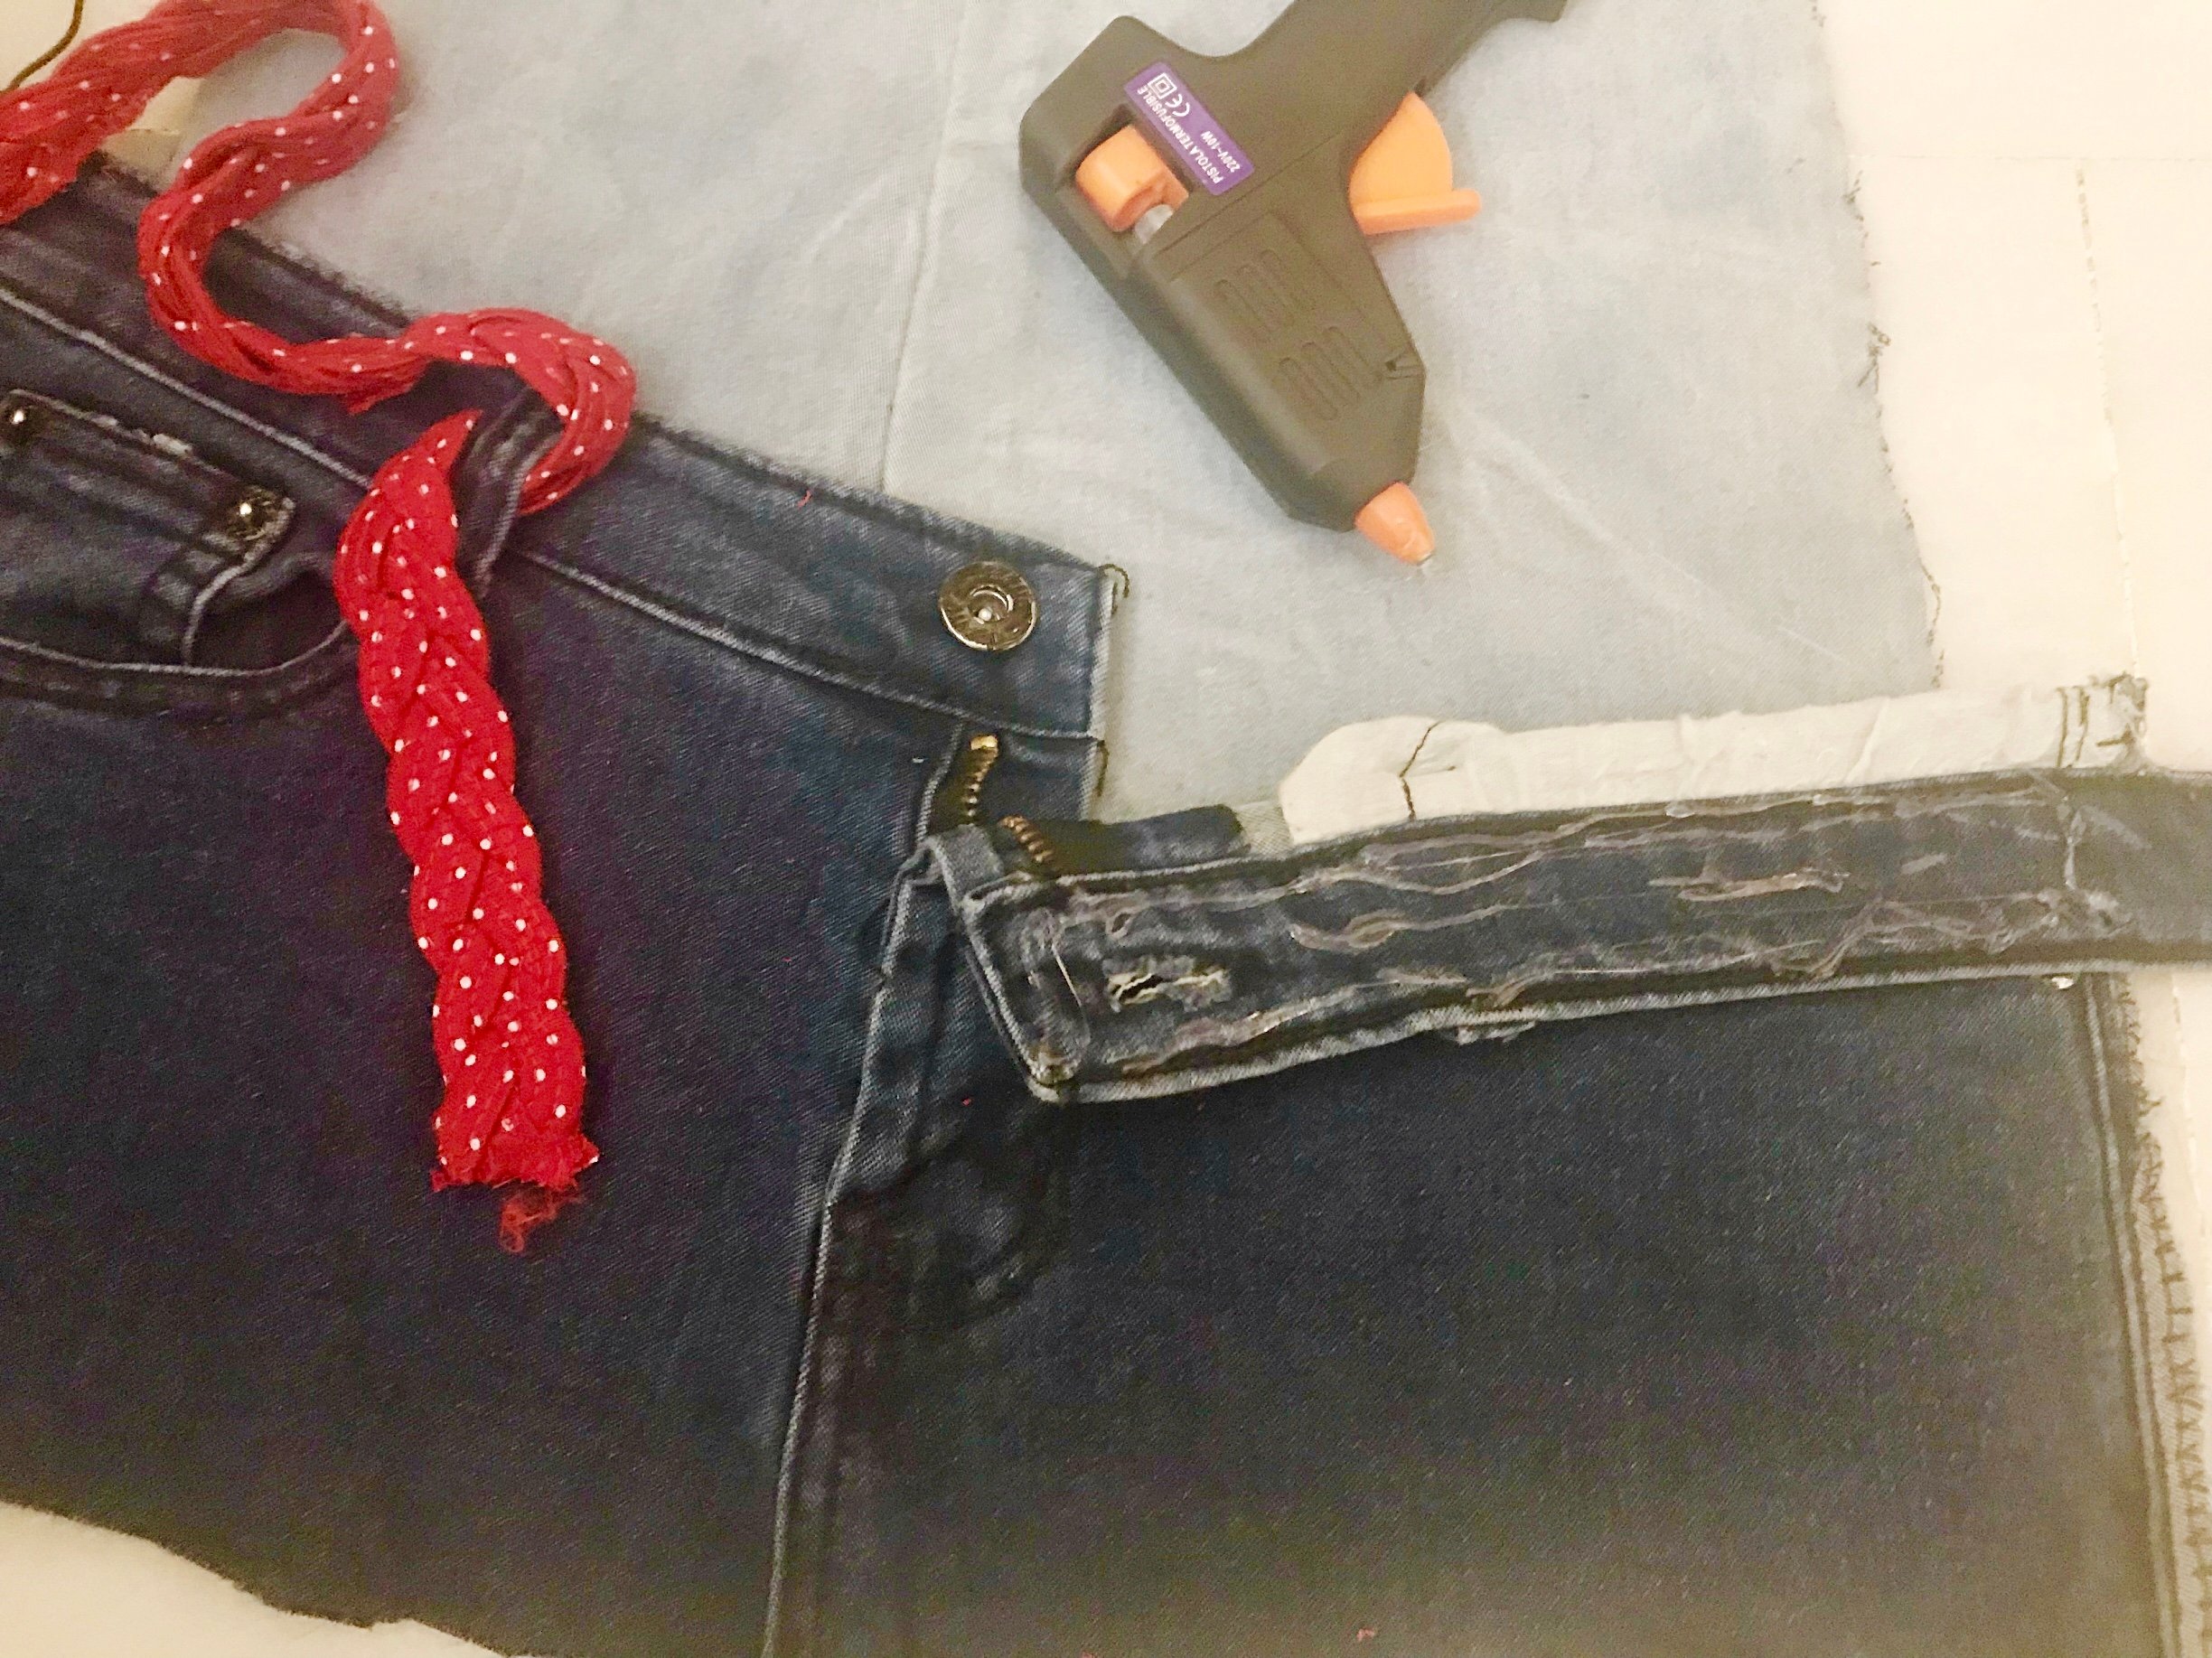
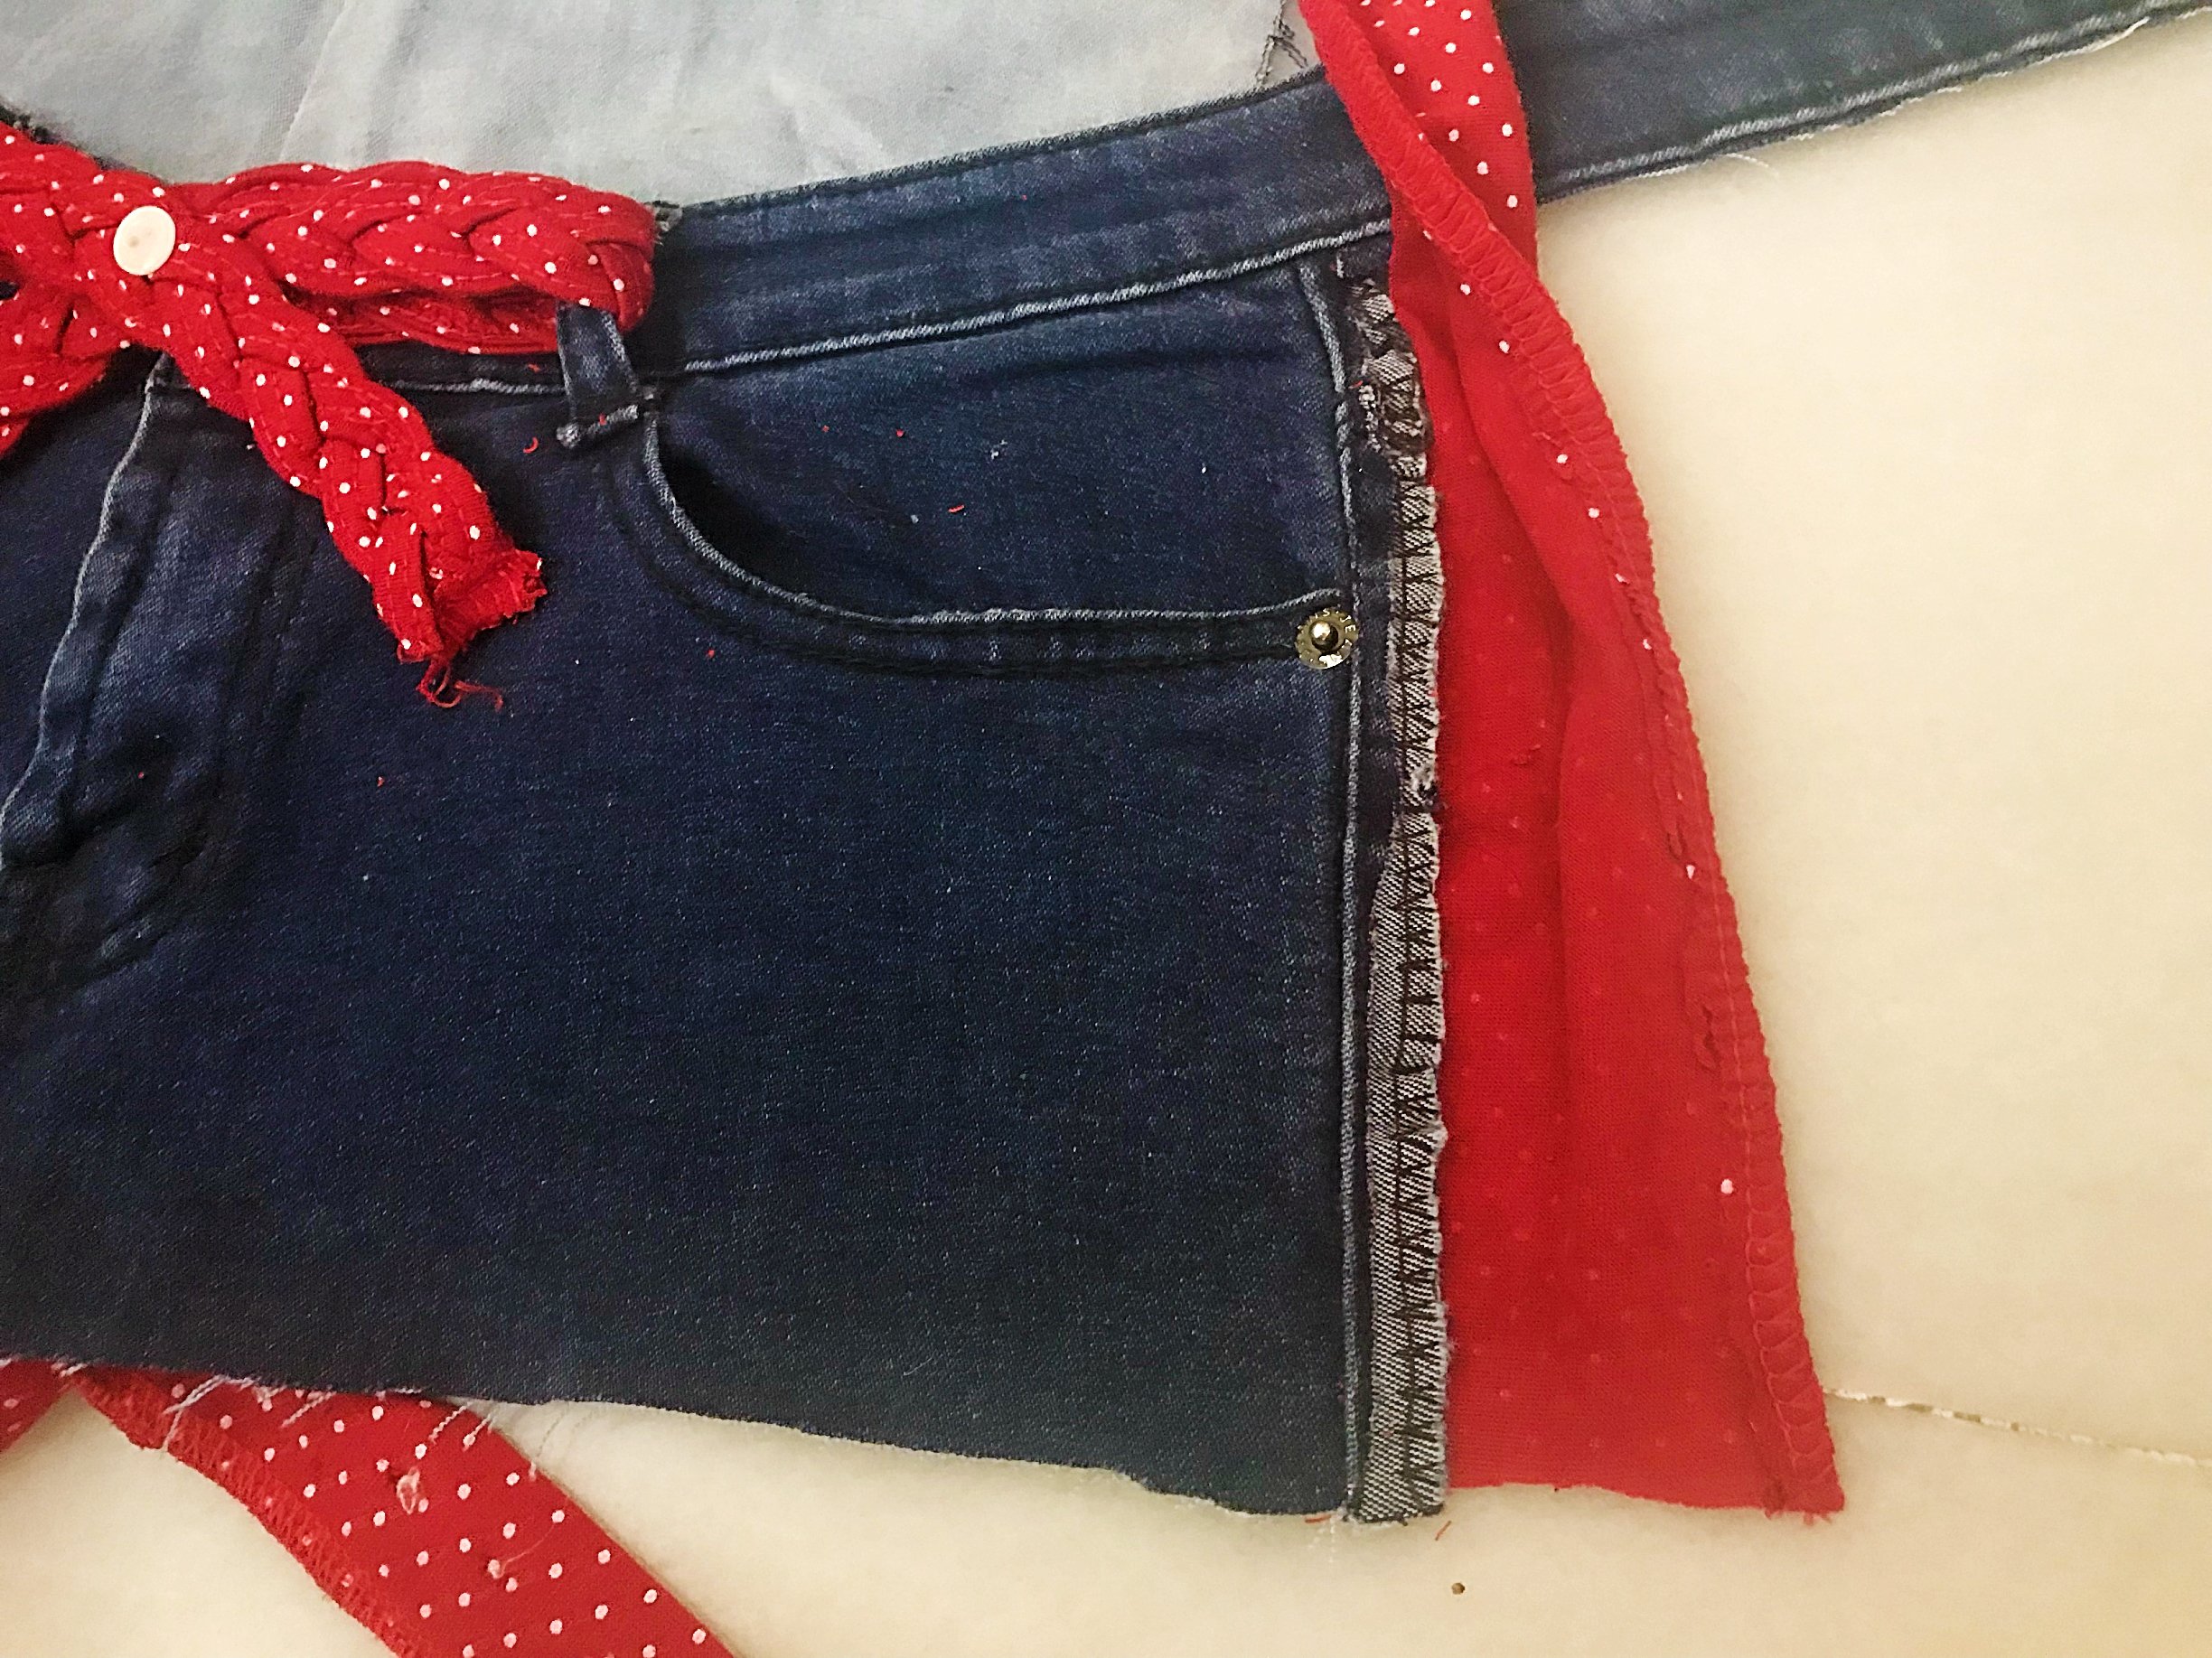
- I hot glued the left and right edges of the wider part of the leg denin. Then I quickly and nicely place the mini skirt and push it to the hot glued. Then cut the extra of the buttom and followed to glued the red cloth on each side as a final touch.

KITCHEN GLOVES
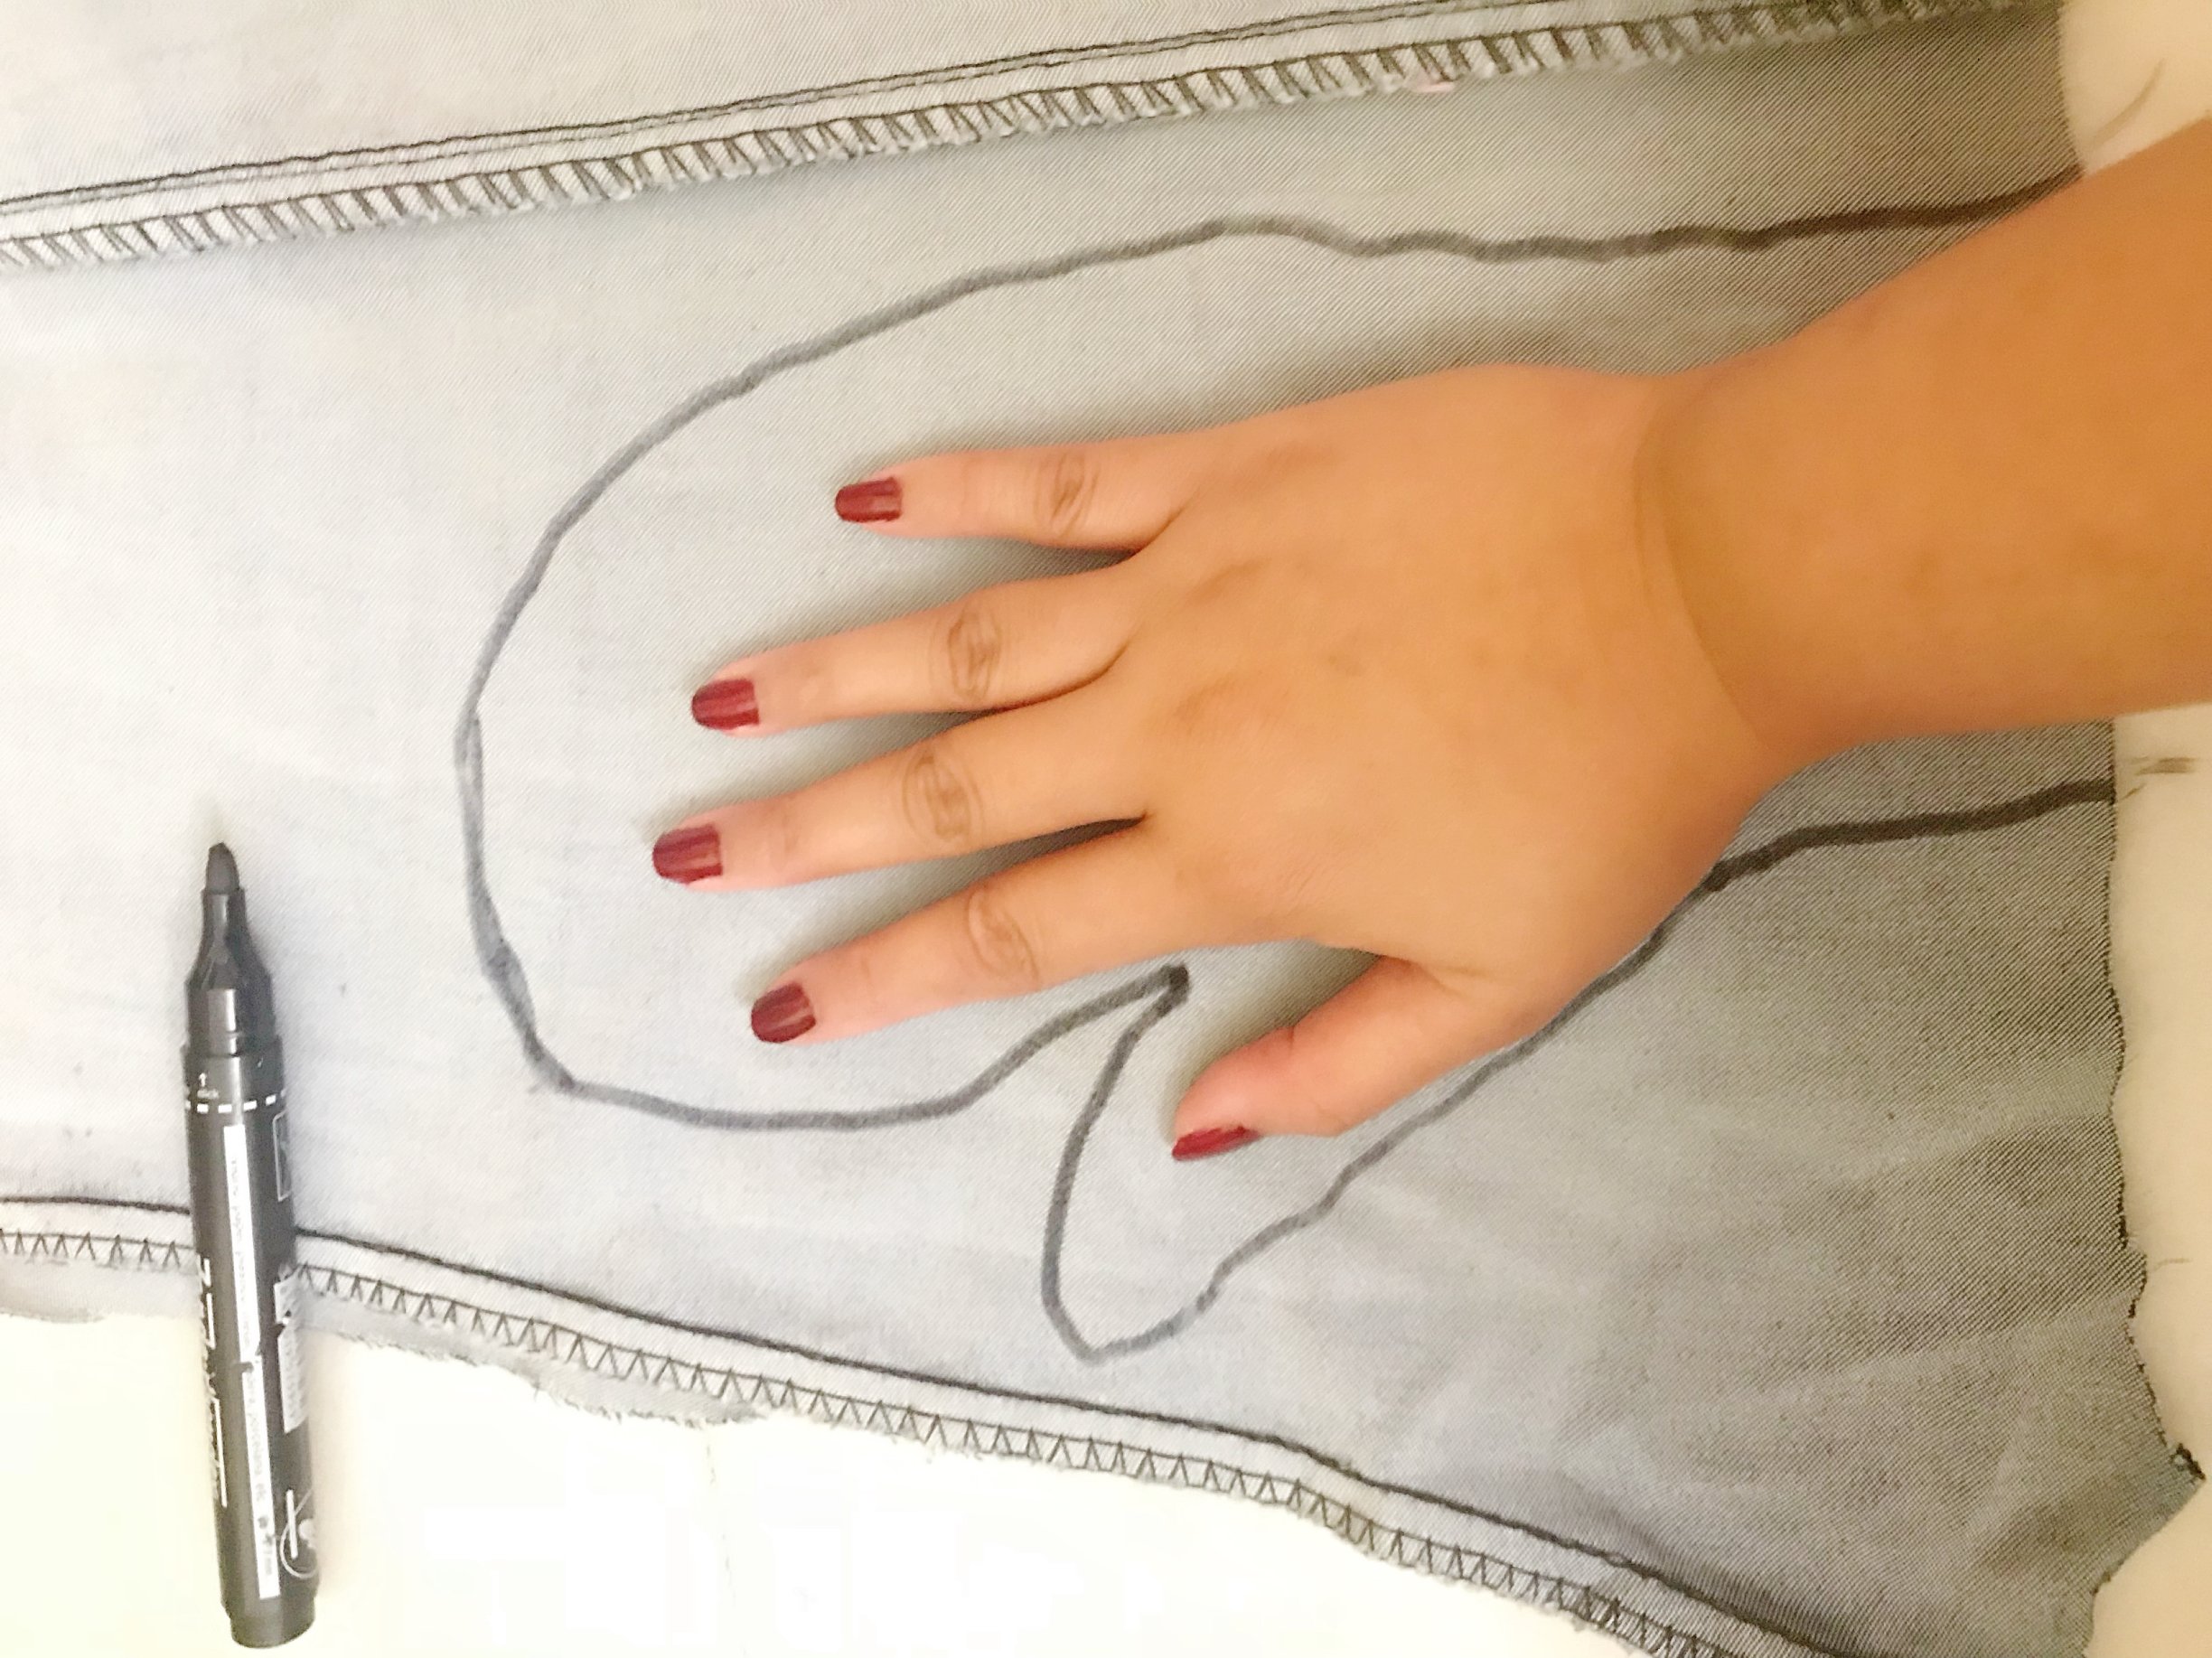
Using the remaining leg part of the denim, I made a glove pattern by placing my hand on the denim and trace with the marker. (Make sure the distance of your drawing is atleast two inches from your hand as you need space when you put your hand inside the glove.)
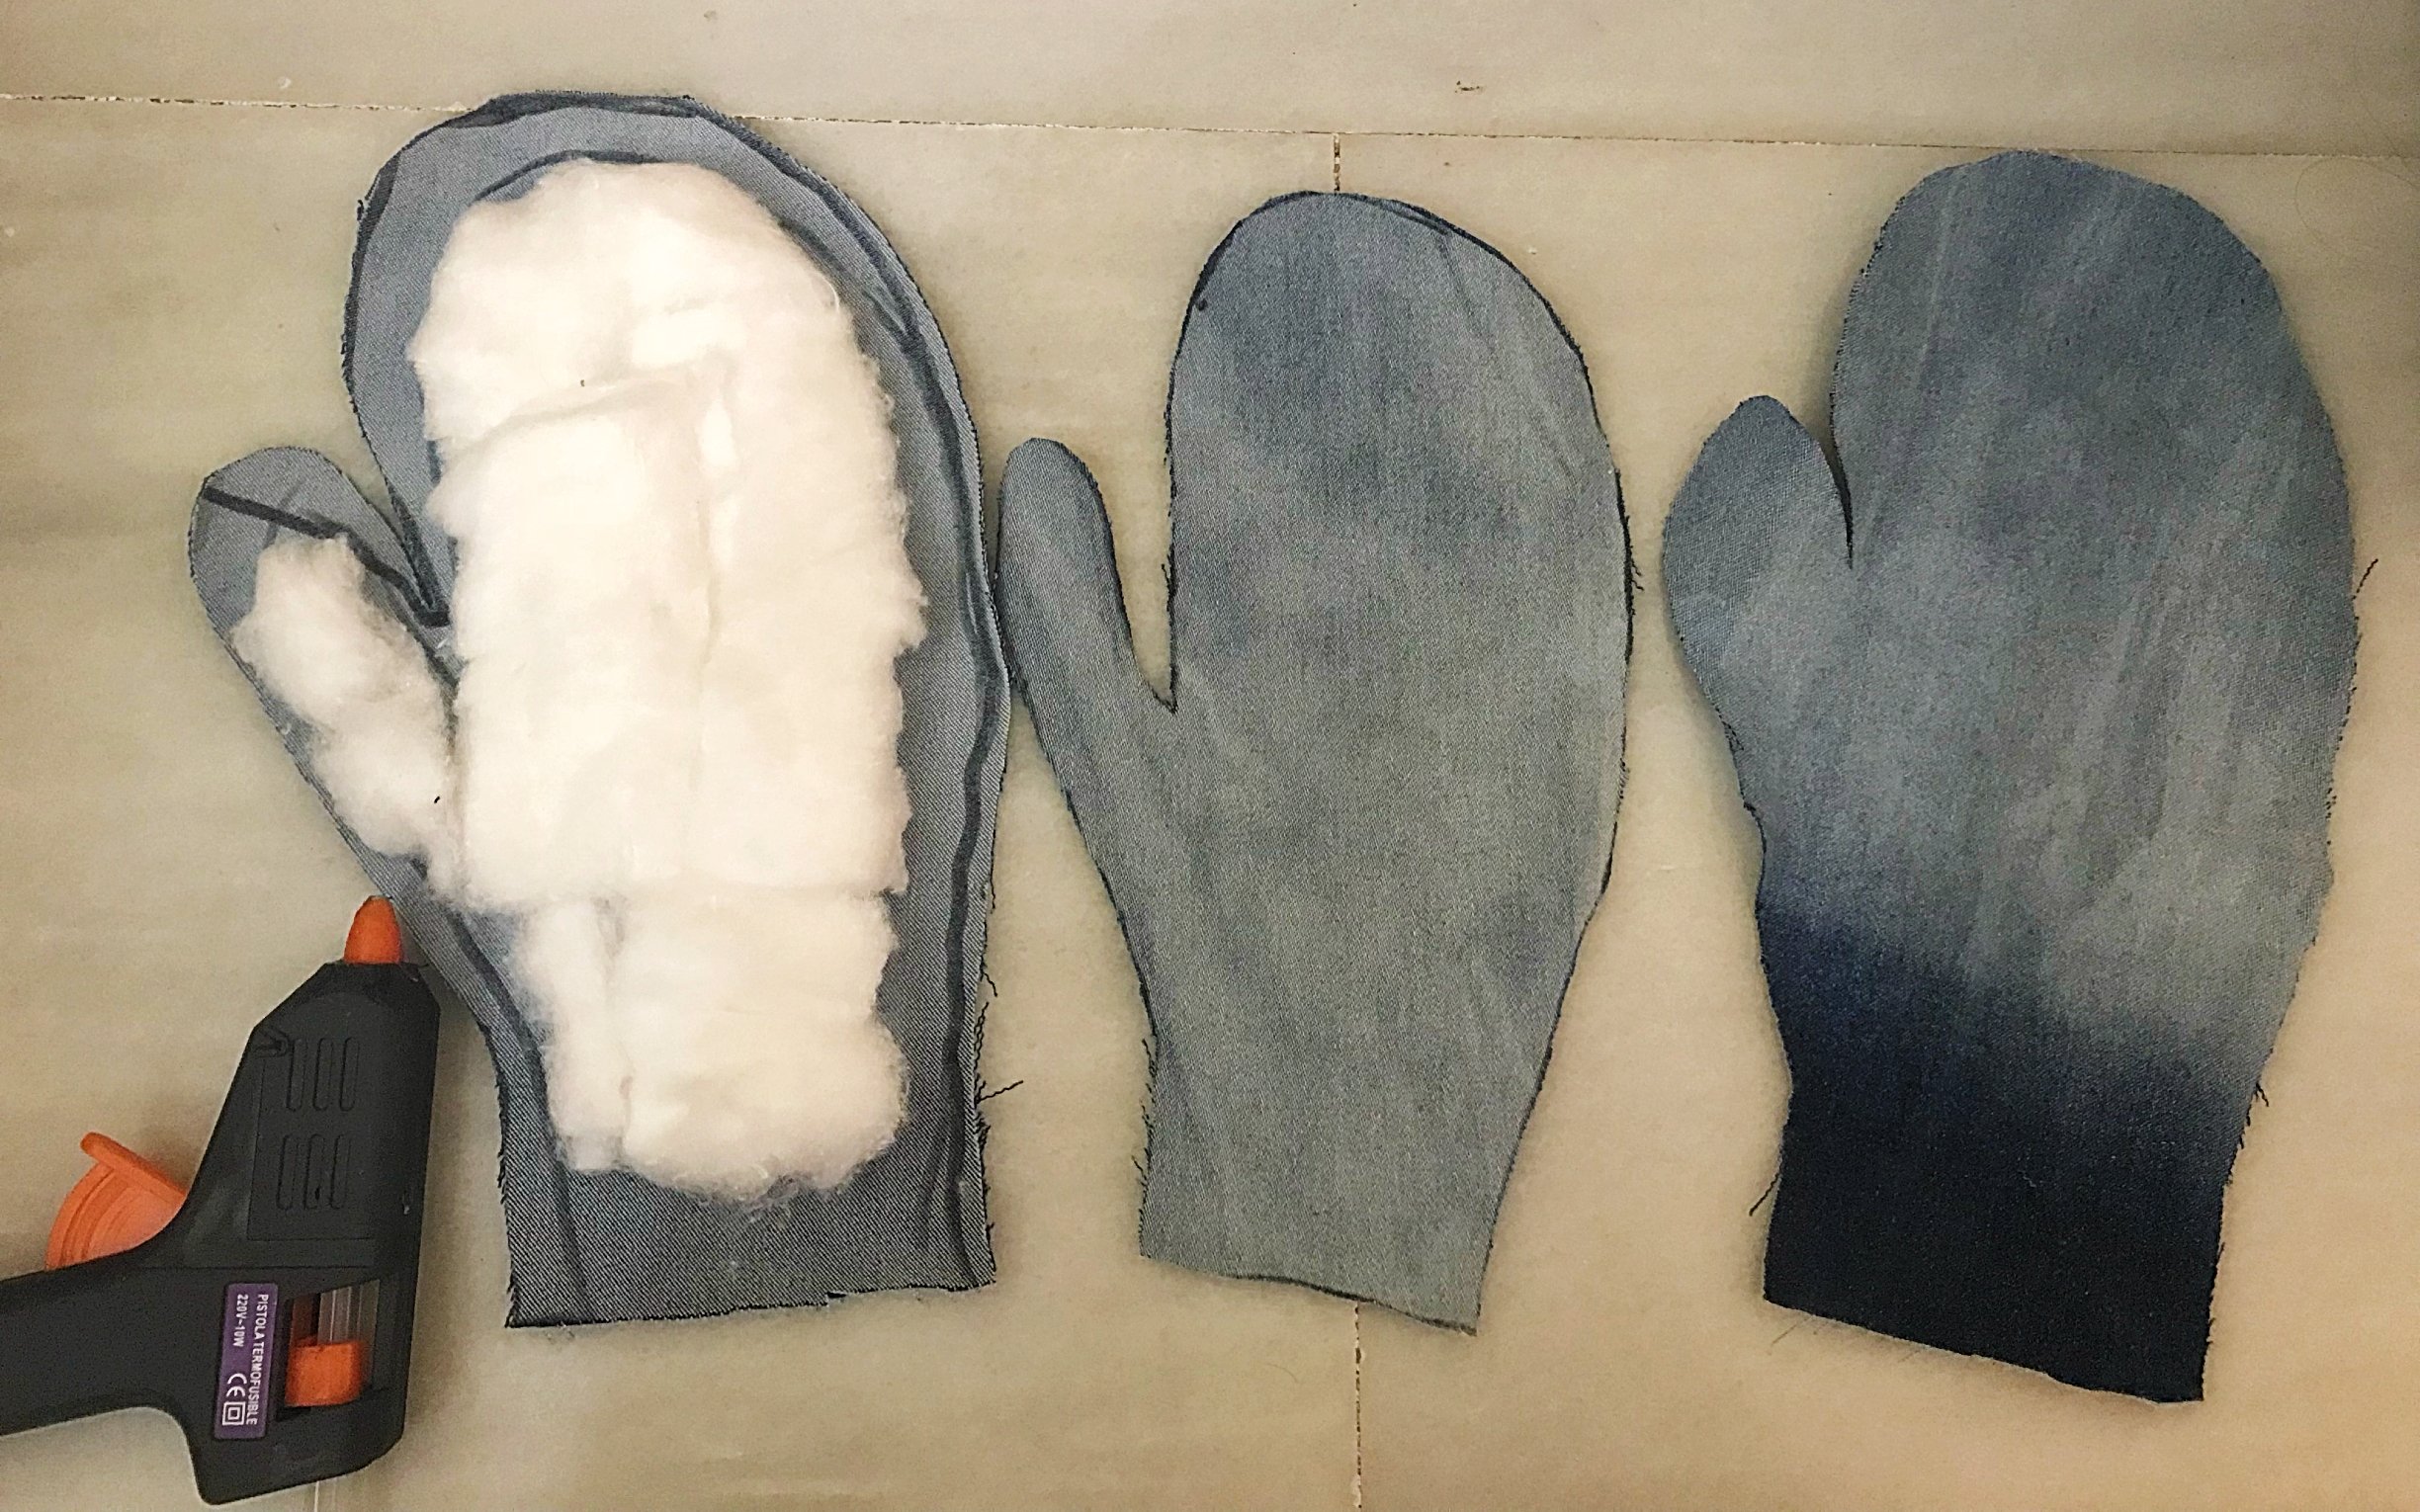
Make three cuts. 2 the same size with one smaller.
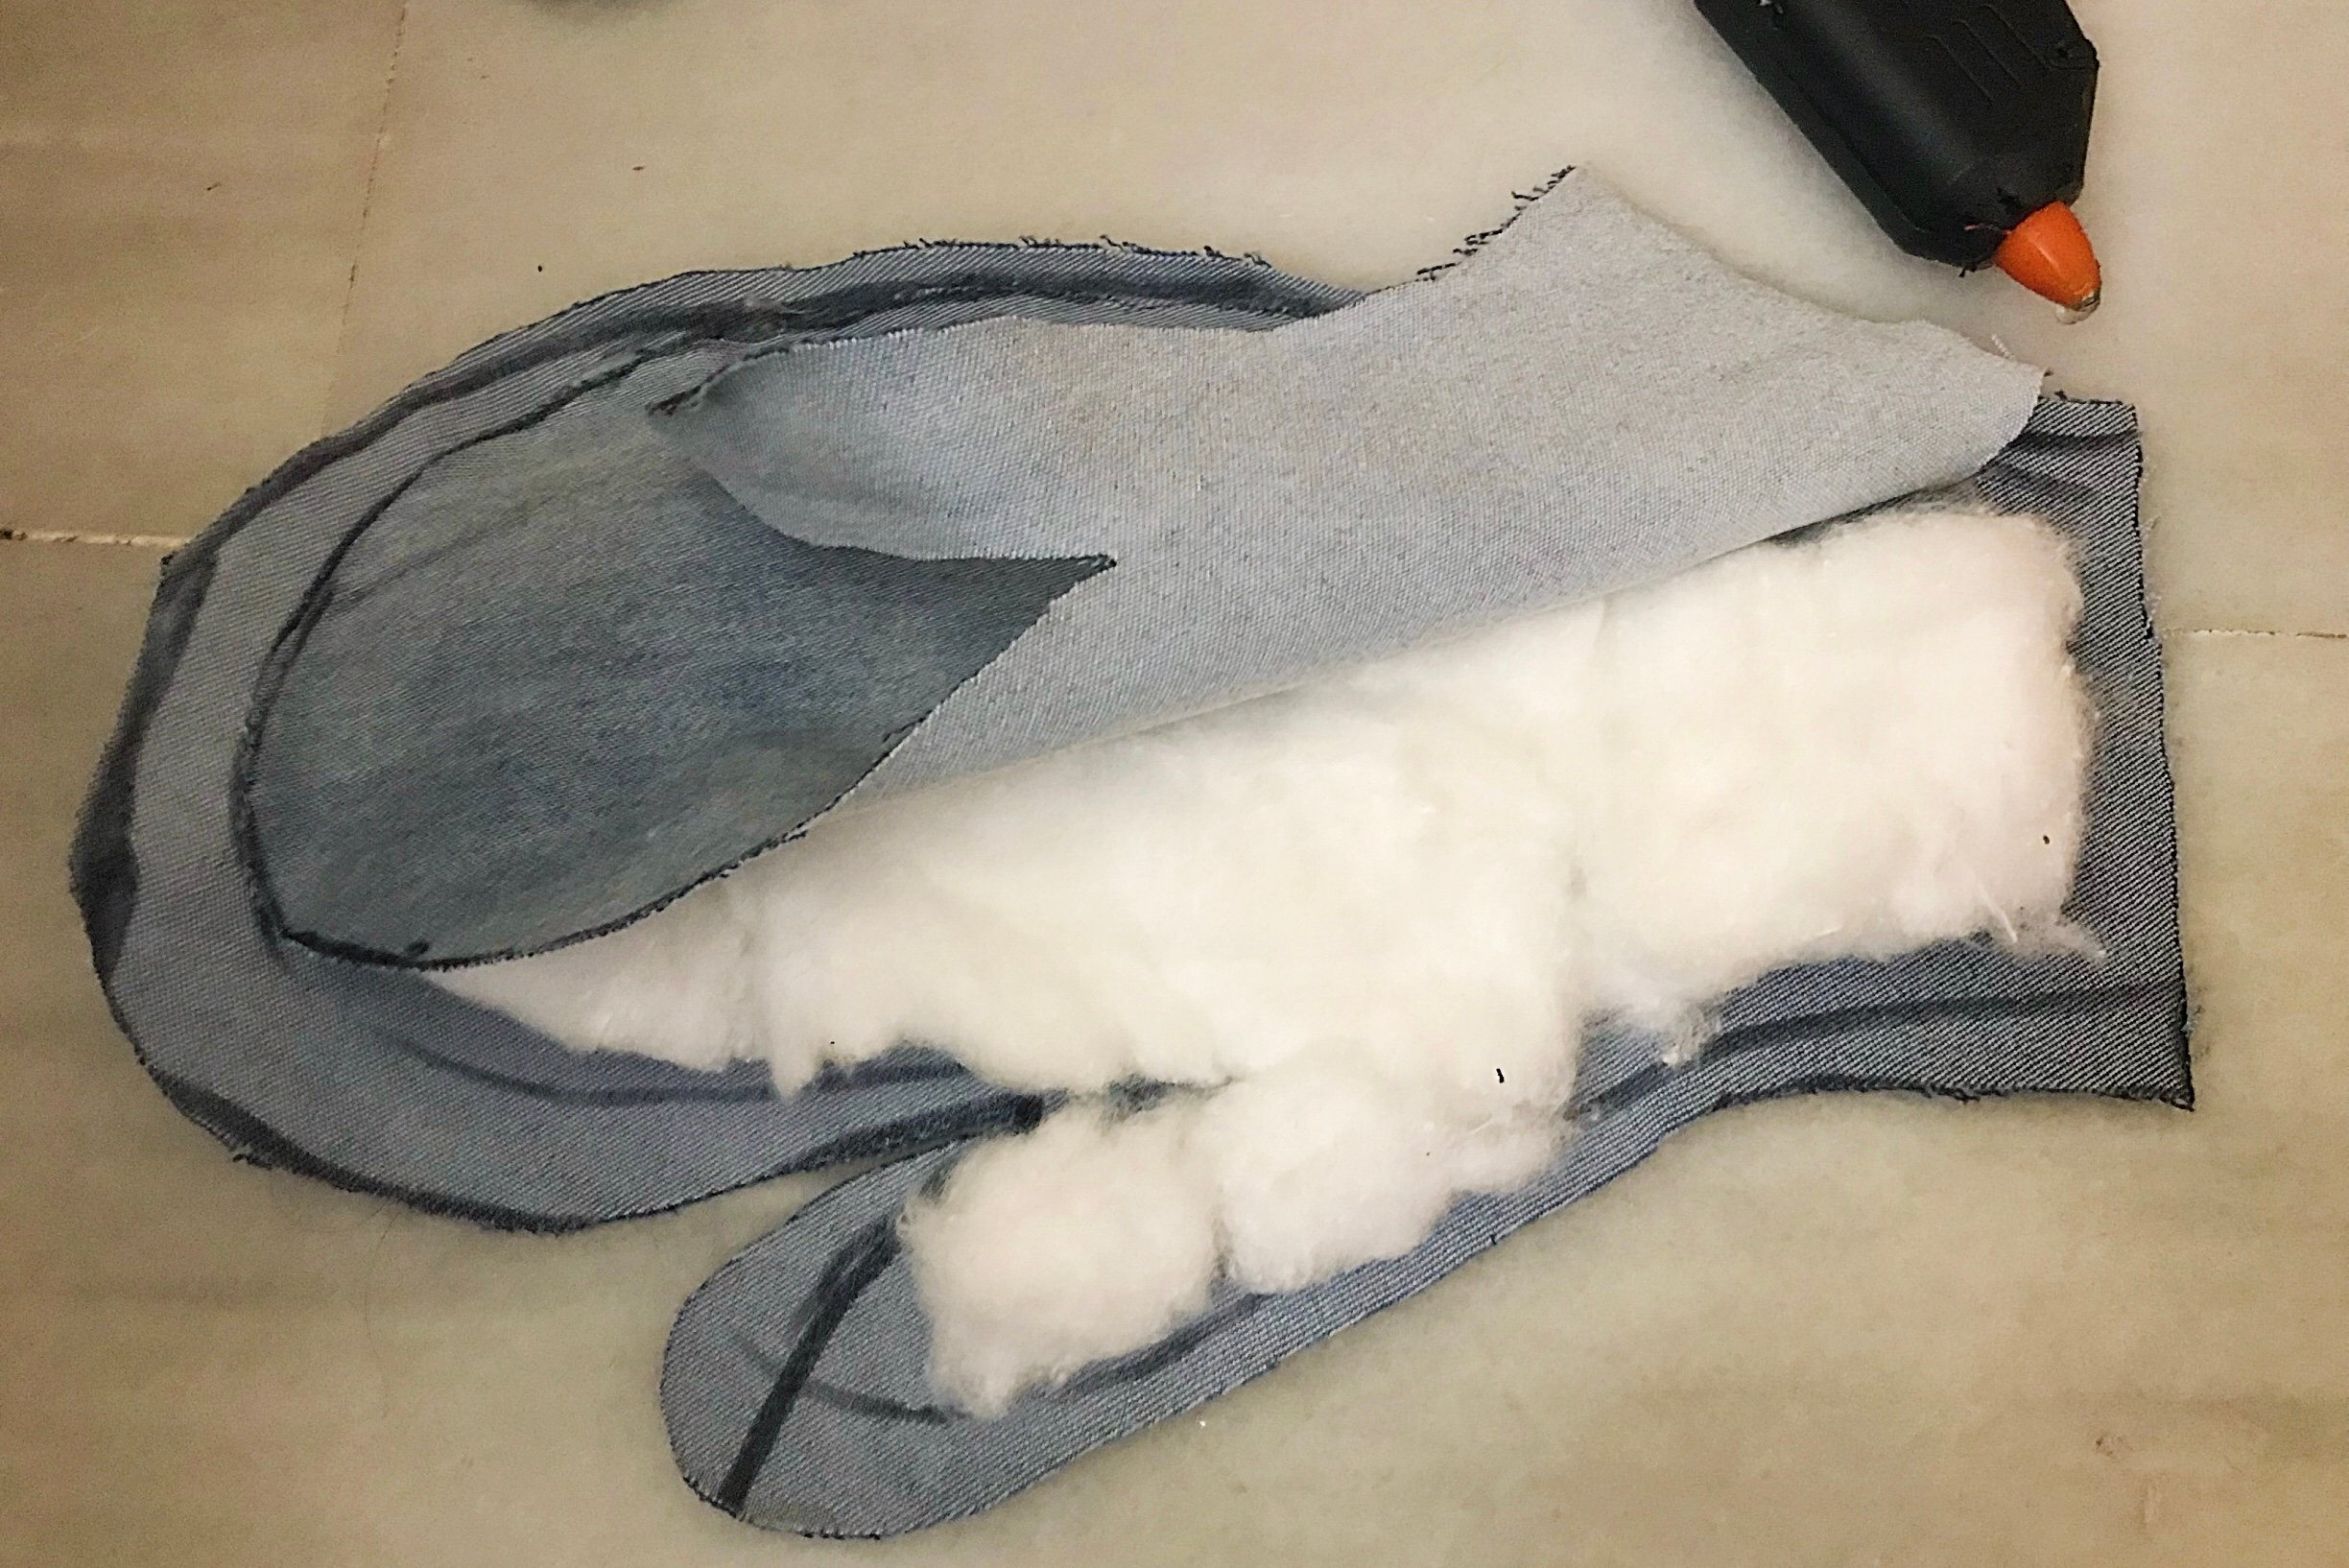
Place the cotton on the center forming a smaller hand. The purpose of the cotton is to protect the hand from heat while using the gloves. Then hot glued the edges and carefully place the smaller one. (Now 2 become one 🤚).
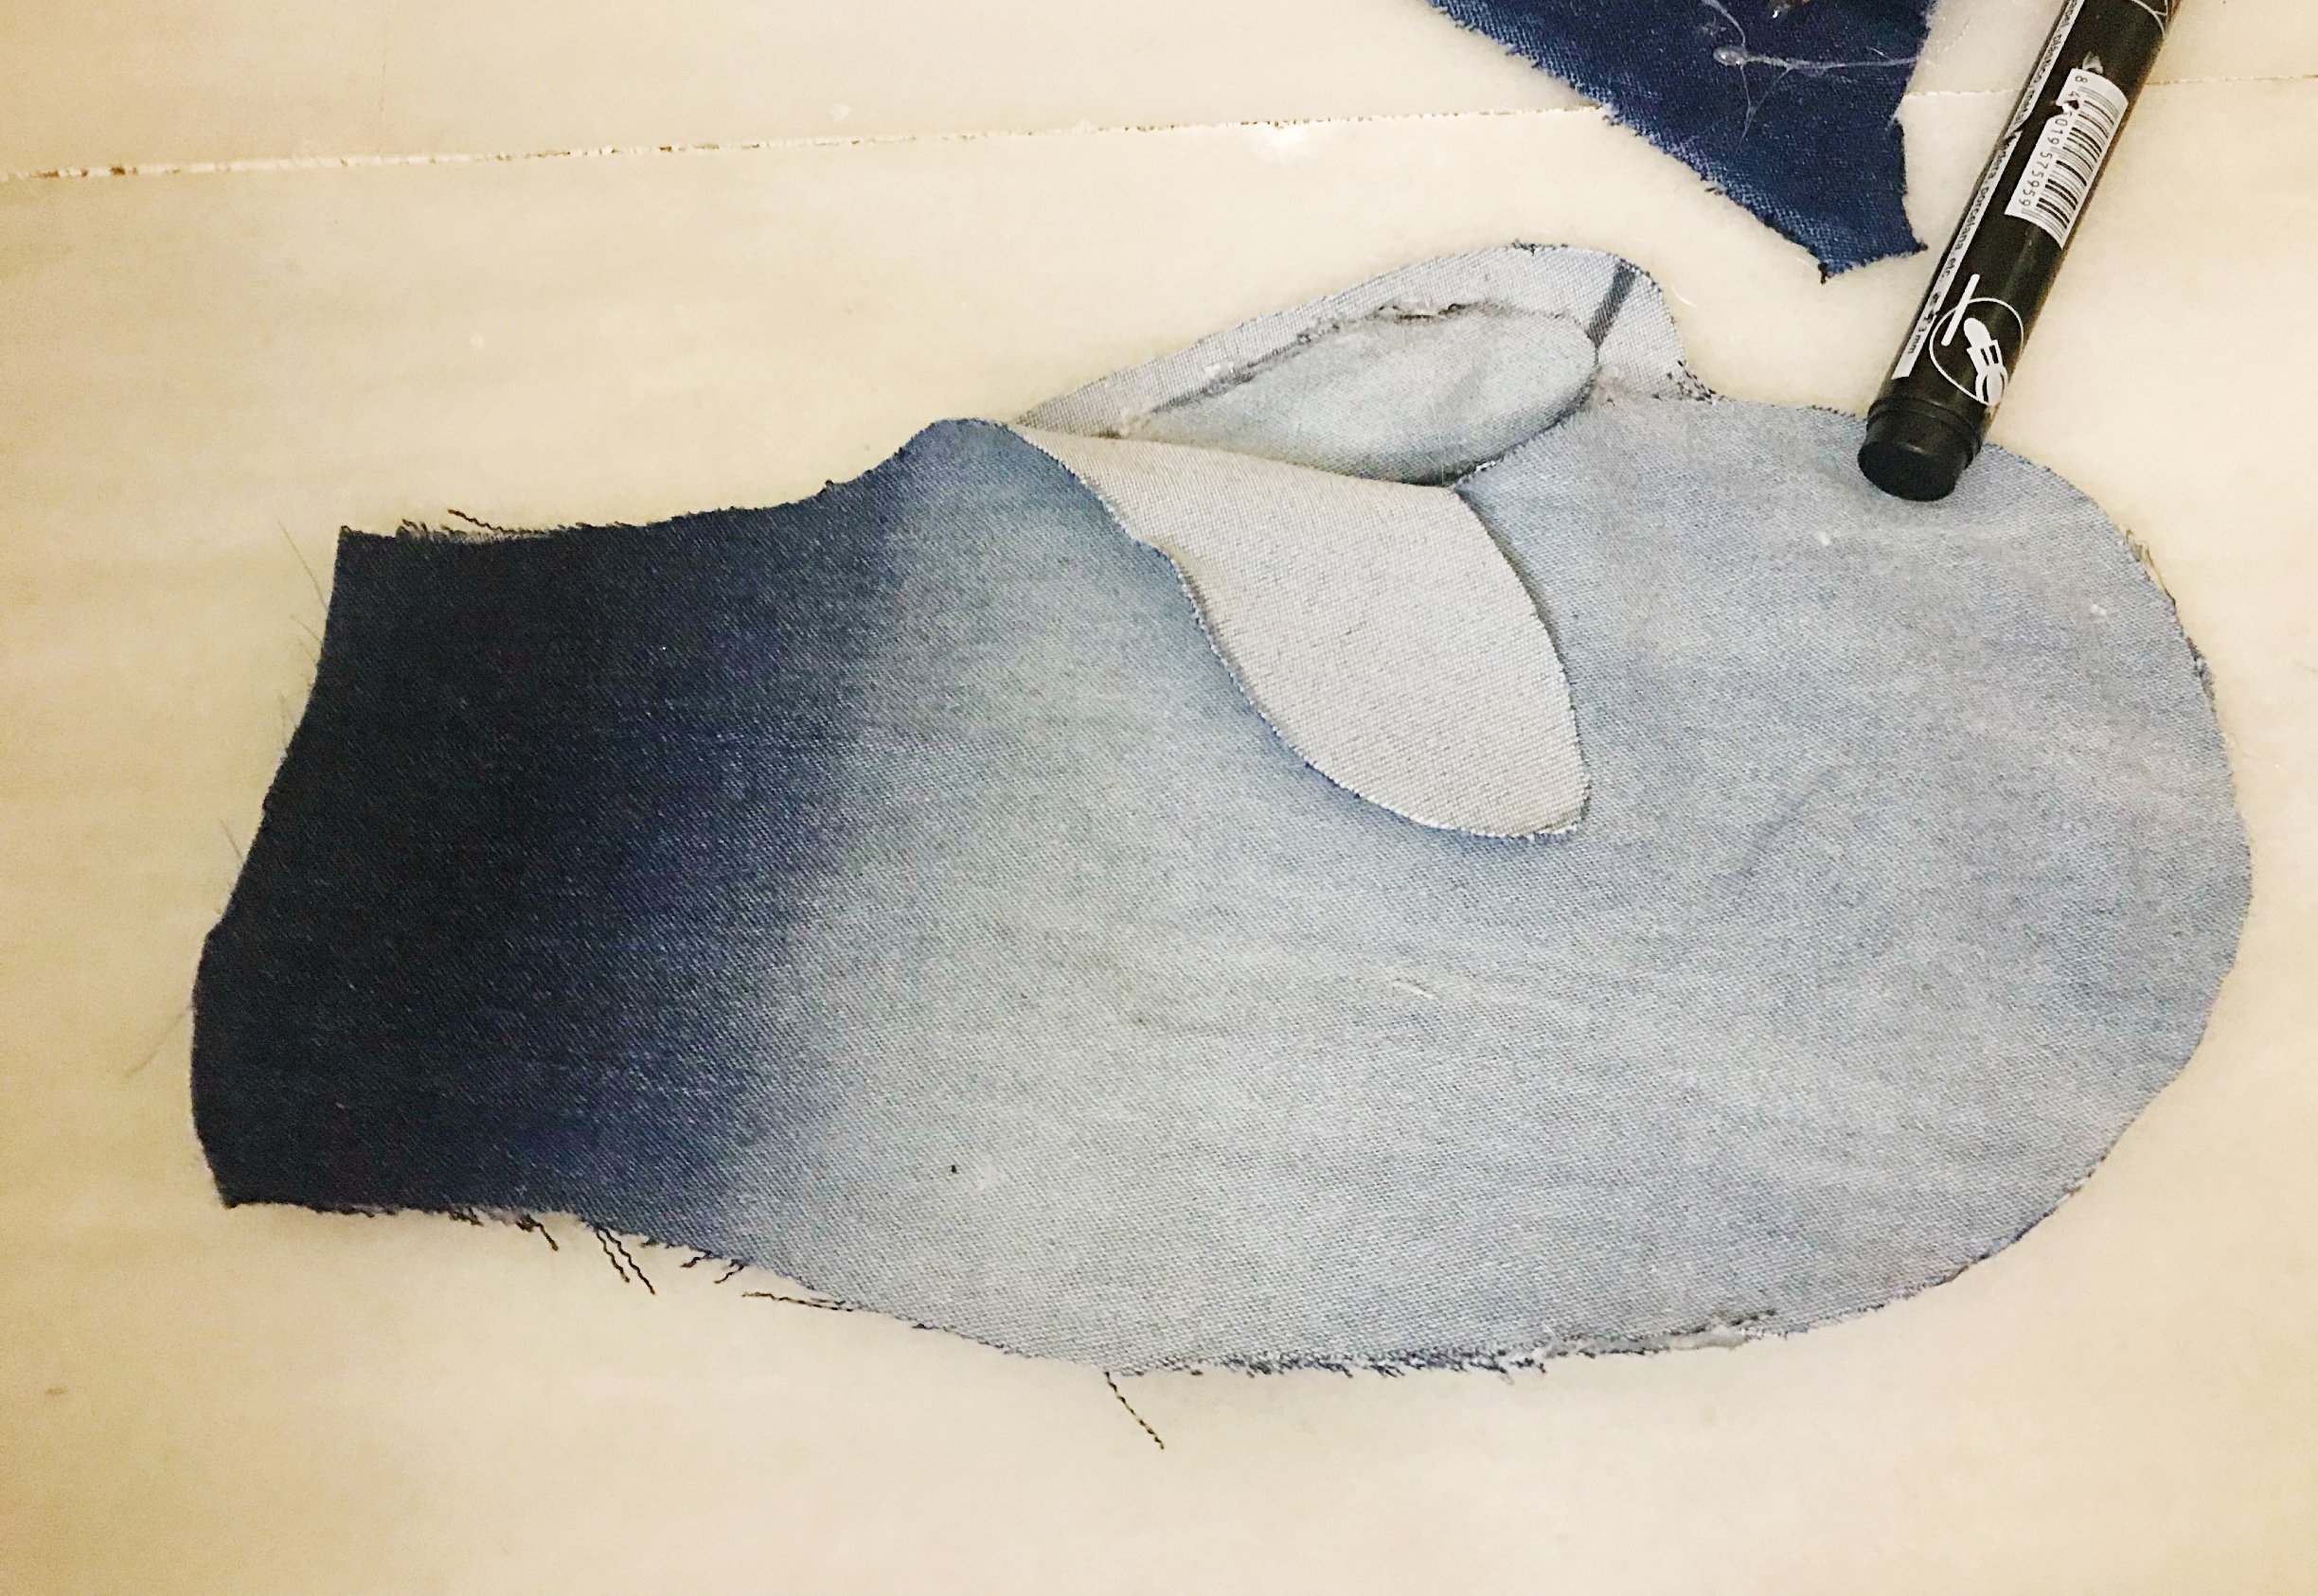
Finally glued the bigger one and added some of the cutting fabric from my blouse as a final touch.
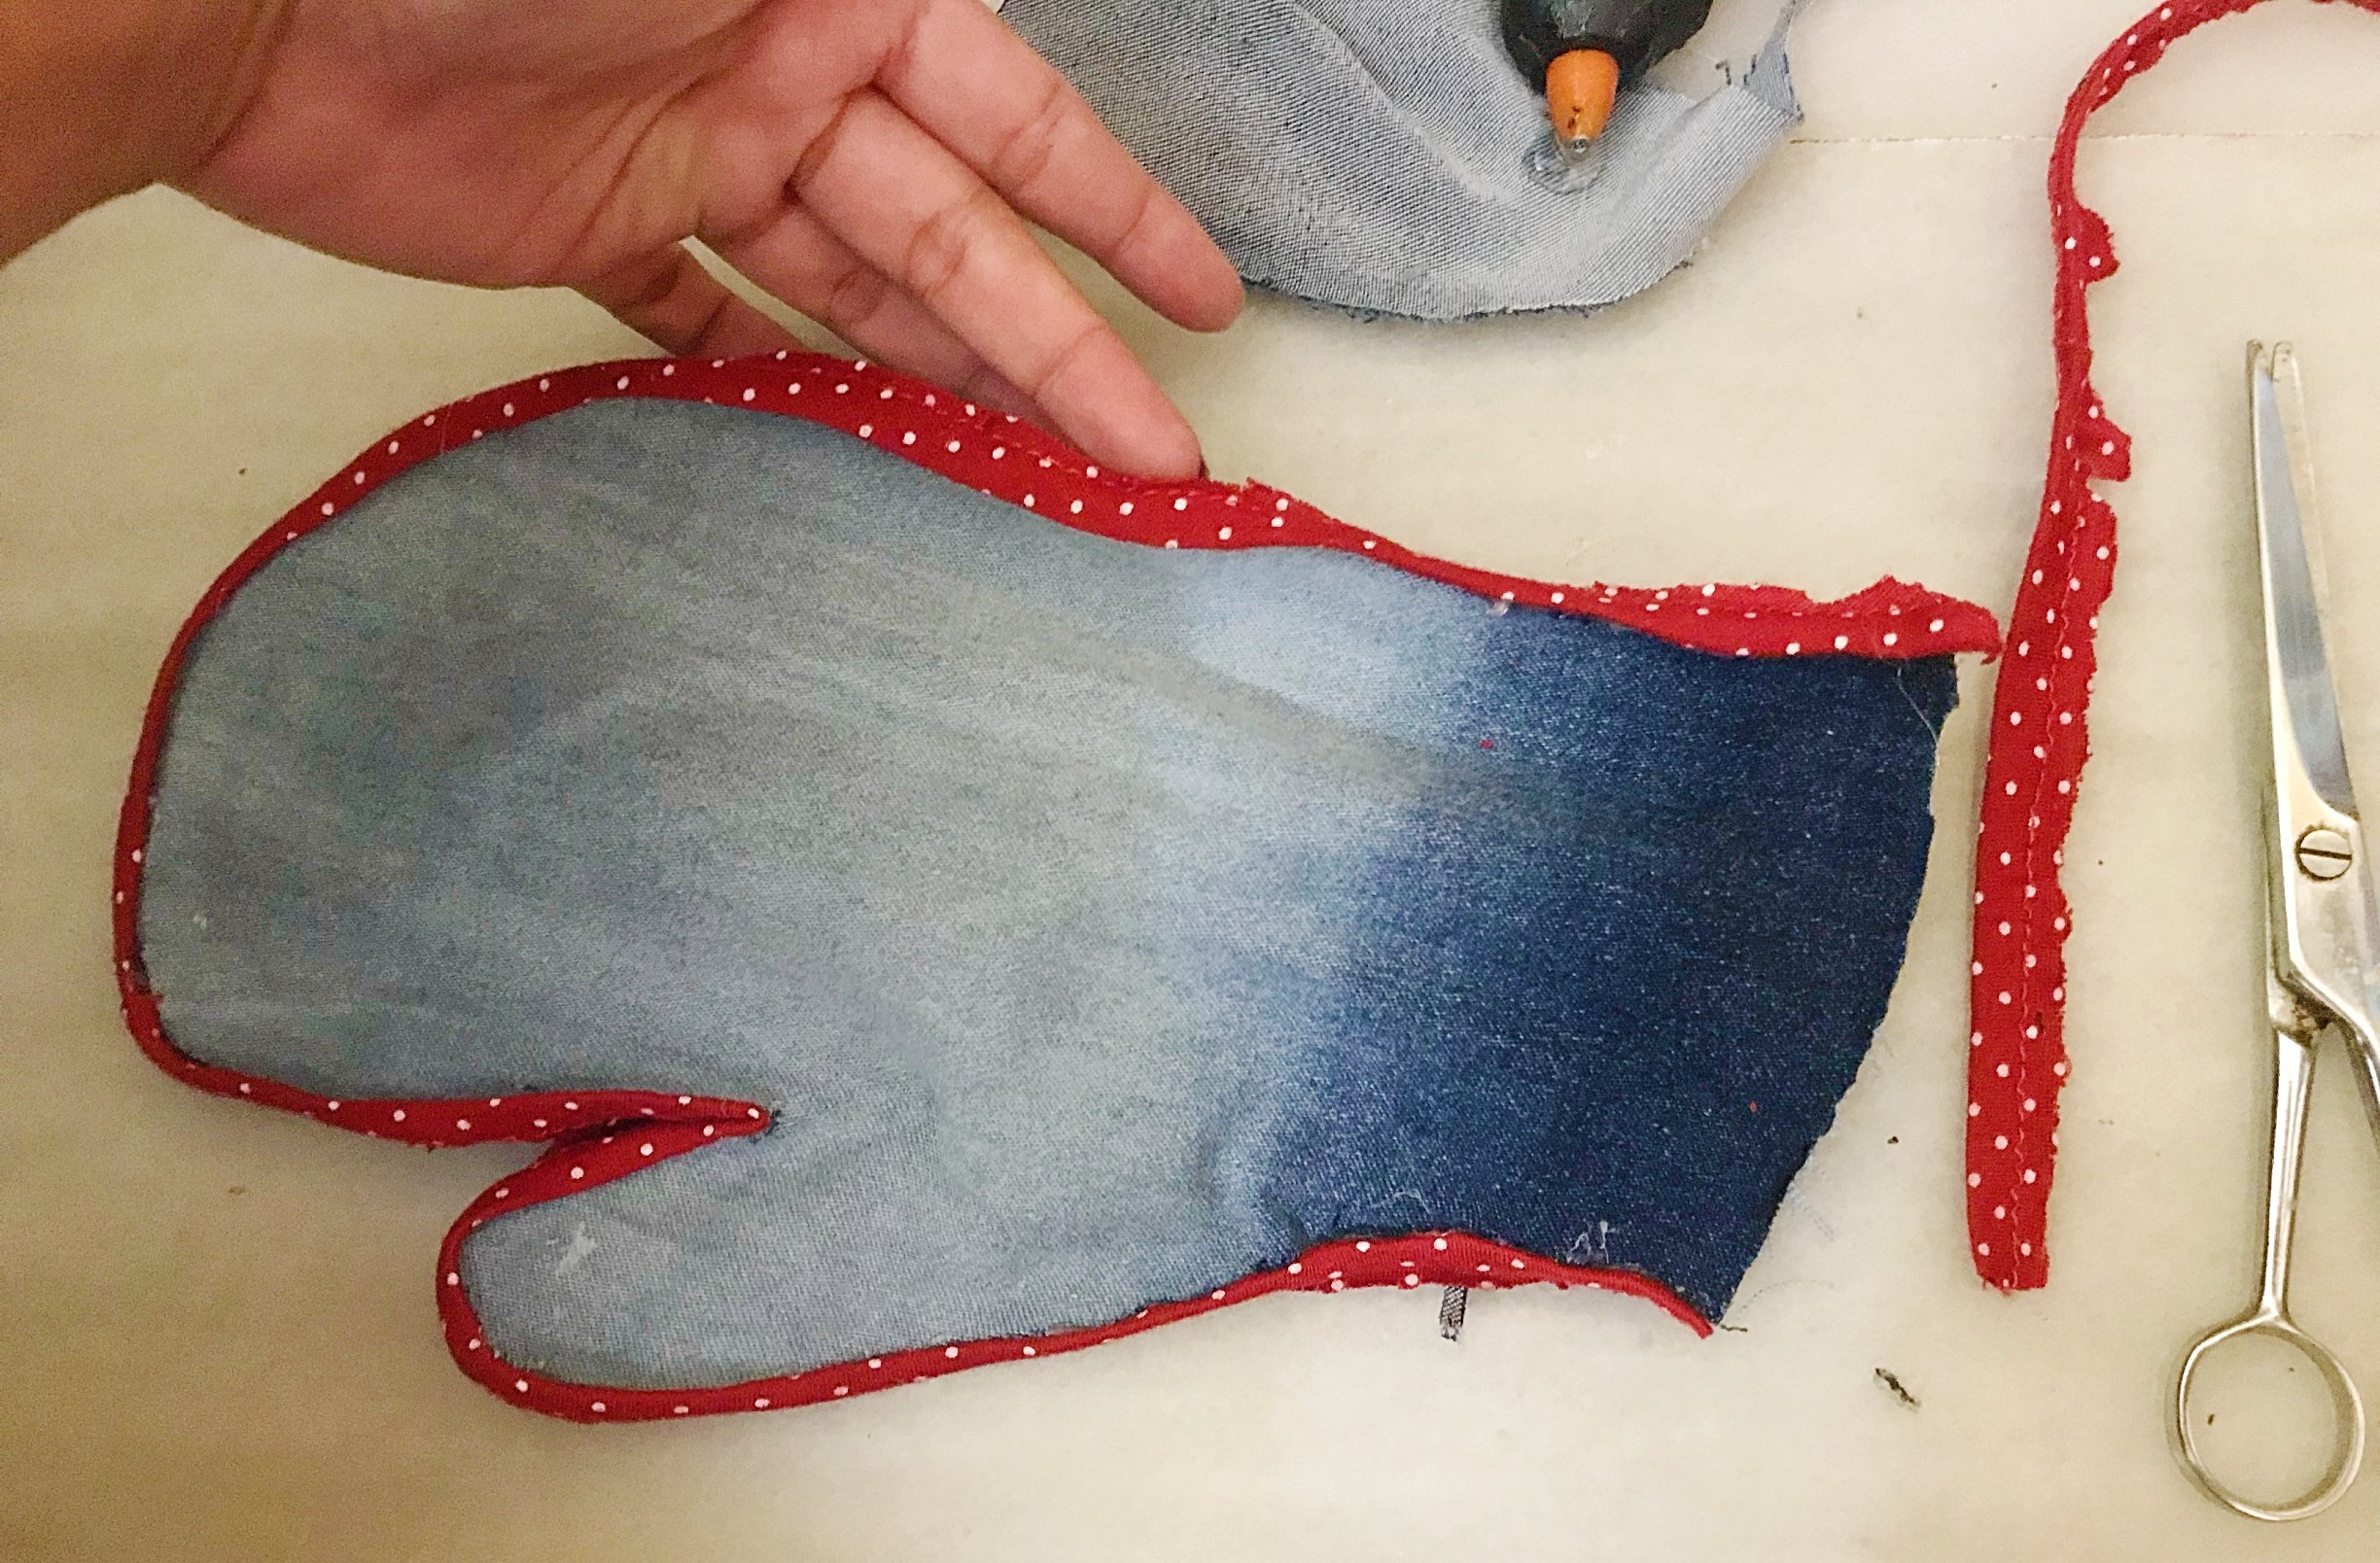
And tadah! Isn’t it lovely? ❤️
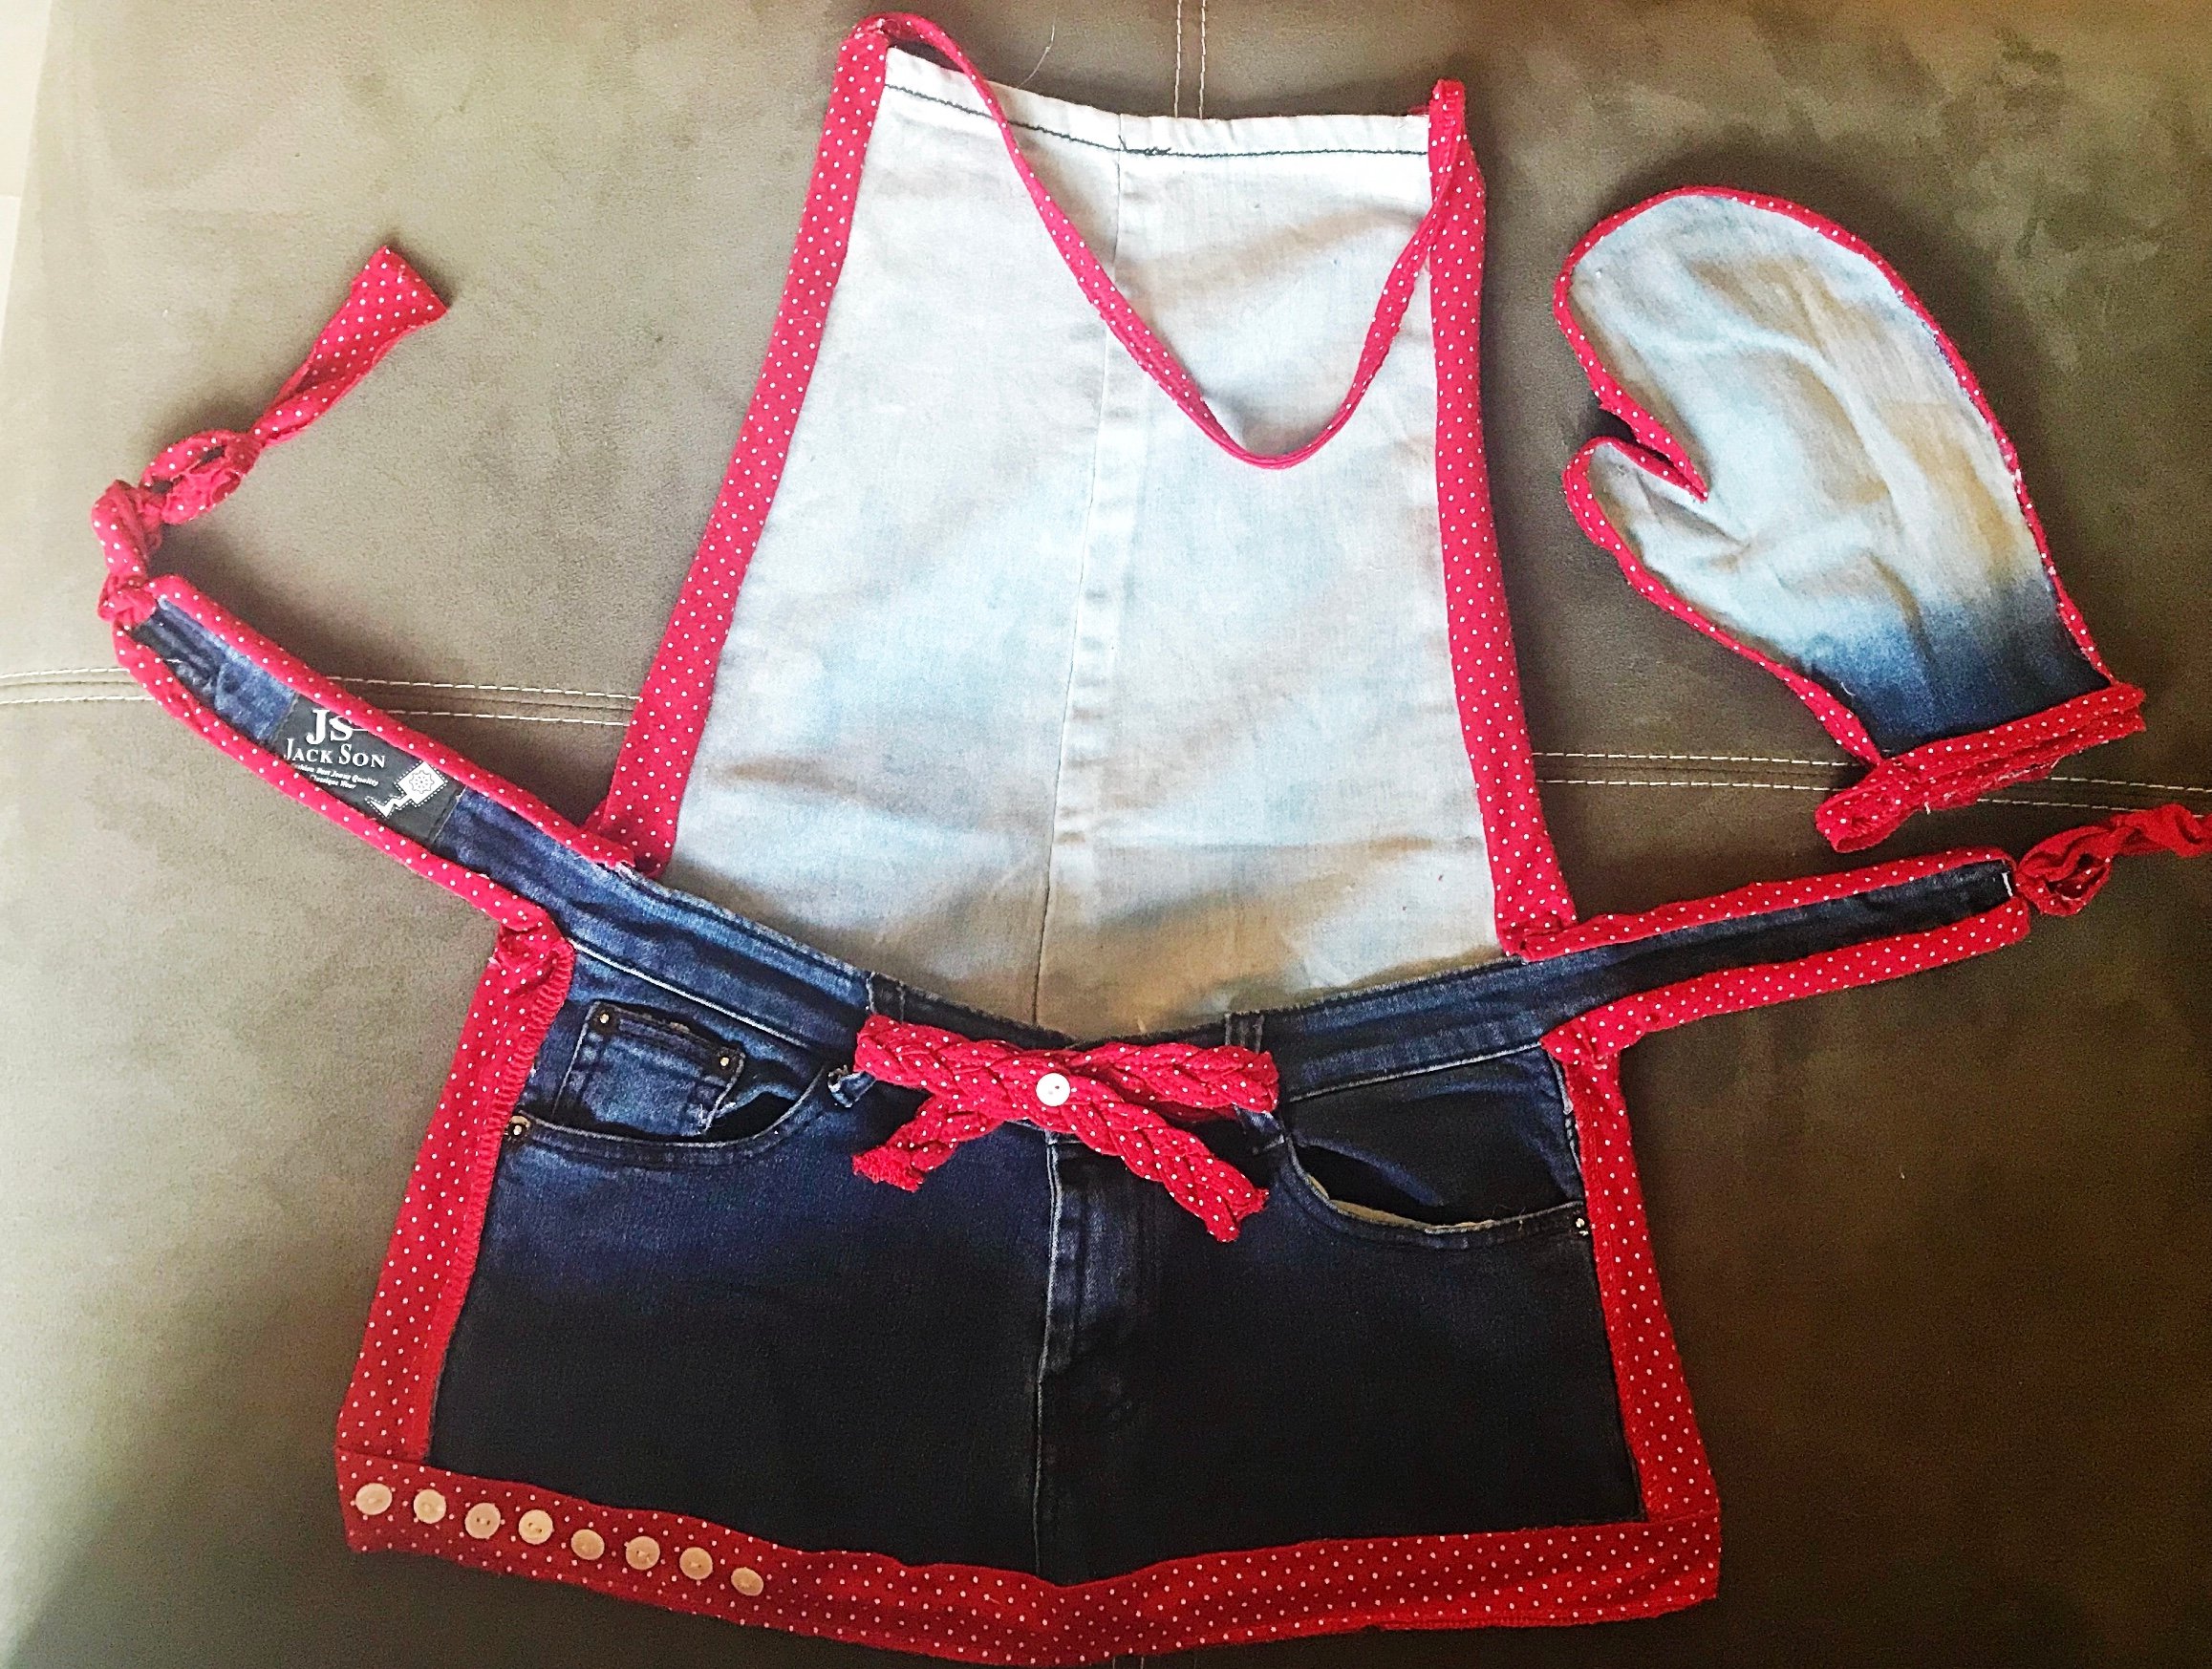
I didn’t bother to remove the rest of the buttons from the blouse fabric as you can see on the lower part. I just took one peice and hot glued on the ribbon. I’m proud of what I’ve done 😂 and now I’m ready to make my next recipe to share on Steemit!
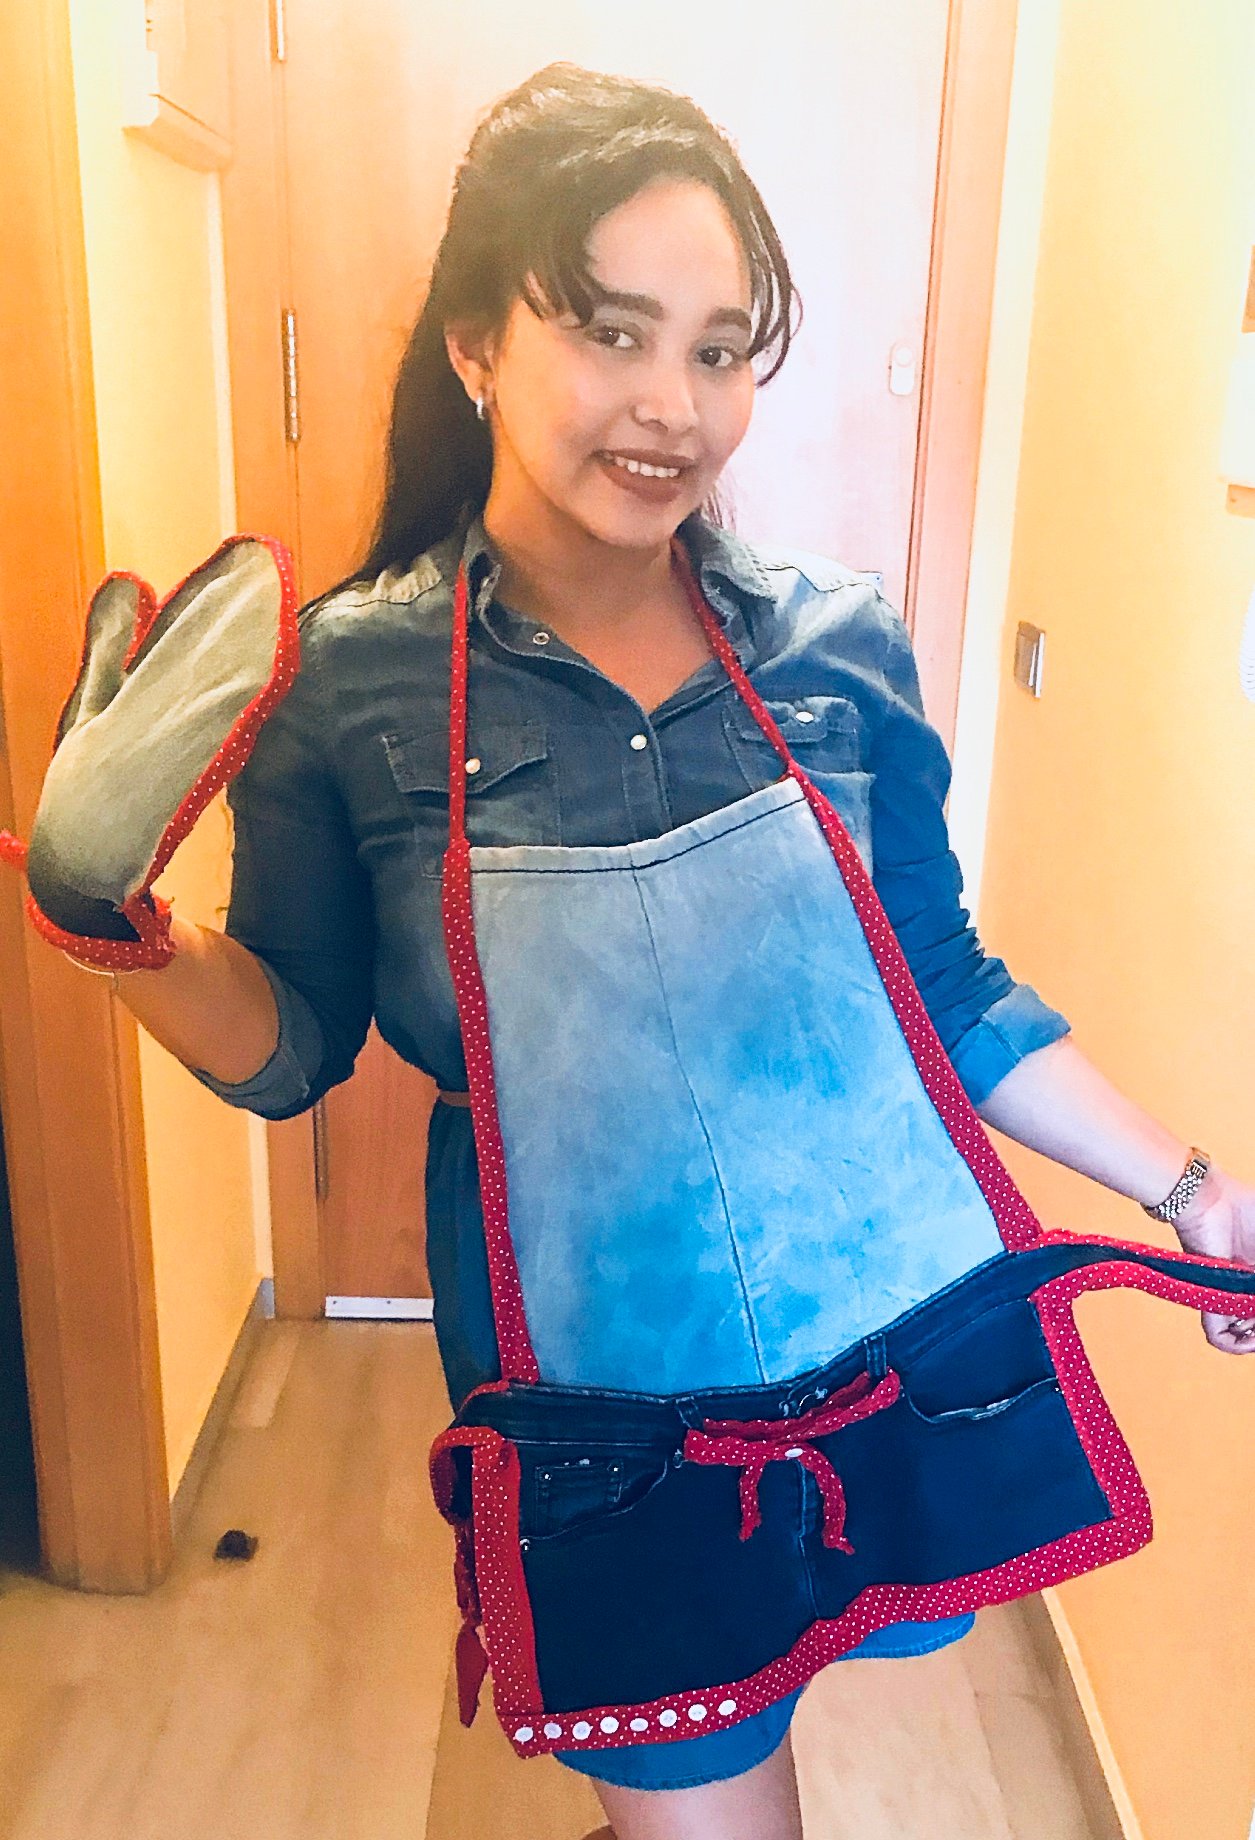
To be honest the glove is a bit tight so I should have add more inches but anyway, the goal in this post is not about perfection. It’s about saving, re-using and being resourceful.
Till next time and Happy weekend!
#uloggers #art #diy #philippines #spain #esteem

Have a JOYful day Steemian!

Join us @steemitbloggers. Animation By @zord189
