I recently bought a Wanhao Duplicator 7. It is an amazing machine which can print in a really fine precision of 47X47X25 micron voxels. I am very happy with it, but there has been a few issues.

It is not an easy printer and definitely not suited for the plug-and-play kind of maker. The troubles I have had is a very slight z-wobble. That is the layers are not perfectly aligned, which shows up as horisontal lines on the prints.
It is only very little, but it is enough to be visible and so I wanted to have it fixed.
The printer is still under development by Wanhao and so, constant update kits come out. I bought the 1.4 version when it was just released, and it took care of many of the issues which had previously plagued the 1.3 version. Unfortunately it didnt entirely eliminate the z-wobble issue.
Now a 1.5 version has comes out which replace the vertical rail with a much sturdier version. I bought it a week ago and got it with fedex yesterday.

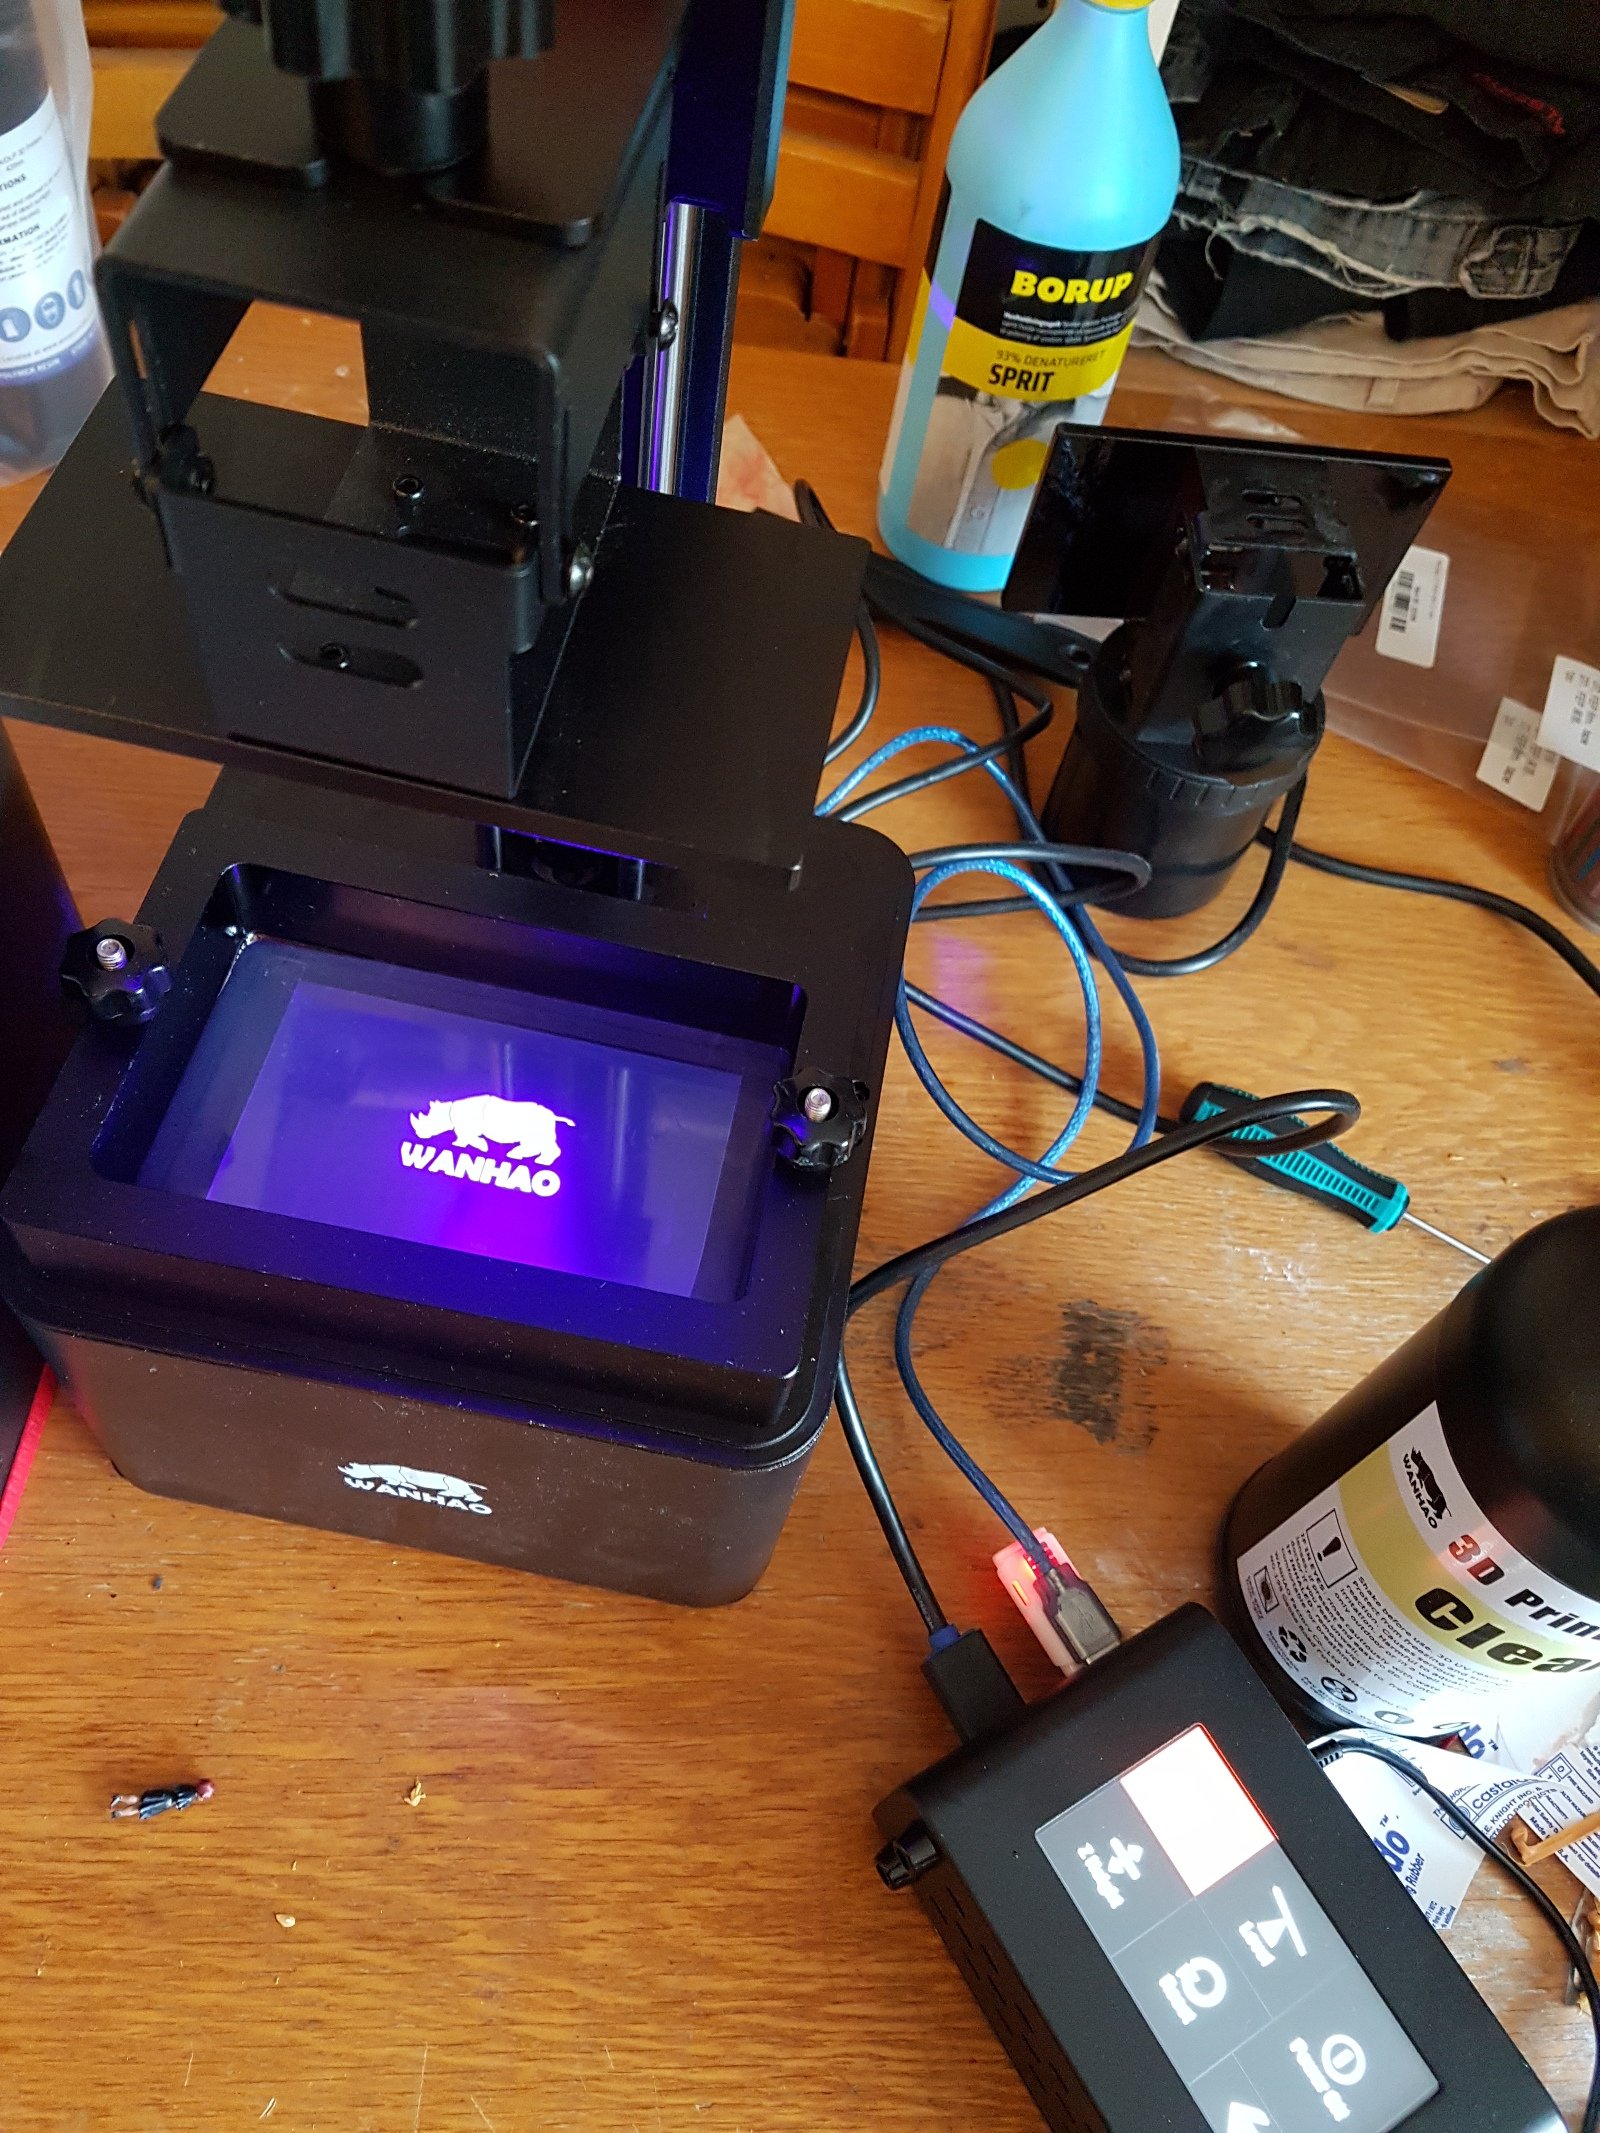
I also bought a control box for the printer. It is basically just a preinstalled raspberry with a touchscreen in a nice box.
It does however remove the need for my laptop to be tethered to the printer while it prints, which is really nice since I have had to print at night or in weekends when I didn't need the computer.
Now I can print while I am at work, which is much better.
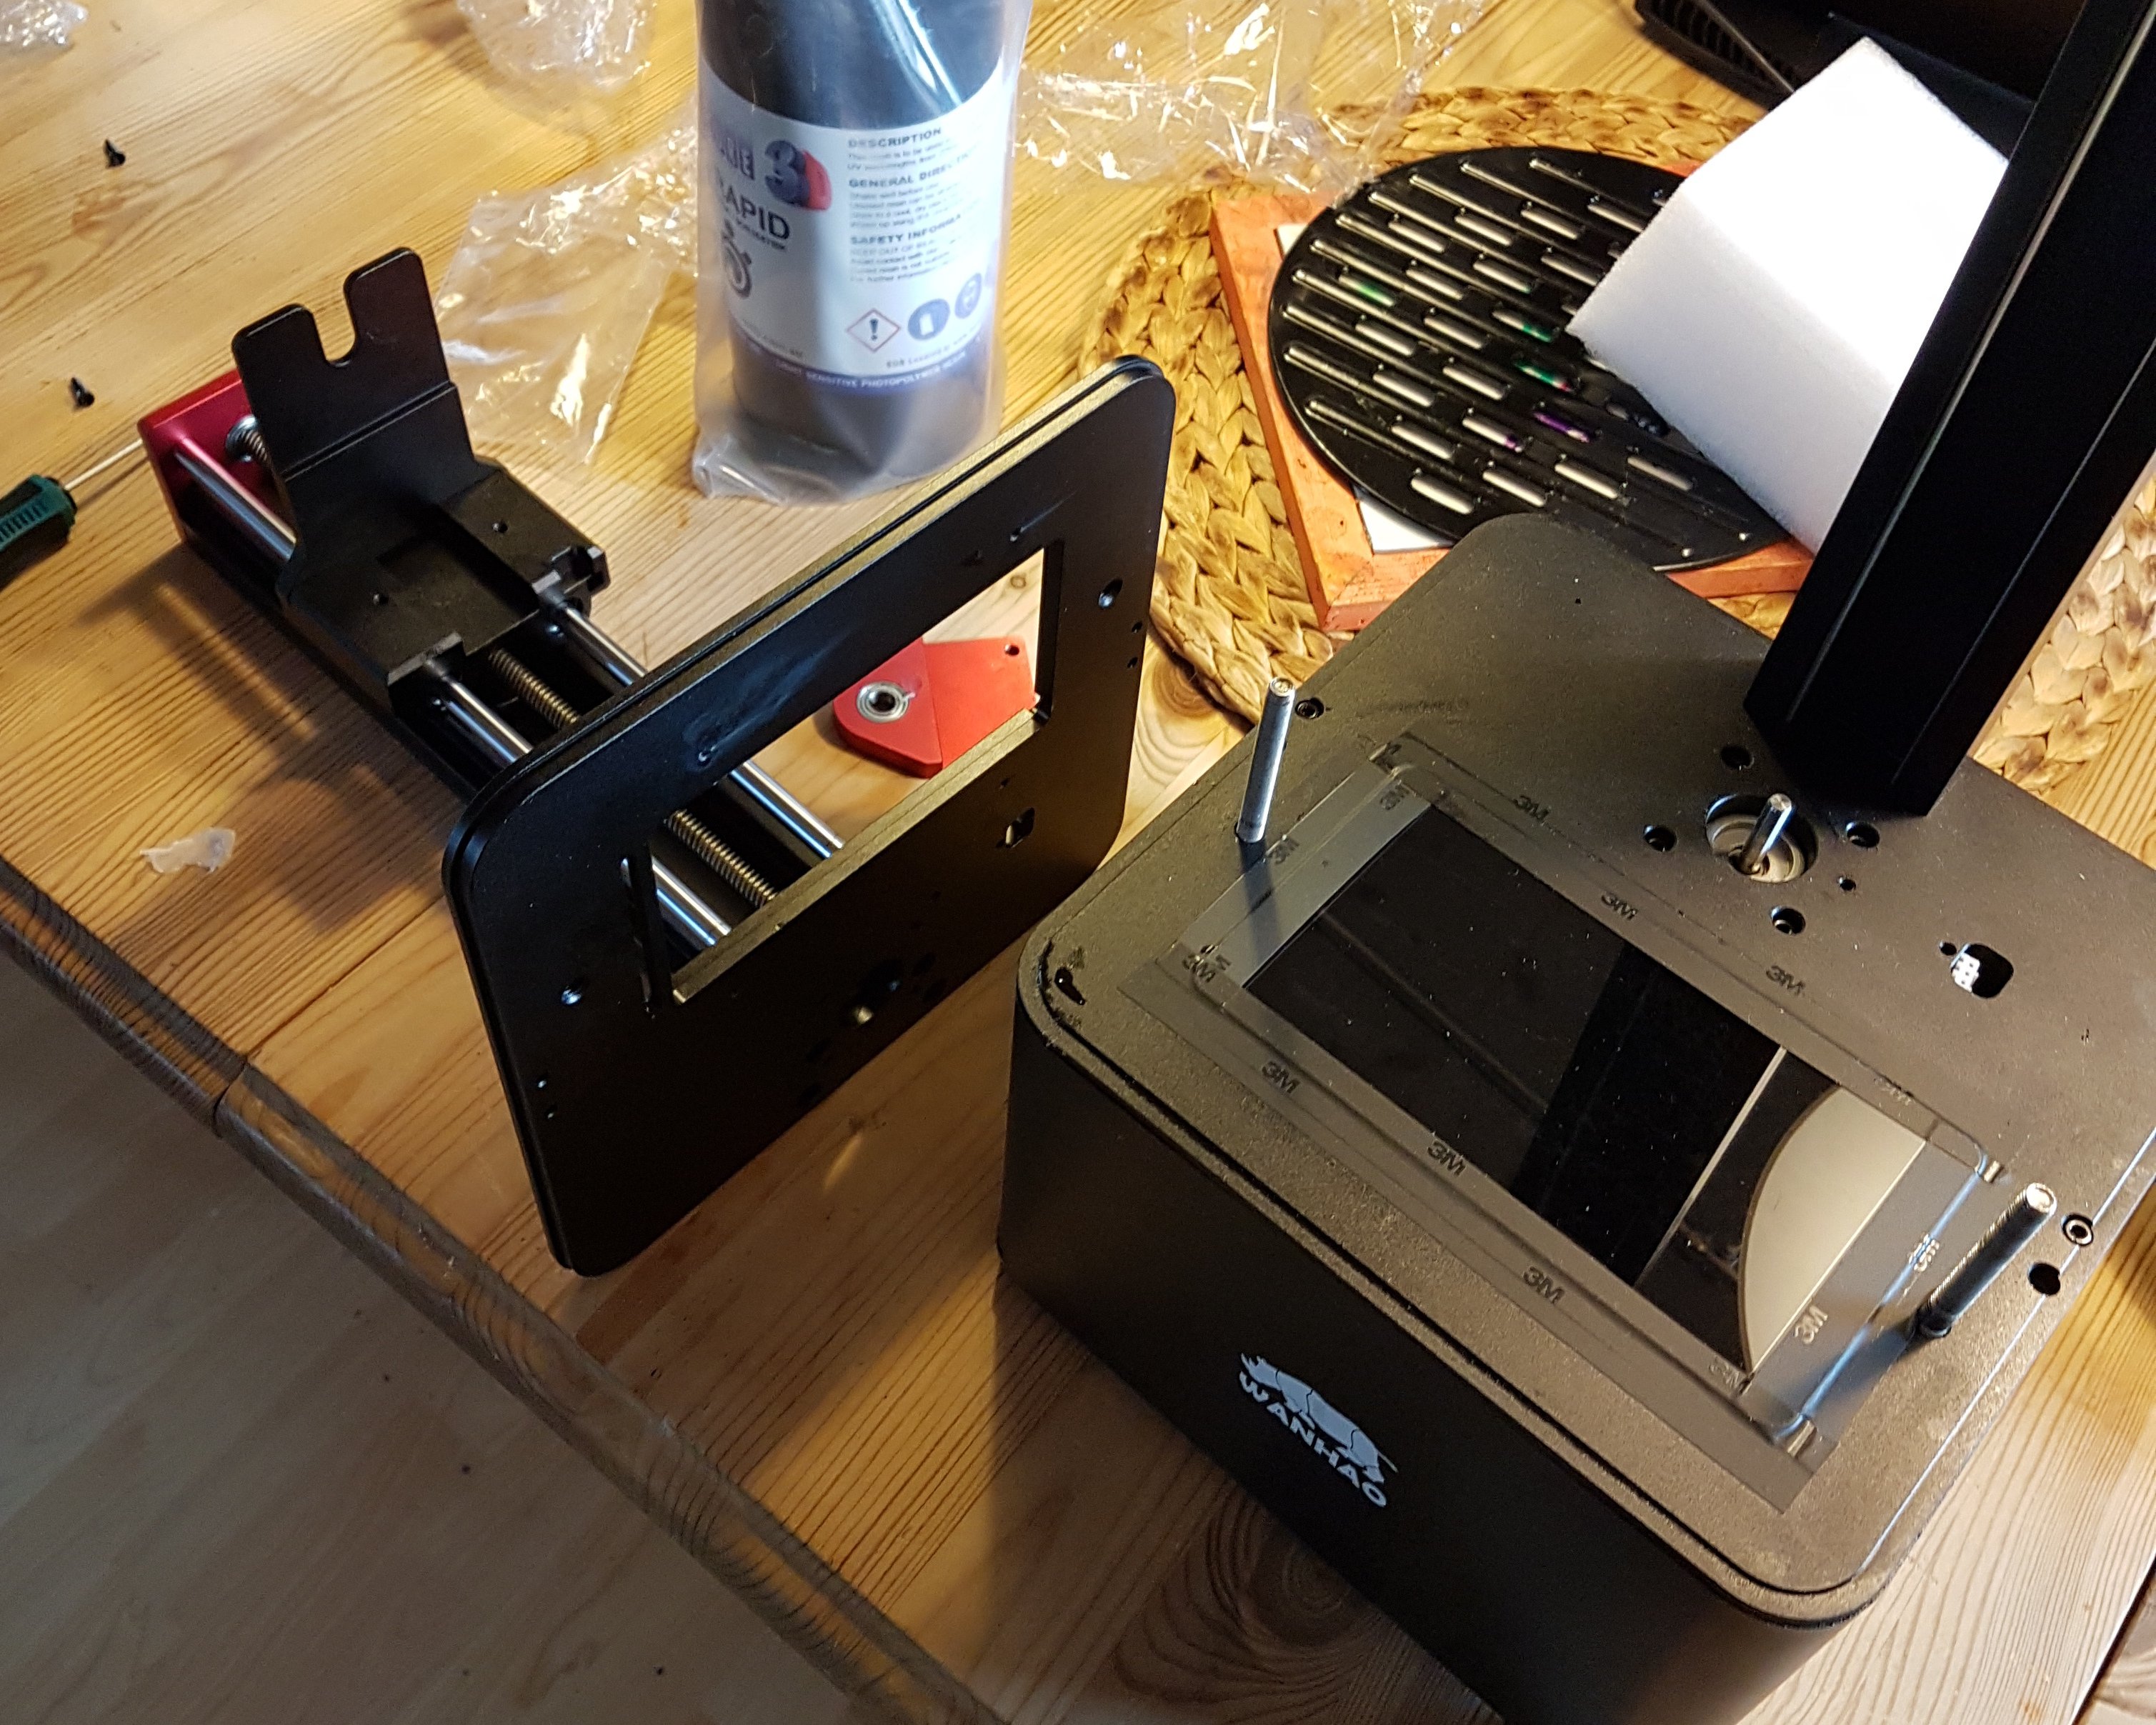
It comes as a kit that you have to assemple yourself, and in the process you also need to disassemble your printer, since the entire top plate of the printer is replaced and thats where the lcd screen, and the stepper motor is mounted.

The kit came without any instructions whatsoever , so I did what any selfrespecting diy'er/maker does these days , I found a video on youtube explaining how to do it.
I watched it, watched it again, and then I did it in a completely different order.

Most of the assembly was pretty straight forward. One thing was very useful though the explanation regarding how to unplug the lcd screen and the stepper motor. Without those cautionary words I might have broken the printer.
the whole thing took maybe an hour or so and then I was ready to plug in the control box and do a dry run.

That too was quite easy , but it turns out the files to print needs to be handled differently from when using the computer. On the computer I press slice and then , from creation studio(Wanhaos slicer program) I run the print
Now I have to slice to a file. This is done by first importing the stl or stls that I need, set them up and then press save file, save to a usb-stick(or move the file later) and then, by ticking of a small box in configure->configure slicing profile -> export slices to cws , you get the effect that instead of just storing the slices internally, it writes them to the cws file.
The cws file can then be accessed from the control box if you put it on a usb.stick and put that in the control box.

effectively what the slicer does in this case , is it makes a zip file (called cws which is the printers native file format ) This contains the original stl files , a small file with instructions to the printer regarding the time for each layer and so on, and finally a numbered list of png files.
I have yet to print something real on the printer , but I did a dry run yesterday evening and everything worked fine. A dry run is just running a print without any resin in the vat, and with the buildplate lifted. That way you can see that the image on the screen is correct , and you can check that the motor lift up between each layer.

Im EvilHippie, a compulsive creative and jack o' trades. If you want to know more about me, check out my introduction post here
If you like what you see, feel free to upvote, follow and resteem
or you can check out these recent posts
pommelcasting part 2
pommelcasting part 1
The grind
Male Model
Forging swords
The Draw
