Improve your Software Development – Continuous Deployment with Docker – Part 3: Test -Driven-Development
Hay Steemers, I finally found the time to continue this tutorial. In this part, we will discuss why and how you should do „Test-Driven-Development“. If you missed the fist parts, just follow the links below:
Part 1: Introduction
Part 2: ExampleApplication
Why should I do “Test-Driven-Development”
Before I will show you what “Test-Driven-Development” is and how to do it, I want to motivate it by answering some questions you may have.
Why should I test at all?
The answer to this question is pretty easy: If you write software you want people to use it or at least use it yourself. To do so, the software must work and the only way to verify this is using it.
Why should I automate my tests?
This is also pretty easy to answer: To make sure you application is working correctly, you have to test every single functionality before releasing it. Testing the same parts over and over again for every new release gets pretty boring and time stealing. Because of that, the most people stop to test all parts of their product and live with the risk of releasing an application that does not work correct. If you automate your tests, the build management tool will do the tests for you. And those kind of tools do not get bored by executing the same stuff over and over again ;)
Okay, I understand that, I will automate my tests.
The above points hopefully made you think this sentence and you are on a good way. But if you already developed software you know how it goes: You start to develop, have some new feature requests, start to implement them, and you will never have the time to automate all the tests you should have implemented. A good way to avoid this is to develop the test before the functionality itself. This is where “Test-Driven-Development” comes into play.
What is “Test-Driven-Development”
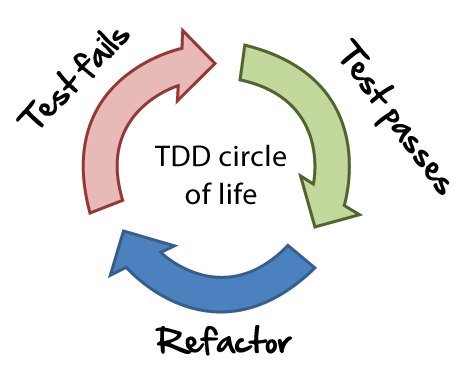
If you want me to describe “Test-Driven-Development” (TDD) with one sentence I would say “TDD is a combination of Test-First-Development and refactoring”. To understand that, we will start with an example.
An Example using the example application
We start with our example application we've created in the last part and define some requirements, what the application should be able to do.
Requirements
Our example application will become a small calculator in the first step (We will define some more requirements in later parts, but for now, this is enough).
- The application should have an “add” method, that returns the sum of two numbers as an Integer.
- The “add”-method should support integer and floating numbers.
- The “add”-method should accept negative numbers.
- ….
Let’s do it
Before we can start, we have to update the Junit-Test-Lib in our project. As we are using Maven, we just change the dependency in the pom.xml.
        [....]
        <dependencies>
            <dependency>
                <groupId>junit</groupId>
                <artifactId>junit</artifactId>
                <version>4.12</version>
            </dependency>
        </dependencies>
    </project>
Now we can start with the first requirement and write the test for it.
/src/test/com/steemit/example/CalculatorTest.java
package example.steemit.com;

import static org.junit.Assert.*;
import org.junit.Test;

public class CalculatorTest {
    @Test
    public void addTwoNumbersTest() {
        assertEquals(2, Calculator.add(1, 1));
    }
}
This test has a compile error as the class “Caluclator” does not even exists. So the first step for TDD is, make your test compile. And only that! Do not implement any functionality, just make it compile.
To do so, we will add the class “Calculator” with a method “add”. The method returns 0 as we do not want add a functionality at all. We only want to make the project compile. (I know that this is pretty stupid here, because everyone of you could implement the add method in seconds, but don’t forget, we are here to learn the concept of TDD and not to write some easy code)
package example.steemit.com;

public class Calculator {
    public static int add(int numberOne, int numberTwo) {
        return 0;
    }
}
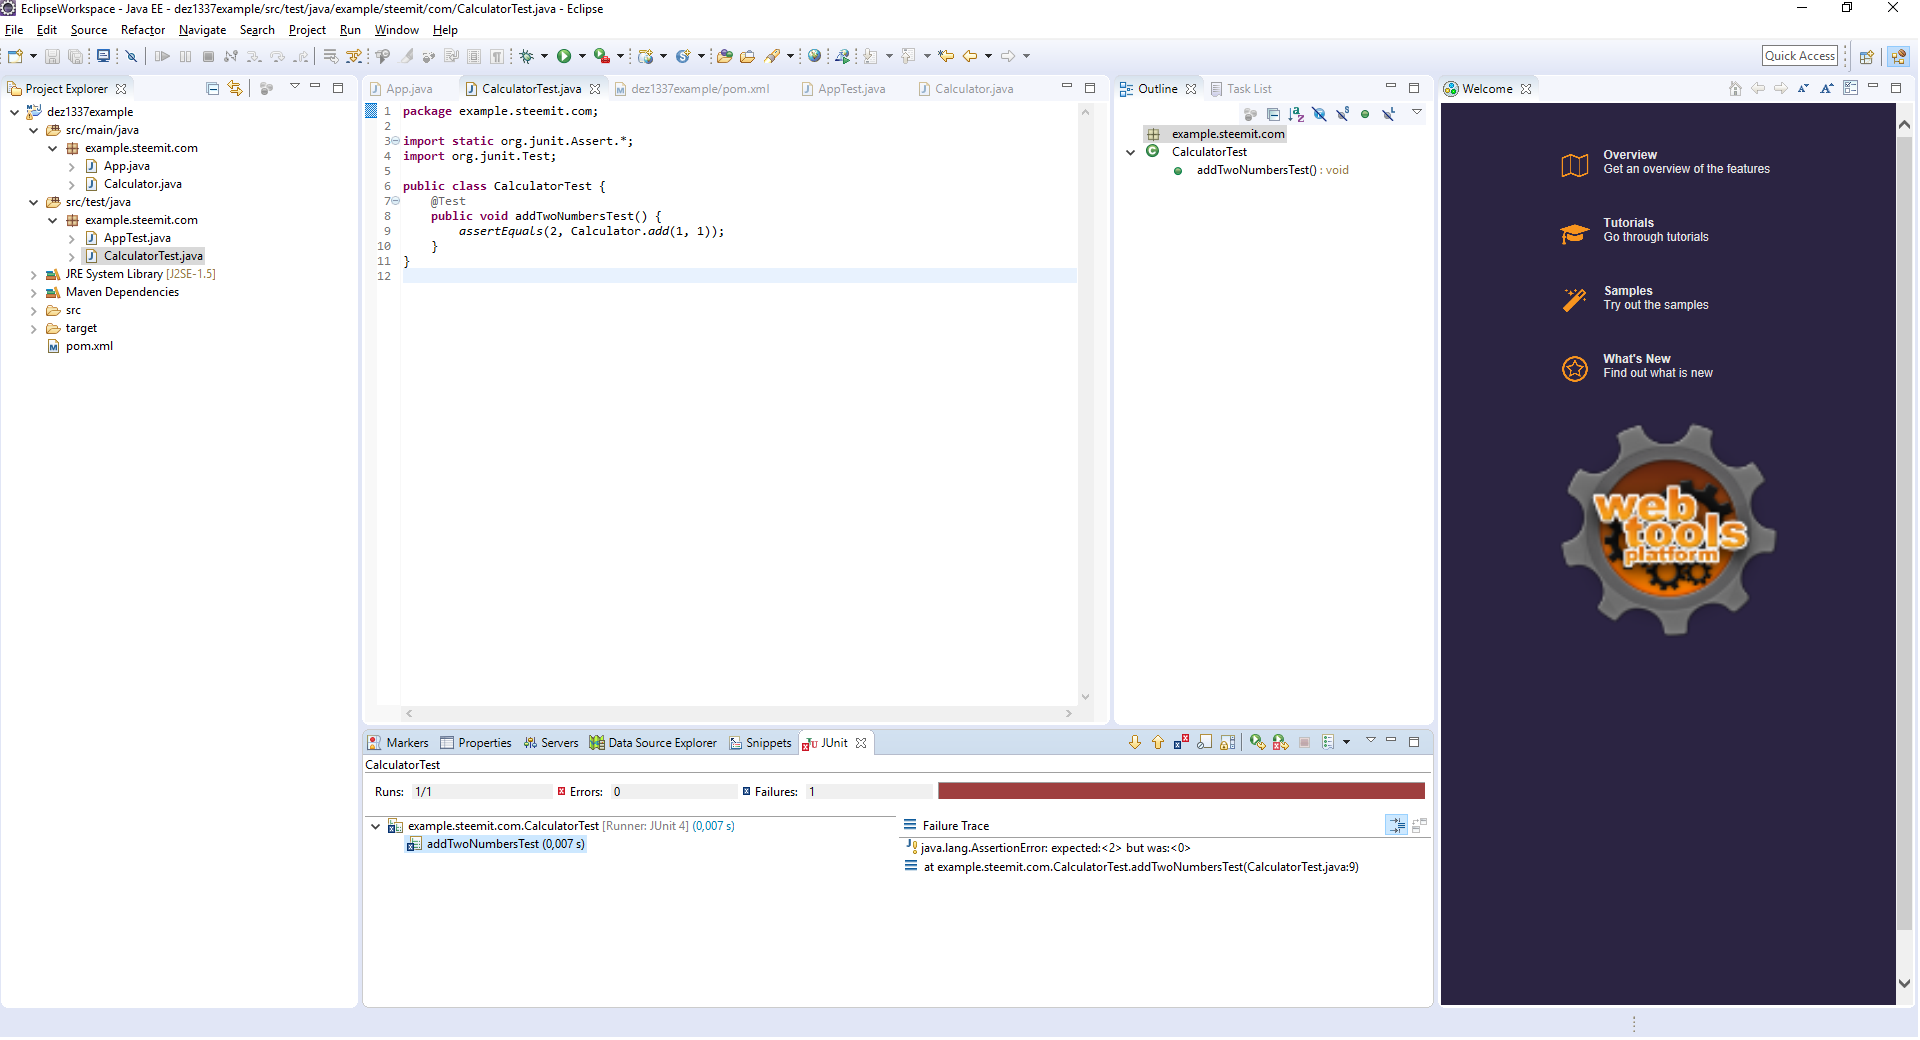
Okay – We are now able to compile the project: First step of TDD is Done. If we run the test, it will fail (surprise, surprise).

FullSize
The next step is to change the code until the test is green. To achieve this, we refector the “add” method.
package example.steemit.com;

public class Calculator {
    public static int add(int numberOne, int numberTwo) {
        return numberOne + numberTwo;
    }
}
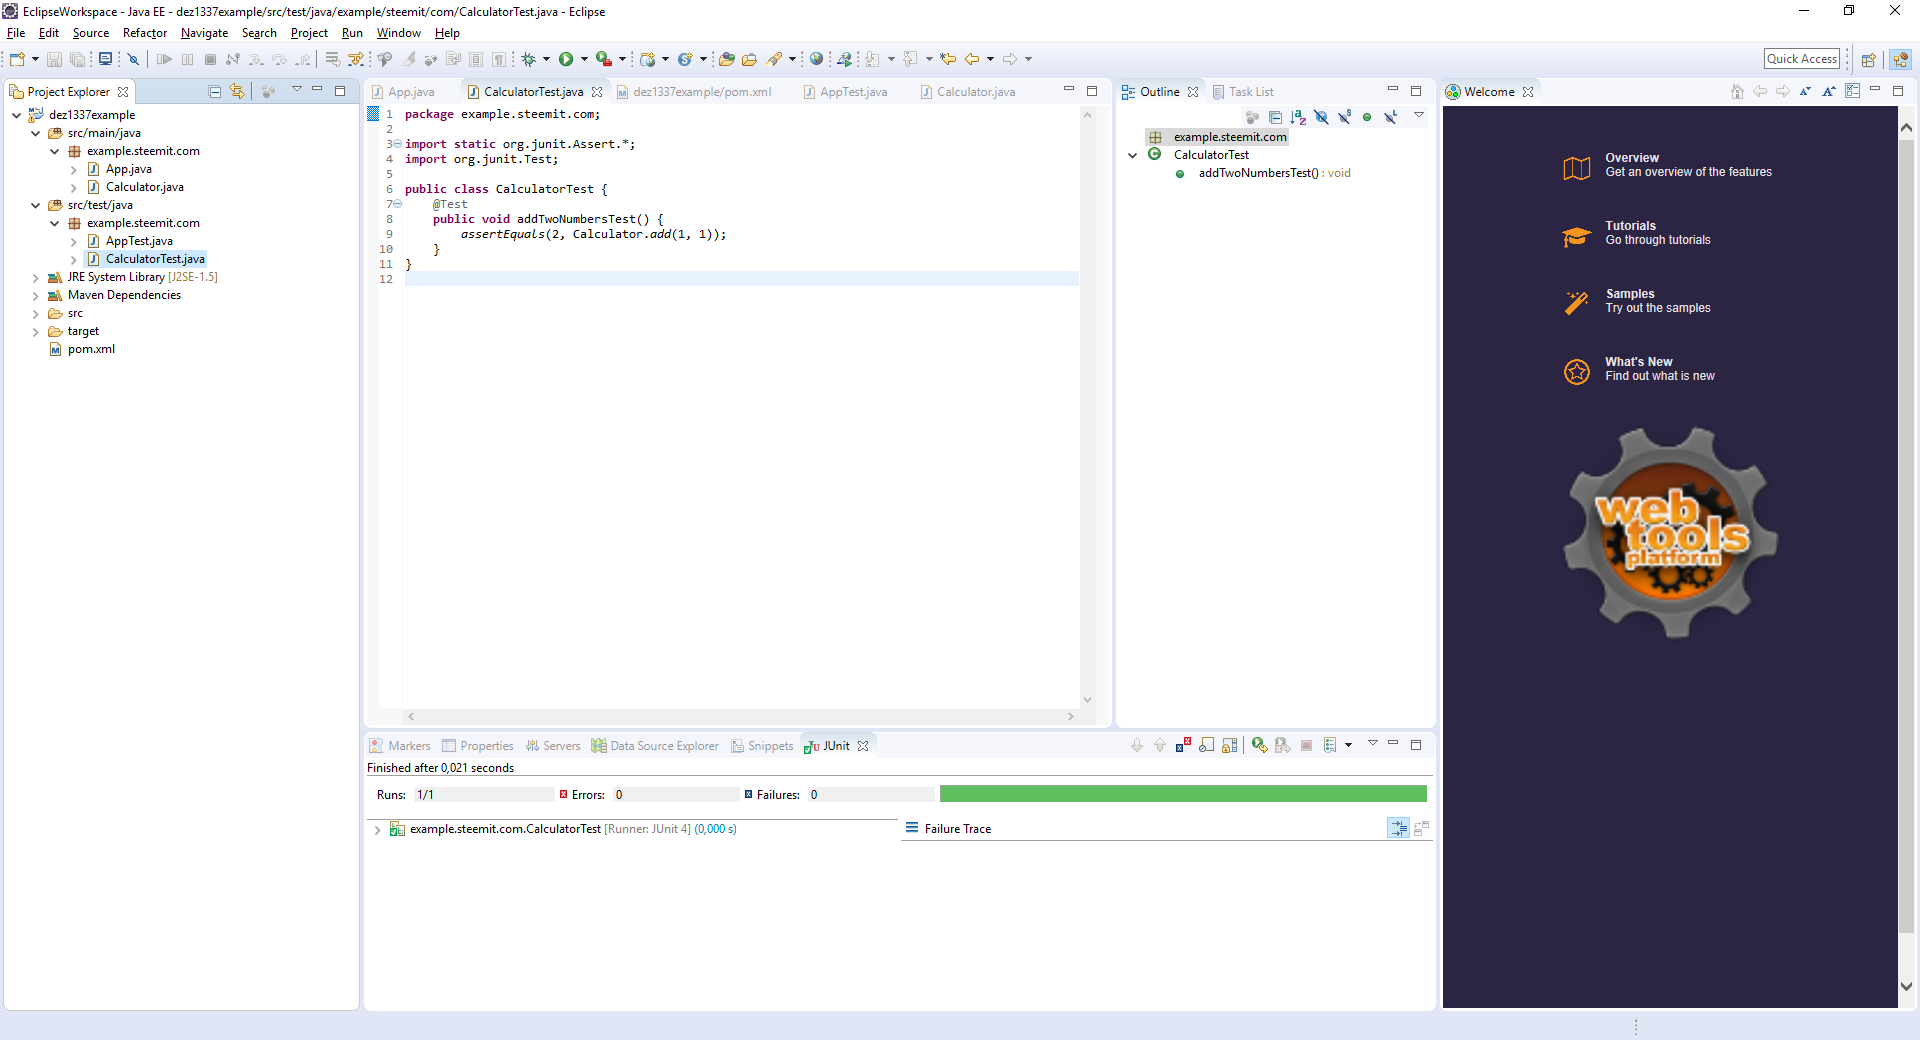
This makes the test green.

FullSize
And we can continue with the next requirement. We begin with adding the new test.
@Test
public void addTwoFloatingNumbersTest() {
    assertEquals(2, Calculator.add(1.0, 1.0));
}
Which also has a compile error as the add method does not except floating numbers. The procedure is the same as before: We create every required method (without any logic) to make the test compile. We than refactor the code until the test gets green.
We end up with this new calculator class
public static int add(int numberOne, int numberTwo) {
    return numberOne + numberTwo;
}

public static int add(double numberOne, double numberTwo) {
    return (int)(numberOne + numberTwo);
}
Wolla – We’ve started to develop our fist application using the TDD pattern.
Exercise
Post the resulting classes for the third requirement.
Basic steps of TDD
- Write the test first
- Make the test compile
- Change the code (refactoring) so test gets green
- Next requirement
Summary
We now know what TDD is and how to do it. We have to invest a little bit more effort and may develop features a bit slower than others, but the result is a high quality product that is easy to maintain and that is not that faril for side effects due to code changes.
Let me know what you think about TDD and if you already know this pattern. Also, if you like my content I would be very happy if you follow me.
Best regards and happy coding!

