Hay Steemers,
let’s continue our journey and let us learn some more basics about Docker and the tools around it. So far we learned in part 5.1 what Docker is about and what you can basically do with it. The previous part 5.2 was about creating and running Docker images.
Based on that knowledge, we will take a look at what to do, when you have multiple Containers which have to communicate with each other. At the end of this chapter we will do some hands on to let a containerized application communicate with a containerized database. But before we can do this, we have to understand how Networking works when we use Docker.

Docker-Networking
I’ve spend some thoughts about how to start this paragraph, as I missed some information in the previous parts, which are needed to understand the next steps. The best approach will be to show you an example, so here we go.
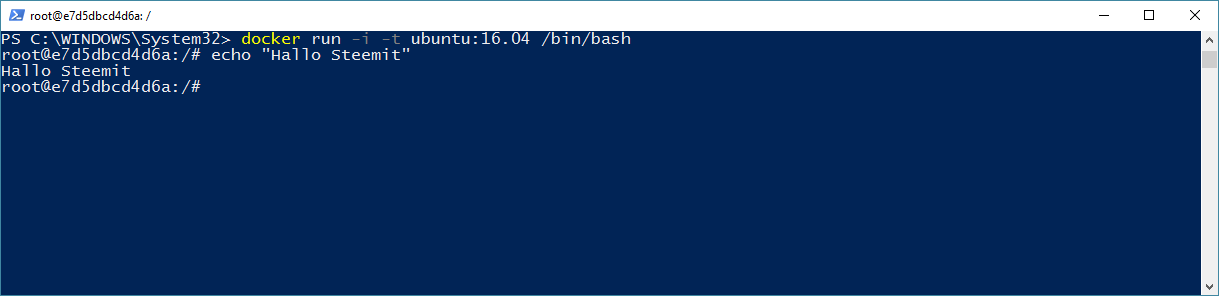
The first thing I did not mentioned in the last parts is that each Container will get an internal, virtual IP address. To show you this, I’ve started a fresh Ubuntu Container with the following command:
docker run -i -t ubuntu:16.04 /bin/bash
We did not talked about the “-i -t” option and I don’t want to explain it here in detail, but it is enough to know that it allows us to work with a Container like a normal VM. Remember back to part 5.2 of this tutorial series: We said, a Container is getting terminated when the command/process has finished. In this case our command “/bin/bash” is finished in milliseconds and without the “-i -t” parameters, the container would get killed immediately. Due to the use of this parameters, we are able to work on the bash like you can see on the following screen shot:
Back to the things I want to show you. We will install the net-tools and run ifconfig:
apt-get update && apt-get install net-tools -y
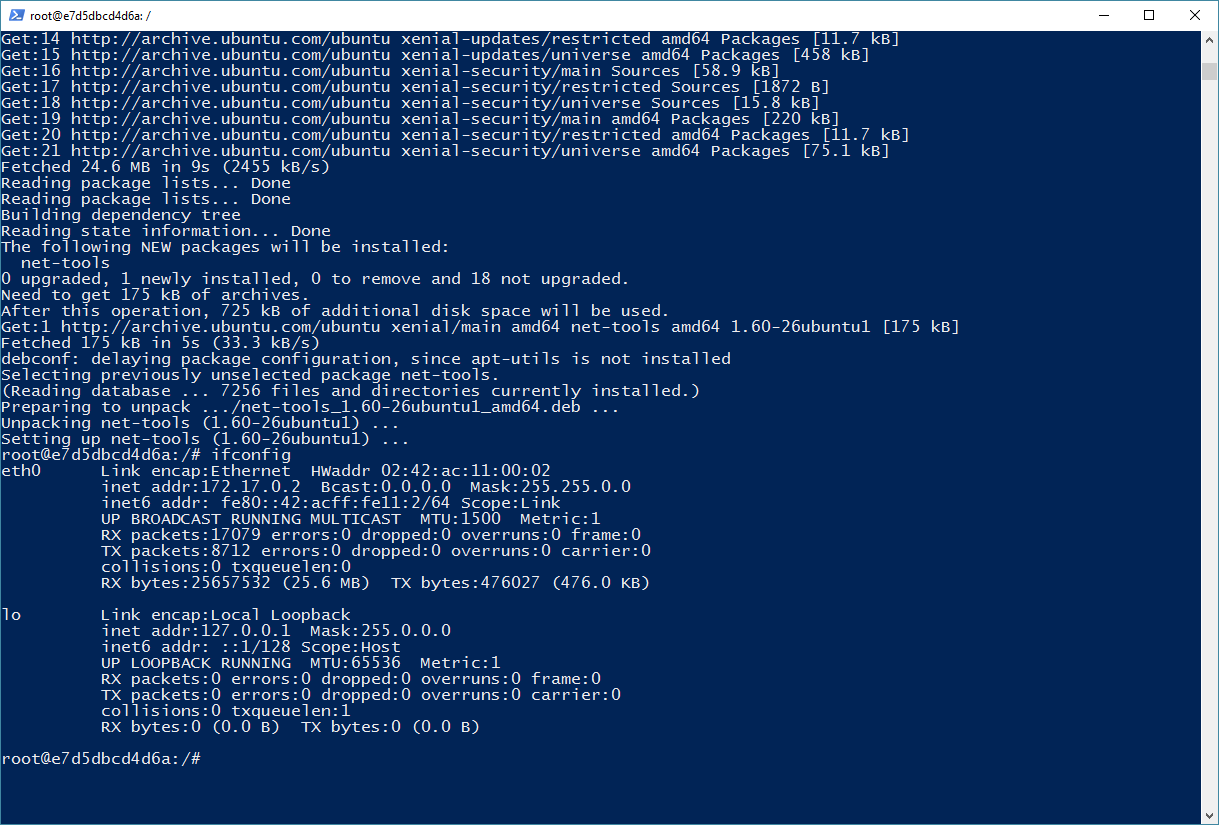
As you can see, the IP address of the interface is 172.17.0.2/16. Good, this is the first thing we’ve learned today: Each Container has its own, virtual IP address.
And Docker does even more! It creates a virtual Network-Switch and plugs the Containers into that Switch. You can see all Docker networks with the following command:
docker network ps

These are the default networks that will get created automatically when installing Docker. All Containers will be automatically join the bridge network, if nothing else is specified. Let’s check this:
docker network inspect bridge
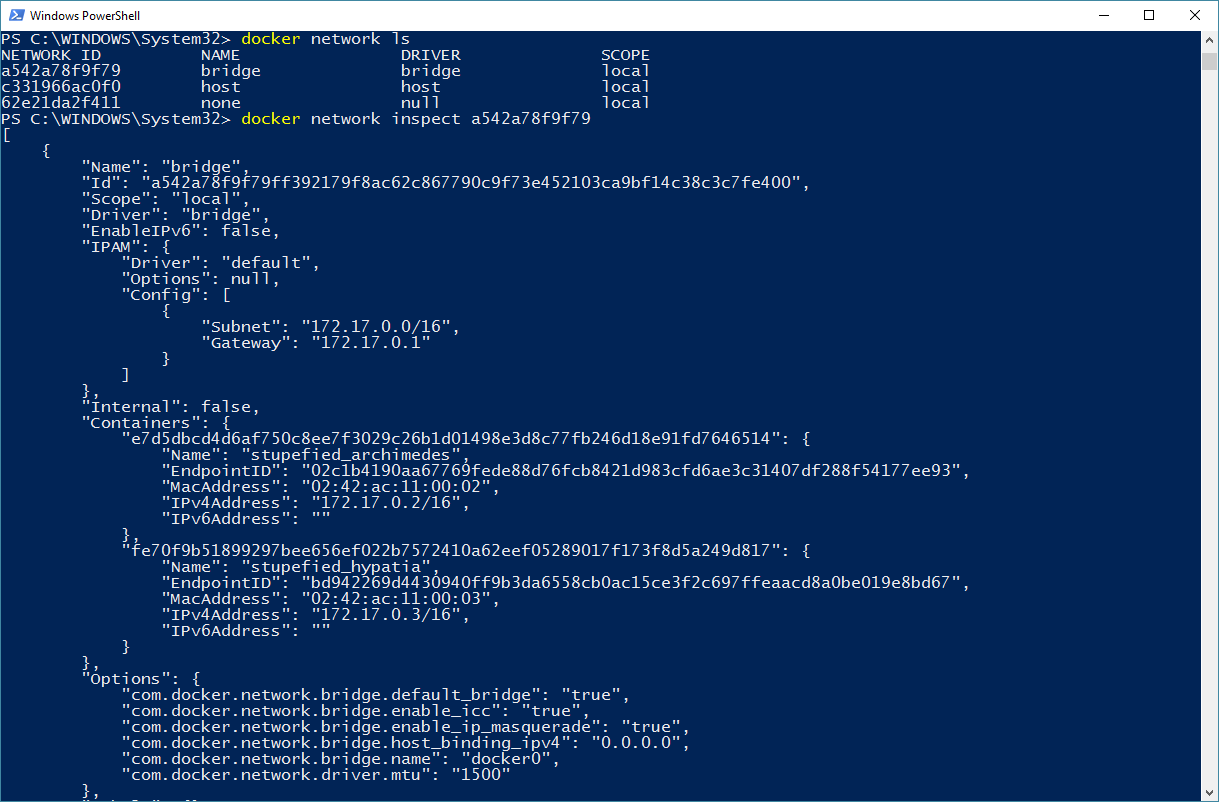
You see? I have two running Containers and both are part of the bridge network. Before we continue, I will loose some words about the different modes for Docker networks:
| Driver | Description |
|---|---|
| overlay | A network of this mode is available on all nodes of a Docker cluster. (We will use this in Chapter 6) |
| bridge | The default network for each Container. When a Container joins, it gets its own DHCP IP address. |
| host | A Container that is part of host-mode network has the same network interfaces like the host. |
| none | All Containers of a none-mode network have a not configured network interface. This mode allows you do configure some custom network settings inside of the Container. |
Ok.. Cool.. But what to do with this knowledge? Yeha, good question. The answer is pretty simple: As the Containers are in the same network, they are able to communicate. Let’s jump into our Ubuntu Container again and try to ping the second one to see if I am still telling the truth.
docker exec -it ${UbuntuContainerID) /bin/bash
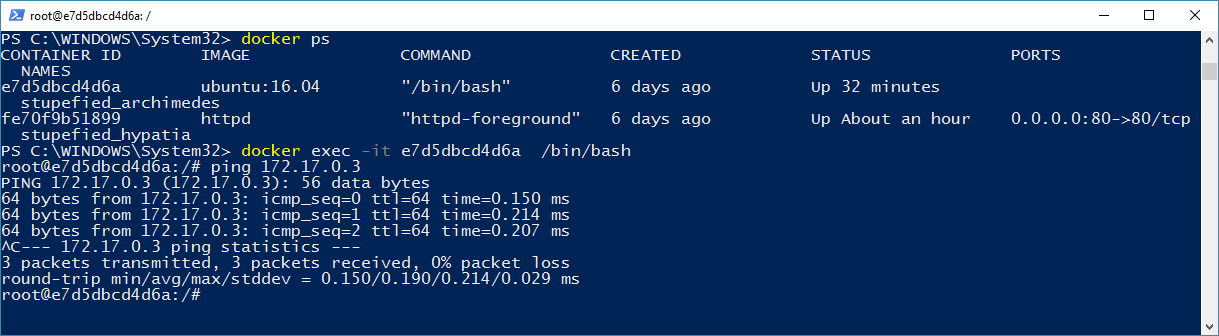
That means, our Containers can communicate with each other without the need of any configuration.
Create new networks
The Docker default behavior helps is in the most cases, but sometimes we do not wont that a Container can reach another one for security reasons. So for that use case, Docker allows us to create our own, new networks.
We create our own bridge network called steemitNetwork with the following command:
docker network create -d bridge steemitNetwork

Let’s start another Container, but this time, we will tell Docker to join the Container into our new steemitNetwork.
docker run -it --network steemitNetwork ubuntu:16.04 /bin/bash
Lets install ifconfig and ping again inside the Container. We than check the IP address and try to ping the other two Containers:
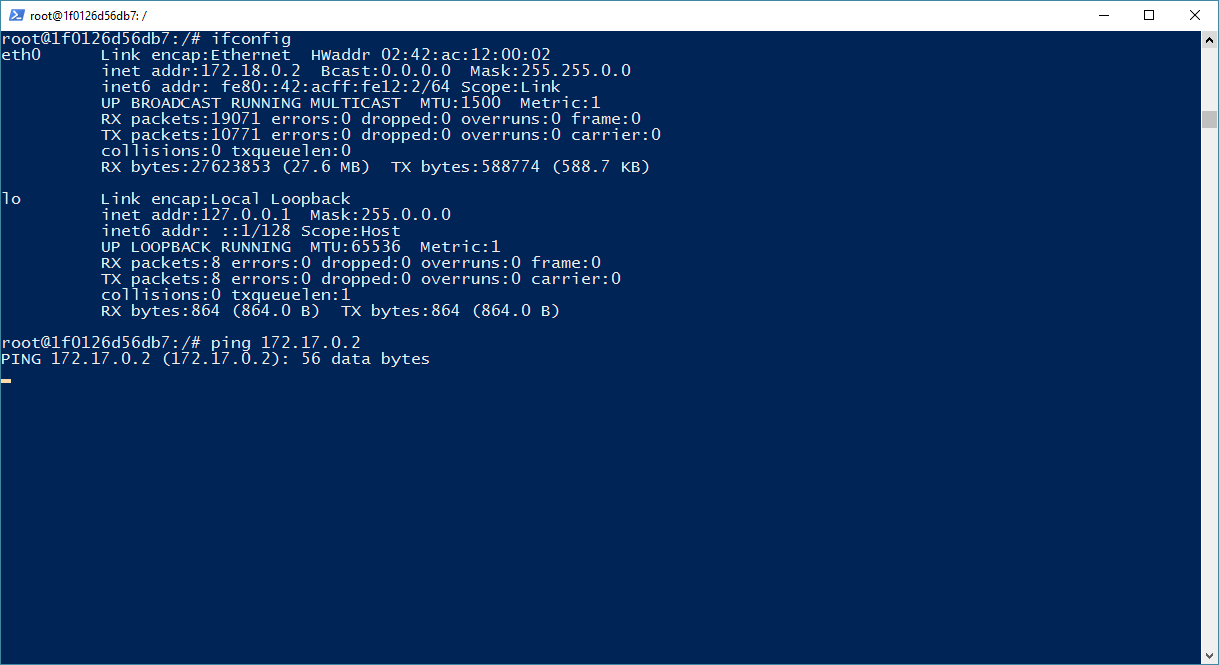
You see it? The Container now has the IP address 172.18.0.2/16 and therefore is in a separated network. For those of you how have some knowledge in network I can’t surprise you with the next thing: We were not able to ping the Container who is part of the default bridge network.
DNS
There is one more cool feature which I want to show you in this chapter. It is the internal Domain Name System that Docker comes with. We will use this DNS to simplify the communication between two Containers.
In this example I will start the tool SonarQube in a Container. SonarQube is a tool used for static code analysis and I’ve already lost some words about it in this post. Today, we are going to setup our own SonarQube-Server in a Docker-Container. Thanks god, the SonarQube guys already provide a complete image on Docker Hub which we just have to start.
As I’ve done this multiple times before and read the documentation, I know, that we will need a database to run the tool accordingly. Thanks god again, the MySQL-Server is also available on Docker-Hub and we can just use it. You see the problem? We need to let both Containers communicate with each other, so here we go.
We start the mysql database first with the following command:
docker run -e MYSQL_DATABASE=”sonar” \
-e MYSQL_USER=”sonar” \
-e MYSQL_PASSWORD=”sonar” \
-e MYSQL_ALLOW_EMPTY_PASSWORD=”true” \
-p3306:3306 –name=mysql \
–network=steemitNetwork \
mysql:5.7.16
There are two new things here. The first one is the “-e” parameter. This parameter is used to set environment variables. In this case, I used them to let the Container create a new database called sonar and a new user called sonar with the password sonar. You can get a list of all available environment variables on the Docker-Hub-Mysql documentation. The other new thing is the “--name” option that simply gives a Container a name. The cool thing is, that we are able to communicate with a Container under the use of this name.
Let’s use this knowledge to let the SonarQube Container communicate with the mysql-Server.
docker run -p 9000:9000 -p 9092:9092 \
-e SONARQUBE_JDBC_USERNAME=“sonar“ \
-e SONARQUBE_JDBC_PASSWORD=“sonar“ \
-e SONARQUBE_JDBC_URL=“jdbc:mysql://mysql/sonar?useUnicode=true&characterEncoding=utf8“ \
--network=steemitNetwork \
sonarqube:6.1
You see what we did there? No? Take a look at the JDBC-UR, do you see it now? We are using the name that we gave to the mysql Container in the JDBC-Connection URL instead of using the Containers IP address. I guess that is pretty cool. (Please note that this only works with a user defined network like our “steemitNetwork” and that we defined no mounts meaning that all the data is lost if the Container stops)
Let’s check if everything is working by calling the SonarQube webinterface (127.0.0.1:9000) in our browser:
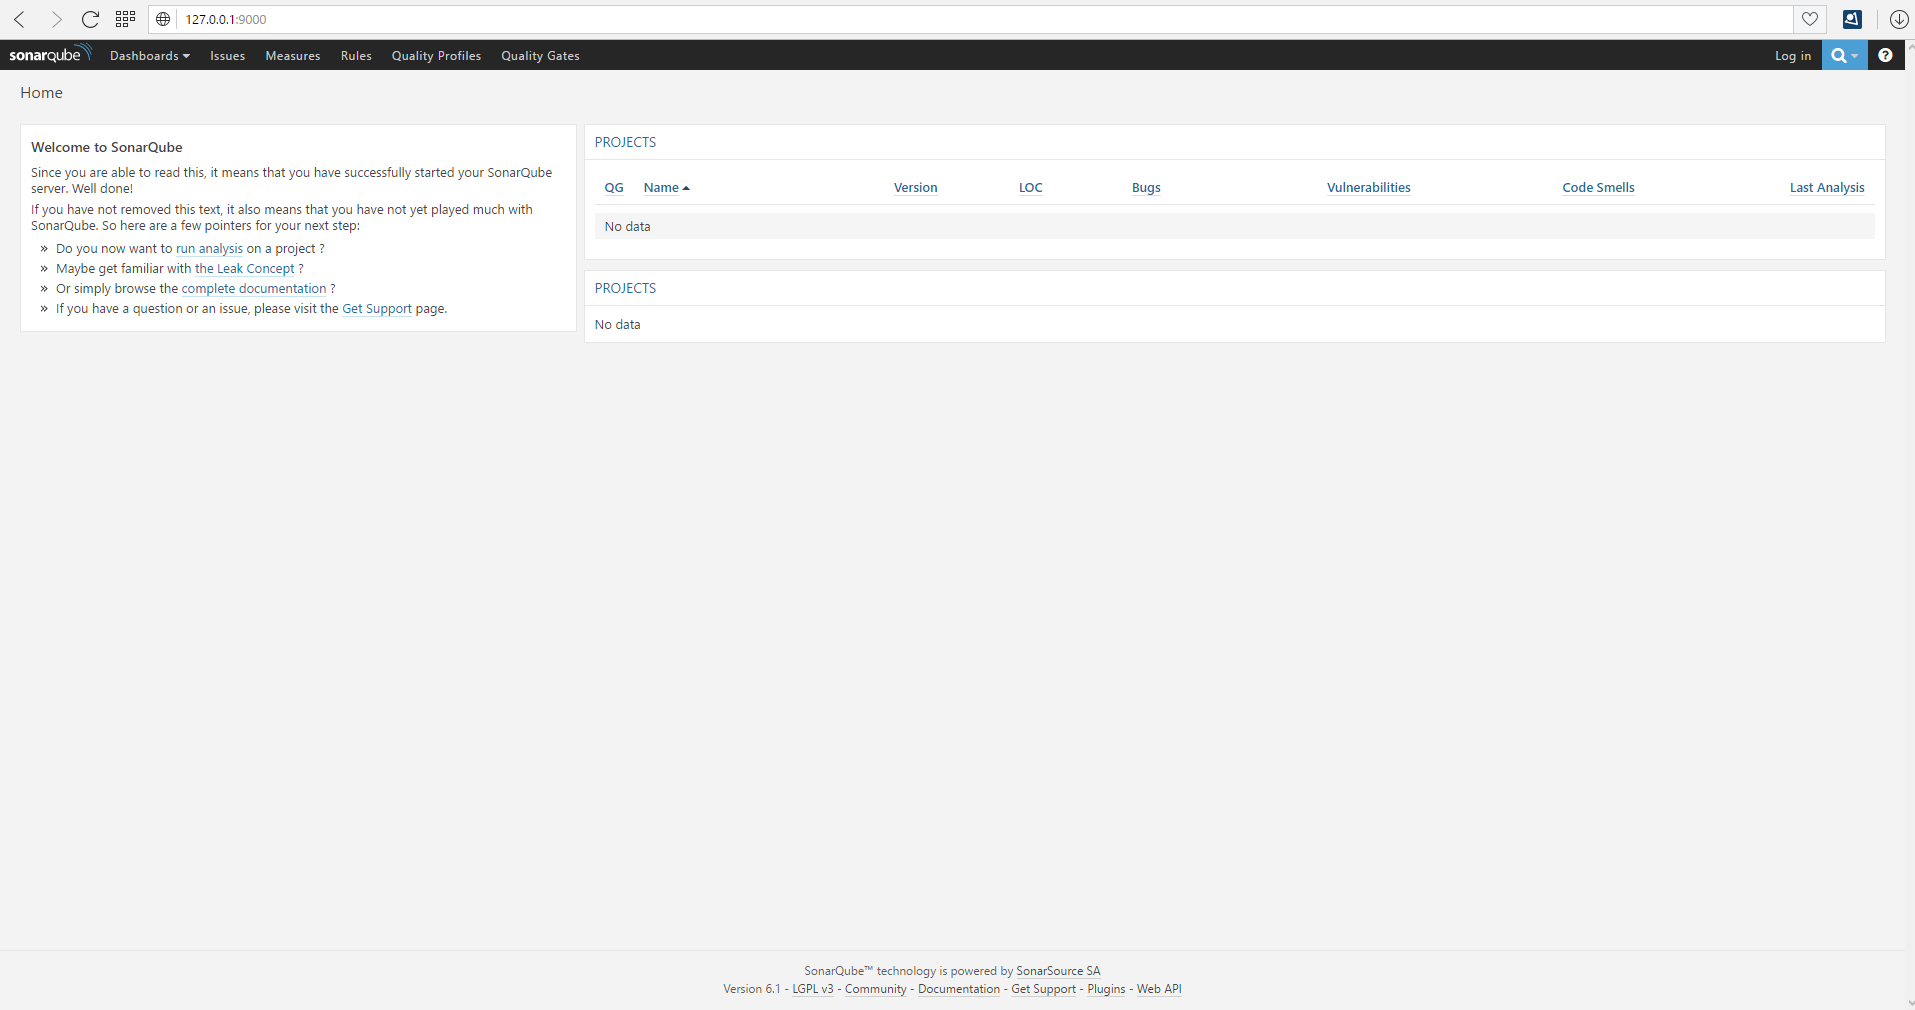
Wow – I think we are getting Docker experts!
#Summary
Today we got a lot deeper into the Docker Cosmos and I hope that you liked it. To summarize everything: We are know what Docker is and how to basically use it. We know what an Image is and also how to create our own images. And since today, we also know what networking features Docker provides to us and how to use them – I think that this is pretty good.
If you like this series or my posts in total, it would be very nice if you leave a comment, provide some feedback and follow me:
Thank you and Best regards!