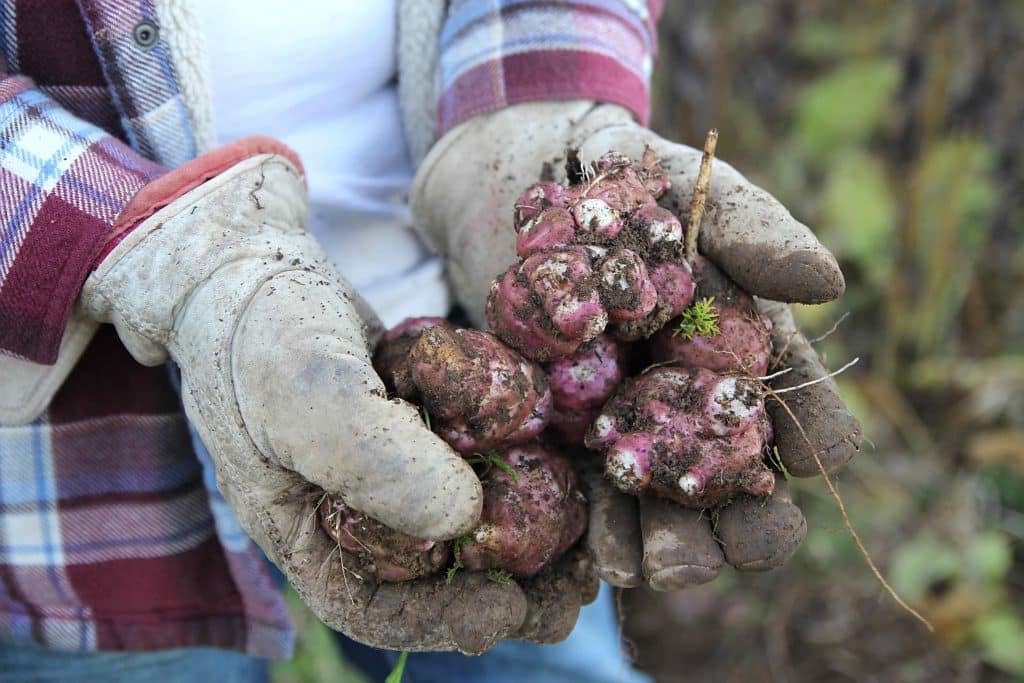
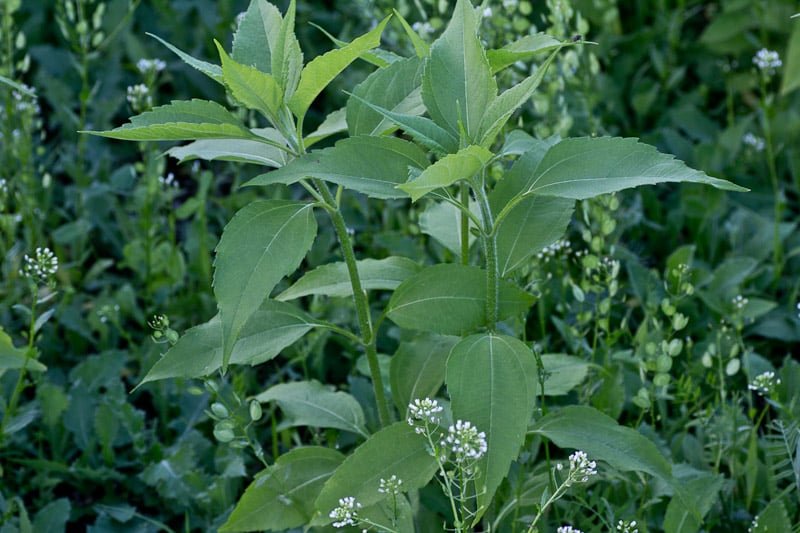
The Jerusalem artichoke is a species of sunflower cultivated for its nutritious tubers. You can read about growing them here. There are many different ways to prepare them for eating. They are wonderful roasted or mashed and make a great addition to both warm and cold salads. We enjoy them best when pickled.
This recipe is for Pickled Jerusalem Artichokes. It creates a sort of bread and butter pickle flavour that you can enjoy with roast pork, ham and sandwiches. This recipe is for a large batch but you can safely reduce the recipe to meet your own needs.
Ingredients
- 2 gallons Jerusalem artichokes (Aprox. 8 pounds when sliced)
- 10 medium red peppers sliced into rings
- 3 Onions slicked into rings
- Peppercorns, coriander, chilli peppers & mustard seed for jars (optional)
Soaking Solution
- Cider vinegar (5%) to cover
- 2 cups canning salt
- 2 tablespoons turmeric
Pickling Solution
- 1 gallon cider vinegar (5%)
- 12 cups sugar
- 1/2 cup pickling spices tied in spice bag
- 2 tablespoons turmeric
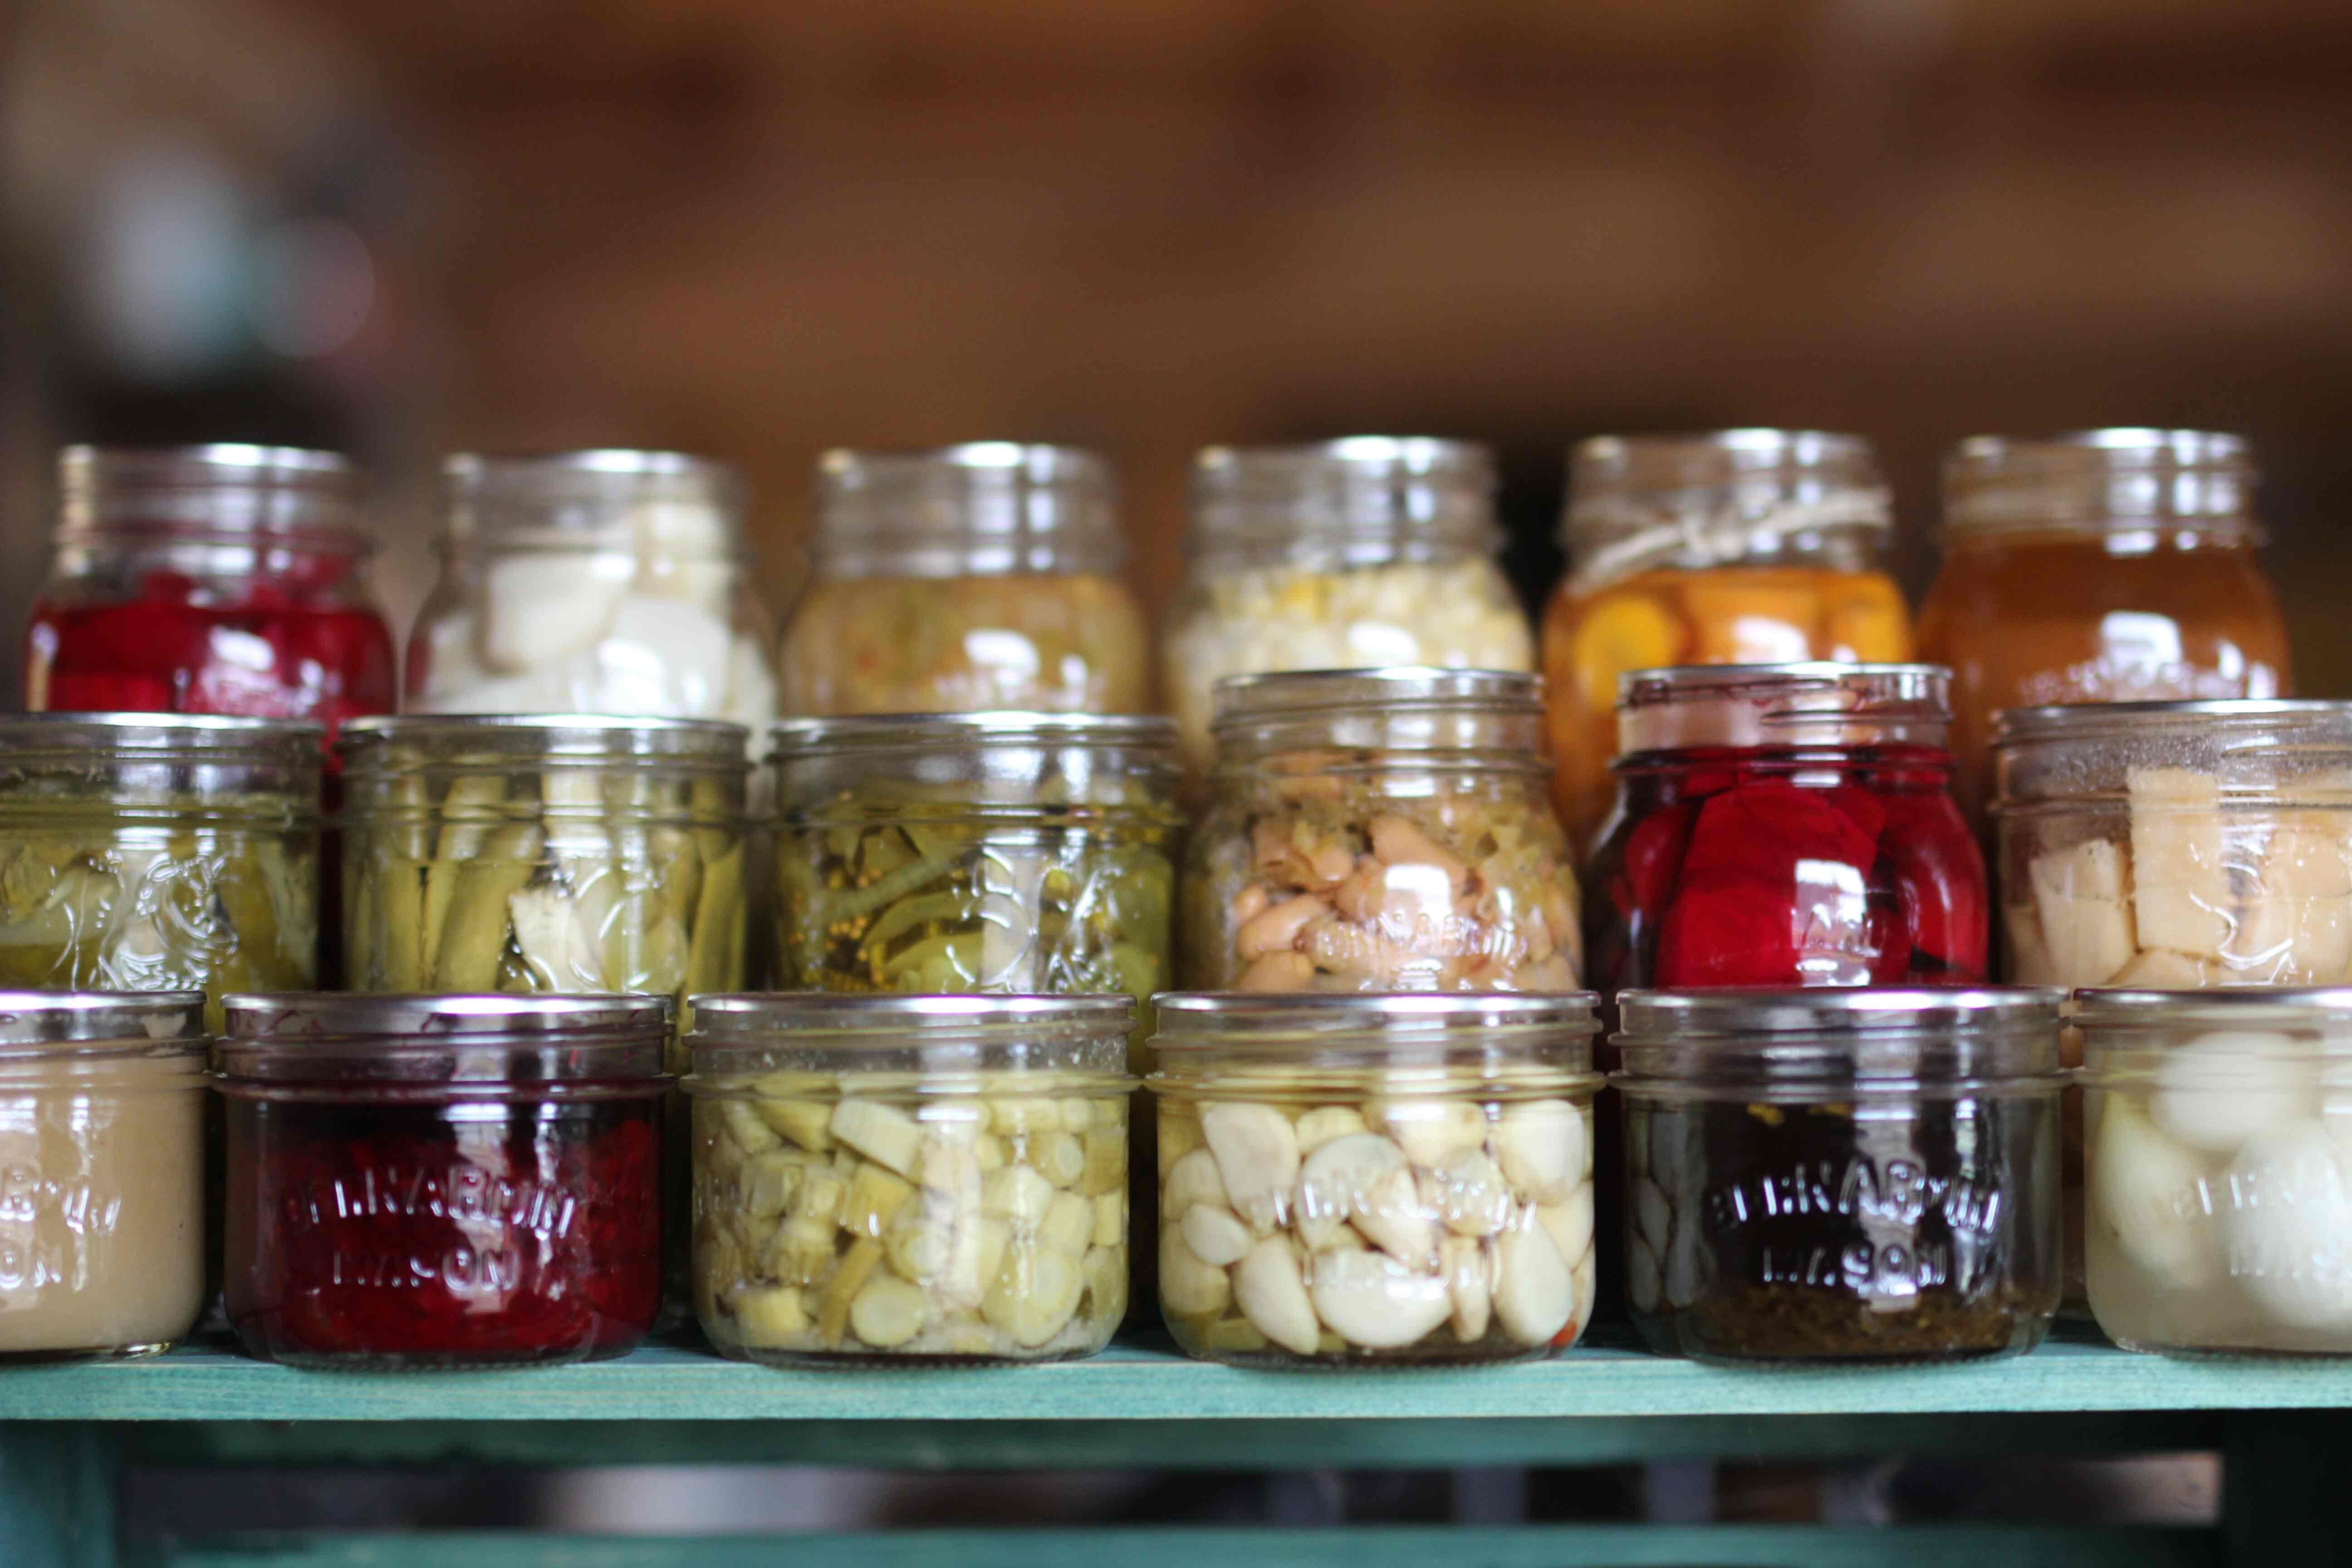
Recipe Makes: 10 - 12 pint jars
To make a smaller batch simply divide the recipe.
Directions
Fill a large container (plastic or glass) with a solution of 5% vinegar, 2 cups salt & 2 tbsp turmeric powder.
Scrub your Jerusalem Artichokes (chokes) and wash off all dirt. Trim the tops and bottoms and slice to your preferred thickness, try to be consistent.
Drop the slices in the vinegar solution as you cut them to avoid discolouration. Soak for 24 hours. The salt soak will draw out some of the moisture providing a crunchier texture.
The next day, Mix your solution in a pan by combining 1 gallon vinegar, sugar, 2 tablespoons turmeric & spice bag. Gently simmer for 15-20 minutes.
Clean and prepare your work area and wash your jars in hot soapy water and rinse well. Get your canner ready to go.
Drain chokes from the solution they have been soaking in overnight, discard the liquid & pack chokes into sterilized pint jars.
Fill each jar with chokes leaving 1/2″ head space. The head space is the neck or threaded area on the jar. Add a few peppercorns, coriander & mustard seeds to each jar. Ladle in the brine. Remove air pockets by gently running a knife or a chopstick around the inside of the jar. You might need to top up the brine a little bit once you have removed all air pockets. Wipe the jars and rims and put the lid and tighten the rings. Set them in your canner.
Follow the instructions that come with your particular jars and canner. If you are using the steam or water bath method process for 10 minutes for elevations less that 10,000. Add five minutes for higher elevations.
Turn off the heat and let cool for five minutes before you remove the lid. Let the jars cool for 10 minutes and then using a jar lifter carefully lift them and place them on a cutting board or towel to cool completely.
Once the jars have cooled for 24 hours, check their seal. You should hear the occasional pinging sound as they are cooling that gives you an auditory confirmation that your jars have sealed. If you look at the lid of the jar, you should notice that there is a small bump in the lids. This bump depresses as the jars seal “sucking it down”. All of the lids should be sucked down. If you press on the center of the lid and that bump pops up, they are not sealed properly. If you should have an issue with a jar not sealing, refrigerate it and eat within a few weeks.
Remove the metal rings and wipe the lids and jars with a damp clean cloth. Store the jars without the rings in a cool dark place.
—
Recipe is adapted from the USDA recipe found here
Building a greener, more beautiful world one seed at a time.
Homesteading | Gardening | Frugal Living | Preserving Food| From Scratch Cooking|
You can also find me at: walkerland.ca
Photo copyright: @walkerland