Happy Tuesday Steemers!
Welcome to the second installment of THEDOUGH series and my second ever blog.
This versatile dough has so many applications I’ve given up bothering to search for an authentic recipe whenever I bake at home.
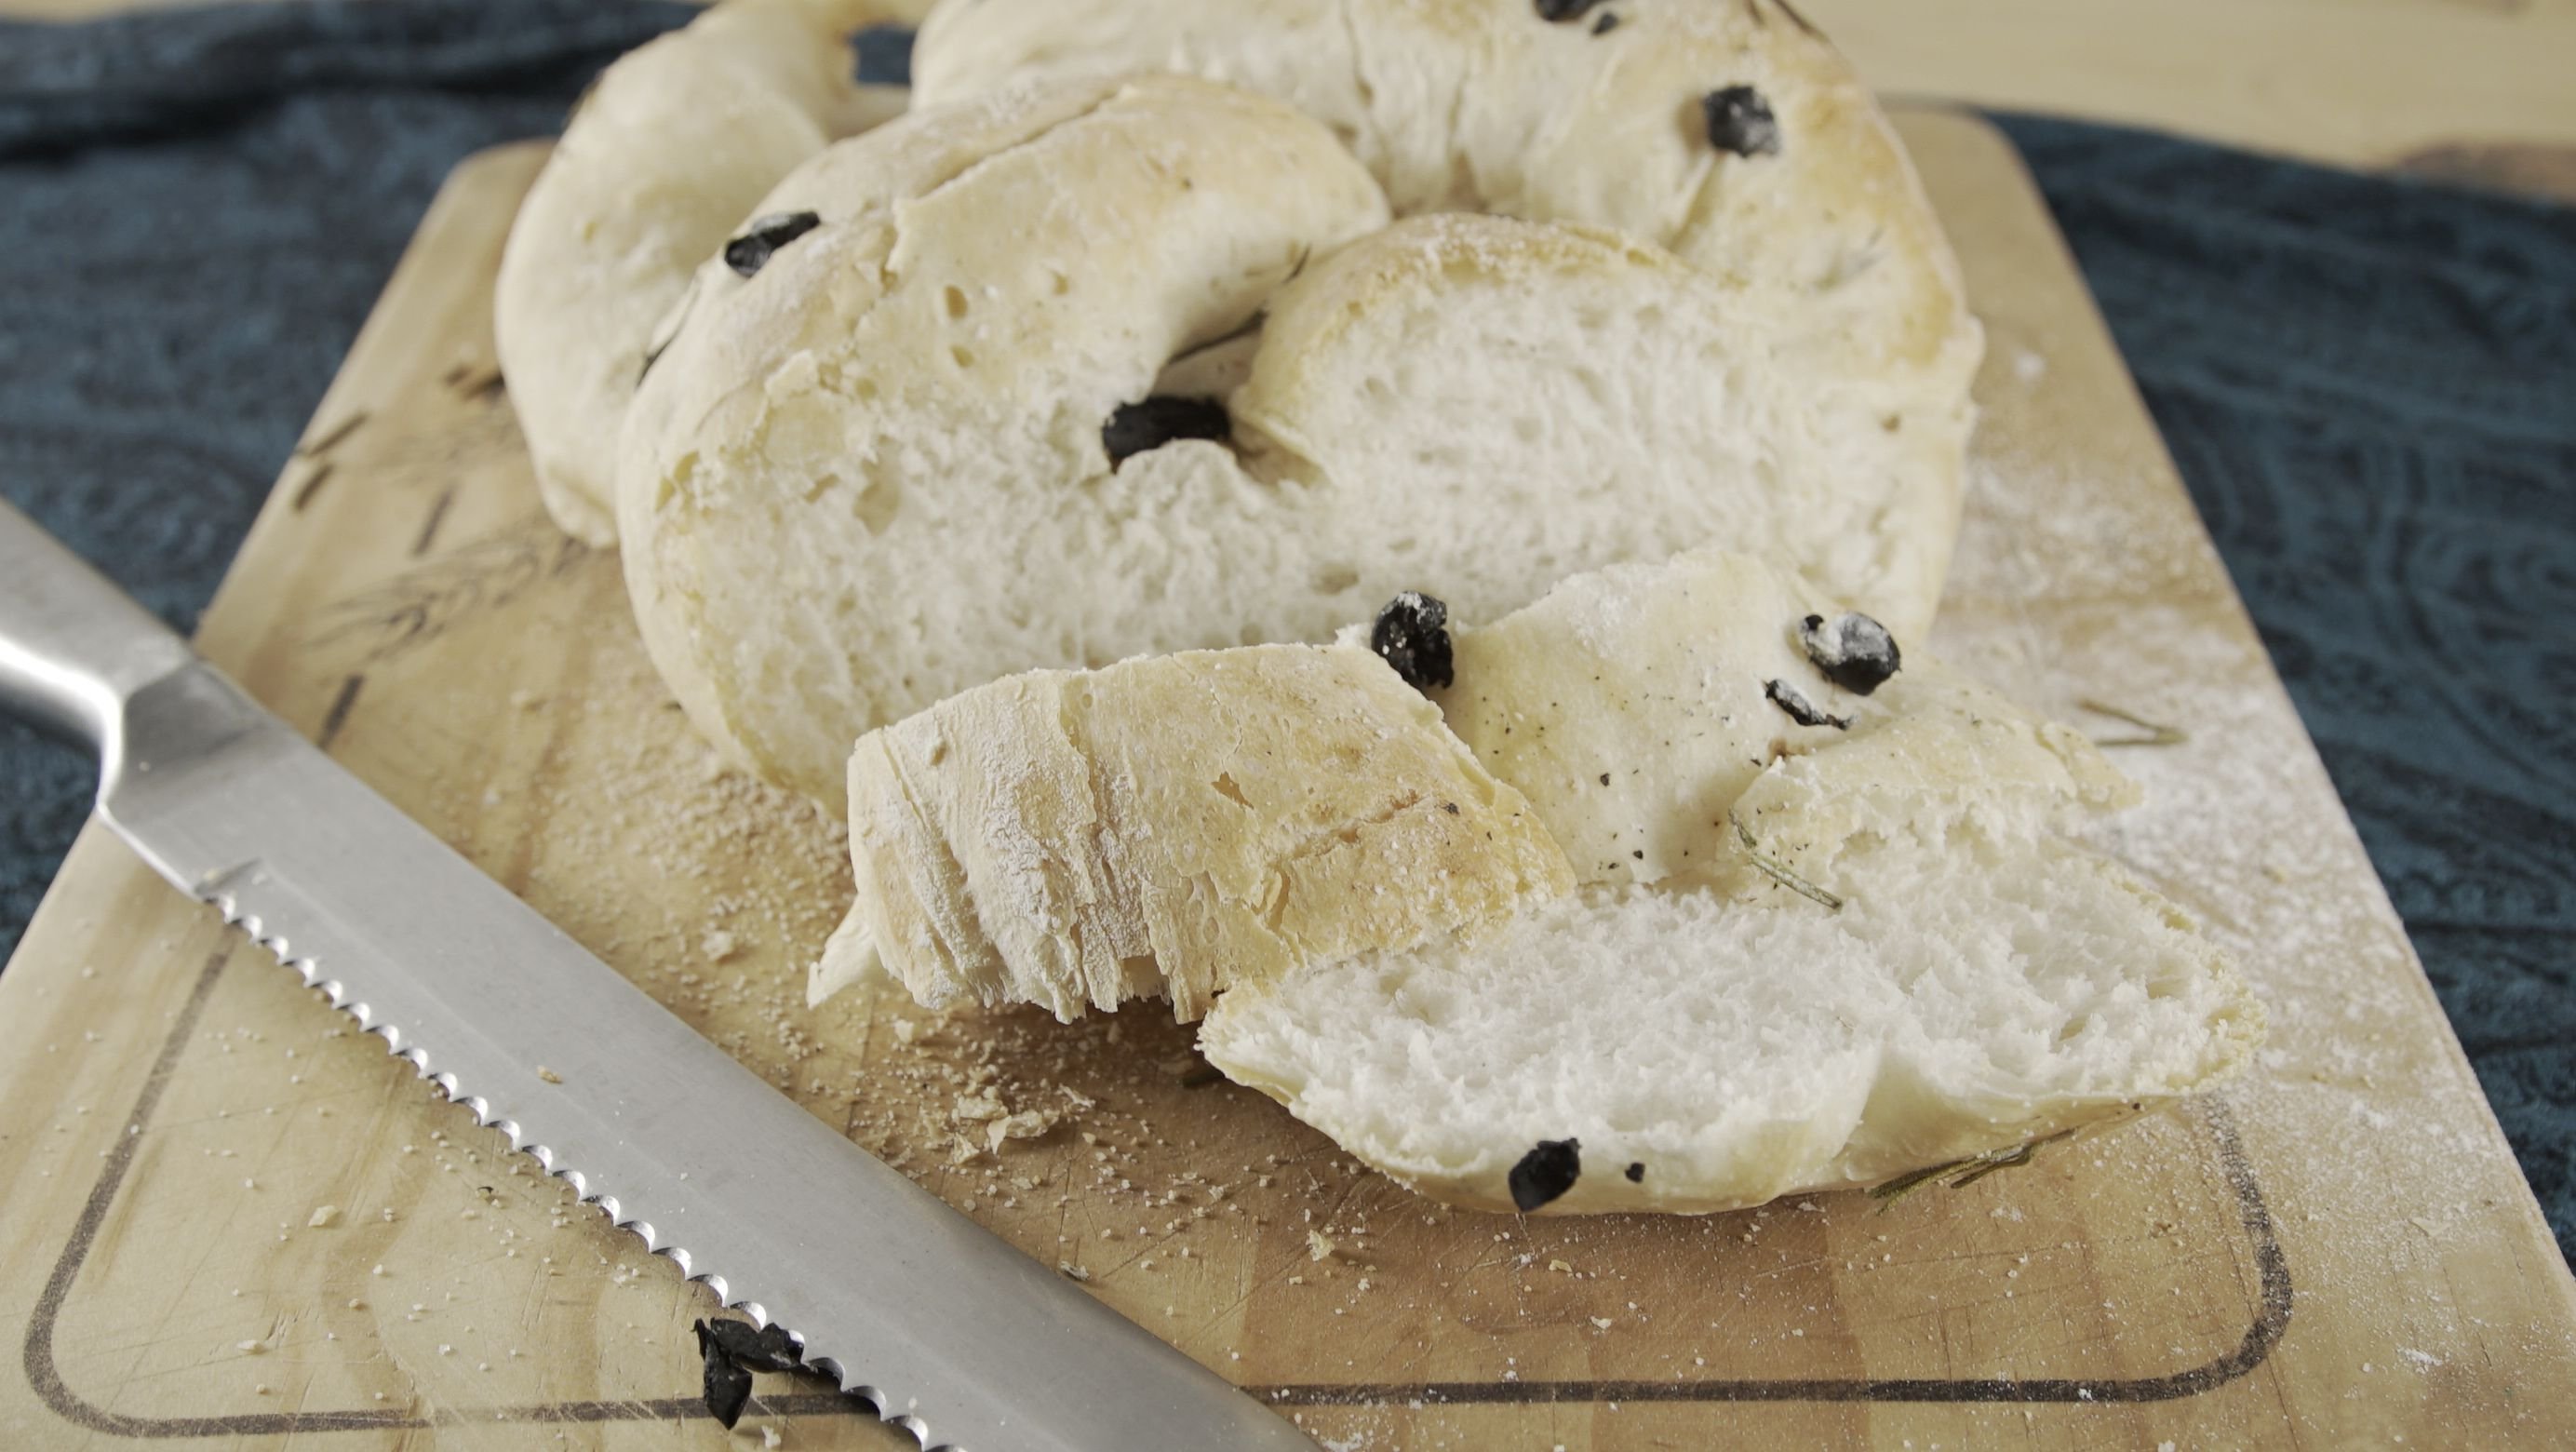
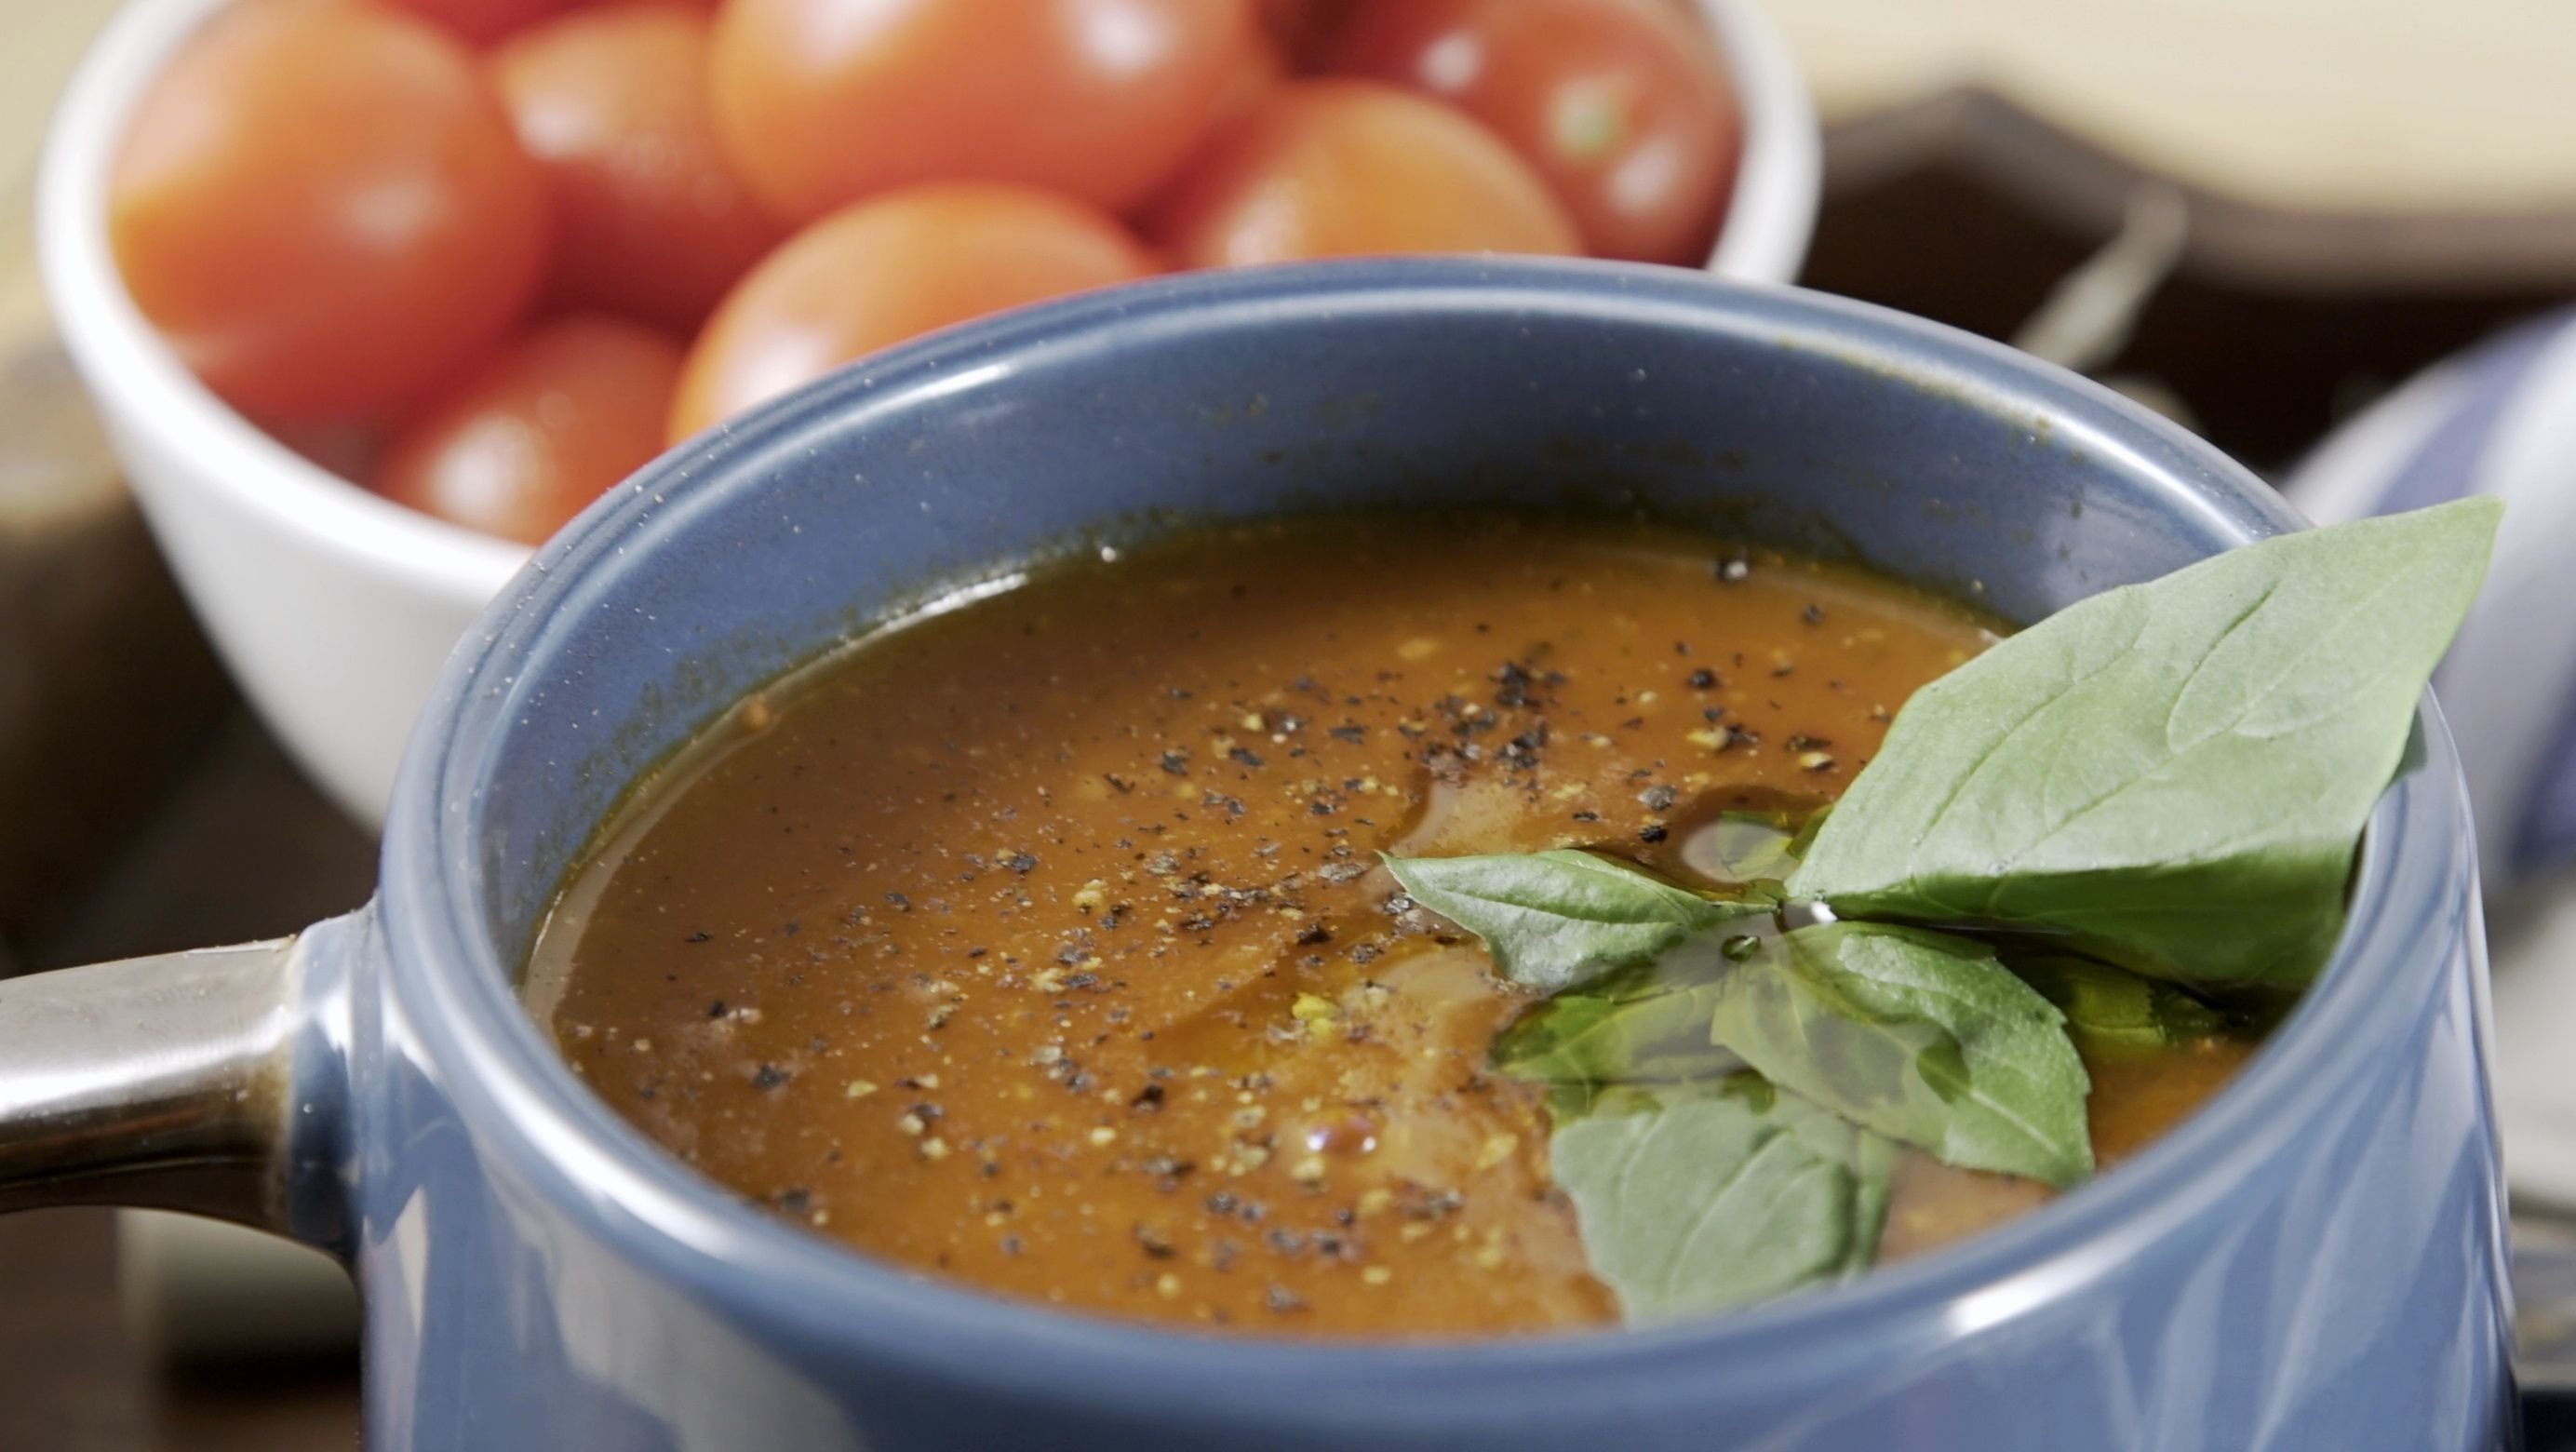
This particular loaf is a staple in my house. Chunks are torn off, hot from the oven and dragged through rich, comforting roasted tomato soup slow cooked over a low burner ... it's pretty much my picture of bliss (It also works as a peace offering. No one can stay angry with fresh bread in their face.)
Bonus- I’ll share my soup recipe with ya too!
But first, the bread.
Ingredients:
• 1 batch of THE DOUGH. Recipe here->-> THE DOUGH
• Handful of fresh rosemary (dried works too)
• A jar of black olives- as many as you like. I like mine positively littered with the stuff. I find the whole ones taste better
and I’ll spend the time pitting them, but the ready pitted ones are great too.
• Salt- Table salt works great, but a little flaked sea salt pushes it to a whole new level.
• A little flour or semolina for dusting
• Water (optional- for crusty crust)
• 2 tbsp Olive oil or melted butter.
Tools:
• Wooden surface
• Knife for pitting olives and decorating loaf
• Ovenproof vessel for your bread. Baking sheet/loaf tin/oven proof pan or pot/(If you have a cast iron pot- stick that in
your oven brushed with a little oil to heat up while you prep your bread. It makes the most unbelievable crust.)
You can make this immediately once you’ve mixed the dough, or let it proof for a fluffier product. You can even make it the day before and leave it out for up to 16 hours if you like that sourdough tang- just make sure it’s completely covered with cling film or a dampened kitchen towel to prevent the dough from drying out. Also leave enough room for it to rise you don’t end up with half the dough stuck to your tea towel.
For this recipe, I like drizzling a little extra olive oil or melted butter onto the dough before I start shaping it. It adds a little richness that works beautifully for a bread made for soup.
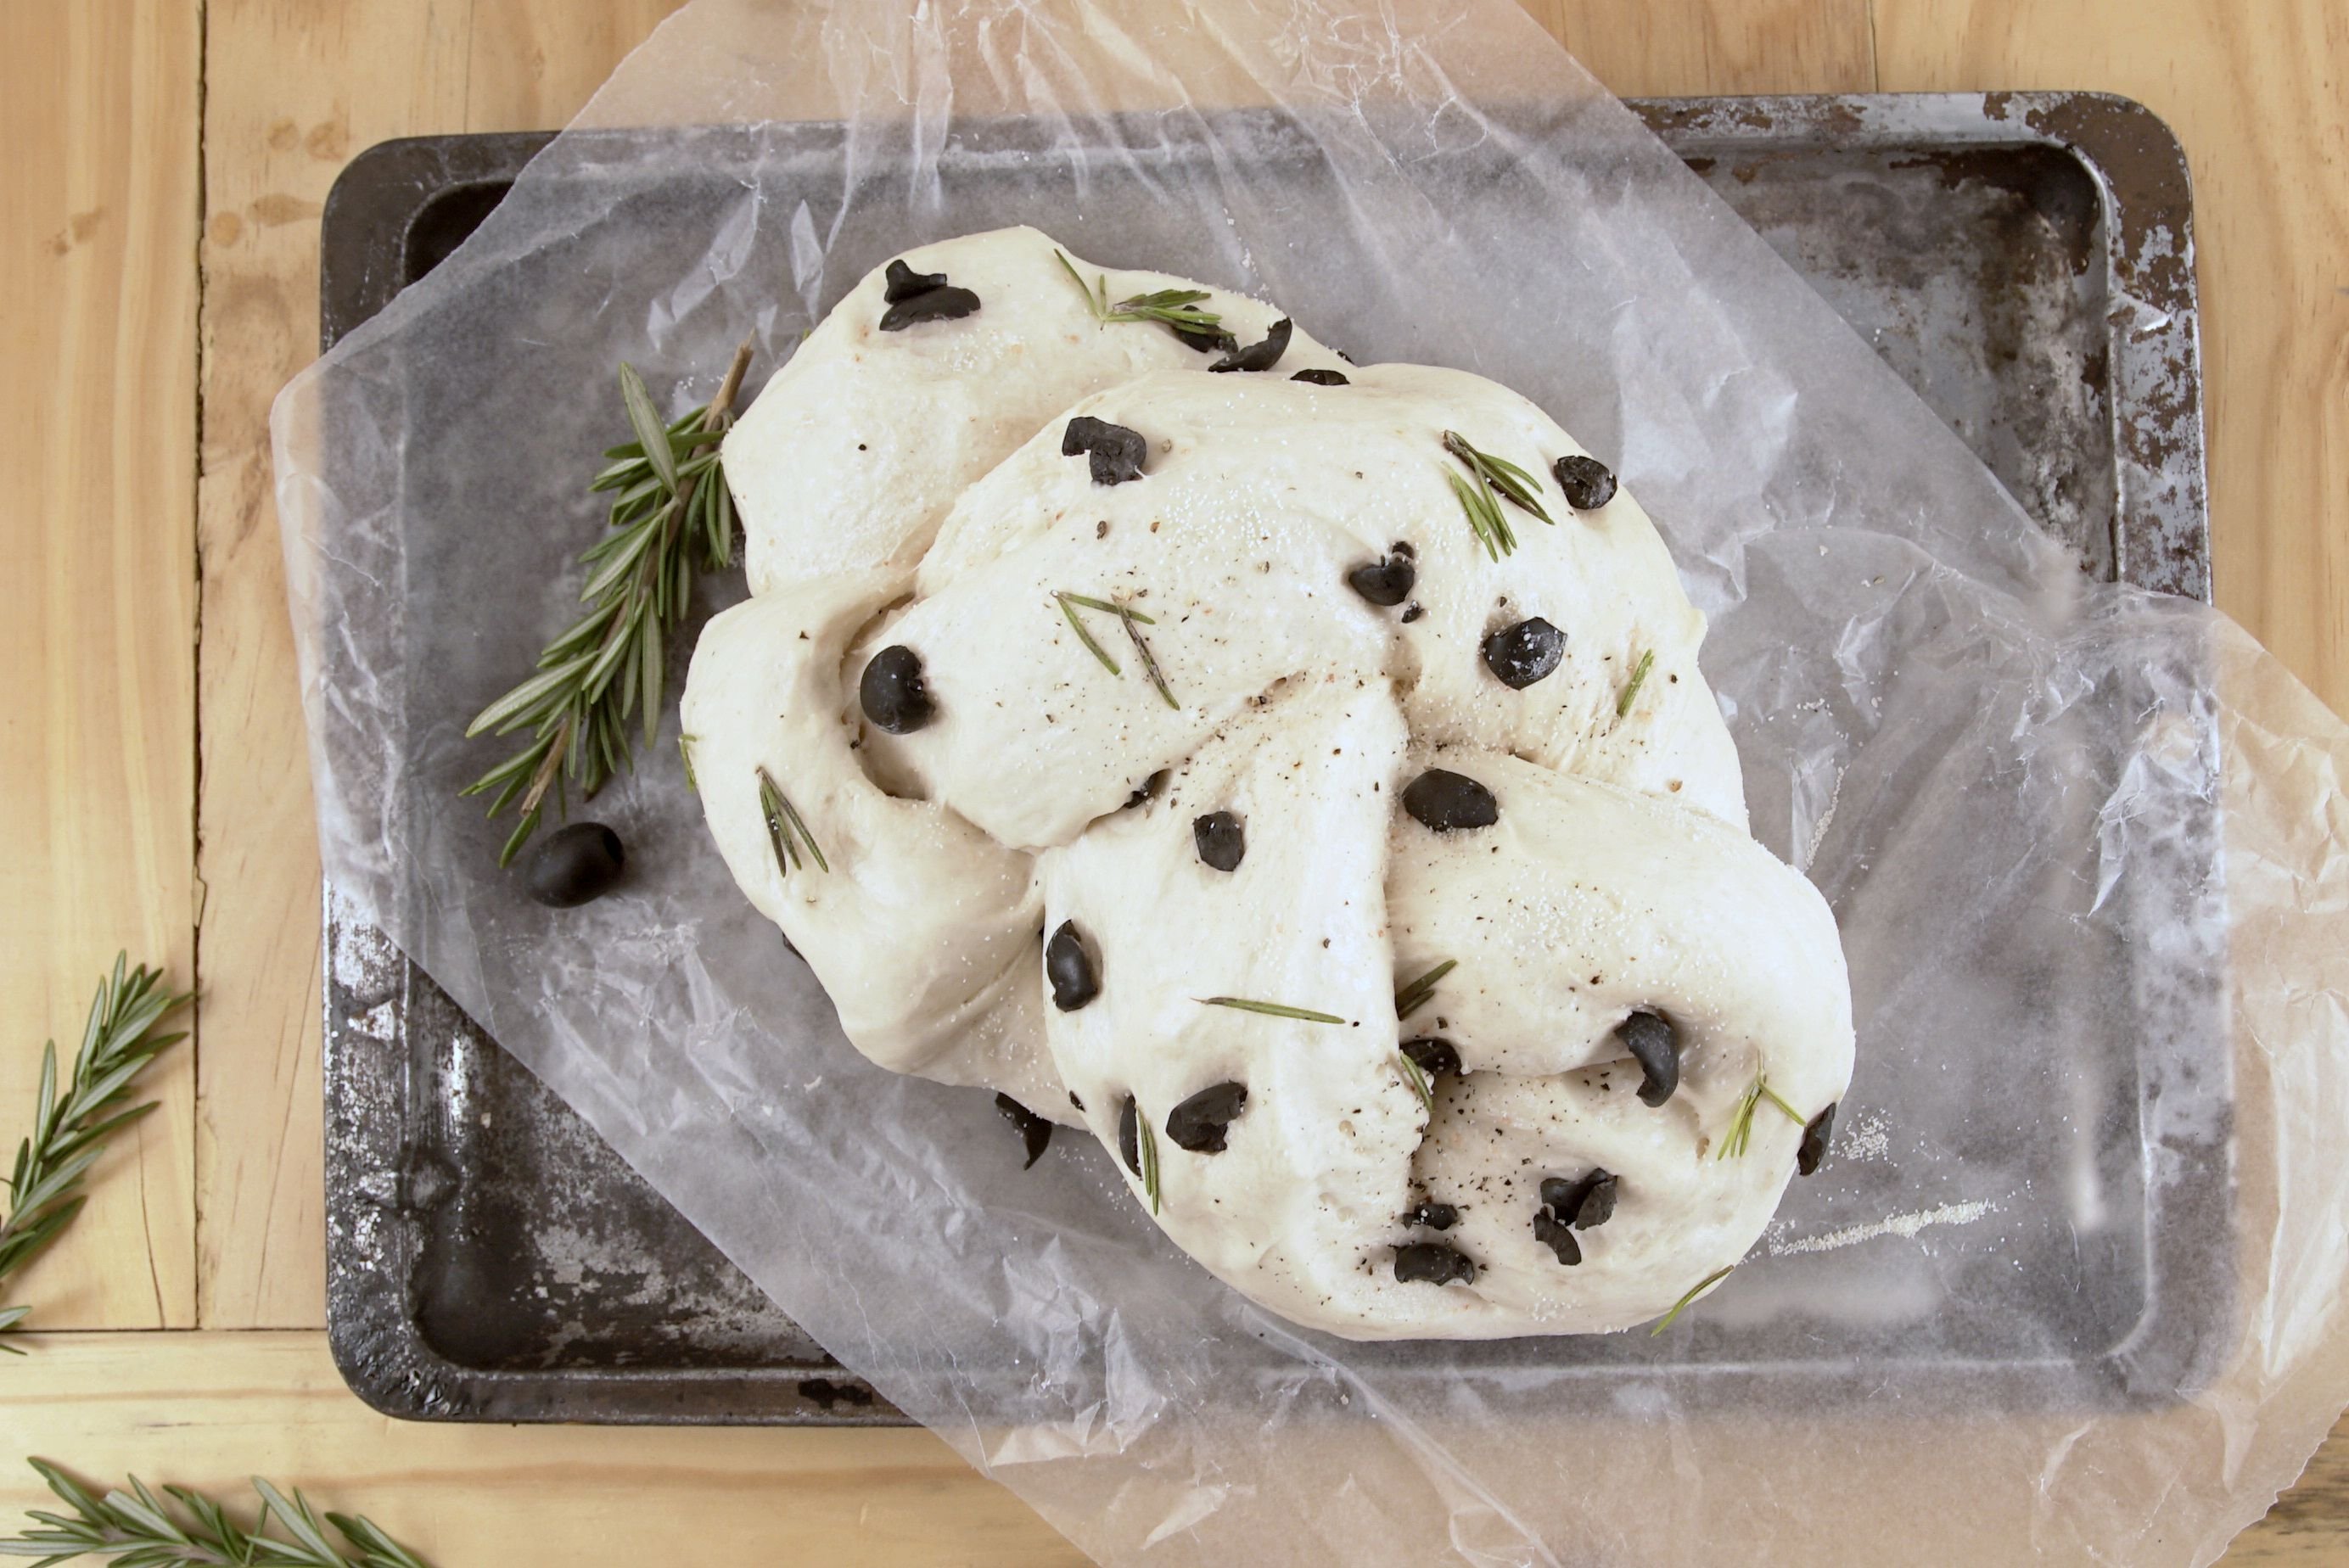
Dust a board with flour (if you’ve just made the dough, just leave it on the surface you kneaded it on in the first place) and flatten it out with your hands. Put ¾ of the olives you plan to use in the center, and dot it with rosemary leaves. Now fold in the sides (lengthwise if you’re making a long loaf, or all the way around if you’re going to bake it in a pot or round container.) Now press your leftover olives and rosemary onto the outside, all over in whatever pattern moves you. Sprinkle with salt. If you’re feeling creative, slice the ball into 3 long pieces and braid like such:

If you’re baking in a cast iron pot, carefully(!) take it out the oven,chuck the dough in and get it back in the oven as quickly as possible to form a stunning crust on the bottom.
If you’re using any other vessel, dust it with flour or semolina and rest your dough on top of that. Now, you can either brush some oil, milk or butter on top of the loaf, or dust it with more flour or semolina (seriously, there’s no wrong way here- make it your own- use what you have.) and let it sit for a minute while you preheat your oven. If you’re only baking it later, let it rest under a tea towel until you’re ready to bake it.
40 minutes later, you have bread.

Now- the gloriousness that is Tomato Soup

INGREDIENTS:
• ¼ cup Extra virgin olive oil. (Butter or neutral flavour coconut oil is a fine substitute too.)
• 1kg (Roughly 2lbs) of Tomatoes (Roma or plum is great, also no shame in a canned tomato out of season.)
• 3 large white onions
• At least 5 cloves of garlic (There’s no such thing as too much garlic.)
• 2 glasses of dry white wine (no need to splurge here, I buy the cheap stuff in a box for cooking)
• 3 liters ( 4 fluid ounces) of chicken or vegetable stock- made from scratch is best, but bouillon cubes are great for a quick mid-week meal (dissolve as instructed on packaging.)
• Tbsp of sugar or honey (adjust this to taste- some tomatoes are more acidic than others, add a teaspoon at a time until you get the balance you want)
SEASONING:
• Rosemary, basil or organum/ oregano to taste. ( Add hard herbs while cooking, soft herbs just before serving for best results)
• Salt and black pepper
RECOMMENDED TOPPINGS
• A dollop of sour cream or full fat yoghurt ( Sure. Do low fat. I just won’t recommend it.)
• EXTRA extra virgin olive oil. Fruity oily joy in a bottle.
• Fresh basil to stir in for a fragrant lift.
• Red chili sliced finely and stirred in right at the end.
• Finely grated parmesan or pecorino.
• Crunchy bacon bits.
• More black pepper.
TOOLS:
• Knife
• Chopping board
• Baking sheet
• Large ass pot with a lid
• Spoon to stir
• Spoon to ladle
• Spoon to eat
• Serving bowl, if you’re feeling too civilized to scoop the soup right out of the pot with a chunk of bread.
Method:
- Preheat oven to180 Celsius/360 Fahrenheit (same temperature as your bread. You can do both at once to save some time). Drizzle your baking sheet with a little oil.
- Peel and roughly chop onions. Half tomatoes. Sprinkle with salt and pepper and add some rosemary should you feel so moved. Add garlic cloves whole, unpeeled- add more garlic cloves. Double what you think you need and then more. Garlic is good for you. It is also delicious.
- Roast until onions have little brown char marks and your tomatoes are thoroughly blistered.
- Put your pot on the stove and turn heat on low. Add a little oil or butter. Squeeze the soft, sweet garlic pulp from its casing and try not to eat it before it makes it to the pot. Discard the garlic skins and add the rest of your roasted goodies into the pot. Sauté until your onions are translucent and little bits are catching at the bottom of the pot. (Those are the flavour bits. We like those bits. )
- Deglaze the pan with the wine and push up the heat to high. Once it hits a rolling boil, add your stock and bring to the boil again. Then reduce to a simmer and let it cook low and slow for at least an hour. Don’t put a lid on it- it needs to reduce for the flavours to meld and concentrate. I leave mine to do its thing for about 3 hours- topping up with water if it starts getting too thick. At this point you can serve it chunky as is, or blitz it with an immersion blender.
Serve with toppings of choice and Bread.
Born up a tree, kids!
