Jerky is a very convenient and portable snack, but bought versions nearly always have sugar in them.
This version has no sugar and has the added goodness of vegetables, to make it a more balanced snack. Suitable for GAPS, SCD, Paleo, gluten free, dairy free, sugar free, low carb or other whole food diets. Although it’s obviously no good for vegetarian readers, I’ll suggest some options at the end.

Ingredients
These amounts are approximate; a little bit more or less won’t make much difference.
• About 2kg (4.5lbs) minced meat (ground beef) - we usually use the lowest fat beef, but higher fat would be fine. Turkey also comes out really yummy. Or try lamb, venison or chicken. I would recommend grass fed for this recipe. Actually I always recommend free range, pasture fed meats. But since this isn’t being cooked at high temperatures, you need to start with top quality.
• About 1 cup of either apple cider vinegar, or milk kefir – the acids will add anti-microbial elements that will help keep the food safe
• 1 Tbs celtic sea or himalayan salt (or more to your taste) – also necessary for safe preserving
• Herbs, spices or garlic of your choice
• About 300-400gm of minced or grated vegetables, such as onion, carrots, pumpkin, beetroot, zucchini, broccoli – I usually use 100gm onion and 200gm or so mixed other veges.
Equipment
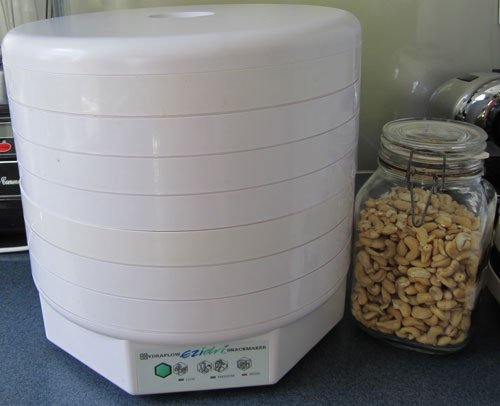
• Dehydrator – we have an Ezidri. If you don’t have a dehydrator, you can also use an oven set to a low heat.
• Large glass bowl. Don’t use metal, as you will be marinating the meat in acid.
• Grater, mincer or food processor to prepare the veges
Initial Prep
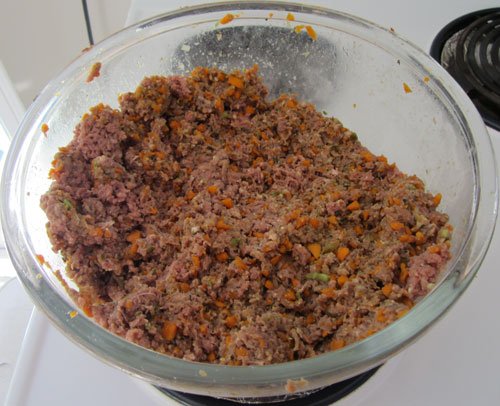
Mix together everything except the veges in a large bowl. Get your (very well washed) hands in there and squeeze everything together really well so that the acid from the ACV or kefir will “cook” the meat as it marinates and destroy any pathogens. Cover with a large plate and marinate overnight in the fridge.
Next day
Add your veges and mix well again. (You can add them the day before if you like, but they don’t need to marinate overnight.)
Form the mix into little patties and flatten them to no more than 1 cm thick.
You can see in the picture that they are on a solid insert at this stage.
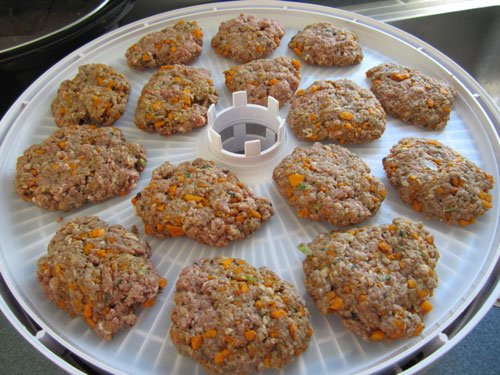
Set your dehydrator to HIGH or about 68C.
Dehydrate for about 3-4 hours. By that stage, they should be firm enough to take them off the solid insert and place them (the other way up) on the mesh tray, to allow better air flow and drying.
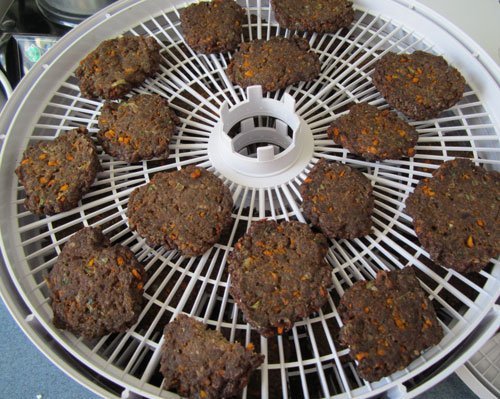
After a total of 6-8 hours, they will be dry on the outside, but still moist on the inside. If you will be keeping them in the fridge and eating them within a few days, you can stop there.
But if you want to keep them longer, you need to keep them going until they are crisp and dry all the way through, up to 24 hours.
Serving suggestions
• Eat as they are
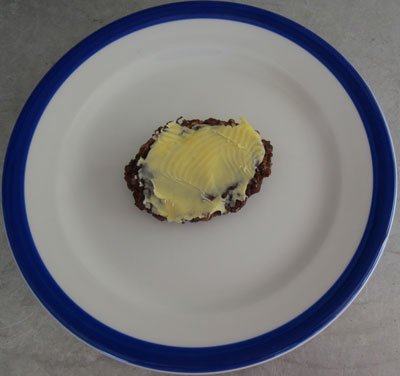
• Use as crackers and spread with butter, hummus or your own favourite spread
• Top with a slice of a fresh vegetable such as sliced tomato, cucumber or capsicum
Vegetarian option
There are two options that I think would work, and that you might like to try out. To be honest, I’m not 100% sure if these would work or not. If you try them, or have already made anything similar, please let us know in the comments.
• Use nuts instead of the meat. I would soak the nuts overnight in salty water, then rinse well. Blend the nuts and vegetables together in a Vitamix or similar, before dehydrating. This would be similar to a nut loaf, but more of a cracker texture.
• It might also work using cooked legumes such as pinto beans. Mash the beans well and mix in the vegetables, then dehydrate.
Thanks for reading.
Follow me for more nutrition, health, diet, food, lifestyle and recipe posts.
My other recipes on Steemit: Choc Blackcurrant Smoothie ~ Paleo Cottage Pie ~ Feijoa Pear Smoothie ~ Easy no-starch, dairy free Pumpkin & Cashew Bread ~ Tip for storing ginger & tumeric ~ Banana Cashew muffins ~ Warming winter soup ~ Healthy Chocolate & fudge
For more recipes and my 15 step Whole Food cooking course, see my recipe website.

