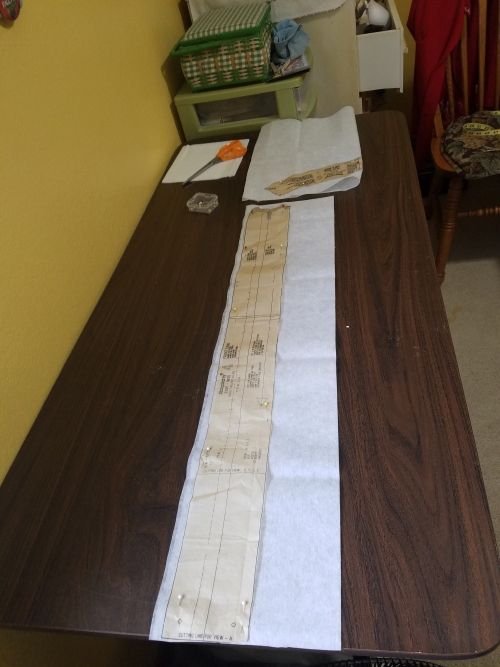
After clearing the latest collection of rubble off my sewing table, I laid out the two necessary pattern pieces on the interfacing.
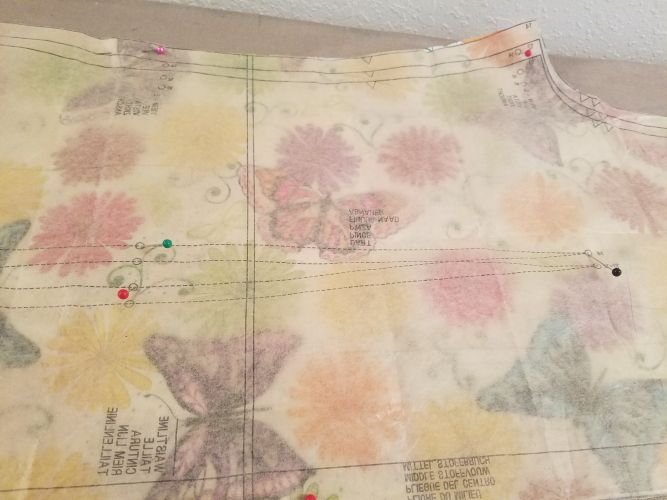
This is perhaps the peskiest step in sewing a garment: marking all the circles and darts. Once I have the pieces cut out, I just want to get on with the sewing! Today the marking process was a nastier job than usual, because all I had was white tailor's chalk and the fabric has lots of white in it. A quick call to my neighbor produced yellow tailor's chalk, but there is a great deal of yellow in that print, too. In fact, I realized I needed white, yellow, pink, and blue to use on contrasting parts of the print! I did the best I could with the white and the yellow, but there were unhappy comments to be heard all the way. I must buy more tailor's chalk next time I'm in town.
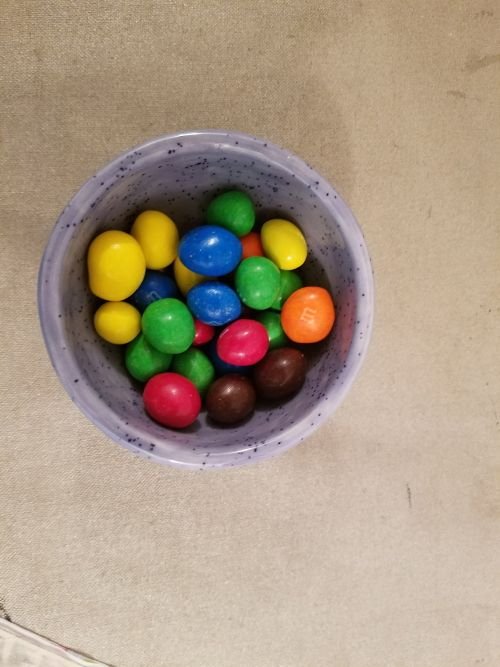
This is how I bribe myself to keep on sewing. It works every time! (Peanut M&Ms)
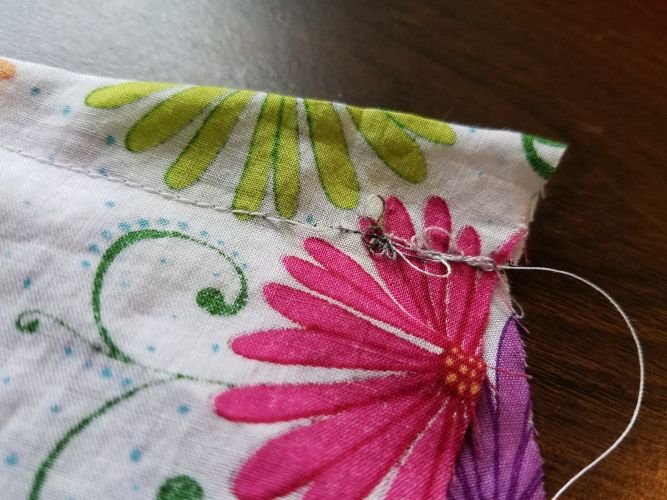
When I set out to pin and sew the first dart, I discovered it was nearly impossible to locate the white or yellow markings I had so carefully made. I ended up placing the pattern piece over the fabric again, poking pins into the circles, and then marking them with a gray fabric pencil I found in a drawer. That more or less worked. And then my sewing machine decided to be difficult right away. So I had to rip out stitches at the beginning of the project. That was not an encouraging start.
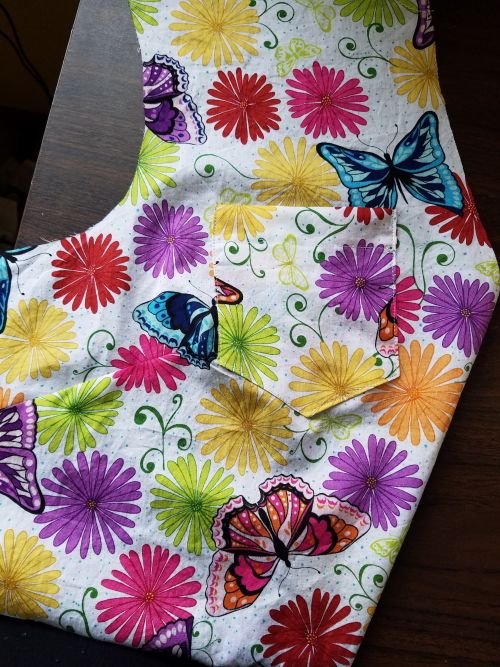
Having survived the front darts, I could move on to the pockets, which were easy and fun. Whew!
The back darts were really long, and it was difficult to tell whether I had made them match. I decided they were o.k.
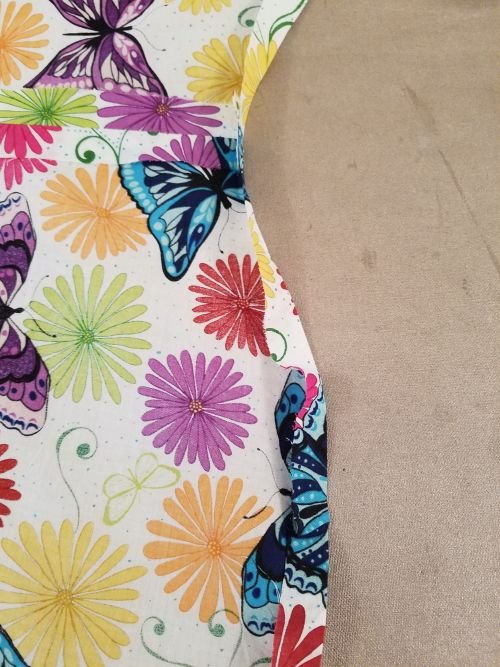
Here are the back darts, pressed toward the center, and looking like they ought to from the right side.
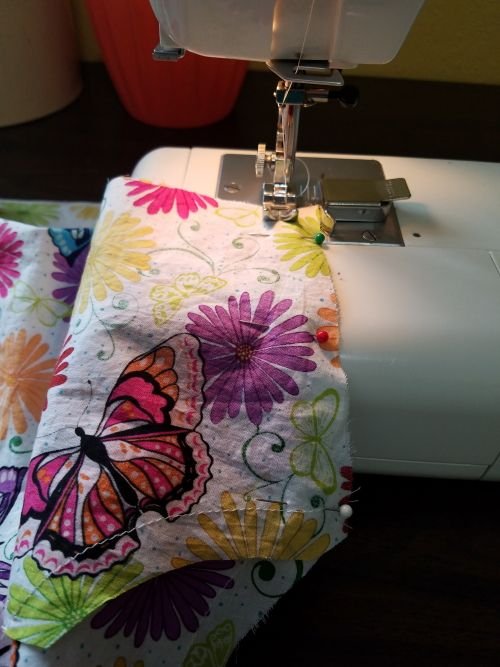
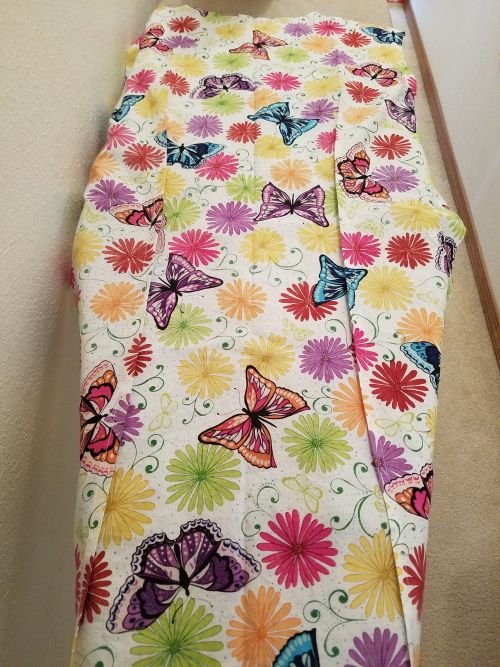
Finally, the part I've been waiting for: sewing the shoulder seams and side seams!
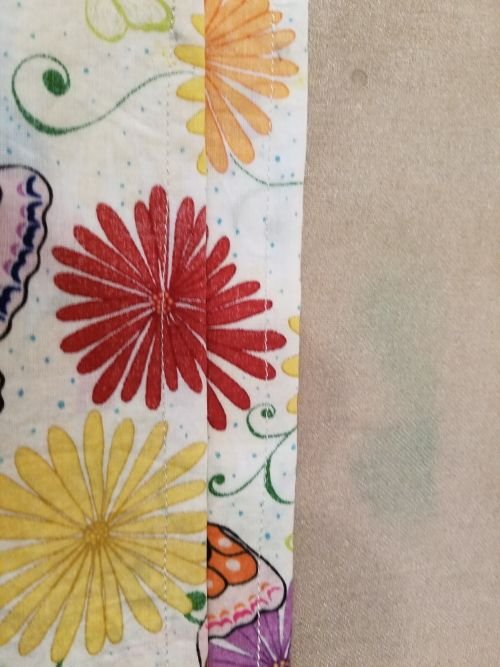
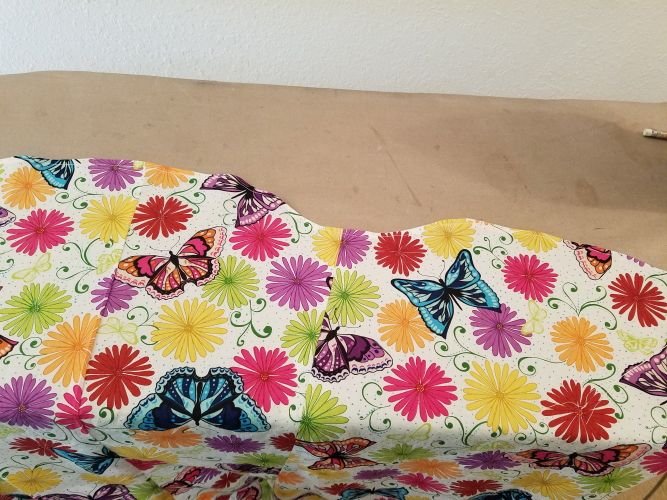
The next step was to press under 5/8" along the bottom. The curved part was tricky, especially when I had to turn the raw edge to meet the pressed edge and then sew it down.
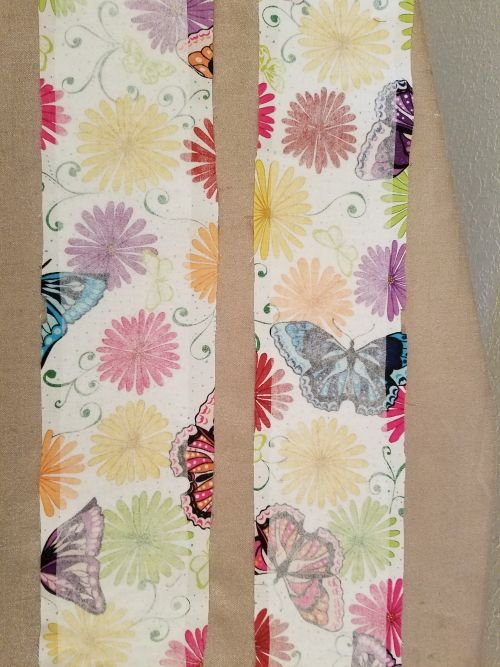
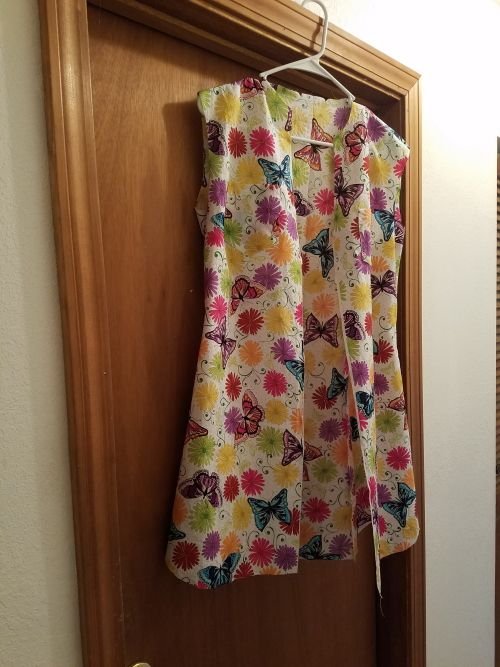
Affixing the iron-on interfacing to the front band was quite fun, actually. And then I decided it was time to make supper and post my progress on Steemit. Can't do both at once, so I conned my son into making supper. Yay! Stay tuned for the next update!