I have done a few 3d print projects for myself and some clients, so when I saw this design that @charlieshrem posted, I knew I had to recreate the design.
All of my latest jobs have been through Shapeways and they have all sorts of materials including silver (stainless steel, platinum, brass, gold, plastic, porcelain, aluminum, plated metals).
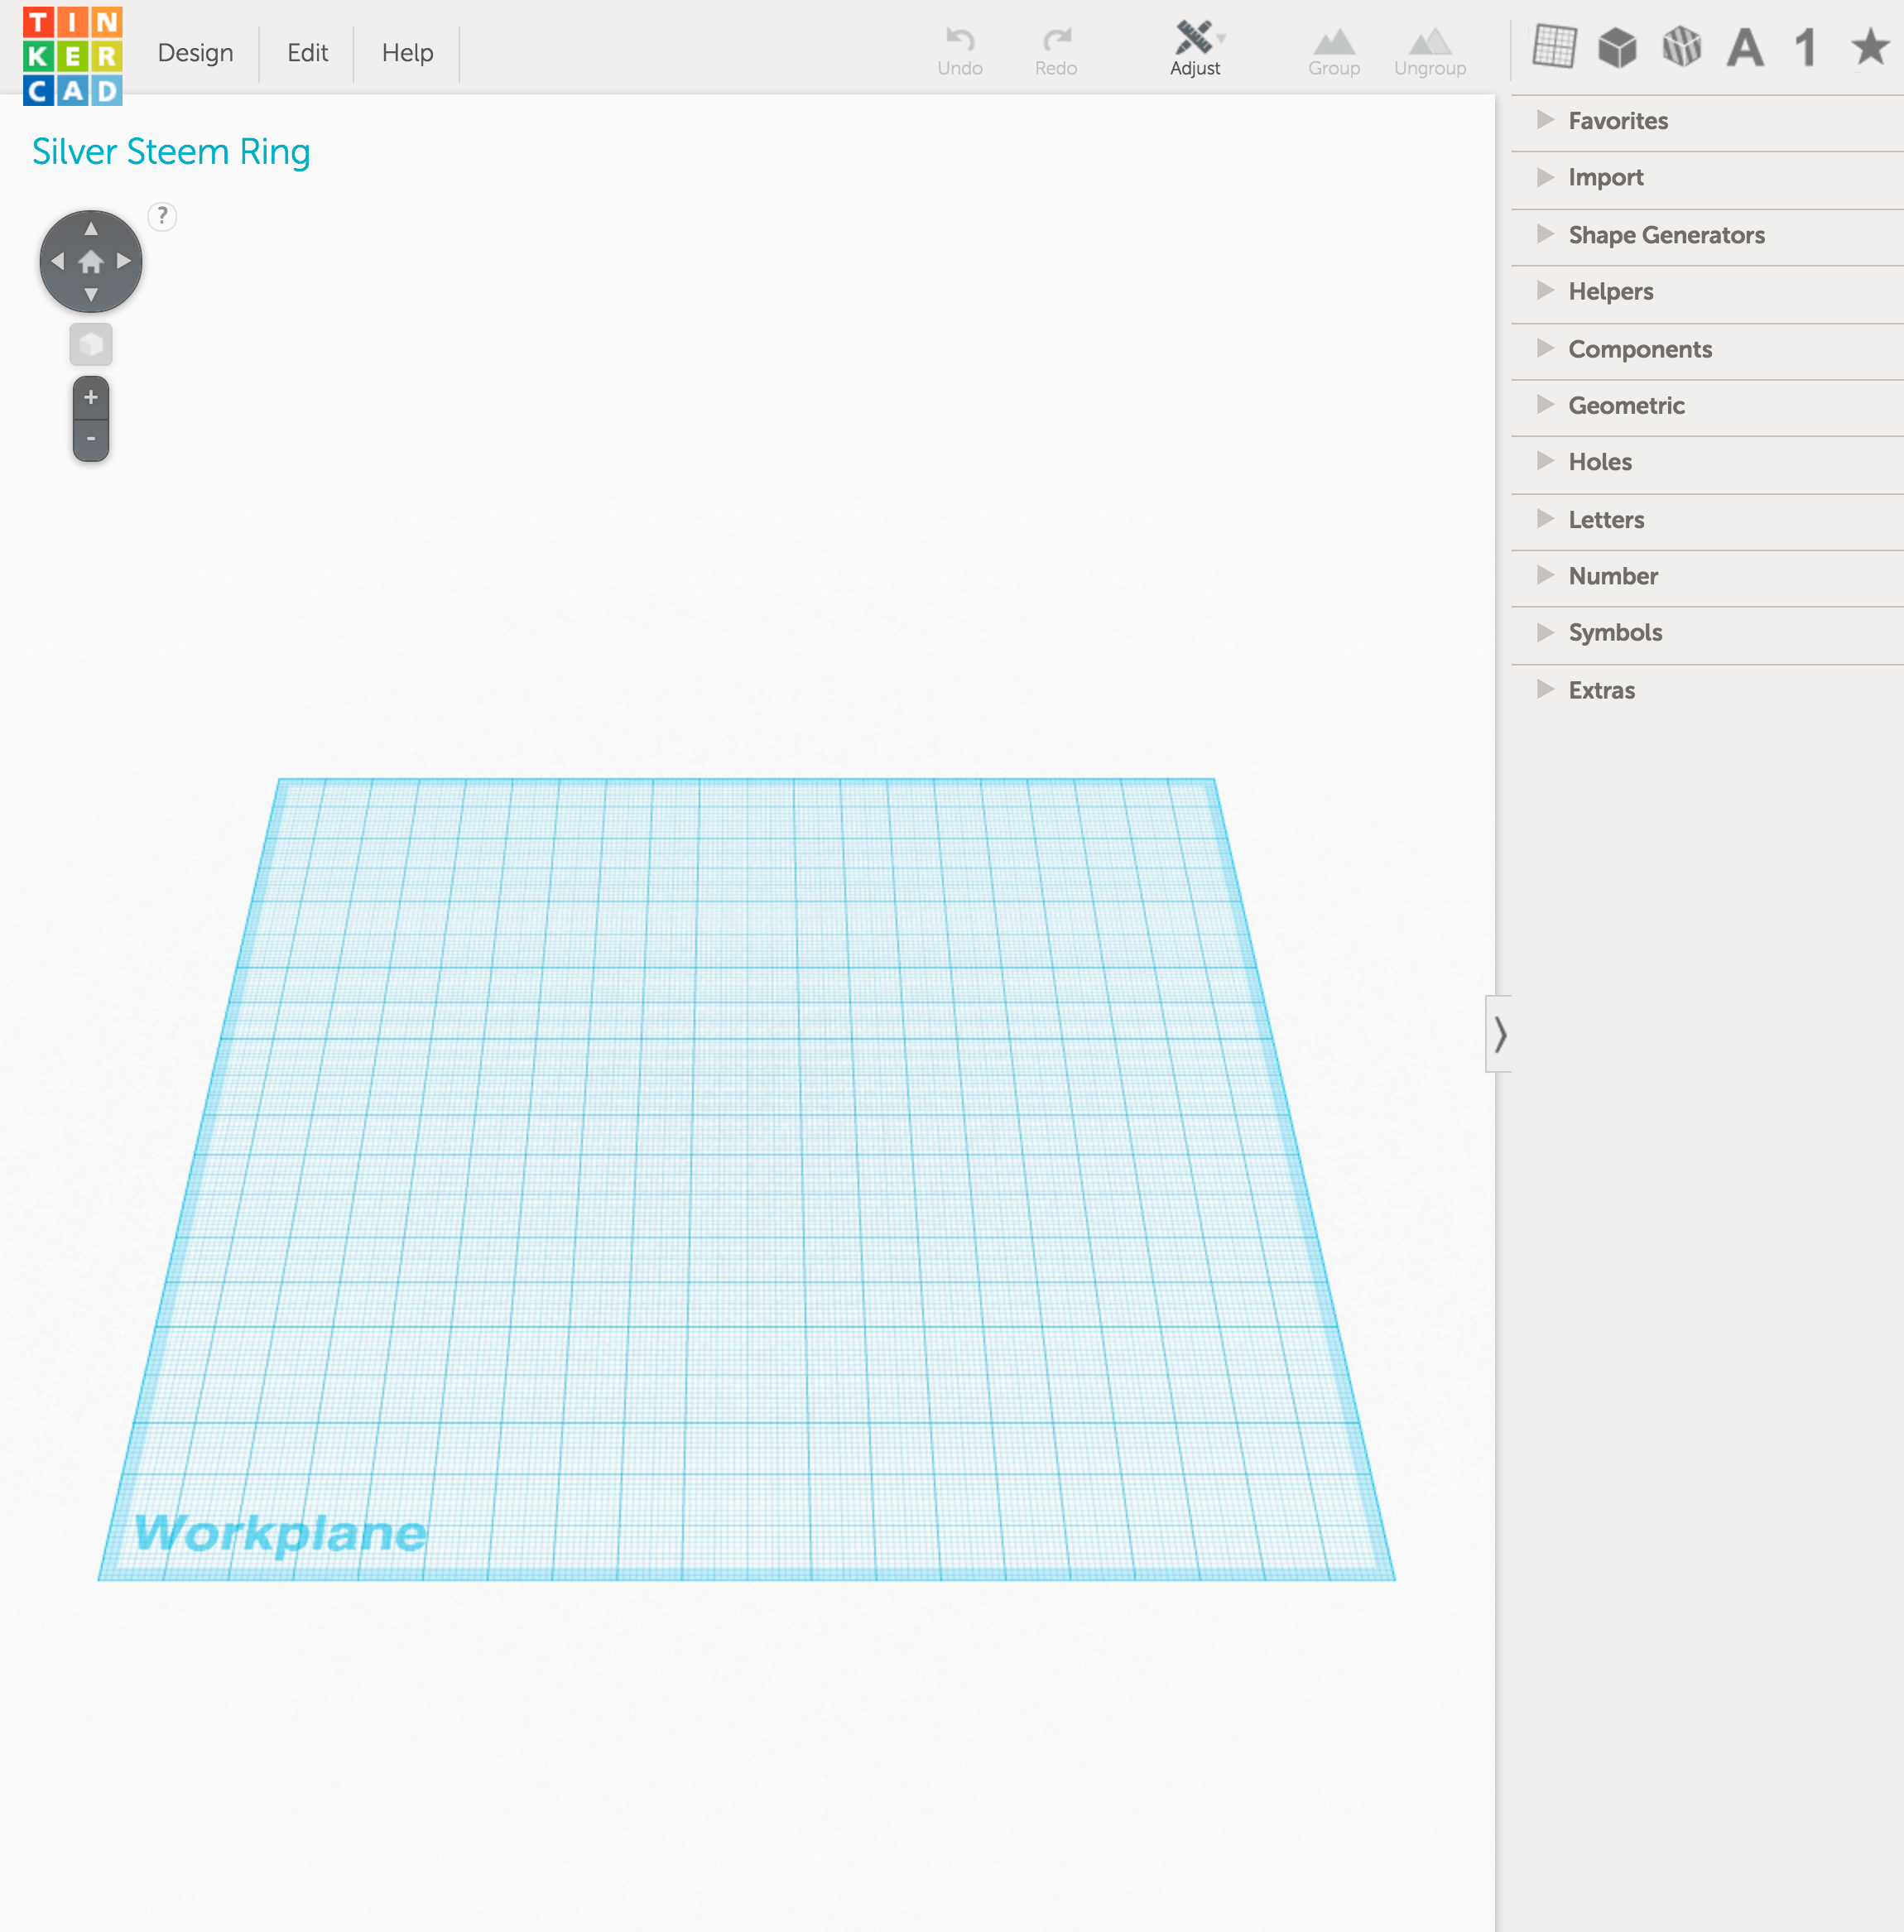
Where do we begin? I believe I can get this design done with tinkercad.com. I've logged in and see this blank slate.
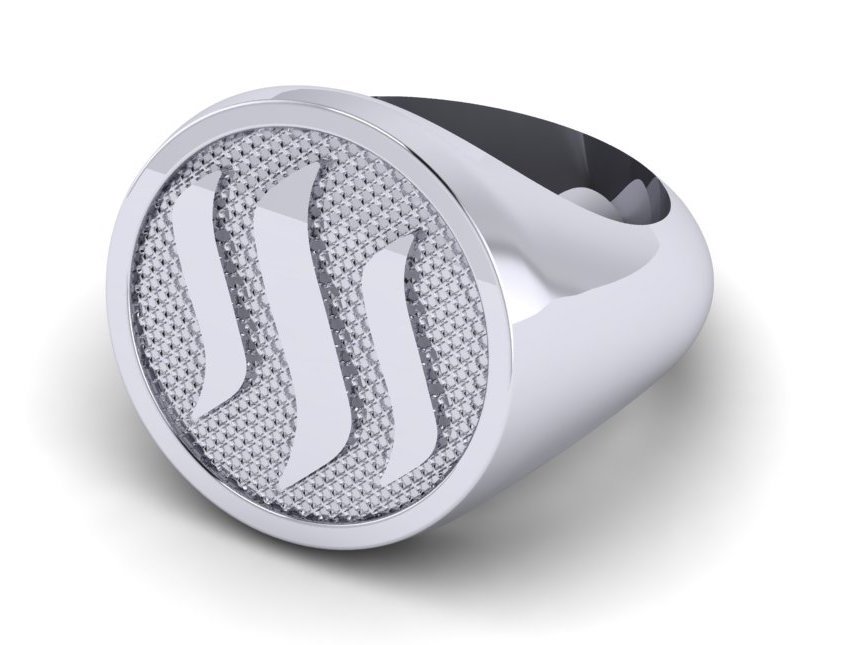
Here is Shrem's design for reference.
The inner diameter of my ring is 20.64mm (size 11). I will need to hollow whatever shape I end up with using a hole that is 20.64mm. The shape is cut in a lot of ways, but it helps to break down each operation into the simplest actions.
I don't want any part of the ring to be thinner than 3mm. I see that the sides of the ring and the top part will all need to be measured multiple times to make the ring the correct thickness.
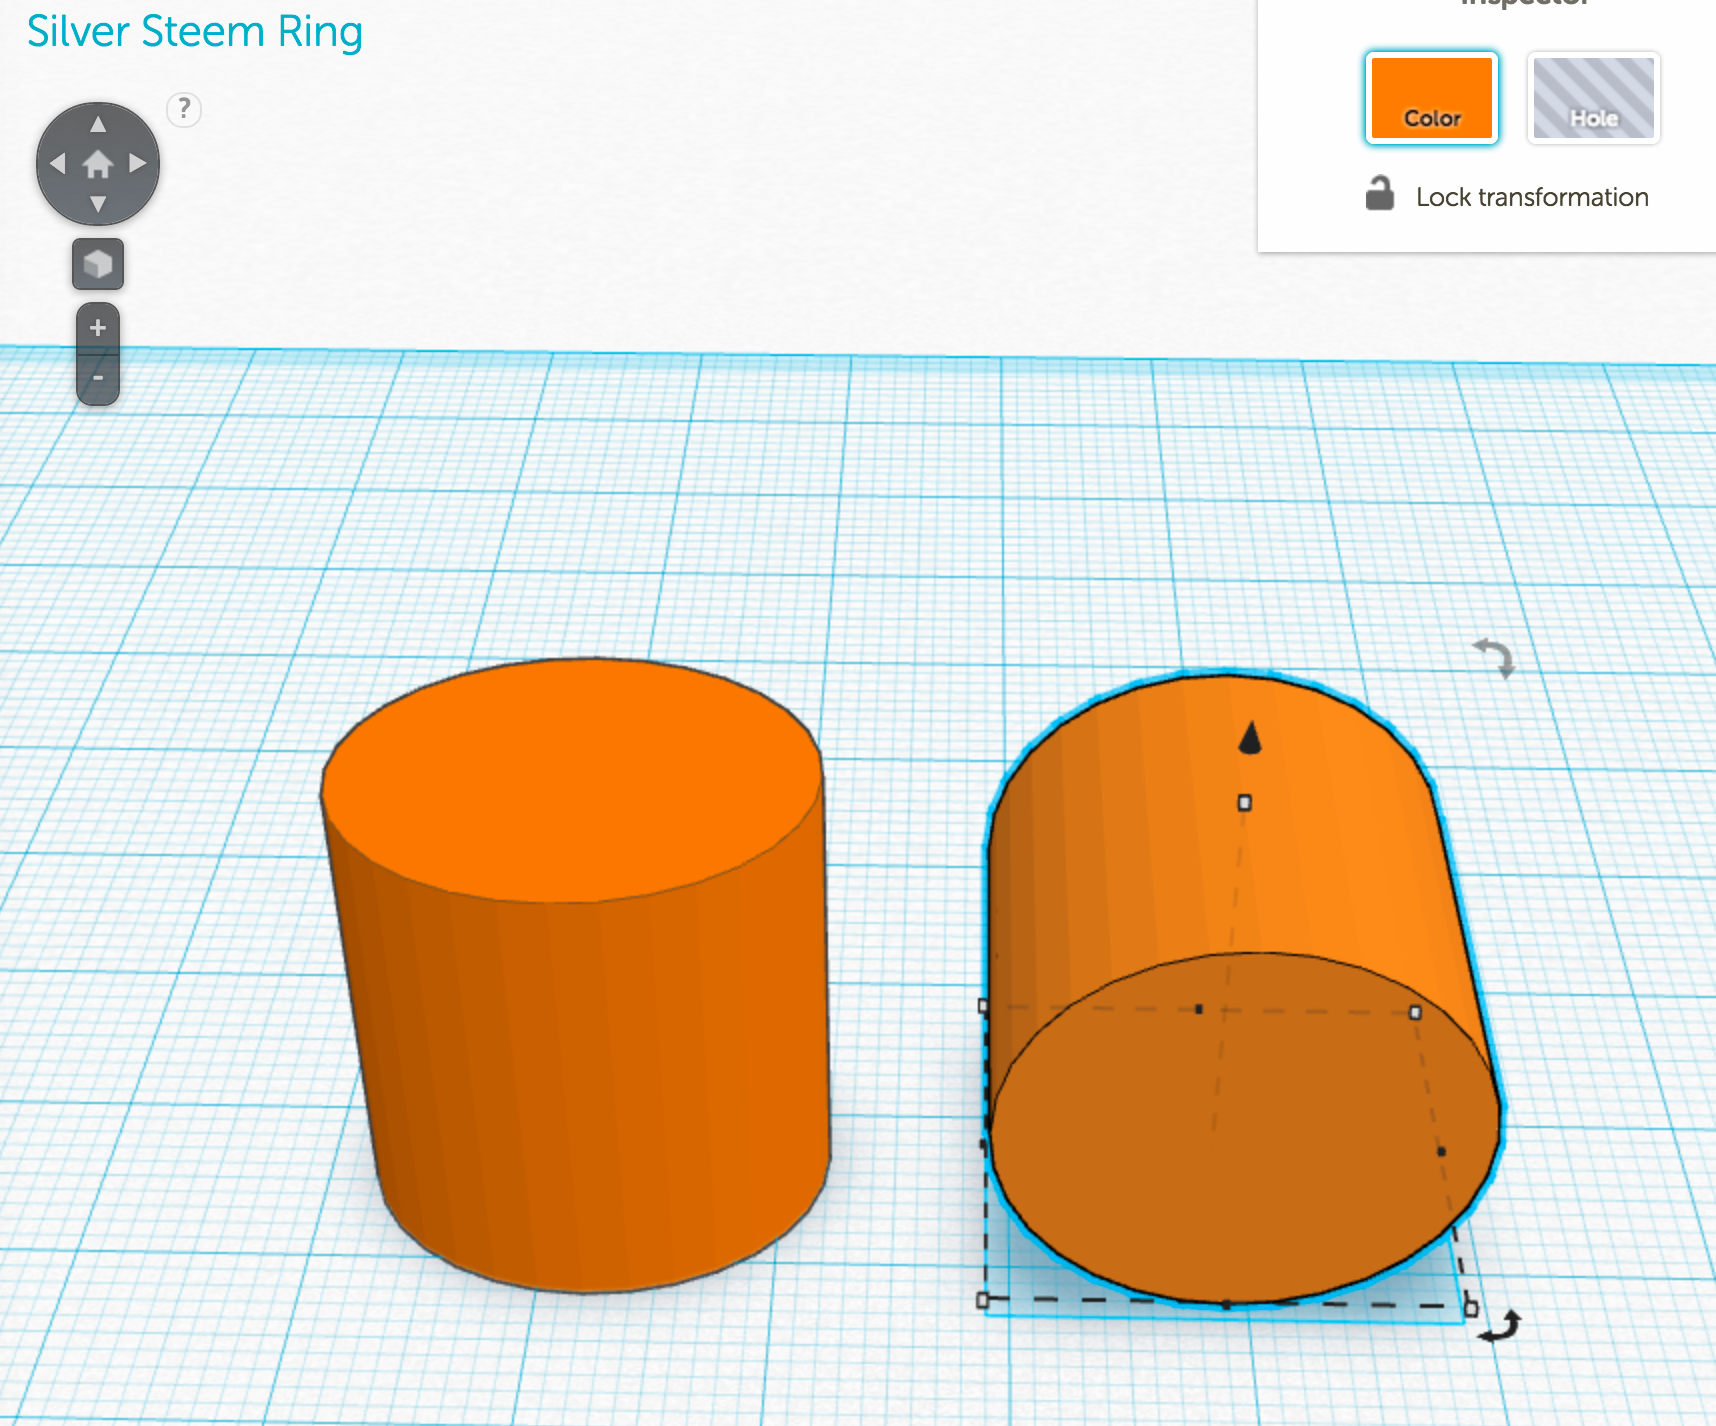
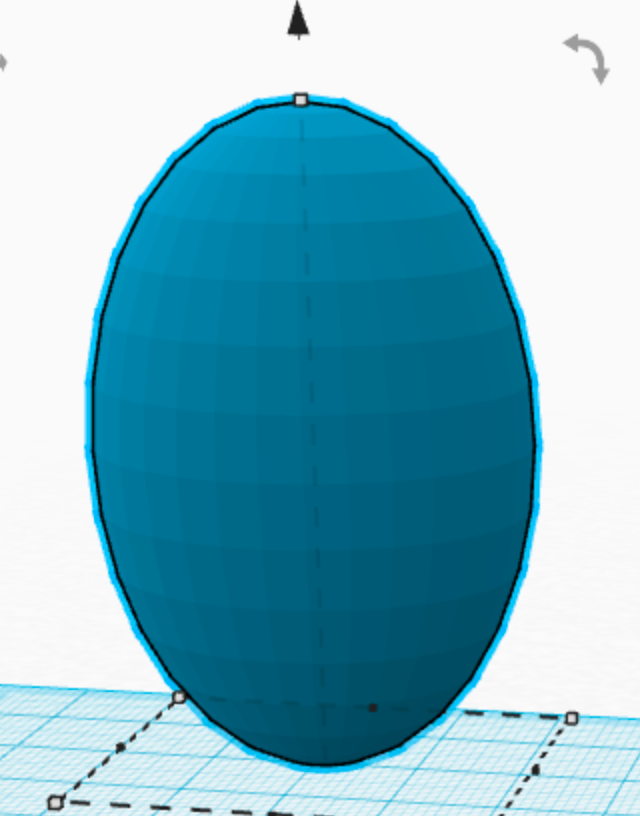
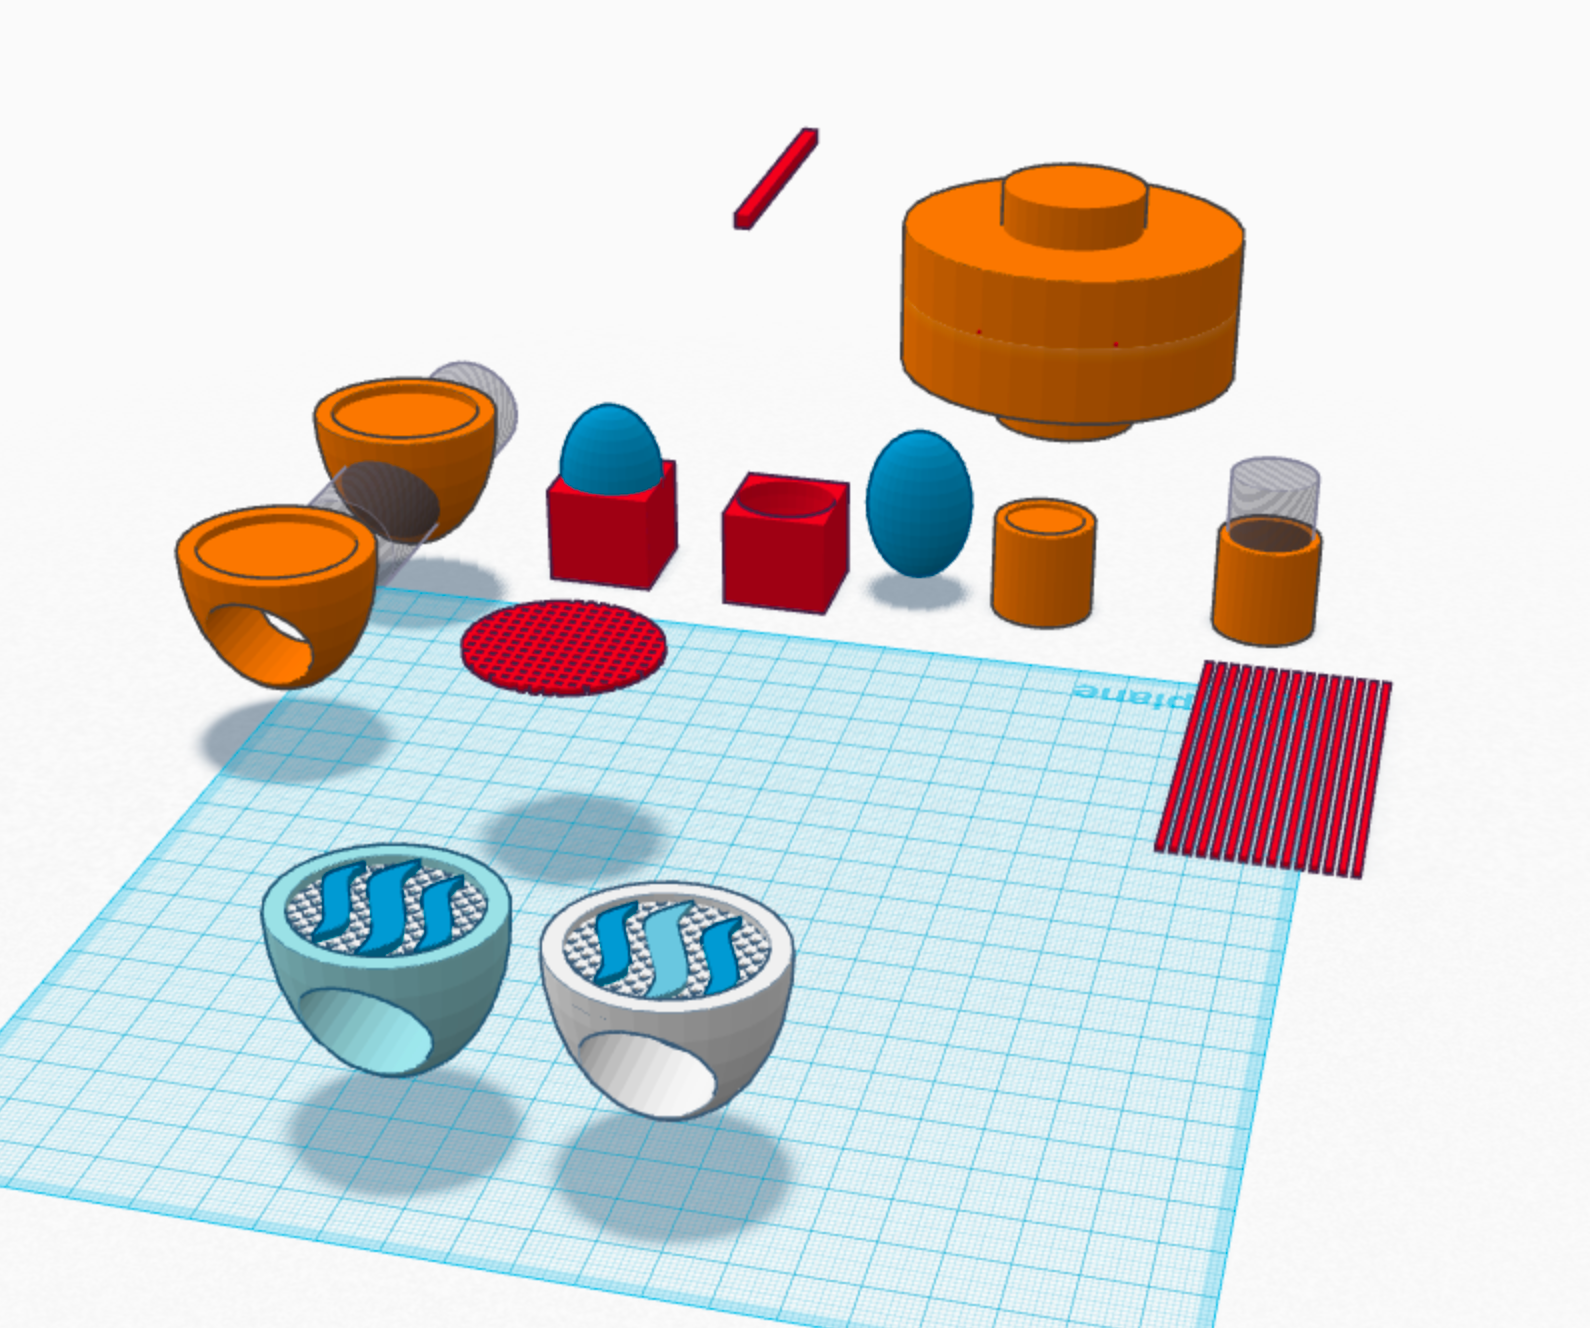
I've reviewed the design a bit more and realize the best shape to start with is the ellipse seen at the top of the ring stretched out in 3d space, which is called an ellipsoid.
Here is the ellipsoid. I've duplicated it so you can see it from a different angle.
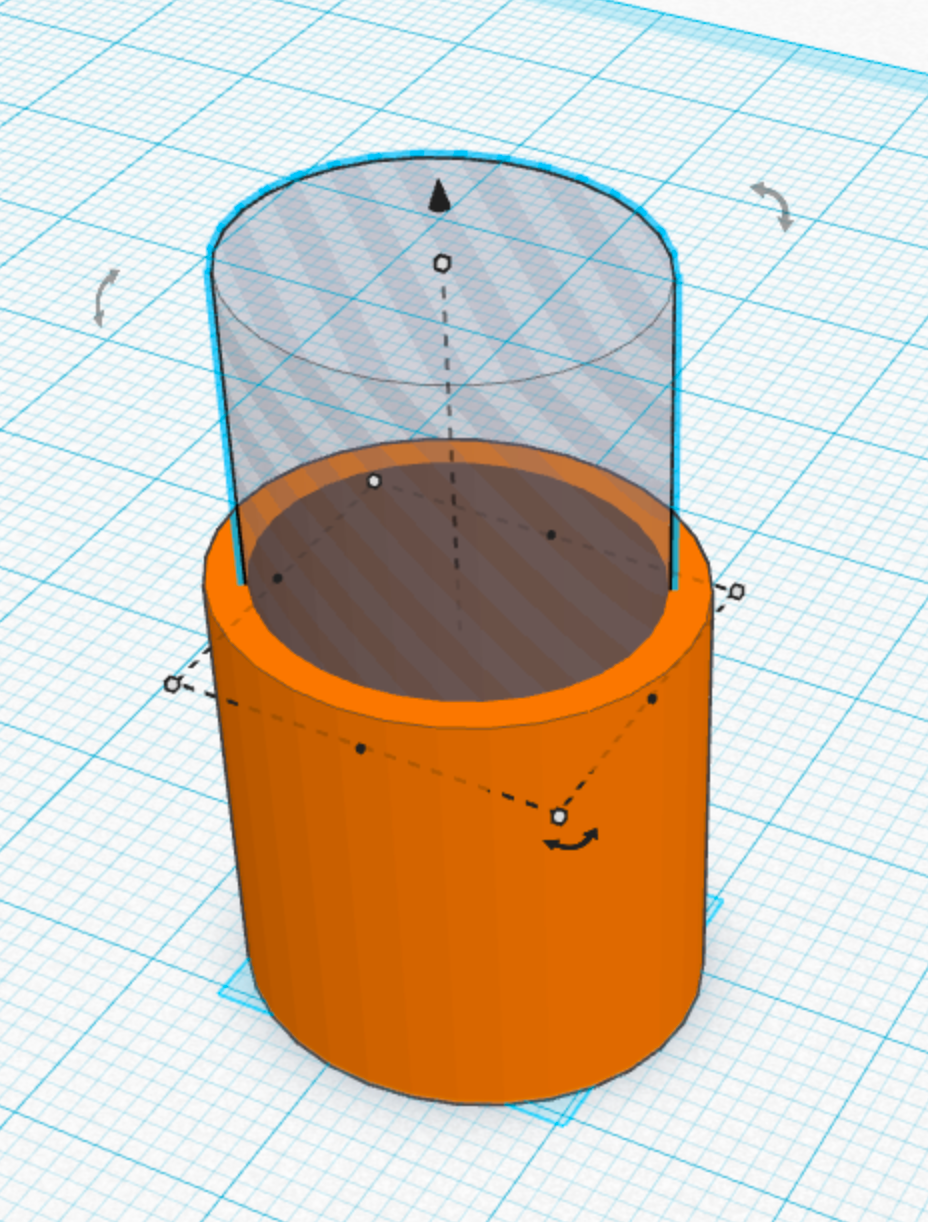
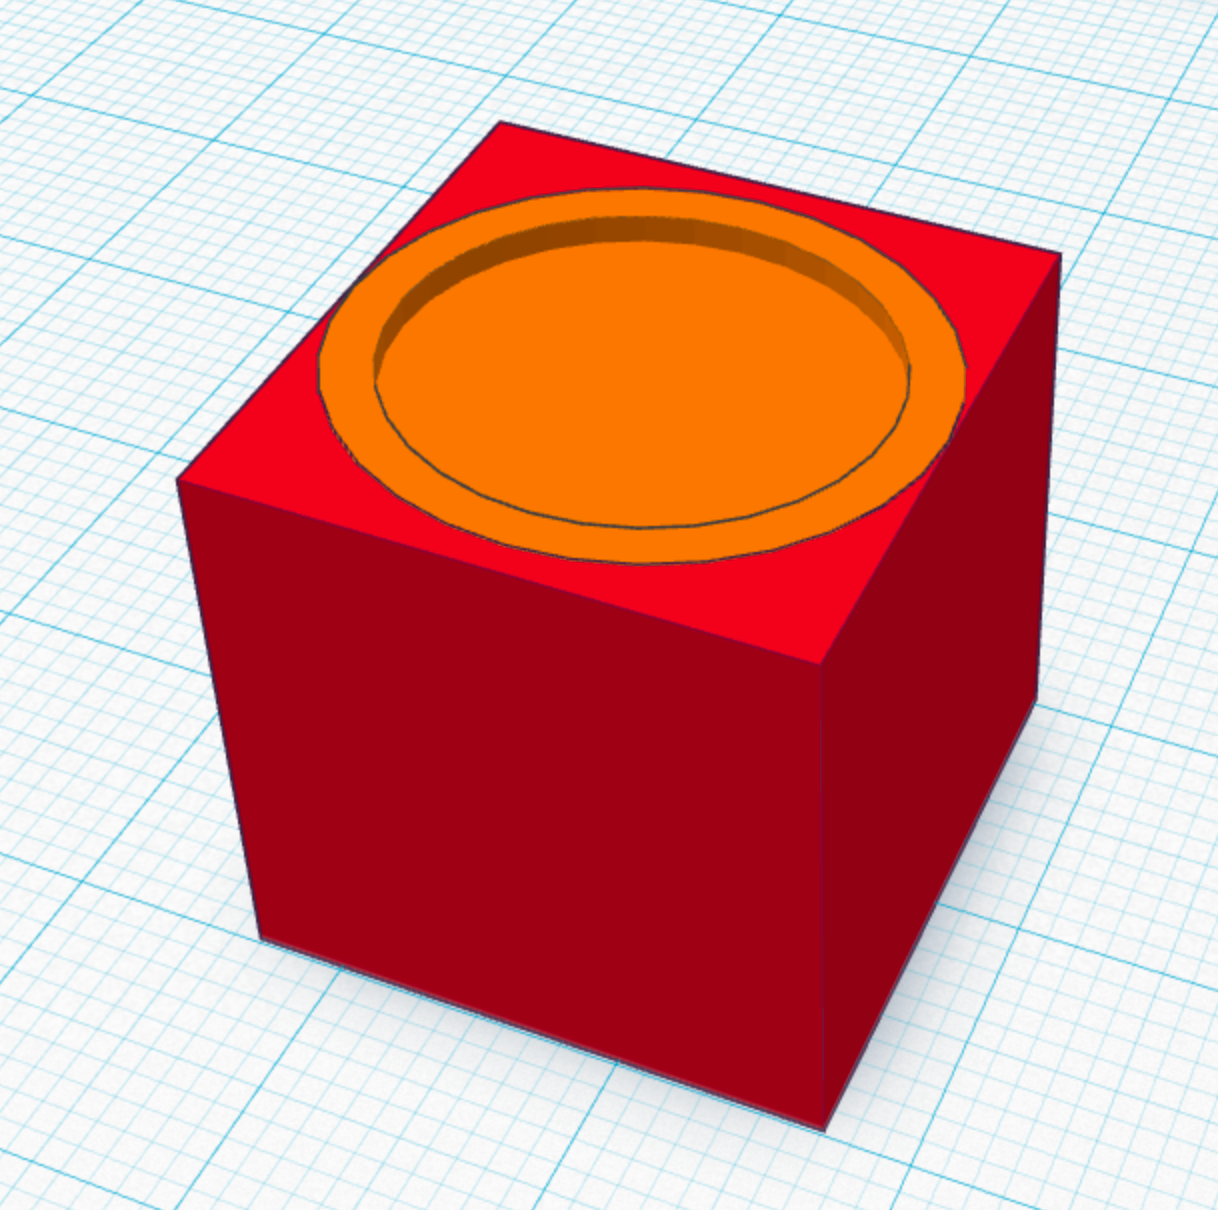
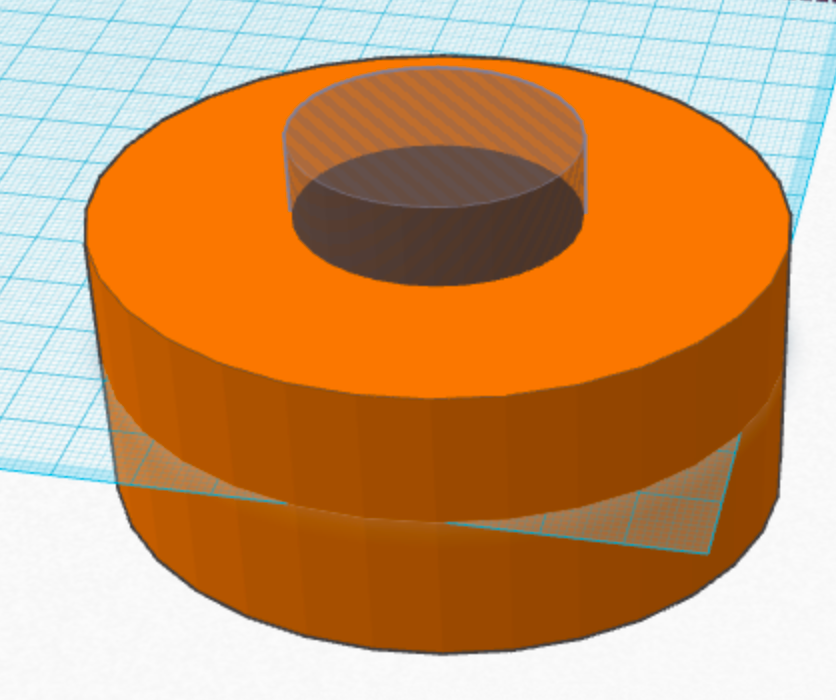
The next easiest part of the ring is the rim on the top. I can reproduce that effect by taking a slightly smaller ellipsoid and cutting it out of my main orange ellipsoid.
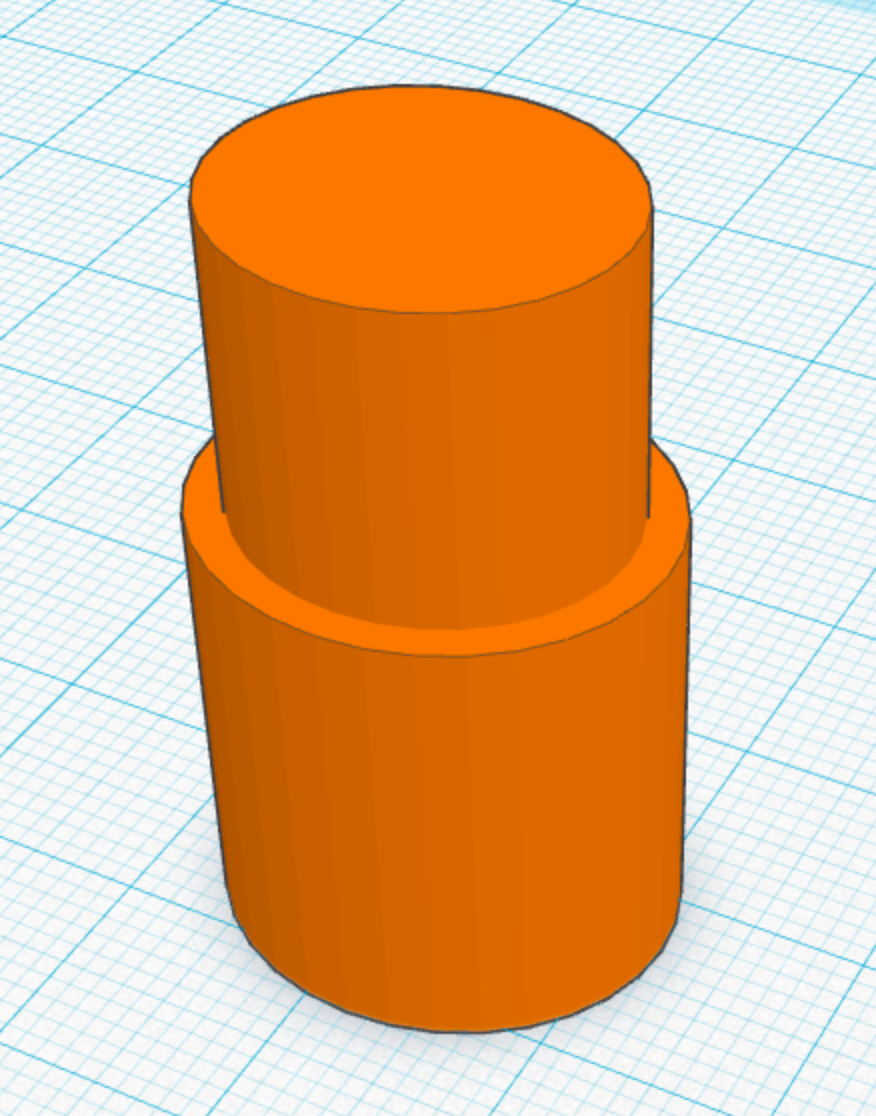

The next cut will be the inverse of an elongated sphere being removed from the shape we currently have. With my eyes it seems like the bottom of the ring is three-quarters the height of the top of the ring.
Let's start by working on the inverse of an elongated sphere. When I say inverse I mean a hole the shape of an elongated sphere.
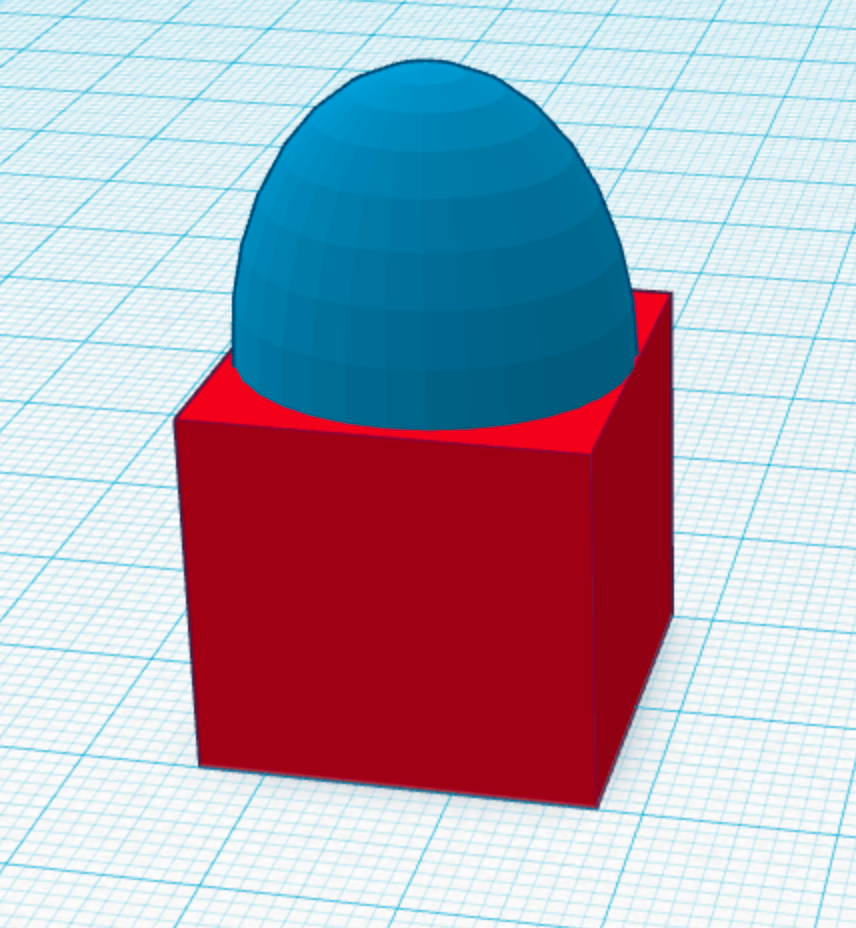
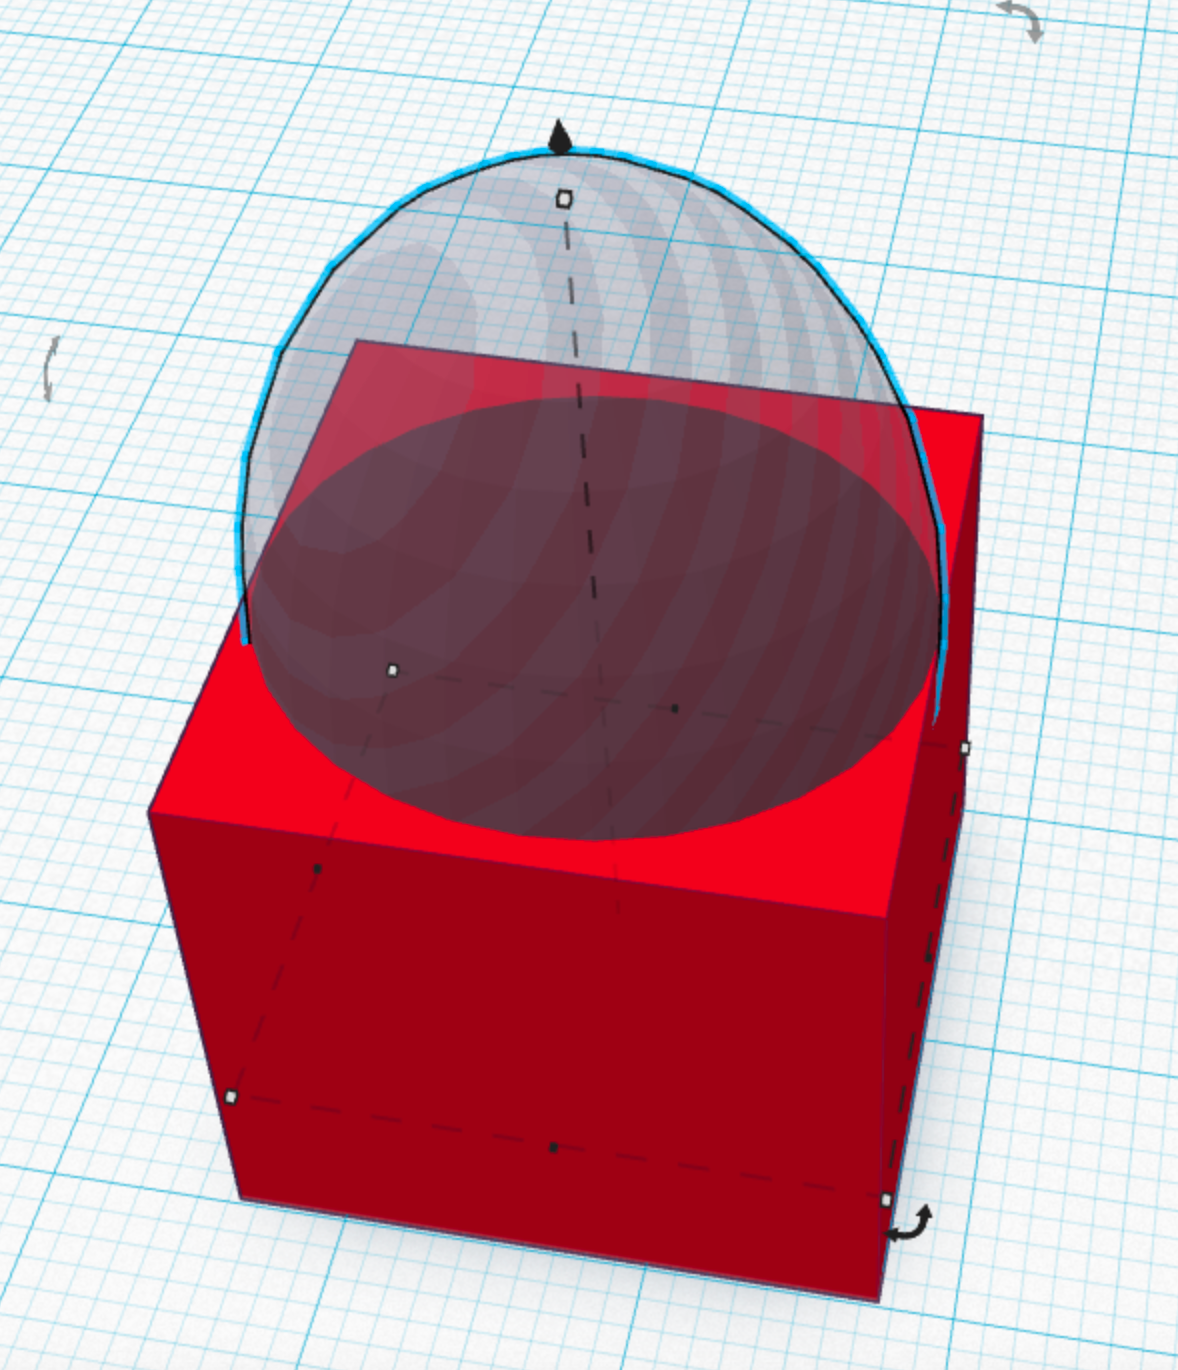

From here, we take the cut out cube and use that to remove the shape of the hole from our orange shape.
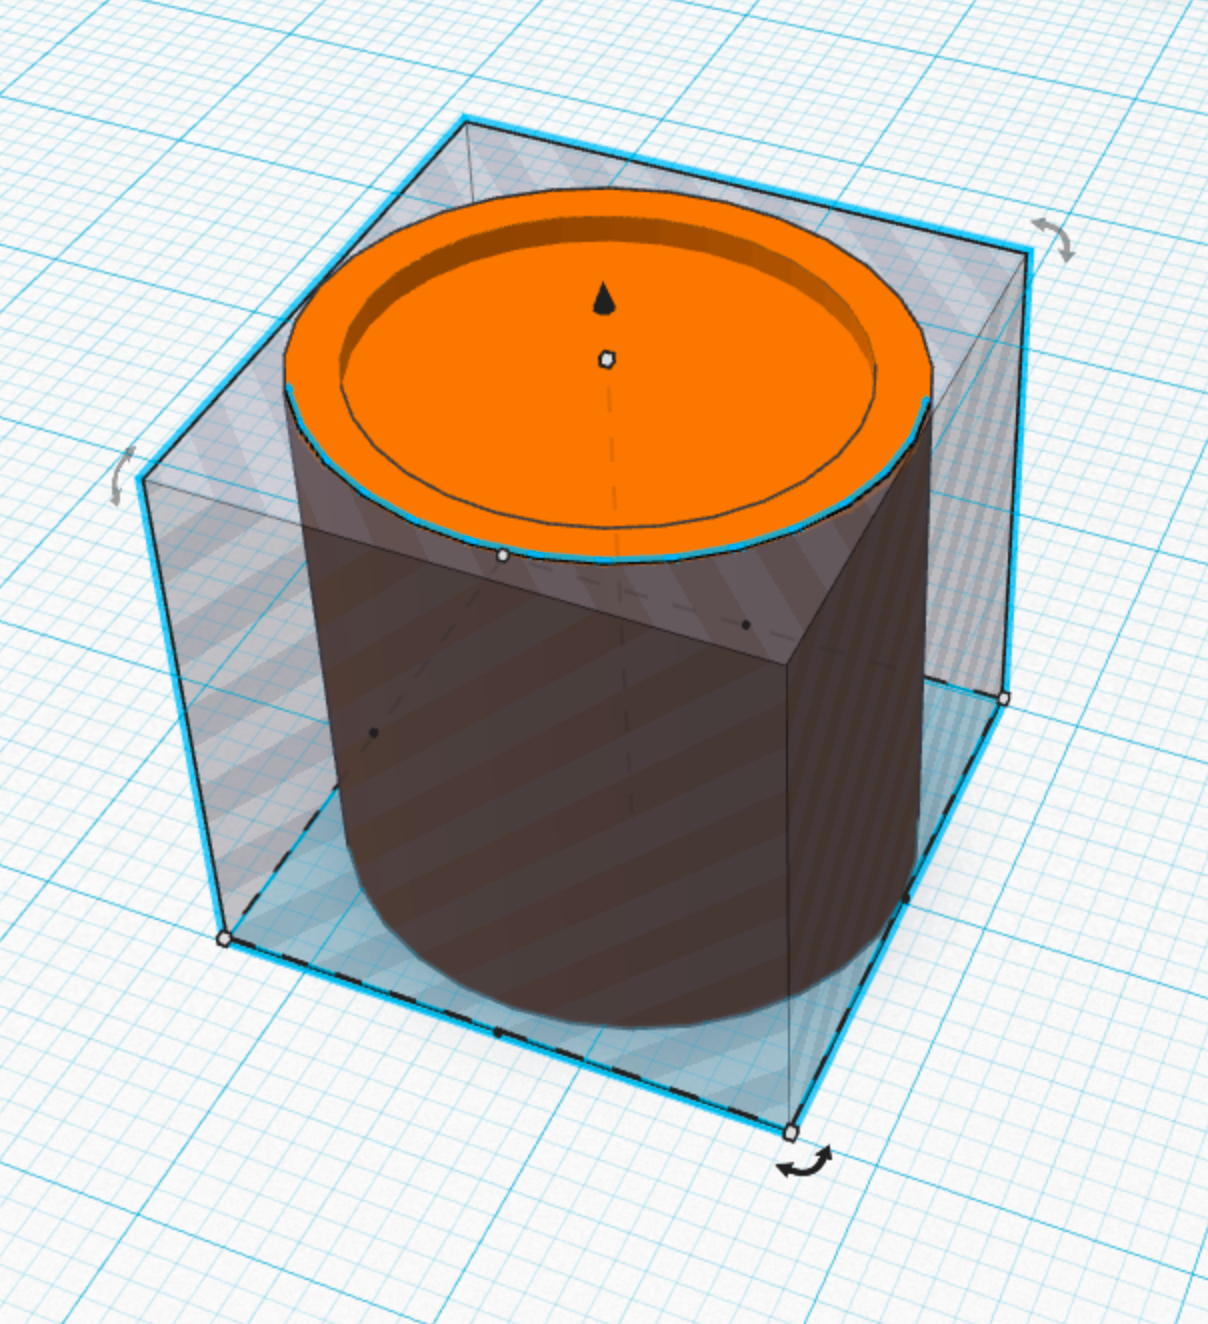
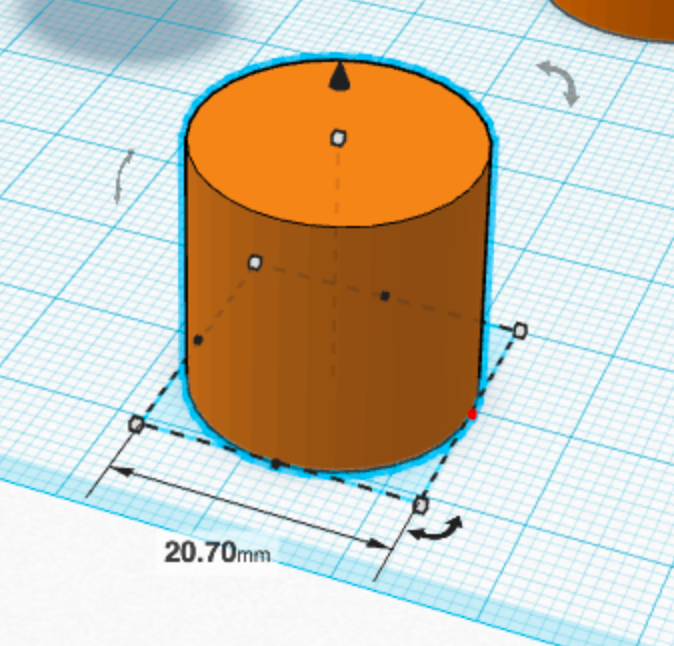
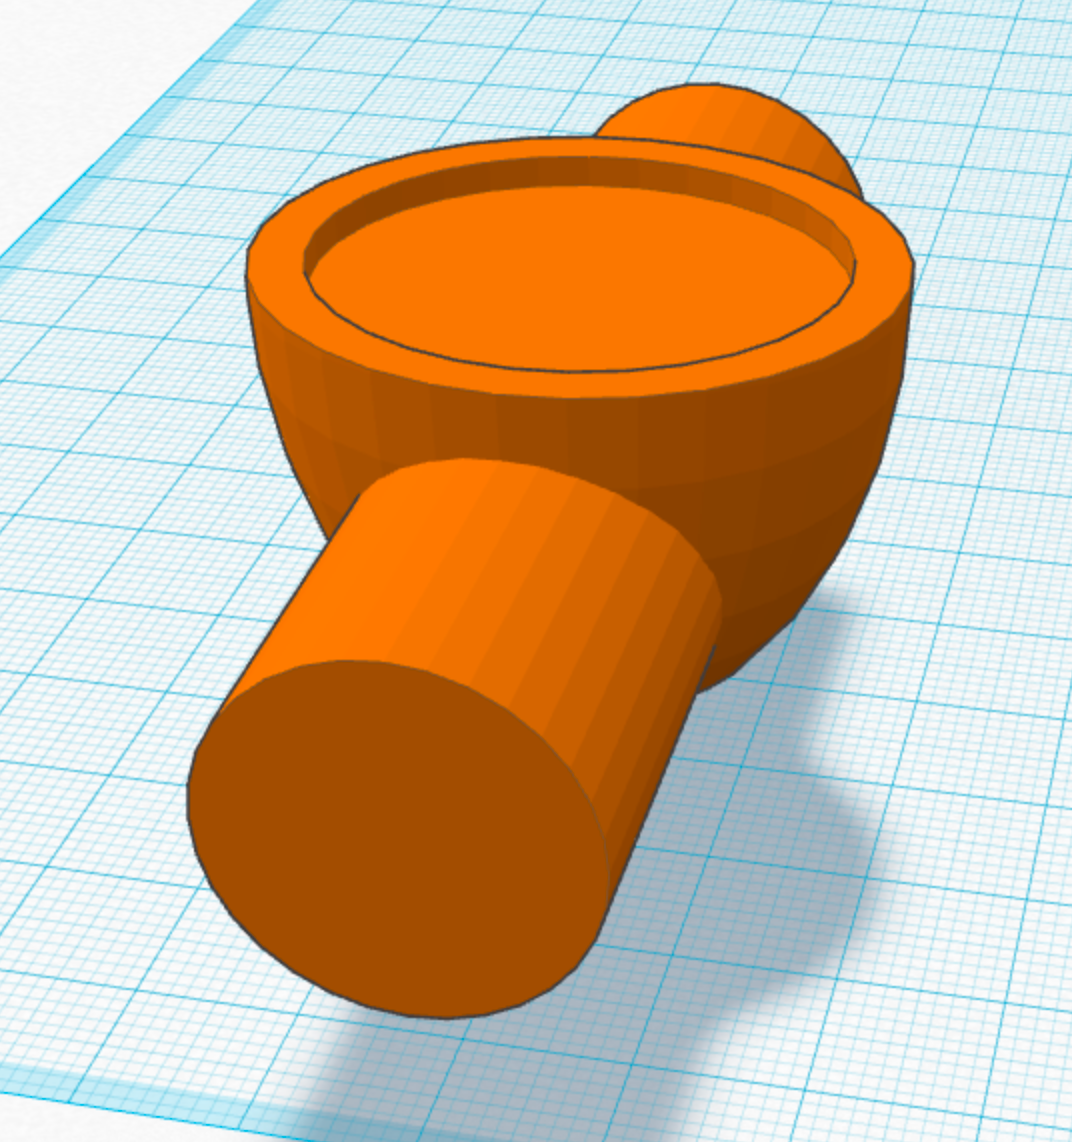
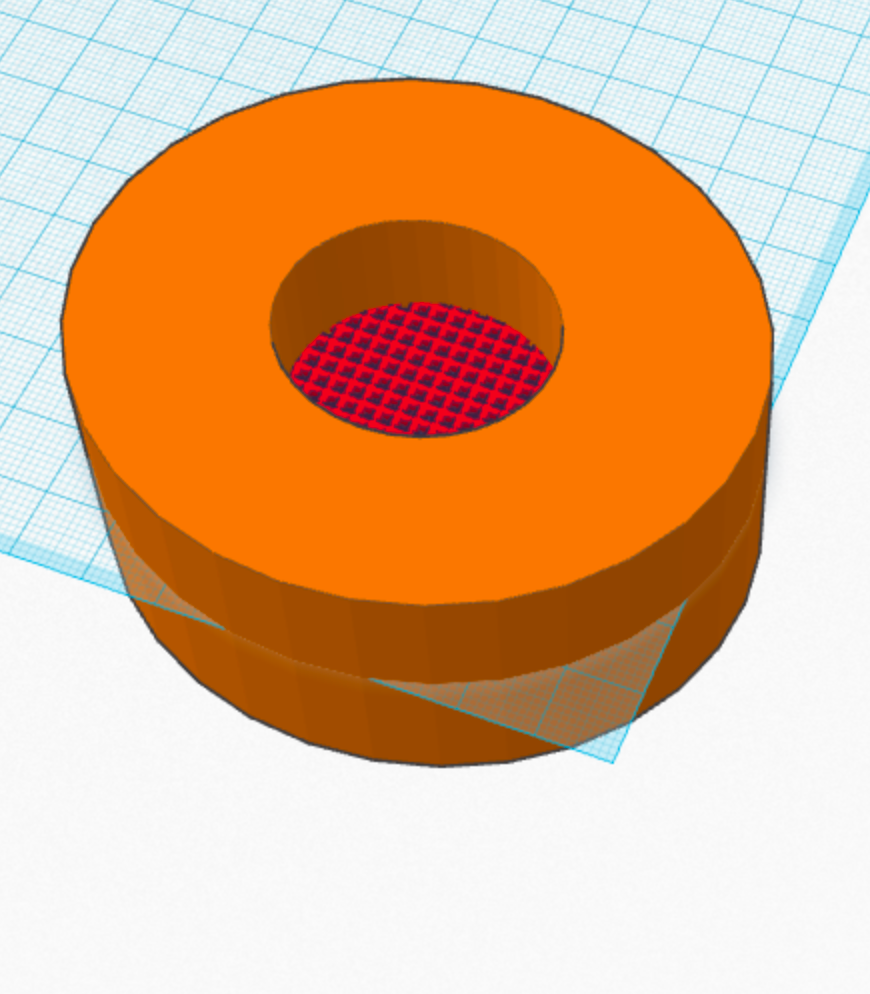
Next we will cut out the place where the finger will go. I said earlier that my ring finger uses a 20.64mm ring, so I will make a cylinder 20.64mm wide.
I noticed that my cut out shape is way to small to have a safe thickness at the bottom of the ring. I will scale up the cut out shape. Normally you should design so that you don't need to scale cut parts, because you will end up with extra material + the ring will cost a bit more. This is a proof of concept, so I will scale up.
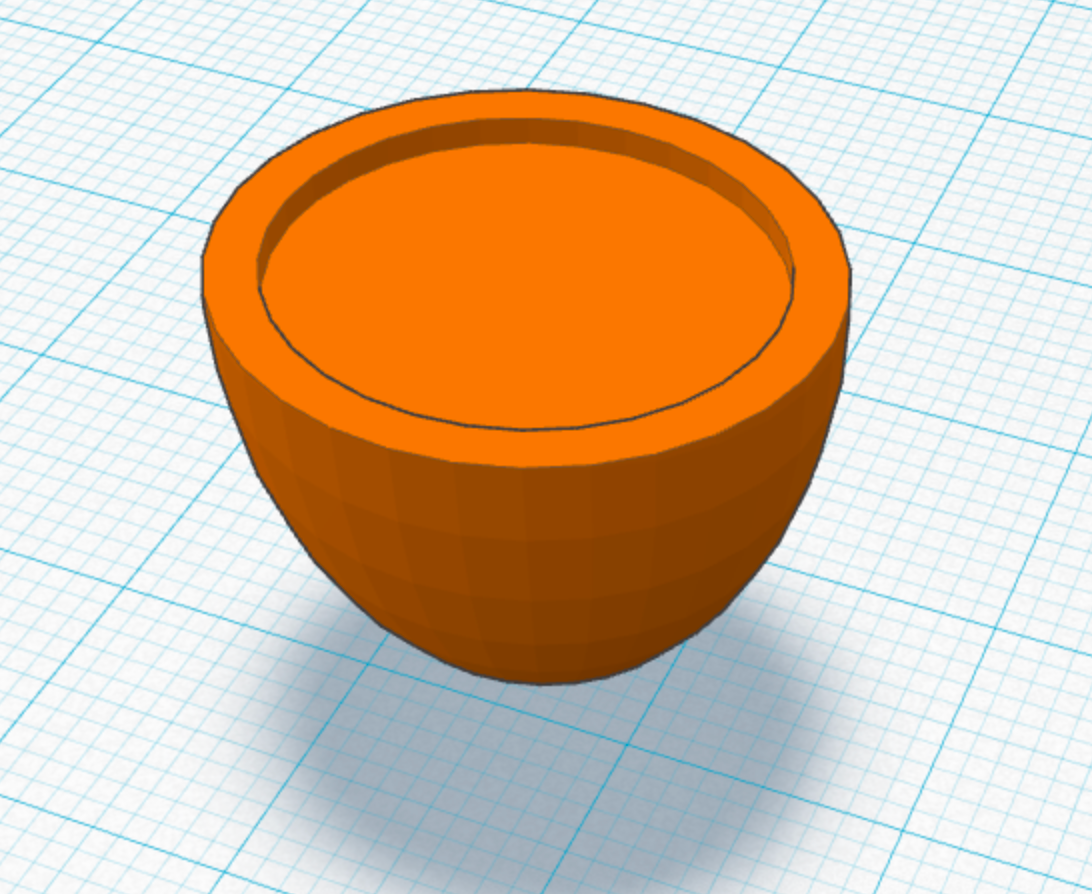
I am not sure if the shape I leave after I cut out the cylinder will have at least 3mm walls. To be more certain, I create a 3mm cuboid and move it into the solid that will be left behind.

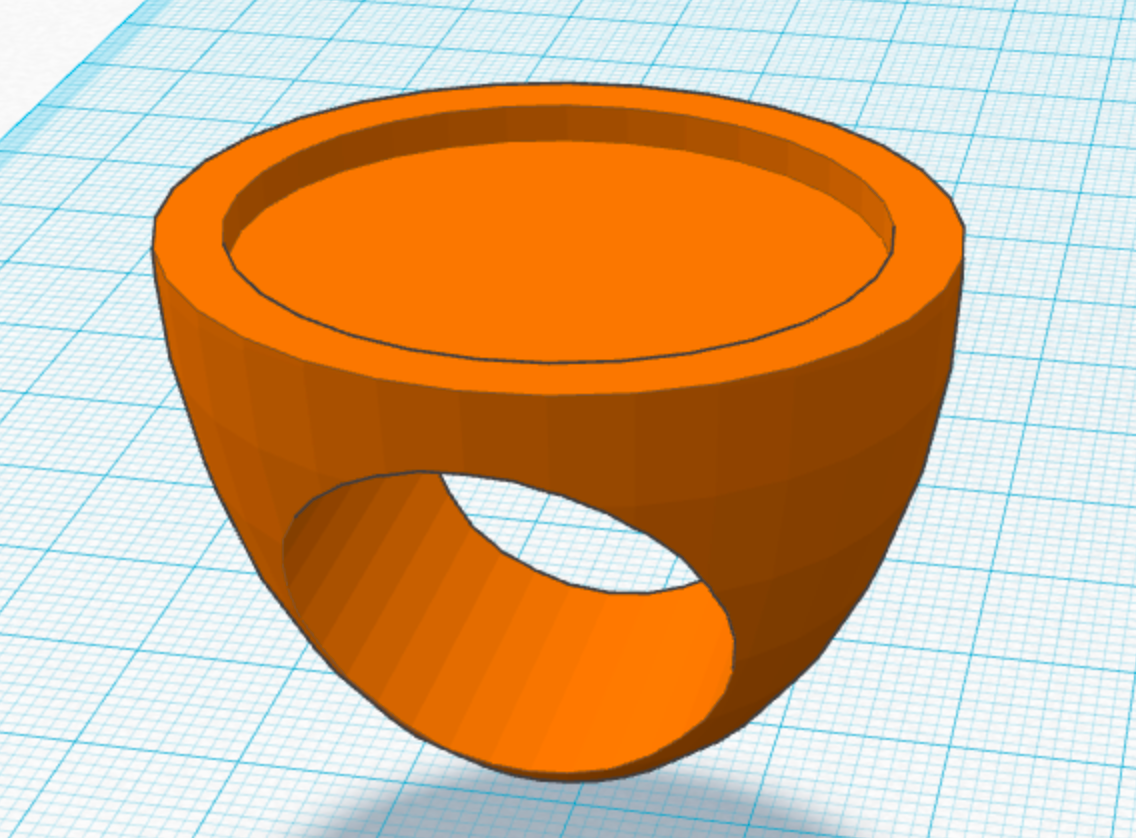
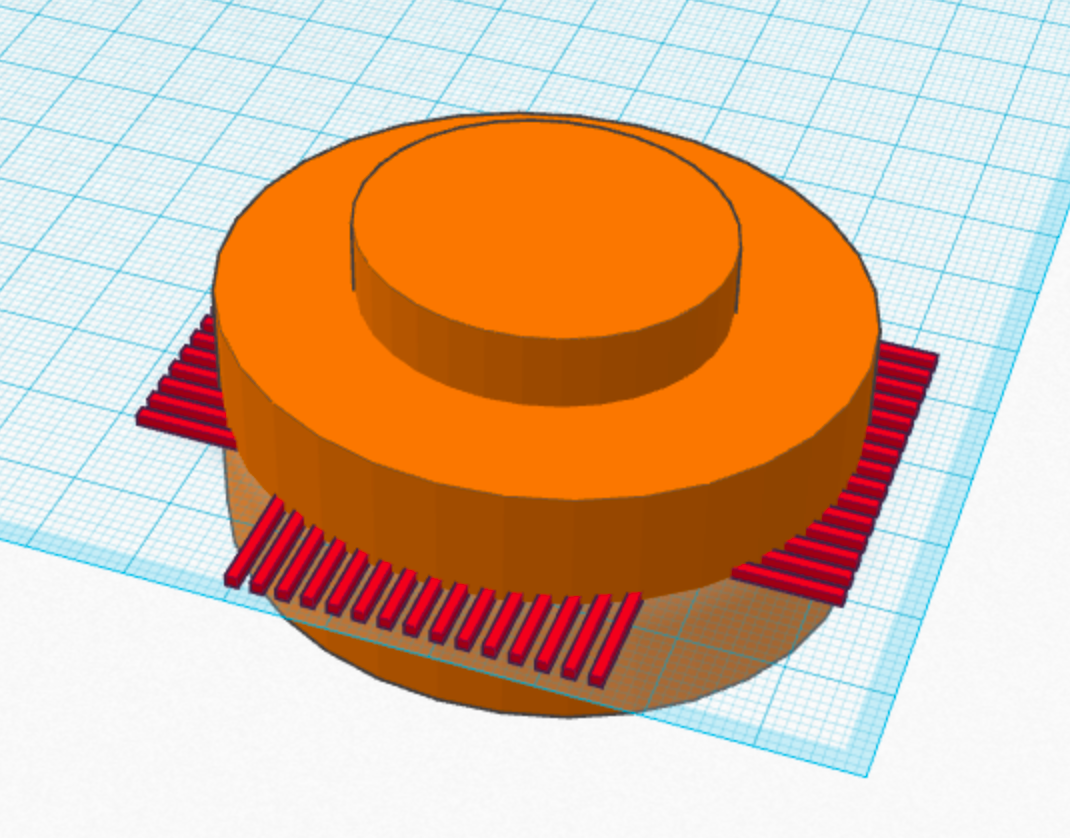
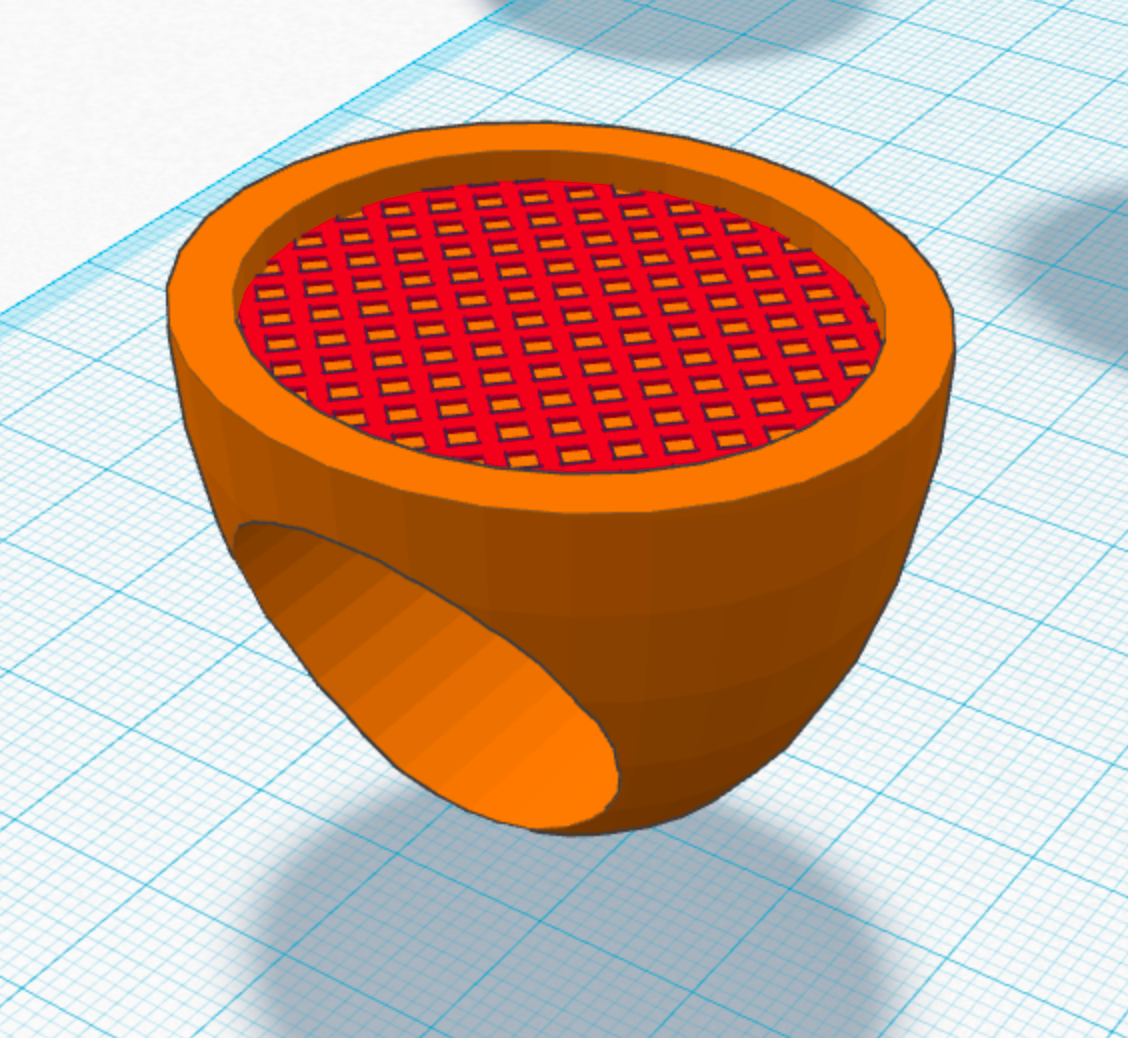
This is starting to look more like a ring. I want to get that grid texture on the top then we'll deal with the steam logo.
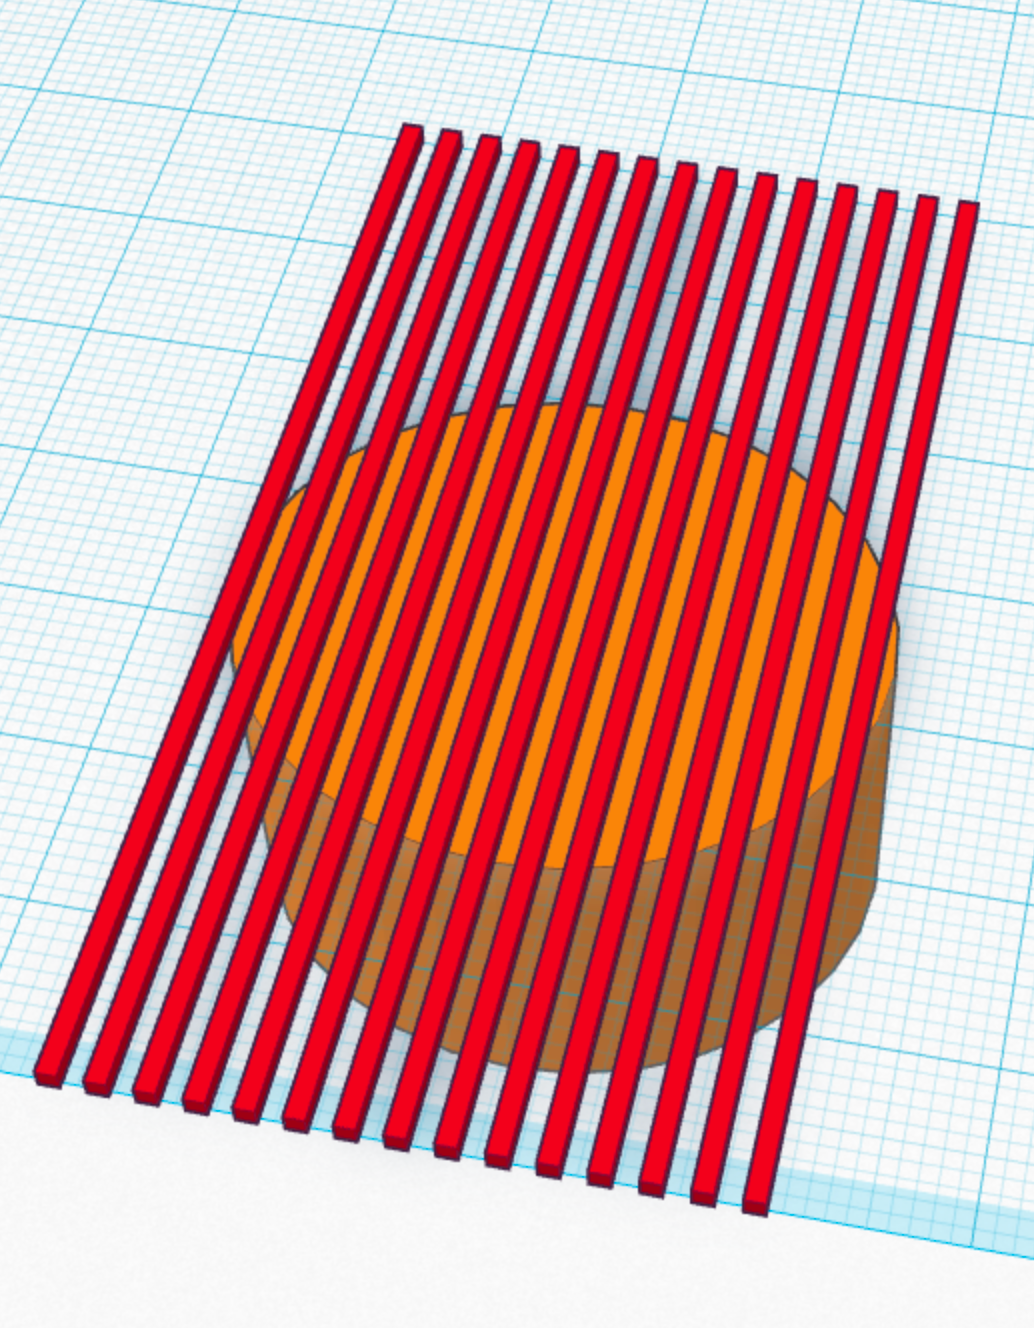
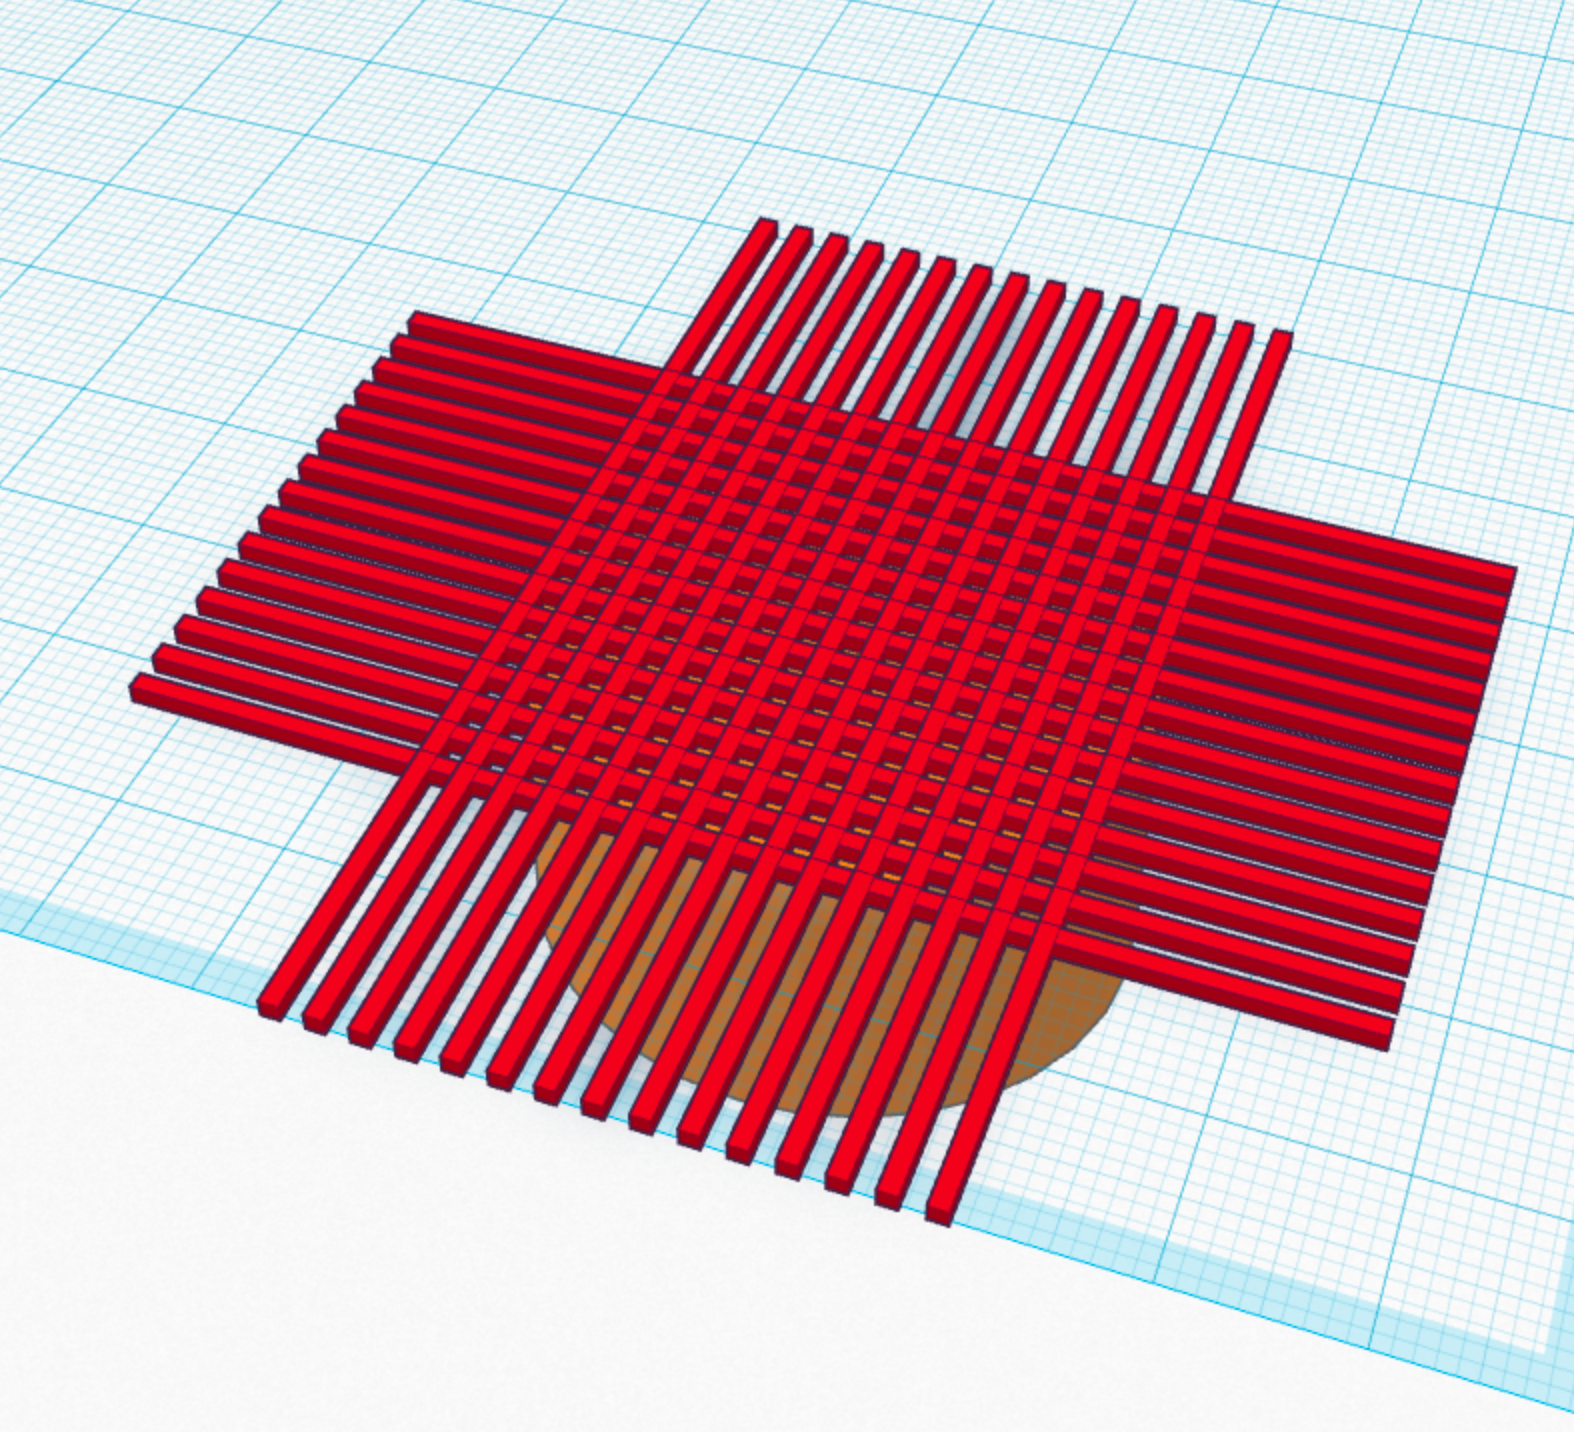
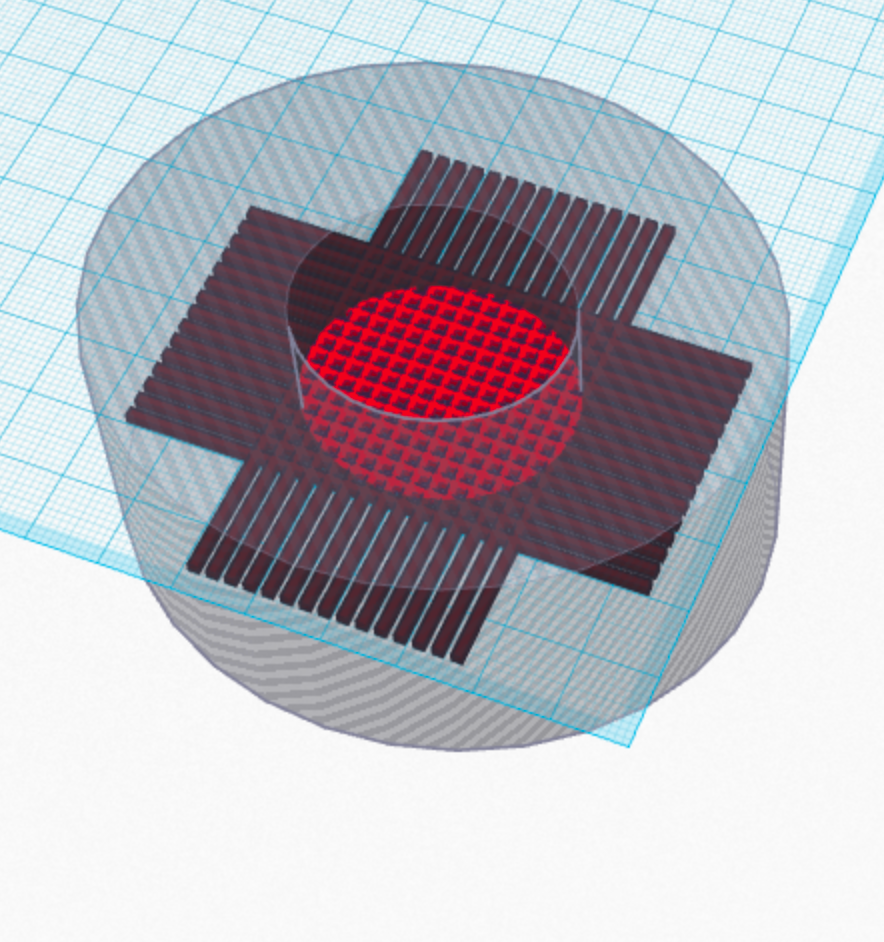
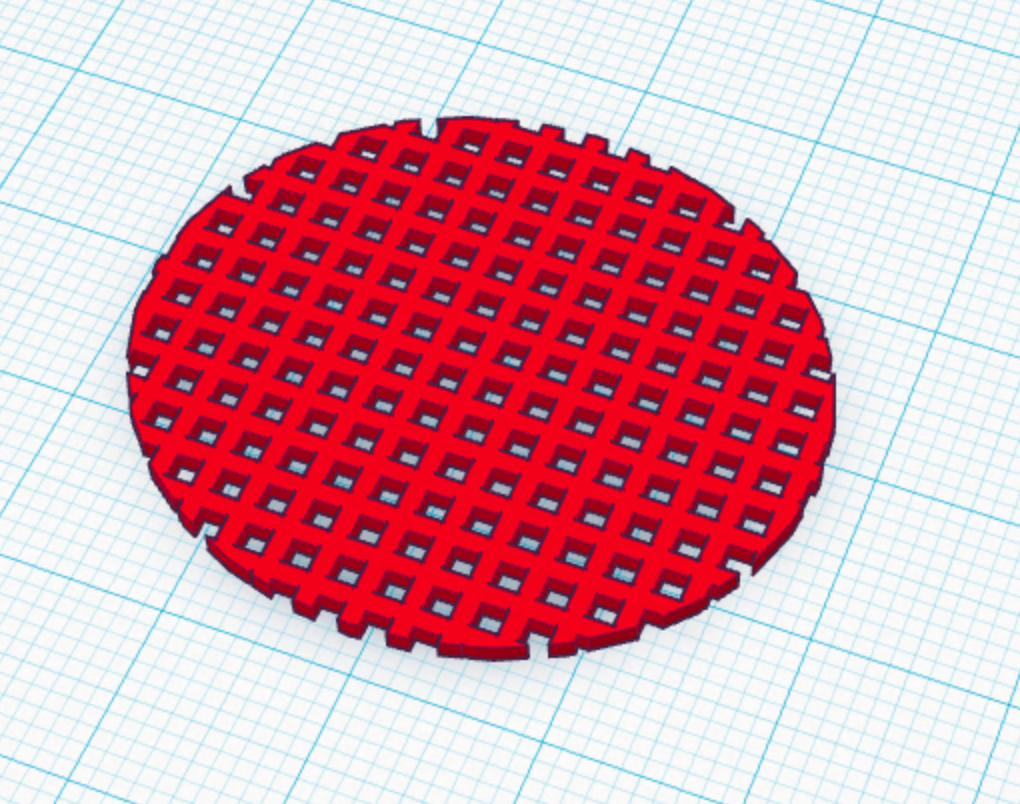
I will take a wild guess and start by making a grid with 1mm x 1mm cuboids. This texture will need to be cut so it doesn't extend past the top of the ring.
Actually I counted and there are 26 bars. I am going to just do 1mm x 1mm bars since this is a proof of concept.
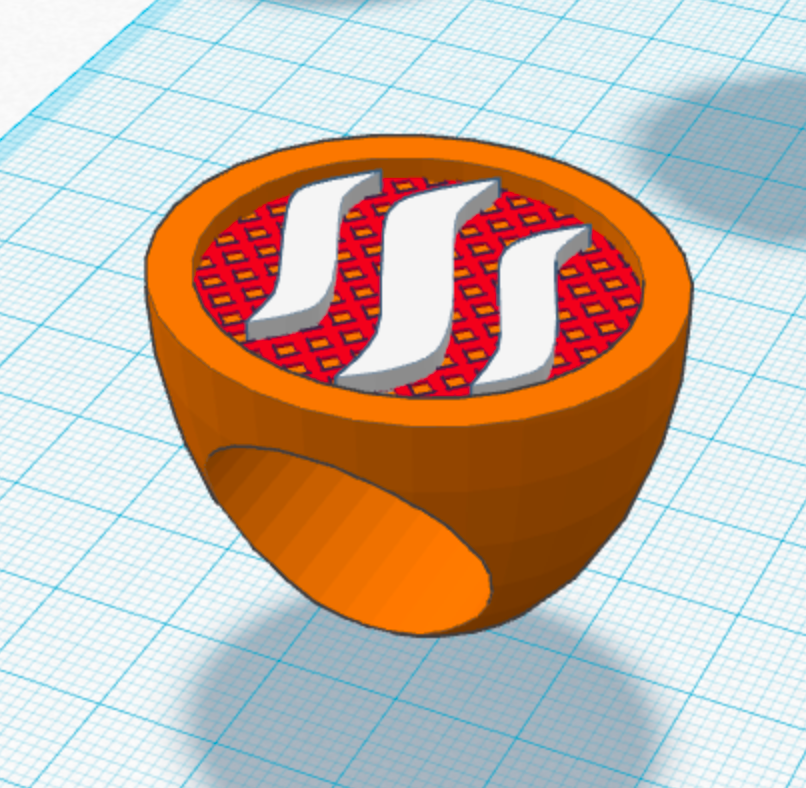
All we have left is the steem logo. I think there is a way I can import an image and it will convert into a shape. If this doesn't work, I will use an Inkscape extension that converts a vector to OpenScad. Then export the design as an stl for Tinkercad placement. I just checked and Tinkercad accepts 2d SVG files. I happen to have one from an old steemit post.

I always like to keep versions of previous shapes on my workplane in case I want to try changing the design without starting from scratch.
Here is a design with the logo colors. Shapeways supports this in multicolored sandstone.
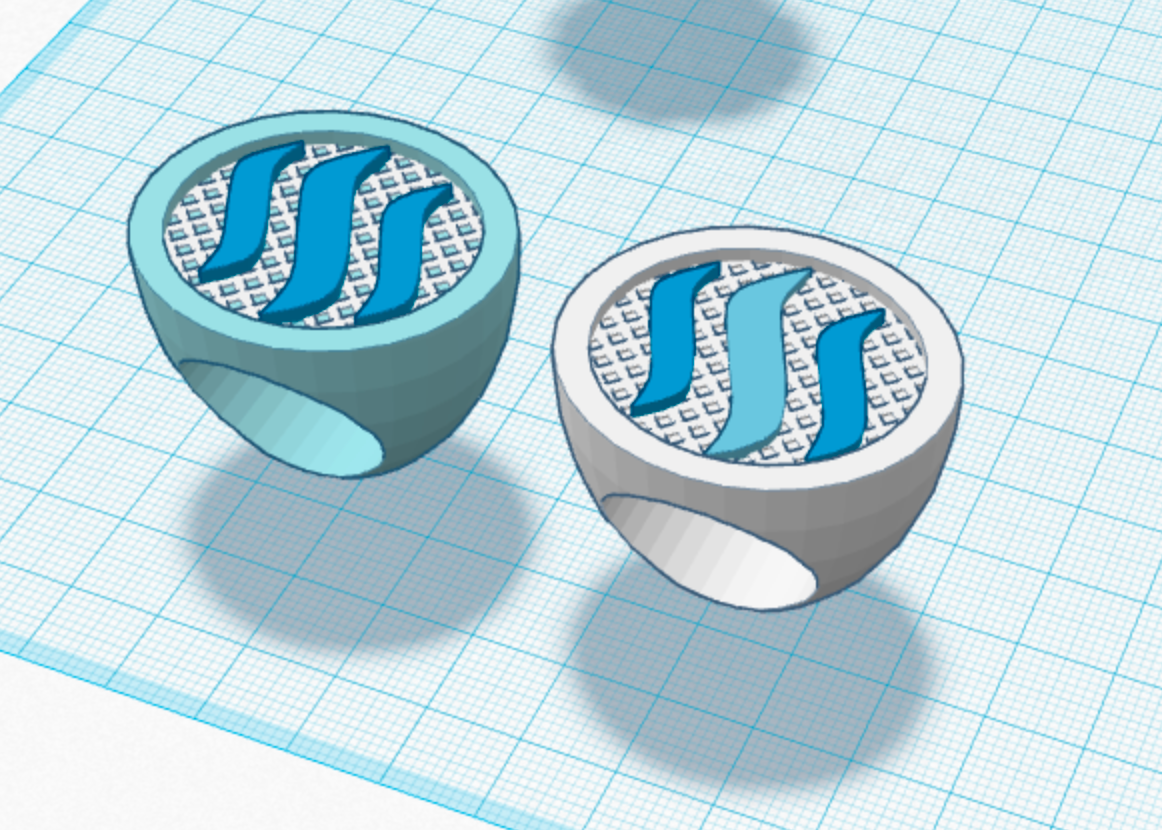
And here is the Shapeways url to a page that will show renders of the design in different materials and allow you to rotate the ring. When those renders are ready, I'll post them here as well.
Oh and here is the tinkercad design link.