Fellow Steemers! Today, is a good day and as matter of fact I would like to share how do I make black and grey mural paintings. You may consider this as a tutorial, I wouldn't not mind. And, I hope it would be a big help for those who look forward in making a mural paint.
Note: I do not follow any particular standard on mural or any surface painting. I do it with my own style and method. Hope you would enjoy my presentation. 😁
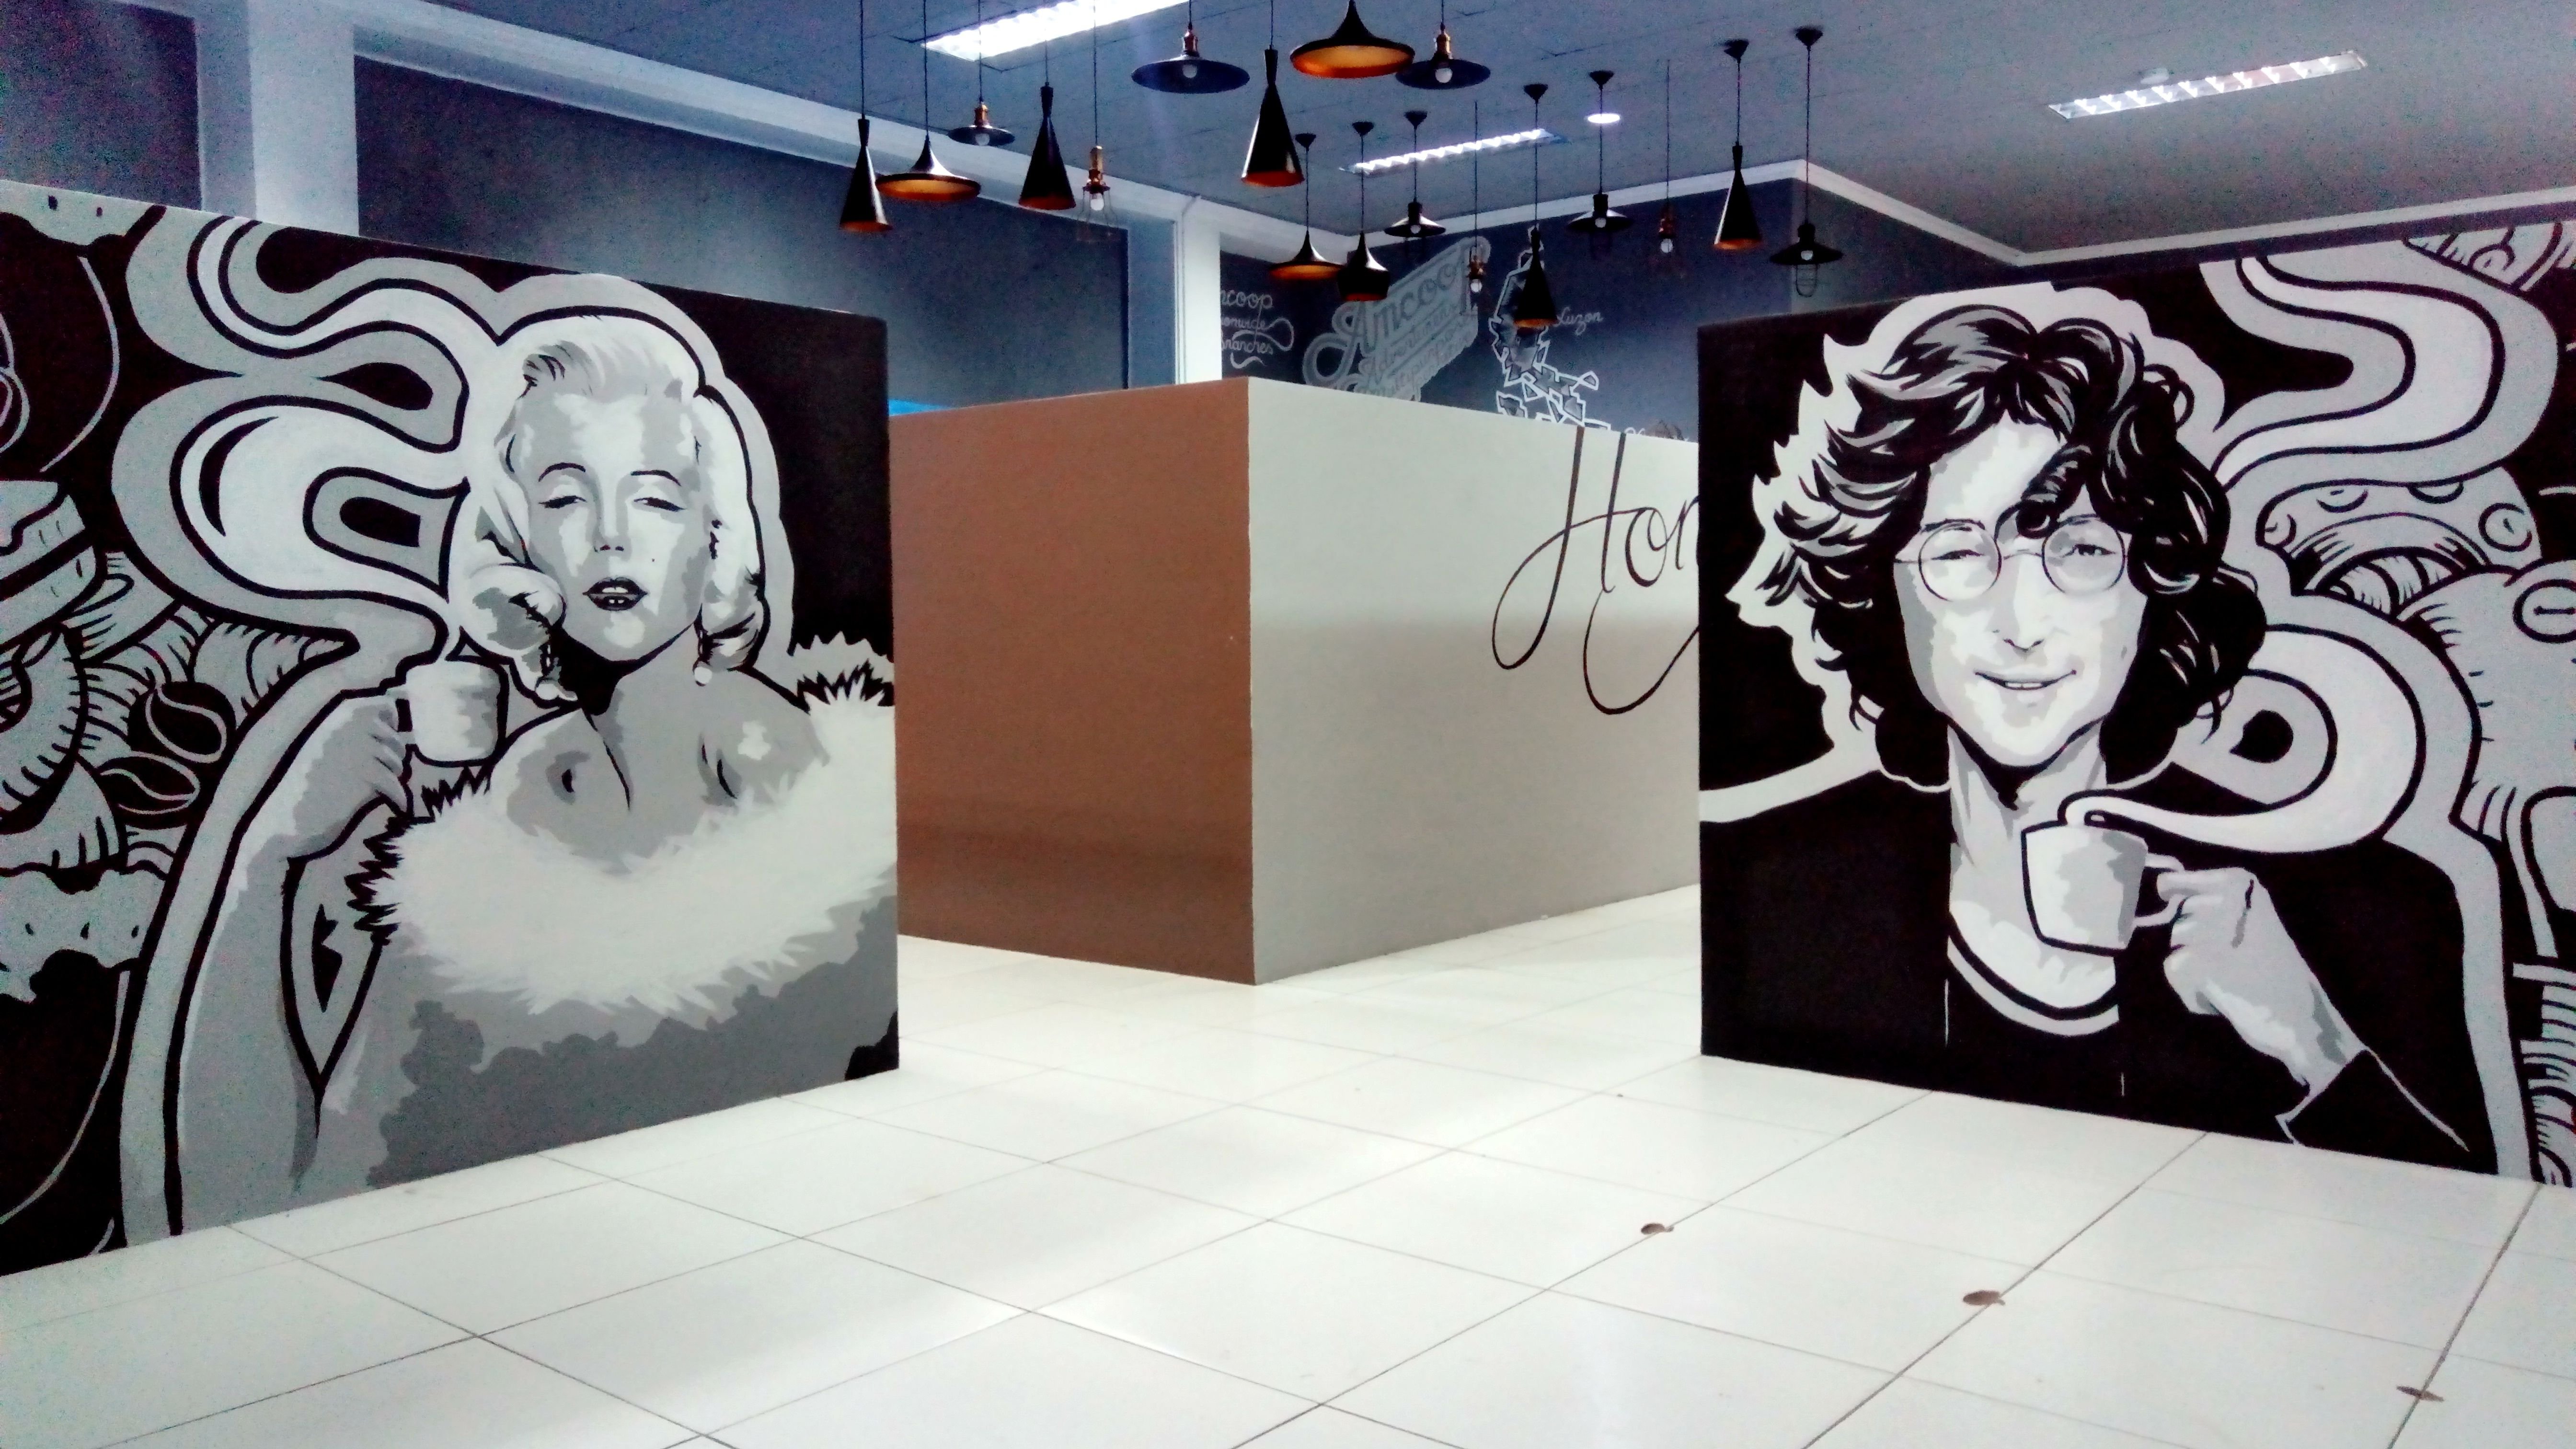
Before we start, I would like you to check out some of my sample works:
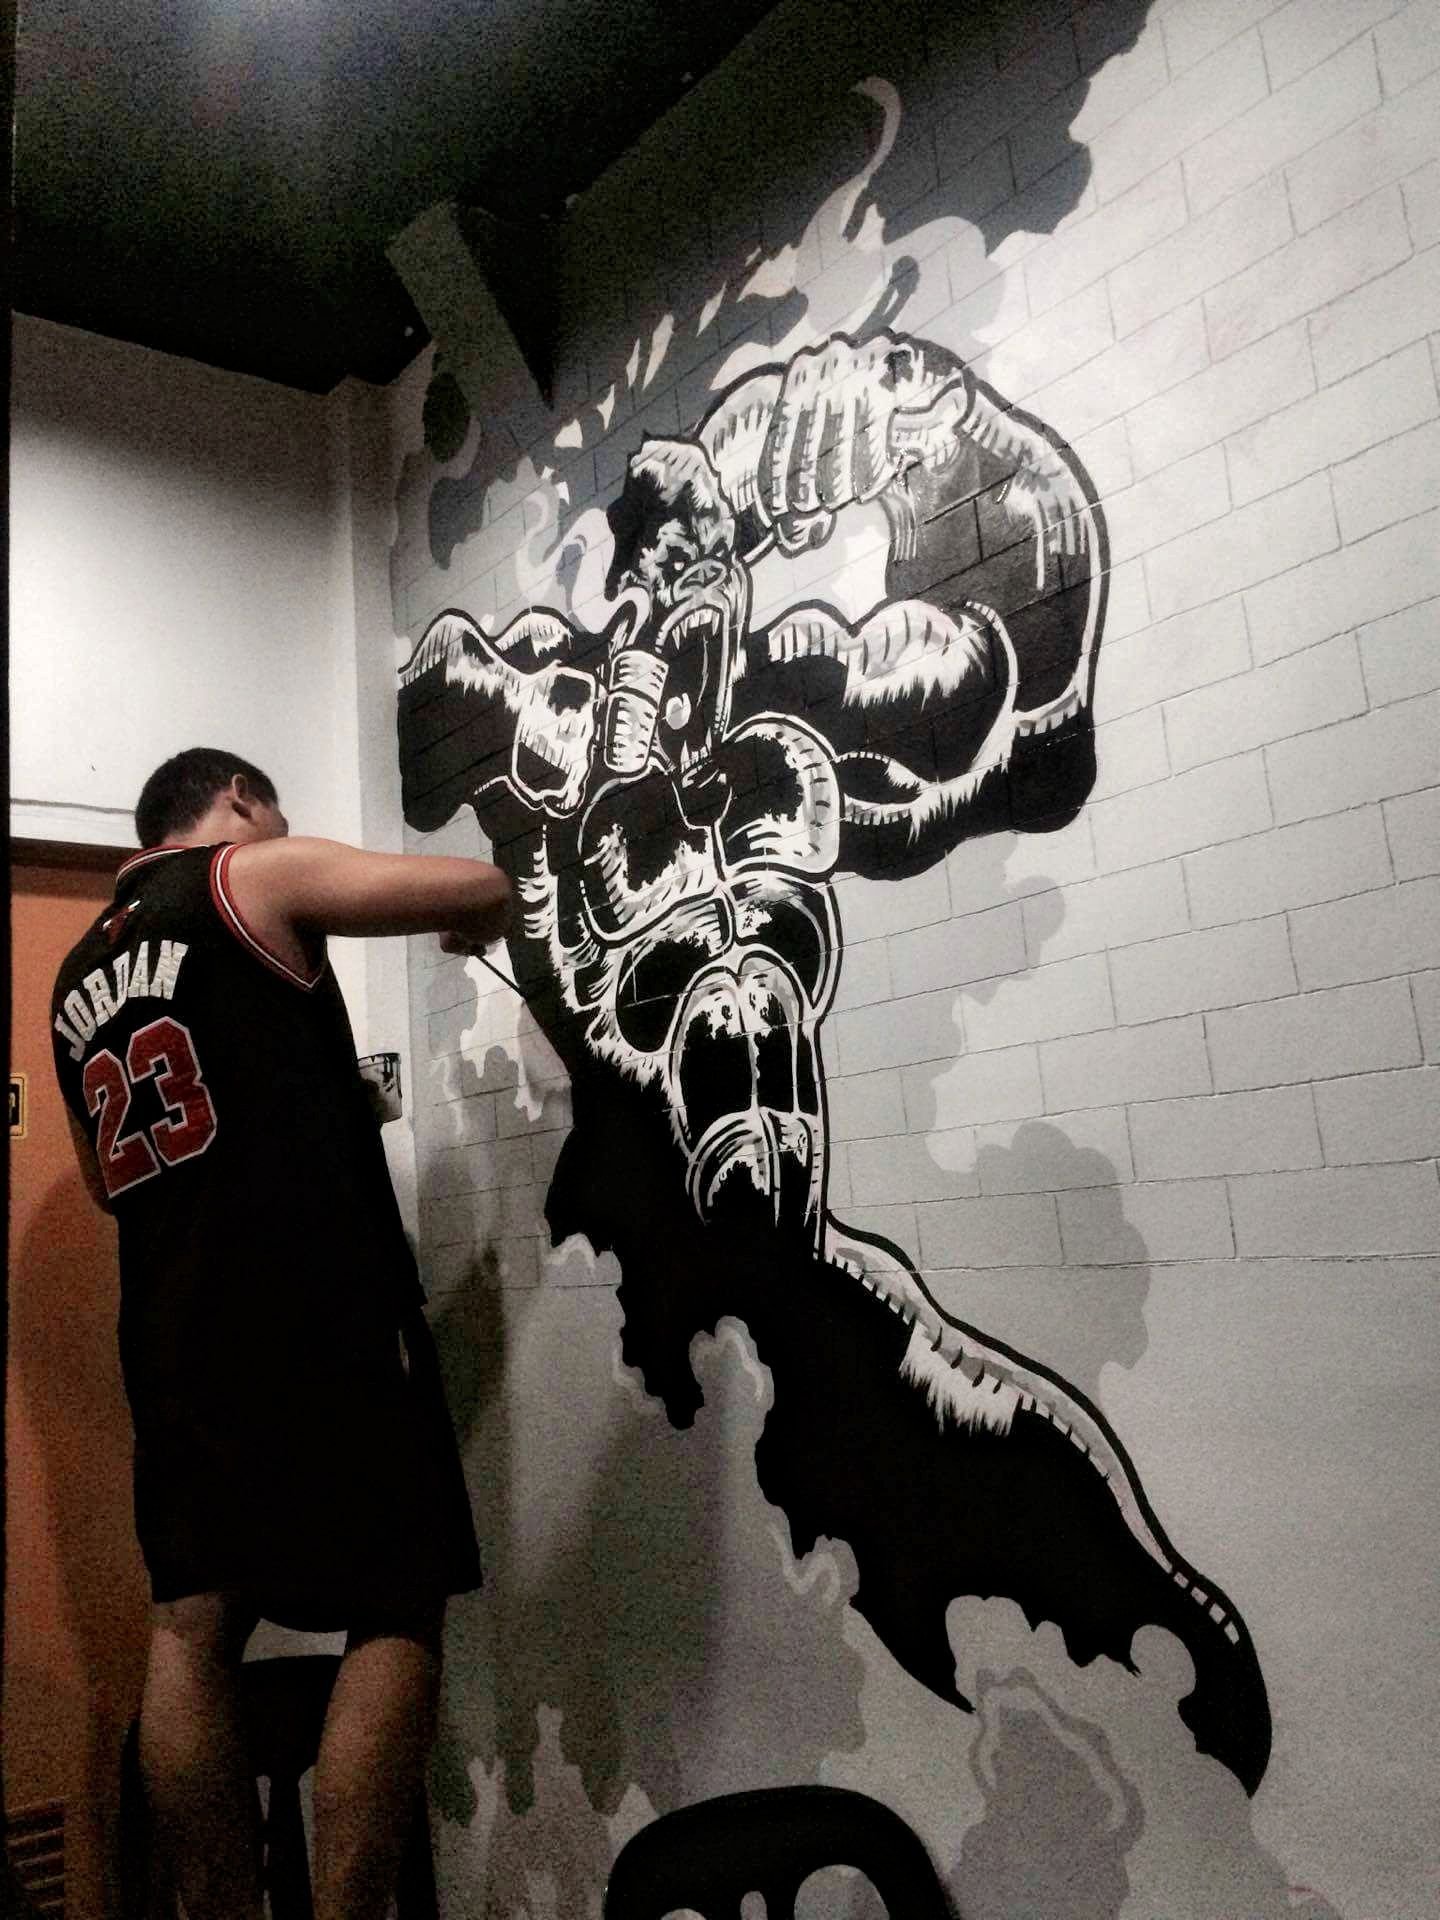
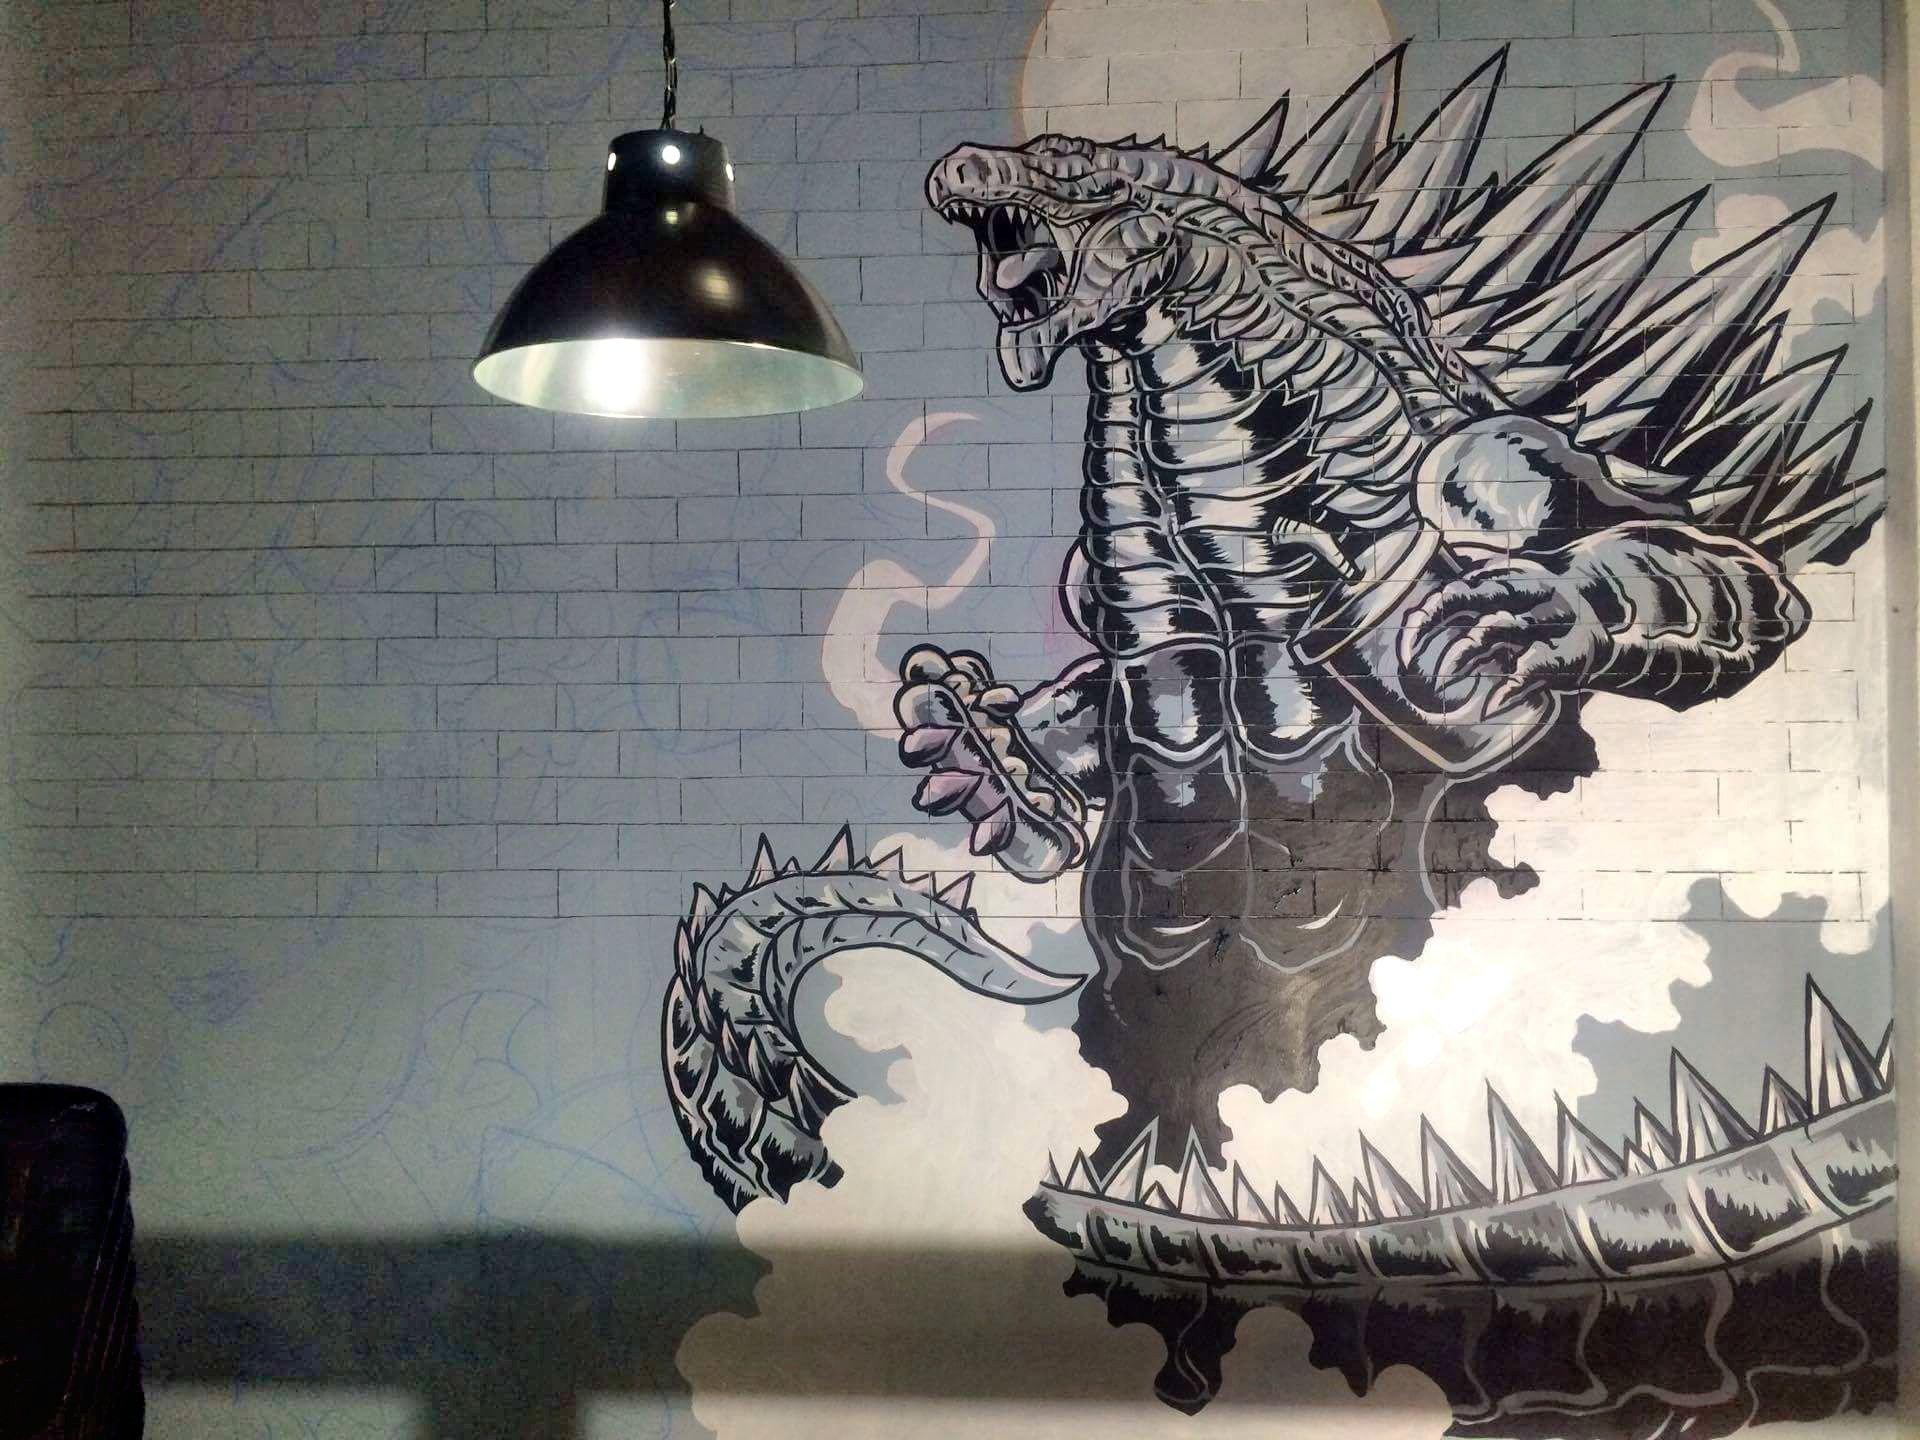
I would also like to show you one process I did on a restaurant wall. "The Chowzilla" 😂

So to start, I assessed the wall that has to be painted and sketched a design prior to the process.
Note: My sketches doesn't always go with what has planned for the wall, there will be always some changes along the way. That phenomenon is what I call "creative accidents" 😳
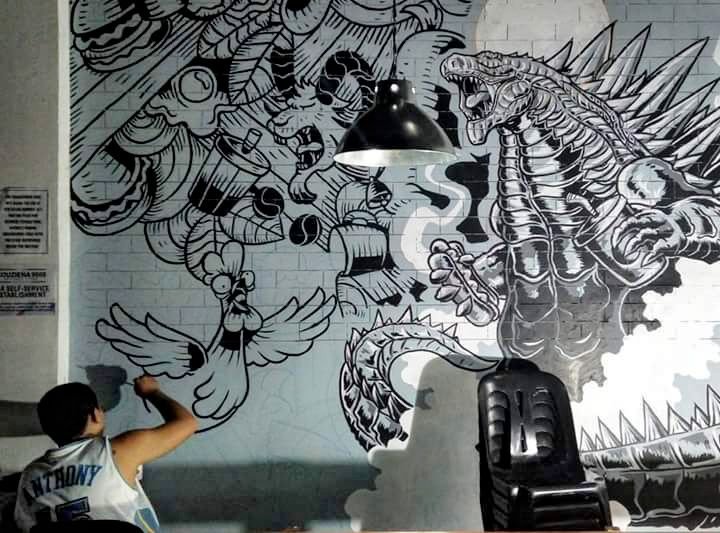
After the I made the sketch I then proceed on the wall.
(The paints I use are Water Based Paints, particularly Latex paint and Waterbased Acrylic)
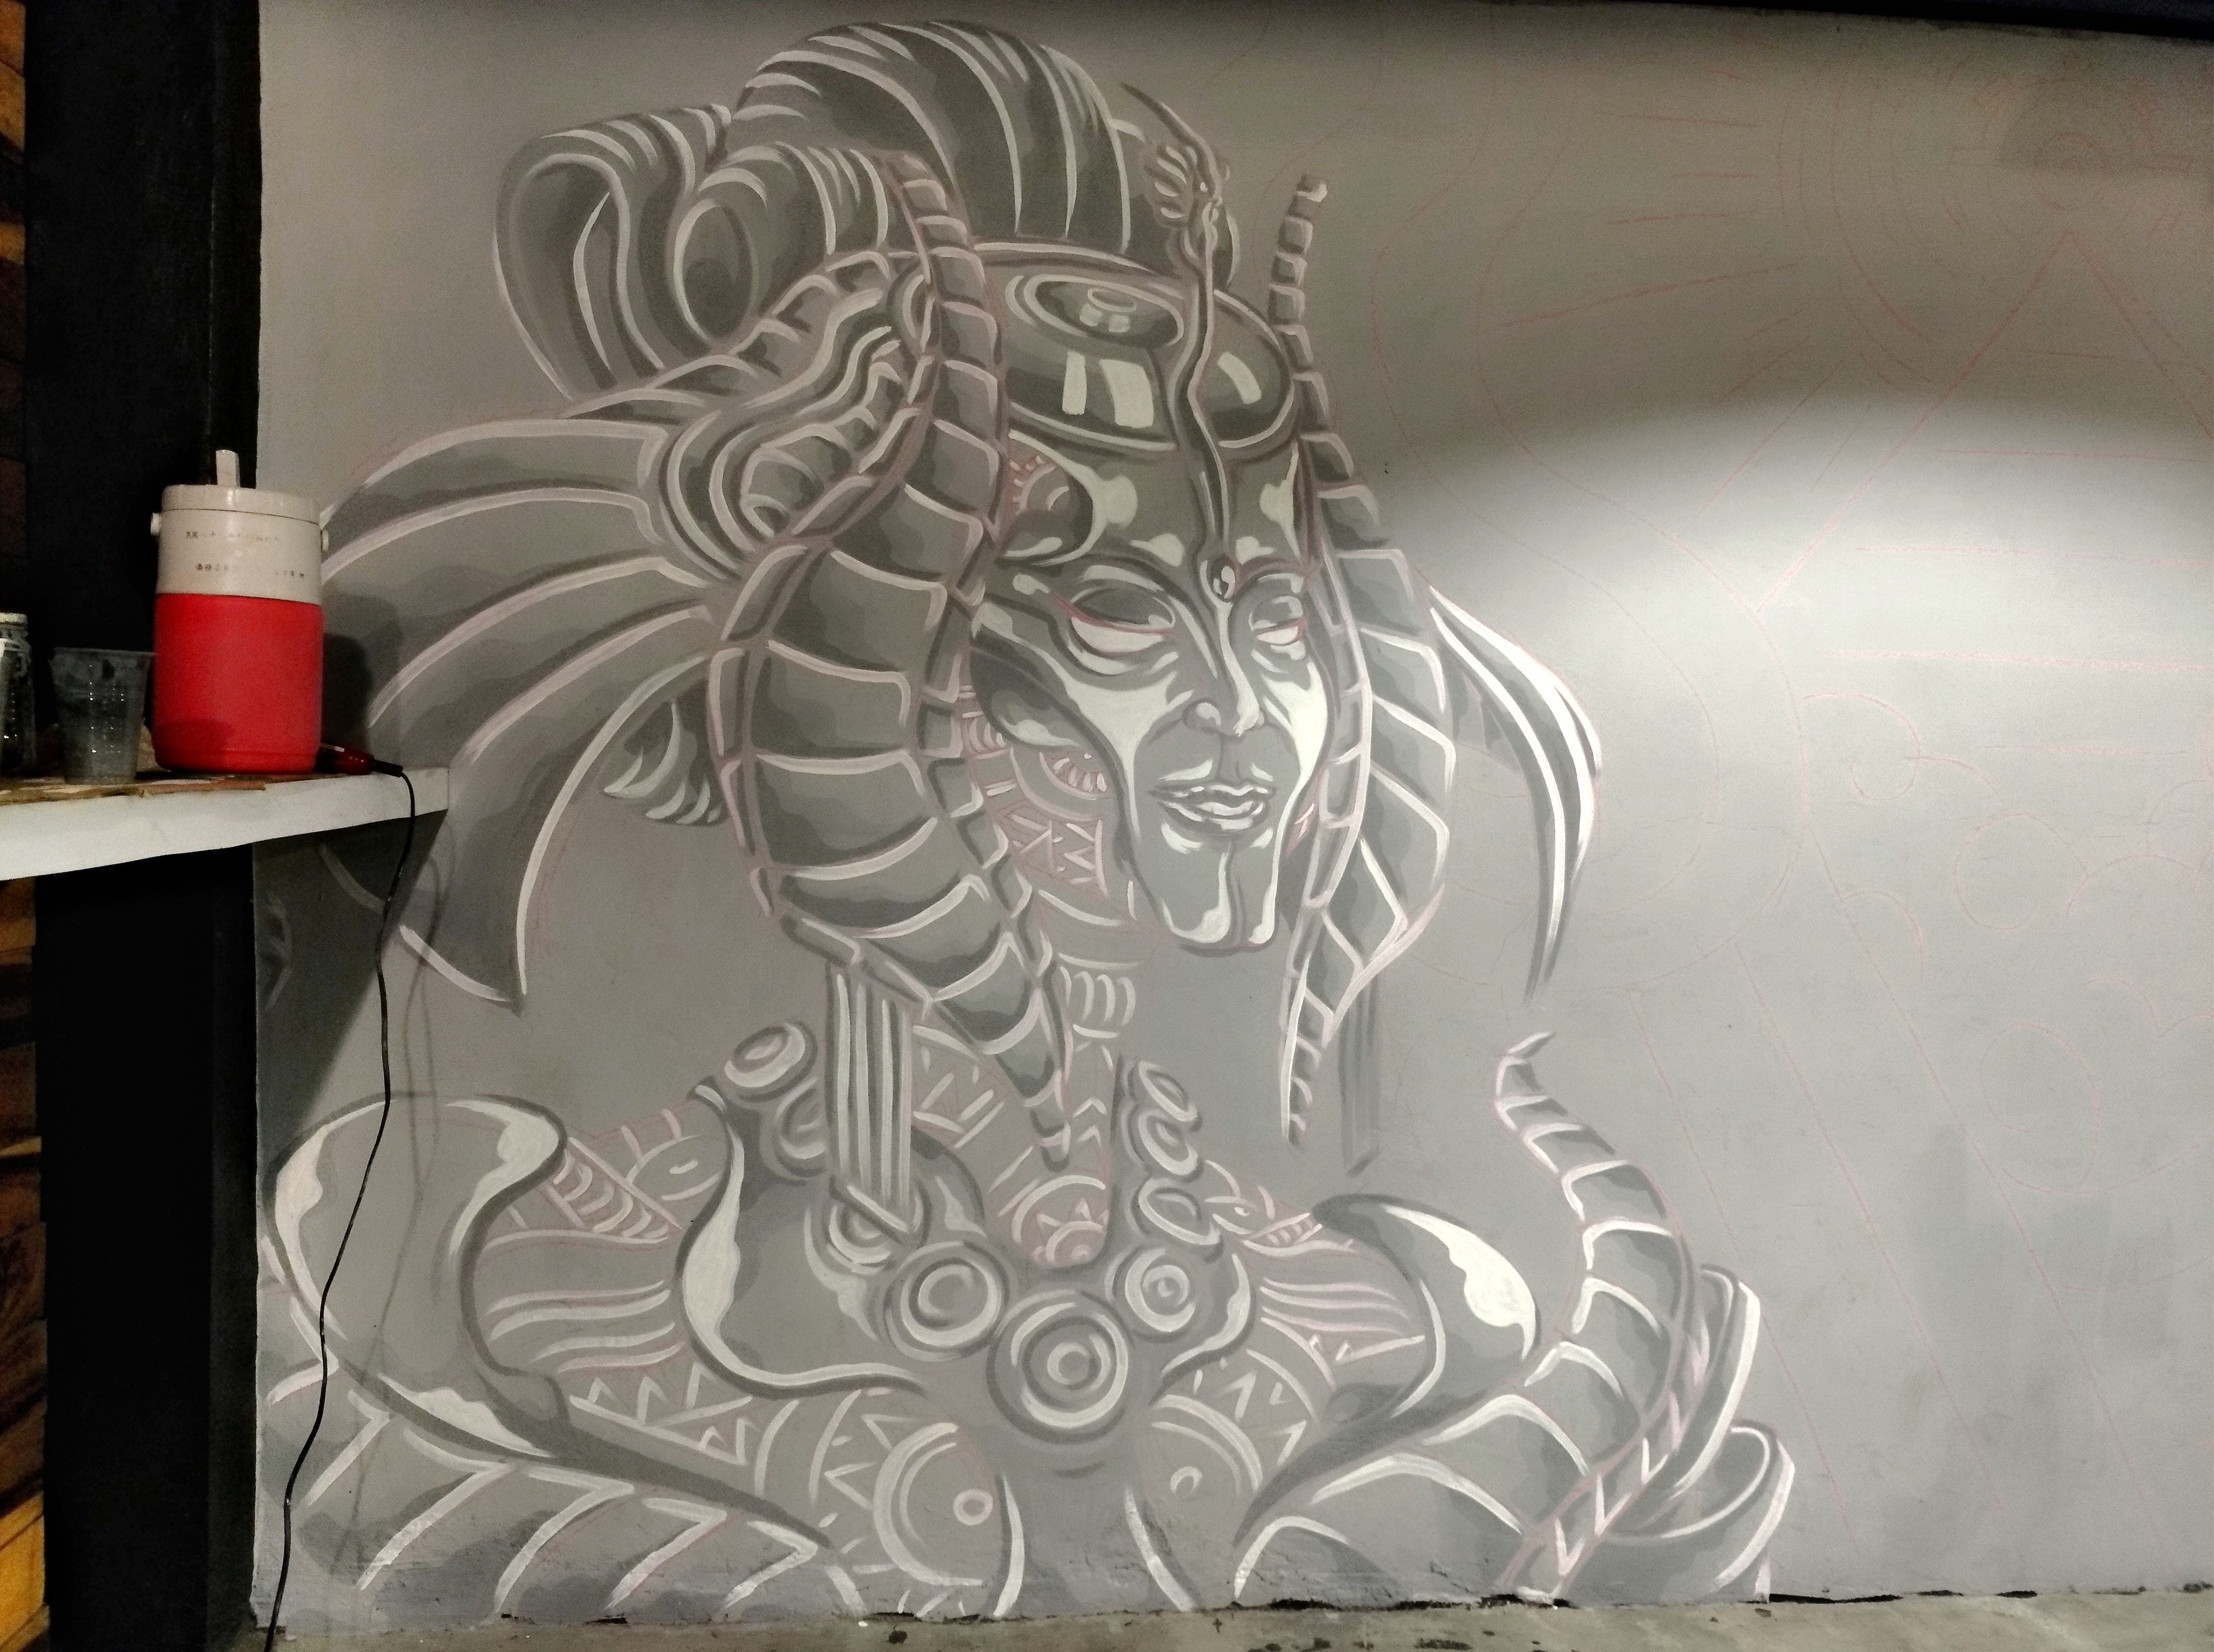
In making a black and grey mural piece I always consider primering the wall with a FLAT LIGHT GREY COAT, a grey which is almost close to WHITE, but can be determine when you already placed white paint during the process.
As for many of you didn't know, light grey is the most neutral accent to consider as a background before painting, because it absorbs paints quick. Regardless of the color. Resulting to lesser coat application which is very practical for artists like me, because paints slowly become a little bit more expensive than before. 😢
After the primering, I proceed on sketching the wall with colored chalks, I use different colors of chalk to not confuse my self on the color separation side of the design.
Now, we go to the painting.
Prior to painting I mixed these few paint set:
-Mild Grey
-Grey
-Dark Grey
-White
-Black
All paints are flat, I don't always go with glossy paints, because it makes the piece too shiny. Lowly appreciated.
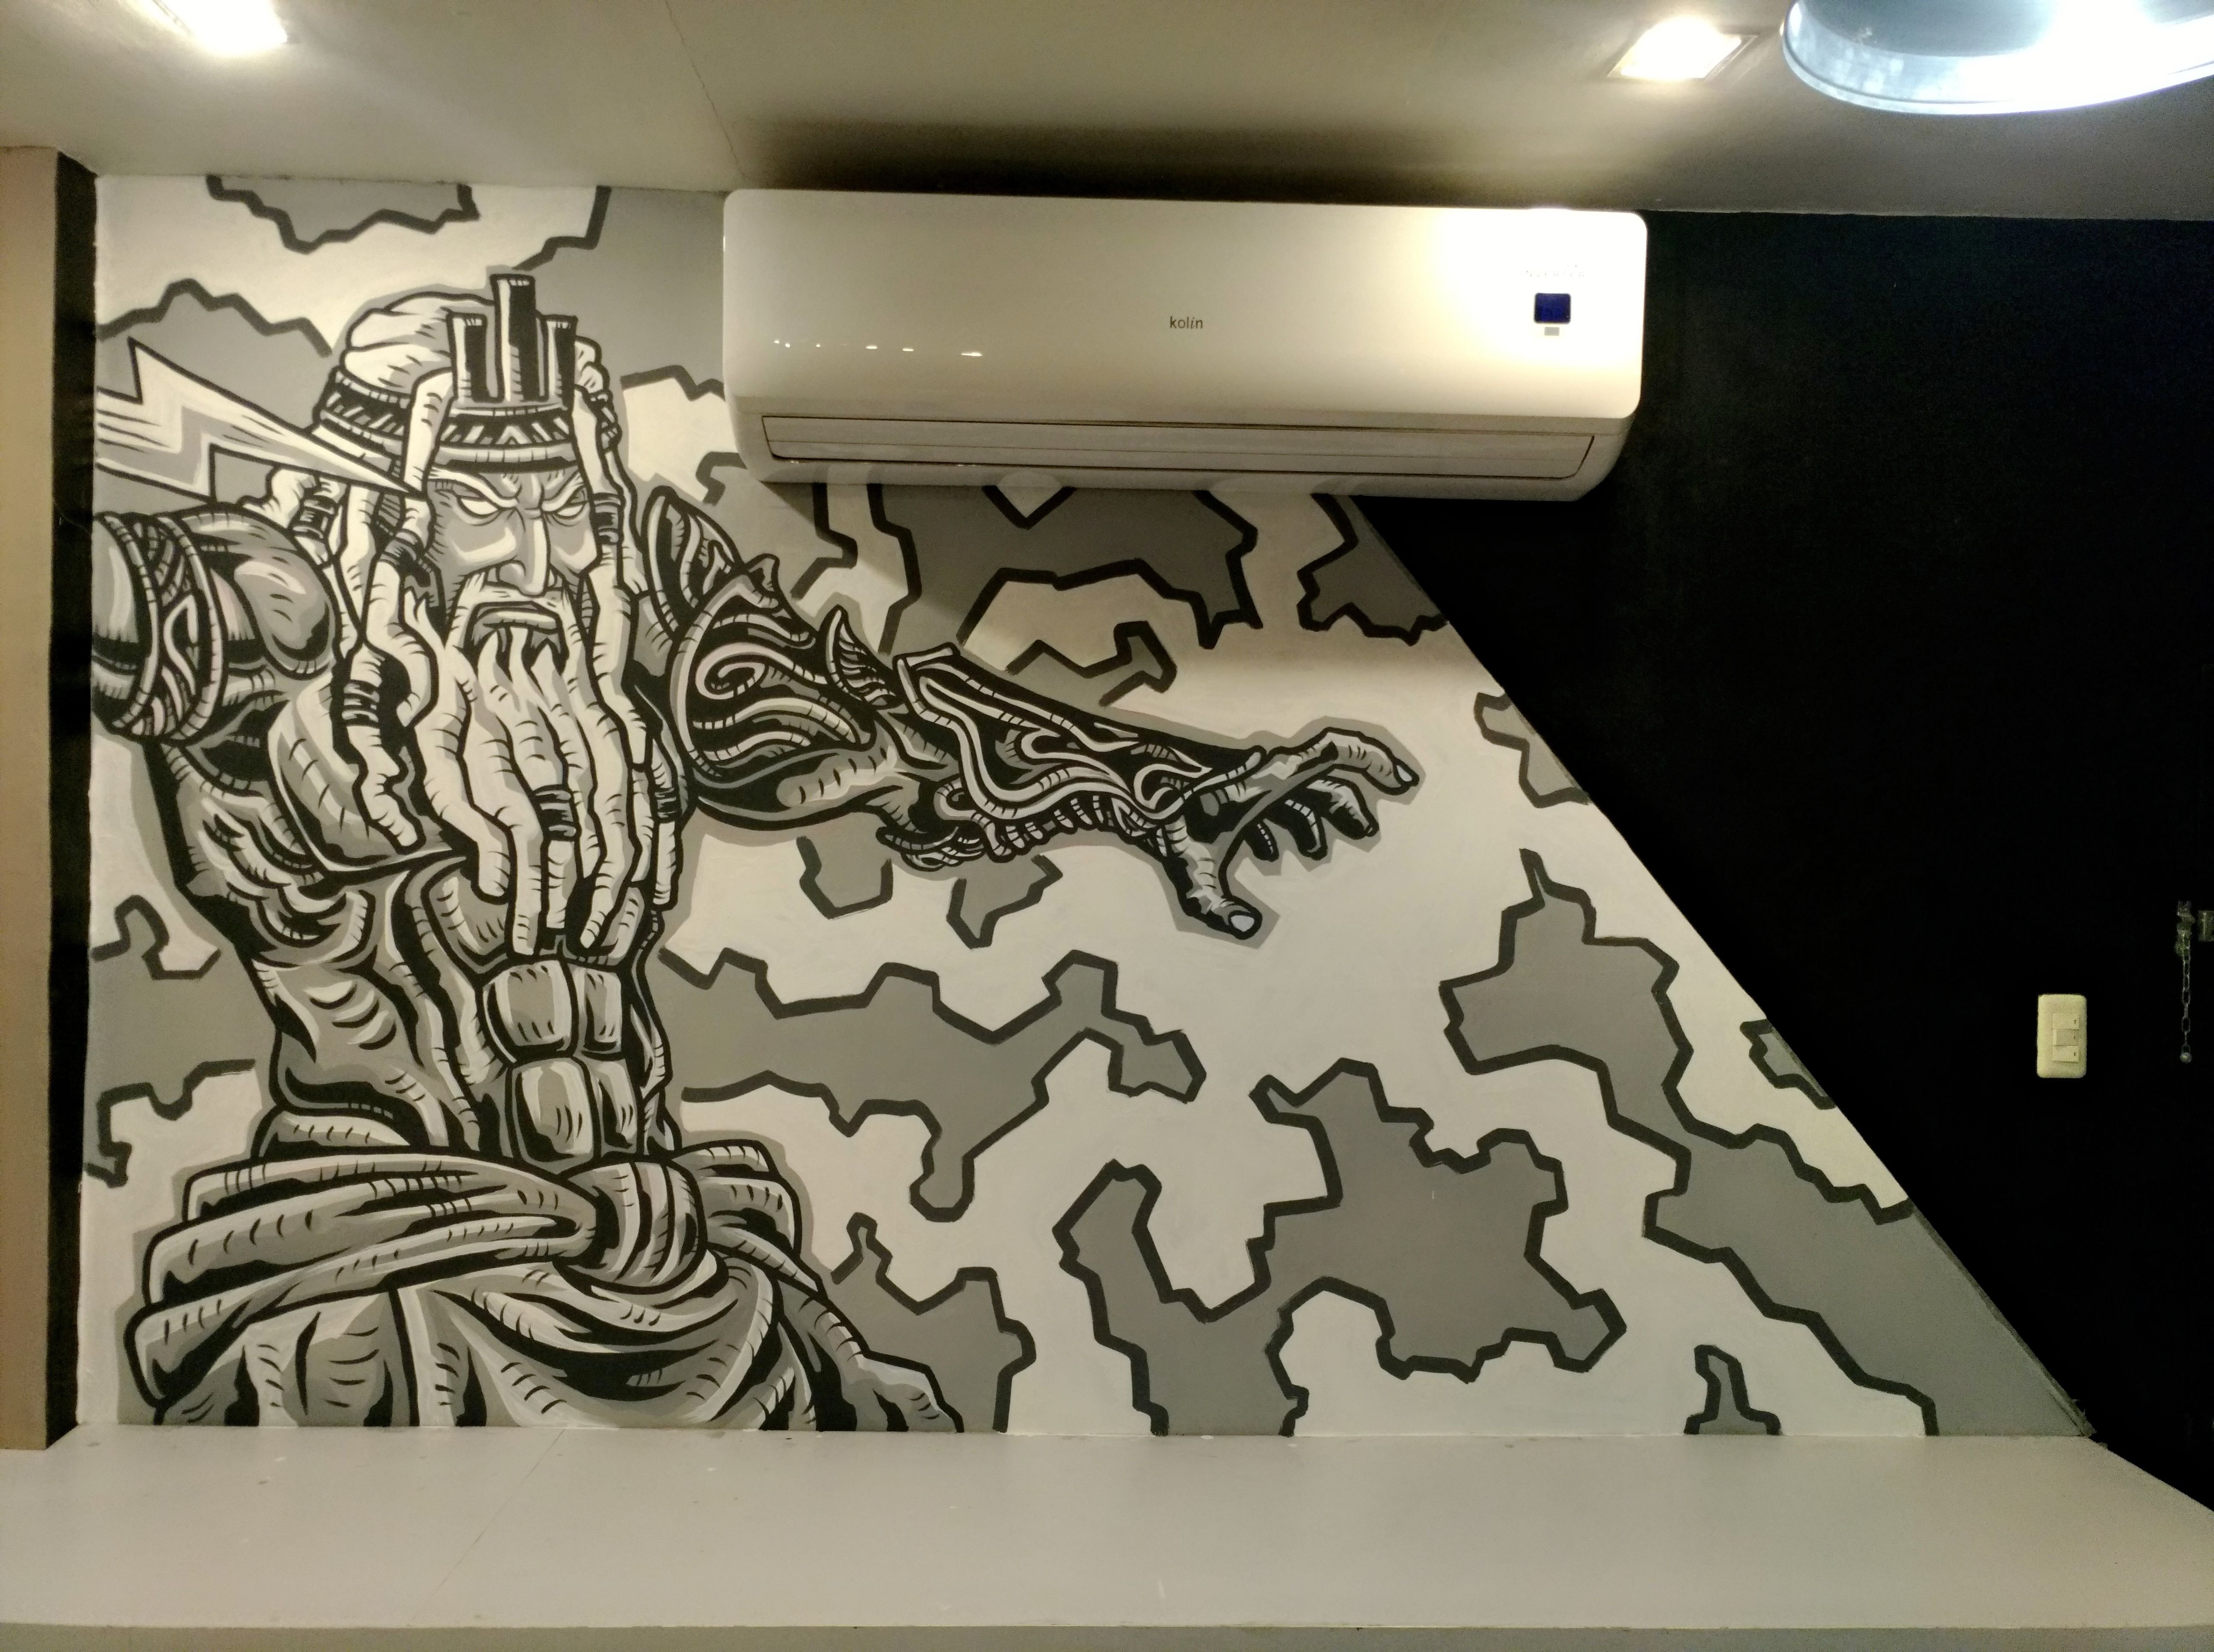
I first go with mild grey, the lightest among the 3 greys on the set, then I go with grey, after that I finished the corners with the darkest grey. Consider lighting on this point because when an imaginary light goes toward your piece, the darkest area is always on the opposite side of the lighting. Thus on the lighting's side. You go with white.
When all of the paints on the set have been used , except black. We now go with the details. 🤓
Now, you observe why I didn't used black first is because I do this for the safety of it's inner shades or colors. Applying black first would cause you unneat results. Unlike drawing on paper, black is used as an ink and cannot be coated by any other color. On a paper, you'd be safe. On a wall, you should think about it twice cause it's gonna cost you longer work hours.
Now in making the details, I always use a pointed brush, an advantage for me to adjust the width of the lines during the process.
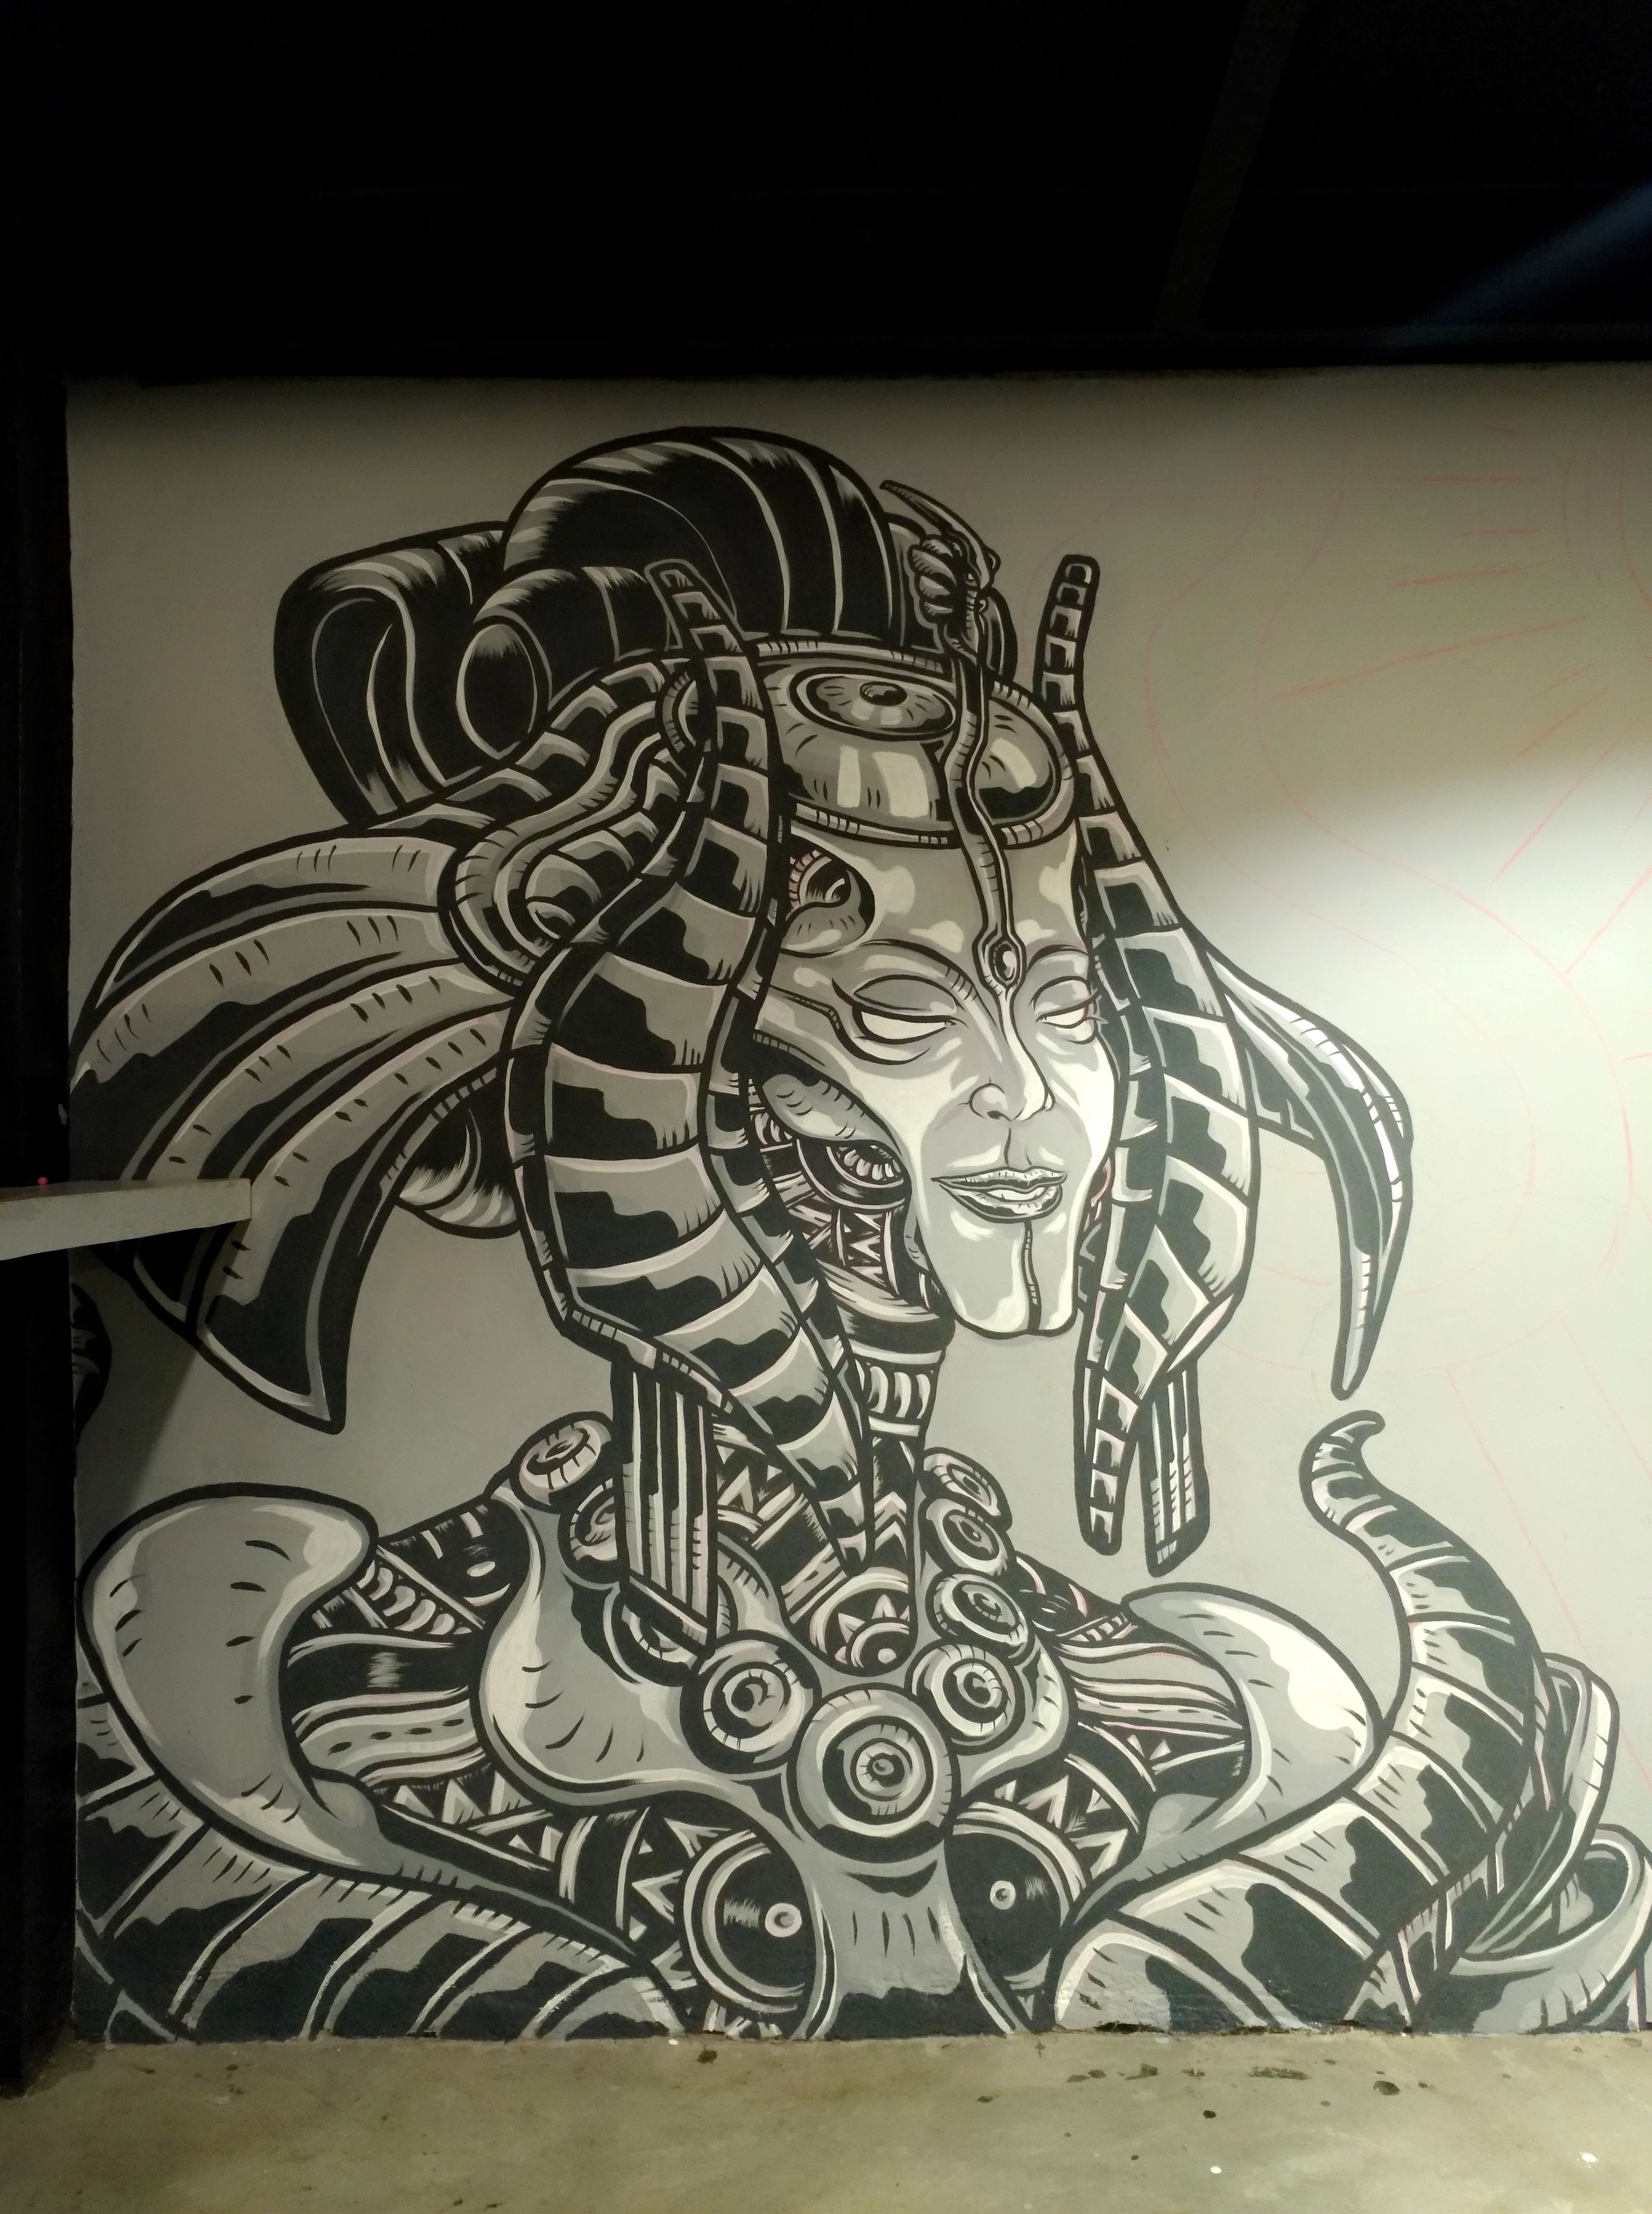
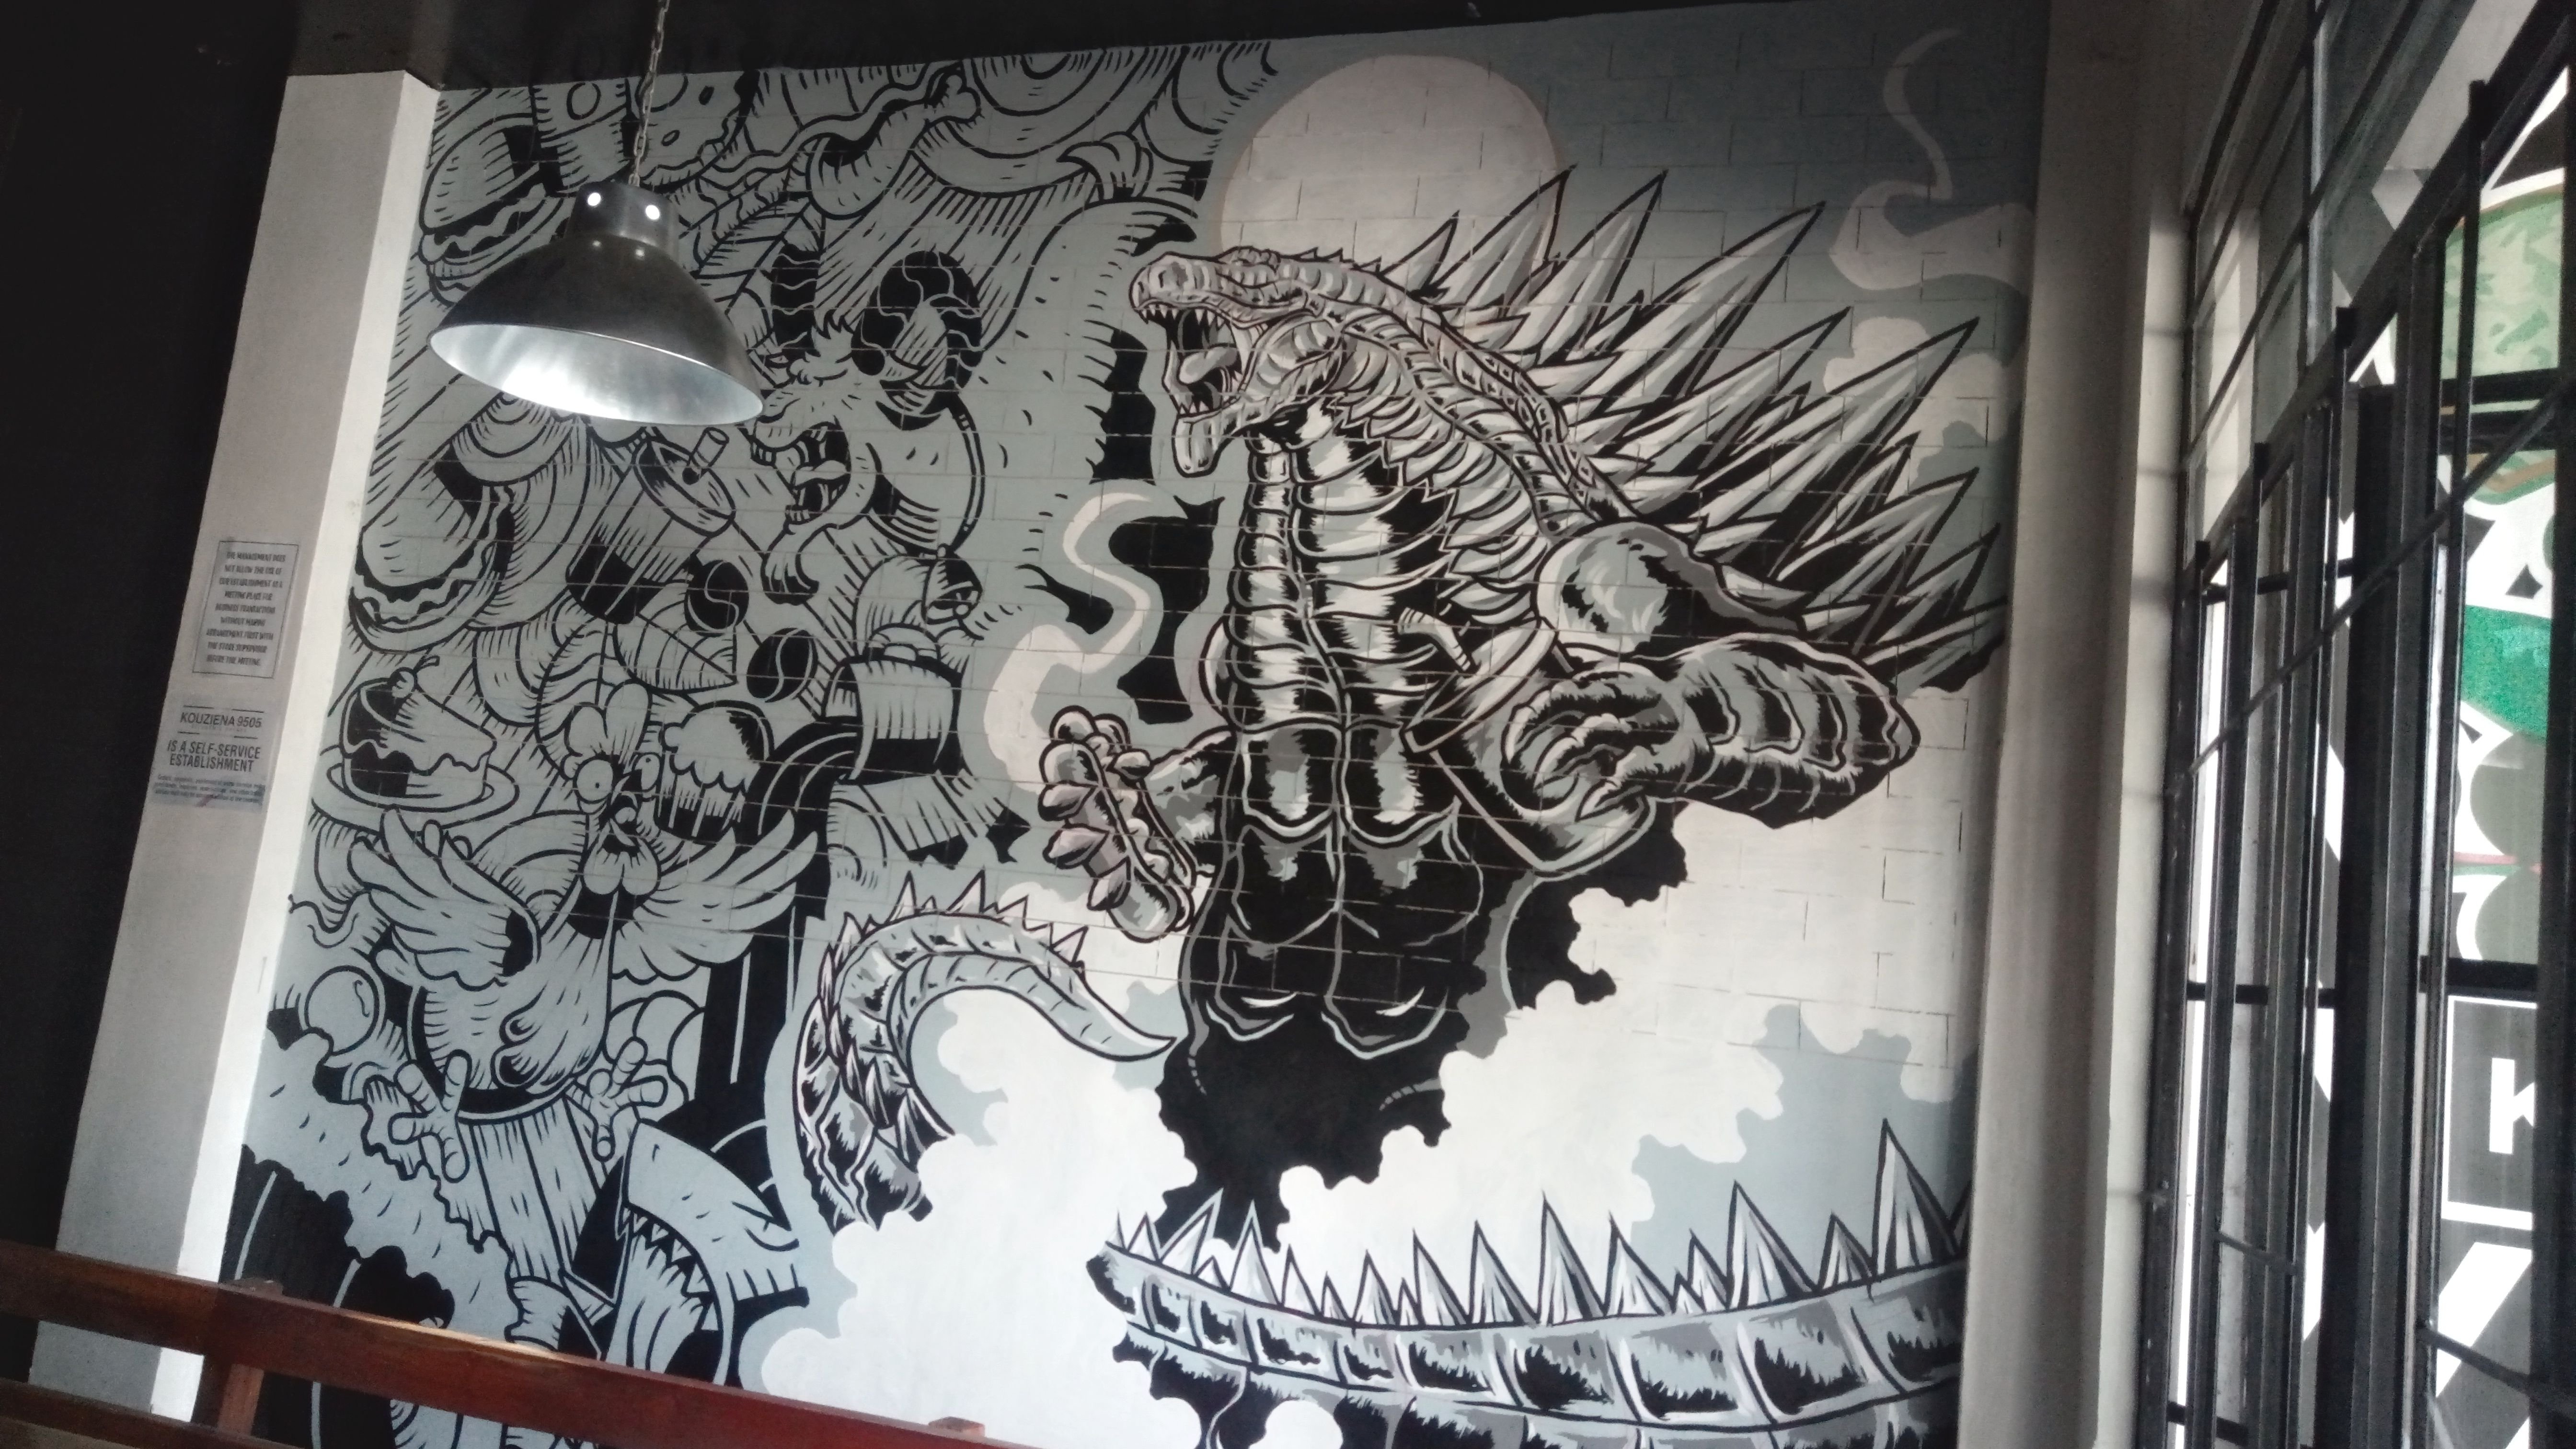
After finishing all the details of the figure, we go to the finishing touches.
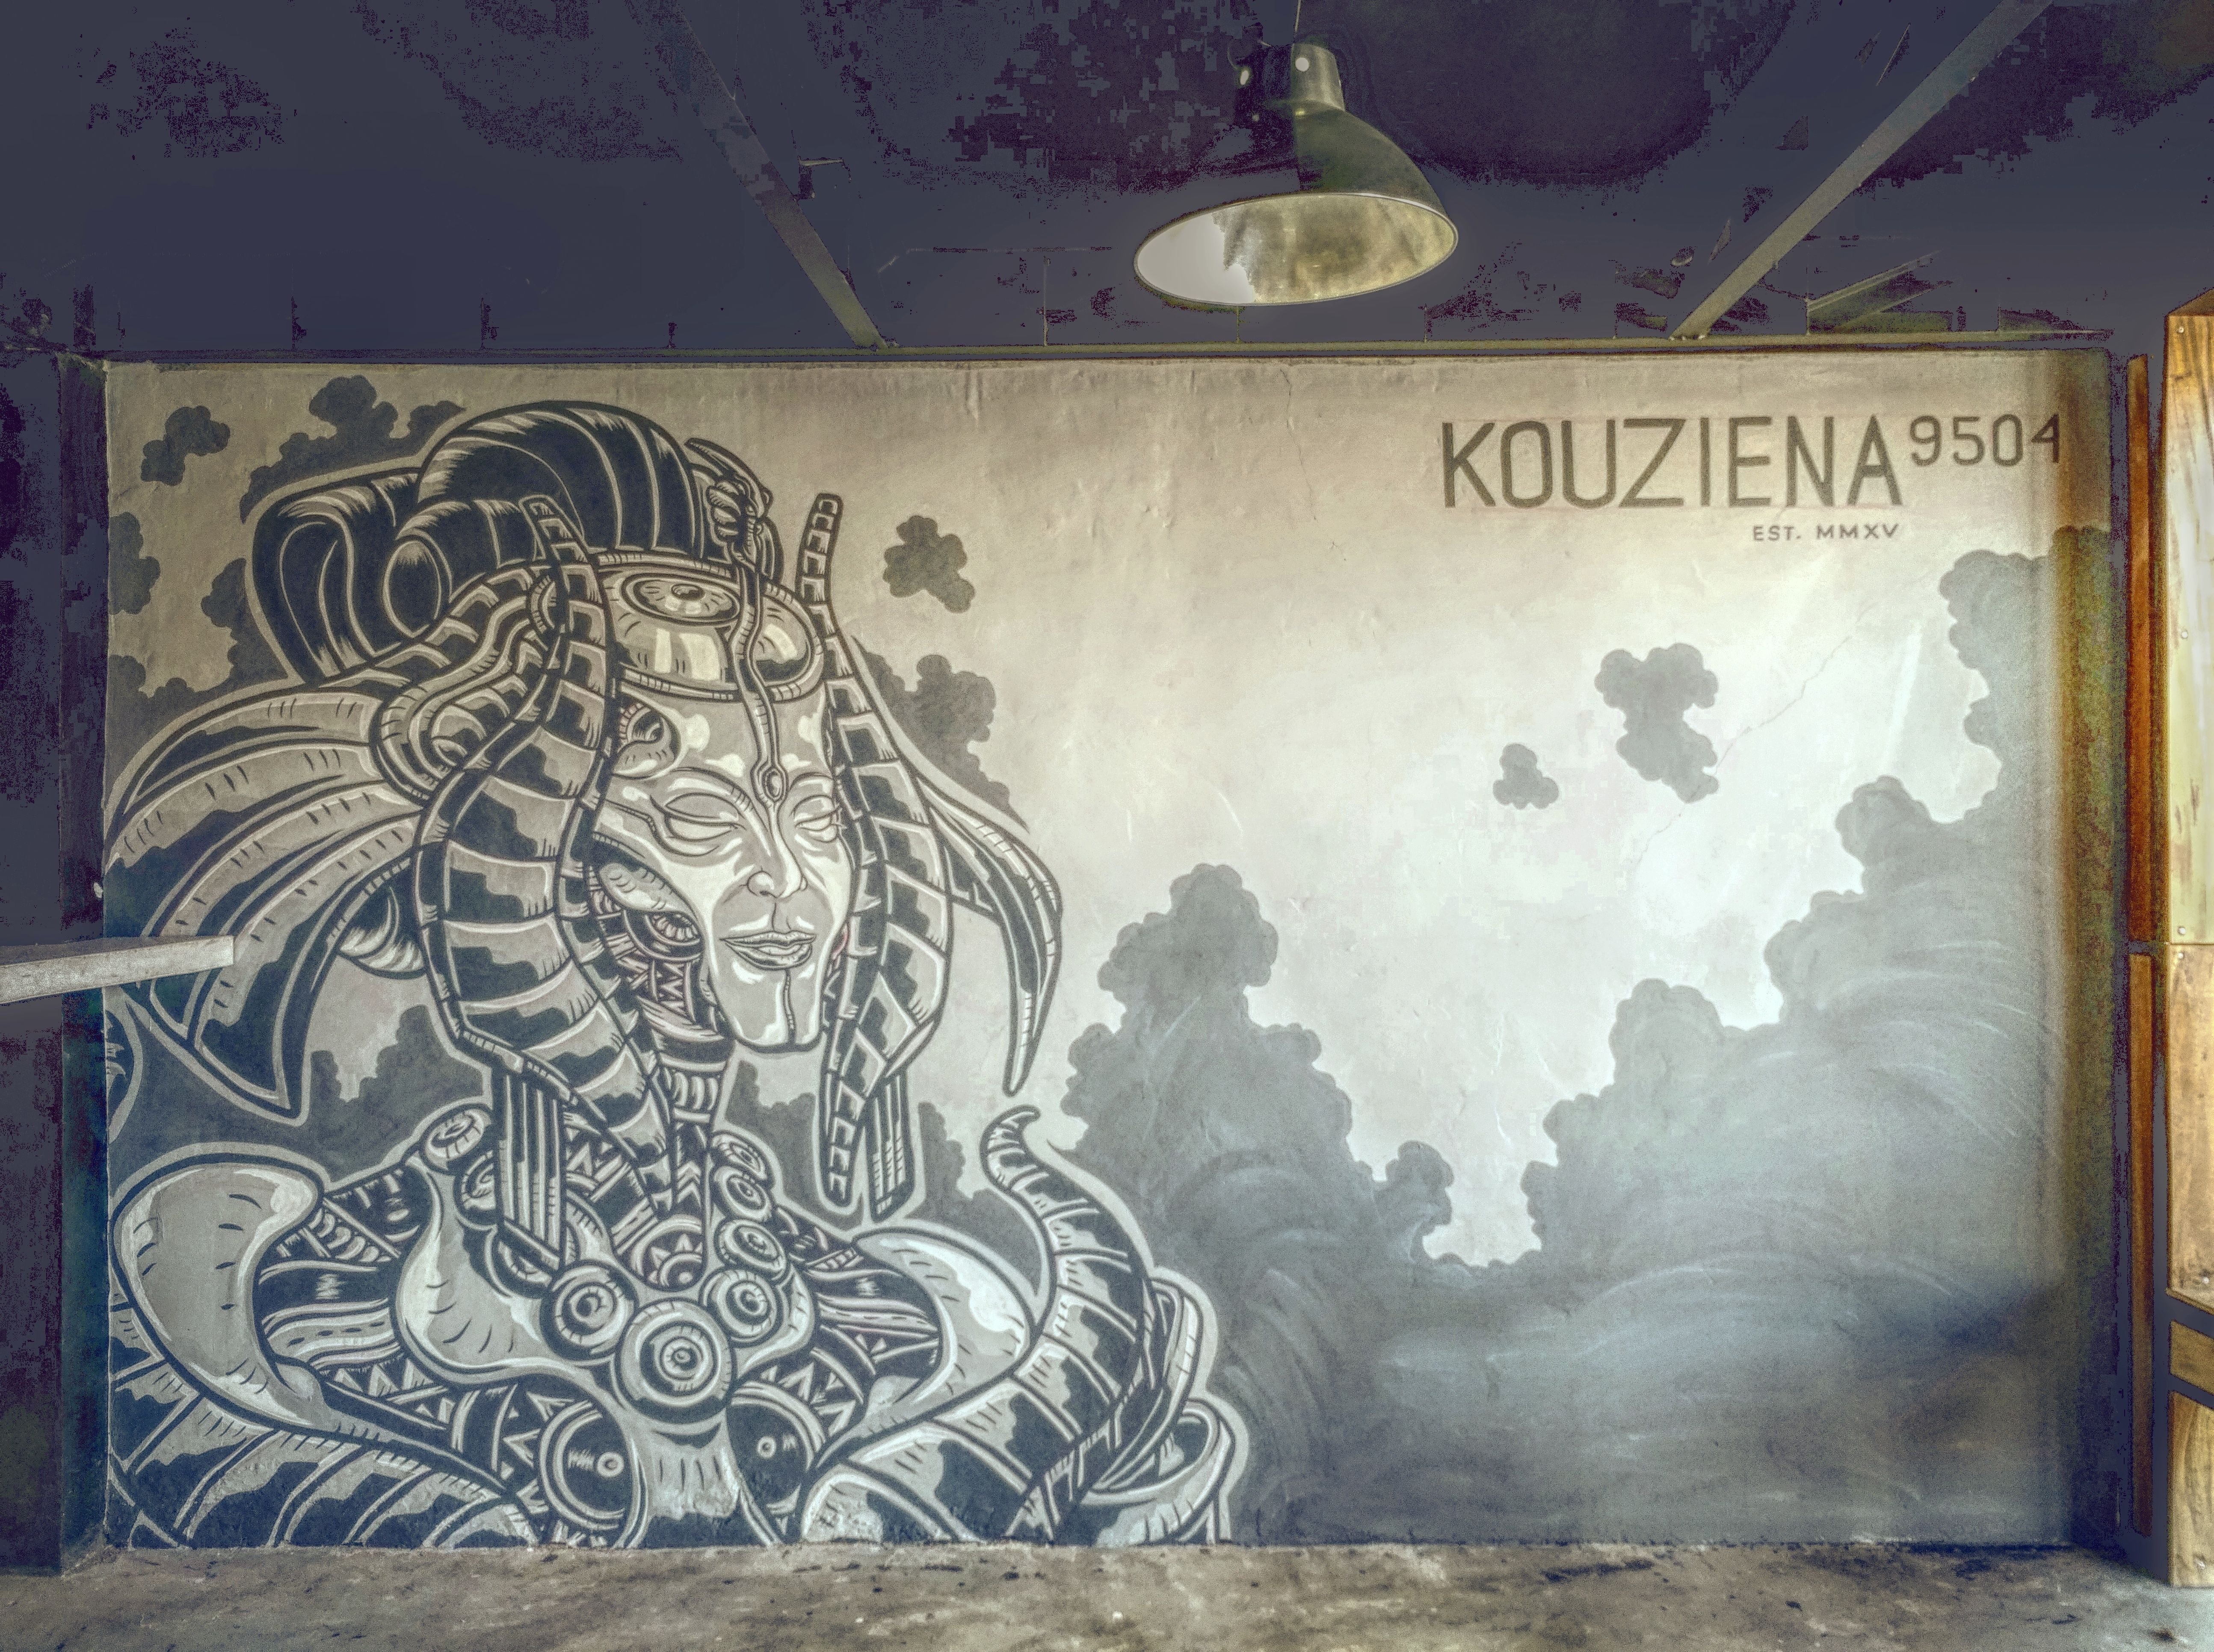
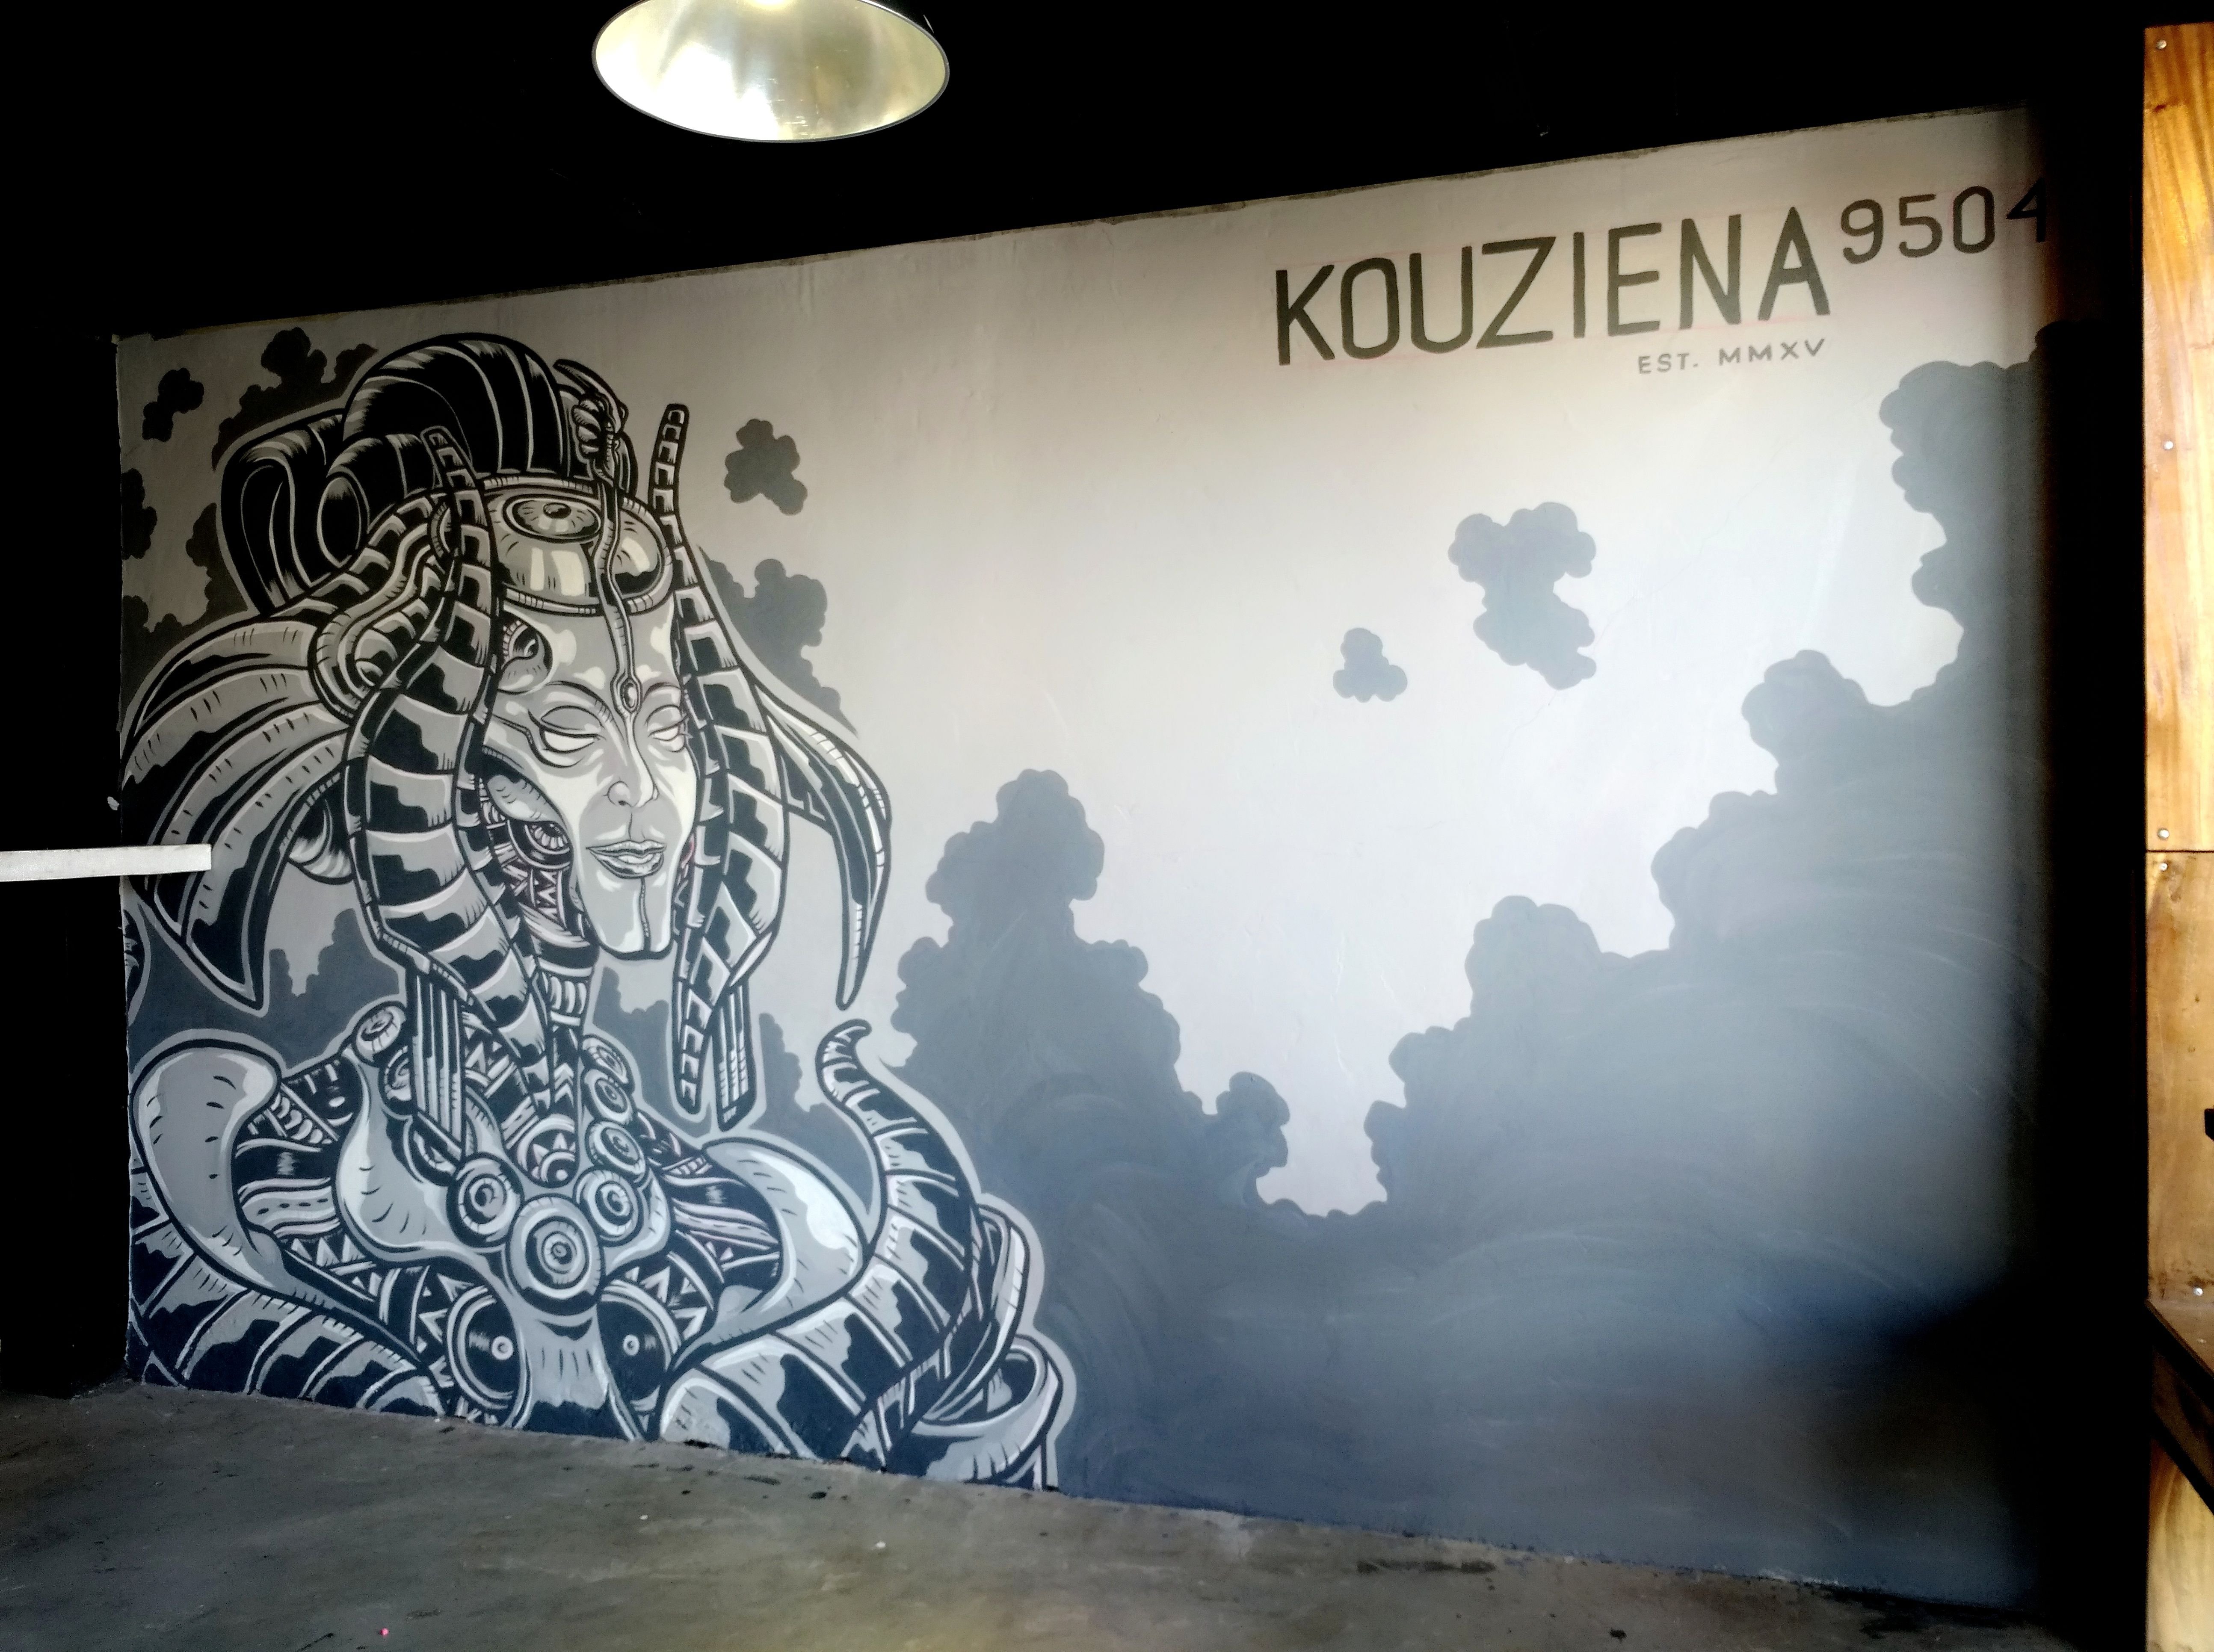
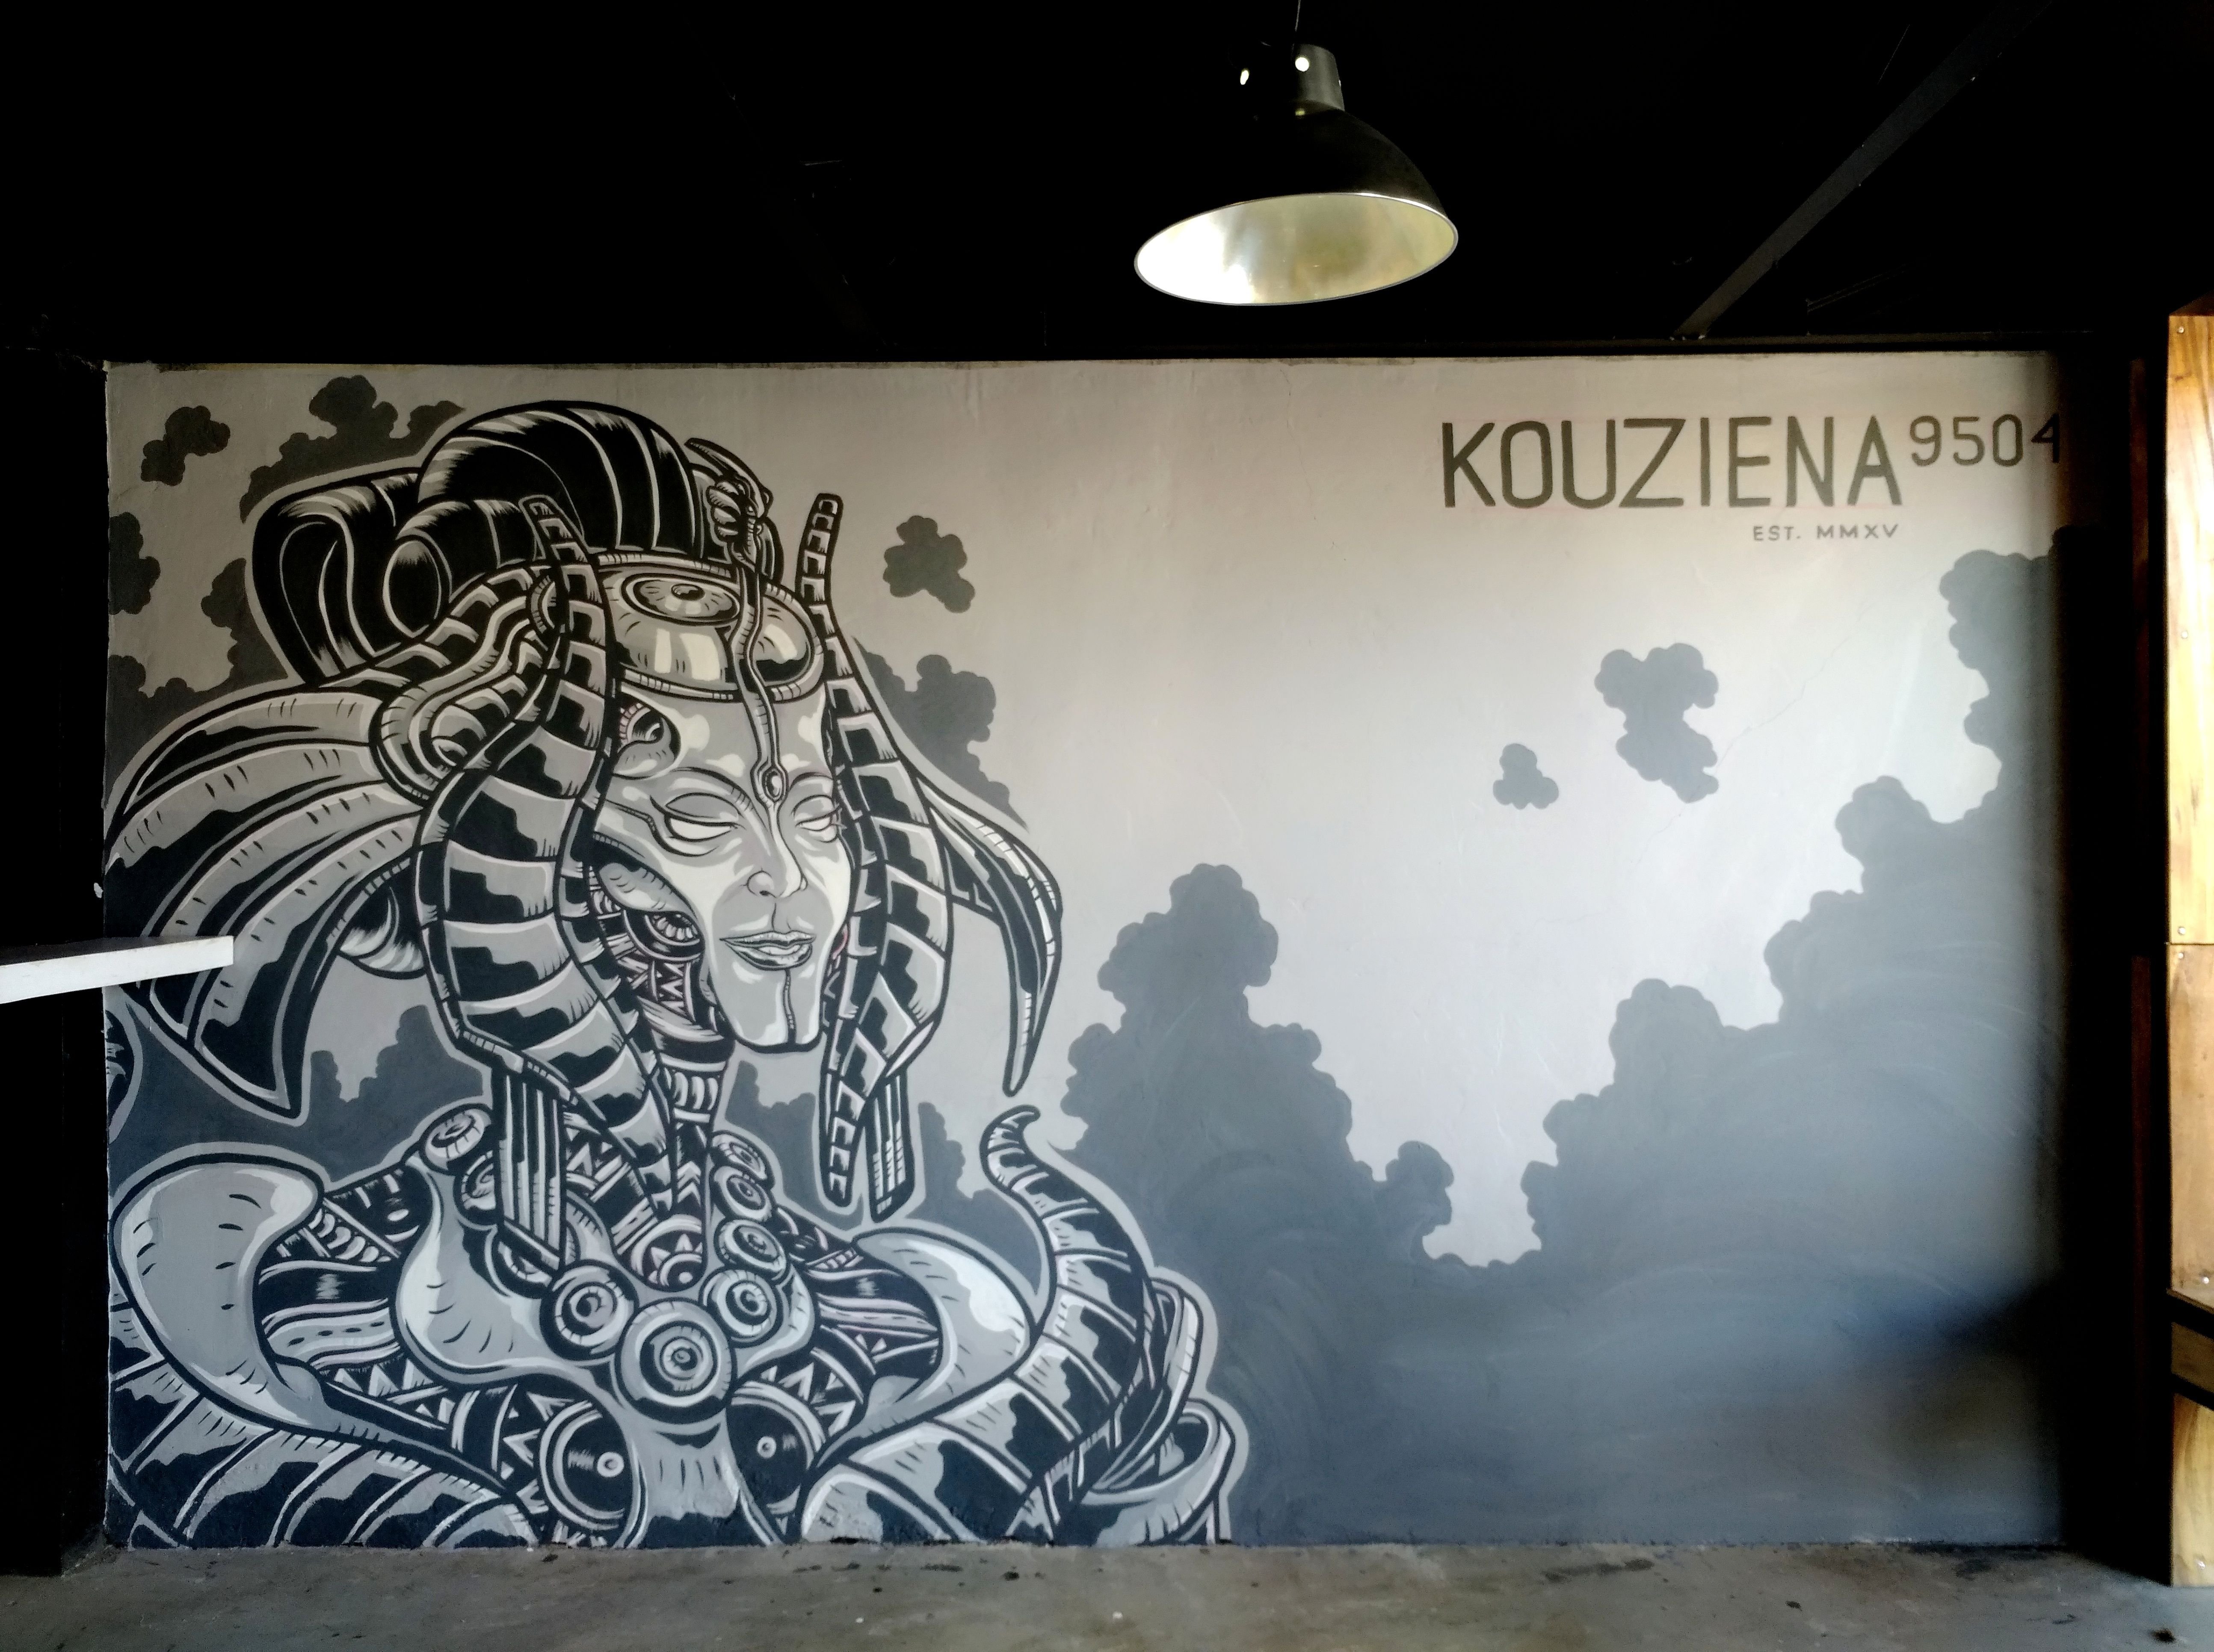
It did put some smokey background. Just to fill in the spaces on the wall and then finally, branding of the establishment.
This was painted on a restaurant here in the Philippines, specifically in Polomolok, South Cotabato which is Kouziena 9504
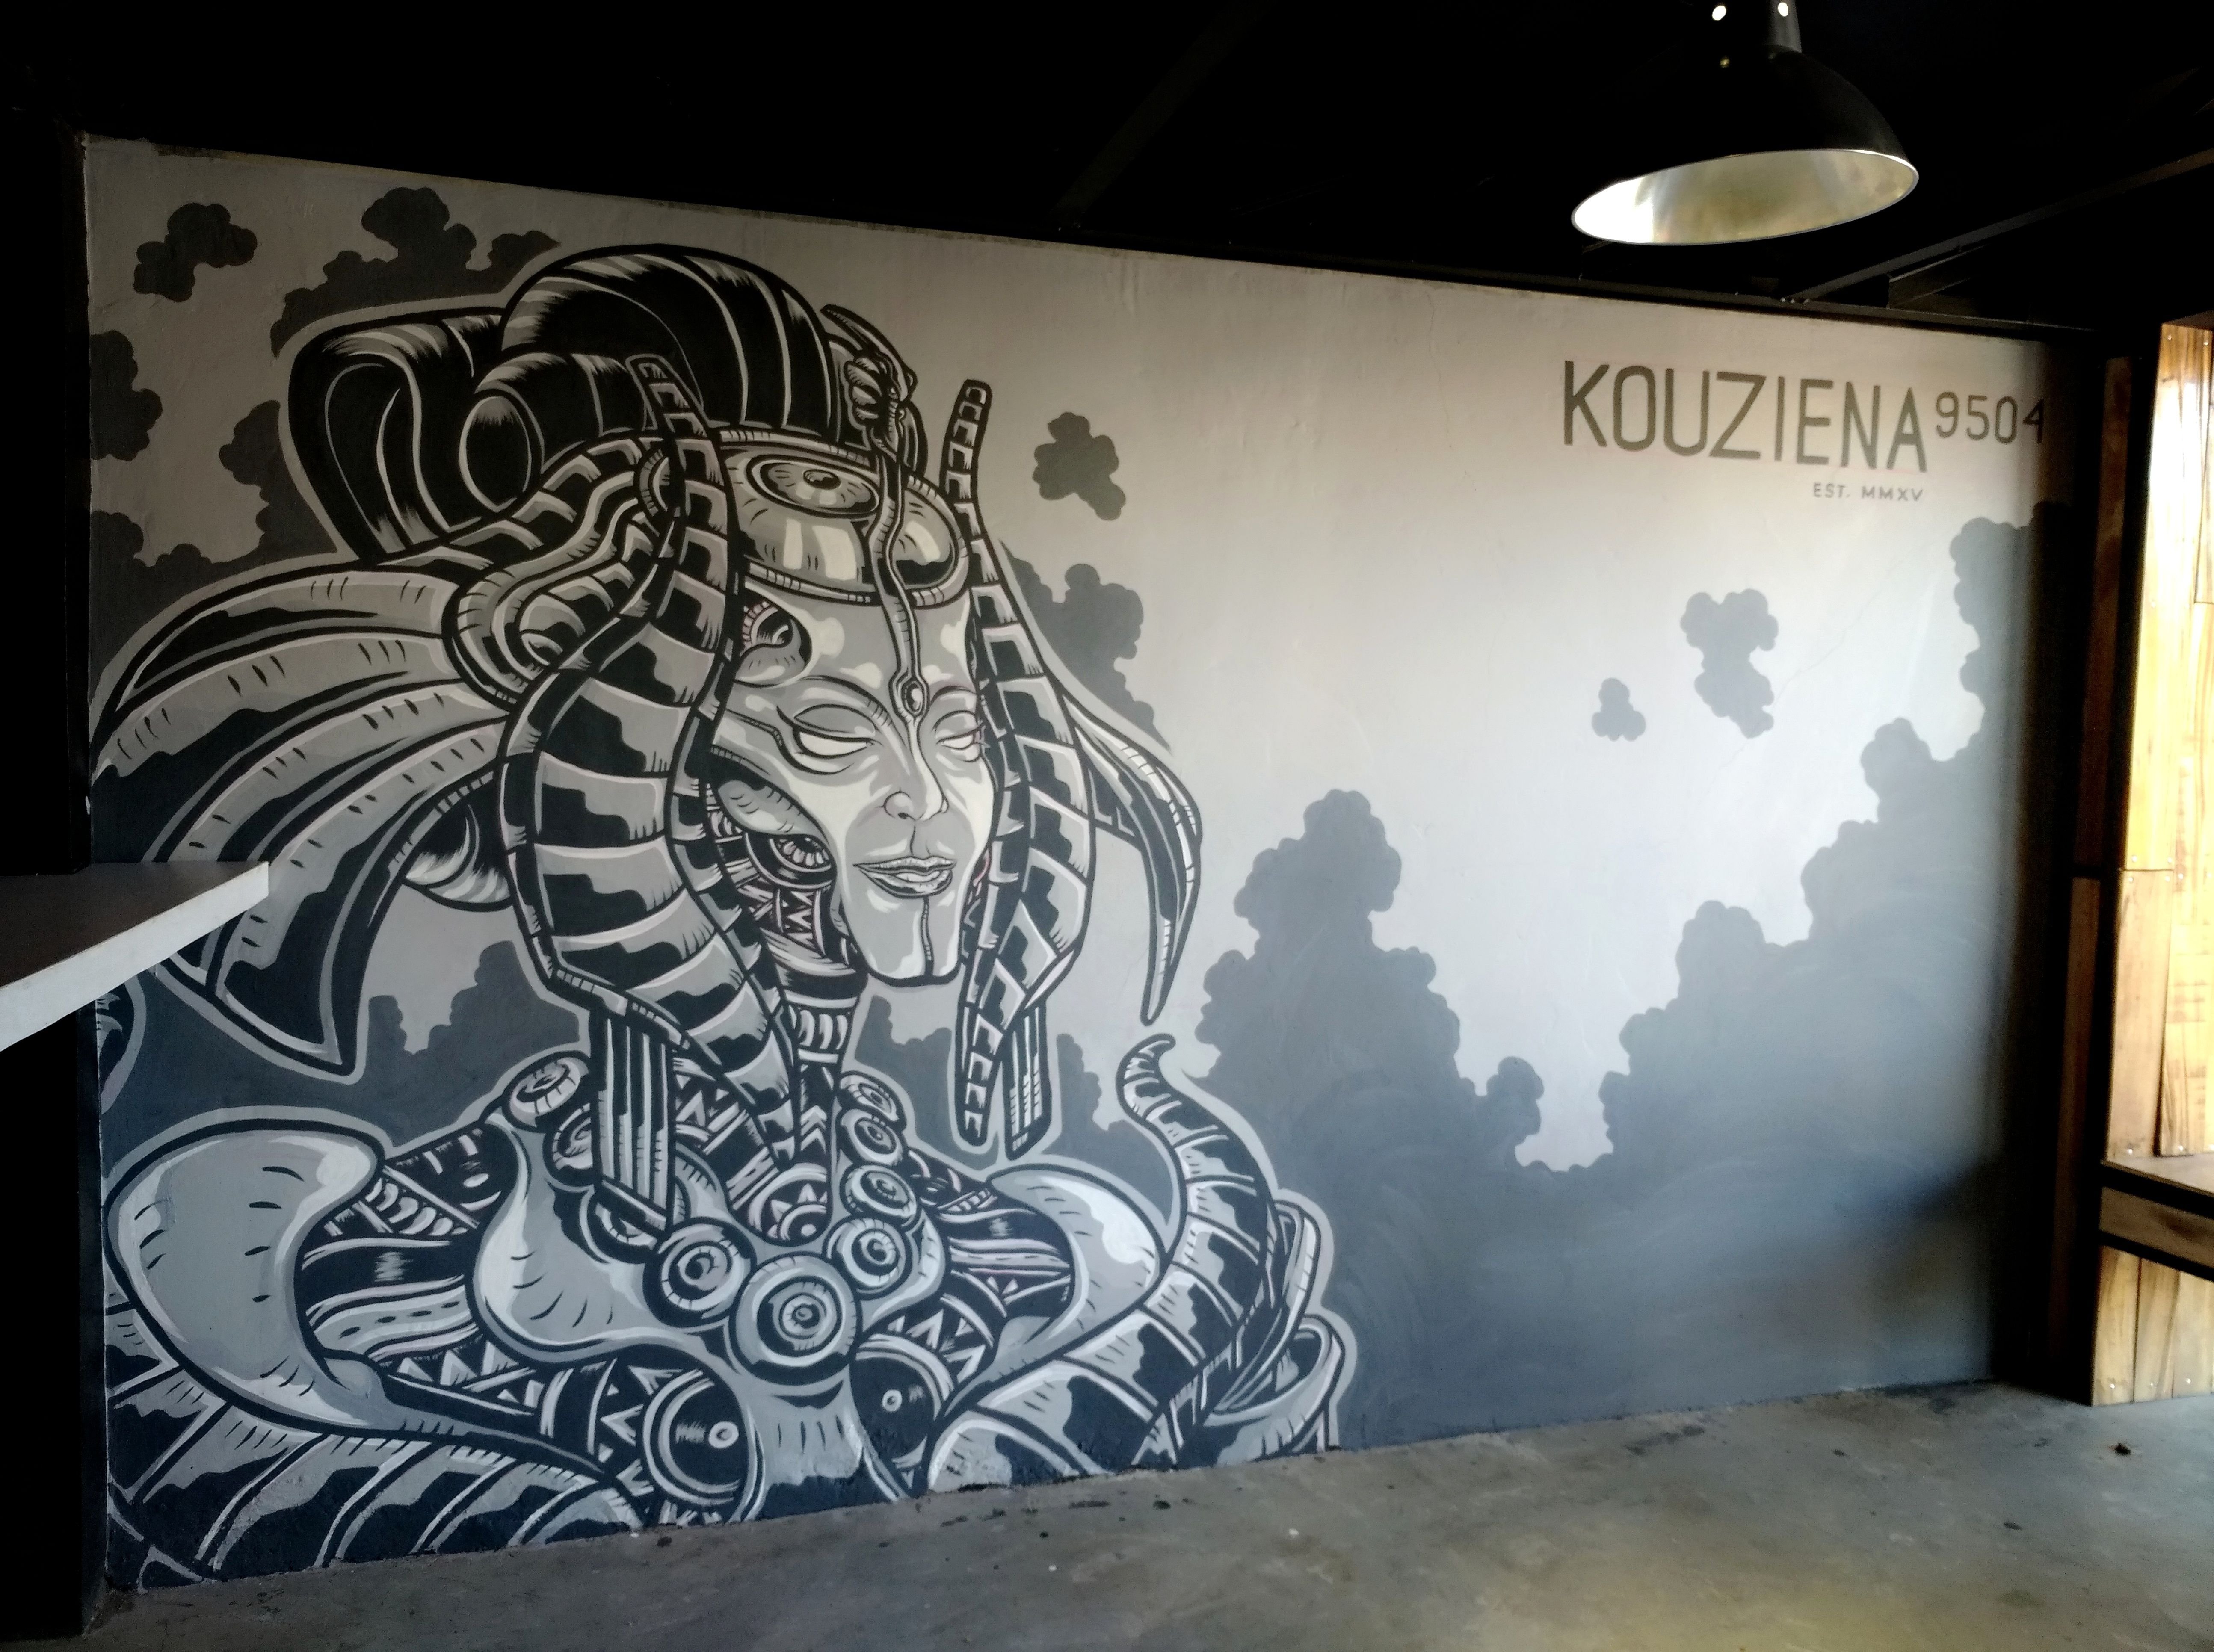
And when it's all done, it now goes into sharing. . . 😁😄🤗
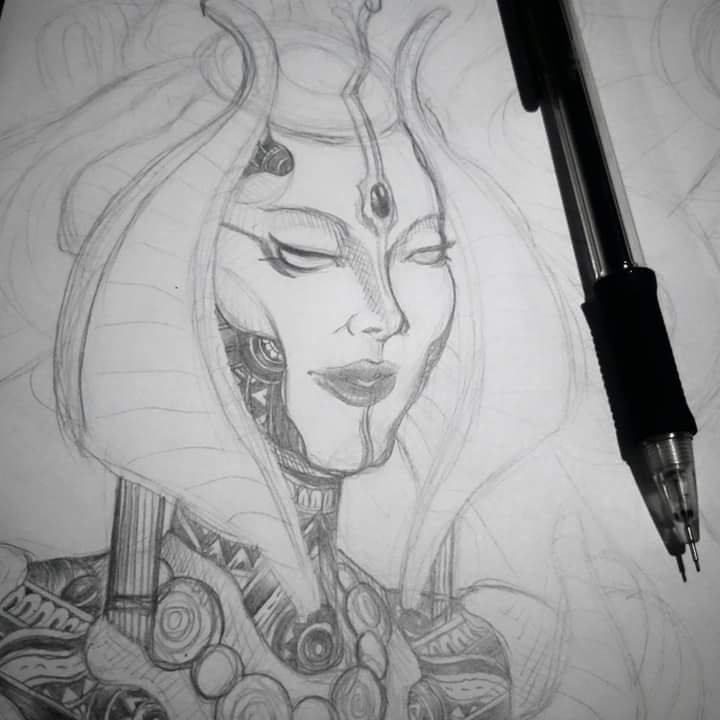
"The Alien Goddess"
Hope you enjoyed my simple tutorial and I hope it caused a lil help for those who are aspiring to make a mural of their own.

This work is licensed under a Creative Commons Attribution 4.0 International License.
Please, consider on helping me through my growth as an artist by donating any amount.
All donations are greatly appreciated!
Wallet to coins.ph

This is @ianceaz saying "When you're tired, Rest, but never ever quit."
Chow STEEM DREAMERS!
XOXO