Hi fellow smarties, yes all you smartcash hodl'rs , if you are like me and want to mine on a pool for more frequent payouts or just like seeing the balance grow steadily, then today's guide is for you.

First things first, get your self over to the official smartcash mining pool by going here http://pool.smartcash.cc/ then choose a miner that best suits your choice of mining, e.g GPU or CPU, though at the time of writing GPU is really the best option.
for the purpose of this article i will be using sgminer SGMiner 5.3.4 (tpruvot): mainly because i feel it works best for my gpu which is an AMD RX480, though Nvidia cards do just as well if not better.
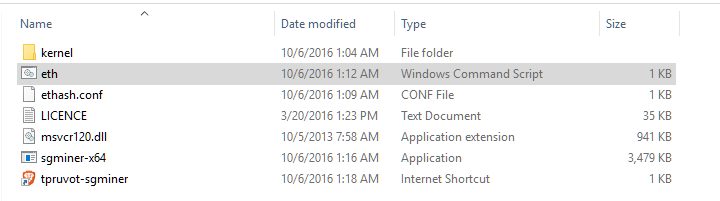
so you have downloaded the miner software, go ahead and extract it to a directory of your choosing.
we will come back to the config of the miner once we have setup our account on the mining pool.
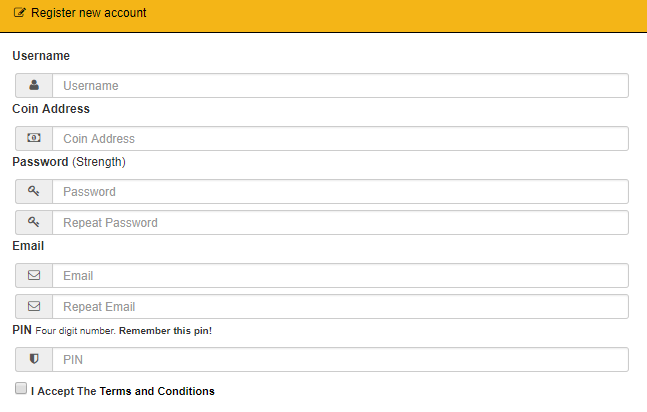
Second thing go to the pool and click on the sign up option then you are greeted with a pretty short user registration form which you fill in etc.
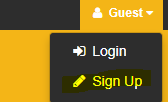
Once you have registered, we now click on "Login"

Then login with our new details that you registered with.
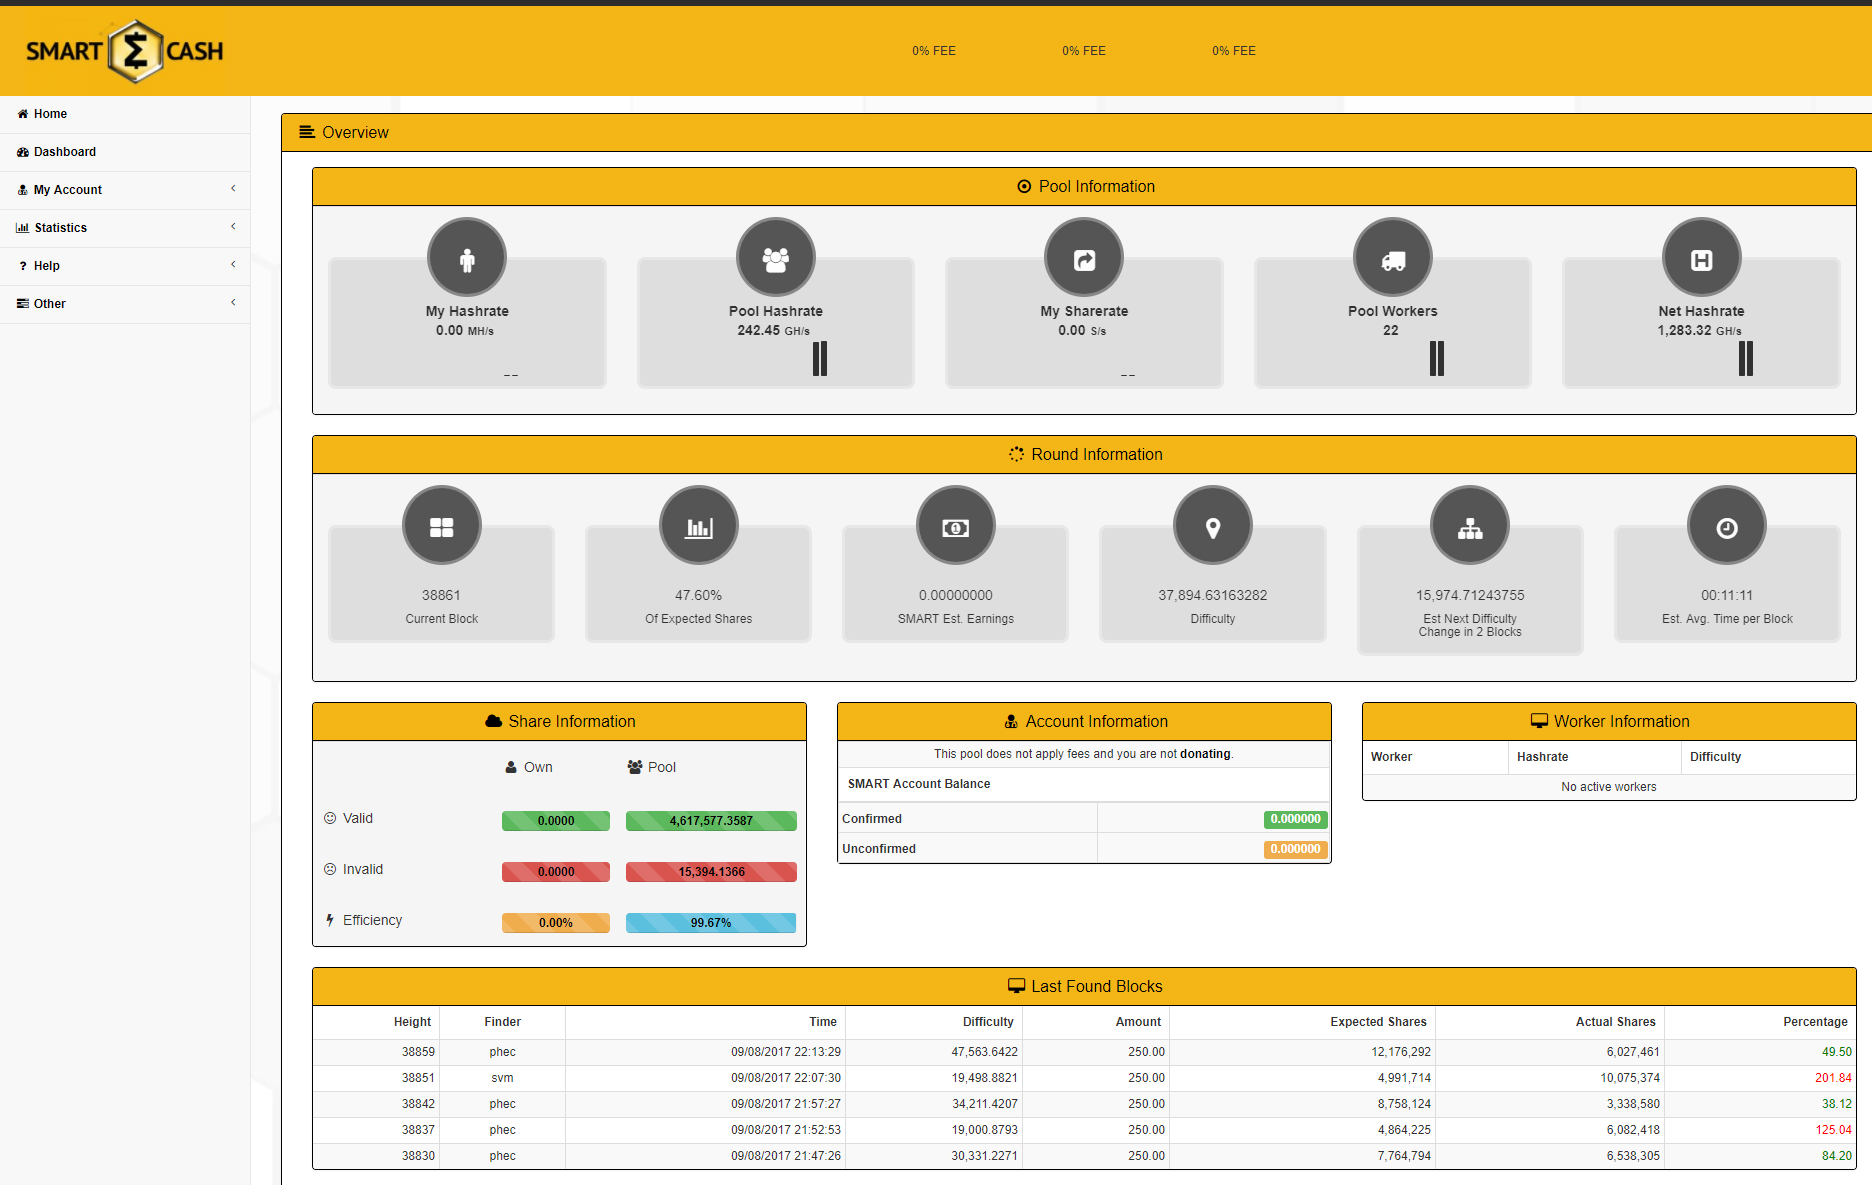
You will be greeted with your new mining dashboard.
We now need to create a worker so that we can point our mining software to it and begin mining.
Click on My Account then click on My Workers.
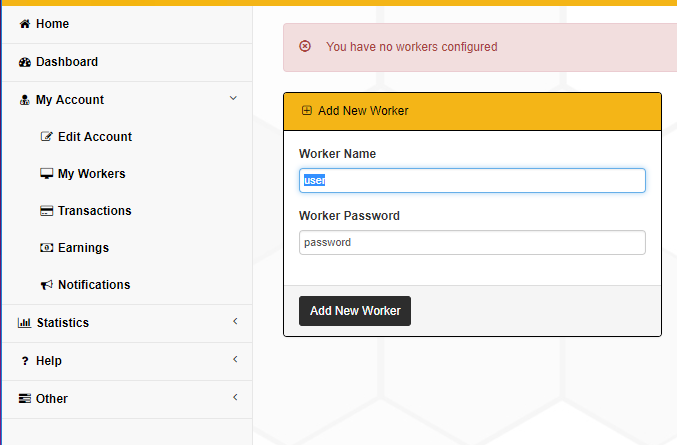
In the "Add New Worker" dialog add the name of your worker followed by a password for that worker and click "Add New Worker".
Once you have created your new worker note down the following details and turn on worker monitoring.
The worker name will be your "username.workername" so in my case it is "hockleyj.slave" then also record your worker password.

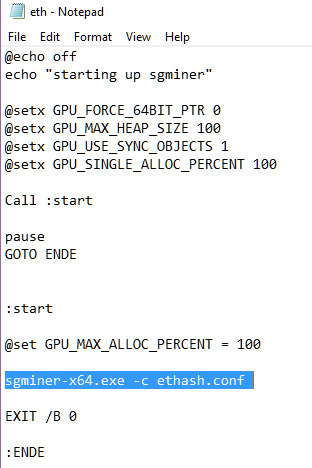
We now go to the directory where we extracted Sgminer and edit using notepad "eth" Windows Command Script
Which will look like a few lines of commands we want to edit only one of them, by replacing it with the following line.
sgminer-x64 -k keccak -o stratum+tcp://pool.smartcash.cc:3333 -u PoolUsername.WorkerName -p WorkerPassword
If all went to plan it will look like the following with your worker details instead of mine.
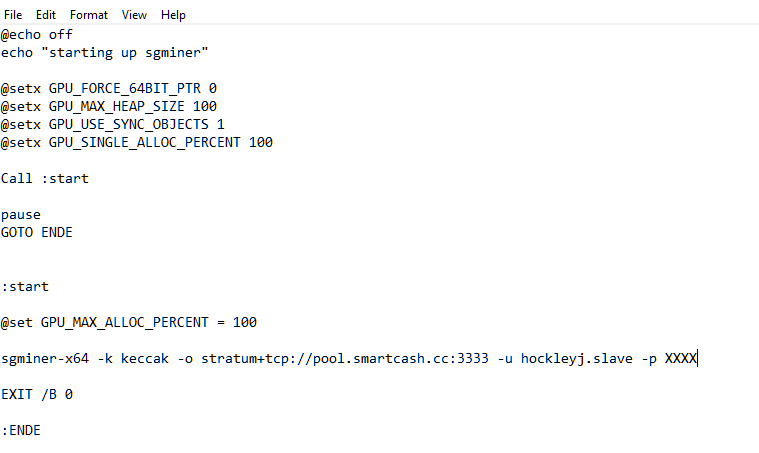
Click Save, exit notepad and we are now ready to run our miner.
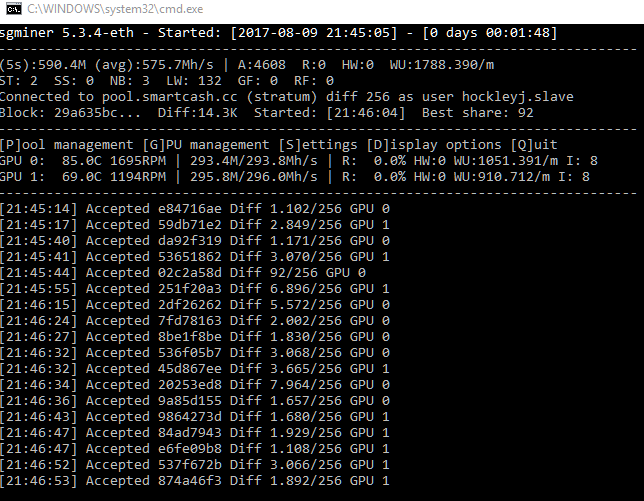
To run the the miner double click on the "eth" windows command scrip and it will run the miner, if successful you will see the following screen
To check the progress of your miner, go back to the pool and go to the dashboard, you will see your own hashrate under "My Hashrate" and after about 1 - 2 hours under the "Account Information" section on the dashboard you will have a count of your mined smart coins, which falls into 2 categories, freshly mined coins will appear under the "Unconfirmed" balance until 110 confirmations have been completed, at which time the balance will move to the "Confirmed" category.

In order to send your coins to your Smartcash wallet, you will need to go to " My Account" then "Edit Account"
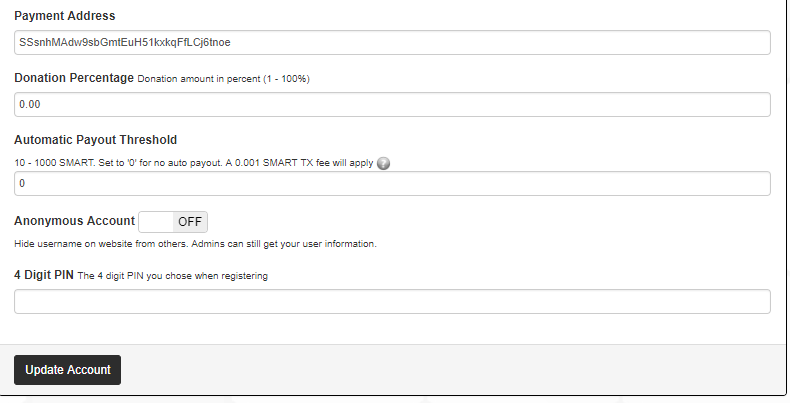
You then need to verify your wallet address listed under "Payment Address" under the "Automatic Payout Threshold" set it to a number between 10 - 1000 , i personally choose "10" but that is because, I like seeing regular amounts flow to my wallet, this is purely personal preference.
When your ready to save your settings enter your 4 digit pin you setup for your account and click "Update Account" this will save your choices and Auto Payments will begin, on your "Confirmed" balance when it reaches the Auto Payout threshold you have set.
And now you go and let it do its thing, whilst you tell the world about how awesome Smartcash is, and how you are mining it.
If you like the guide remember to up-vote, also share on Twitter, Slack etc, i hope to see you over on Slack, check out the official website over at http://smartchash.cc or pop into the forumns at https://forum.smartcash.cc if you want to tip a fellow smartcash contributor send your tips here SSsnhMAdw9sbGmtEuH51kxkqFfLCj6tnoe