As many people have found out themselves, the editor is far from perfect on Steemit.com. Some have resorted to using various online HTML editors, some have just written their posts in something like MS Word, others like myself have ran to Markdown editors.
I personally use OS X, since I'm on a Macbook, and my first tool of choice was a Markdown editor. I did a small amount of googling and found Macdown, a FREE, OPEN SOURCE Markdown editor for OSX.
However... something didn't feel right. I'd be playing with formatting after copying it to the Steemit editor, since the styling on Macdown was different to Steemit.
How did you fix it?
Being a developer, I took to the Chrome developer tools, and poked away at the CSS on Steemit.com. I also found out that Macdown allows me to customize the CSS used for the preview panel.
I copied the existing Github markdown CSS, and carefully modified it to match how posts are displayed when they're completed on Steemit.com, including headers, pre-formatted text (code tags), and links. I went as far as matching the font.
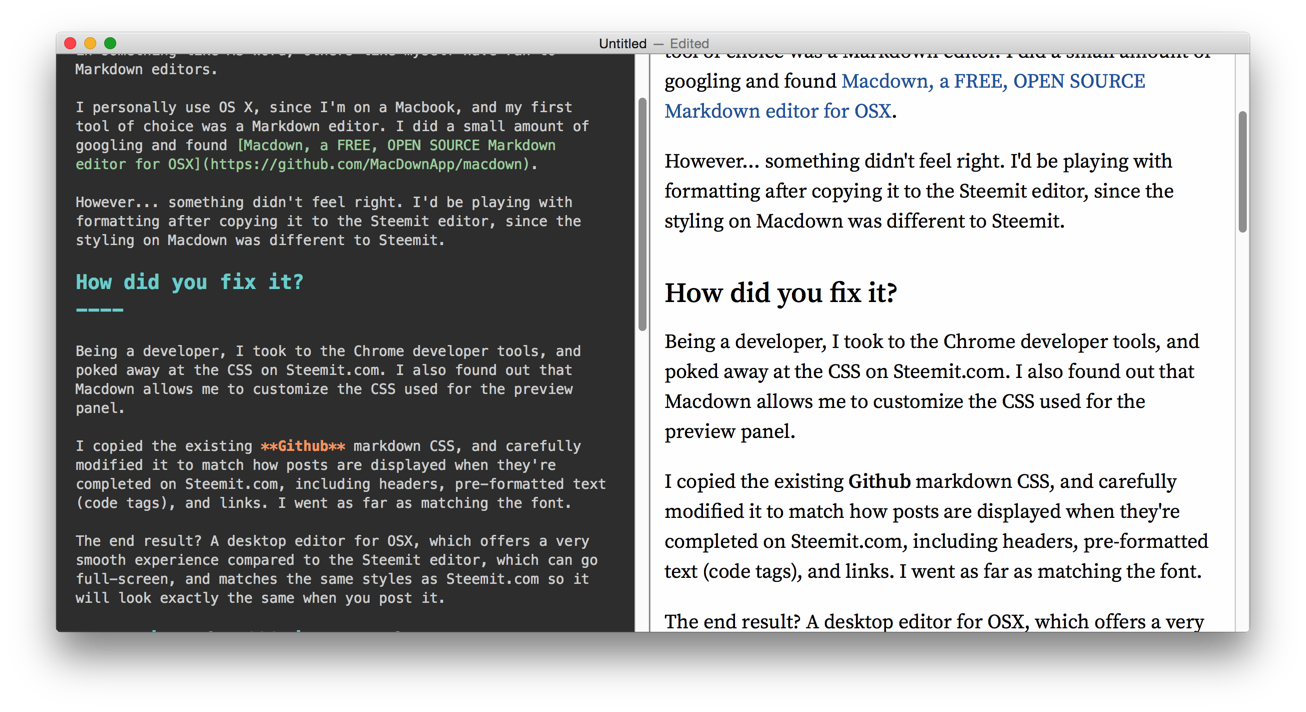
The end result? A desktop editor for OSX, which offers a very smooth experience compared to the Steemit editor, which can go full-screen, and matches the same styles as Steemit.com so it will look exactly the same when you post it.
Importing the CSS into Macdown
Don't worry, it's very easy.
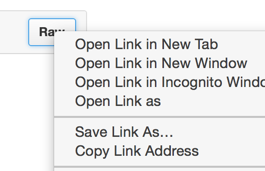
Step 1. Download the CSS file from my Github Gist

Step 2. Copy the CSS file into Macdown
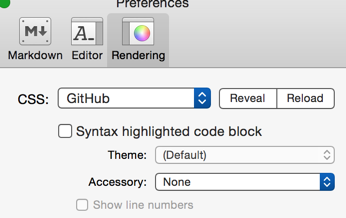
Open Macdown preferences, go to the Rendering tab, and press REVEAL. This will open the folder where the CSS is.

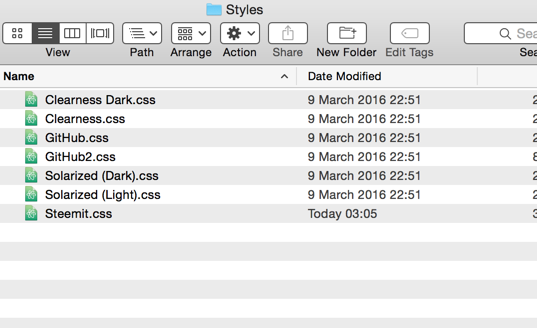
Step inside the Styles folder, where you can see files that look like this:

Paste the steemit.css file you downloaded earlier into this folder.
Step 3. Finally, reload Macdown styles
Just like before, go into the rendering preferences, but this time press "RELOAD". Now you'll be able to select Steemit from the list of CSS files

Step 4. Get writing some posts!
And don't forget you can actually save your work prior to posting (on Macdown). CMD-S to save (or go to File and press save).

