Intro
Firstly, congrats everyone. By the time you read this I expect steem to have found its new footing at ~$1. That is nothing to sneeze at guys, but its just the beginning! Congrats.
Did you know that back in 2009 if you solo mined one block, you could have made 50 bitcoins? That seems insane to think about today. 50 BTC is roughly $32,000 of today's dollars. That's assuming you hit just one block though. Many of those miners hit several blocks back in the day.
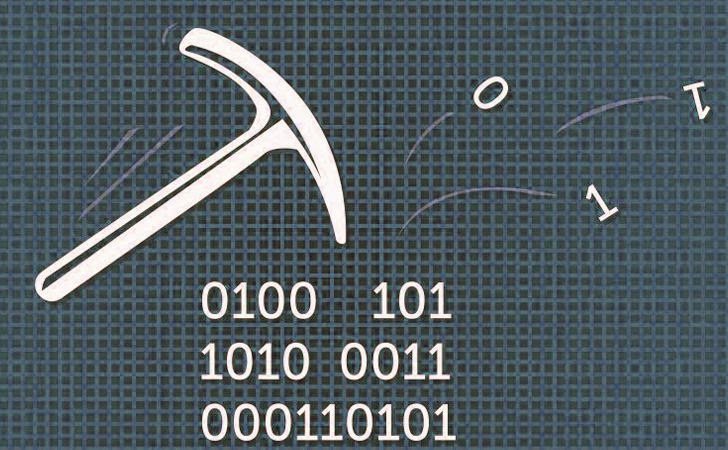
Could you imagine getting on the ground floor of something like that today? Well now you can. Let me introduce steem mining! Steem mining is great because not only do you make Steem Power, but you also help out the network.
Enough of the introductions though. In the coming mining posts I plan to discuss these three things
- Mining instructions
- How is mining different in steem
- My personal mining experience
In this post though, we are only going to do the first one. I hope you brought your boots cuz we are about to get mining :)
Getting your miner
Firstly. I will give every instruction in one single code block for Linux and Windows users. After that I will explain what everything is.
Arch Linux ( another guide for debian based systems is here so I will do arch)
$ pacman -S g++ cmake git python3 openssl ncurses
$ yaourt -A secp256k1-git
$ cd Downloads
$ git clone https://github.com/steemit/steem
$ cd steem
$ git submodule update --init --recursive
$ cmake CMakeLists.txt
$ makeIf there are any errors at this step or the one above, comment below.
$ cd programs/steemd/
Download the most recent blockchainfrom here. This is a website that updates with the latest blockchain every 5 minutes. Downloading it is quicker in the browser. ( I used this method )
Extract the blockchain.tar.gz file into the steemd/programs/steemd folder.You should now have a folder called witness_node_data_dir in there. While you're waiting for that to download, move on to the next step. 😄
Now for the windows users
Windows ( more info: @tuck-fheman/how-to-mine-steem-in-windows)
Download [this folder.](https://github.com/btscube/steem/releases/download/v0.8.5b/cli-tools-085b.zip) It is bitcubes miner.
Extract the contents of the cli-tools folder to your desktop or where ever you please.
Download the most recent blockchainfrom here. This is a website that updates with the latest blockchain every 5 minutes. Downloading it is quicker in the browser. ( I used this method )
Extract the blockchain.zip file into the cli-tools folder.You should now have a folder called witness_node_data_dir in there. While you're waiting for that to download, move on to the next step.
Setting up your miner
or should I call it setting up for your retirement ;p
Alright! Awesome take a deep breath. IMO that is the hardest part :).
Next we are going to move into the mysterious realm of the config.ini file. The config.ini file is in the witness_node_data_dir folder. There are a few tid-bits that you need to edit before you are ready to get mining. The first is the rpc-endpoint field which you should see near the top of the file. Enter this in that field.
rpc-endpoint = 127.0.0.1:8090
This field allows for you to connect to steamd later with the cli_wallet tool. It is quite handy and many tutorials will soon be released telling you how to use it. Trust me on this one.
The second field is the seed-nodes field which you should also see near the top of the file. Enter these nodes in there
seed-node = 192.99.4.226:2001
seed-node = 46.252.27.1:1337
seed-node = 81.89.101.133:2001
seed-node = 52.4.250.181:39705
seed-node = 85.214.65.220:2001
That oughta give you a nice trust-able block chain. If you want even more seed nodes you can click this link which will take you to a public list of nodes. The next fields that you need to set up are the witness fields. I have three set up, but you're welcome to set up as many as you like. It is very simple, just add witnesses like we did in the above step. There is no need to make new accounts or anything, just make sure the witnessName's you chose arent already taken usernames. You can check if it is taken by going to steemit.com/@witnessName. If it says unknown account that means its not taken. My witness fields look like this
witness = "picokernel"
witness = "picokernel2"
witness = "picokernel3"
The reason that we have to set up multiple witnesses is because of something very interesting about the way coins are mined on steem. I will get into exactly why in a bit, but roughly the reason is as follows. Once your miner hits the "target", it lines up to get in the queue to mine a block. The queue currently averages about 100 people in line and takes about ~1.5 hours to get through. When your first witness, in my case picokernel gets in the queue, it stops mining. It doesn't look for any more hashes. This wastes time, so during these ~1.5 hours you want another miner waiting in the wings. That's why you set up multiple witnesses. Just thought I would mention that because no other guides seem to have mentioned that. Another thing to note is that the witnesses are selected in alphabetical order. In my case picokernel will go first, then picokernel2 then picokernel3.
The next bit I have found to be a little bit difficult to understand for newbies. It is the miner field.
In your config file you should have just as many "miner" variables as "witness" variables. The miner field layout is as follows
miner = ["witnessName", "WIF Private KEY"]
The witnessName corresponds to the names you just put in the last step. All three of them. The WIF private key is the tricky part. I see people asking about this everywhere. I will show you a picture of how to find it. First go to your Permissions page and then click login on the active row as shown here.
The private key that you need has now showed up. You're going to want to put that in the WIF Private KEY field as I showed in the format above. remember to use the same private key for every miner even though you use different witness names. My config looks a little something like this
miner = ["picokernel", "5Hp~~~~~~~~~~~~~~~~~~~~~~~~~~~~~~~~~~~~~~~~~~~~~~~~~1"]
miner = ["picokernel2", "5Hp~~~~~~~~~~~~~~~~~~~~~~~~~~~~~~~~~~~~~~~~~~~~~~~~1"]
miner = ["picokernel3", "5Hp~~~~~~~~~~~~~~~~~~~~~~~~~~~~~~~~~~~~~~~~~~~~~~~~1"]
The second to last field you have to fill out it the mining-threads field. I advise that you set the threads to however many cpu threads you have. So for instance mine looks like this.
mining-threads = 4
When you are all done, you can sit back, relax and run the steemd --replay command. It should use the blockchain that you downloaded earlier and begin fetching the last few blocks. Its worth noting that you only need to use the --replay flag the first time you download the chain. Every other time you can just put steemd. You can check how close you are to the current block by visiting this page and looking at the last block.
NOTE: You might only get 1hps initially but that is only because you are still bootstrapping the blockchain. It will correct itself after a while.
Any other errors just post in the comments and I or some other member of this friendly community will get to you.
In conclusion...
Alright! That is it. I really hope that this was enough information to clear up a lot of the questions about mining steem. If you thoroughly enjoyed this post I ask that you vote for me as a witness. I plan on getting an AWS going soon so I can be a serious member of the community. You can vote using the command
vote_for_witness youraccount picokernel true true
in the cli_wallet. Thank you again and good luck!