Steemit Markdown works well in most cases but sometime we need custom formatting that is not available via Markdown language. For example, you may want to embed images (or video) floating right/left within your post.
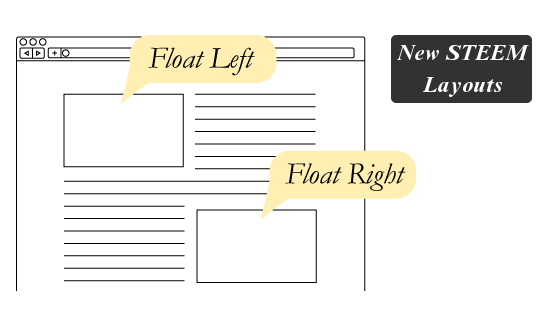
Now steemit.com has this features implemented with custom classes approach.
The initial class styles which are supported: New CSS classes adds options to align the image to the right and left, so the text will wrap around the image.pull-right - content floats the rightpull-left - content floats the lefttext-justify - stretches the text lines so that each line has equal width (like in newspapers and magazines)Code Examples:
A left floated image with text-wrap
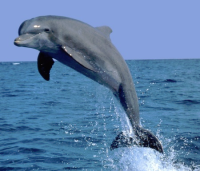
The image is on the left and the text flows around it.
Code:
<img src=" "/>
"/>
A right floated image with text-wrap
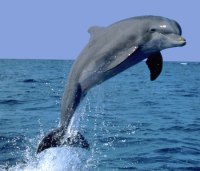
The image is on the right and the text flows around it.
Code:
<img src="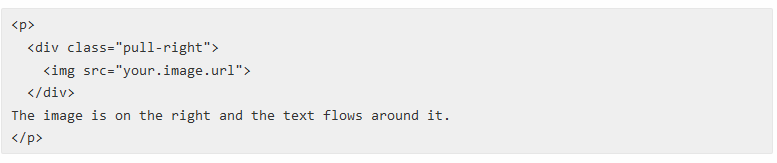 "/>
"/>
Long text justification
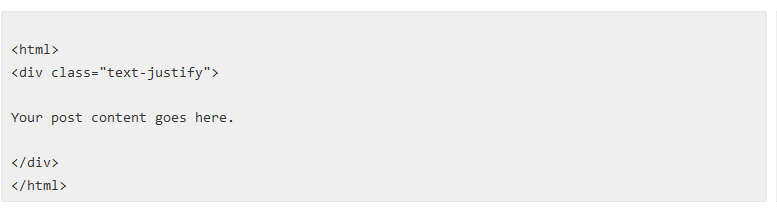
By default STEEM render text with a jagged right edge. If you want all text rendered like in a book with an even right edge you can use a single style rule. To set all text to justified copy the following code into the section of your blog post.
If you want all text rendered like in a book with an even right edge you can use a single style rule. To set all text to justified copy the following code into the beginning of your post right after leading <html> tag:
Note: to use new STEEM layout features you need to switch from Editor to Raw HTML mode while submitting your story:
