
You maybe feel limited (even frustrated) if you try to stylize your post. For example, let’s take you want to wrap your text around your images. Your picture goes bellow your text and you can not put two elements inline, nor moving image to the left or right side of the screen.
In this episode, I’ll show you how to make two elements (image and text) on the same line. You should get this result:

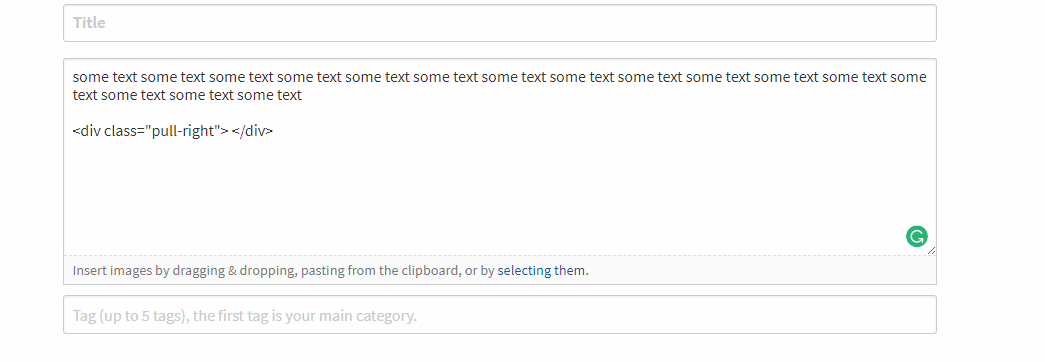
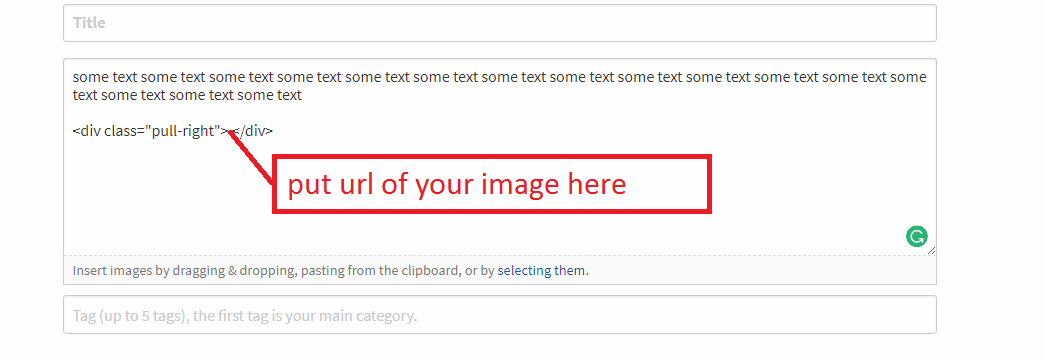
Copy this code
<div class="pull-right"></div>
In order to do that you should generate some code.
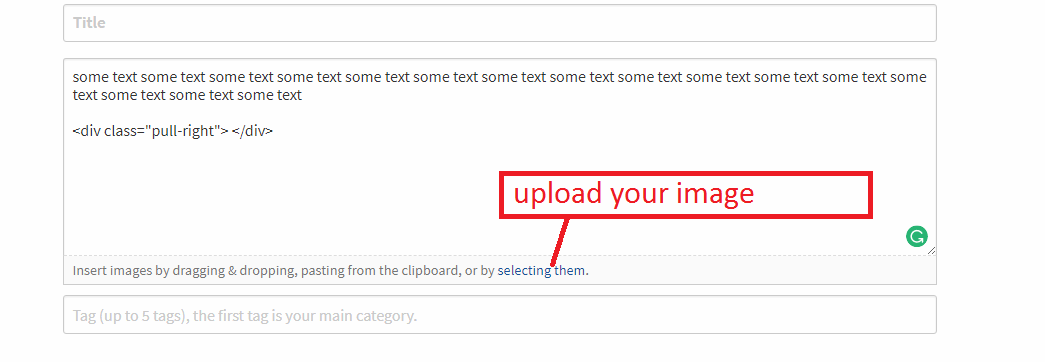
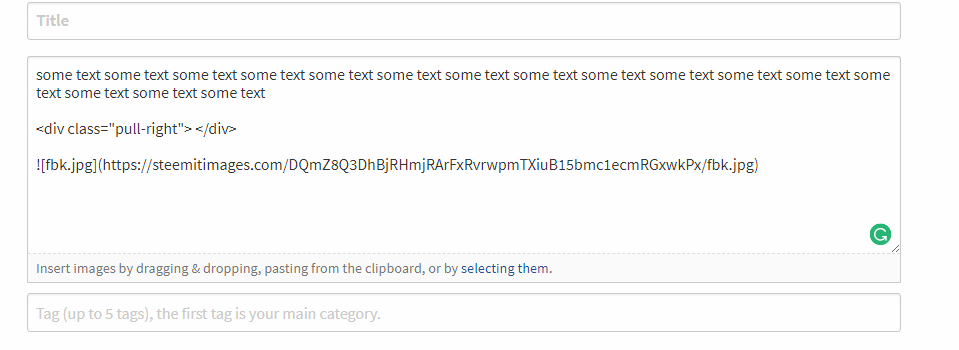
It should look like this:
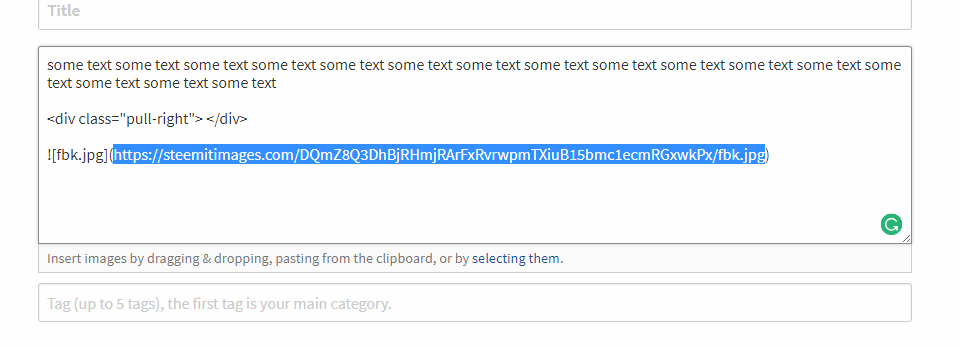
Now, copy JUST SELECTED PART of the code, namely URL of the image, the rest of code just ERASE...
...and put it into 'div' element.
It should look something like this:
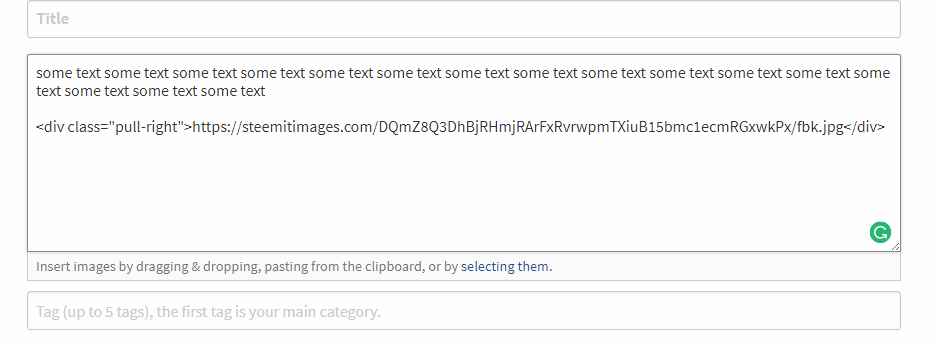
Now, type text you want. Whole text will appear on the left side of the image as long (heigh) as image is.

That is it!
P.S.
If you want your picture on the left side, just put this code first, and repeat the process I already described.
<div class="pull-left"></div>
Thank you!