
Papa has done a lot of different jobs in his time, but I’ll take you with me on the kind of work I’m doing now to make money.
I’ve already seen @karenmckersie being a security guard and @kus-knee sharing about washing windows, so I thought that it was about time that I took my followers to work with me!
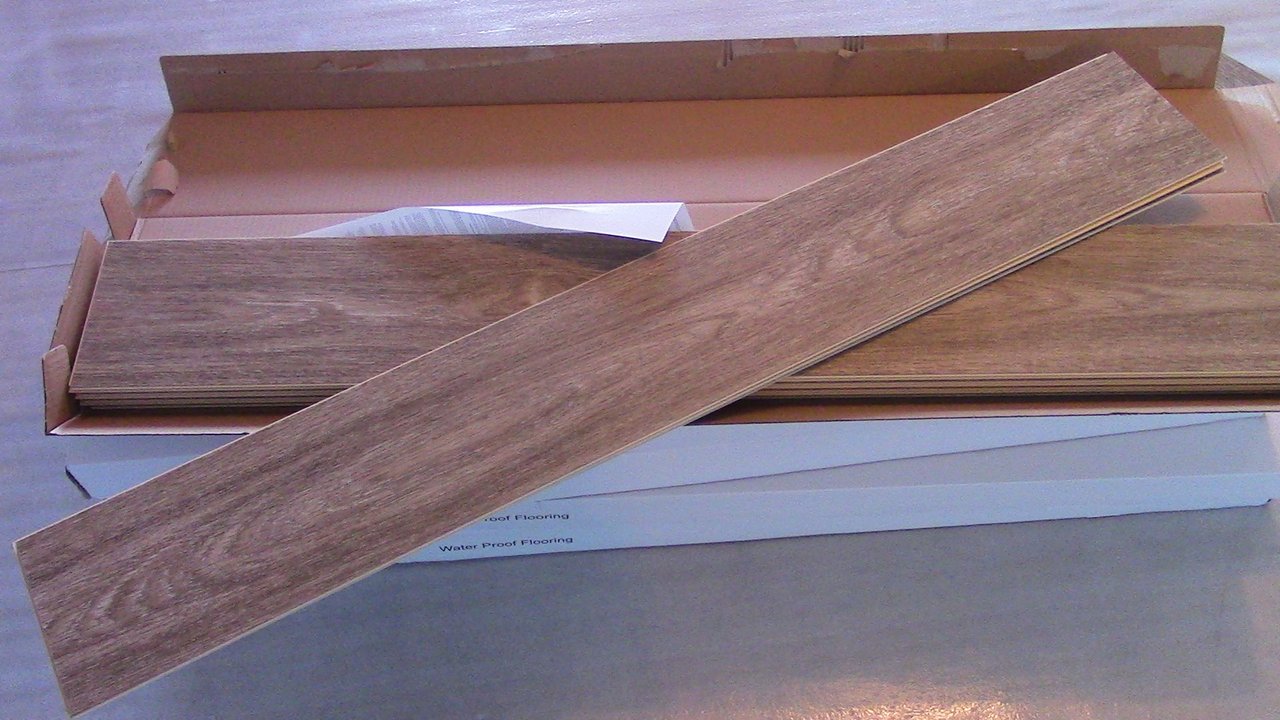
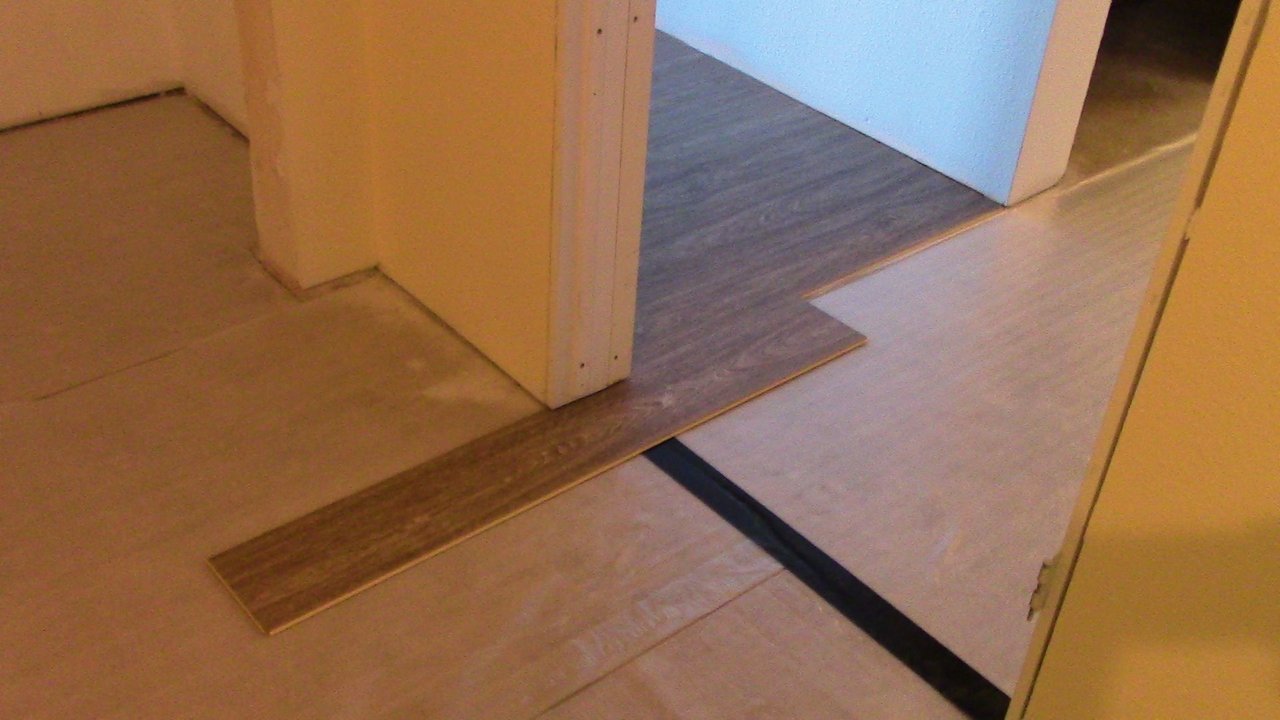
Most of the time for me these days it’s hardwood flooring. However, yesterday someone needed a vinyl floor put in their basement, and since it looked like wood, I decided to help. It is very similar to some of the glue-less laminate flooring that I’ve been installing lately around the Branson, MO area, so I’ve become quite familiar with the basic procedure.

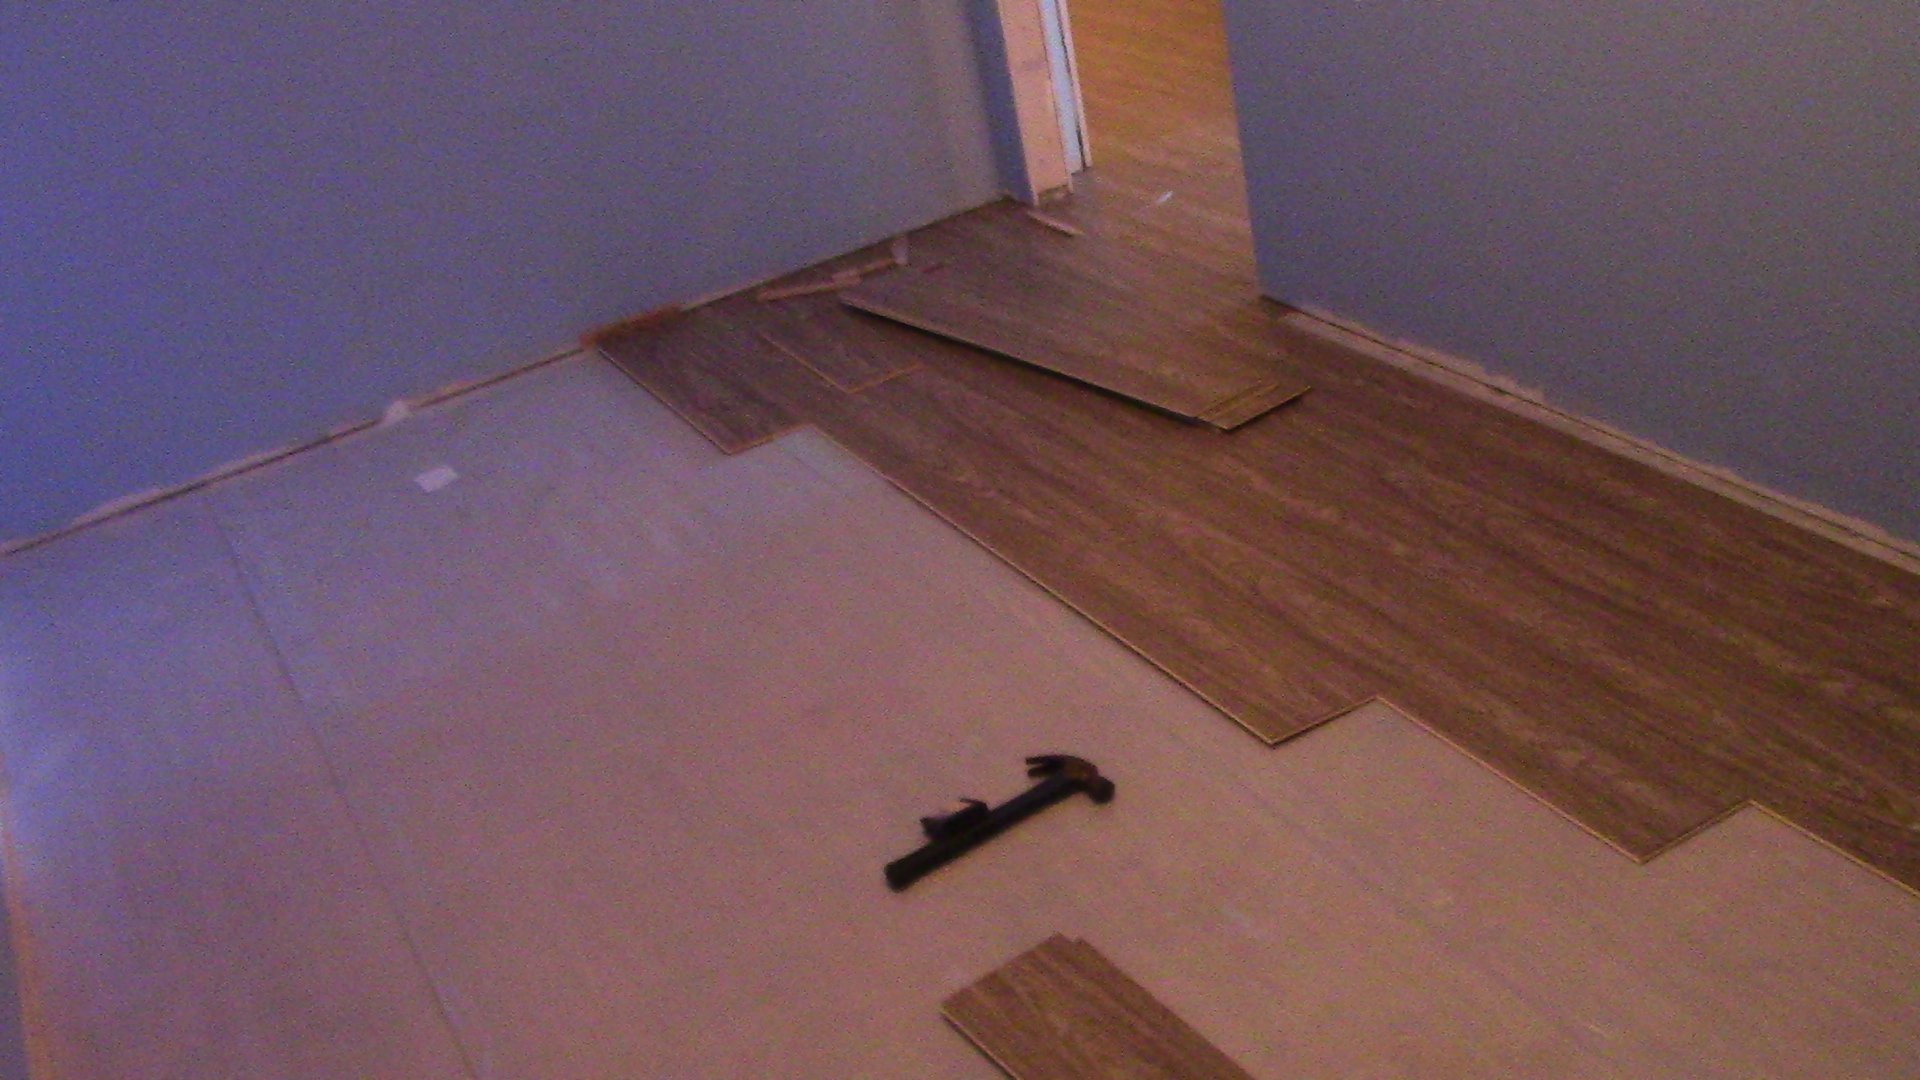
So all the seams do not line up with one another, a staggering pattern should be used. This pattern illustrated is the “staircase,” named so because it looks like stairs. Although this is the easiest and fastest pattern to install, most people do not like seeing a pattern in their floor.

This is just shown for an example, it is not how we installed the floor.

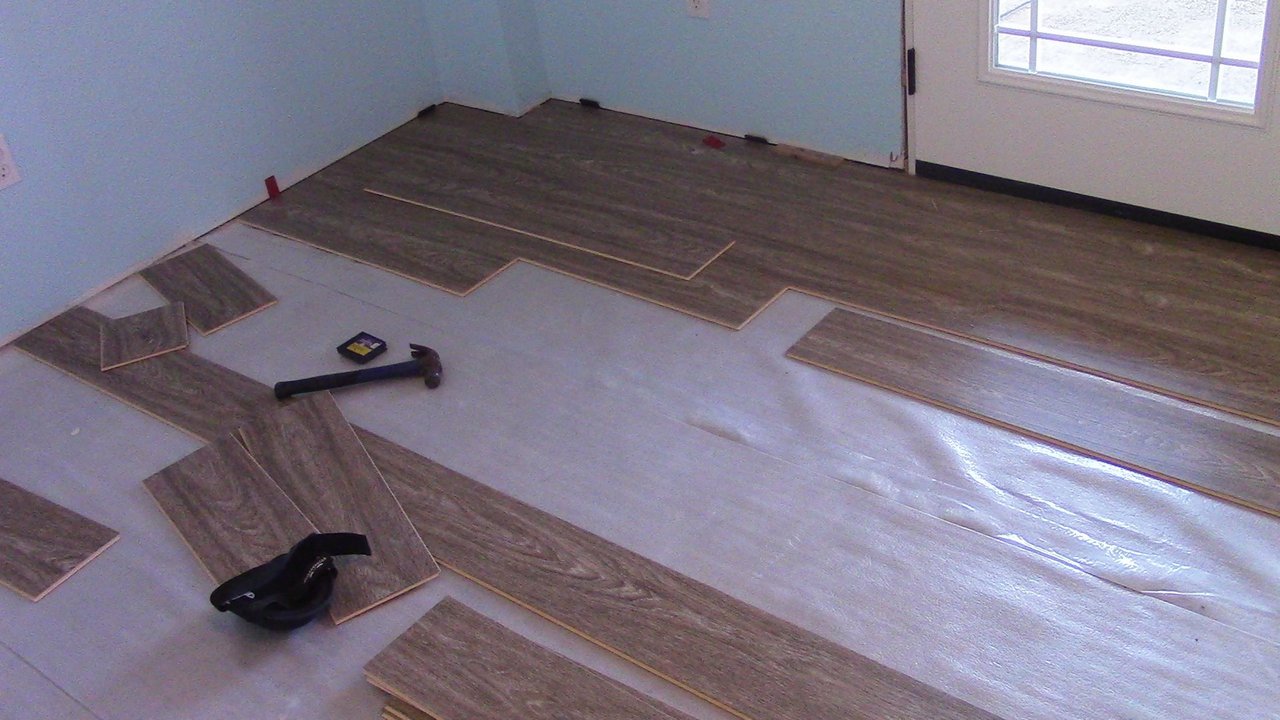
A random “pattern” is the most popular way that people want their floors installed. Sometimes a subtle pattern will be there, but it is sporadic enough that the eye can’t really pick it out. Anyway, Let's start at the beginning.
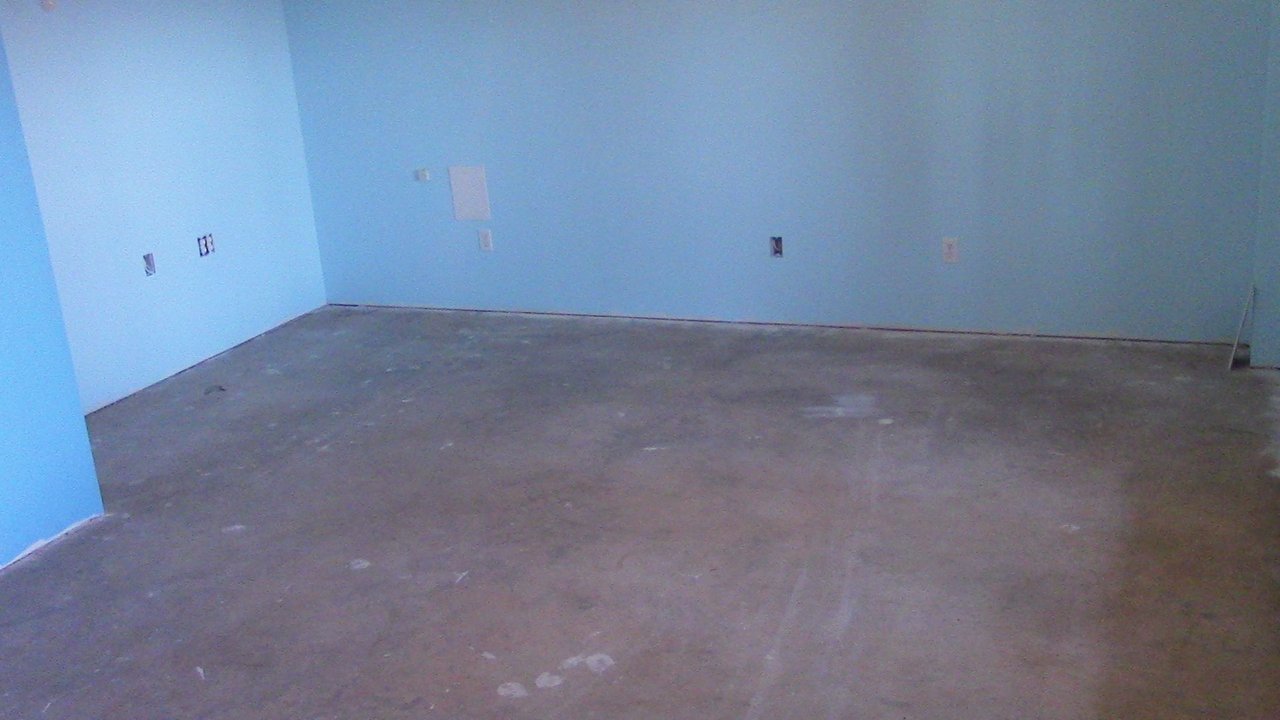
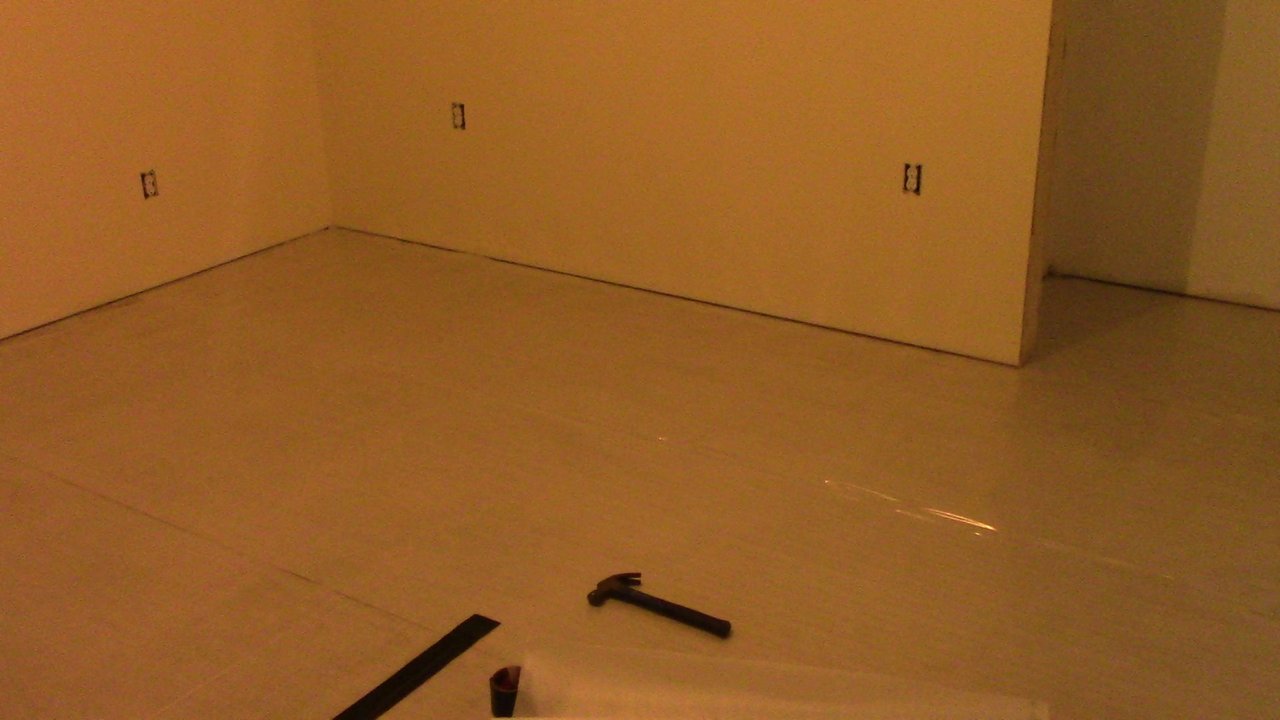
We started yesterday with four rooms and two hallways to lay, which totaled just under 1000 square feet. The cement floor was already scraped clean and vacuumed.
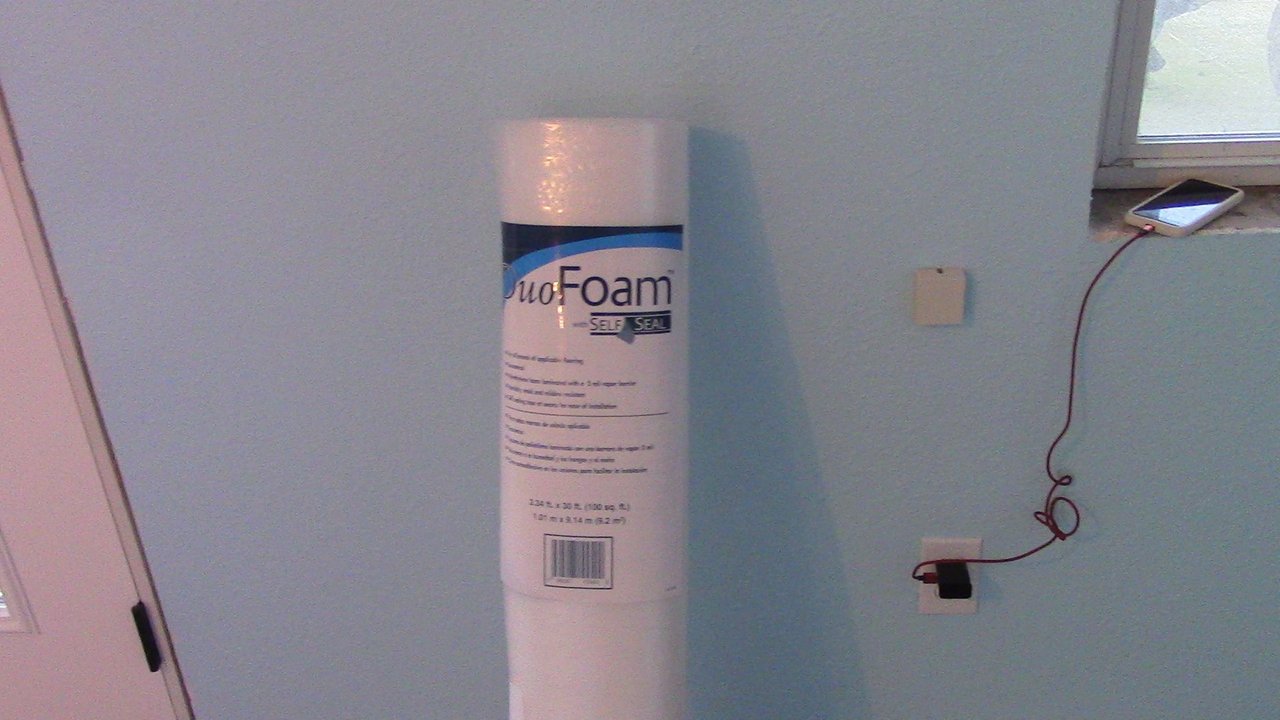
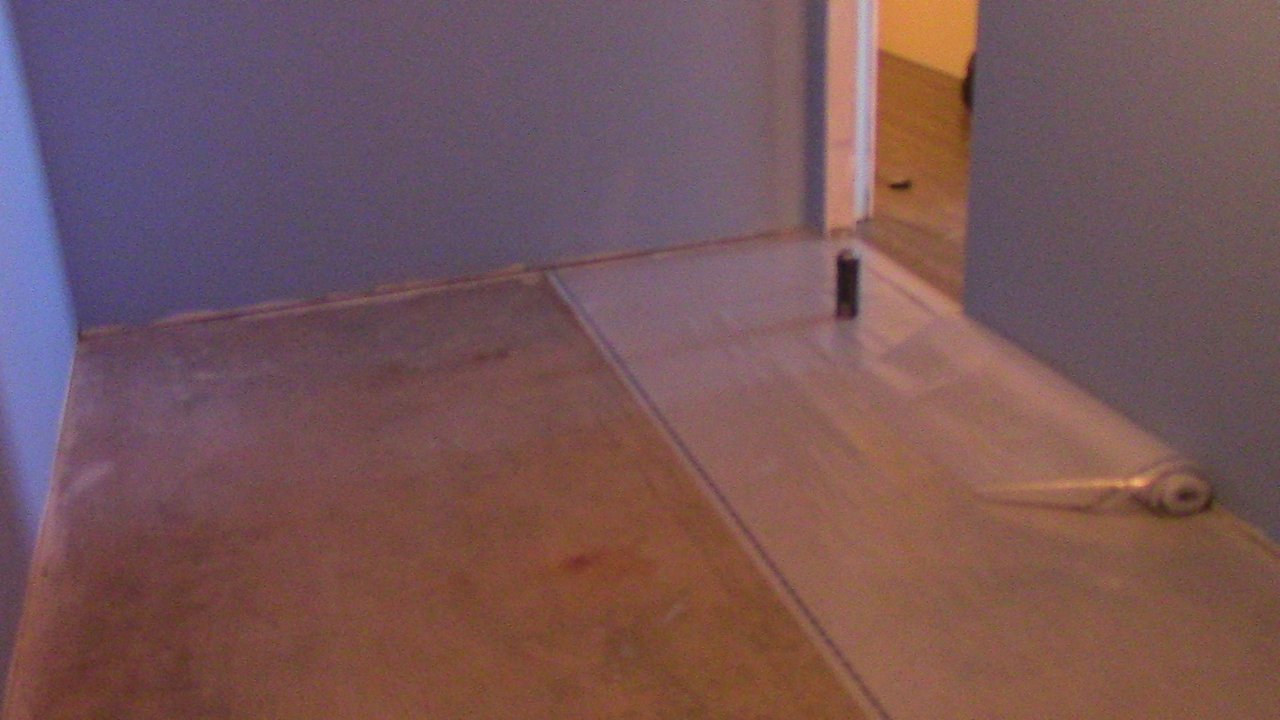
We use a foam padding under the flooring, which comes in rolls.
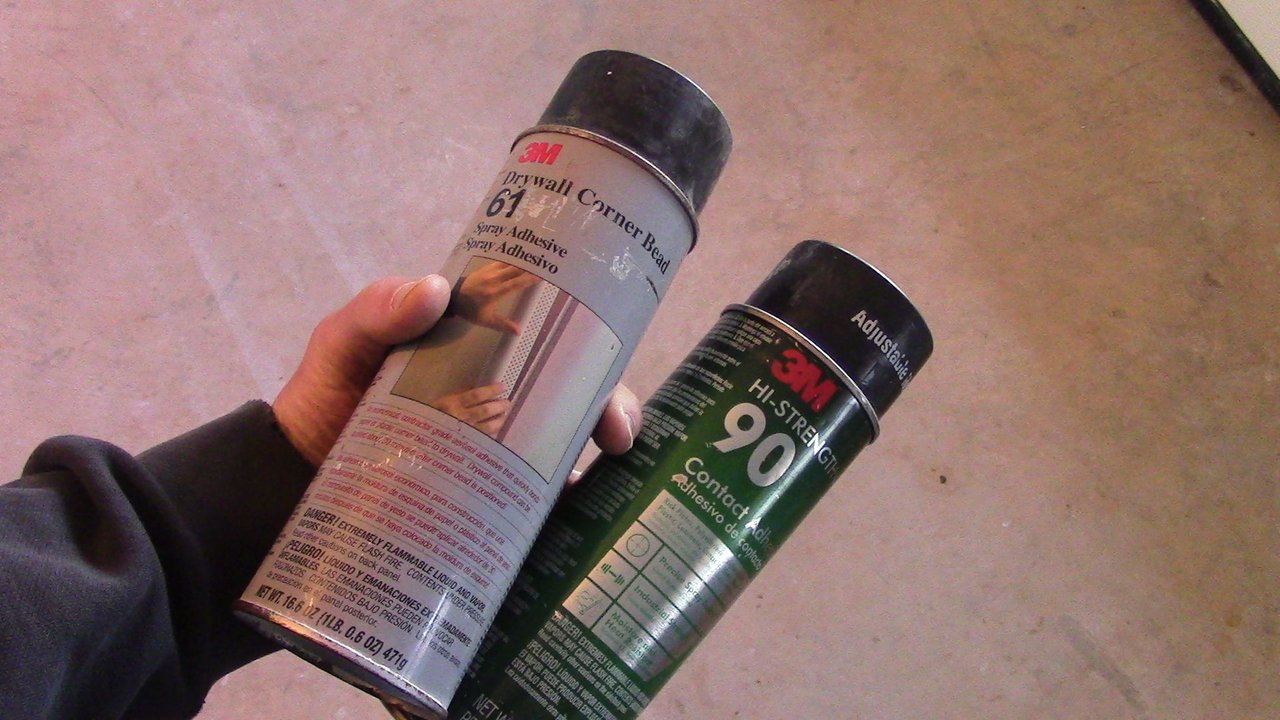
The rolls come with tape and flaps already on them to secure them together, but it needs to be secured to the floor, so we use a spray adhesive.
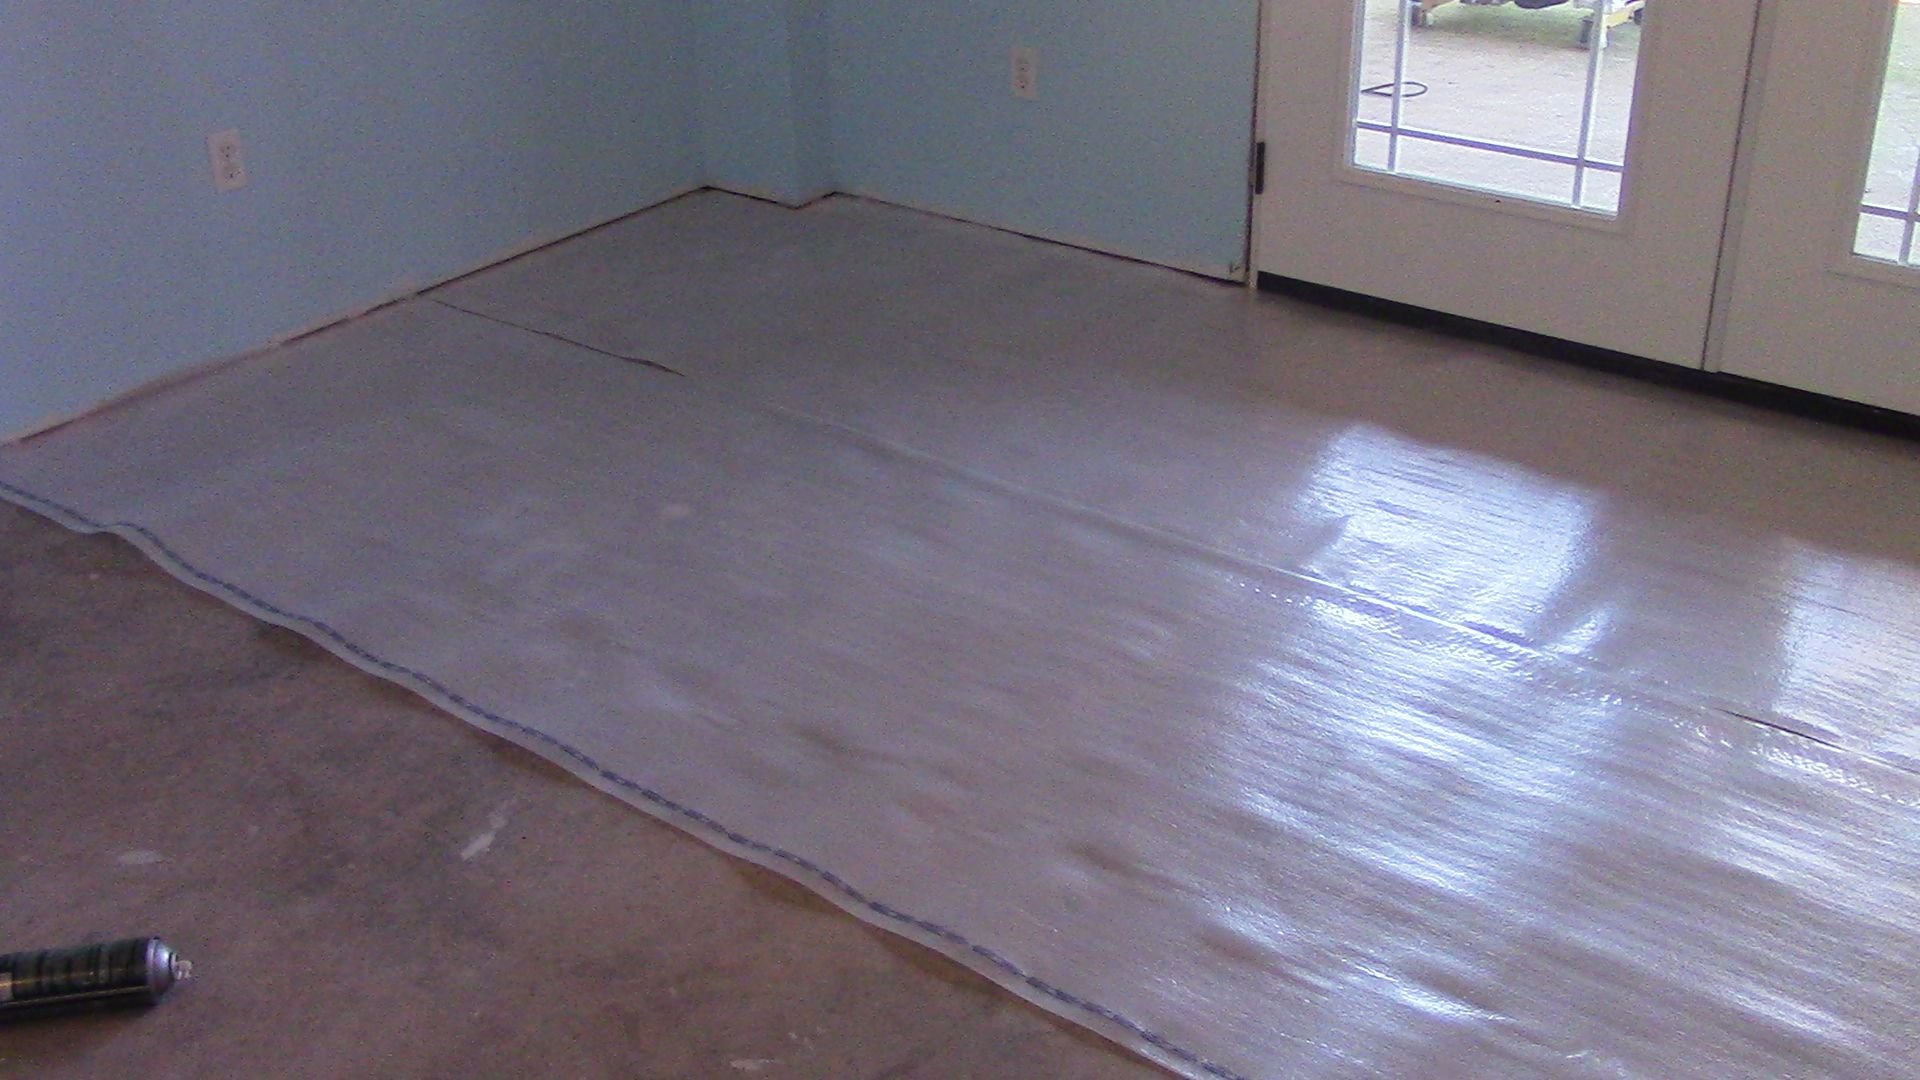
Though we were installing a water proof vinyl, we still used the foam under-layment as a pad to lay the floor on. With wood flooring we use a similar product that acts as a moisture barrier too.
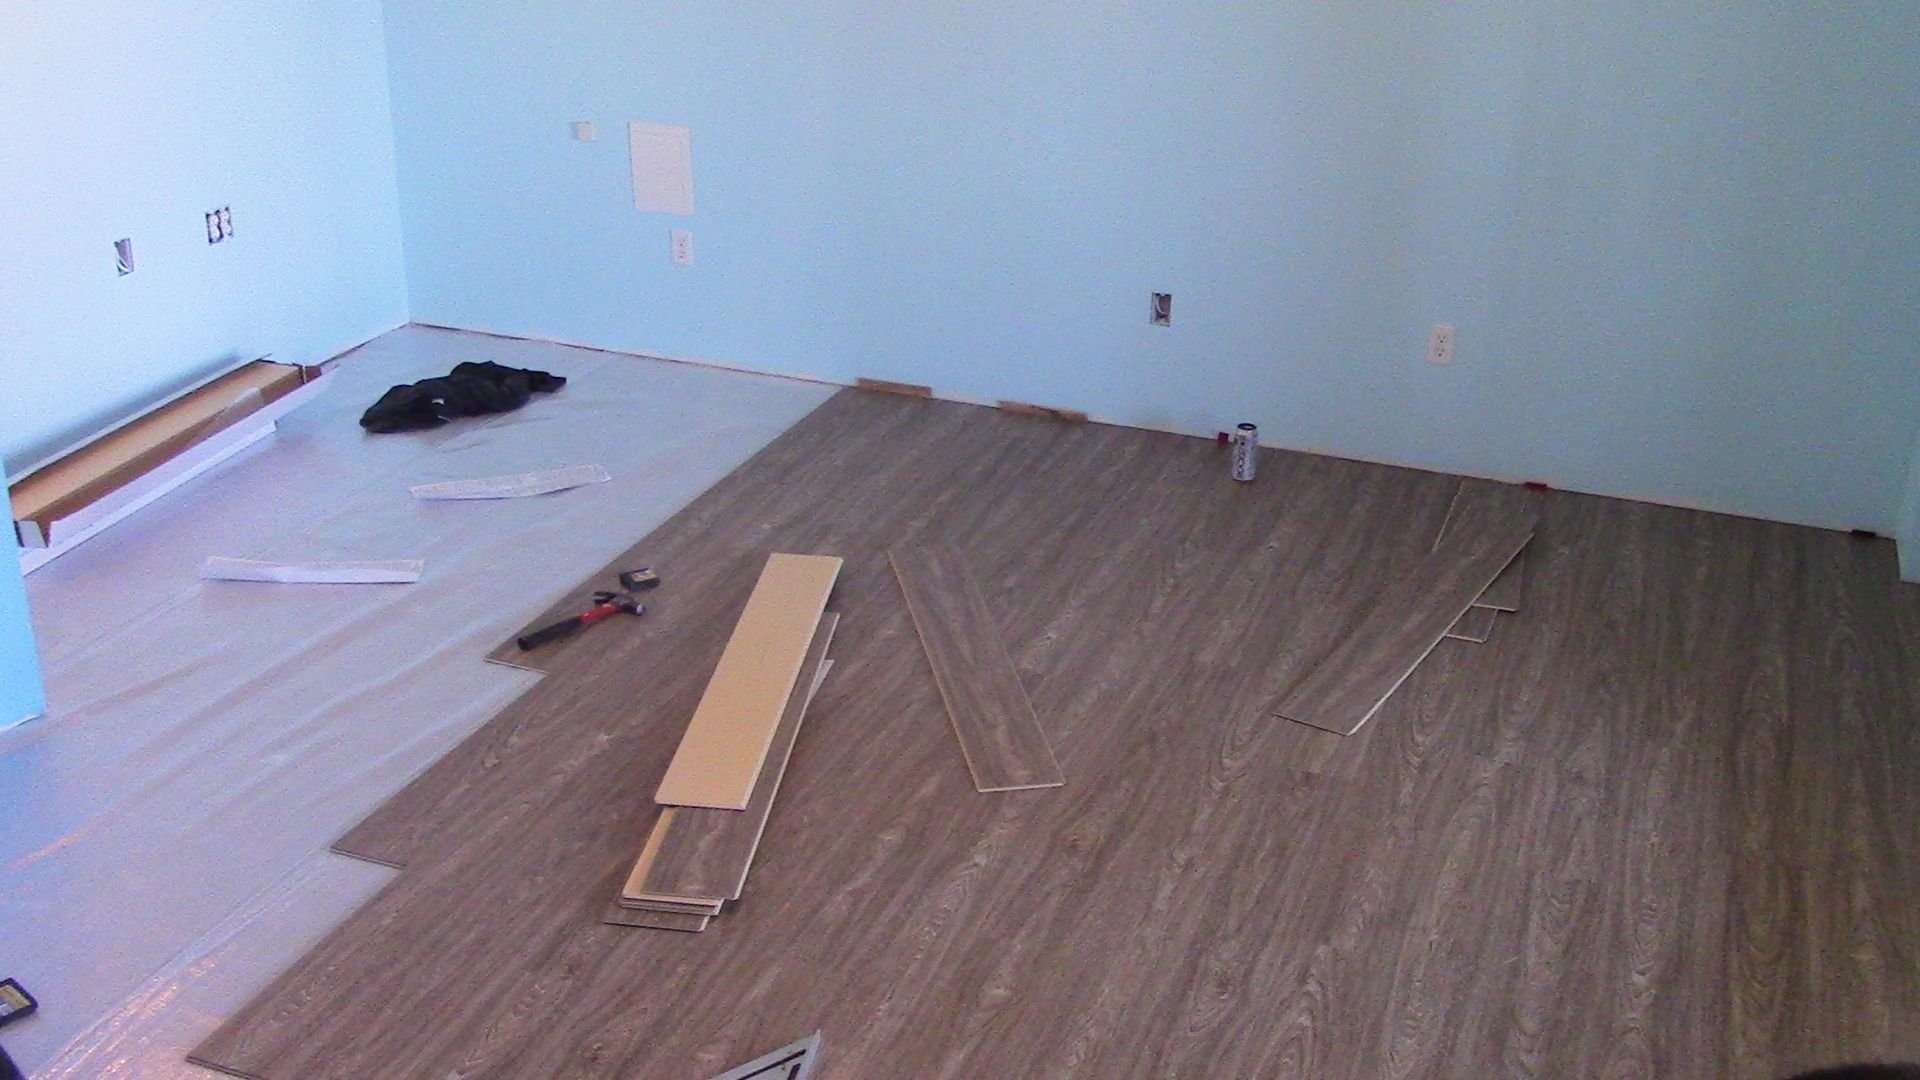
It is important to not lay the flooring tight from wall to wall. Since this floor requires no glue, nails, or staples, it can move slightly. This means that we make sure to leave room for expansion. We got the whole thing laid in yesterday, and the finished result looked great.
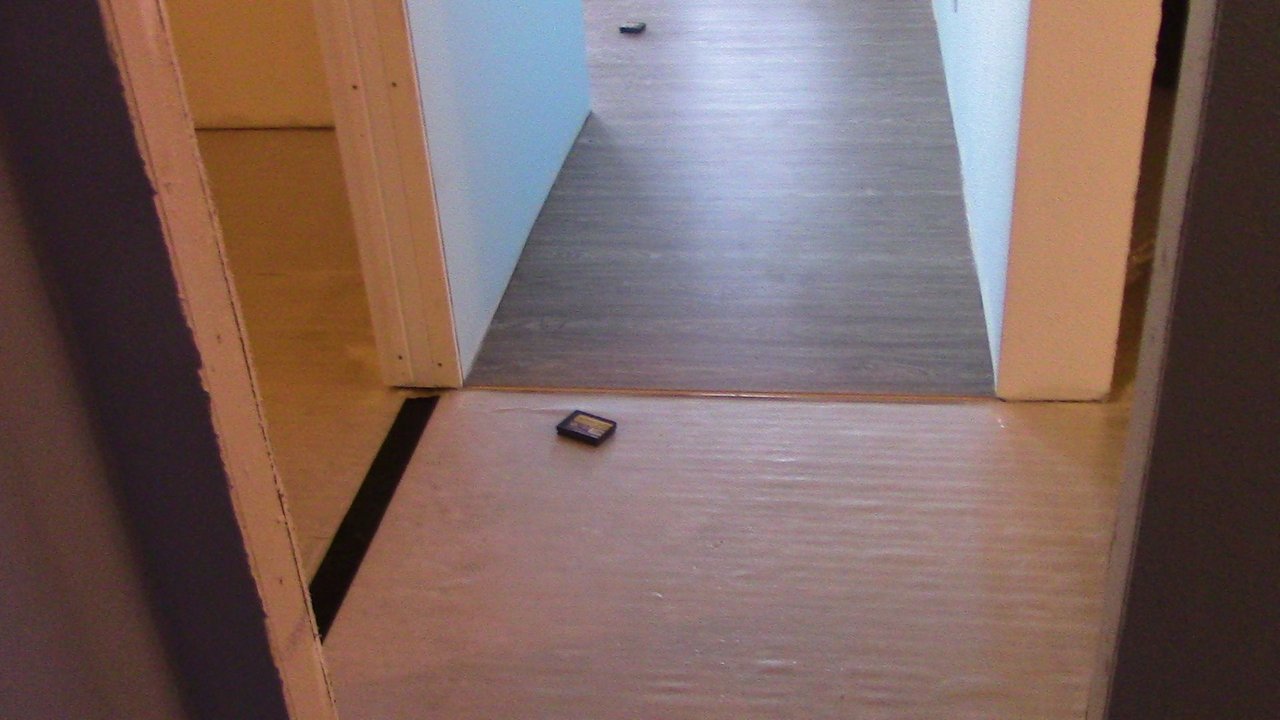
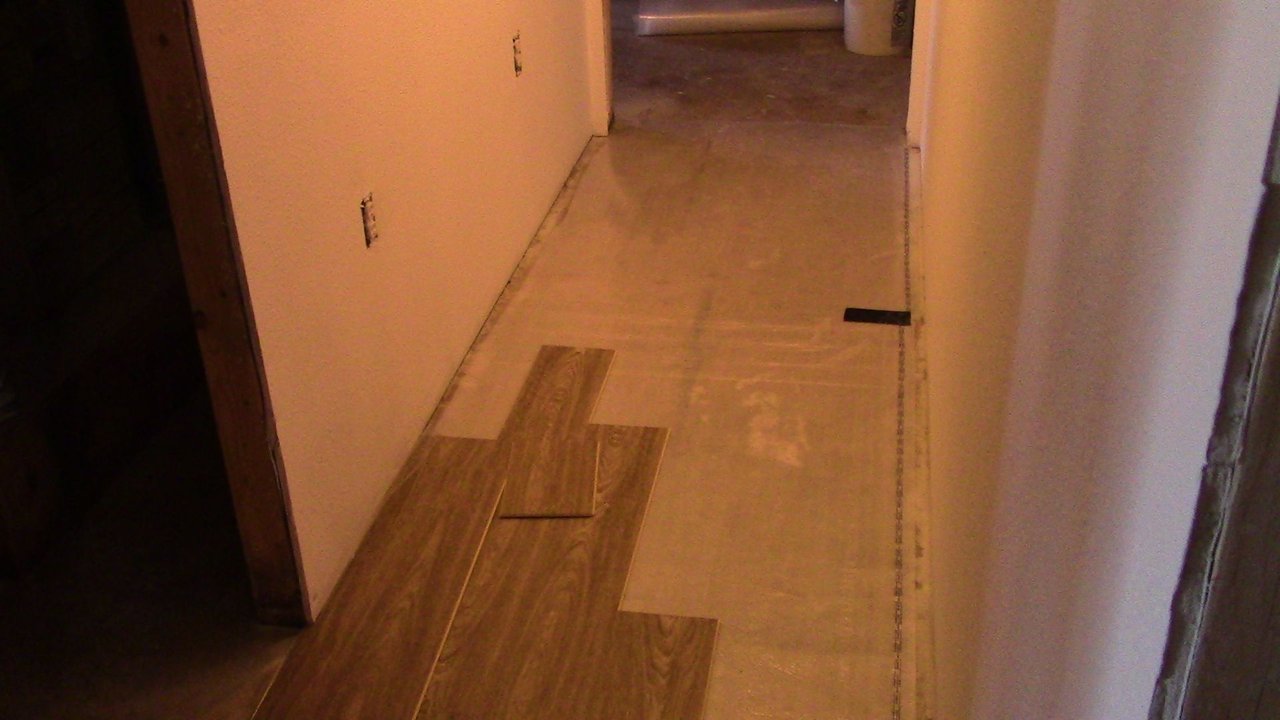
Here are some more photos of my day at work.
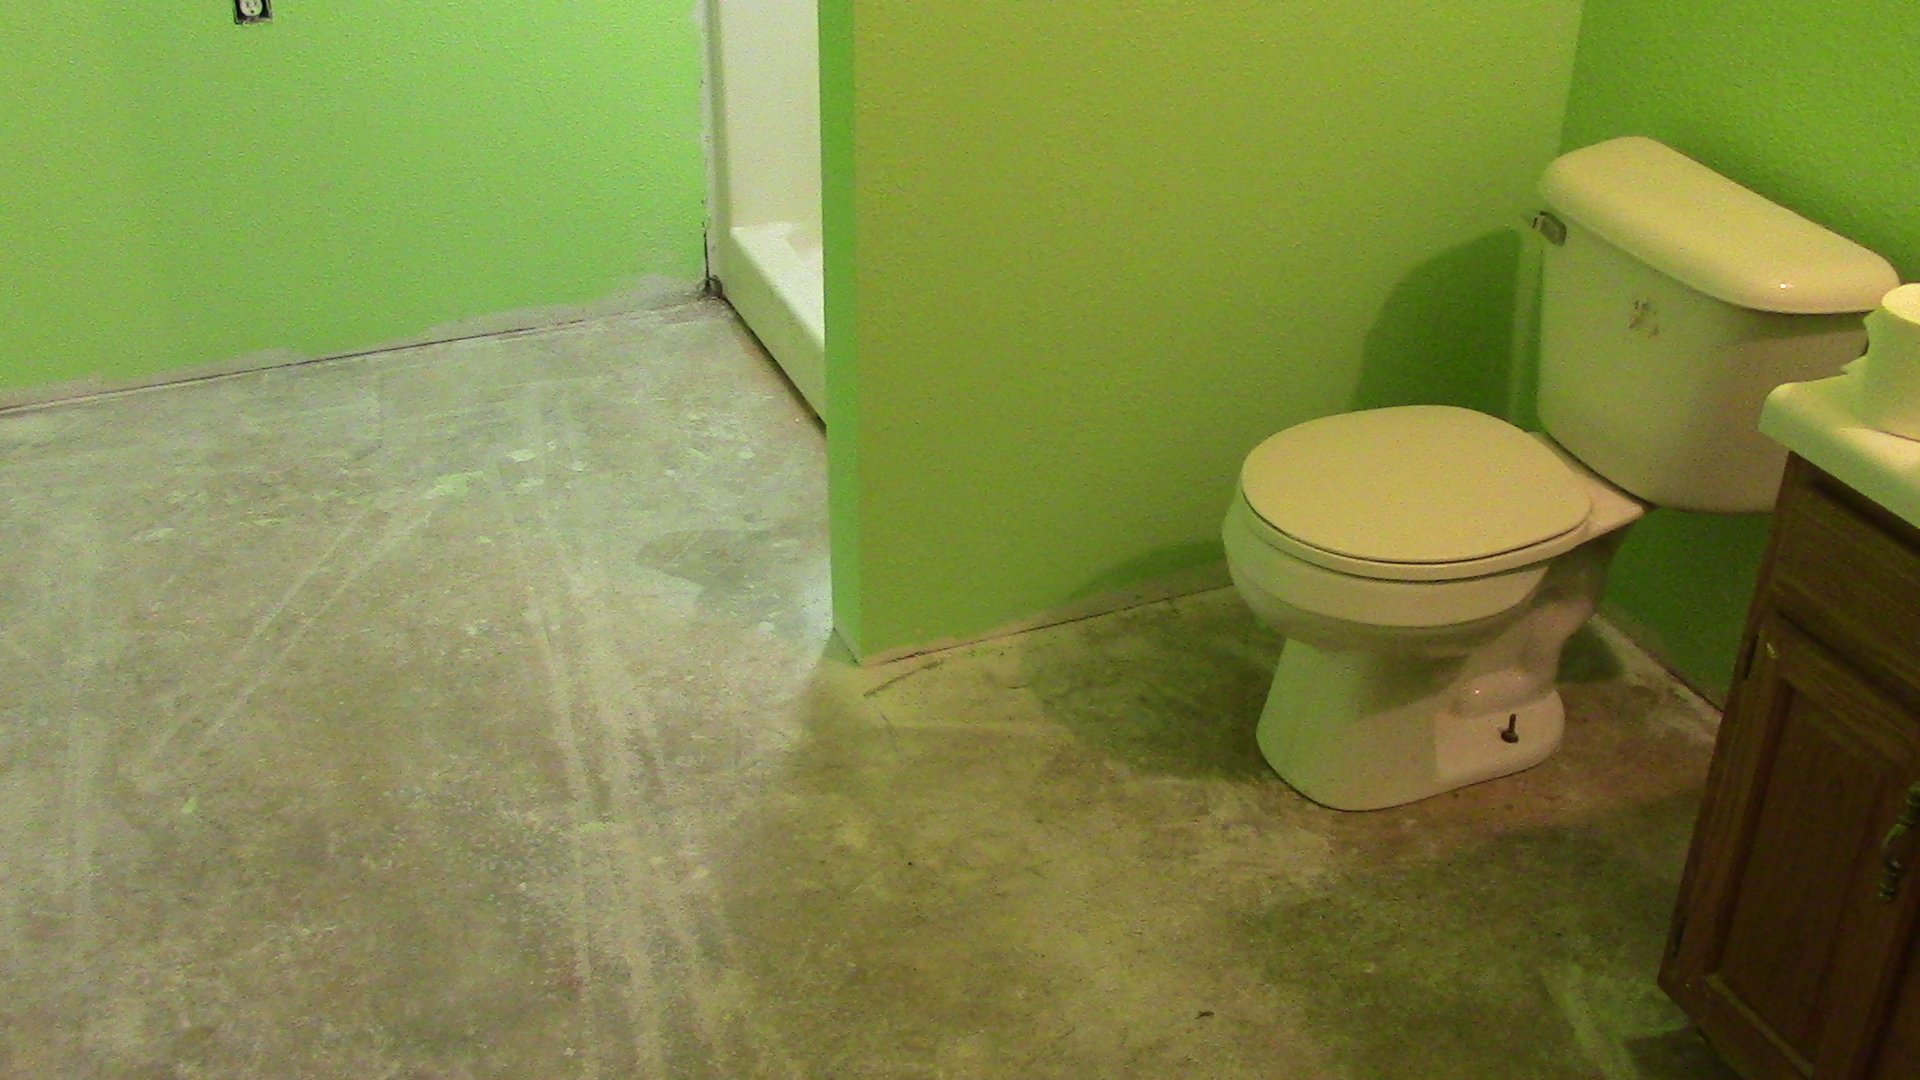
For the bathroom, you need to remove the toilet.
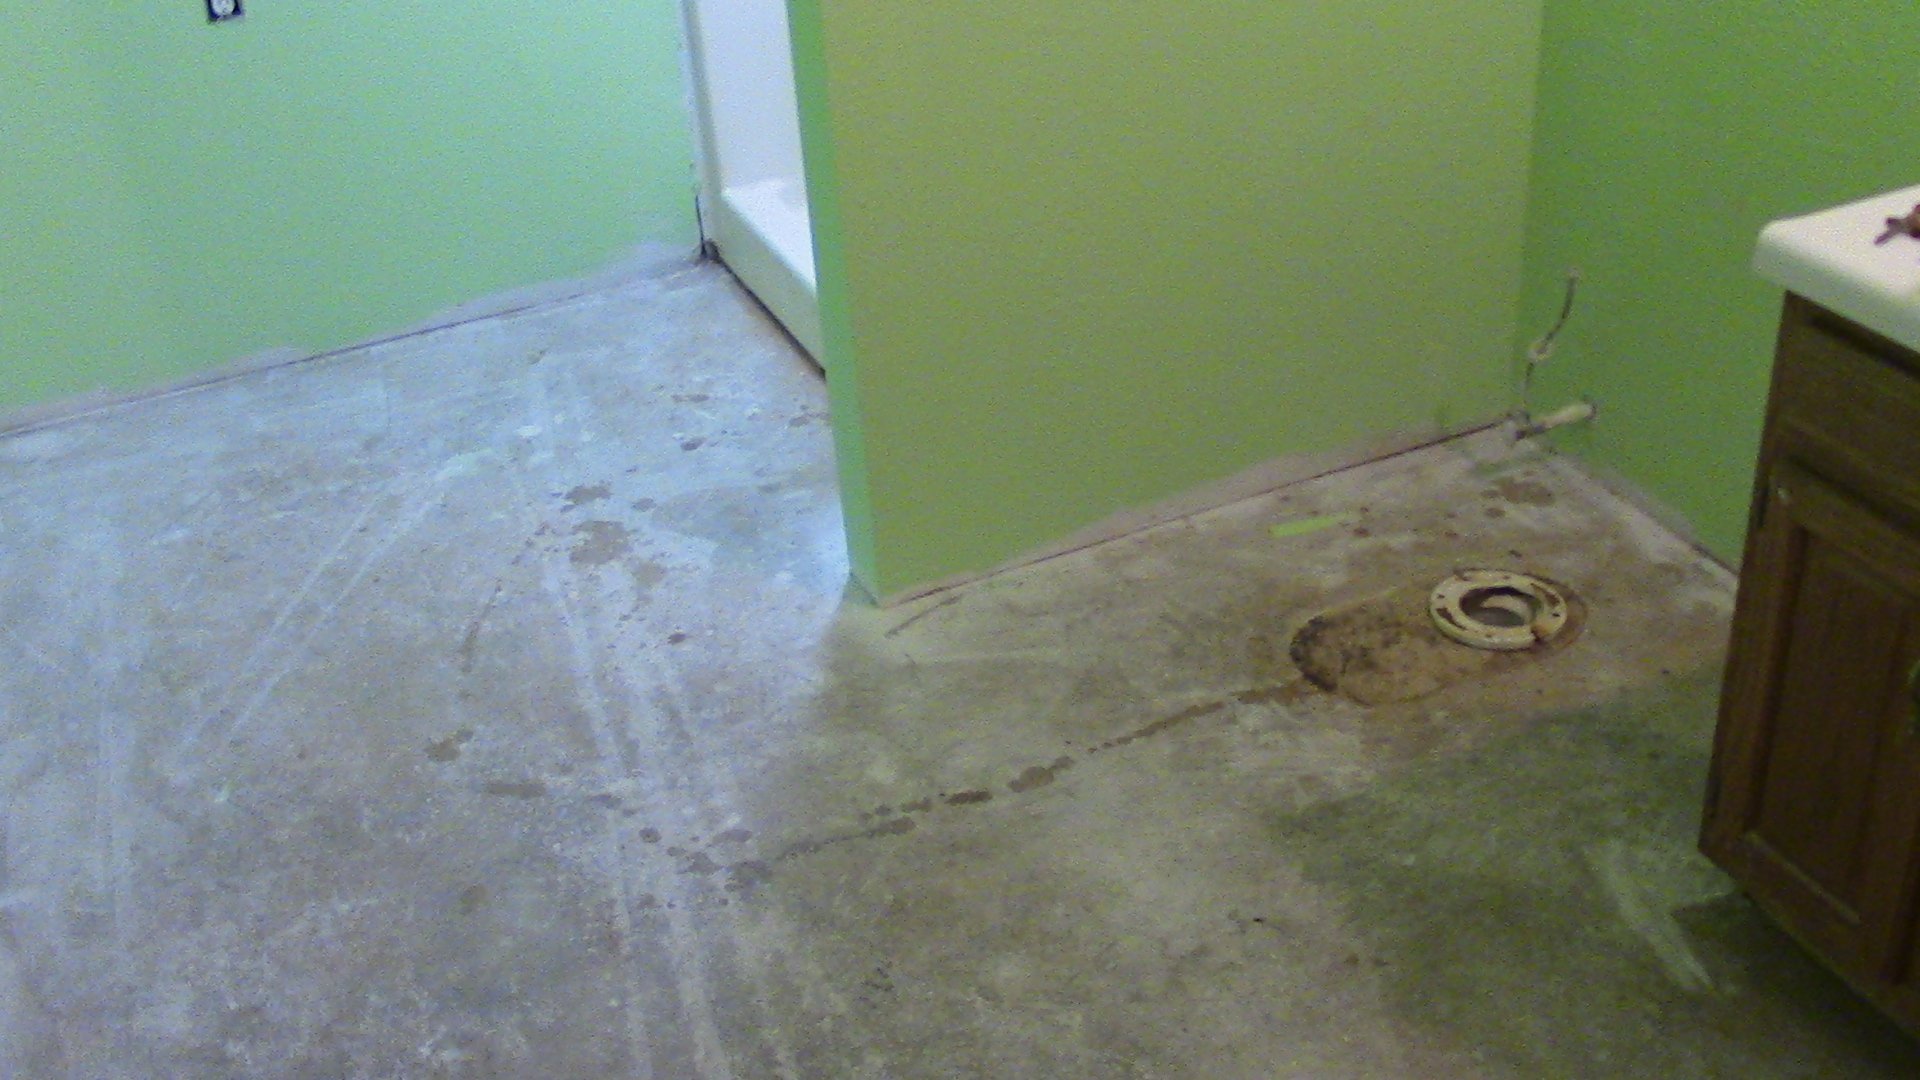
Then you lay the floor and fir it around where the toilet will go.
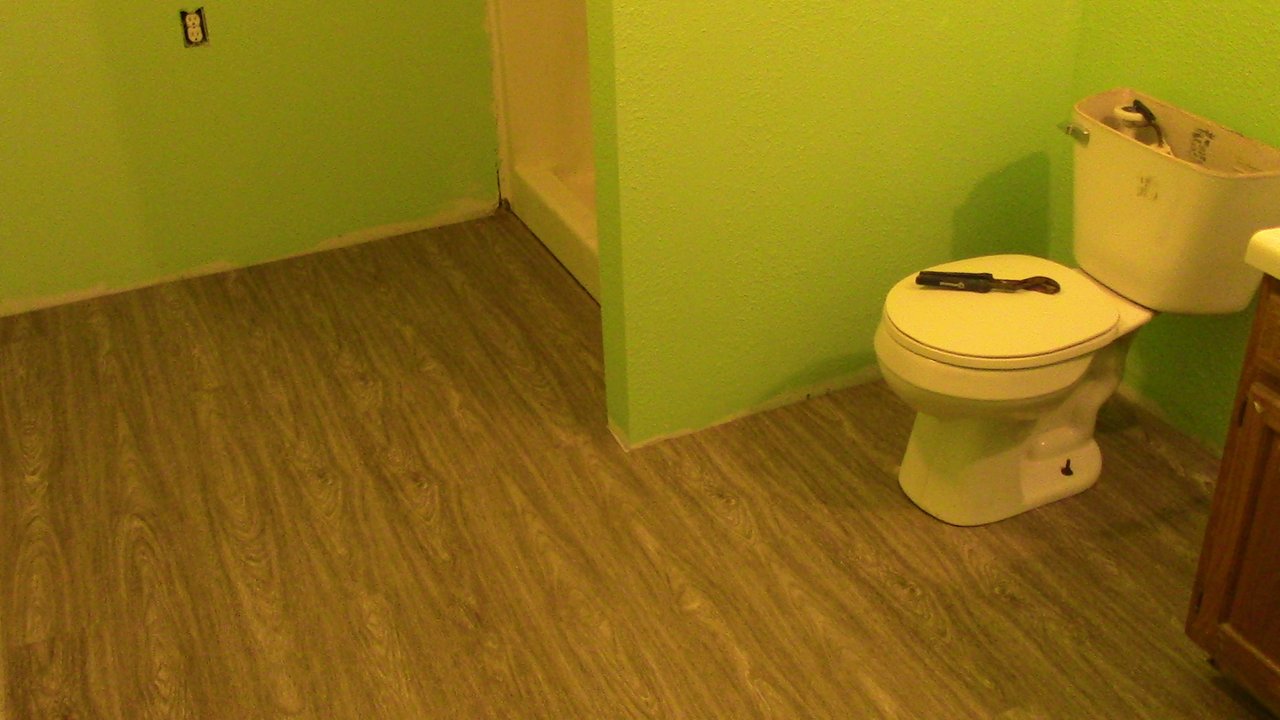
Once you replace the toilet, the bathroom flooring is complete.
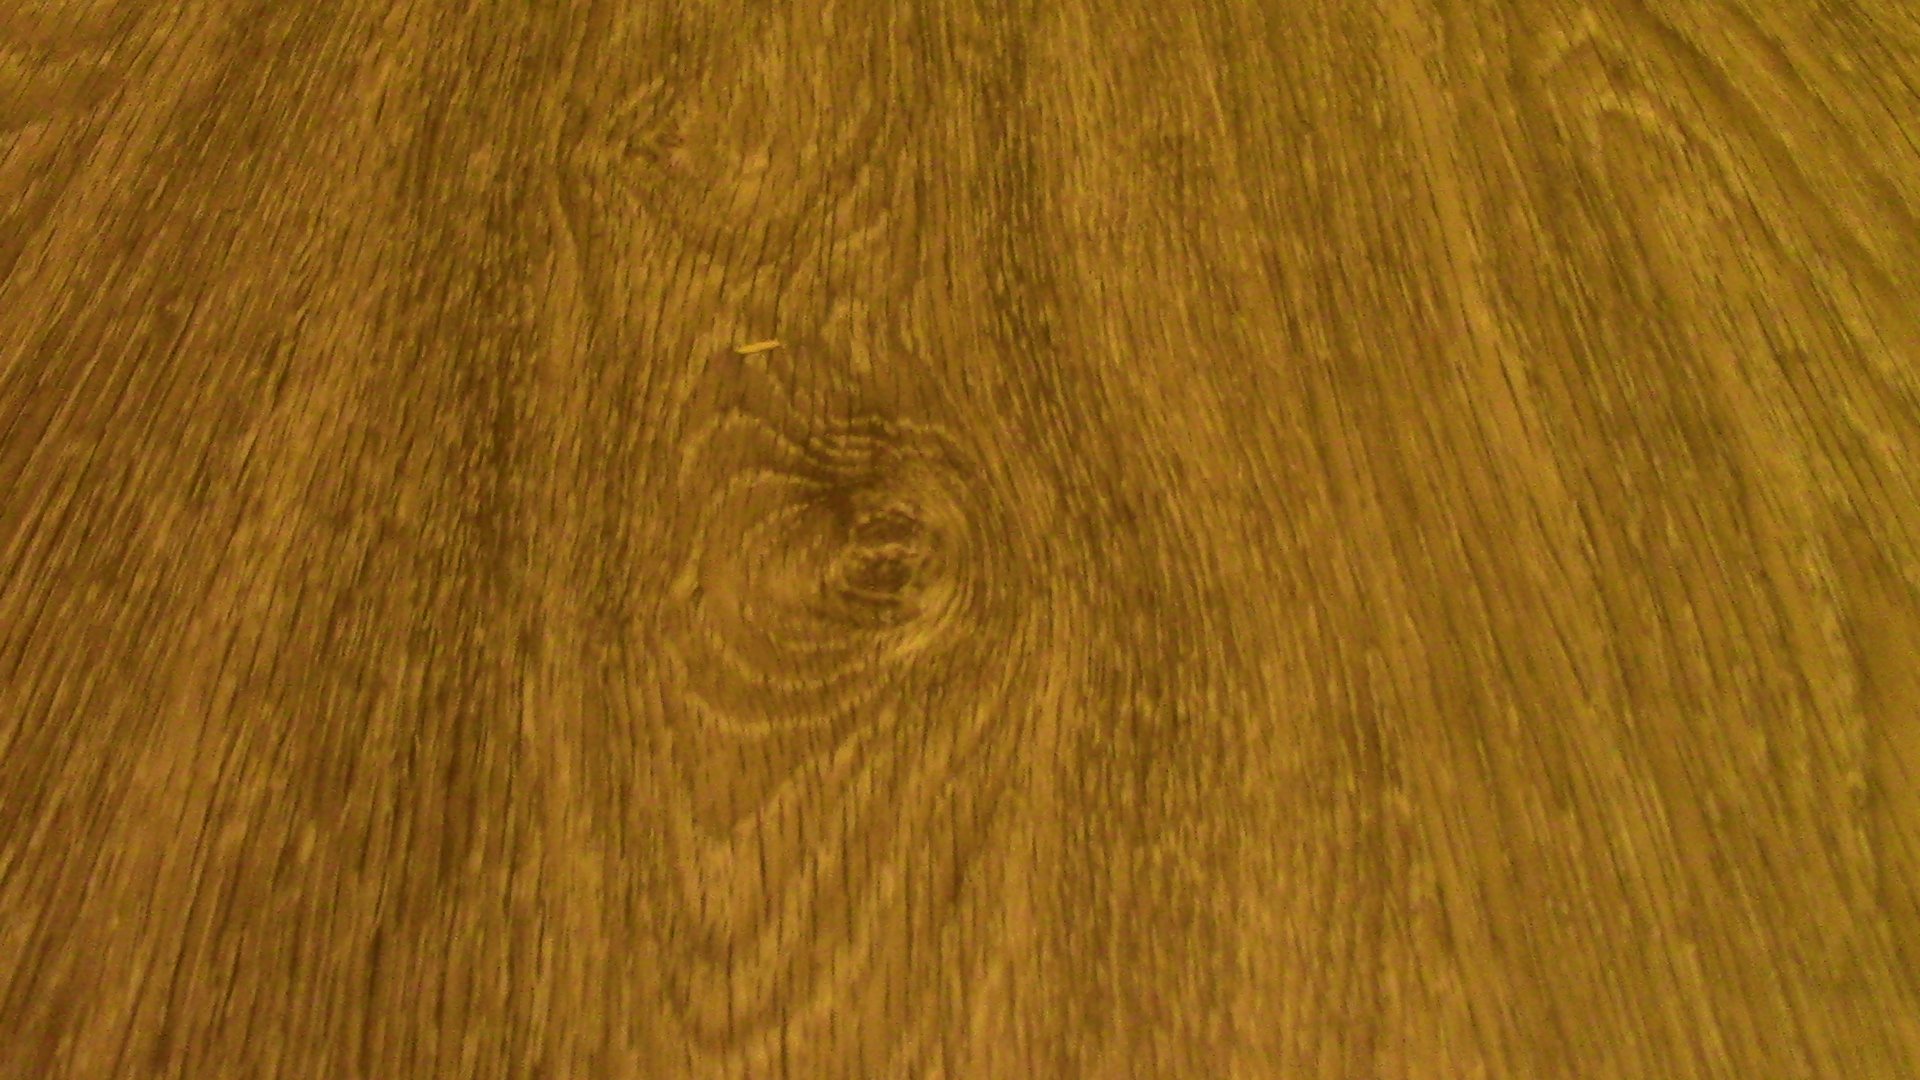
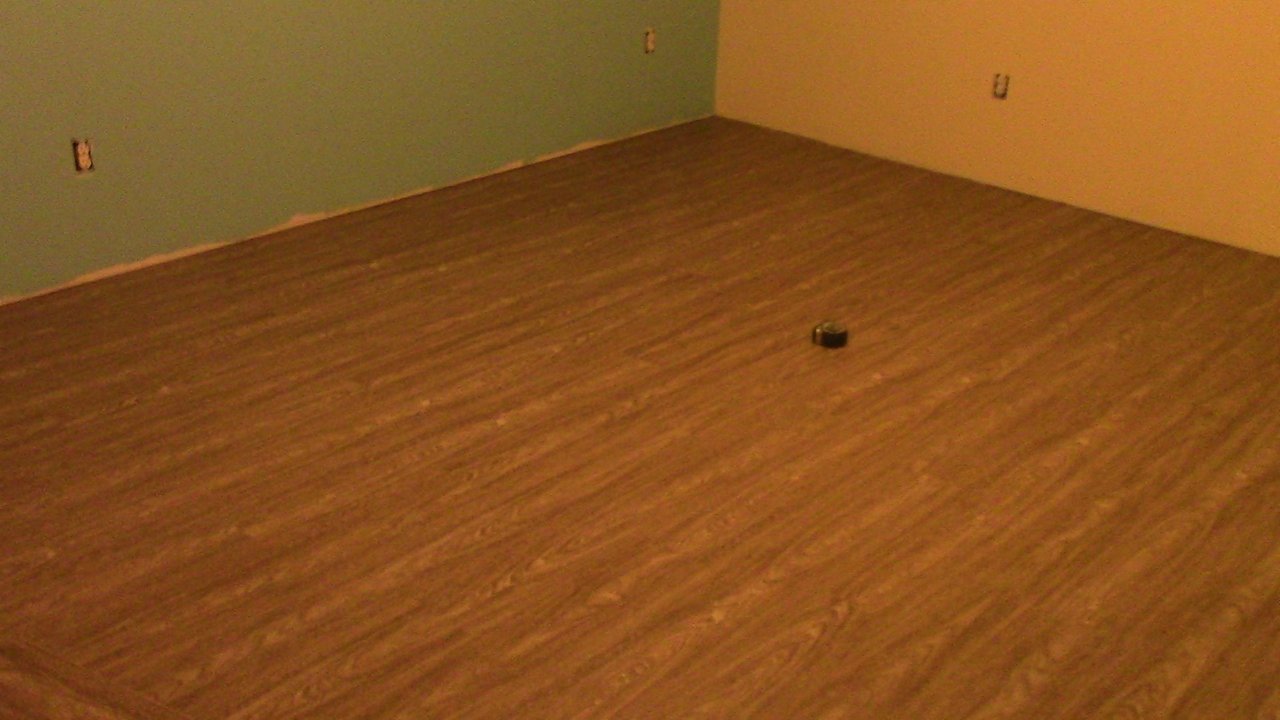
Here is a close-up of the floor, which had a nice wood grain look to it.
Here is a short video that I made at the end of my day.

Thanks for coming to work with me. I wasn't sure that I could bring more than 1300 people with me, but you guys did great. Thanks for the help too. I shold be able to pay you each about 5 STEEEM an hour, so make sure to turn in your time cards before you leave my post.
Also, I think that steemit has just given me a great opportunity to monetize my work!
If you are able to share about your job, feel free to use the #takeyourfollowerstowork tag too.

FOLLOW