A while ago, I heard my wife struggling out in the pantry.
There was considerable banging and muttering going on. While I was not close enough to make out the actual vocabulary, suffice it to say that it's probably a good thing no recording devices were in operation....
Being a supportive husband, I of course hustled out to the pantry to see what was the matter.
As it turned out, my wife was trying to fit a rather large plastic-ware container into our chest freezer. Unfortunately, the freezer had a rather thick layer of ice accumulated around the lip of the opening.
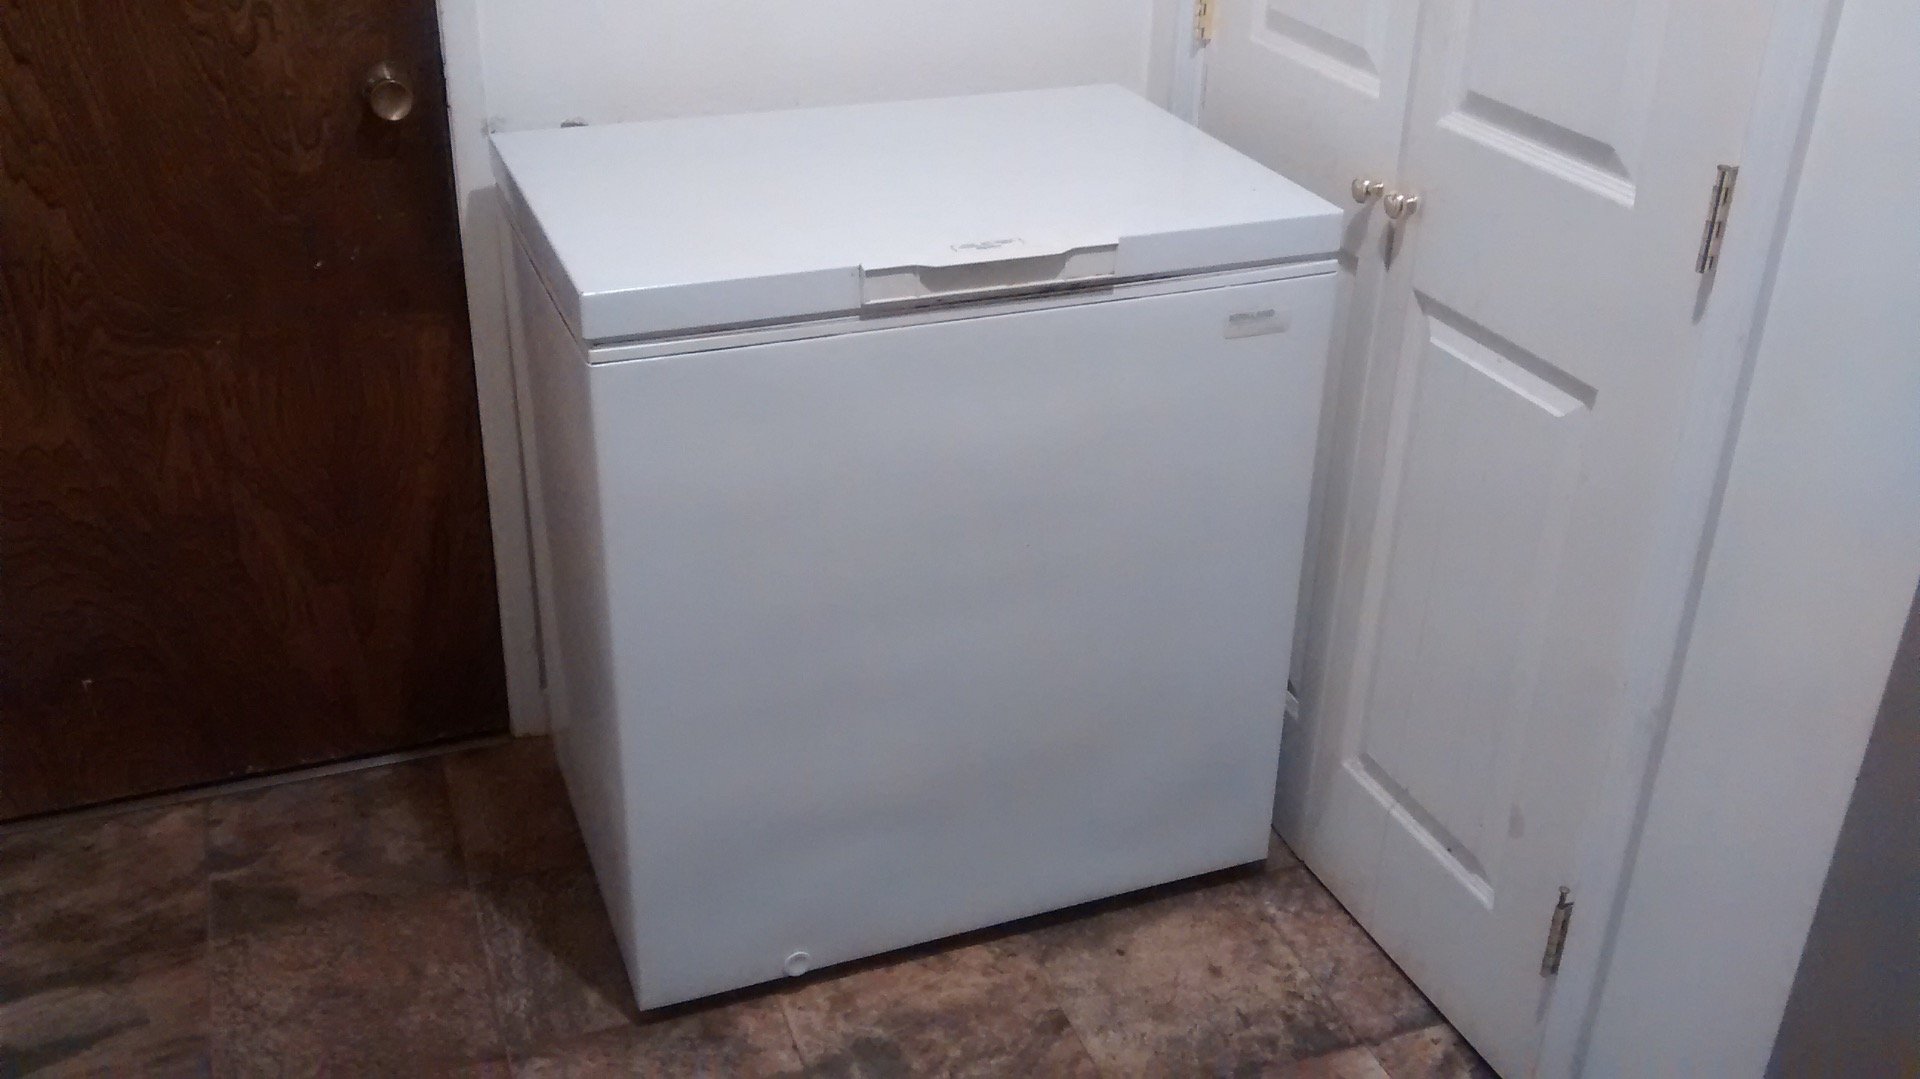
"The Chest Freezer" - Original Photo
"Relax, Dear; Let me take care of it for you."
Still muttering, but noticeably relieved, she headed for the couch, leaving me to my task.
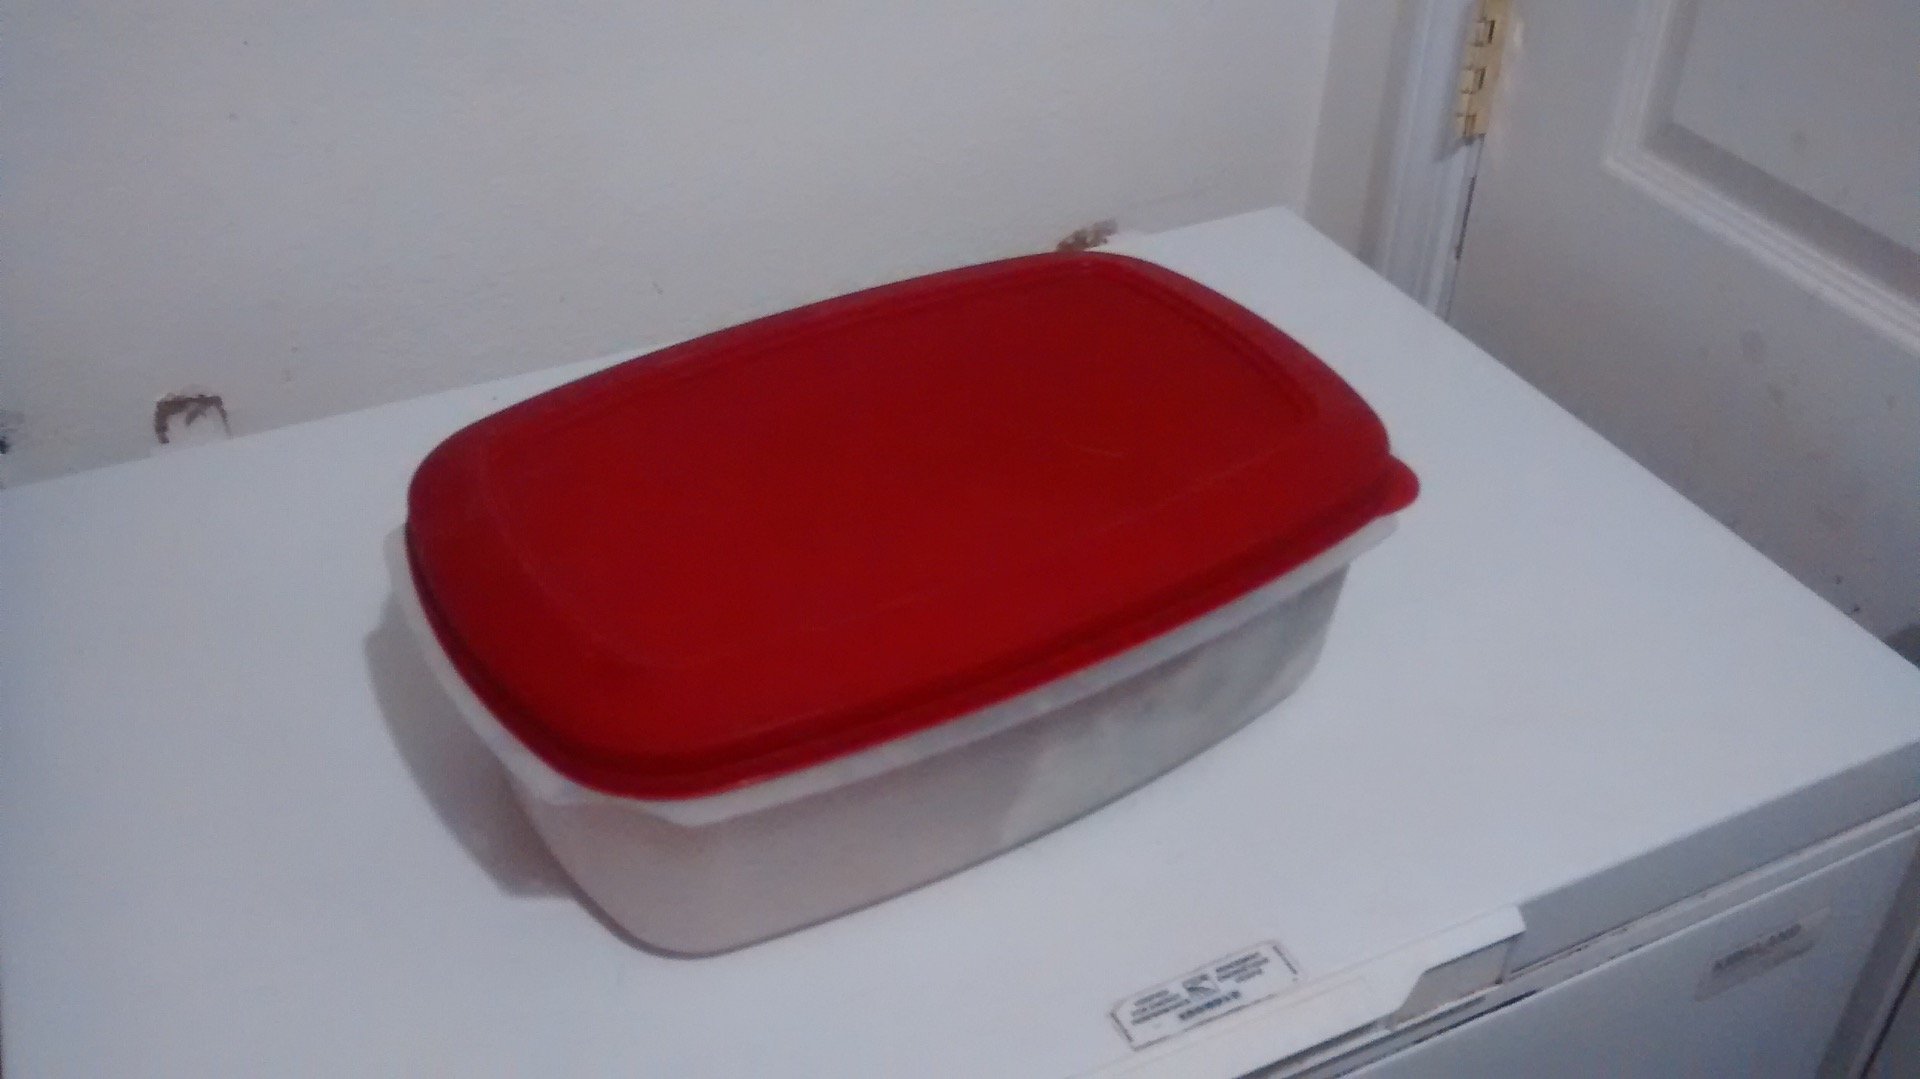
"The Problem" - Original Photo
Have you ever defrosted a freezer?
Go ahead; look it up on the internet. It can be one nasty, ugly, tedious job!
Even the "fast methods" (ha-ha!) you may find there are messy and time consuming. In fact, it'll take you longer to watch that YouTube video than it took me to do the whole job for my wife!
With my "super-fast" method, you won't need to turn off and thaw out your freezer; heck, you won't even have to take the food out!
DISCLAIMER: Try this method at your own risk!
While I don't think you'd have any problem, freezer models and designs undoubtedly vary, and so I take no responsiblity for your outcome! Having said that, Let's get started!
Gather a few tools...
Here's a picture of the tools I used; a plastic grocery bag, a putty knife, and a screwdriver. If you have one, add a rubber mallet (or even a short chunk of 2x4!) to the set.
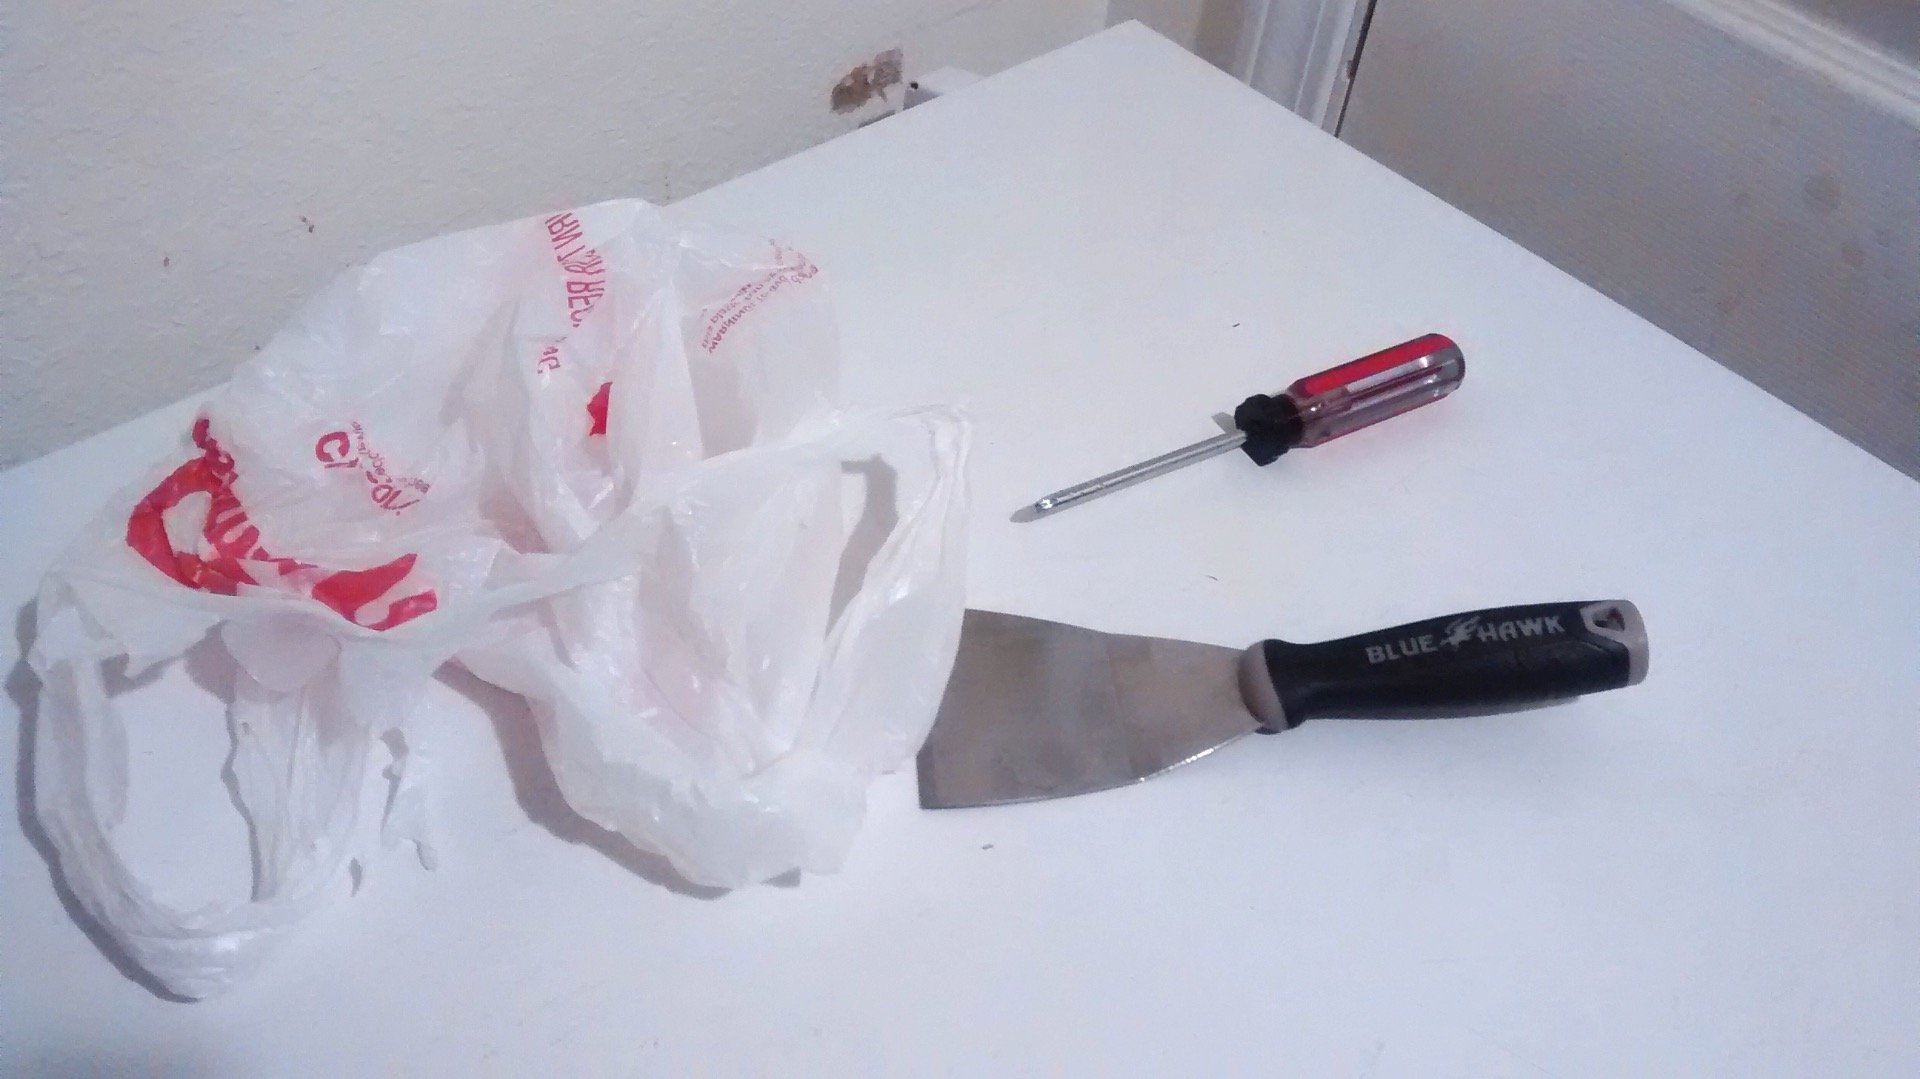
"The Tool Set" - Original Photo
You may have noticed that most of the ice accumulation takes place near the top edges, where moisture from the surrounding air enters every time you open the lid.
This actually makes the task pretty easy; if you can knock off that accumulated moisture, your job is done.
Step by Step:
- Open the lid
- Place the putty knife flush against the wall of the freezer
- Tap the handle with mallet or wood block, wedging the putty knife under the ice
- Keep tapping until a big chunk of ice falls off
- Repeat all around the edges of the freezer chest
- In the corners, where the putty knife won't fit, use a screwdriver
- Just reach in with your hand and pick up the chunks of ice that have fallen to the bottom of the chest
- Put the ice into a bag and carry it to the kitchen sink
- Laugh all the way to the bank! (Wait, that's for another "How-To" post - or is it? Think of all the time, electricity, aggravation, and food you've saved!)
NOTE: You will, of course, use care and skill throughout the process to avoid having your tools cut into the plastic freezer lining, right? 😉
When done, dump the icy residue into your kitchen sink where it can peacefully melt away.
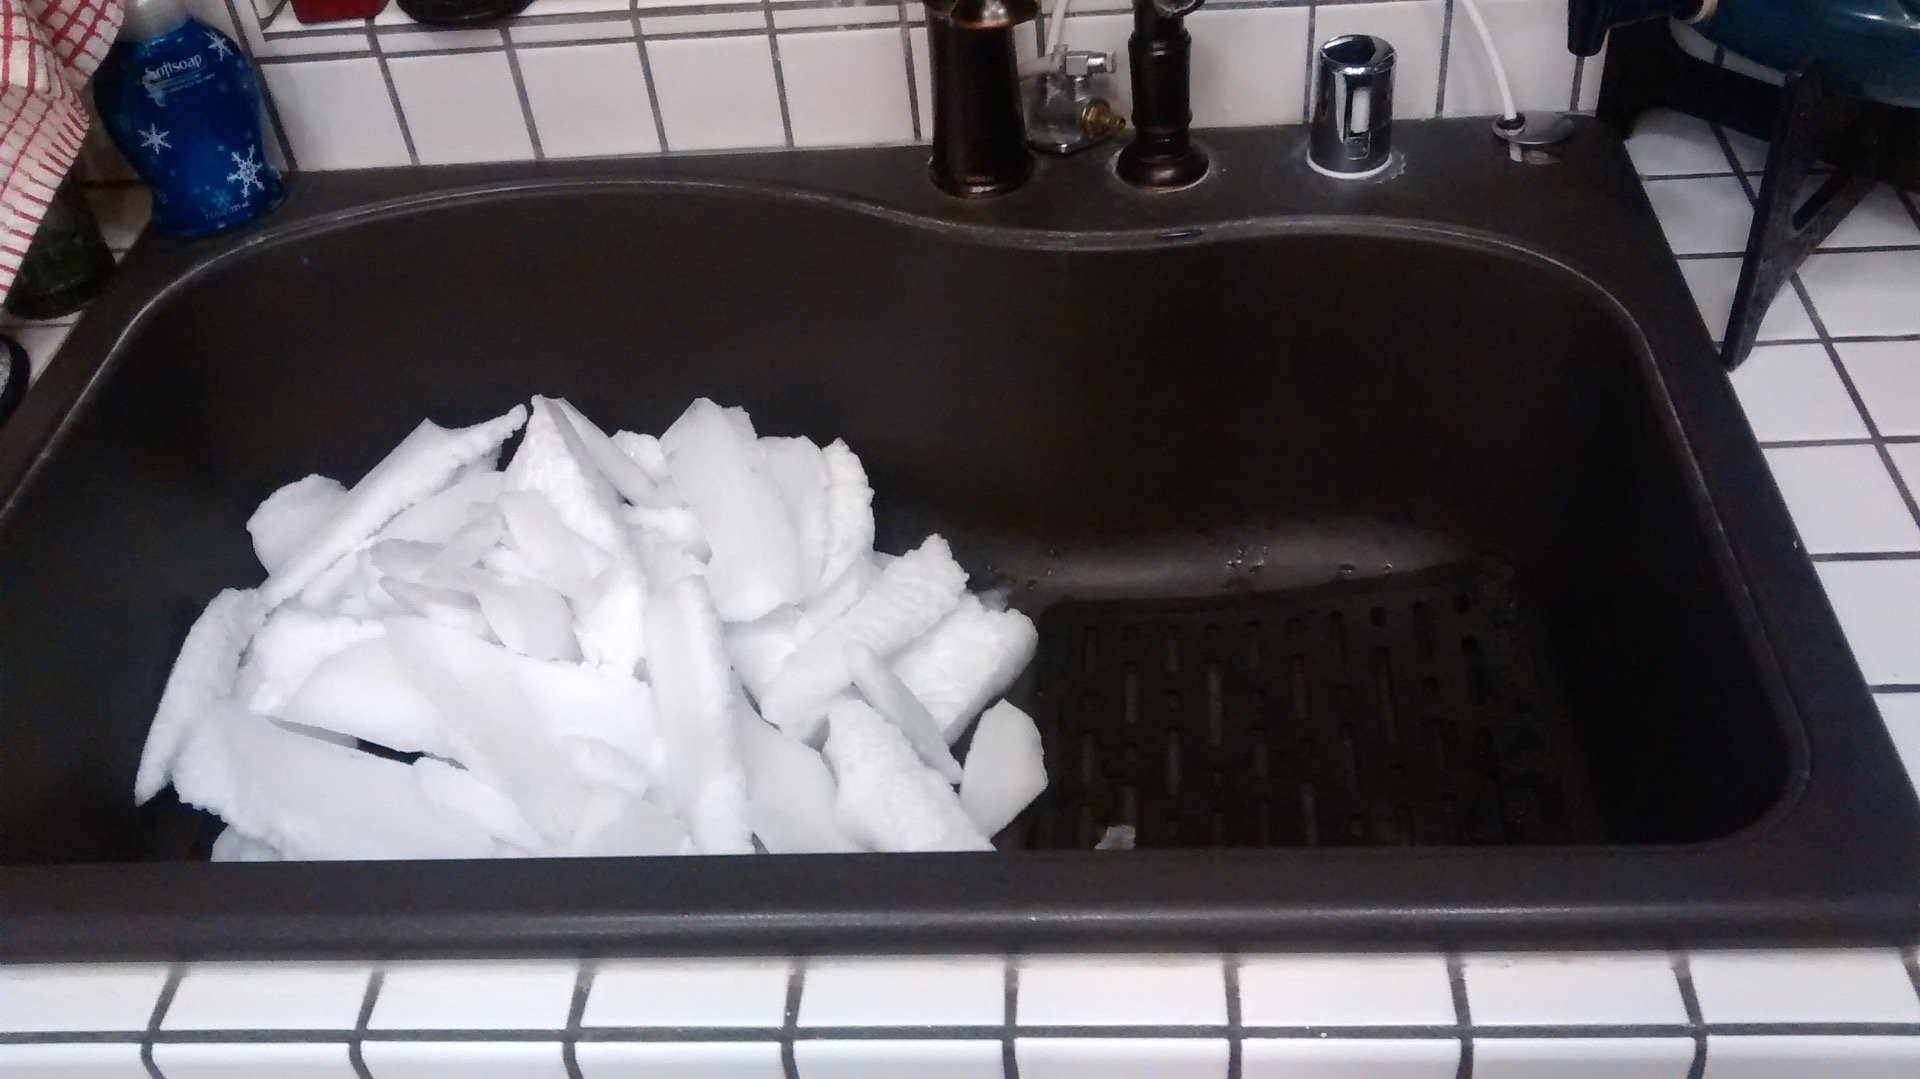
"Iceberg in the Sink" - Original Photo
Clean Freezer, Happy Wife... Happy Wife, Happy Life
When I was done removing the accumulated ice, the large plastic-ware container fit in just fine. My "Mission Impossible" was completed, and all in under ten minutes!
Yes, that even includes taking these pictures and putting the tools away!
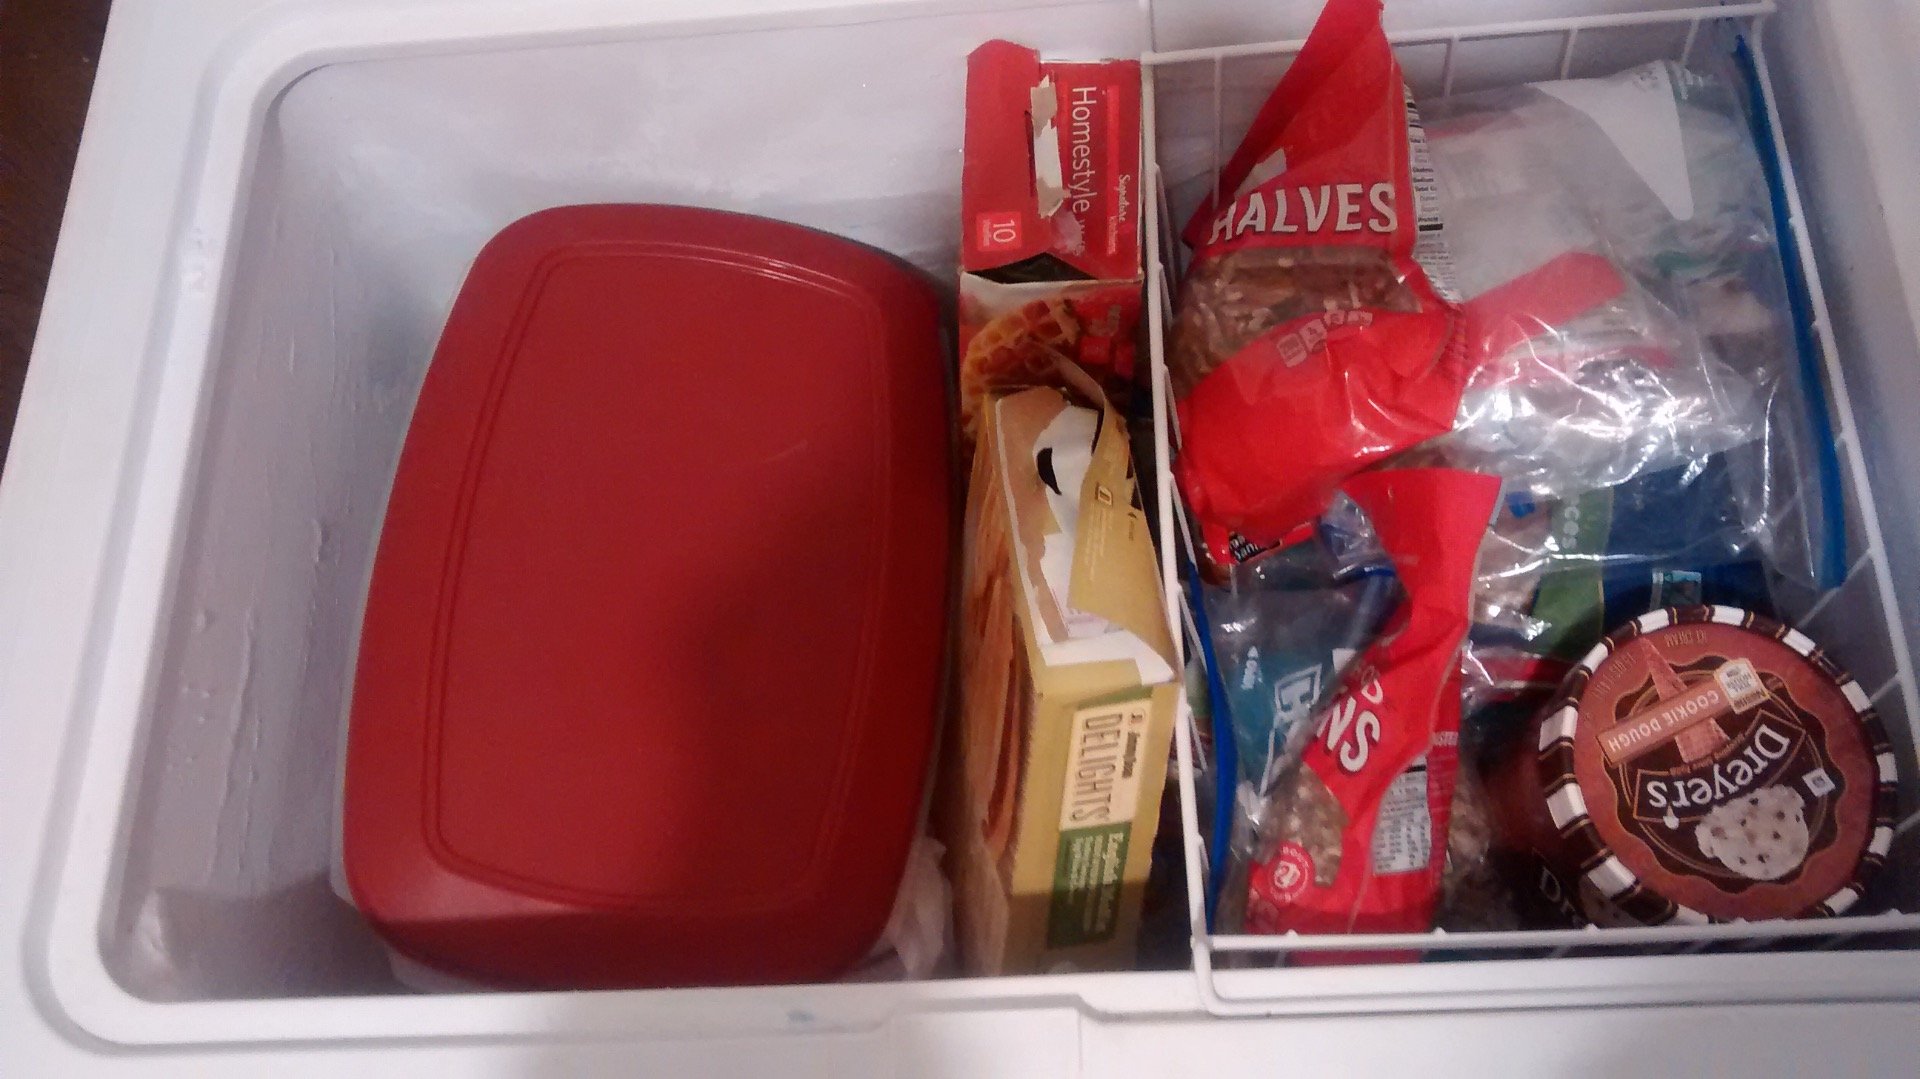
"Mission Accomplished!" - Original Photo
You may notice there is a small amount of ice left in the corner of the chest.
No Big Deal!
I say, "Don't sweat the small stuff." You can always knock that out the next time you take ten minutes to clean out the chest.
In the "Comments/Reply" section below, please share your own experiences with freezer-cleaning, and let me know if you've found my story helpful!
Thanks for your time and attention. I'm here on Steemit because of you, my readers. Wouldn't be here if it weren't for you!
I have very eclectic interests and hope, over time, to write about all of them.
Did you enjoy this post?
⬇️Please check out @creatr's world - CLICK each of the images below⬇️

|

|

|
