We opted to use a curtain for our tiny house closet instead of doors. Tune into this video to hear my reasoning for this decision. Excuse the outro though as this is another one of the higher quality videos I originally made for Youtube.
My original plan was to use the salvaged cedar to make closet doors but I couldn't figure out a way to give the doors the look that I wanted. This may have ended up being a good obstacle because once we realized we had twins on the way we knew we would need to maximize all usable space. Having doors that swung open would mean that we wouldn't be able to put furniture as close to the closet as we now need to.
My next idea was to try and install an accordion folding door. If you are not familiar with this style of door, they are usually made of plastic and are basically a bunch of narrow panels attached to each other that collapse flat to one side, much like an accordion. They are so retro, I couldn't even find one at local hardware stores. Do they even make them any more?
Sometimes the simplest solution is the best way to go and a curtain seemed like the right fit. It wouldn't jut out into the room and would also be economical. My Mother offered to help find some appropriate material and sew the curtain for us which was great. Plus, one less task for me to do. If I remember correctly, she used a drop cloth to make the curtain.
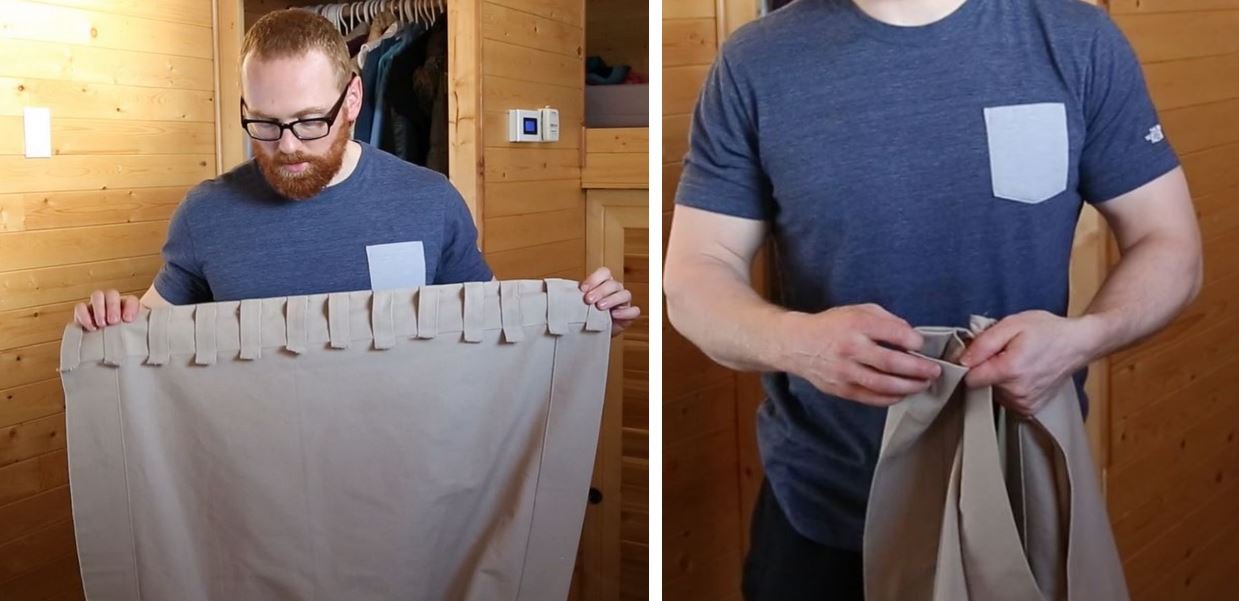 Showing off my Mom's handiwork. Left: The curtain rod loops. Right: The bottom pocket for a weighted chain if needed.
I found a small curtain rod and some brackets that matched the color and style of our other metal fixtures but they needed some modification. I had to take the decorative ball off one end of the curtain rod so I could bunt it up against the wall. The brackets also stuck out too far and would have left about a 3" gap between the curtain and the closet. I didn't want to be able to see any of the closet contents when the curtain was closed so having a gap wasn't an option for me. After bending the brackets in a vise and applying some touch up paint the brackets were ready to use. The modification would bring the curtain less than an inch away from the closet.
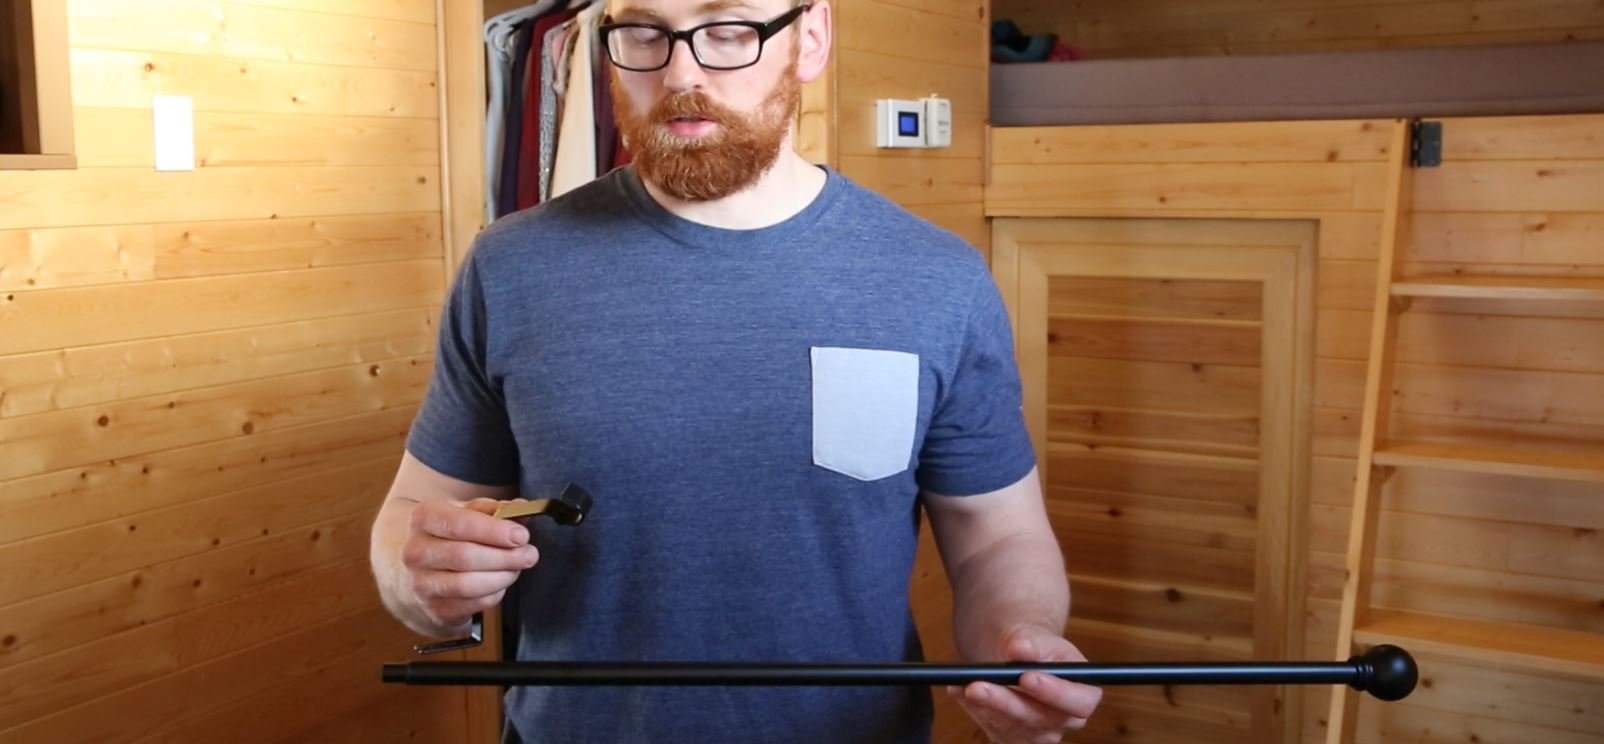 The bracket before modification and the rod with one of the ends removed. Note, the finished pocket door next to the closet.
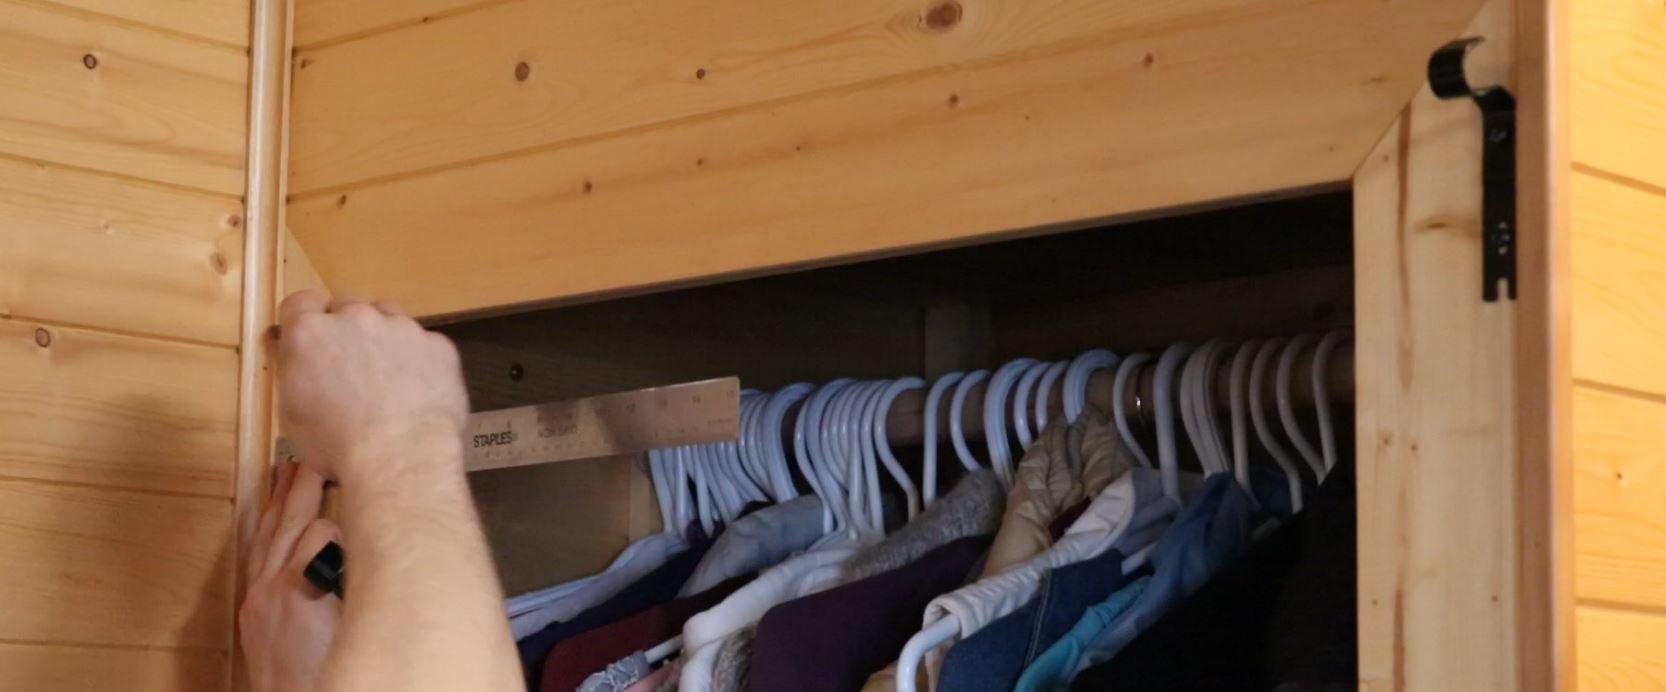 I eyeballed the first bracket and then used a ruler to mark where the second one needed to be placed. You can see how I modified it to hold the curtain rod closer to the closet.
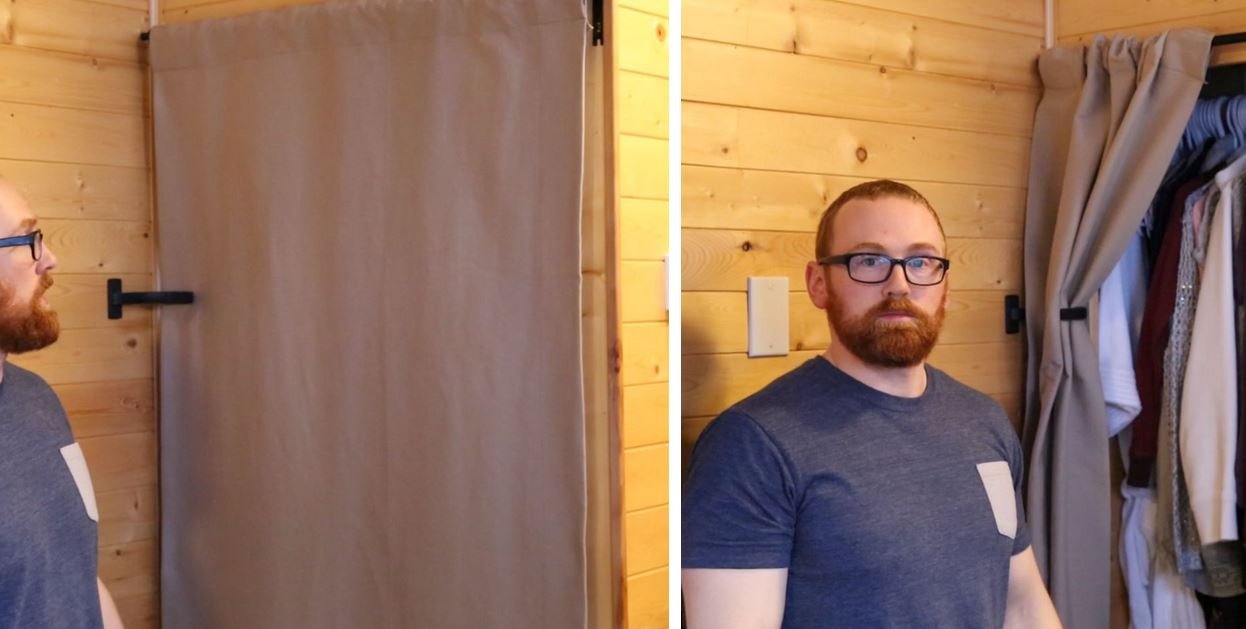
After hanging the curtain, the last thing I added was a metal hold-back so the curtain could be pulled against the wall and out of the way to allow full access when needed. I also thought I might need to add a small chain to the bottom of the curtain as a weight to keep the curtain hanging straight down but it ended up being unnecessary.
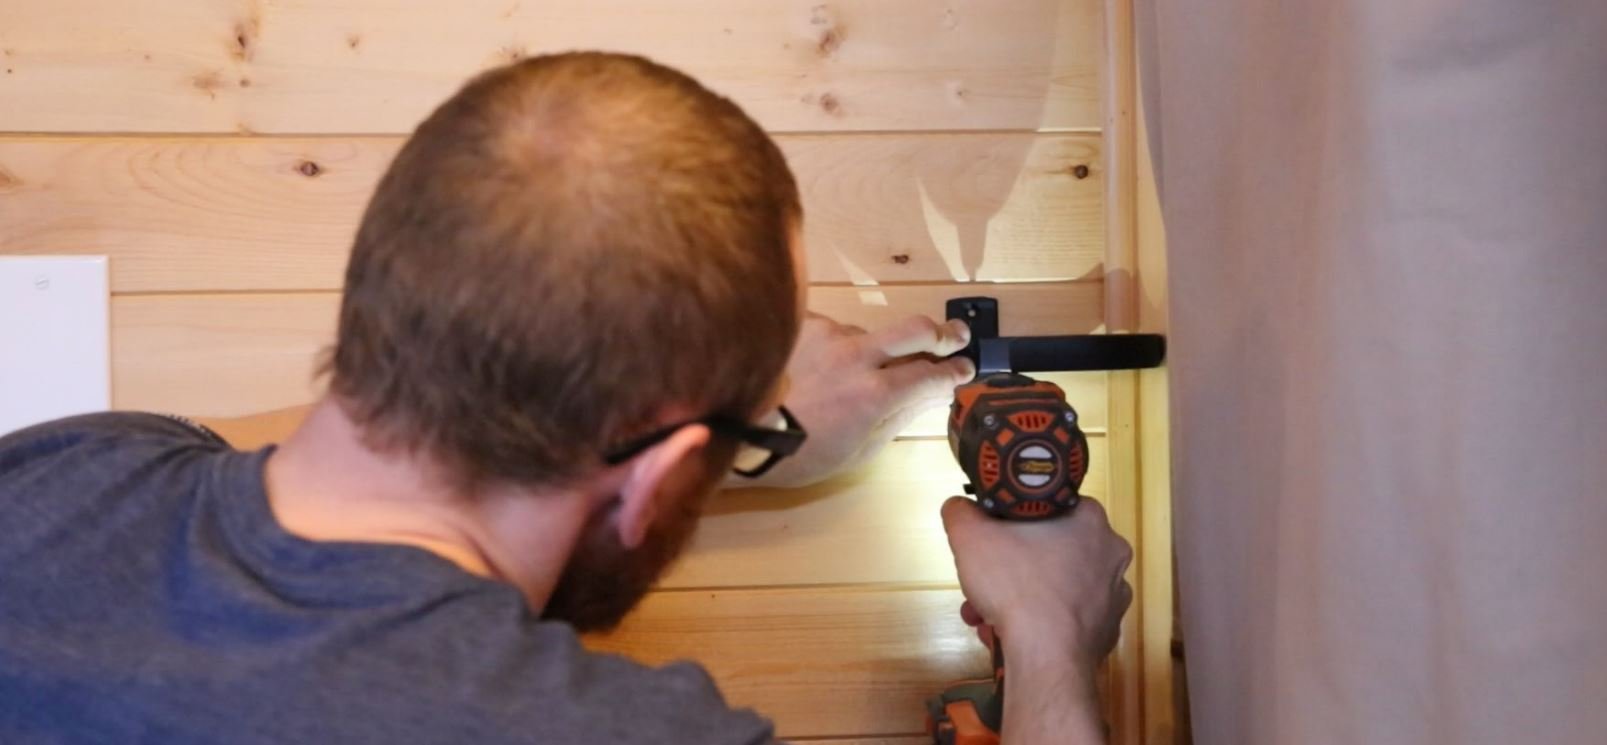 Installing the hold-back for the curtain.
What you may have also noticed from the video is that I completed the pocket door for the bathroom. Unfortunately, I don't have any progress pics of the door but building it was fairly simple. I used two different sizes of wood paneling and, fortunately, the thinner paneling fit perfectly inside the groove of the larger paneling. I used the larger paneling to basically create a large picture frame and filled it with the smaller paneling. Pretty nifty eh?
 The finished product.
Thanks for reading/watching everyone! Please upvote, follow and resteem to support this work. As always, comments are welcome and I would be more than happy to answer any questions you may have about tiny houses.
▶️ DTube
▶️ IPFS