We ended up getting very creative with the flooring in our tiny house. We had a number of considerations to balance and the more conventional options didn't seem to fit the bill.
As usual, we were trying to be mindful of the weight we were adding which meant that both stone and tile was out of the question. Additionally, tile of any kind is a risky choice in a tiny house on wheels because it tends to crack during transportation.
We also were trying to reduce the amount of off gassing and VOC's inside the tiny house which meant that laminate flooring and linoleum were less than ideal options as well. There are many affordable laminates that are very beautiful but every time I was near them I could smell the chemicals. While we seriously considered both of these options, in the end neither made the cut.
The last option on our list was hardwood flooring, which looks great and is less toxic in terms of chemicals, but it was too expensive and heavy for our needs. Ultimately, these drawbacks meant hardwood didn't make the cut either.
So what, you may wonder, would fit all of our criteria? The answer: Paper bag flooring!
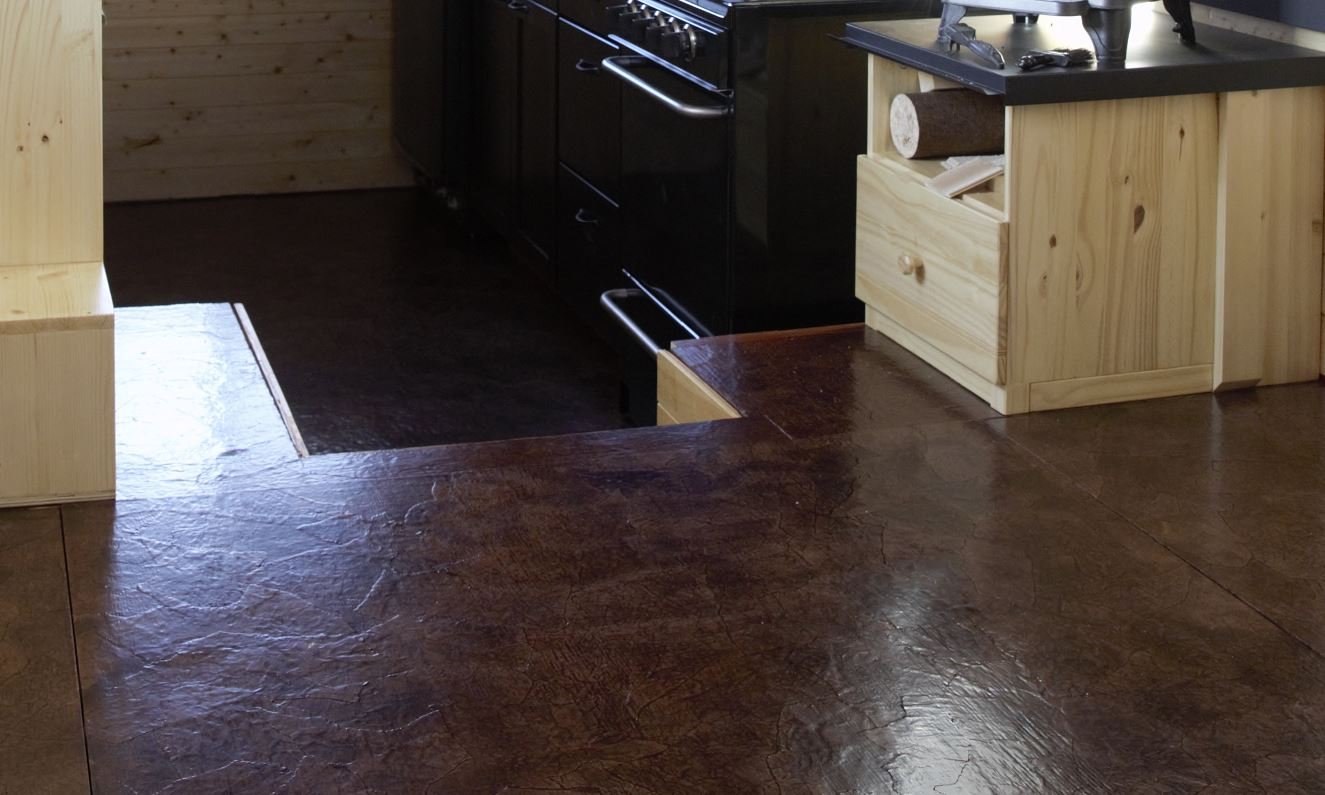 The flooring fully finished!
I was introduced to the idea of paper bag flooring by my mother who is a creative do-it-yourselfer. She had come across an article on paper bag flooring a couple of years earlier. With this information she created simulated hard wood flooring in a couple of the rooms in her house by cutting plank strips from brown craft paper and using a textured wood roller to apply stain to each one.
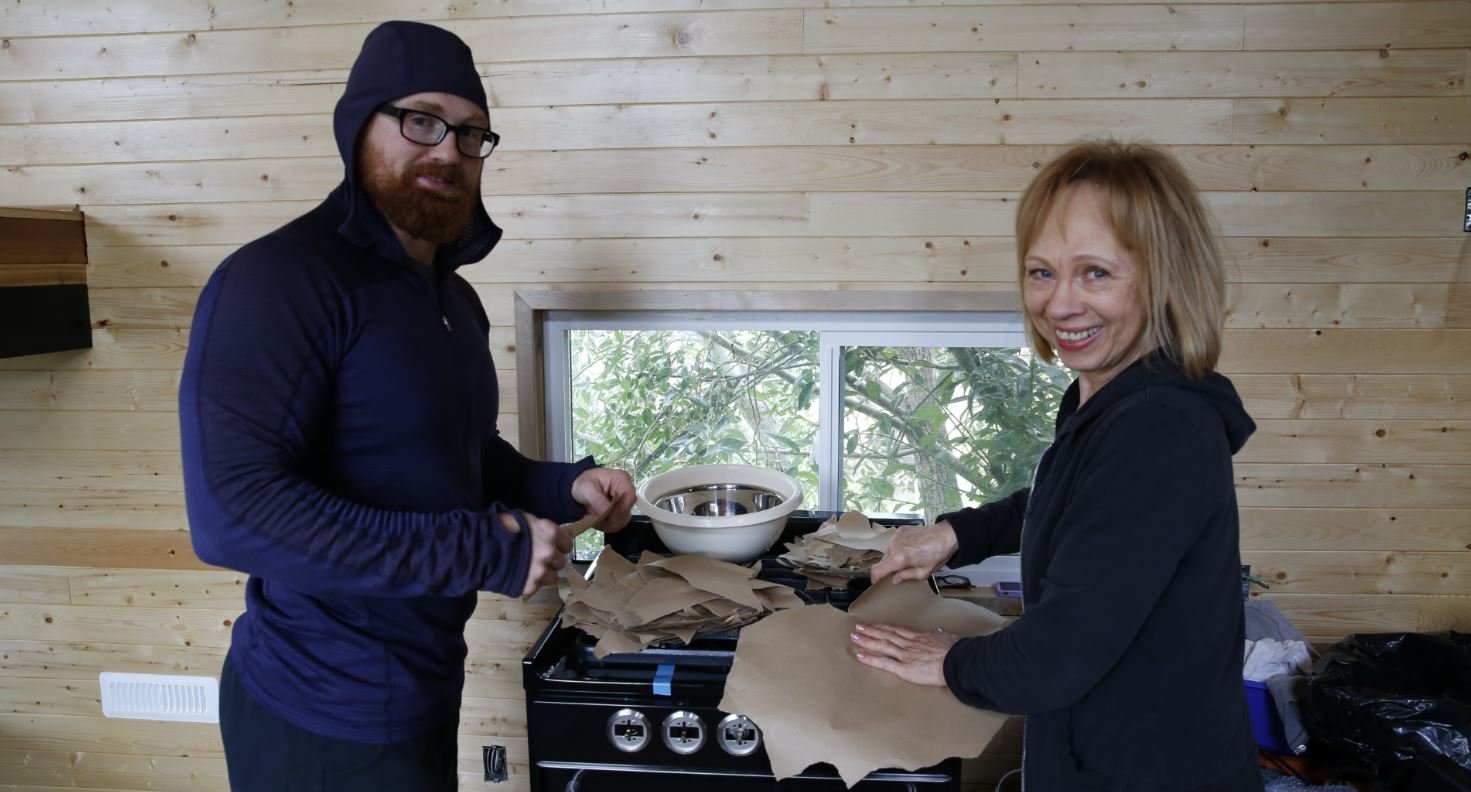 I'm still a momma's boy.
Finally, we found something that was lightweight, affordable, (<$1 sqft for everything including tools) and very low in terms of VOC's. We decided to move ahead with this option and after my mom made a few test boards for us. We decided to use a different method than she used in her house to give the floor more of a stained leather appearance instead.
This is achieved by ripping and crumpling the paper before applying a dye/glue mixture. Then spreading the pieces overlapped on the floor. After the glue mixture dries you apply 3 to 5 coats of oil modified polyurethane which is a durable relatively non-toxic clear coat. We noticed that the pieces sitting in dye solution longer dried darker so if our speed varied so did the floor colour. Sine we ended up with a bit of a marbled floor colour, we went one step further by including additional dye to one of the clear coats which ended up giving the floor a more even and rich looking finish.
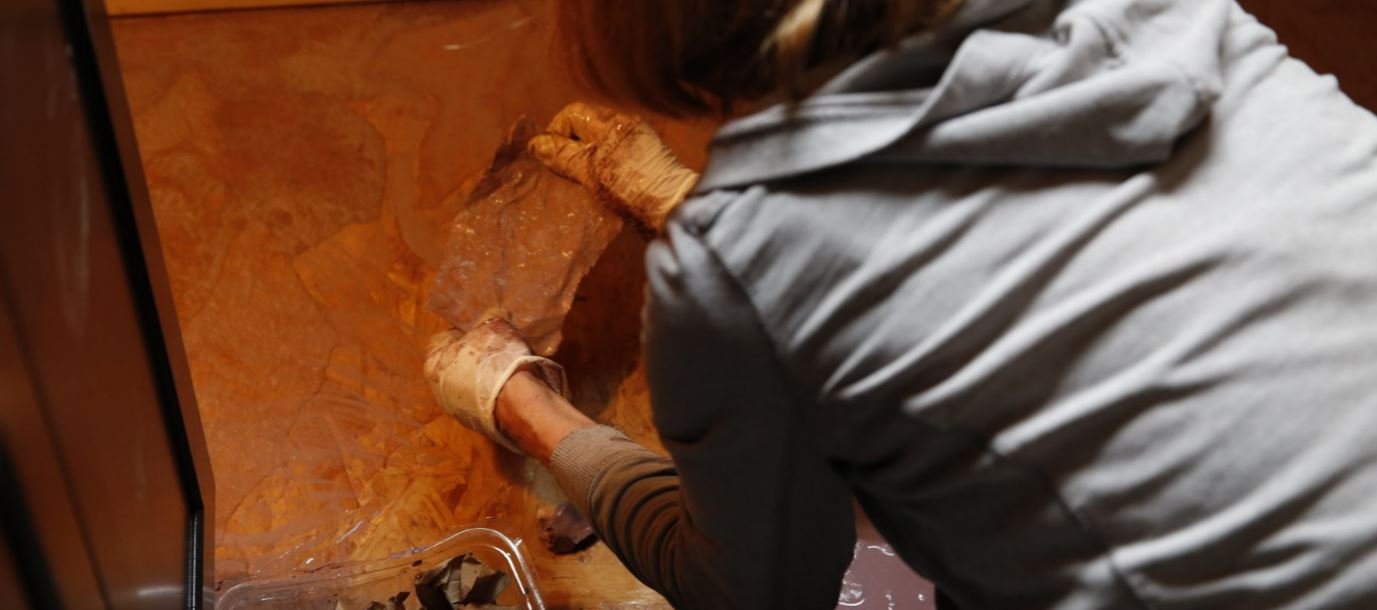 Applying the paper drenched in glue/dye mixture to the floor.
My mom came over to demonstrate the method and complete the kitchen floor (Thanks mom!). At a later date, Aimee's mom helped us with the removable floor pieces. Finally, Aimee took on the bathroom, stairs, and remaining small floor pieces. Overall, we invested about 25-30 man hours into the floor but a lot of that effort was due to the removable floor pieces and small nooks and crannies around the tiny house.
After living on this floor for almost two years, we are happy with how it is holding up. Also, if the clear coat becomes too worn in any area we can simply clean the floor and apply a new layer or two.
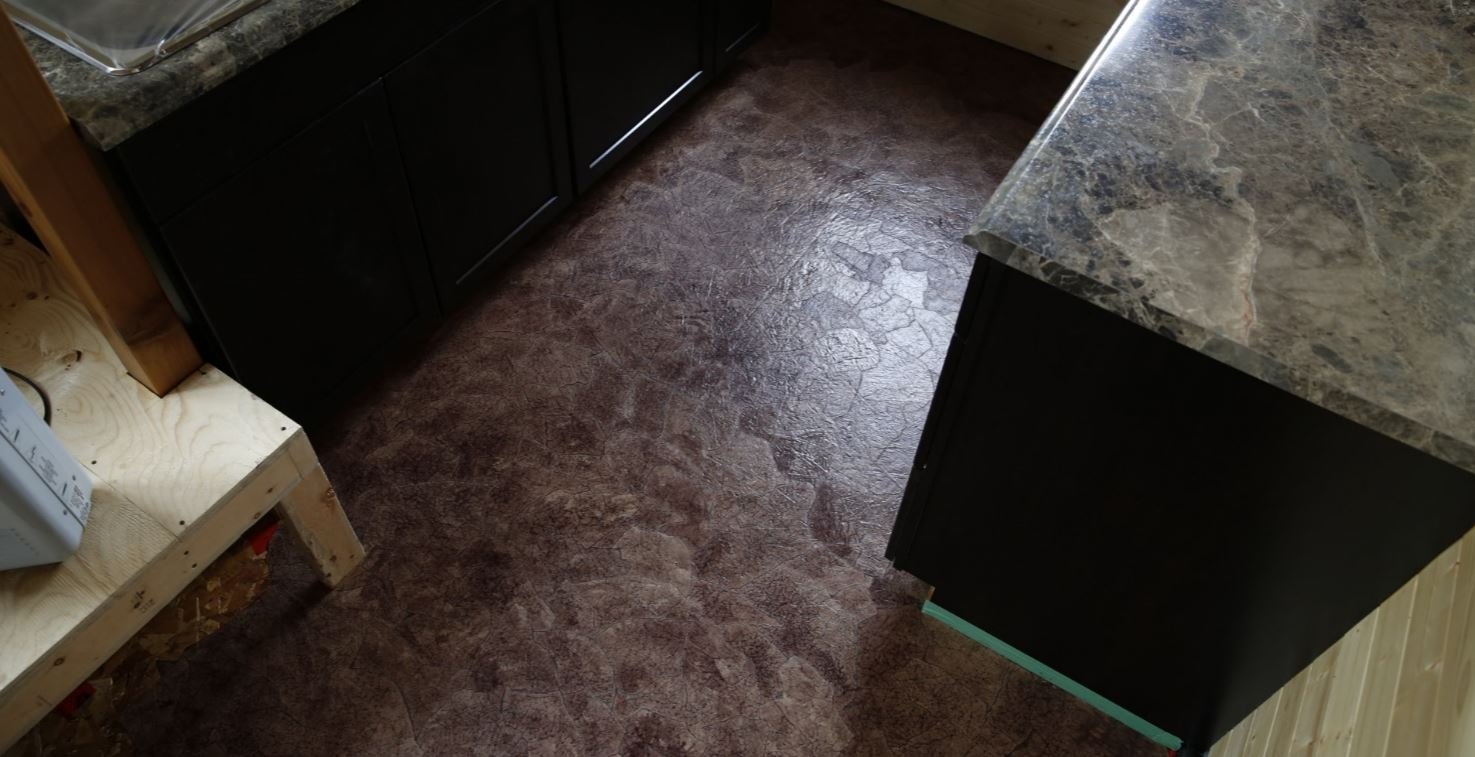 The floor once it dried but before the clear coats have been added.