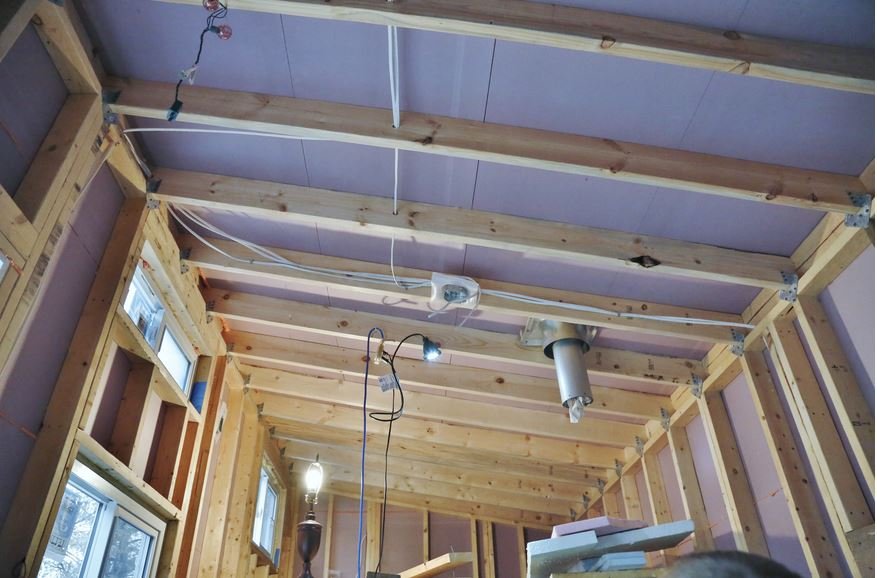
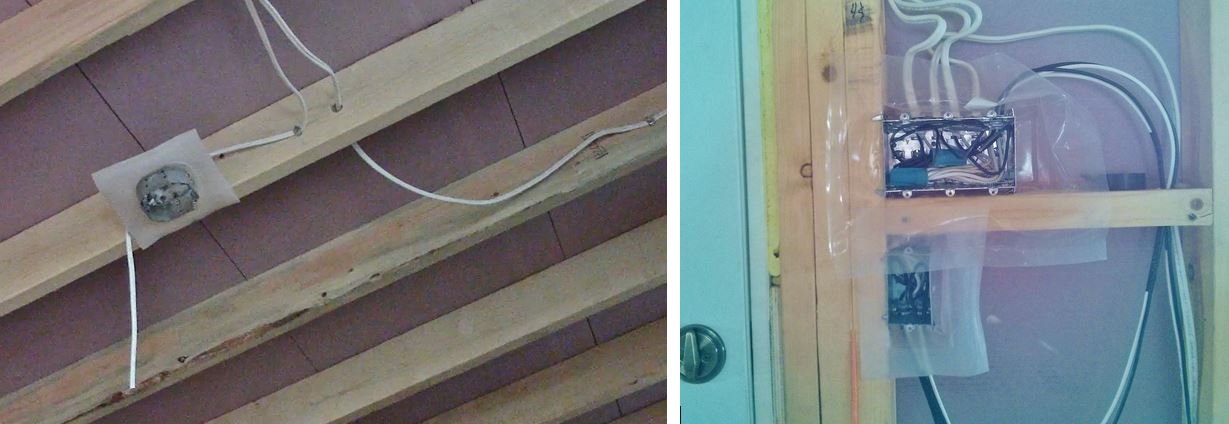
 Above you can see the wiring for some of our overhead lights.
You may suspect that a tiny house would only require a very simple electrical system but for us that wasn't the case. We wanted our house to be off-grid capable in the event of an emergency or other need. In order to accomplish this, we carefully assessed our different options for appliances, heating and lighting. We ended up choosing an RV furnace, water pump and hot water tank. The furnace and water pump used DC power and the hot water tank just had a pilot, no electric ignition. We also choose a propane range and propane/electrical fridge. We decided to use 100% DC LED lighting. With all of these components running on DC power, having a dual AC/DC system made sense to us.
This meant that we would have 110AC plugs, the same as you would find in a normal house, and would use AC power to charge a 12v battery which would run our lighting and DC appliances. If/when we move off-grid, adding solar panels, a charge controller, and an inverter will be simple because of this forethought. The rest of the set up won't need to change and will remain the same.
The first thing to do was to rough in our wiring and electrical boxes. For this, I recruited one of my best friends, Ryan, who is a master electrician. He helped us problem solve some areas and his expertise most likely prevented us from making costly or potentially dangerous mistakes.
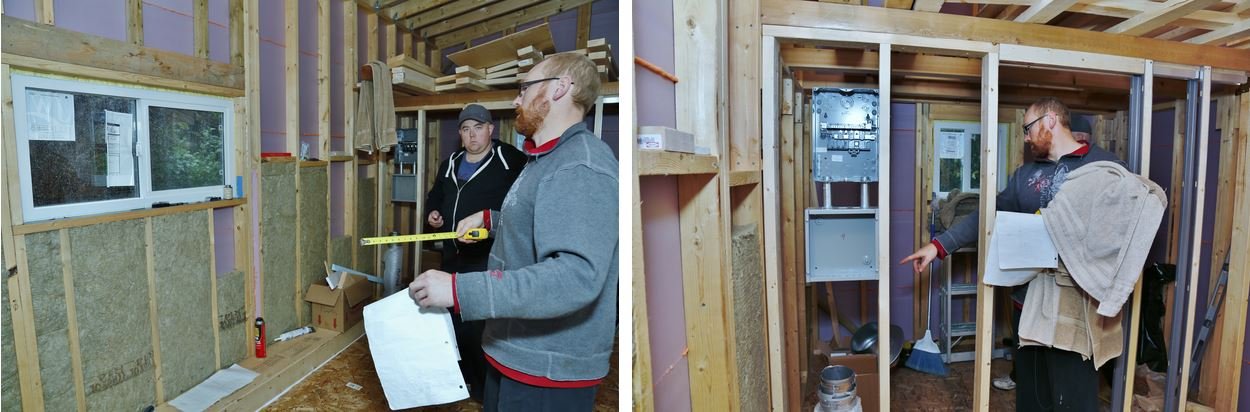 Before putting in the wires Ryan and I needed to do some "figuring." That paper I am holding is our hand-drawn blueprints.
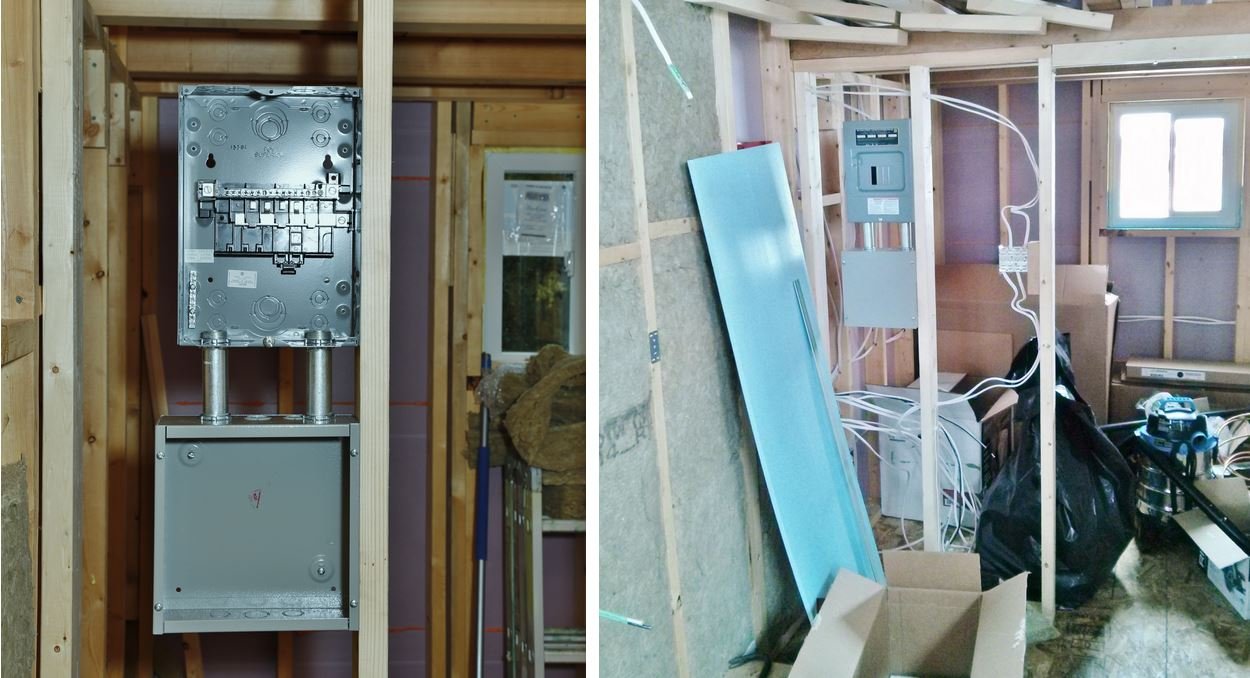 Left: The electrical panel (top) and junction box (bottom). At first we were going to use the junction box to switch certain lighting wires from AC to DC, however, we later abandoned this idea and used the junction box for DC wiring only. Allocating the boxes in this manner reduced the risk of error and starting a fire if the AC and DC wires were to be mixed up. Right: The boxes after all the wires were installed. We labeled all the wires on both ends to prevent confusion later in the installation process.
DC current has much greater transmission resistance than AC which is the main reason that the power grid uses AC power. The circuits in a tiny house aren't nearly as long as they would be in a larger house though which is why we were able to use the standard 14-2 Romex wire for both the AC circuits and most of the 12v DC circuits. There were a few exceptions, like the main wires leading to a series of switches that control our overhead and kitchen lights. In this case, we used 10 gauge wire instead of 14. We used this handy DC wire gauge calculator to figure out which gauge of wire to use without losing too much energy to resistance.
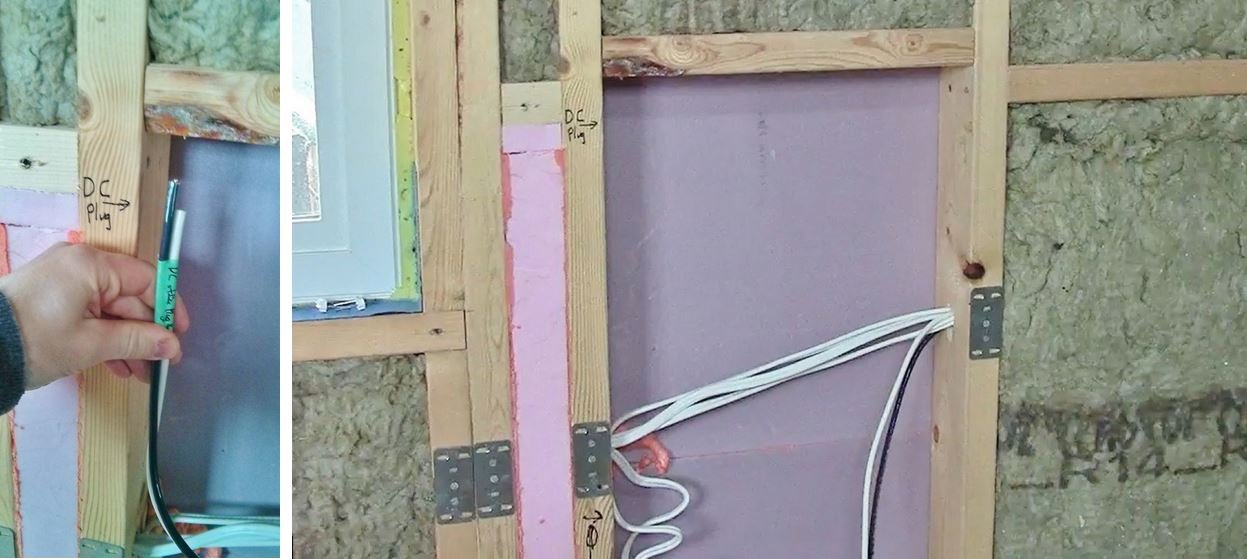 Left: In some areas we used heavier wires where necessary. Both: Note the notations on the studs. Electrical box and plug positions were marked to help figure out where the wires needed to be placed.
 The plastic objects around the electrical boxes are called "poly hats" and are part of the vapor barrier.
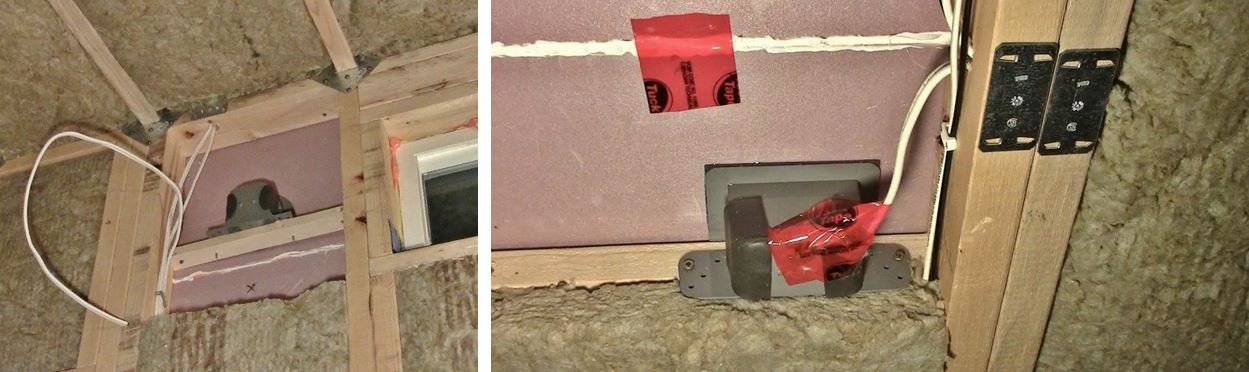 We used plastic electrical boxes for our outdoor plugs and door light. Note the metal protector plates on the studs. We installed these plates throughout the house where the wiring was threaded through the studs. After the walls are finished, this will prevent accidentally putting a nail or screw into a wire, should we forget where they have been placed.
Electrical Rough-In Video

In a future episode, I will be covering the DC system in more detail including the battery, charger, and fuse block so make sure to stay tuned!