If you are a coder/scripter and are interested in making a game in Unity this tutorial is going to focus on some of the techniques and concepts I have found over the years when coding in Unity.
There are previous tutorials if you missed any: - they are also not coding focused
- Assets to make terrain look great, assets to build levels
- Unity Layout/Interface Basics, Assets to Help the Non-Coder, and Info on Persistent Global Variables for the coder
- Assets for Game Optimization, and Particle System Assets
This tutorial will require no assets. - we will be working with simple primitives and the bulk will be about code.
I am approaching this as though you have never used Unity that much so the setting up of folders, textures, materials, prefabs, etc is in this tutorial in case you have never done any of that before. If you have... my apologies for the tons of information you don't need. Just skip what you don't need.
The setup - a lot of non-coder important info
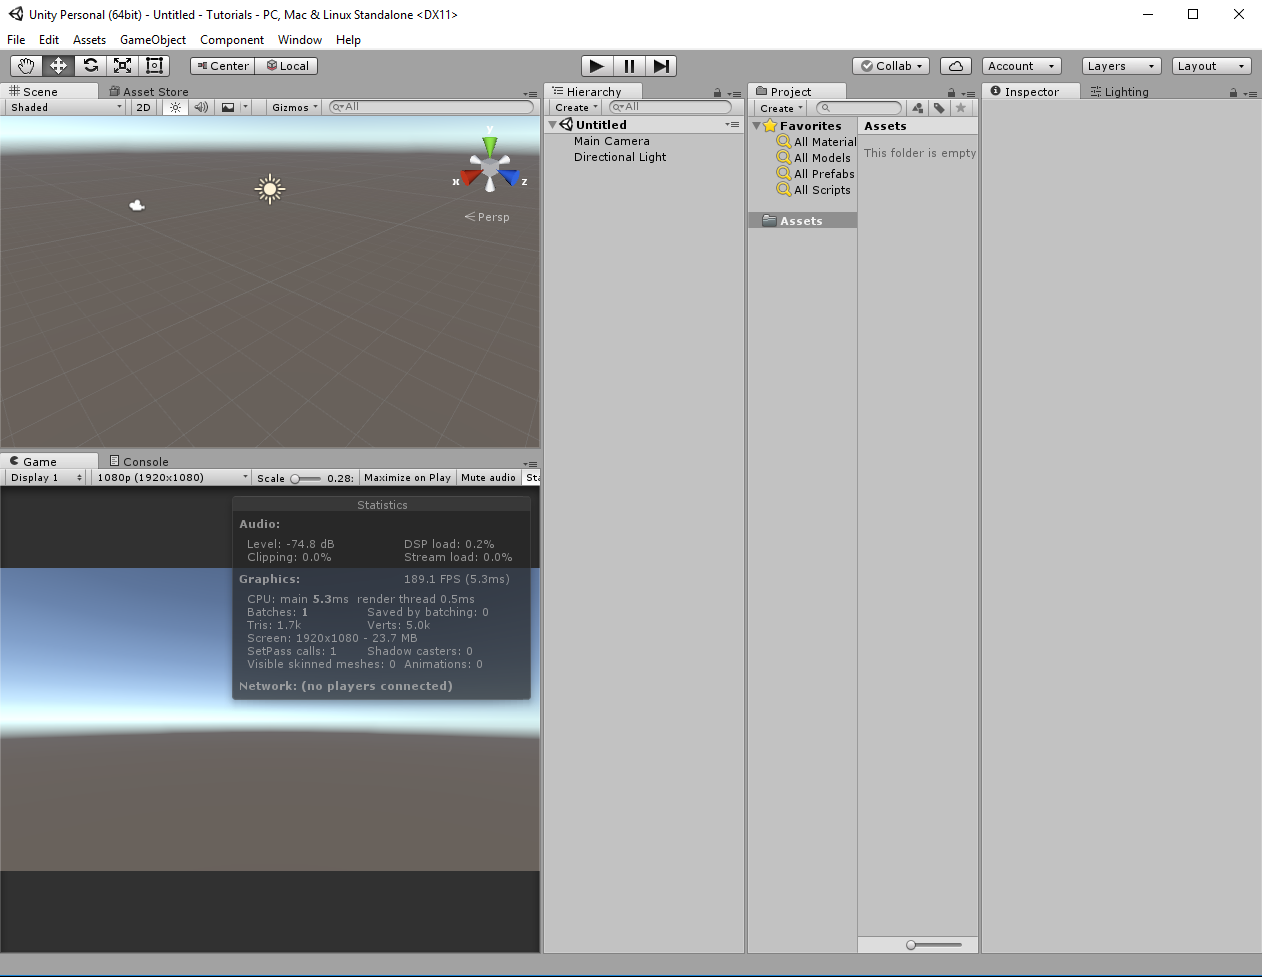
Let's setup the Hierarchy, the Project asset folders, some prefabs, and a scene.
Start with a blank 3D project - note you can make a 2D project if you prefer it really won't matter in this project since what we will be doing will be primarily happening in your mind and in the text of the code. We only have the objects in this tutorial so we have something we can latch onto. The only difference between a 3D project and a 2D project is the Editor setting the scene view a certain way, and the fact that cameras tend to start in Orthographic mode rather than Perspective. You can mix and match 2D and 3D scenes in Unity with no issues.
My goal here will be to give you a speed boost on a lot of things I always find myself needing to relearn. All of my coding tutorials will be in C#. They will also assume you are familiar with C#. If you need some tutorials to help teach you C# let me know as I can find you some. There are a few out there, and I don't really want to do what has already so effectively been done before.
Create a folder in the assets
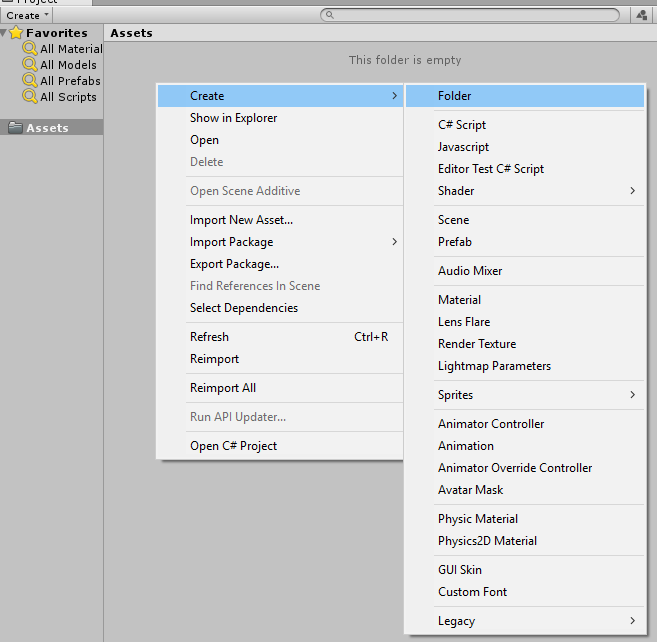
Label it Resources
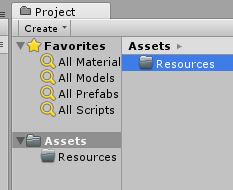
Resources is an important folder in unity. It should be treated almost like a reserved word in code. When you have a Resources folder at the root of the assets folder Unity knows to include everything you put in that folder in the game whether it is in a scene or not. So if you dumped a ton of sounds in this folder that you never actually use the resulting game when you build it out will be big even though it doesn't have to be that big.
You should only put things into the Resources folder that you actually want to use and that you want to load as needed at runtime via code.
Create a Materials and Textures folder as well
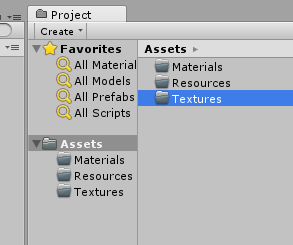
These folders are here purely out of my personal preference to keep things organized. I try to stay in this habit because as your projects get really big finding consistency and staying organized becomes very important. It is easier to develop the habit and try to stay organized all of the time than it is to do it only when you think you need it.
Neither of these folders are inside of Resources so anything we put into them will not appear in the final project build unless they are actually used somewhere in a scene.
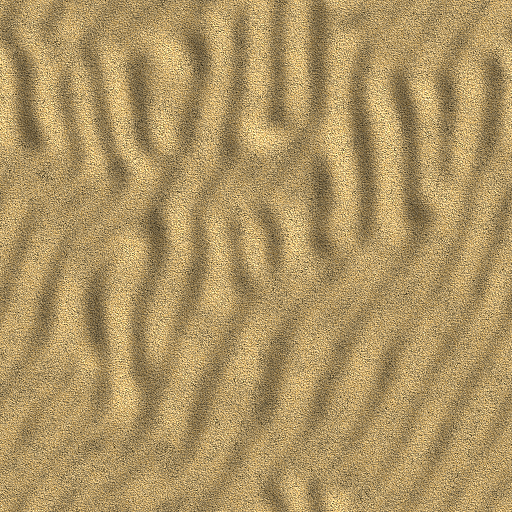
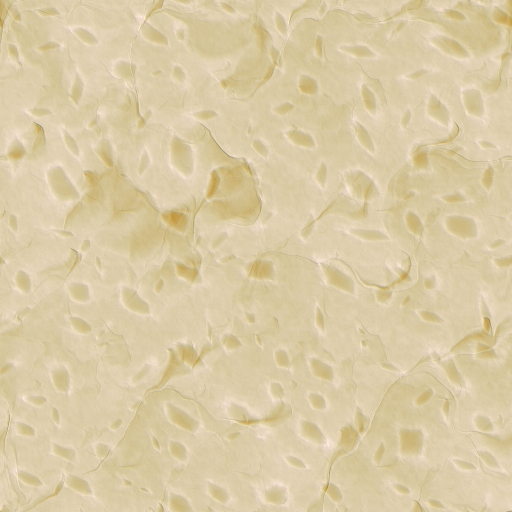
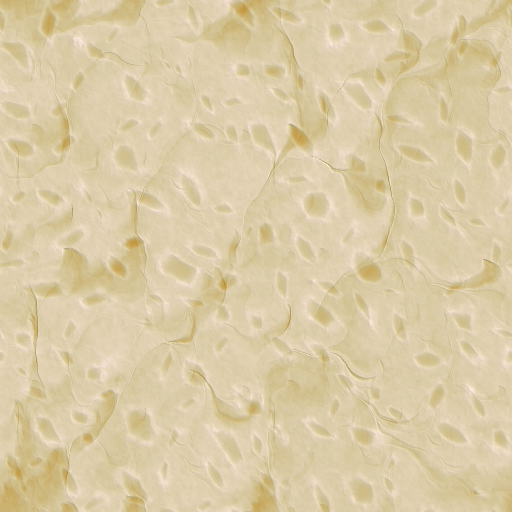
Below are three textures - Right click on each of them - browse to your textures folder on your computer and save them as texture1.png,texture2.png, and texture3.png
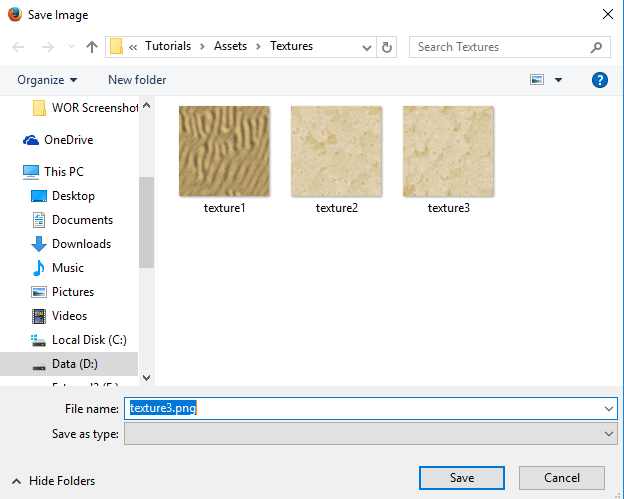
Go back to your Unity project and click on your Textures folder in the project view.
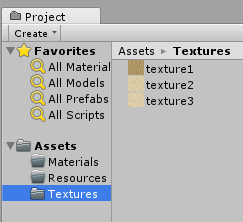
If we are on the same page you should see something like this. Right now we are simply setting up the few things we are going to play with in our code.
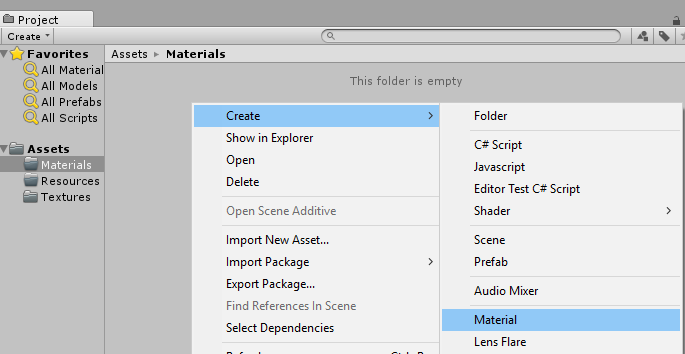
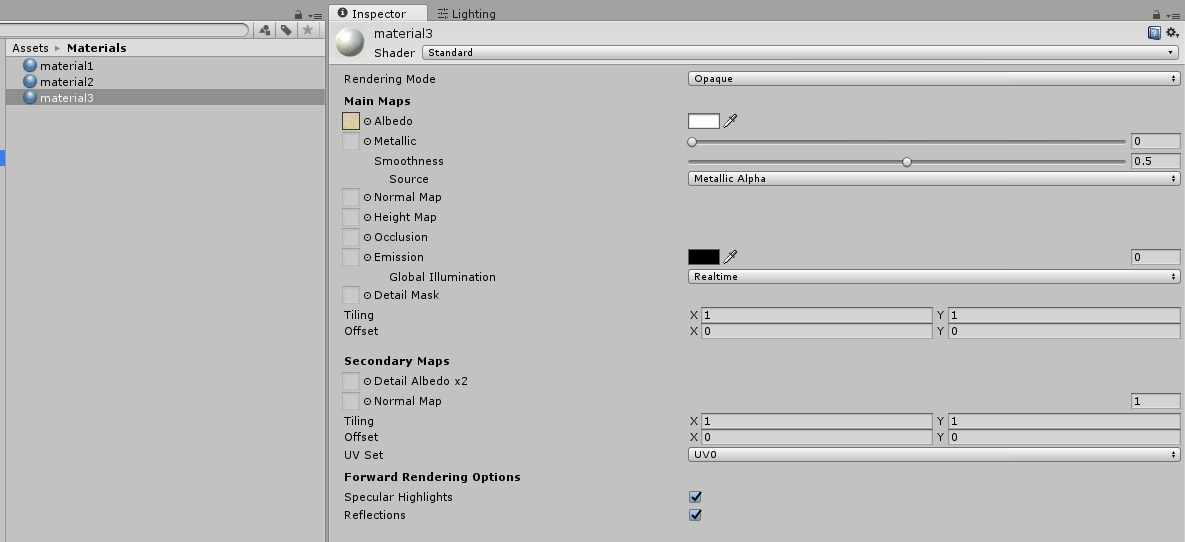
Click on the Materials folder and then right click in its assets area and choose Material, we are going to name this material1
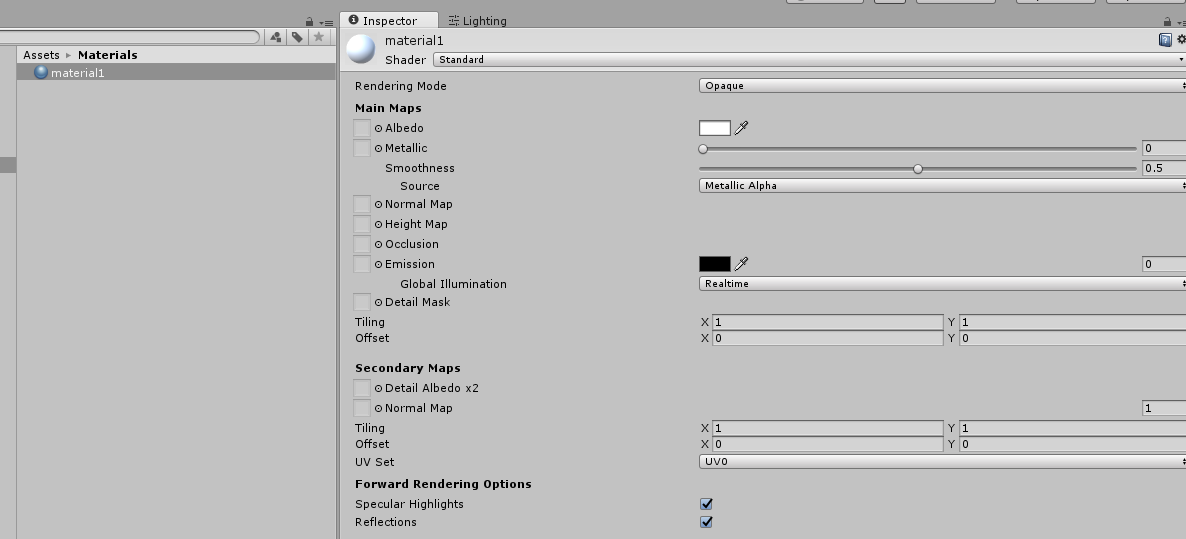
While you have material1 selected so it shows up on the inspector tab click on the Textures folder to bring up the list of textures. Drag texture1 onto the Albedo slot in the material1 inspector area.
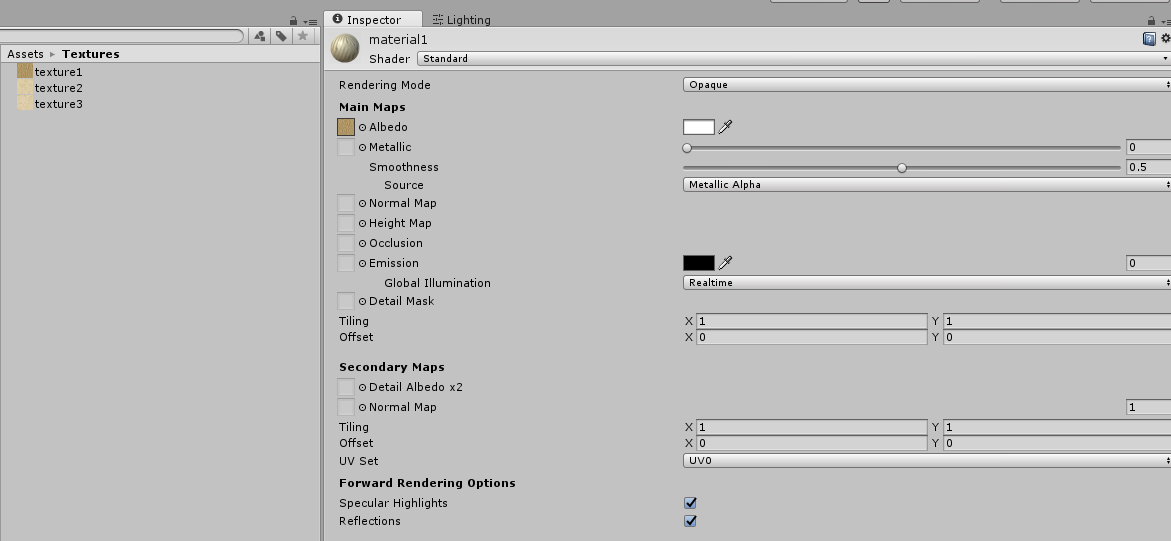
Repeat those steps and create a material2, and a material3 using the other two textures
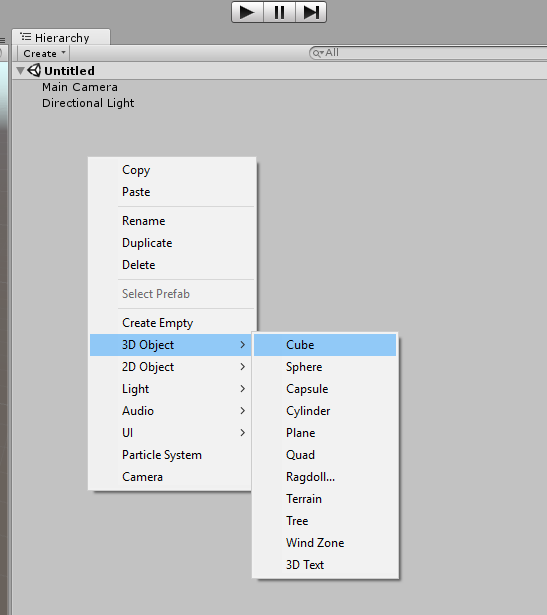
Right click in the hierarchy and choose Create, 3D Object, Cube
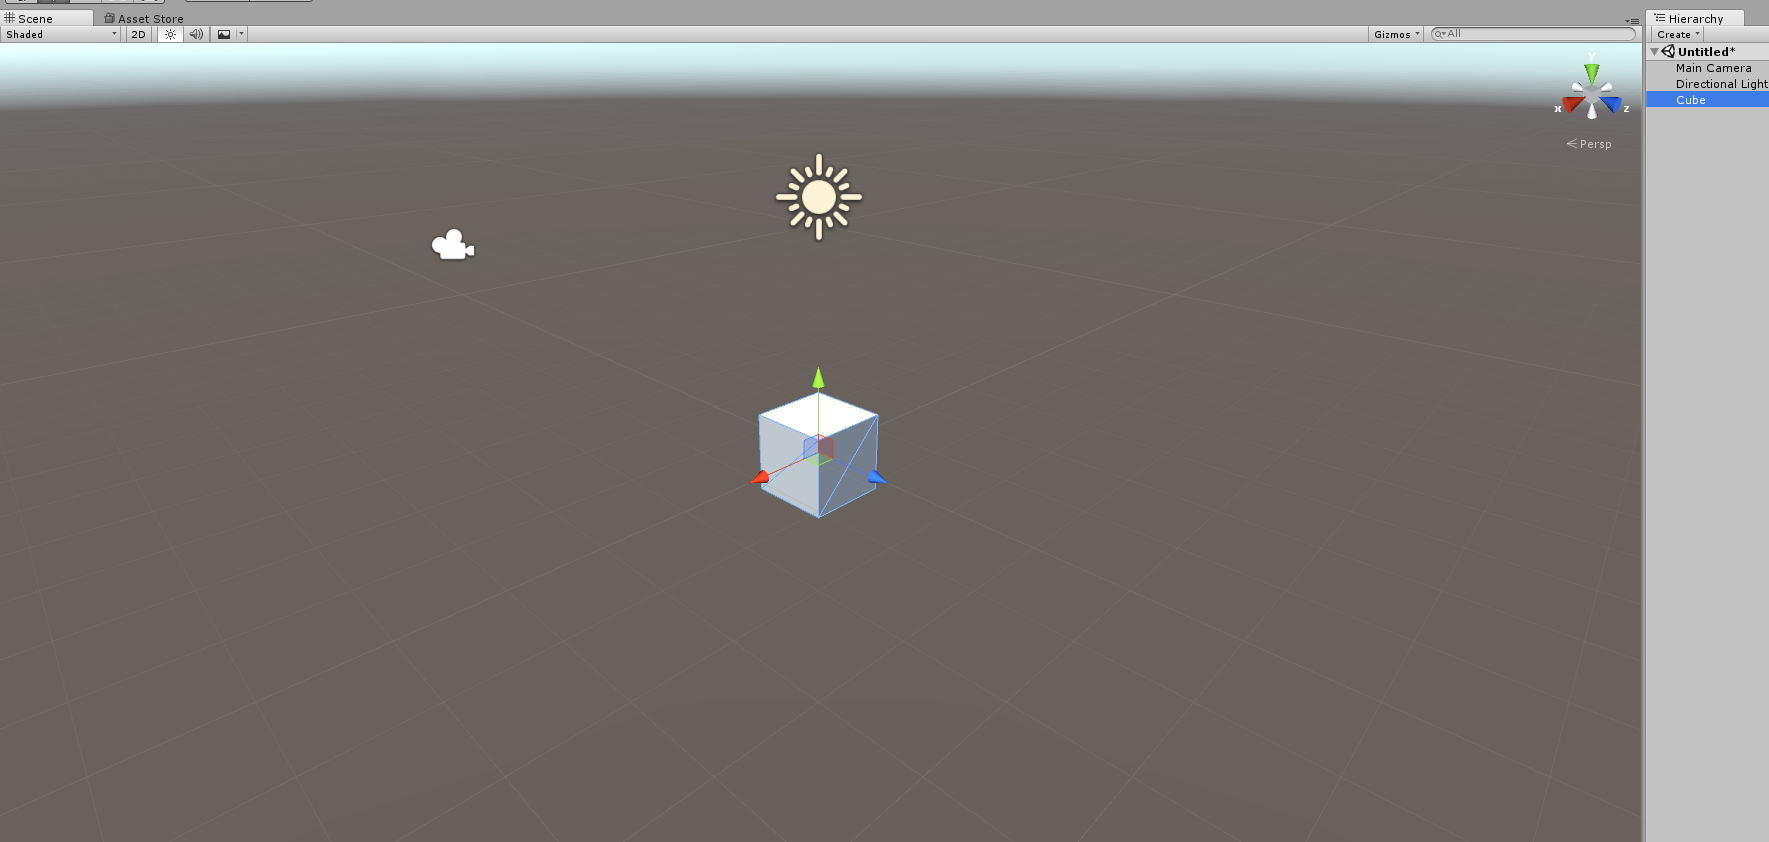
Drag the cube from the hierarchy tab onto the resources folder in the projects tab
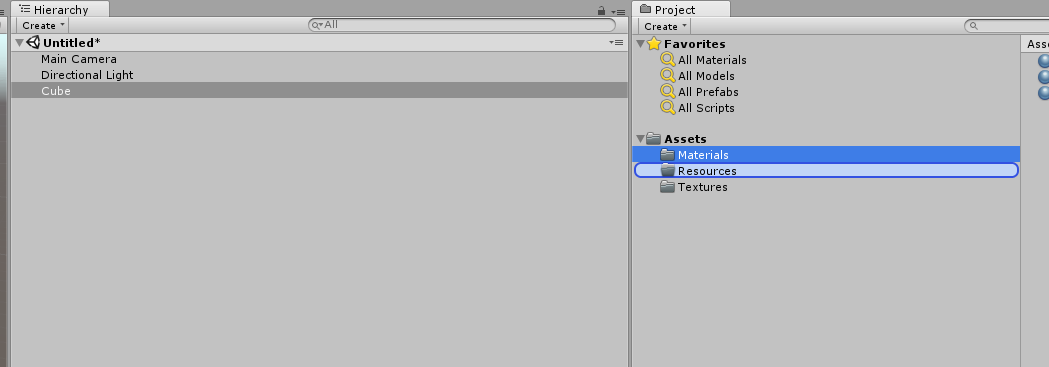
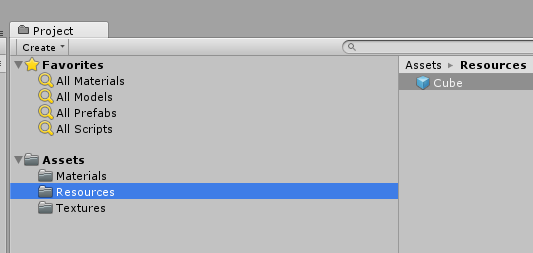
You have now created a Prefab named Cube inside of the Resources folder. Prefabs are a critical part of Unity. It is almost certain most of your game will consist of creating, moving, and destroying prefabs. Once you have a prefab when the game is running it can make many copies of that object on screen.
Click on the Cube in the hierarchy and delete it either by hitting the delete key or right clicking and deleting it.
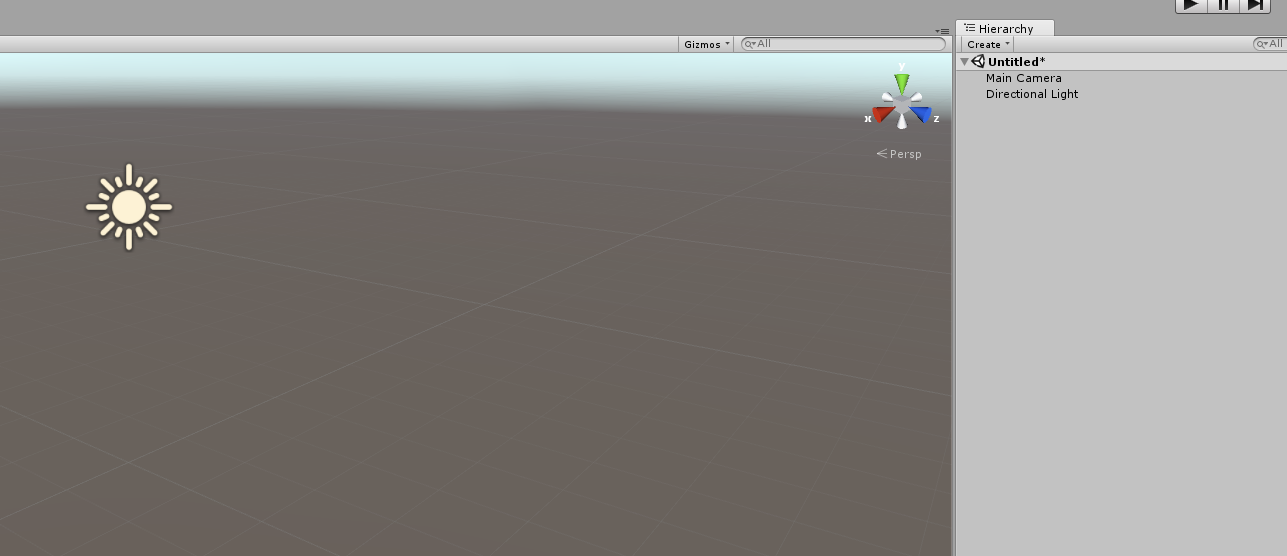
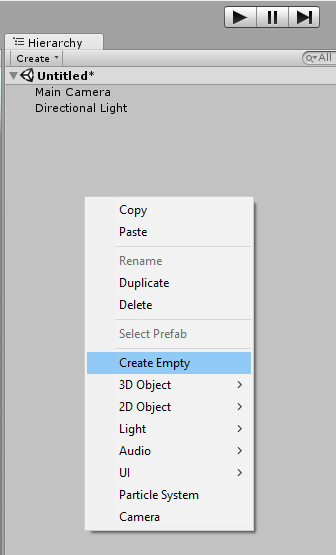
Right click in the hierarchy and click Create and then Create Empty
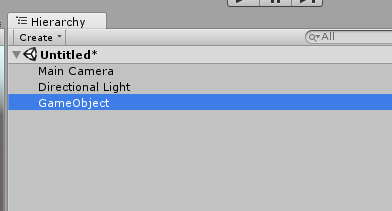
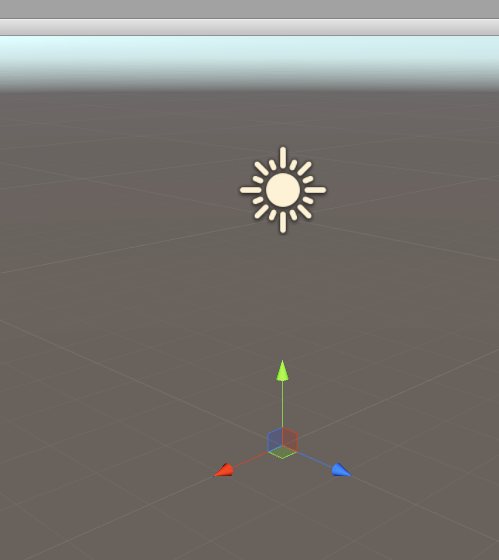
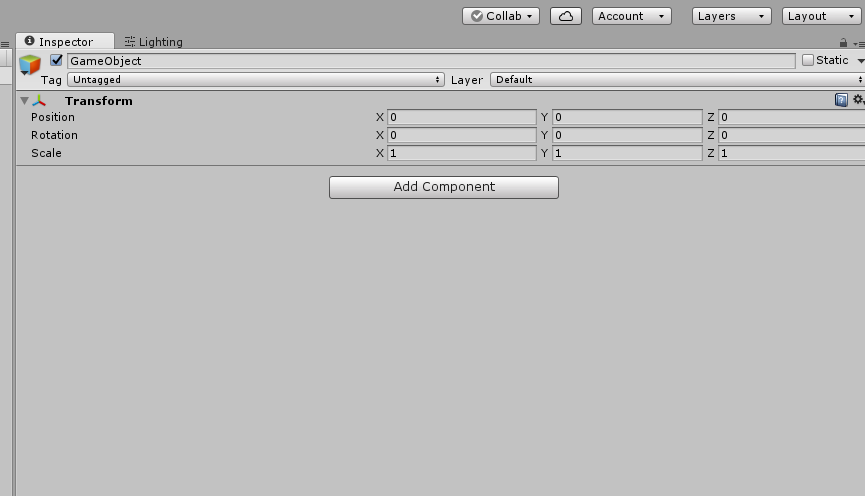
The empty game object has only a transform. Every object in unity at least has a transform. The transform holds vectors for position, rotation, and scale of an object. This even includes objects with no "physical" form. You can add components to an empty object such that it is no longer empty. They do have tremendous usefulness in terms of controlling the game as well. You can attach scripts to them.
Remember scripts do nothing unless they are attached to an object in a scene
Sometimes it might be advantageous to have your main game loop or some other code attached to an empty GameObject. You could rename this GameObject to Controller, Brain, MainGameLoop, Manager, or whatever you wanted to call it. That is not needed for the purpose of this tutorial.
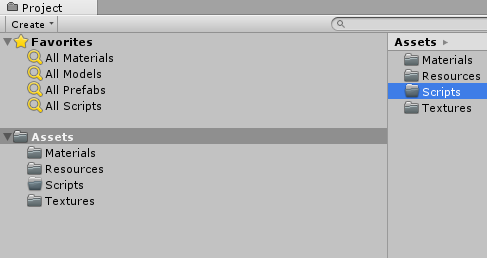
Create a folder called Scripts using the same method we used to create the Resources, Materials, and Textures folders.
Let's start coding
In this tutorial I am going to have you approach it two different ways with the intention of teaching you different methods of doing things.
In part one we will create a grid of randomly textured cubes using just the script we build on the empty game object. You will gain some useful information about finding and changing materials at runtime.
In part two we will do the same thing but we will not have the empty game object actually set the textures. We will have a second script on the cube and we will use this script to teach how to find and access scripts on other objects.
Part One - Single Script doing all the work
A single script will do all the work in this part of the tutorial.
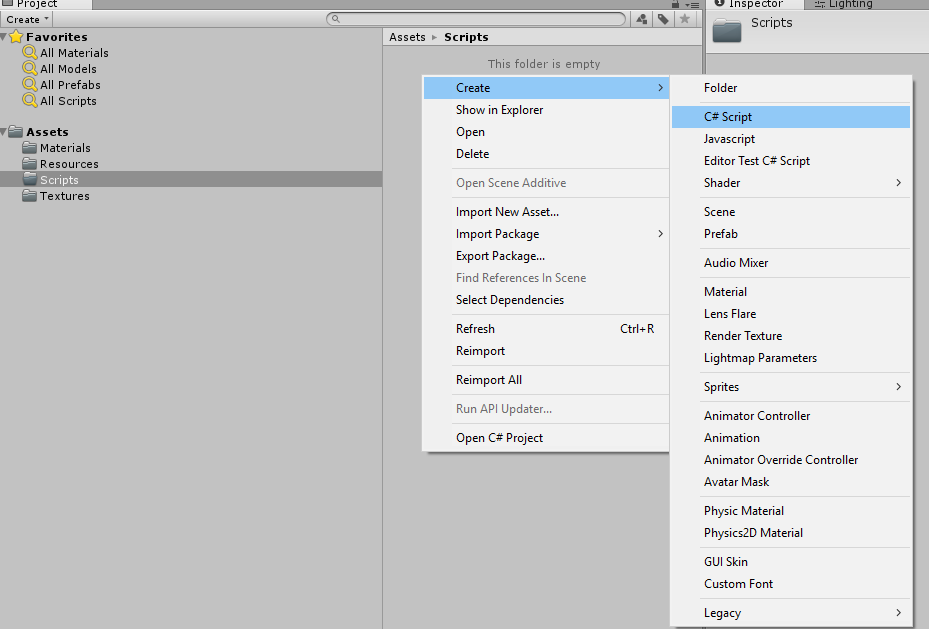
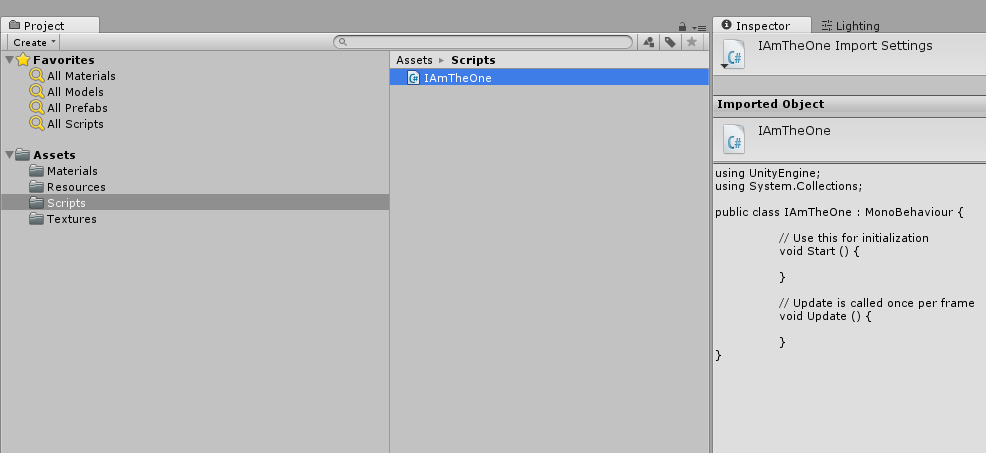
Create a C# script in the scripts folder called IAmTheOne
My Variable Naming Conventions
At this point I want to explain my personal preferences on how I name things. If you are going to follow my tutorials you will often see my code. Teams will typically decide upon a standard and that is what a team will follow for consistency. Individual programmers tend to develop their own style. This is a quick intro to my style so you will know why I name and do things the way I do.
I use what is known as Hungarian Notation but it is my own version. Hungarian Notation is the practice of using consistent characters before the capital letter of a variable name to designate what type of data that variable is intended to hold. You can read more about the official Hungarian Notation here.
My versions will be one of two styles
b or bool for values that are of the boolean data type.
by or byte for values that are of the byte data type.
us or ushort for values that are of the unsigned short data type.
n or int for values that are of the int data type.
f or float for values that are of the float data type.
df or double for values that are of the double float data type.
c or char for values that are of the char data type.
s or string for values that are of the string data type.
l or list for values that are a list data type.
o or go or object for values that are a unity game object data type.
mr for values that are a unity MeshRenderer type.
mf for values that are a unity MeshFilter type.
canv for values that are a unity Canvas type.
mat for values that are a unity material type.
sp for values that are a unity sprite type.
spr for values that are a unity SpriteRenderer type.
tex for values that are a unity Texture type.
t2d for values that are a unity Texture2D type.
sc for values that are a unity script type.
text for values that are a unity text script element for UI.
but for values that are a unity button script element for UI.
h for values that are a cached handle to something.
rect for values that are unity Rect data types.
v2 or vector2 for values that are unity Vector2 data types.
v3 or Vector3 for values that are unity Vector3 data types.
t or trans or transform for values that are a unity Transform data type.
The rest I make up as I deem appropriate in the given situation. I tend to mostly use the short form unless I am writing something for someone else and I know they prefer the long form.
I also use what is known as Camel Hump. This means I like to use multiple words as my variable names where each word is a capital/upper case letter and the rest of the word is lower case. It might look like something like this.
sThisIsCamelHump - where by my convention this would be a variable designed to contain strings which has the word name "This Is Camel Hump".
I do some other things other people don't. I like to have matching comments at the beginning and ending braces for code sections { }. I find when I am working on particularly large code it helps me to find the matching brace I want quickly. I know that if it is properly indented you should not need to do this, but even then I find this faster. It also has the added benefit of adding extra code commenting in. So if you see this, as far as I know it is unique to me and perhaps maybe a few people that learned to code by reading my old Neverwinter Nights scripts.
Diving into the code
Let's start writing the code.
Double click on the IAmTheOne script in your assets section. This should open the IDE of your choice for writing your code. I tend to use Visual Studio, but I did use MonoDevelop quite a bit in the past as well with Unity.
When I do code in these sections I am going to write the code to a certain point, take a screenshot and then explain that code.
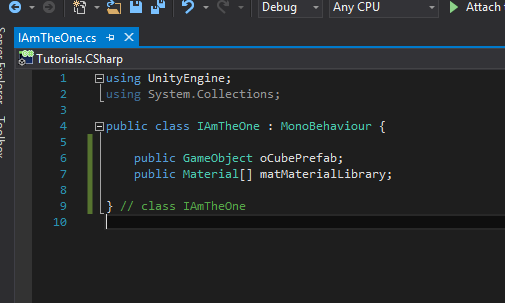
We start with something really simple. We setup a public GameObject variable that we will end up attaching our cube prefab from resources to. We also created a Material arrray that we can use to store our three materials.
Drag the IAmTheOne script and drop it on the GameObject in the Hierarchy that is our empty object we created before

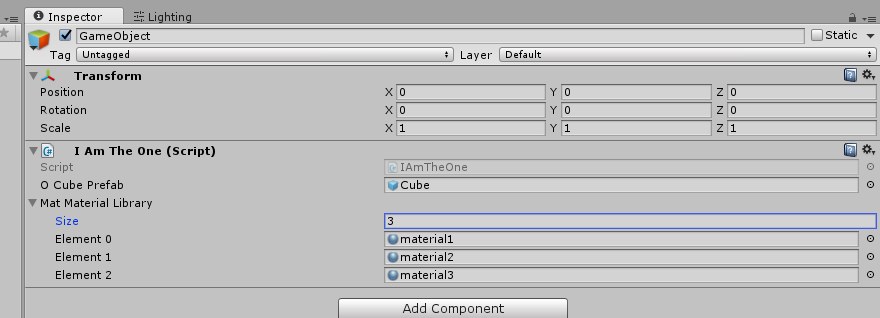
The code will now show listed in the inspect tab when you click on the GameObject. This is in a scene. If you were to press PLAY in the scene now this code would run. It doesn't do anything at the moment though.
Notice how the public variables have an appearance in the Inspector? This is important. We can populate values from scripts by dragging and dropping objects into the appropriate slots in the inspector.
That is what we are going to do here.
Drag the cube prefab into the cube prefab slot, Expand the Material array by clicking on the triangle, change the value 0 to 3 since we will have three materials, and drag each of the materials into the appropriate slot.
(yes I am going to gradually remove steps and speed things up as I know you should know certain things)
Back to the code
Now we are going to make the code actually do something.
Return to your IAmTheOne script in whichever IDE you use.
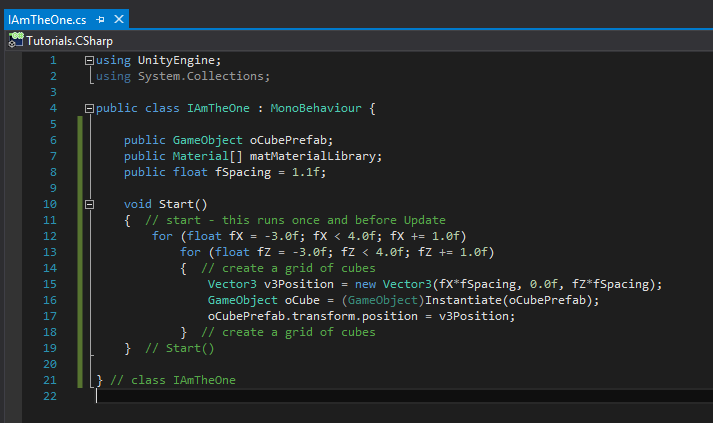
I added a new variable that can be tweaked in the inspector properties and you can run it with different settings. If you want everything to line up perfectly you should set it to 1.0f. In this case I have it default to 1.1f so you can see the cubes since we have not yet changed their materials.
This is simply a for loop that sets a position of the cubes based upon the value of fX and fZ and then it creates the cube by instantiating a copy of the prefab we have assigned to it and then it correctly adjusts the location of the cube.
Press Play and you should get something like this.
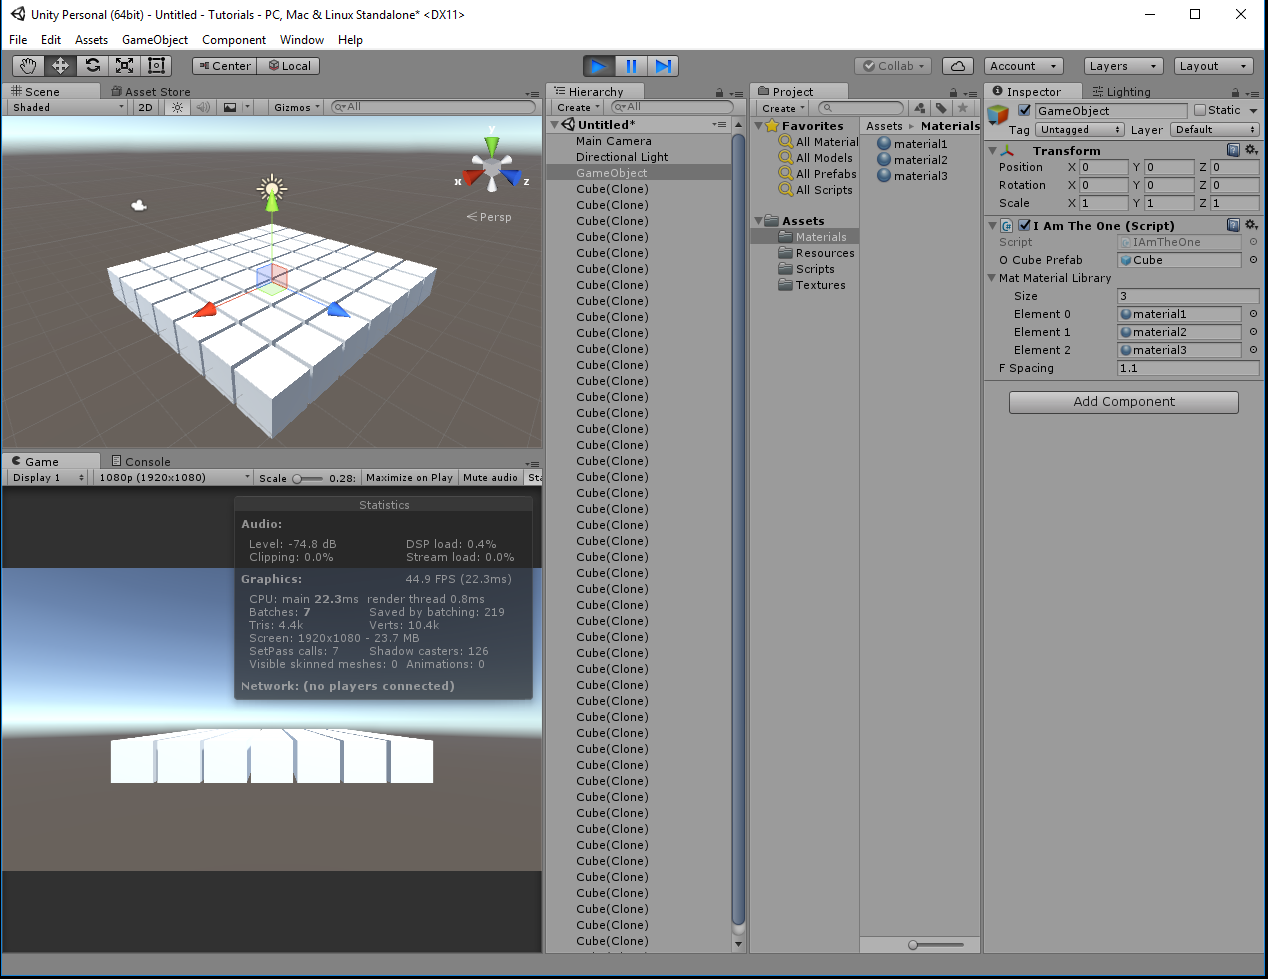
Yay, it does something!
Let's move on and put those materials combined with some good ol' random numbers to use.
It's a random world out there
We're now going to assign a random material to each cube from those that you provided.
There was actually a BUG in that code above too. Do you notice I changed the position of the oCubePrefab and not the oCube we instantiated. It still worked, because it was advancing the location of each NEXT cube. Really for proper control we should be using oCube that we instantiated and changing it's position and we should leave the prefab at 0,0,0. I have corrected this in the next code.
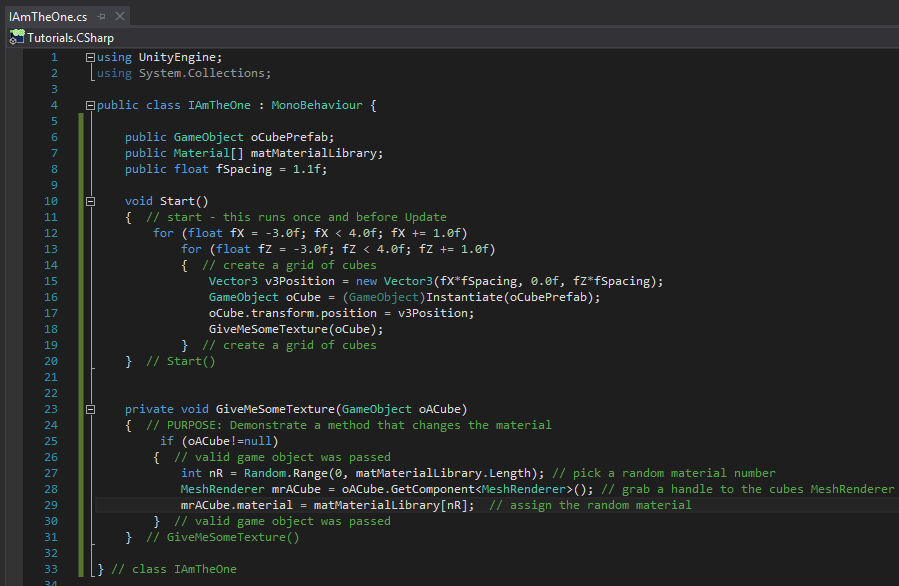
We created a new private method called GiveMeSomeTexture that we pass the newly instantiated cube to after its position has been set.
GiveMeSomeTexture first checks to make sure it was actually passed a GameObject when it was called. Some simple error checking.
It then generates a random number depending upon how many elements are in the matMaterialLibrary. This means you could create more materials, and add them into that array so you had more than three and this code will adapt to the new size of the array.
It then does something that is important in Unity. You will use this a lot. It grabs the MeshRenderer which if you click on an instantiated cube while you have the game playing you will see MeshRenderer listed as a component in the inspector window. We cache that value in mrACube. Then using that we can get at the material and set it to the material based upon the random number.
There you have it... try pressing PLAY and you now should get something like this.
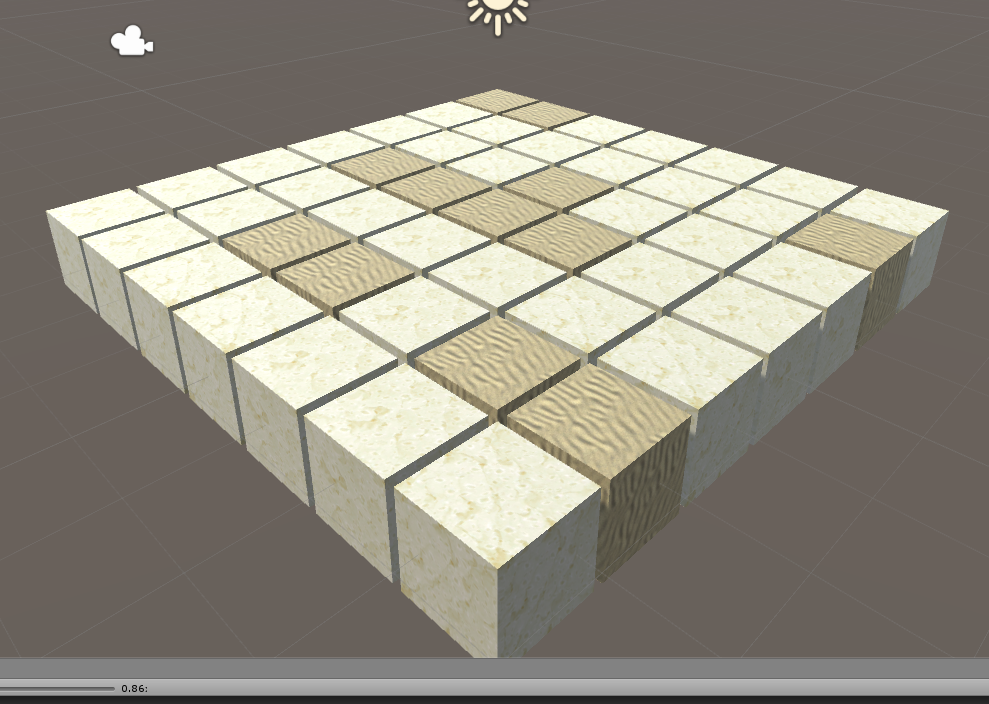
Part Two - Accessing scripts on other objects
This section will move a lot faster than the previous. I am going to assume you know how to do certain tasks without me showing you all of the steps.
We are going to modify the IAmTheOne script. We are going to create a new script called IAmACube. The goal here will be to teach you how these cubes can speak back and forth to each other.
This code is intentionally designed the way it is with some back and forth chatter. It has some inefficiencies if I was using it a lot at runtime so in practice this is not exactly how I recommend doing it. It is useful for teaching the concept I want to explain here.
First I want to create the new script IAmACube
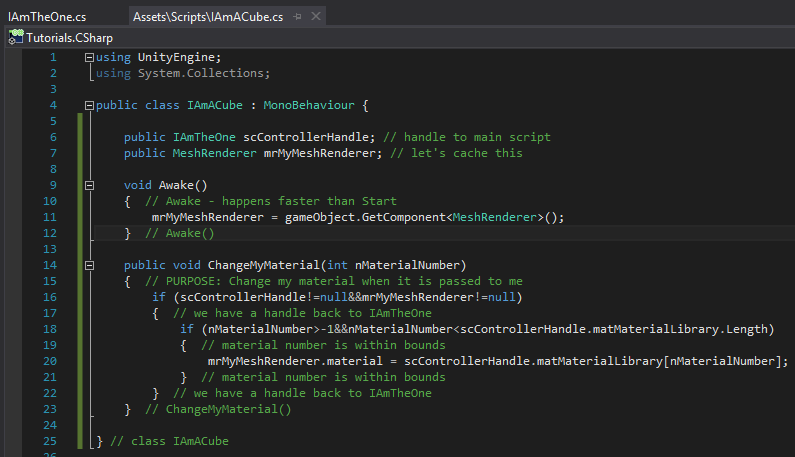
This script is designed that when a cube appears Awake() is triggered by Unity and it will cache a copy of its MeshRenderer handle in a variable. When you hear people talk about caching this is what they are talking about. Why would we do this? Calling to GetComponent() can be expensive in terms of performance. So now that we cached this we could change this cubes mesh renderer properties many times if we wanted to without ever again calling GetComponent().
The handle back to IAmTheOne is not defined, but as you see I intentionally reach back to IAmTheOne with this cript so you can see a form of two way communication.
I could have simply passed the Material to use to IAmTheCube rather than a number and then IAmTheCube would not need to test for bounds, or know that IAmTheOne ever existed. I did want to show you the two way communication though, so that is why this lesson is designed in this fashion.
Updating our Prefab
Drag the Cube prefab out of the Resources folder and drop it into your Hierarchy.
Drag the IAmACube script from the Scripts folder and drop it on the Cube in the Hierarchy
It's properties should now look like this.
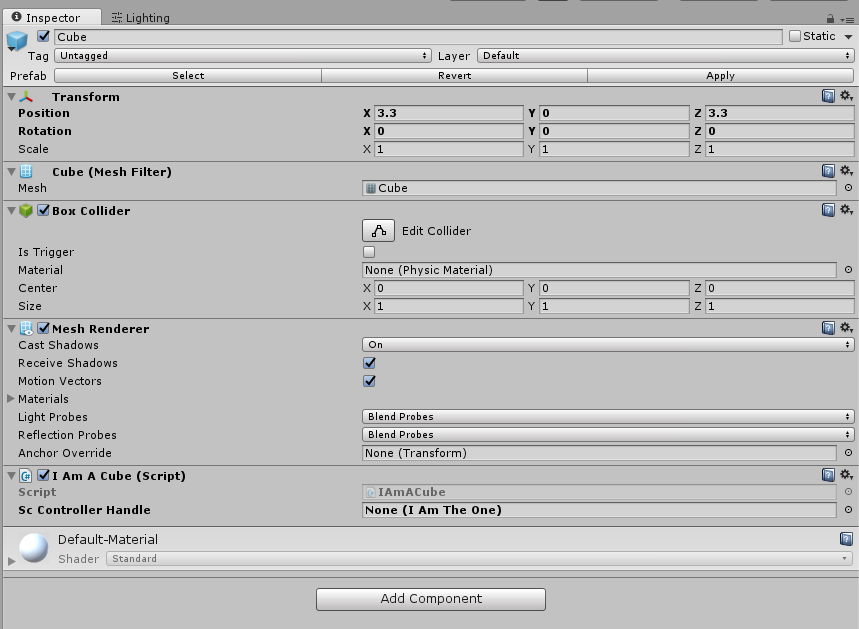
With the new IAmACube script showing up in the inspector.
Drag the cube from the hierarchy back to the Resources folder and drop it on top of the Cube.
This will update the prefab.
Delete the cube out of the hierarchy.
Now let's modify the IAmTheOne script to take advantage of this new arrangement.
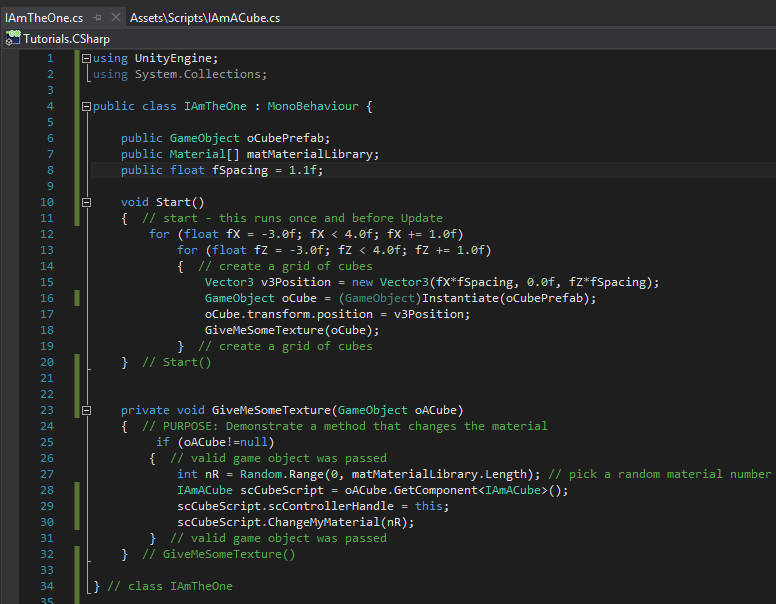
We changed the method for updating so that now it makes sure IAmACube knows how to reach the master script. It then calls the Cube Material change by reaching out to the IAmACube script and passing the random number there. IAmACube makes sure to test if that number is a valid number by looking at the MaterialLibrary array on the IAmTheOne script.
Congratulations you've learned quite a few techniques that are important to coding in Unity.
What about the Resources folder?
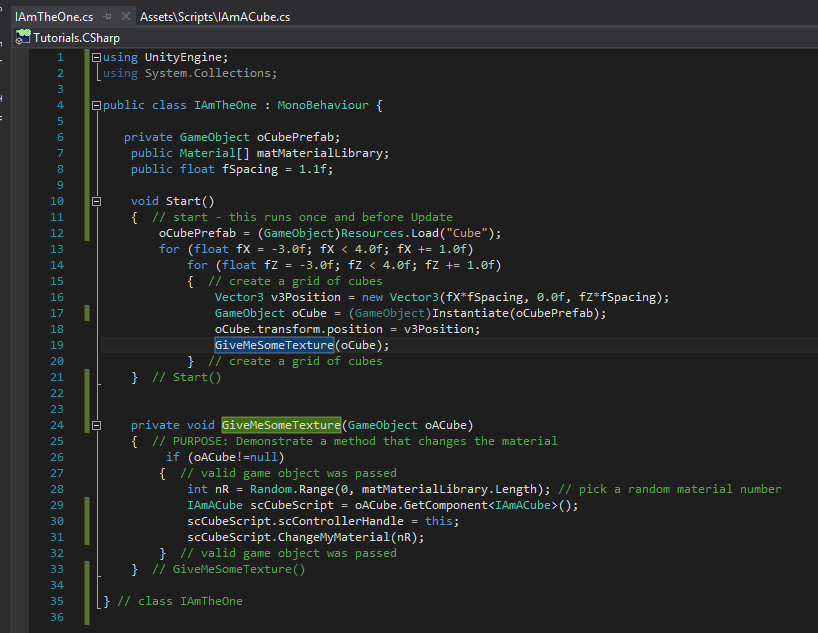
I had you add the Resources folder so I could show you how to load resources from there as needed rather than by dropping them onto an Inspector slot. I have published this blog entry but as you can see I have edited it and corrected this oversight.
Here is the modification to IAmTheOne it is simple and makes oCubePrefab private and then in Start() it loads oCubePrefab using Resources.Load() to pull it out of the Resources folder.
Bonus textures....
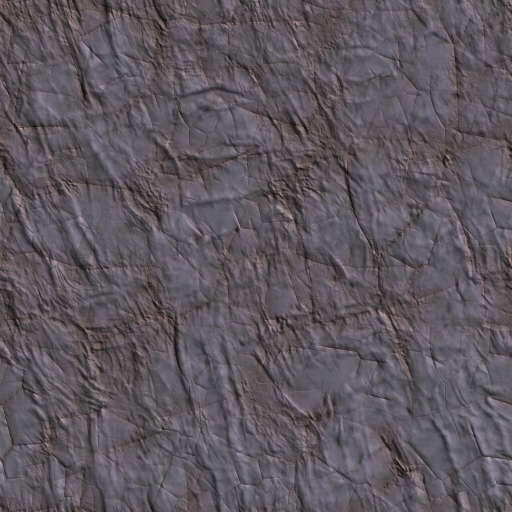
Here are some extra textures I uploaded for you, if you want to mess around with this some more.


Conclusion
Putting together a tutorial like this takes a lot of time and effort. If you like this and would like to see more then please up vote this post. If you have something specific you'd like me to cover please feel free to ask in a comment. If I do continue to make tutorials I will speed them up and will reference these older tutorials. So since I covered so many basics here, I would not cover those again. I would instead link back to this. So each tutorial should build upon the knowledge developed in the last.
Thank you for your time, and for viewing my tutorial. Good luck in your unity adventures
