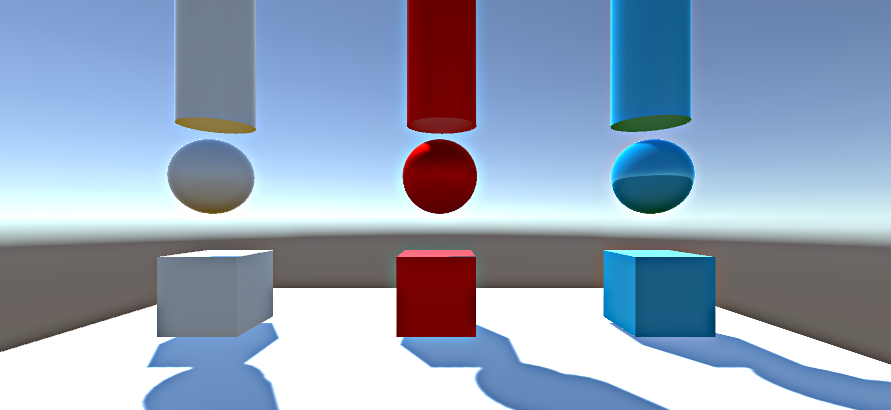
Here is a breakdown of a lot of the most commonly used camera effects in unity3d. These are all available for free, as they are just part of the standard assets. I will put in a before and after picture for each one that I use.
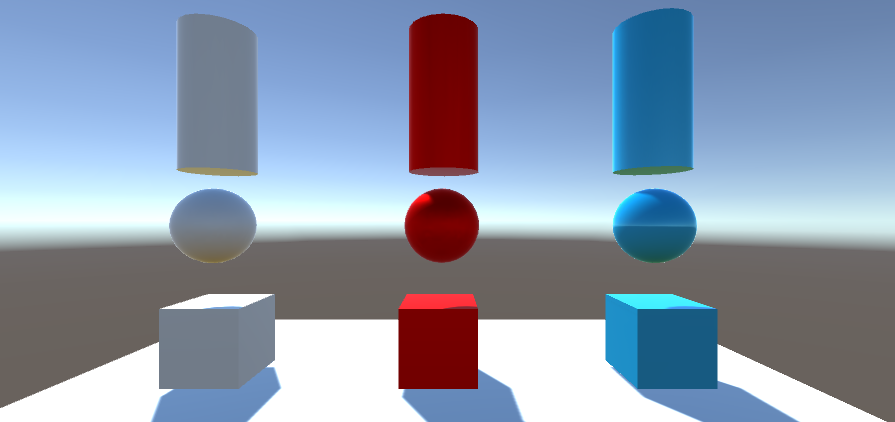
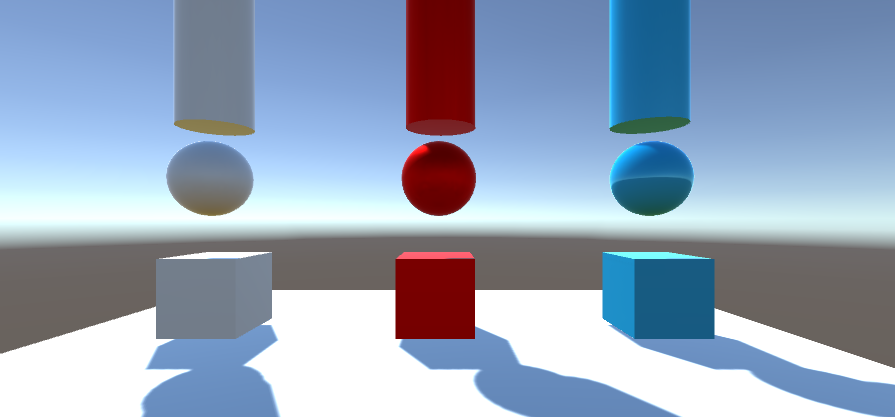
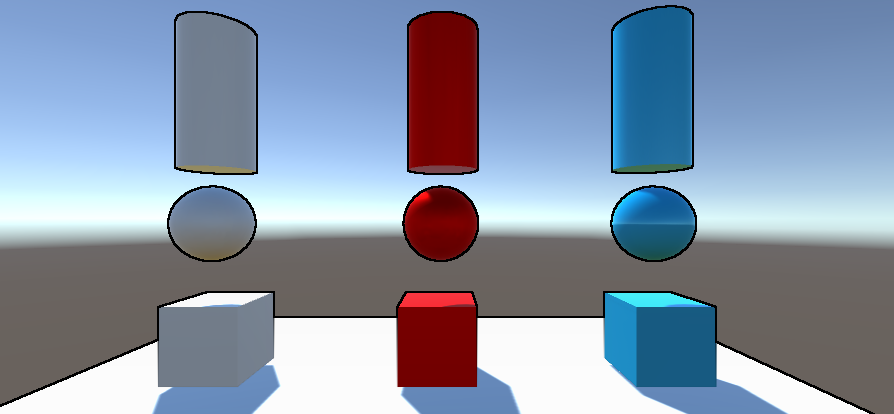
Antialiasing: This is a must have image effect. It will help fix any jagged lines that you may find while playing the game, and is especially more helpful for lower resolution or very large displays.
Before:
After:

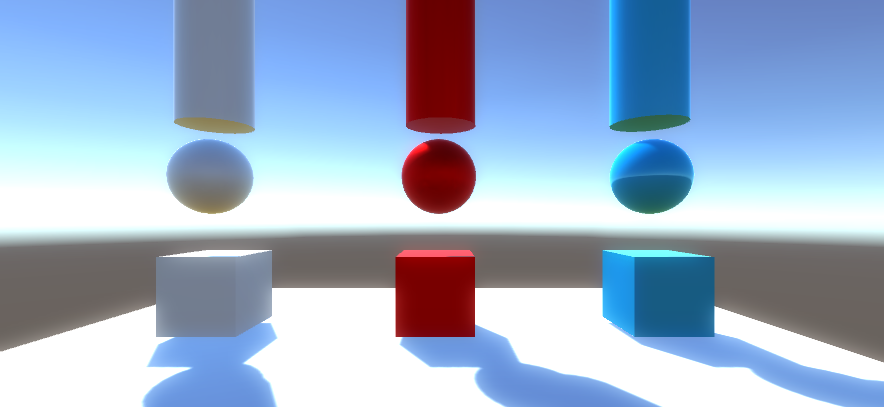
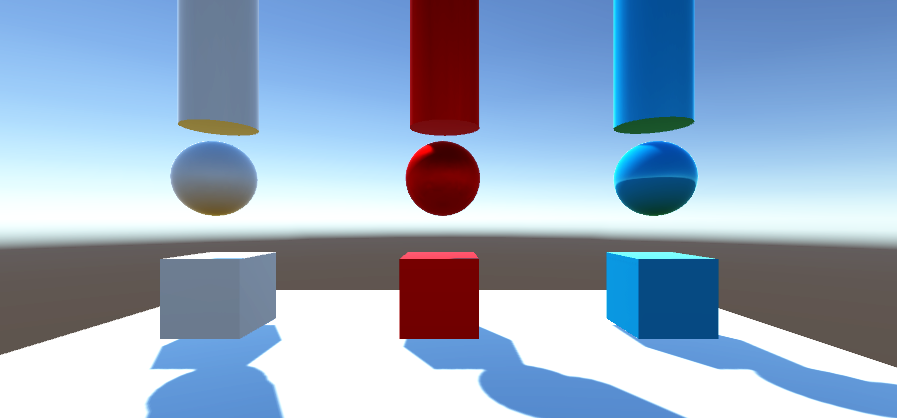
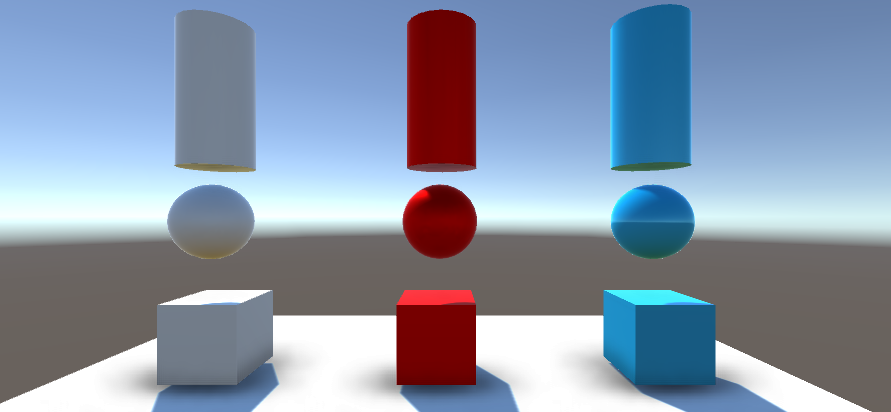
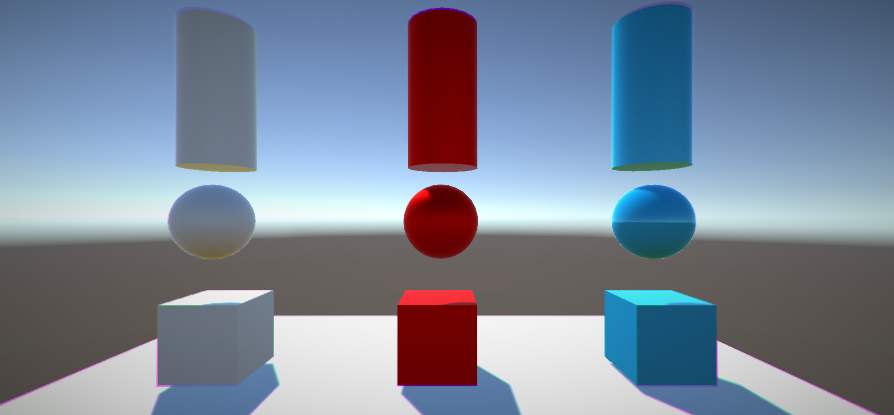
Bloom: This image effect is not always necessary, but it adds a nice lighting touch to your game, especially if your game takes place outside.
Before:
After:
Color Correction (Curves): This is another must have for any game. It really helps fix and intensify any kinds of colors that may be present in your game. You can adjust the value to fit your needs.
Before:

After:
Contrast Enhance: This could be very helpful in the event of an important or dramatic scene in your game. It increases the contrast to create more vivid shades.
Before:

After:
Edge Detection: This is very helpful if you ever want to create a cartoony look in any of your video games.
Before:

After:
Screen Space Ambient Occlusion: This is also a must have for almost any game. It adds somewhat more realistic shadows generated by two objects being close to each other.
Before:

After:
Vignette and Chromatic Aberration: This also is a must have for any game, at least at its low values. It is a very helpful effect to have, and adds a slightly more professional theme to your game. (Note: for these, I have used larger than default values to make sure that the difference can be seen)
Before:

After:
I hope you guys have enjoyed this intro tutorial to image effects!