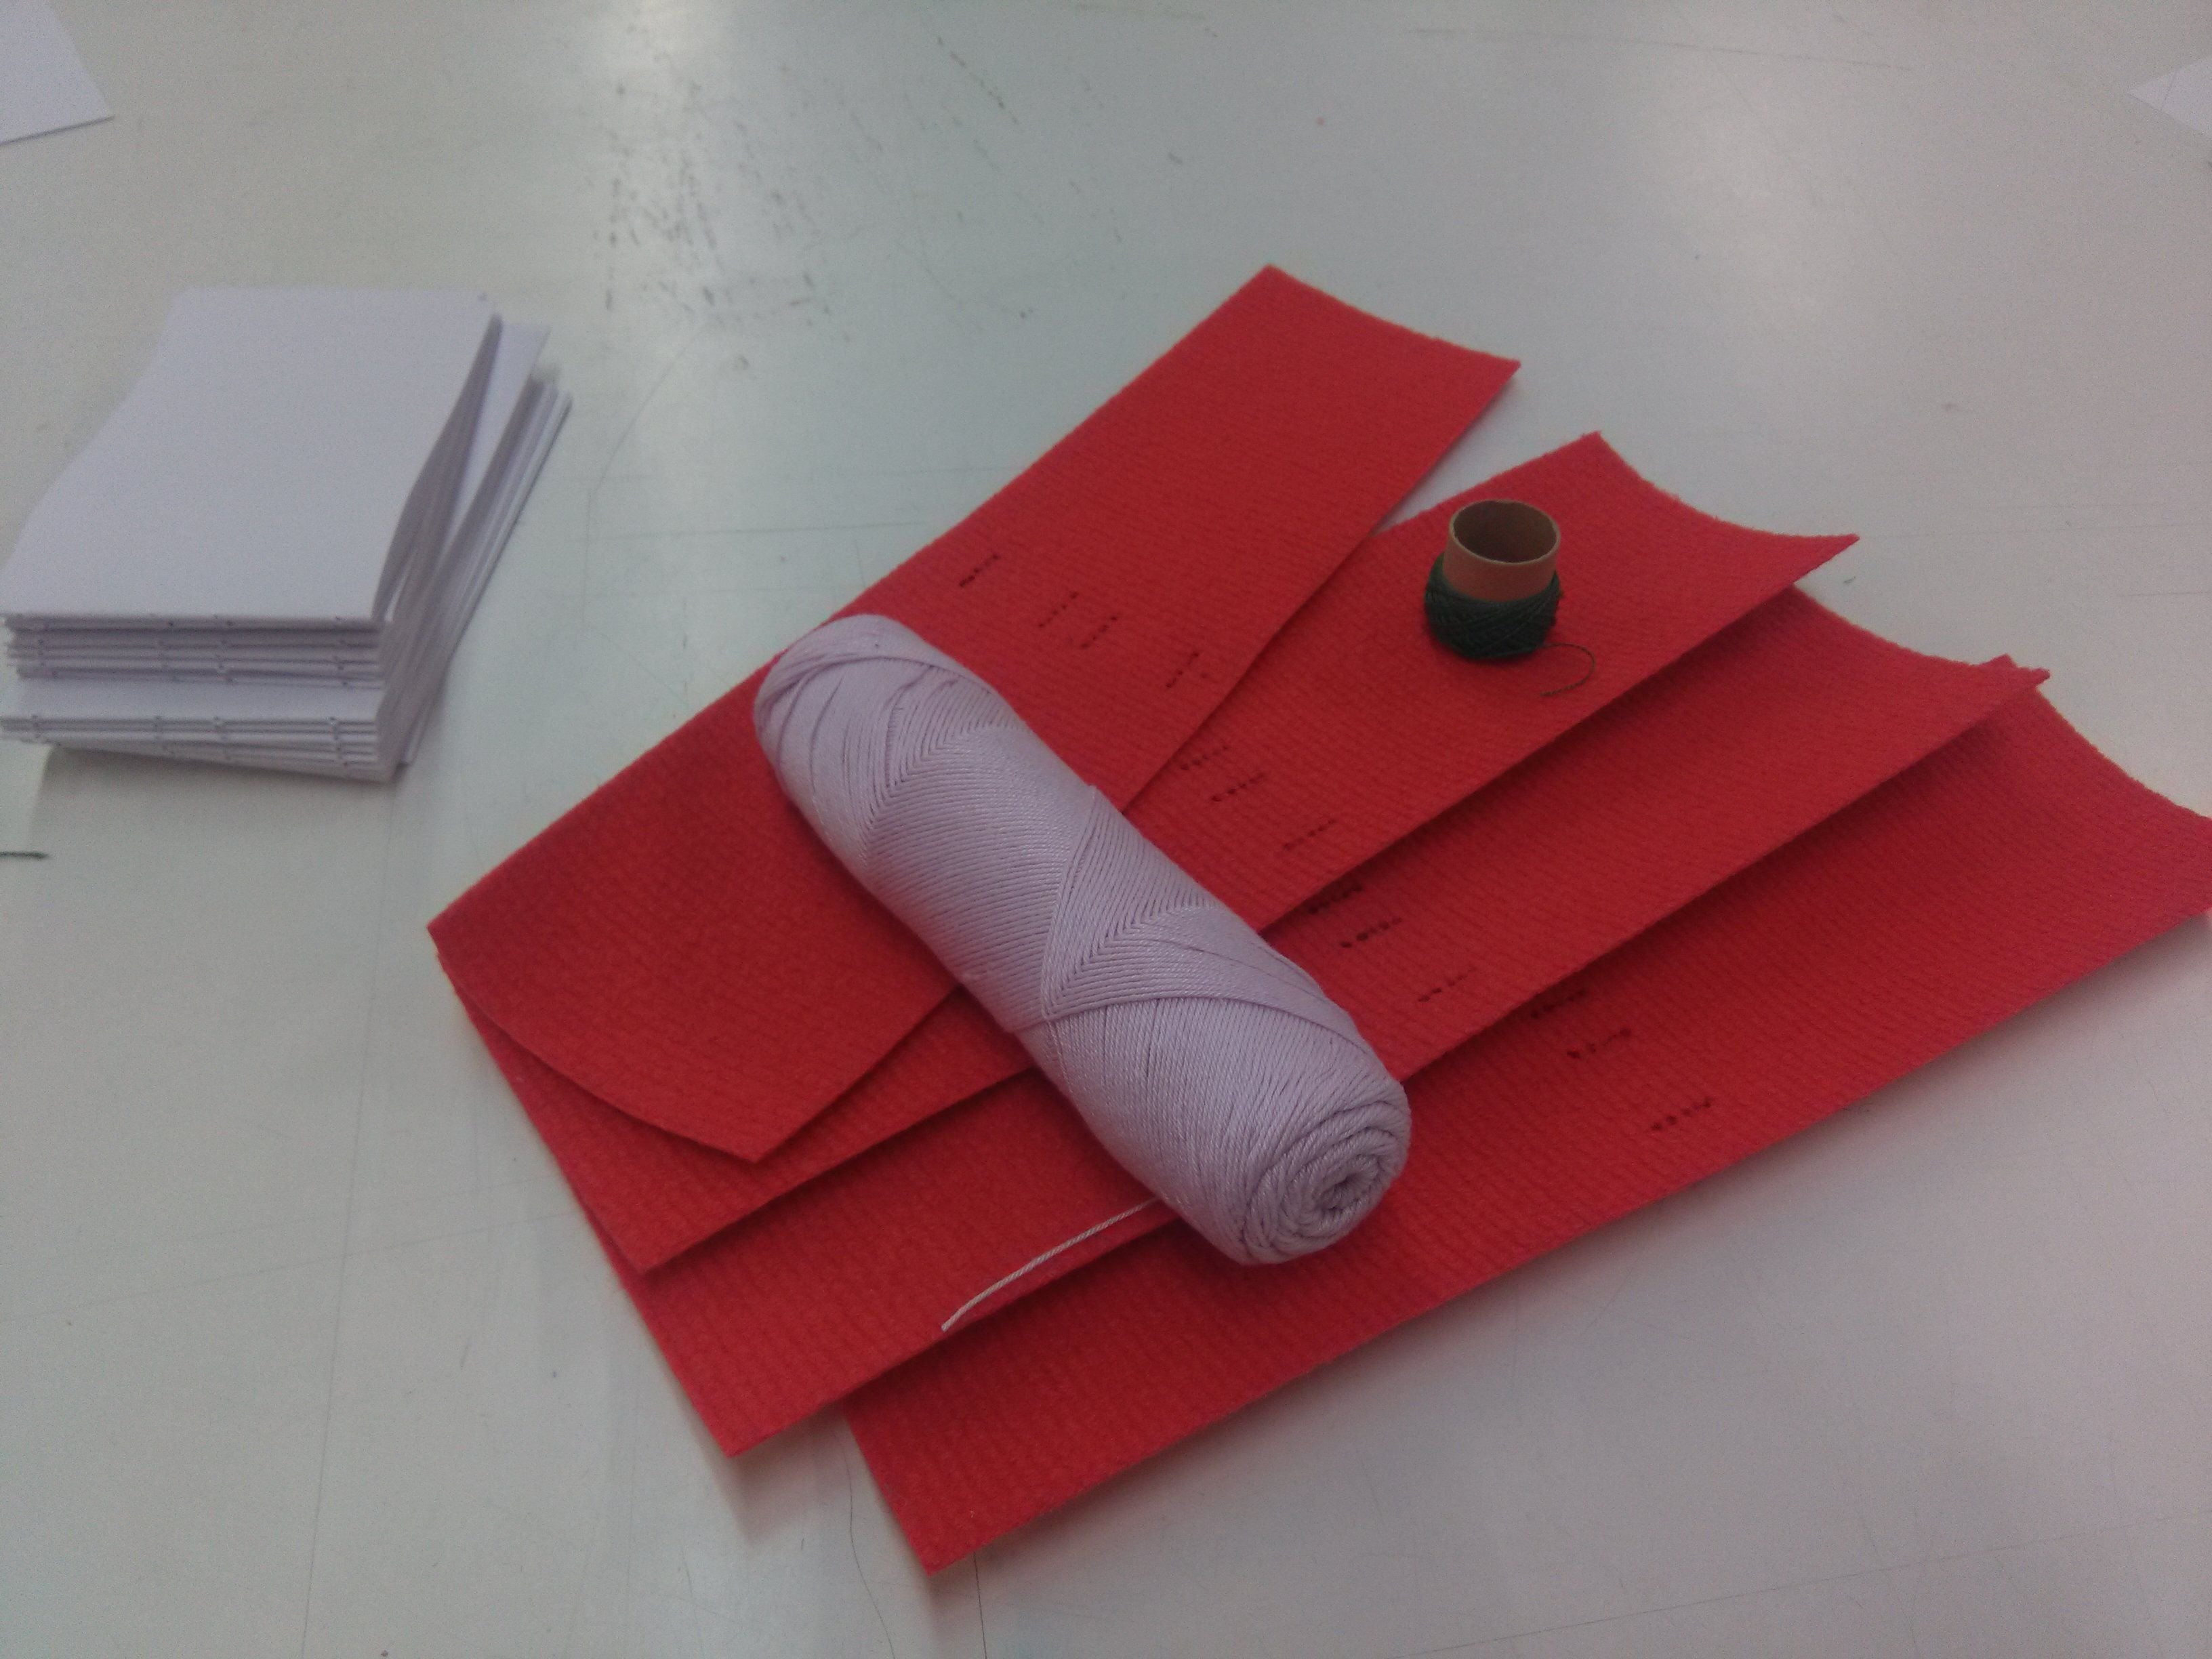
As promised, I'll be continuing where I left when I wrote "At work: Folding notebooks" and "At work #2: Punching holes".
Like faith was at odds with @jdelaco's wishes, I wasn't quite fortunate to come back to the notebook project in the following weeks, as I first was assigned other jobs, and on top of that, fell ill for a week.
Yesterday I finally got a chance to try my hand at binding, and boy was I glad! I got to finish my three-part series with photos!
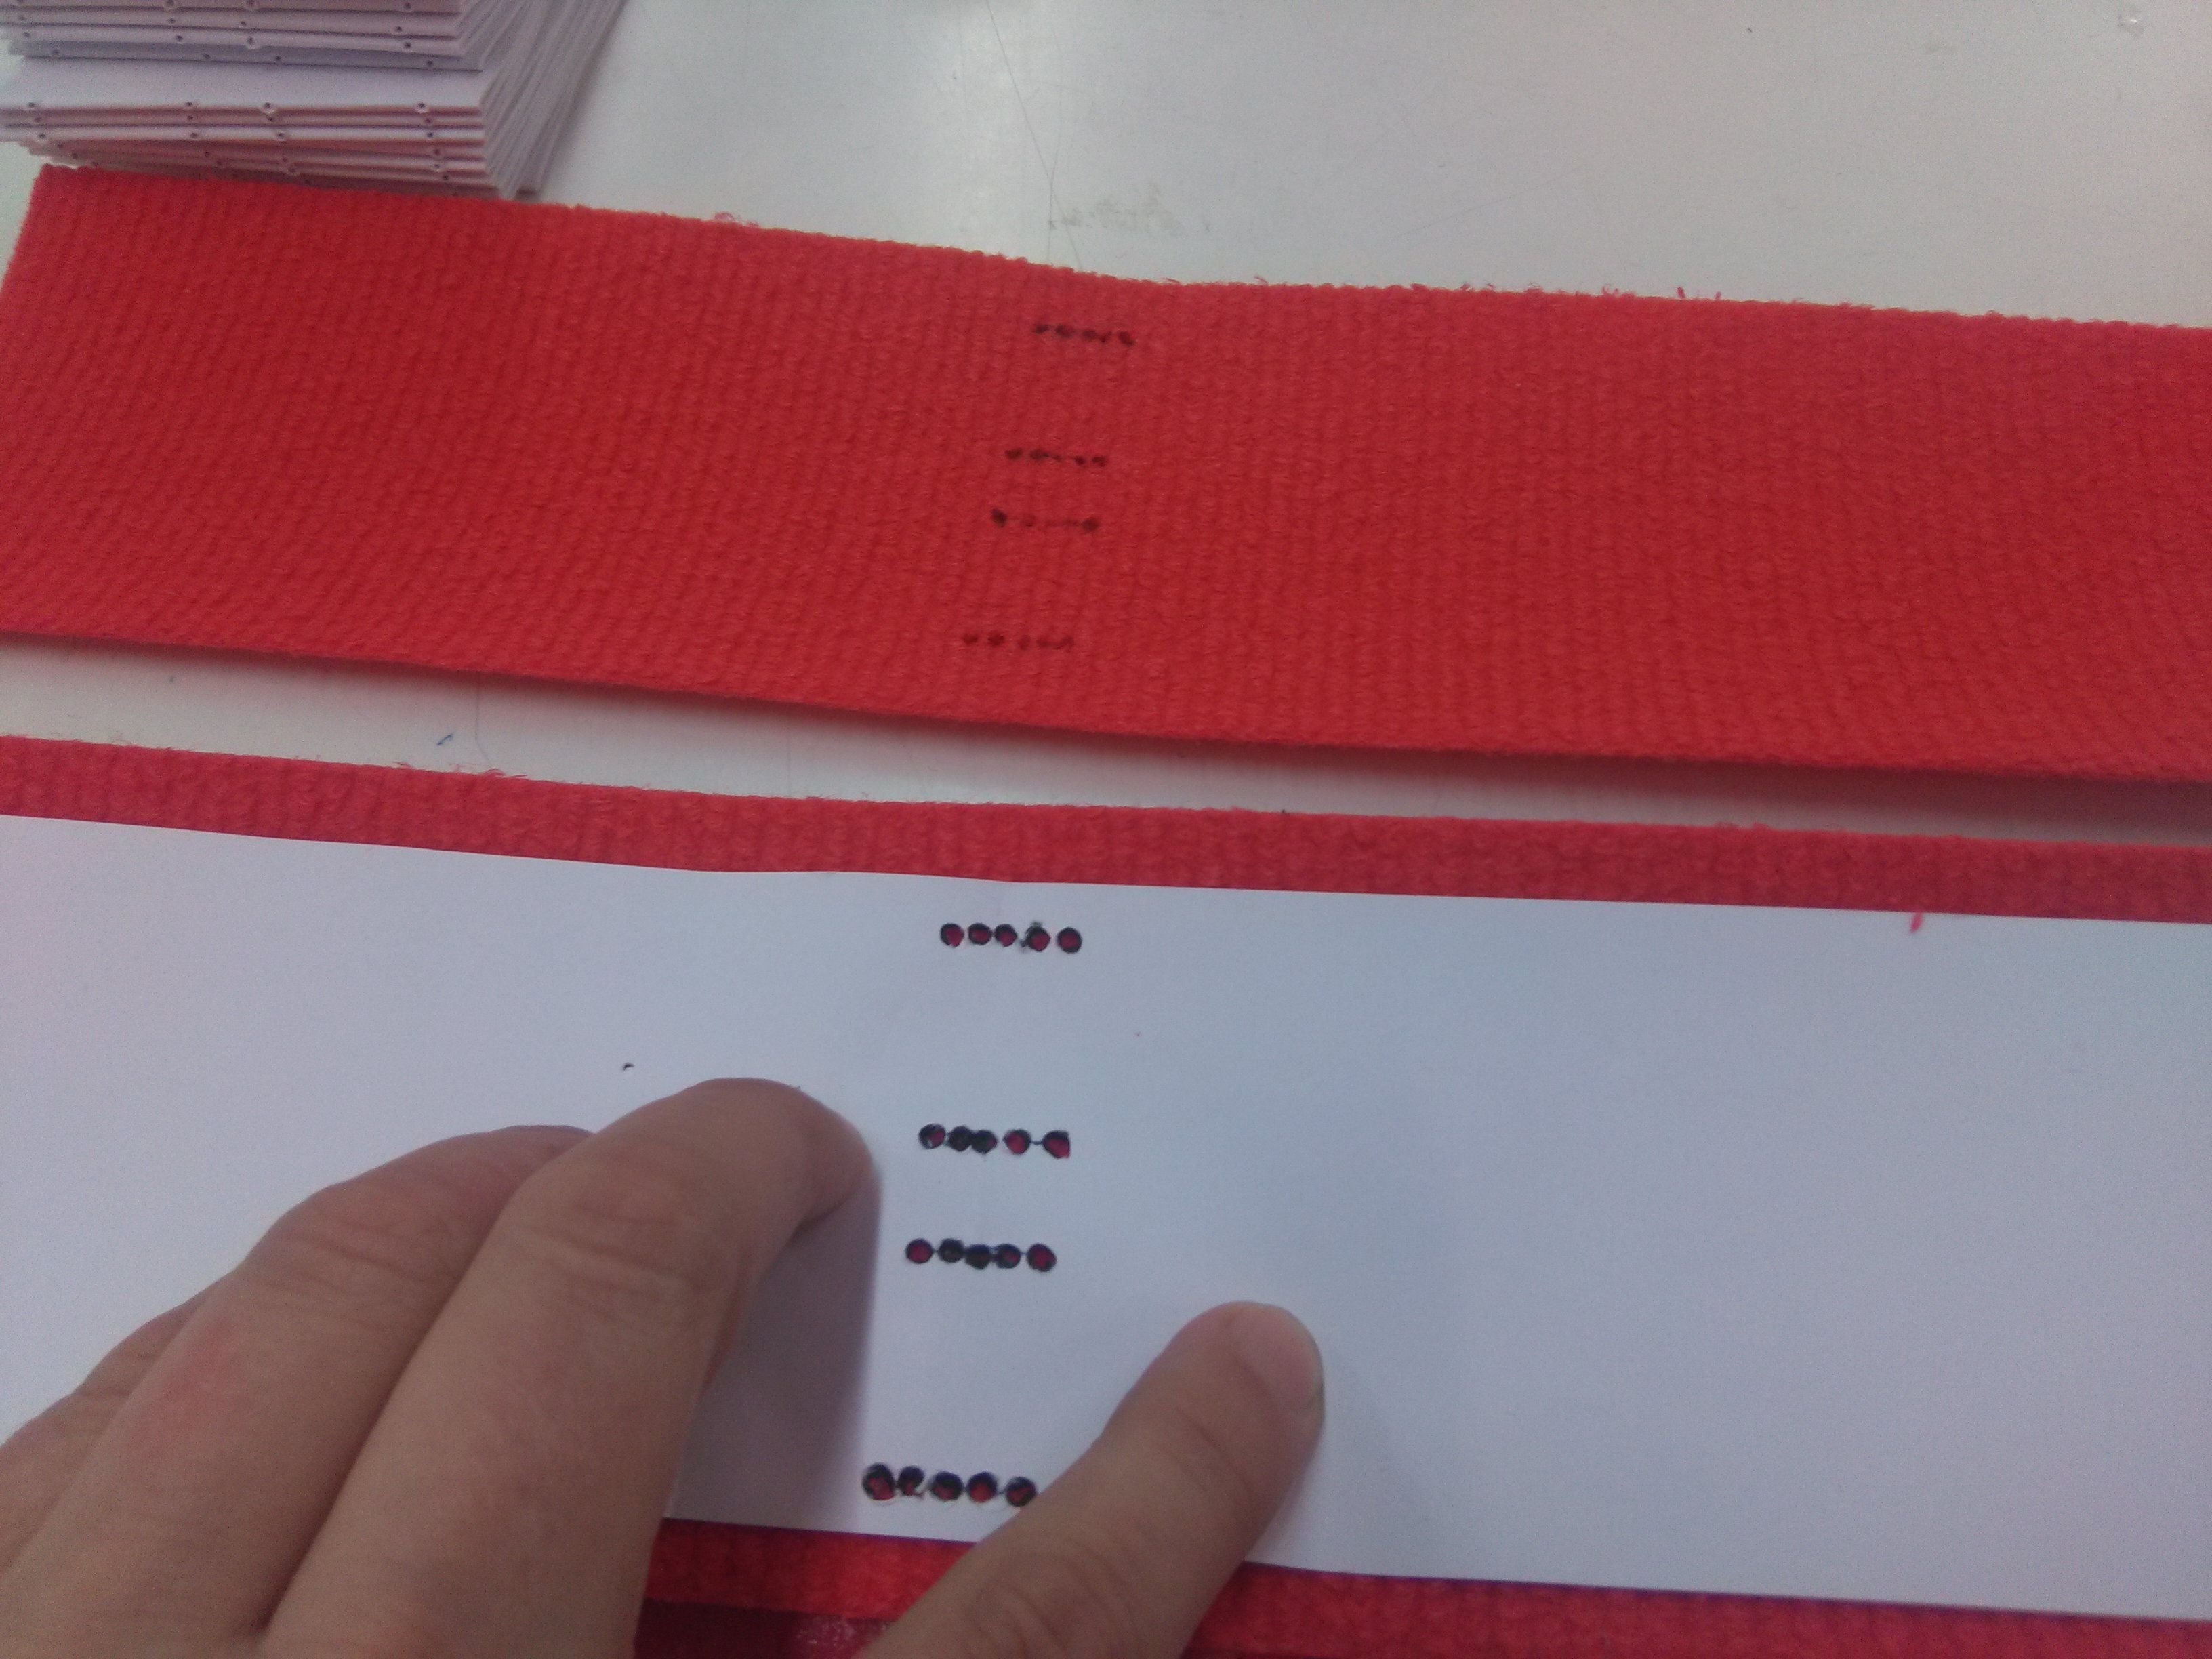
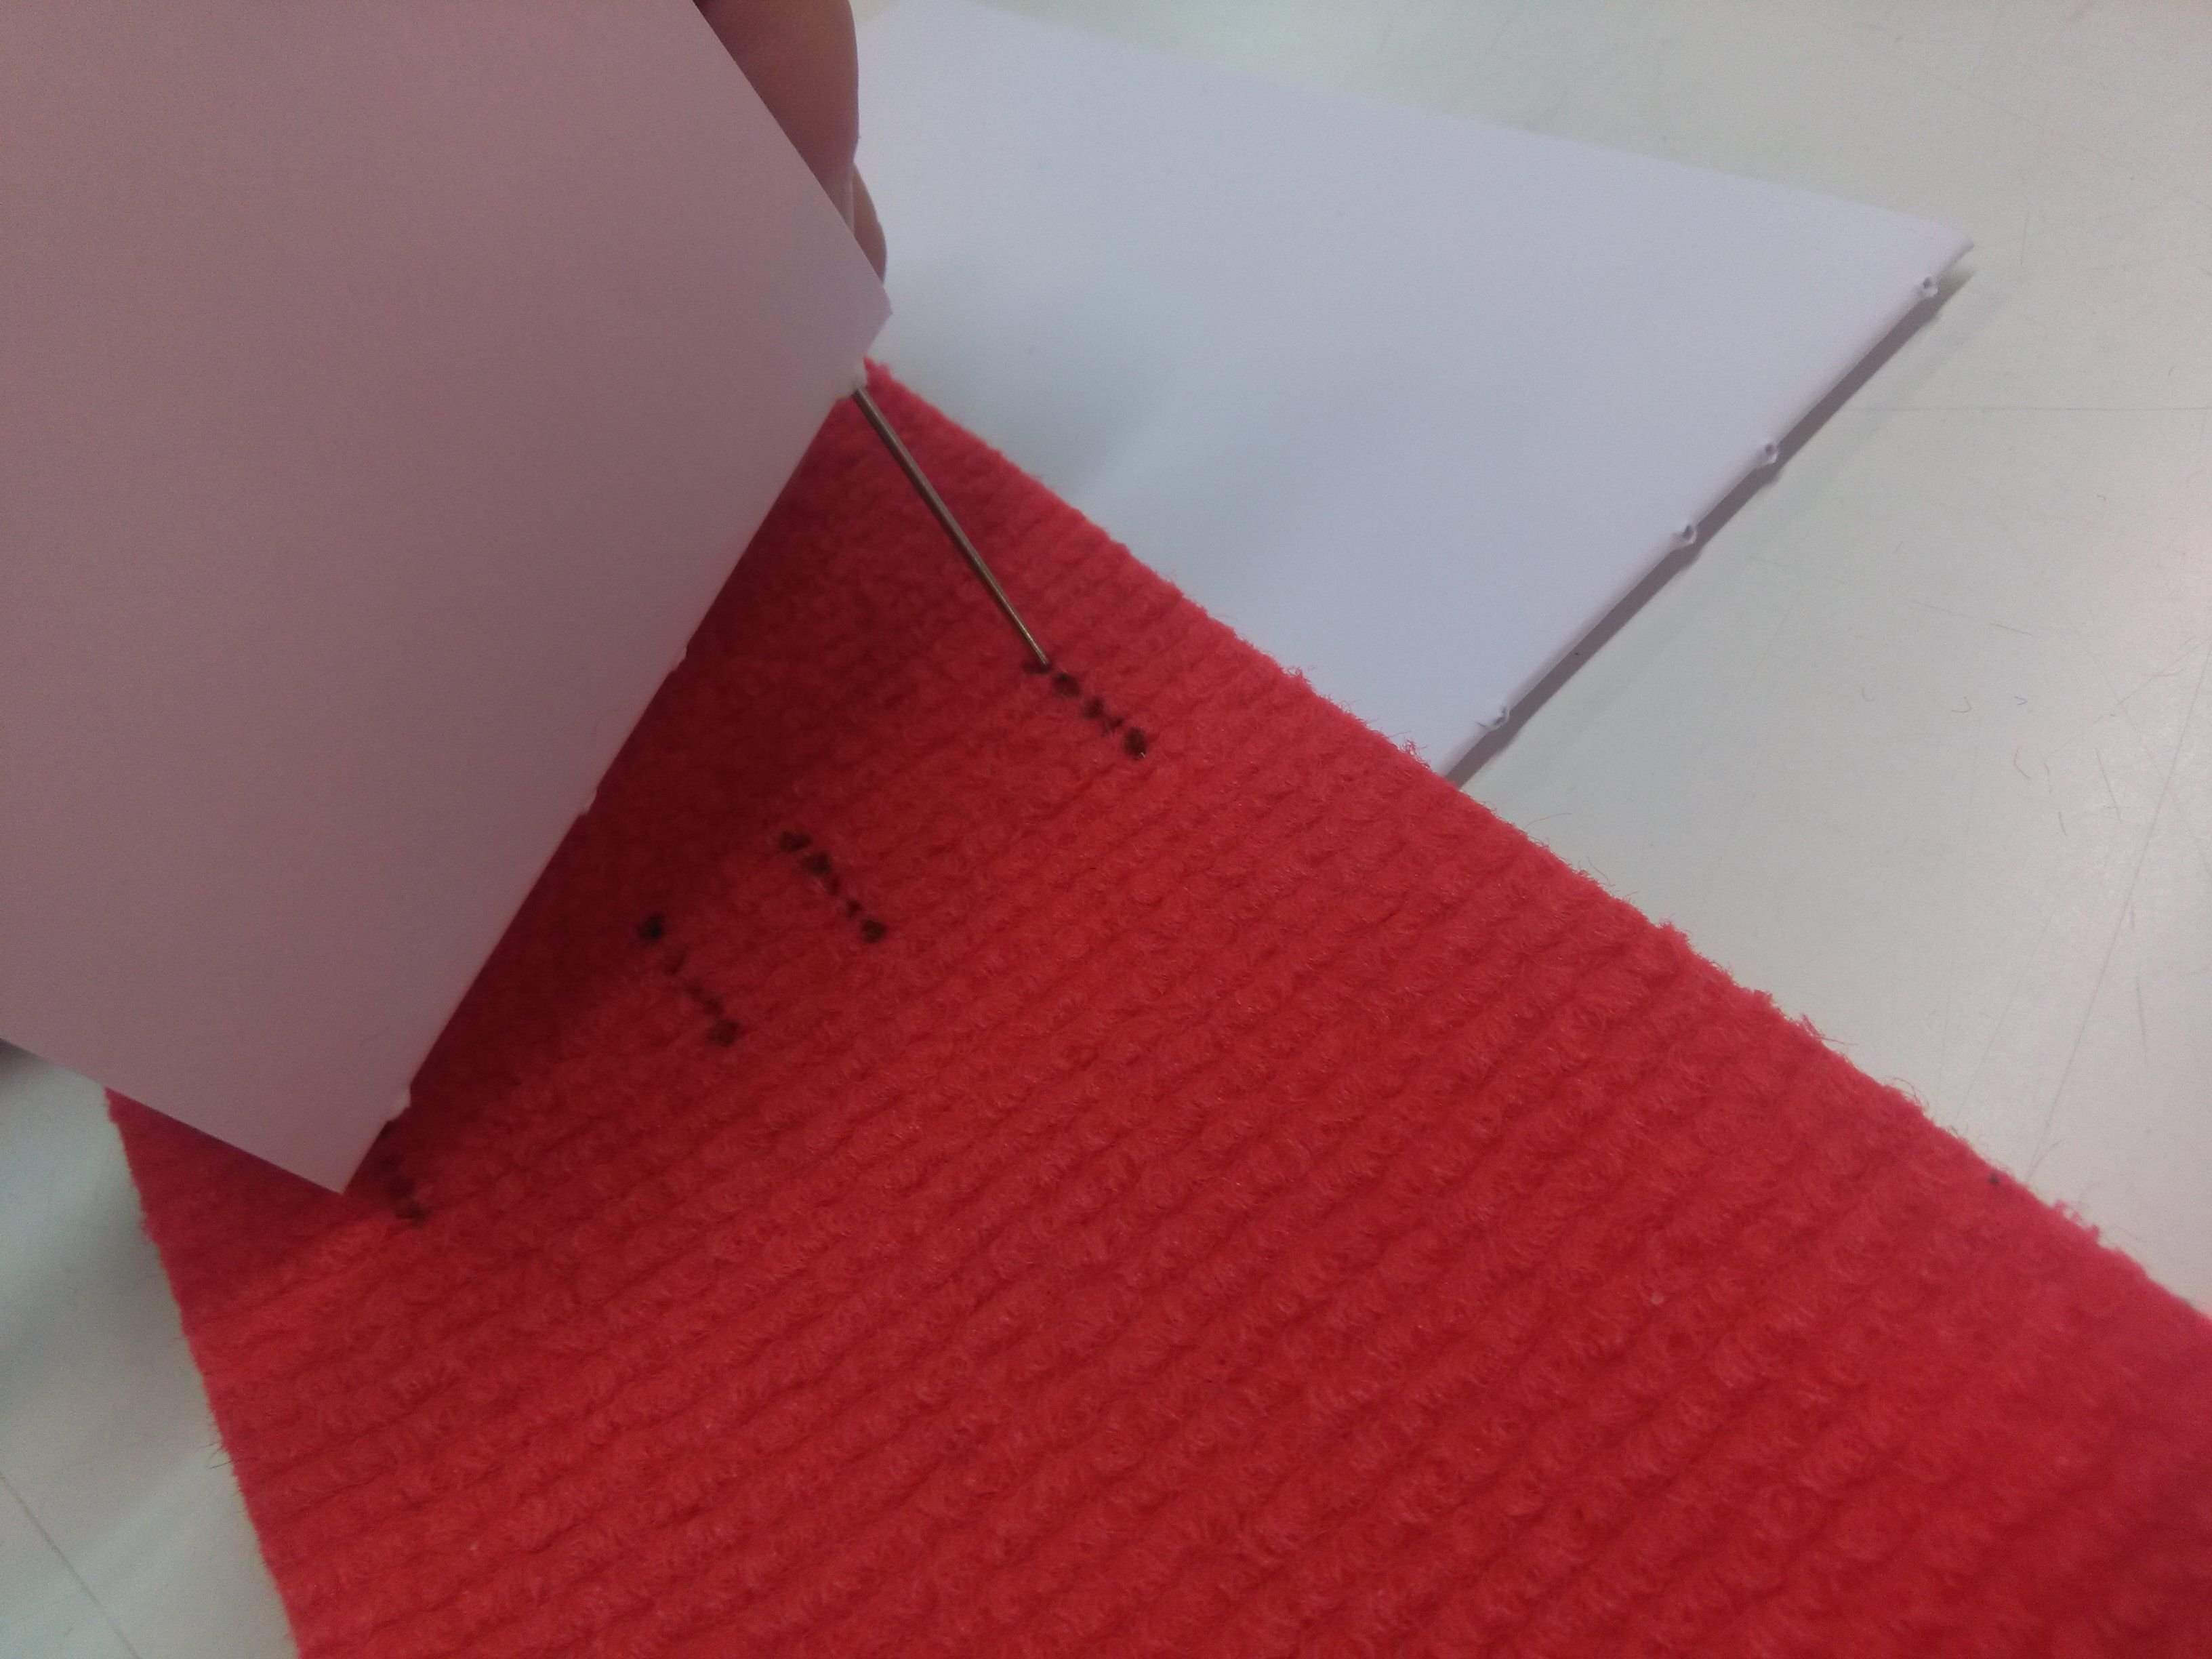
Aligning the template.
This part started with marking the places to punch more holes into. The red carpet piece will serve as the front and back cover of the book, so we'll have to make some holes first. It'll be much easier to pull thread through when we start the actual binding. (The needle we use to binding is dull, were it sharp it could cause injuries. Even more so when trying to needle through the piece of the carpet.)
The holes were roughly 1 mm apart and spaced exactly in the same fashion as the punched holes in the folds in part 2.
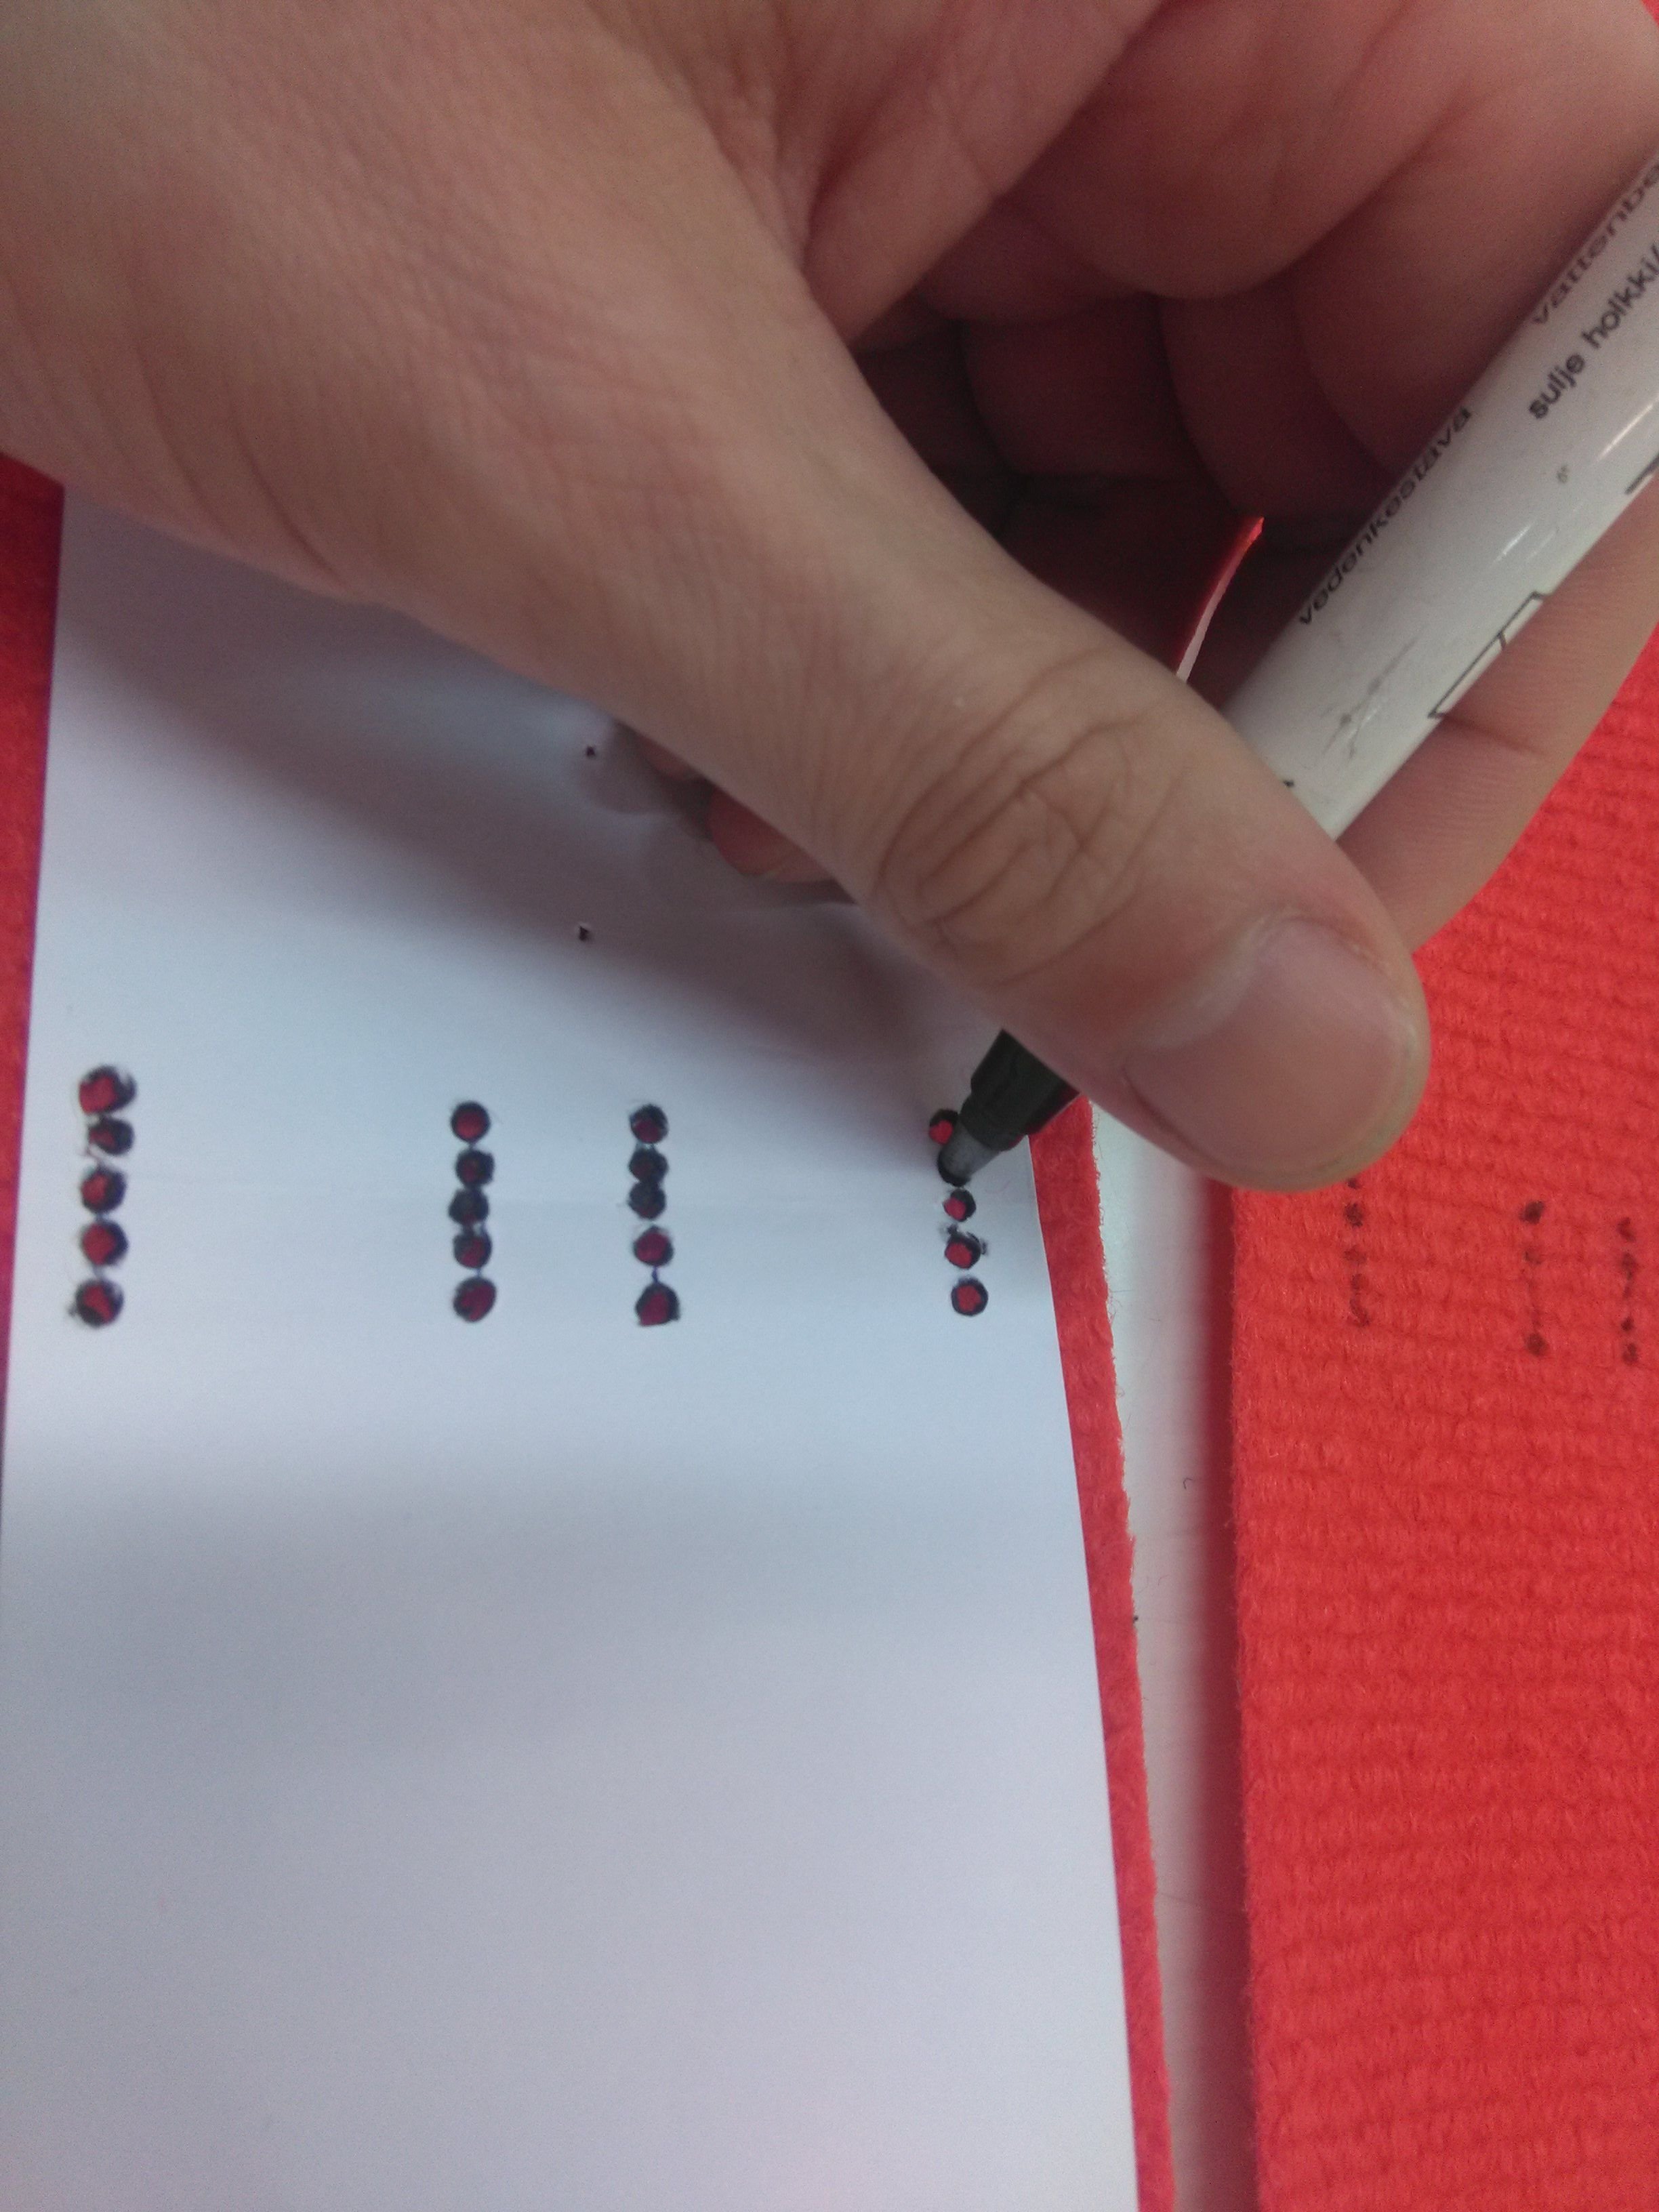
Marking the holes with permanent marker.
The marking was easy enough with the use of the template.
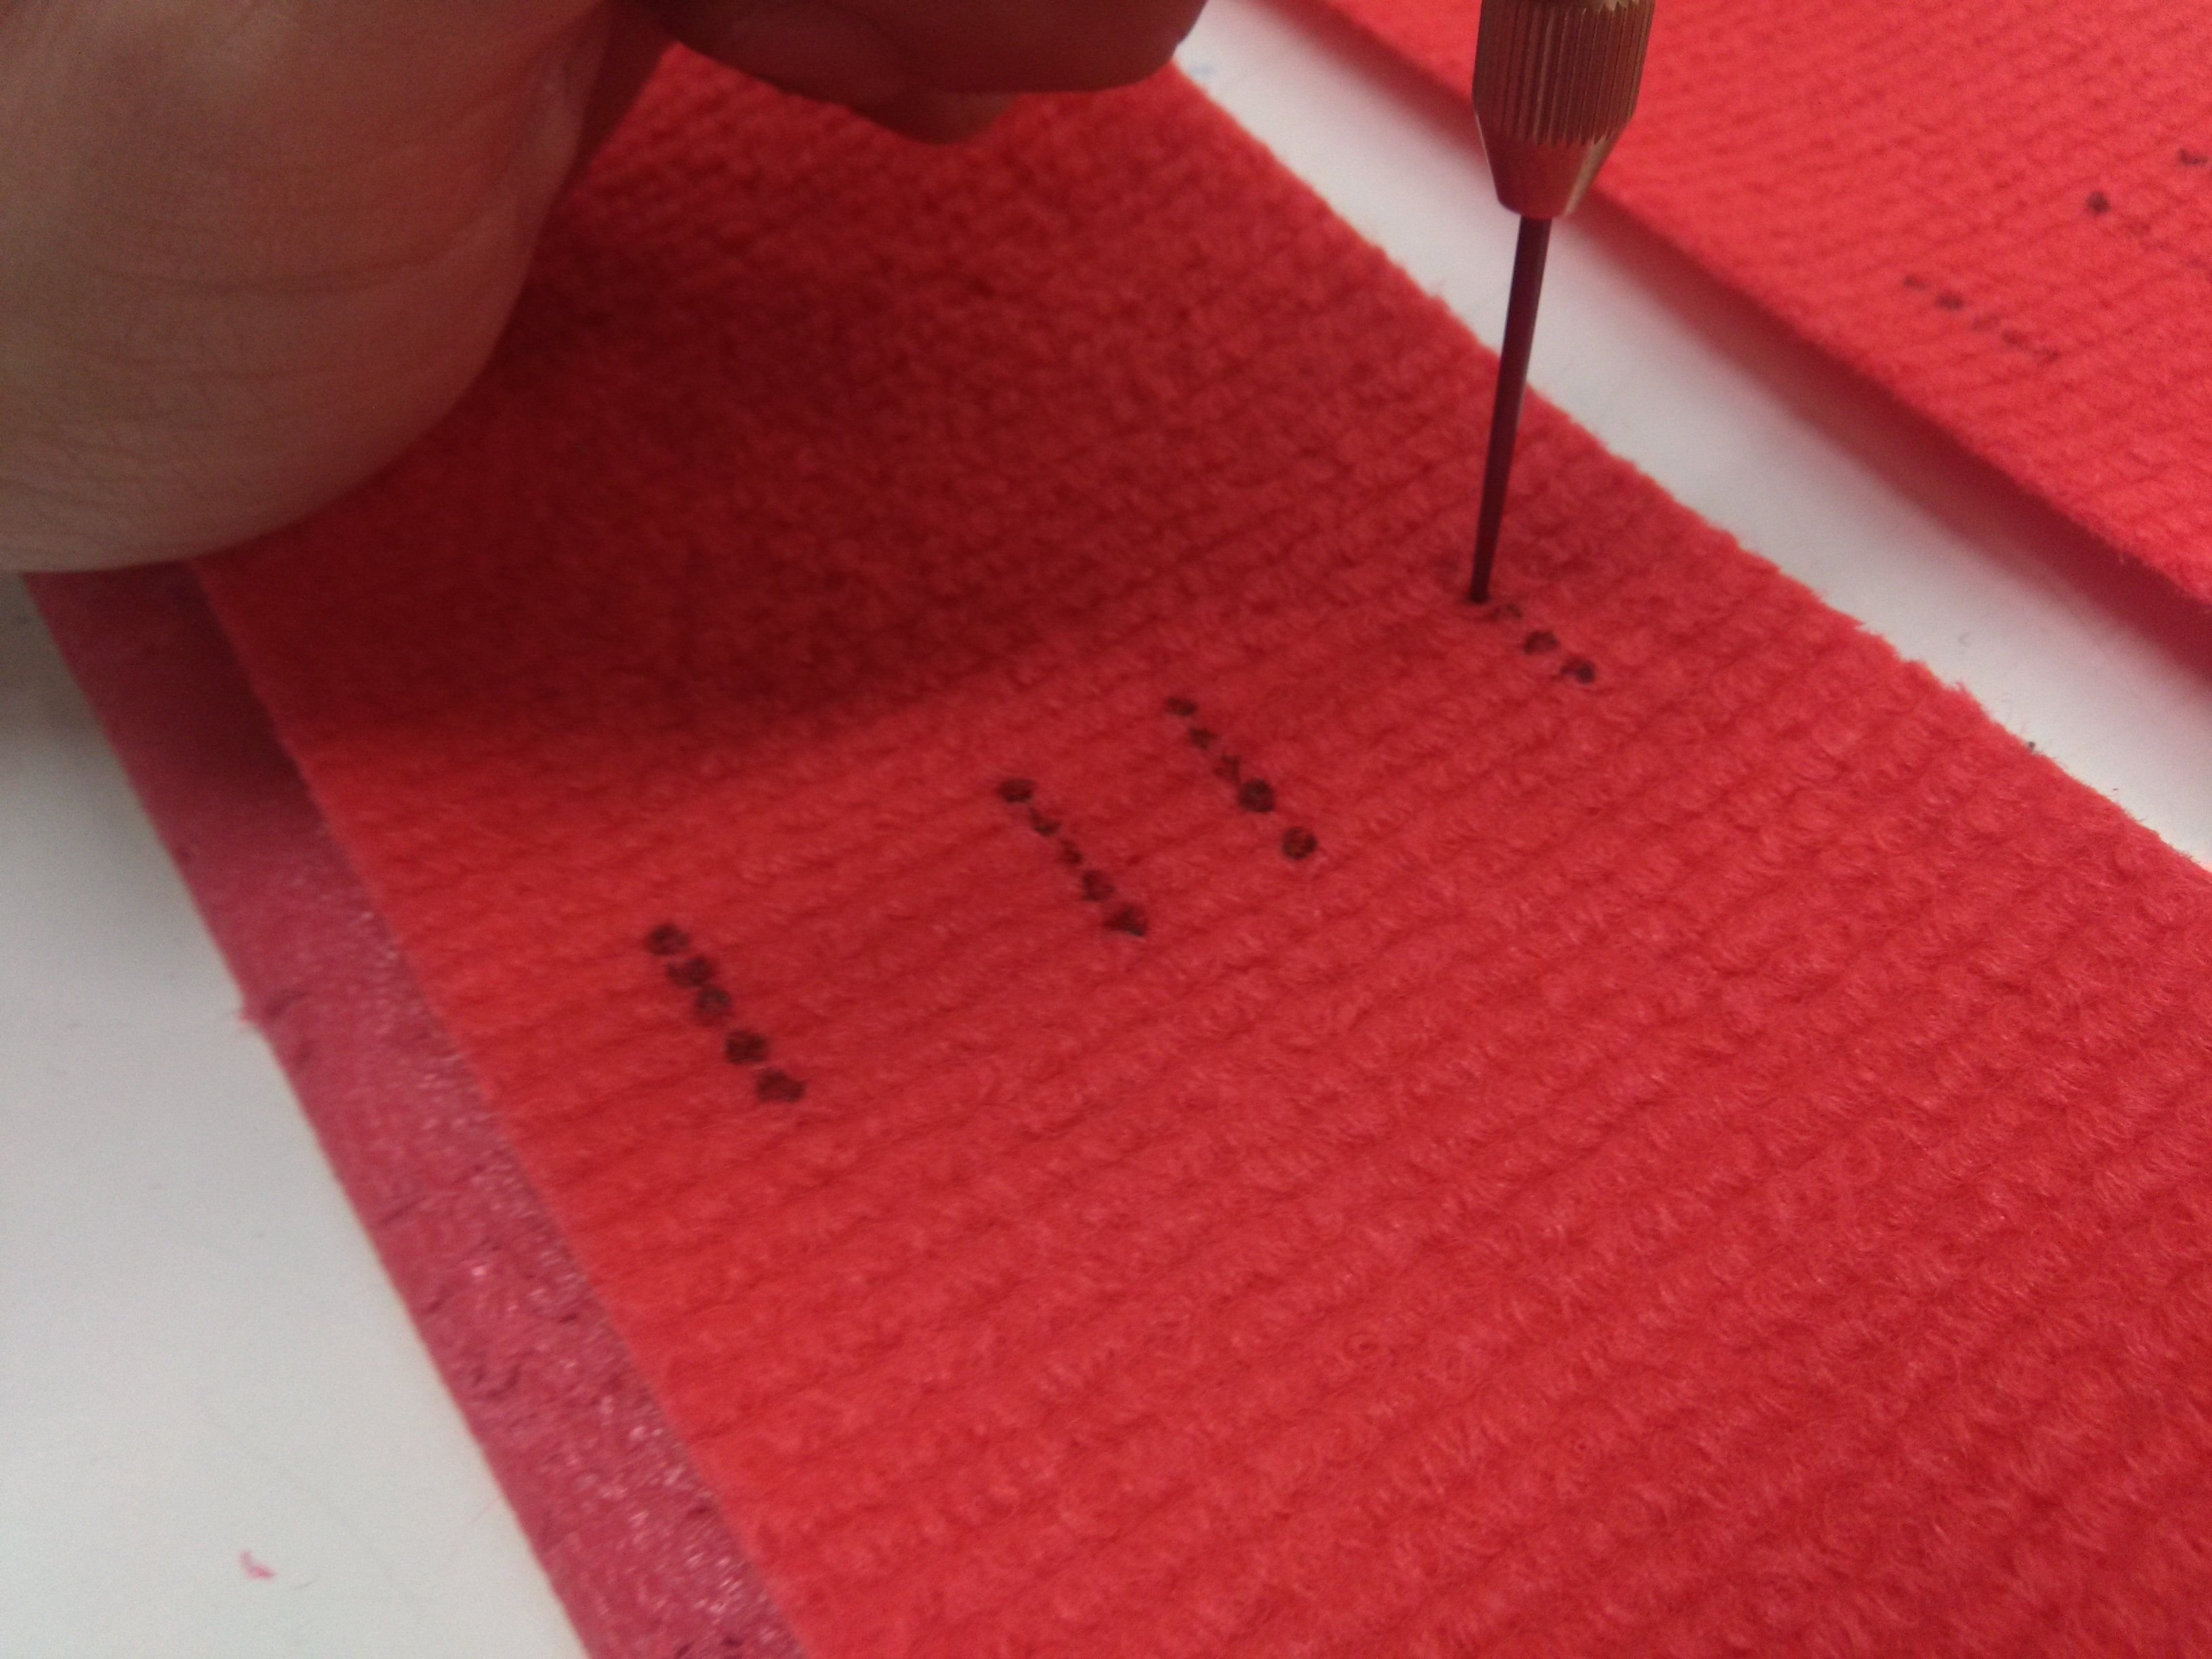
Punching holes again.
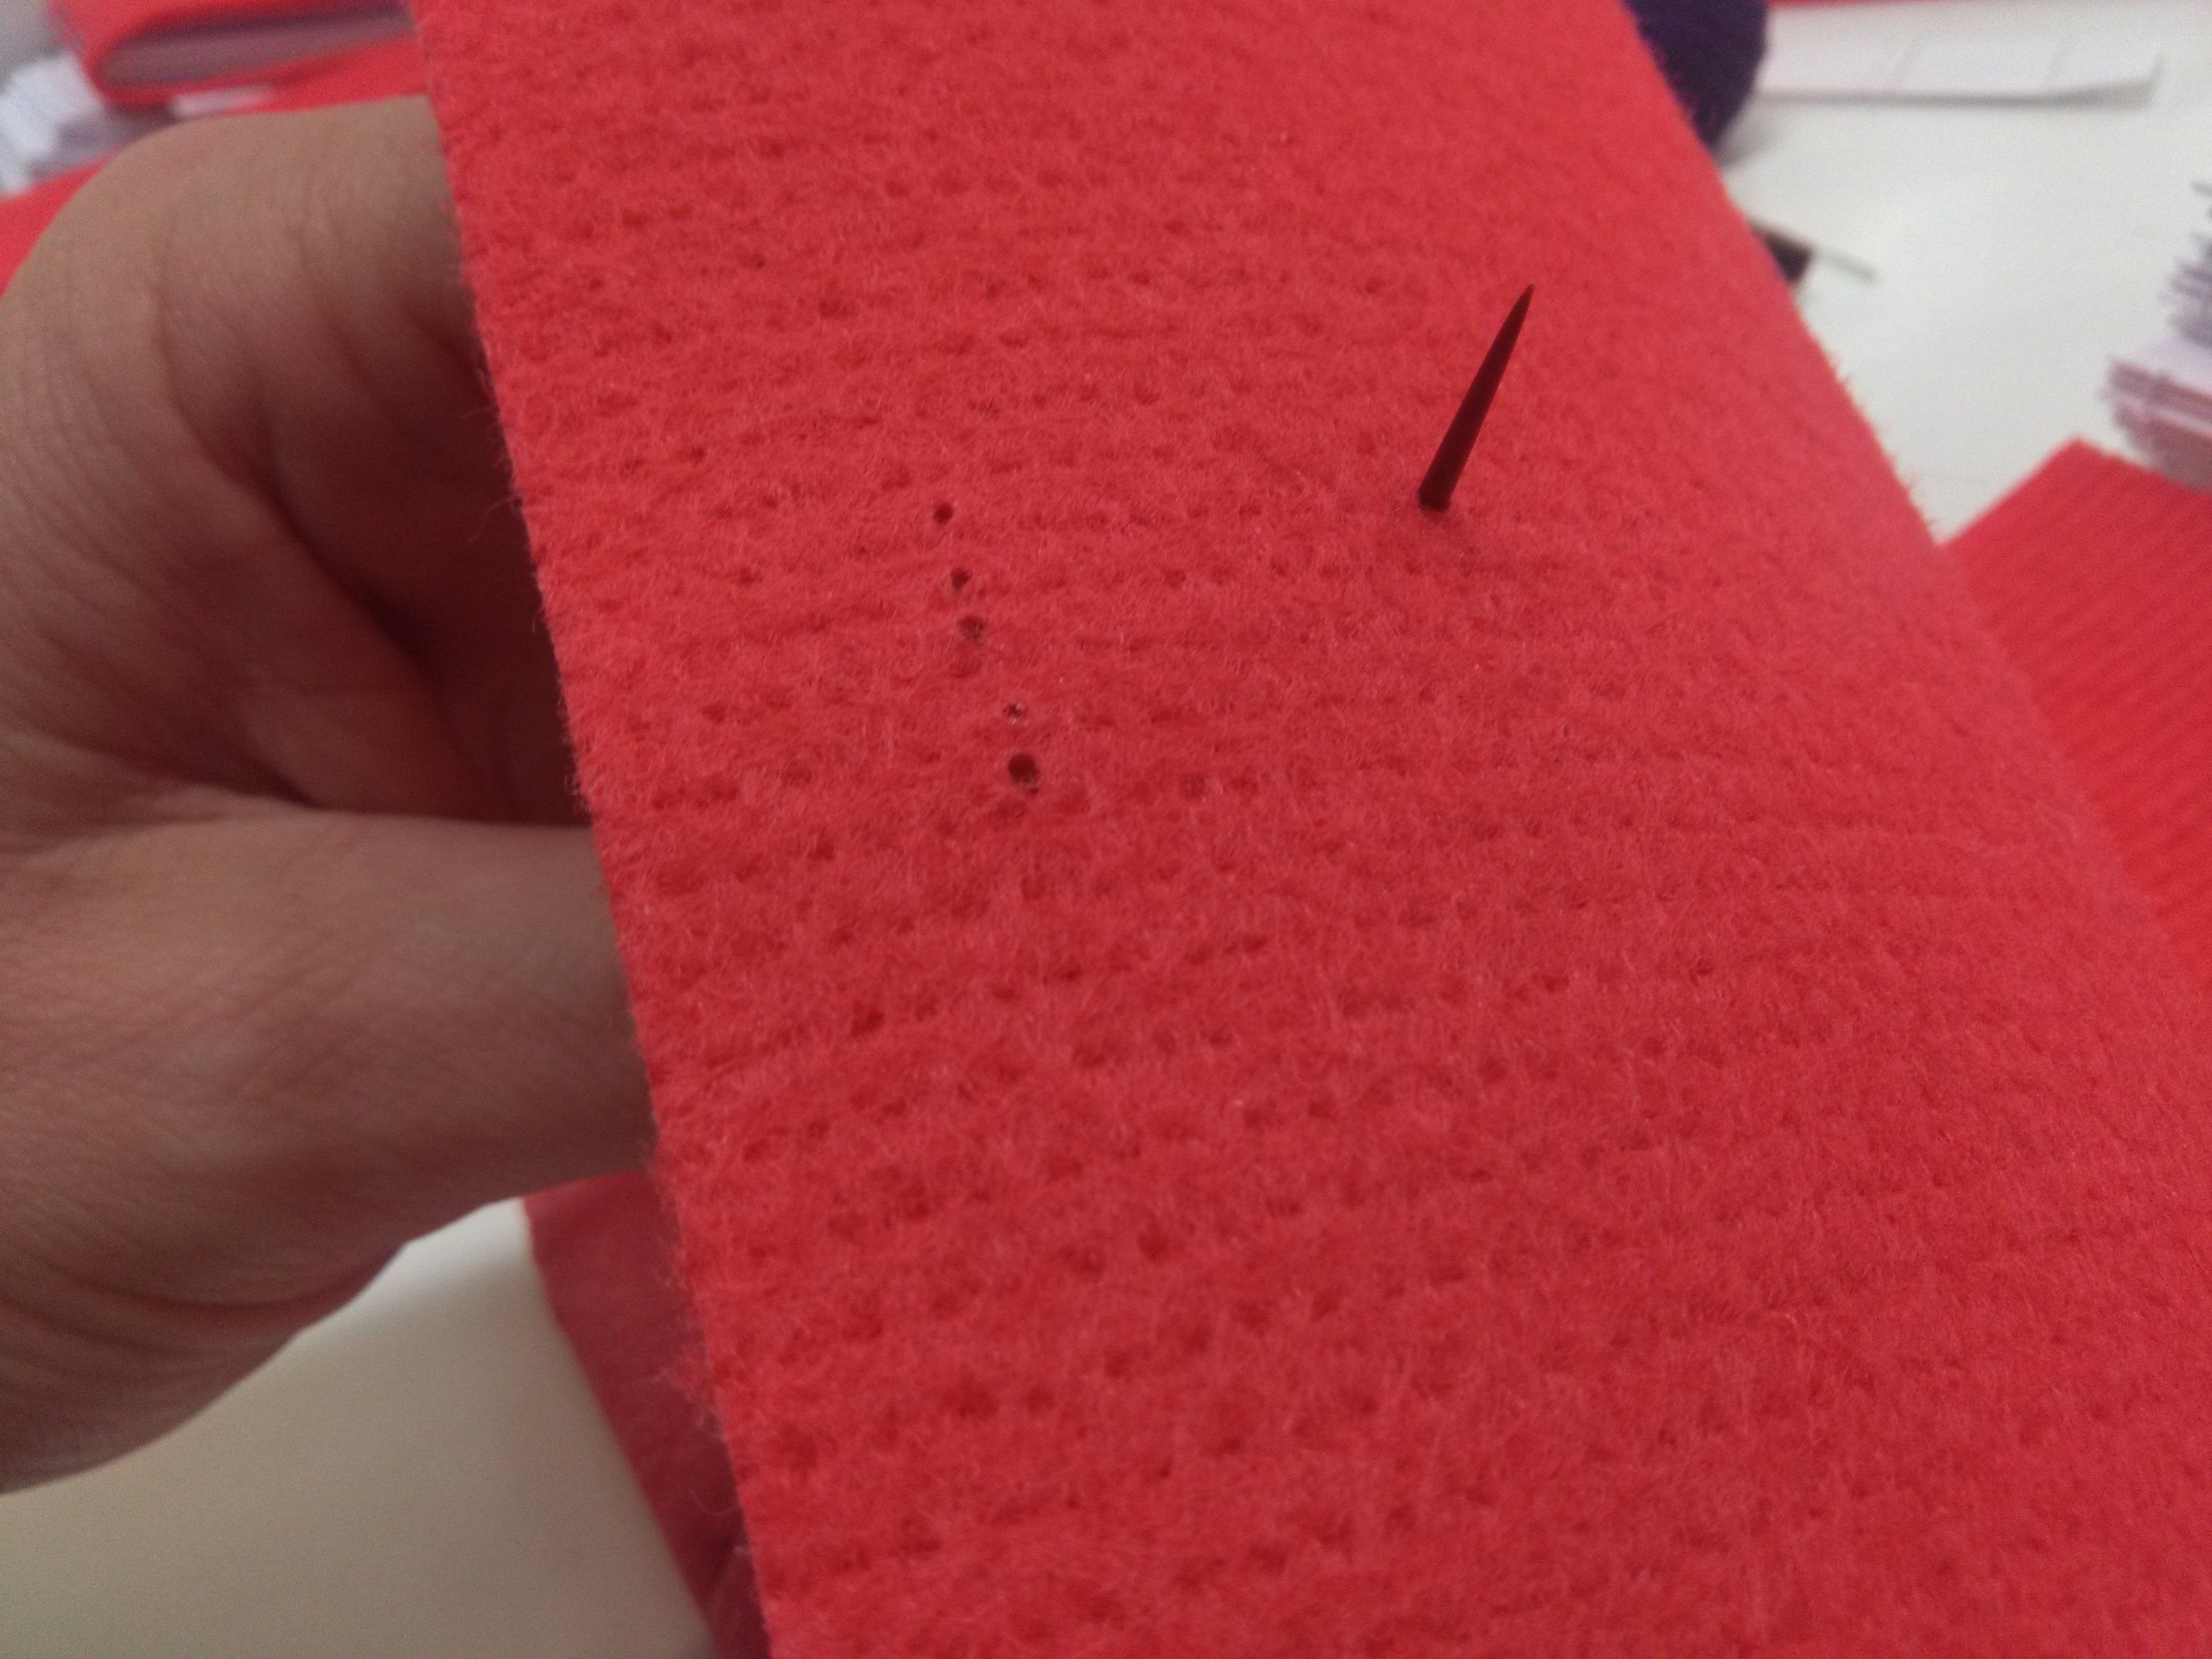
Using the spike to widen the holes.
The holes needed to be wide enough so they were easy to see, and for the thread needle to go easily through.
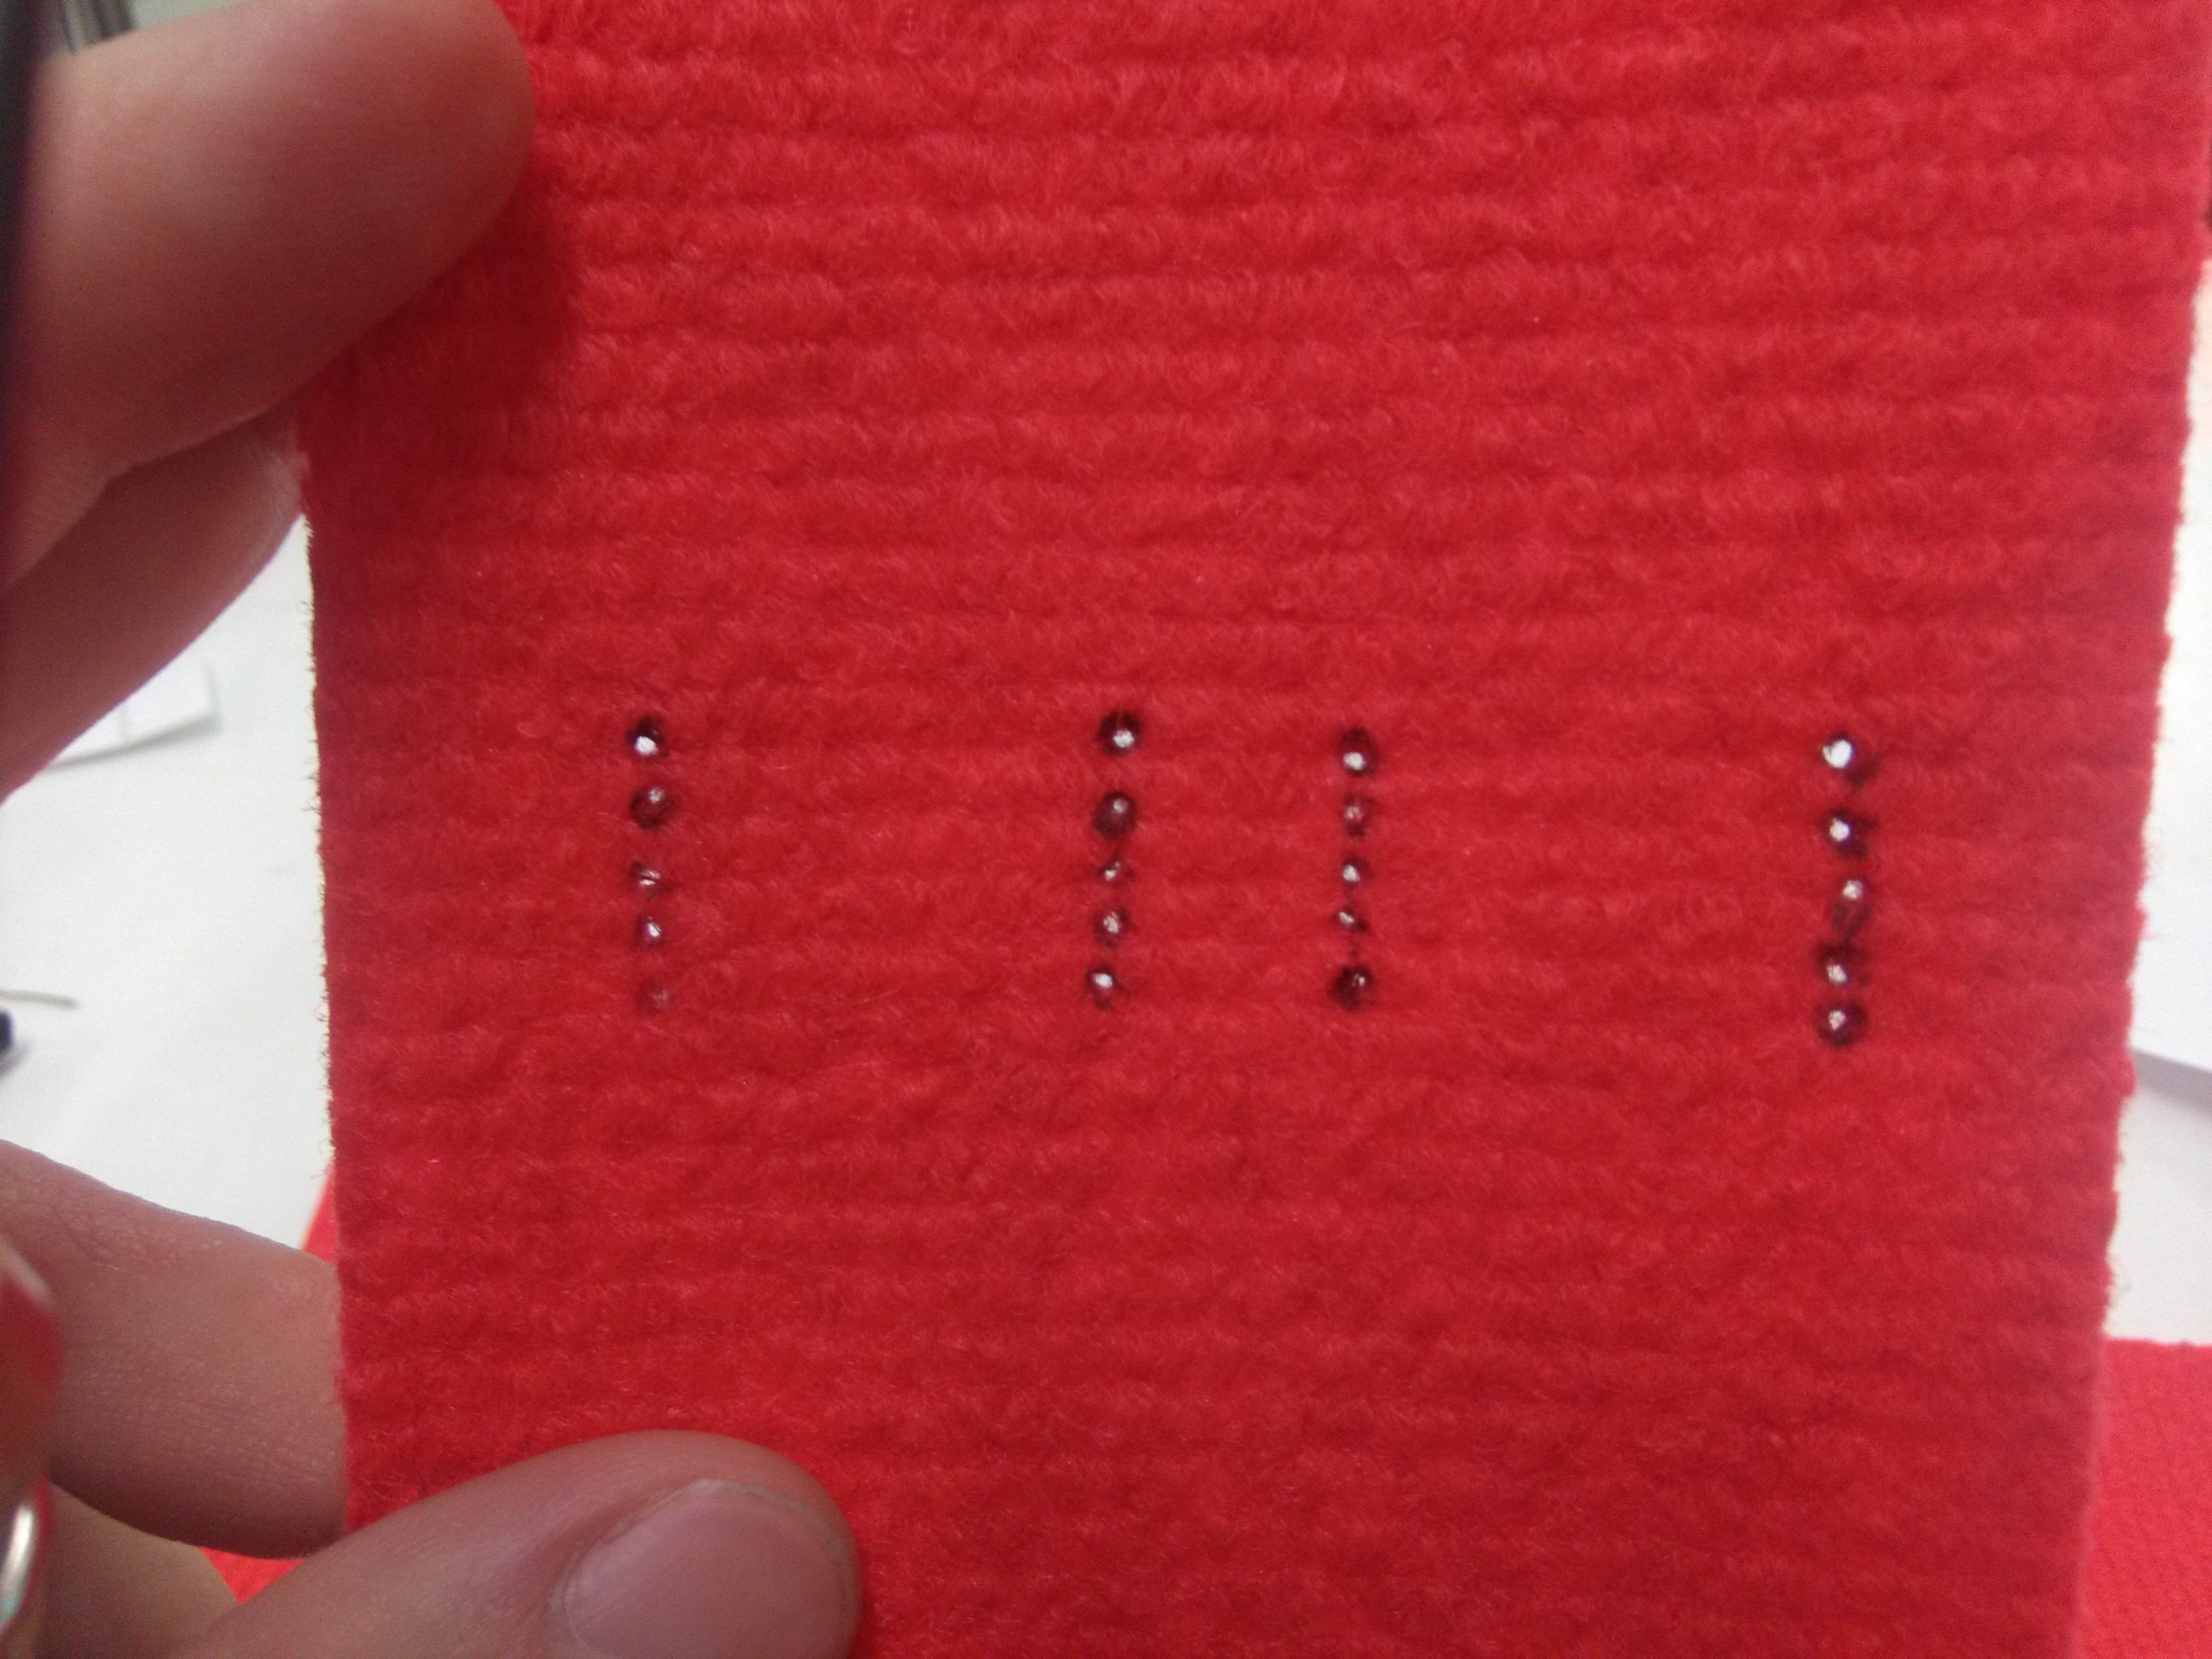
One cover piece finished.
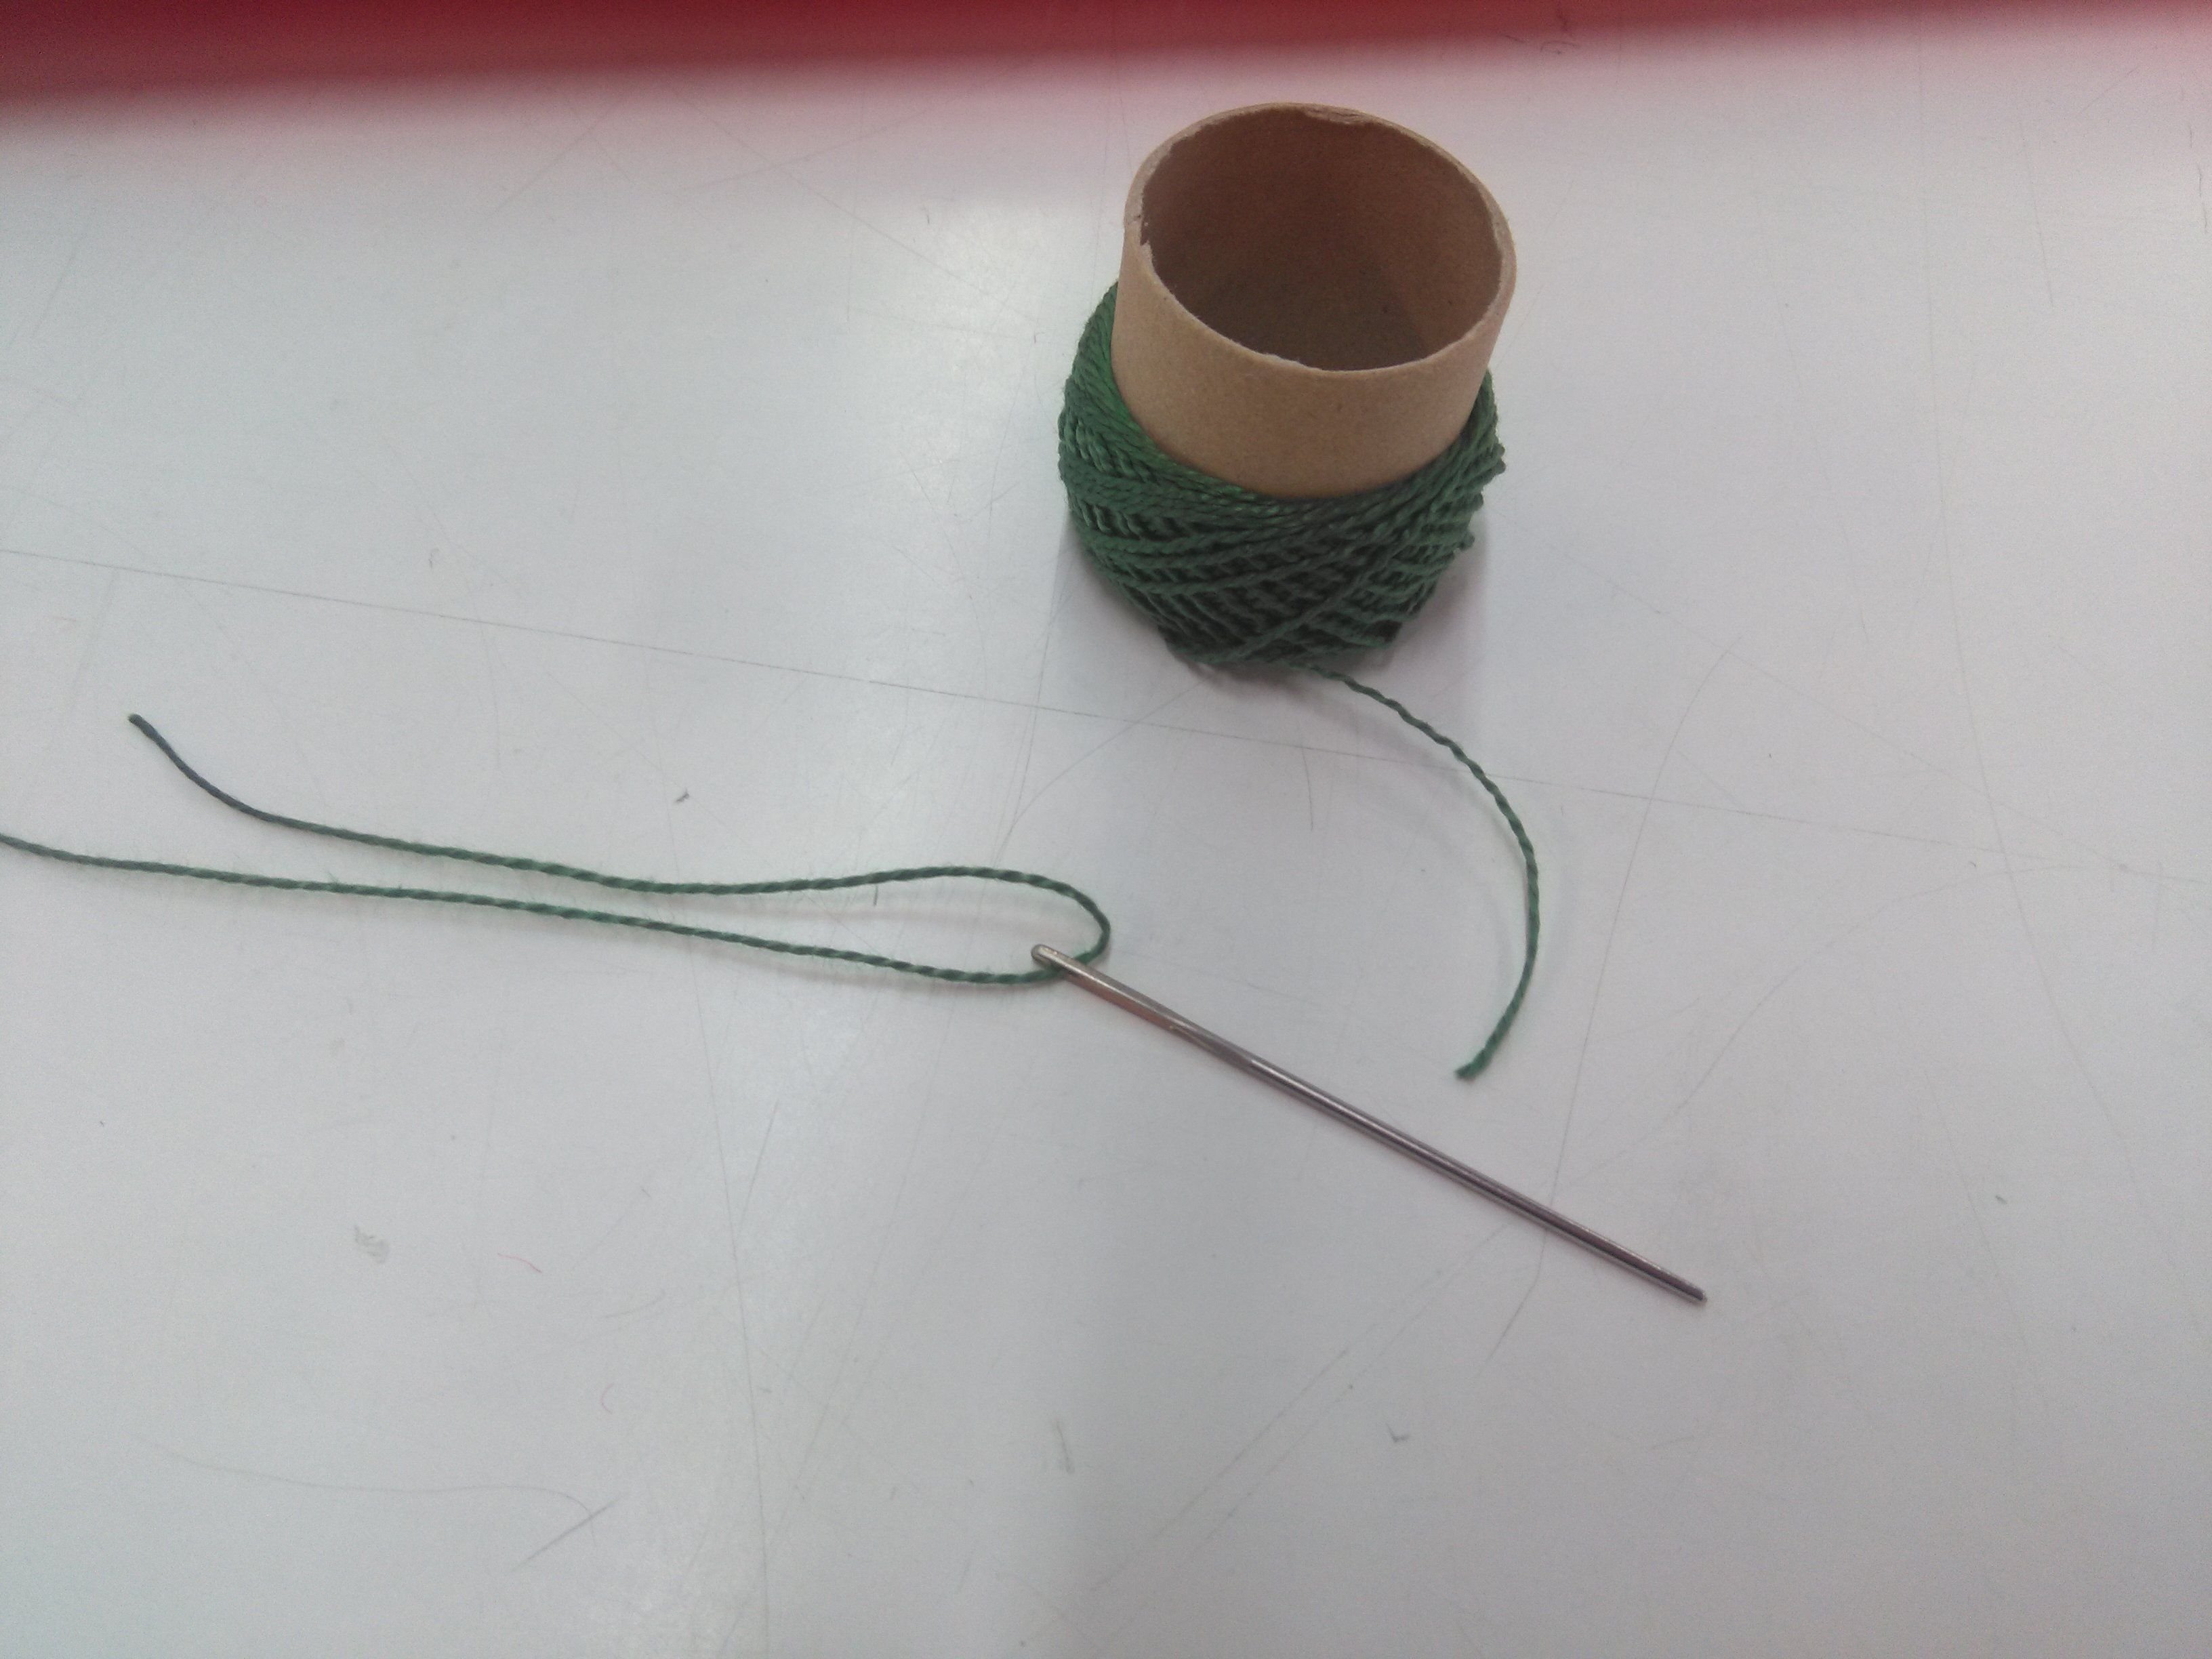
Needle and thread.
I chose the green thread since it's the complementary colour to the red of the cover. (It didn't go unnoticed by my boss.)
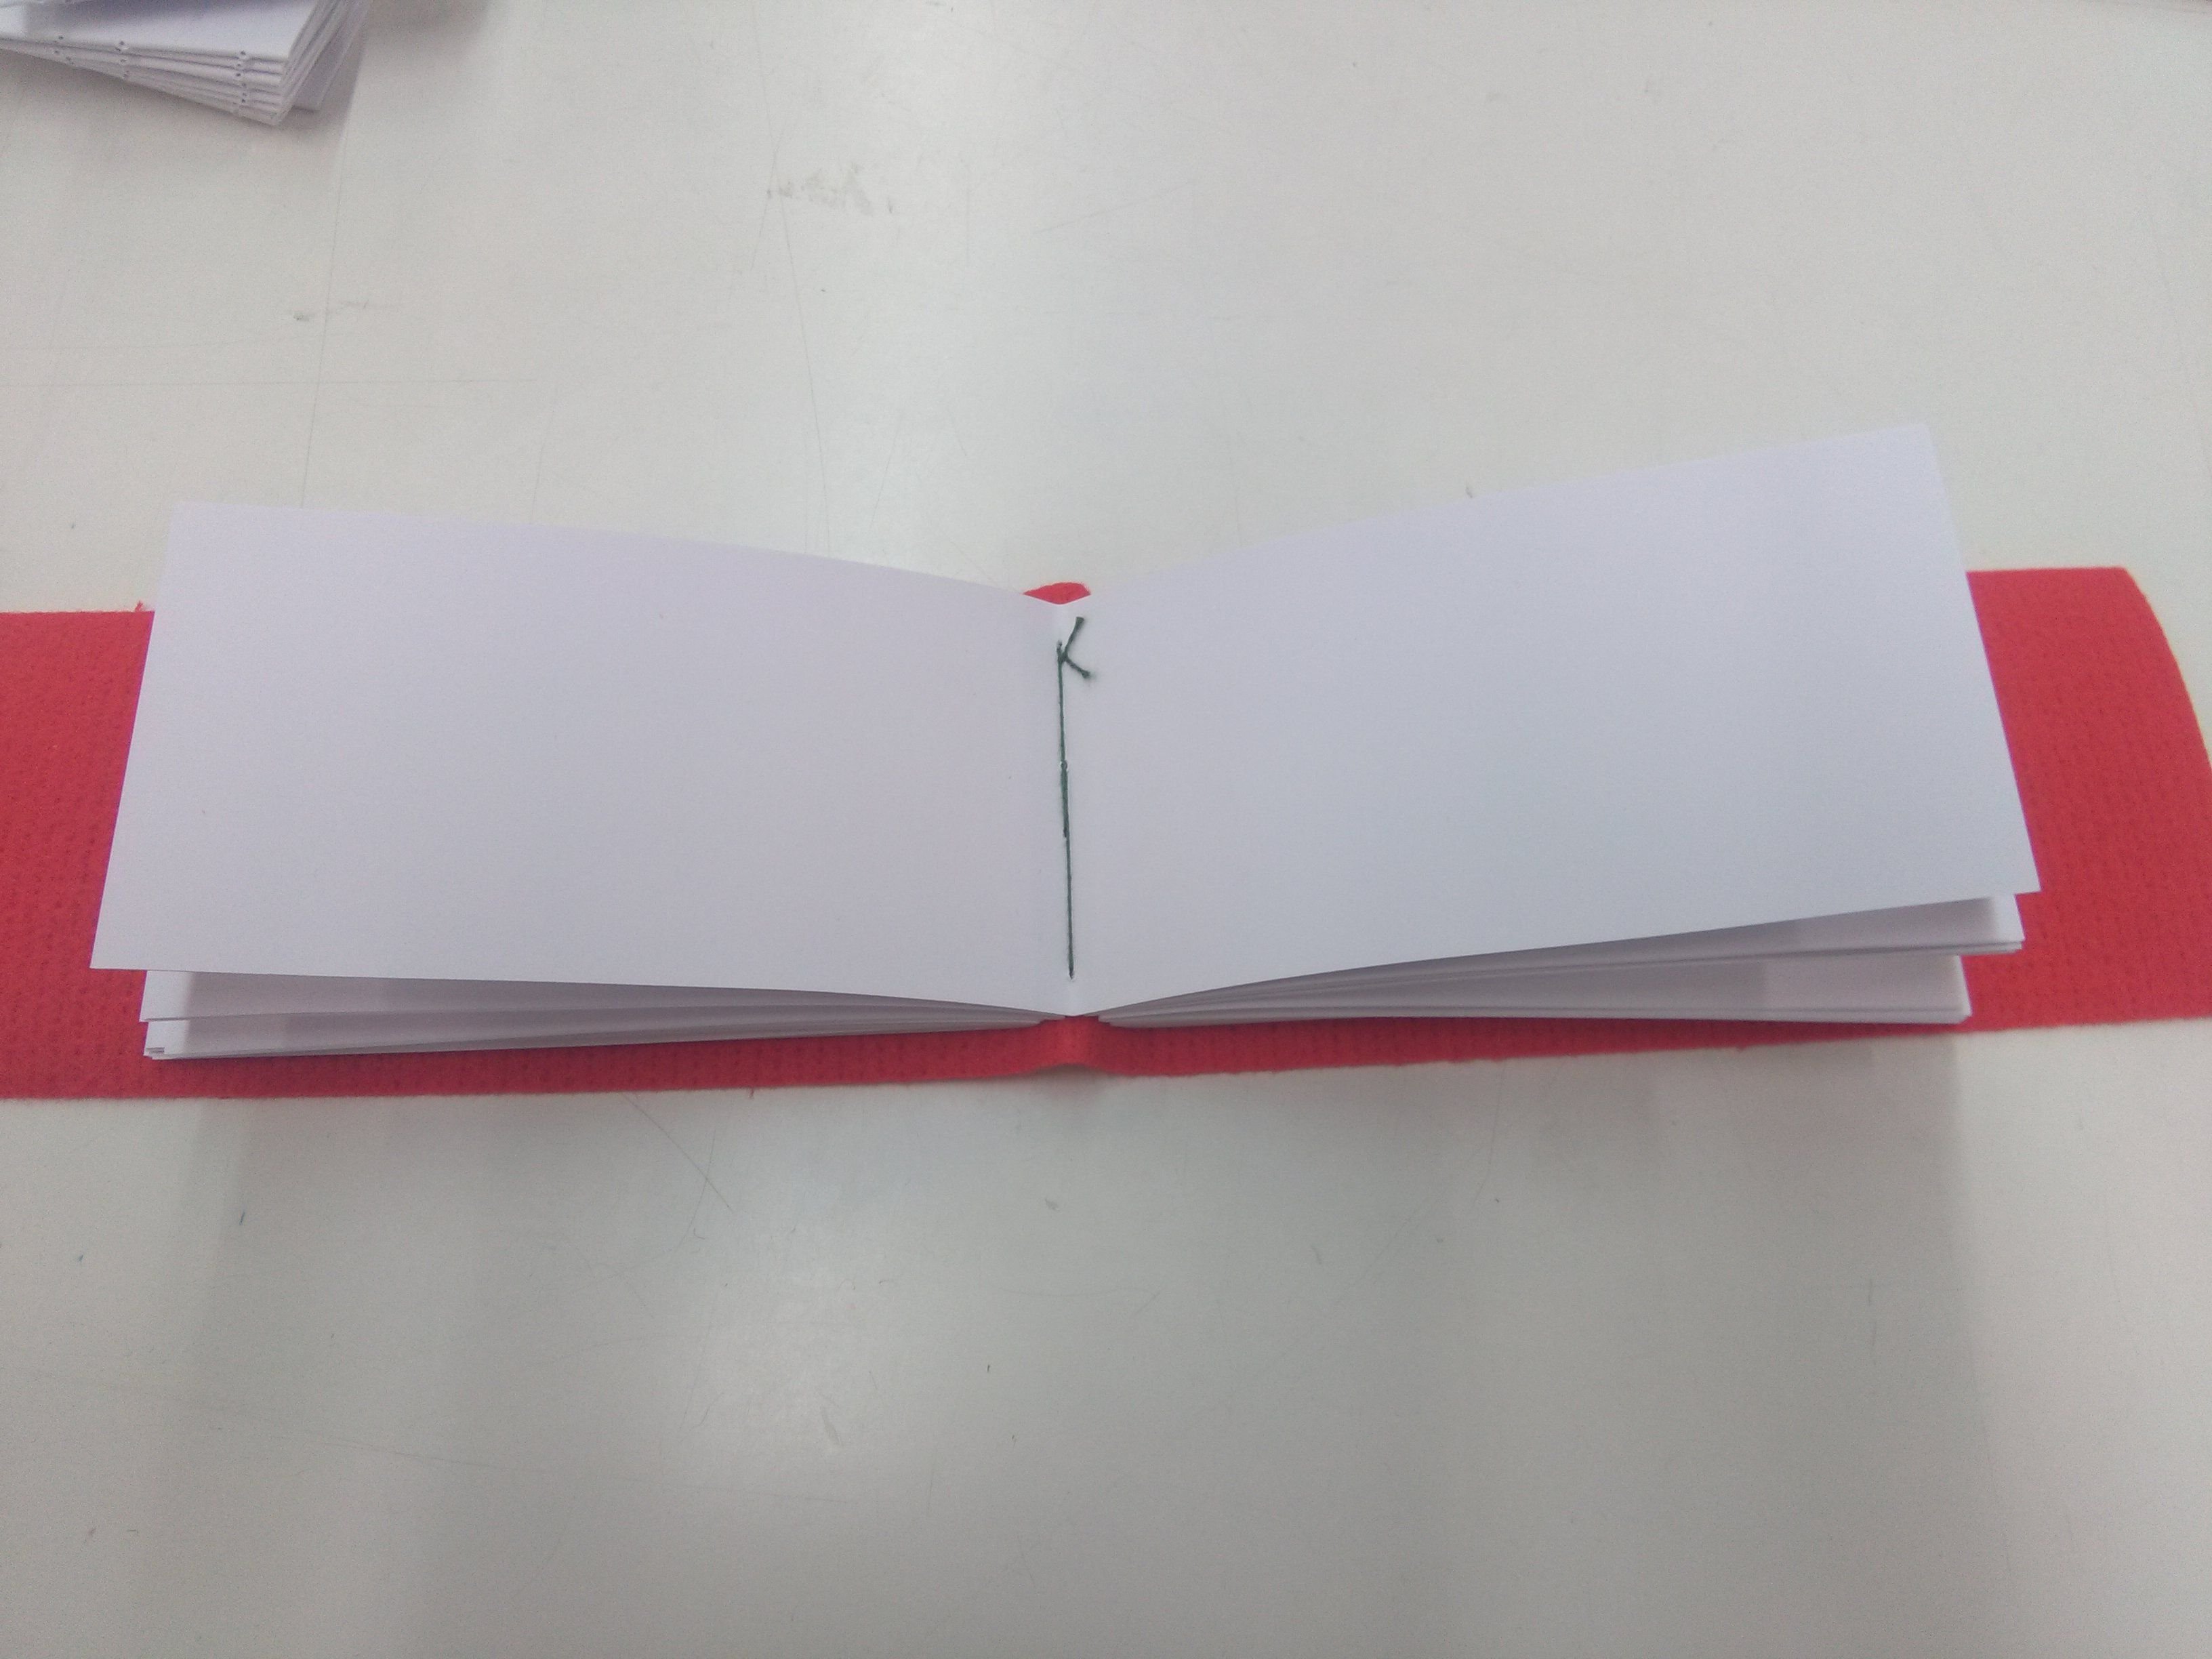
The next step is to needle the thread through the paperfolds, and the cover piece, and back again.
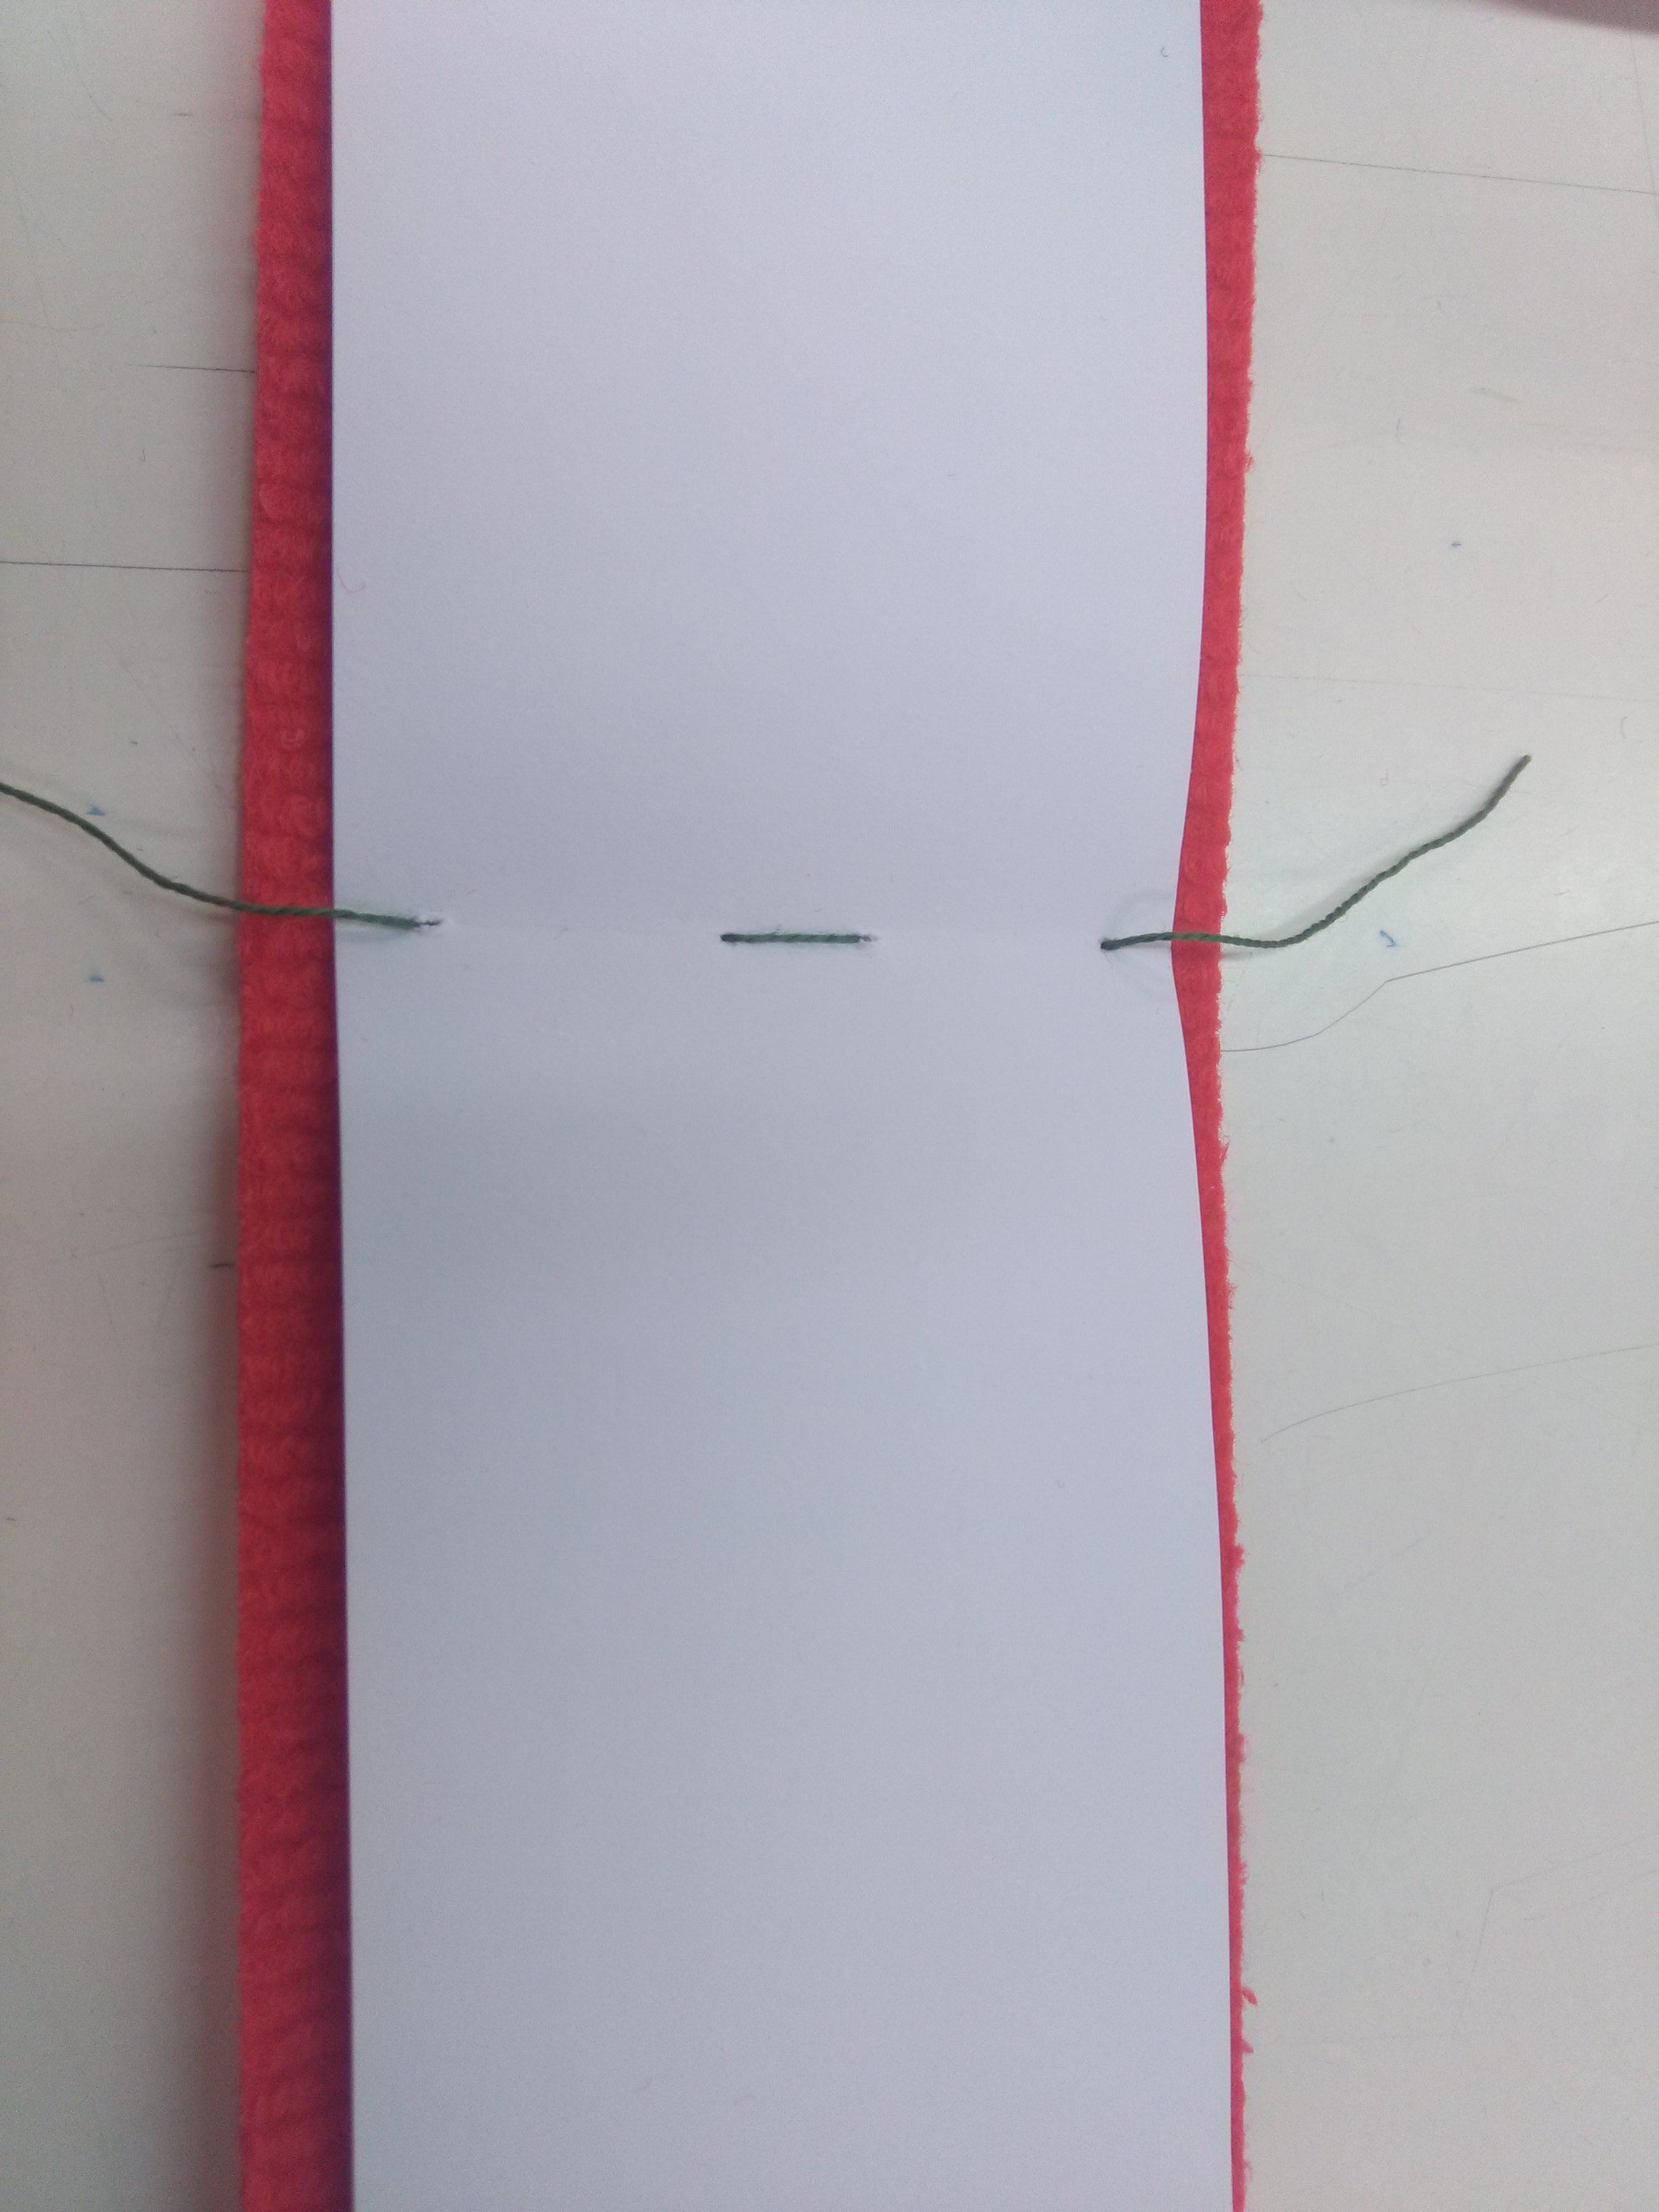
Once the thread is pulled through all the holes, we'll need to tie it up.
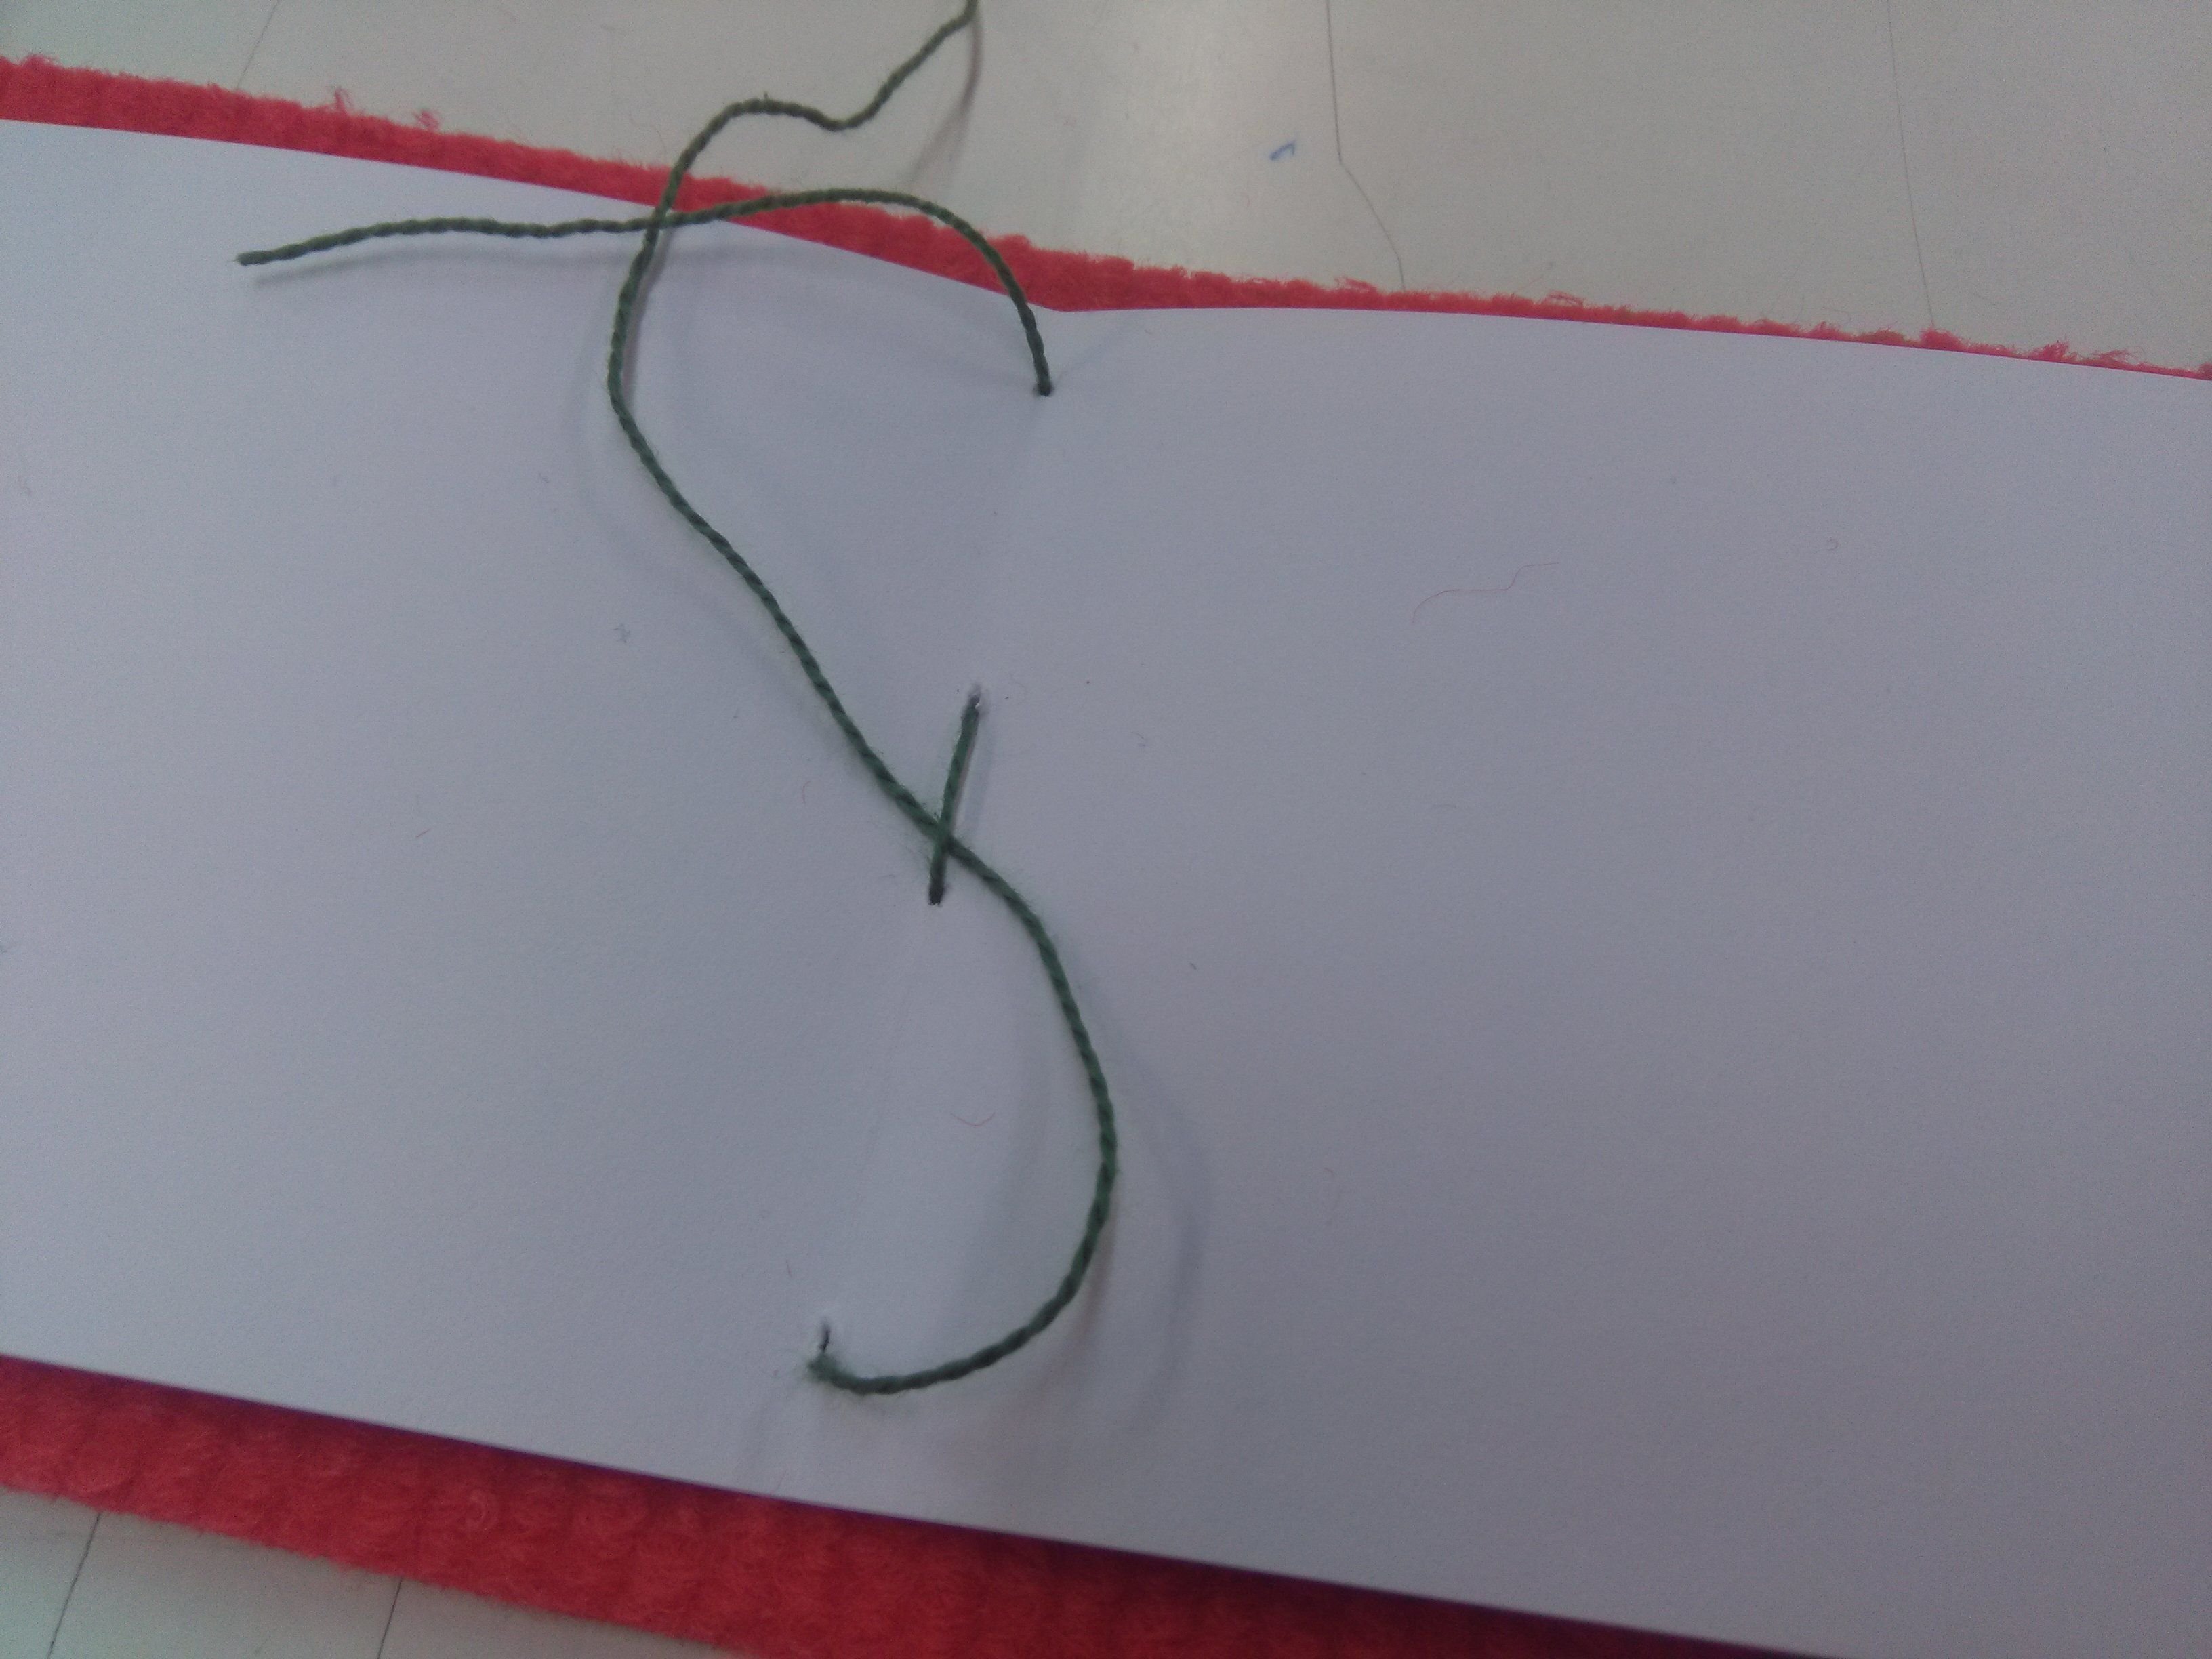
"Once under the middle arch."
To keep the thread as tightly as possible in the fold, it is suggested that we pull it under the middle arch so that it won't become too loose or flabby. Then tie the ends up with a simple lock knot.
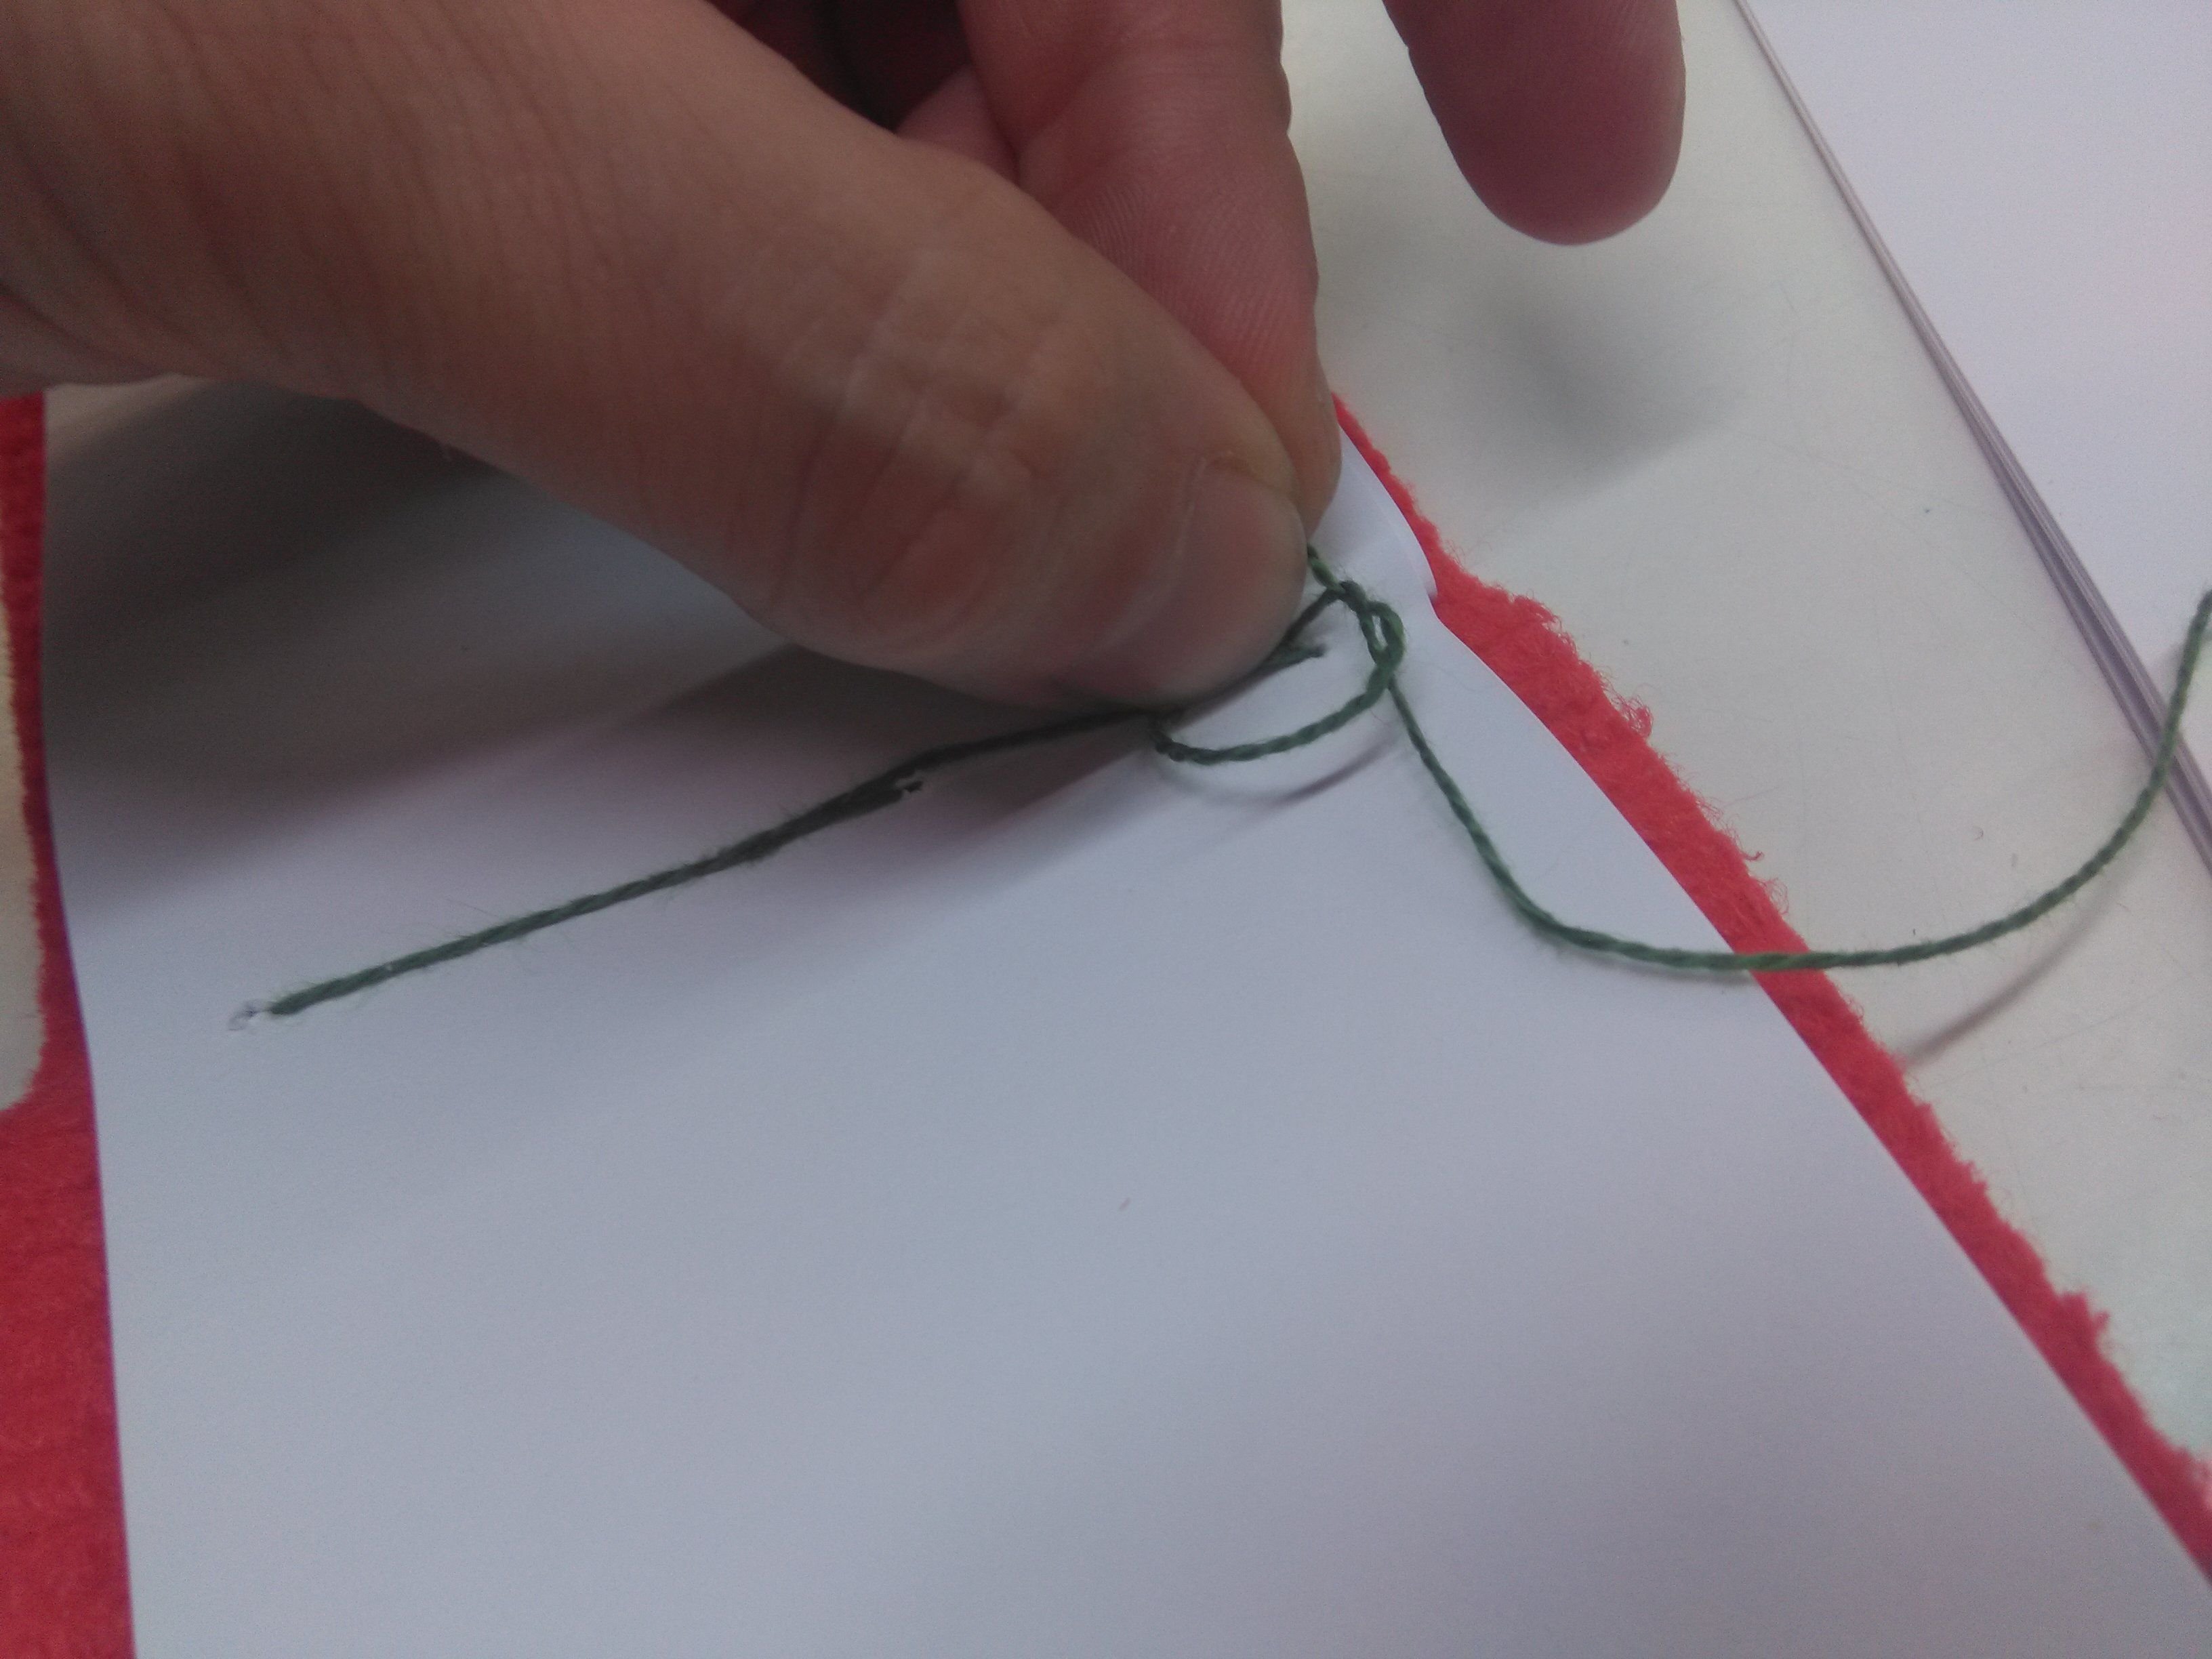
The difficult part. Making the knot tight enough.
Cut the ends leaving some (1 cm) leeway in case the knot loosens and slides.
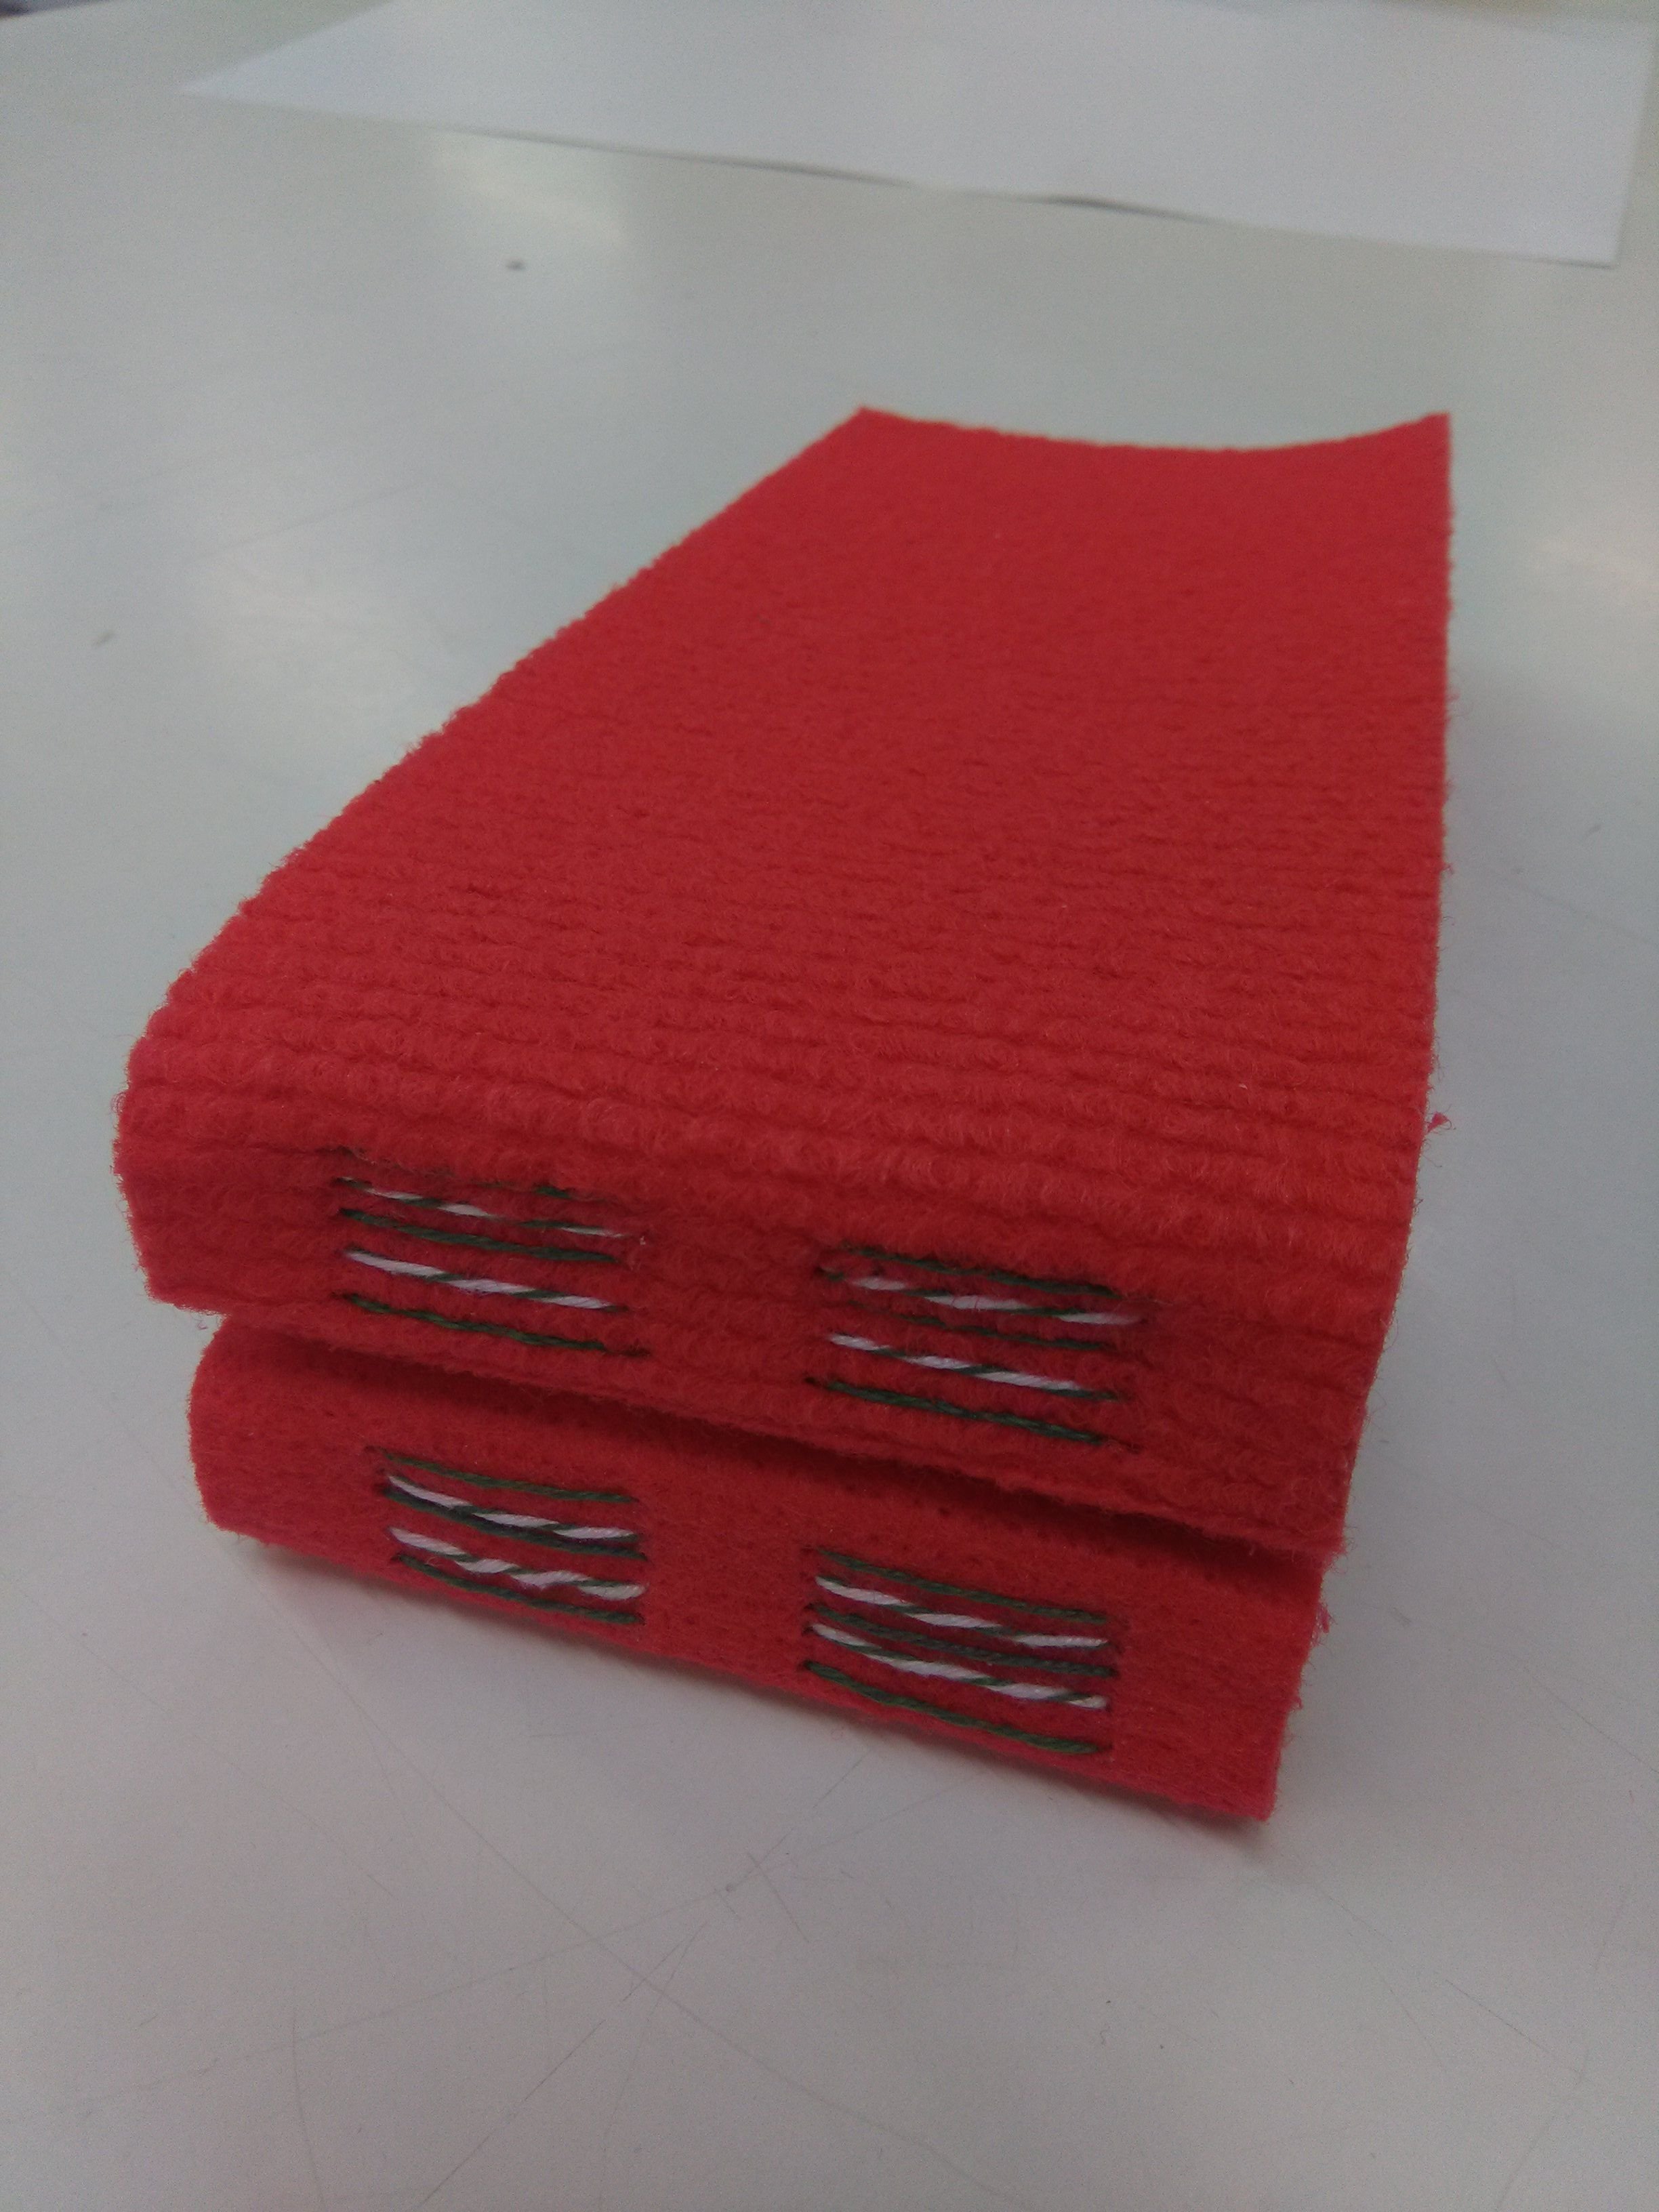
Every second fold will be needled through the same holes as the previous one and the second back thread can be looped around the first one.
Twisting the second thread around the first one, in the cover back.
This procedure will further tighten the binds so that the folds will be attached snell and firm.
Adding some colour with a pink thread in the fourth and seventh bind.
When all the folds are needled through and tightened up, the result looks like this:
A finished book.
Second book!
I ended up using the same colours through the whole time, so in the end, the notebooks I made became somewhat personalized and in a way have my "signature" in them.
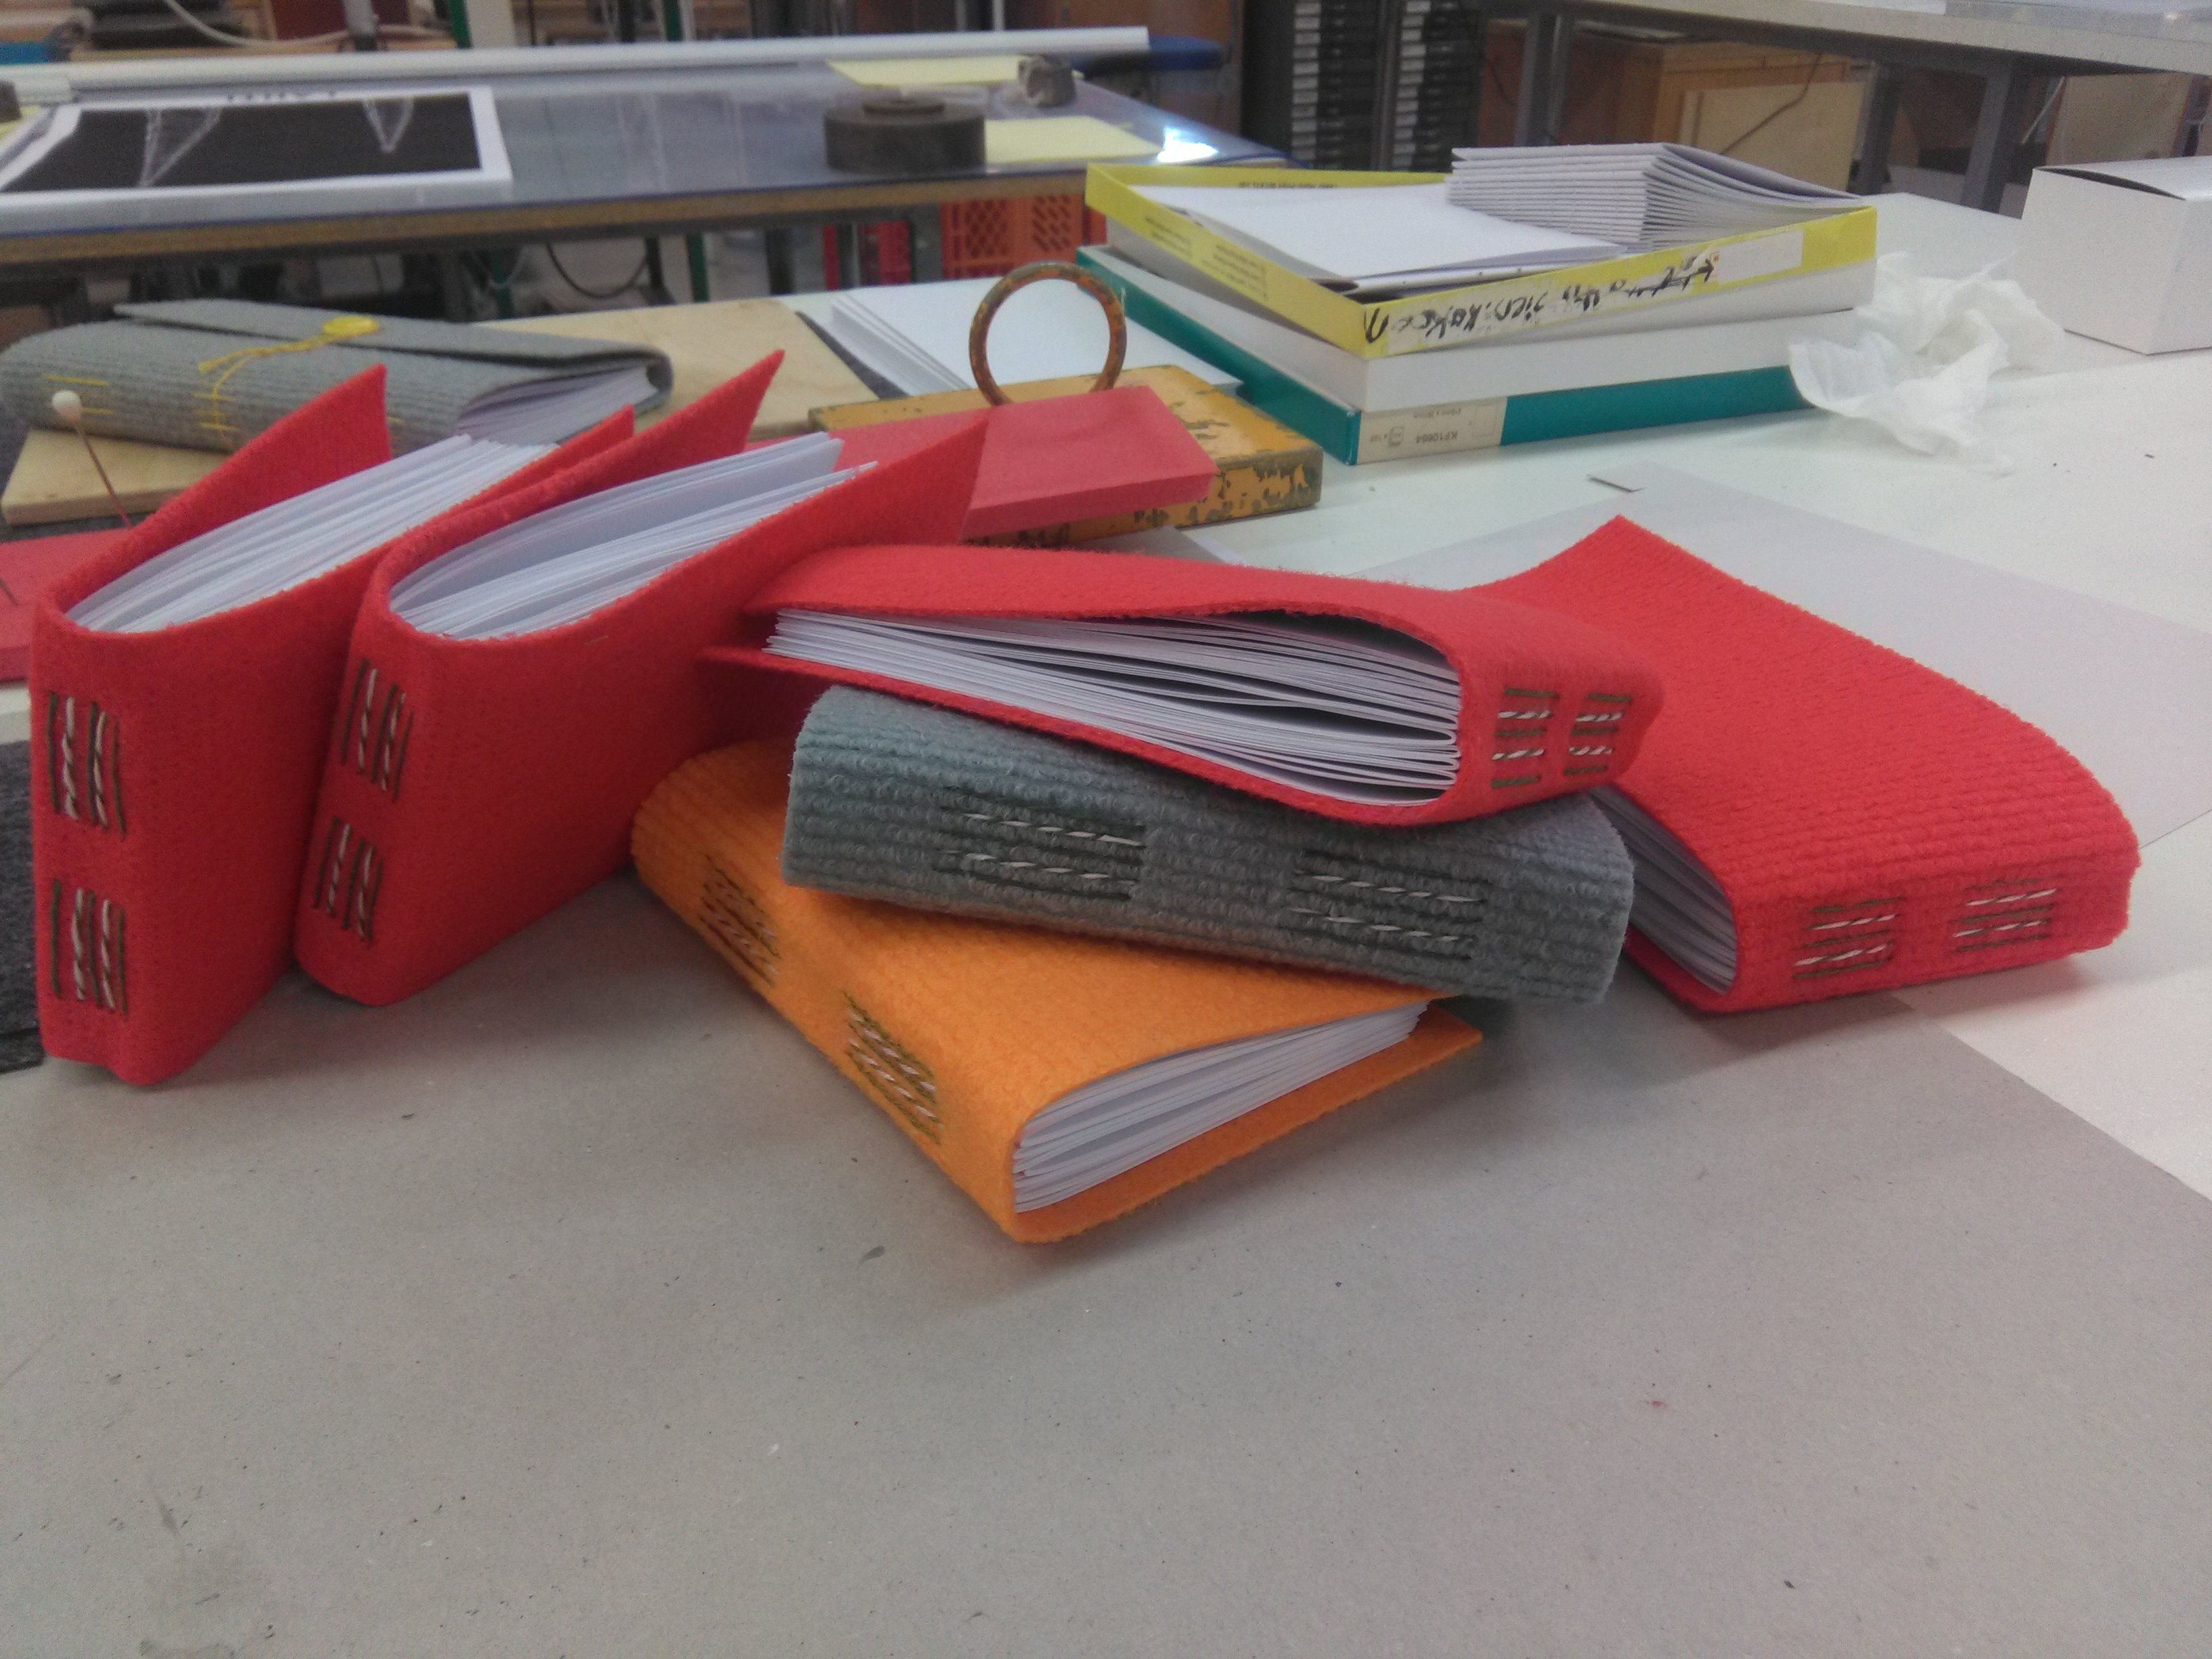
Even more books!
I'll post the "One photo every day" next. It'll be a mystery object, and @markkujantunen can't answer, as he is disqualified because he probably knows the answer already. ;)
So see you all again pretty soon I guess!
[Previous post: One photo every day: Guess what I did at work today! Plus. (74/365)]
If you liked the post, consider buying me a beer: