Hello!
We continue to study the bottom panel with tabs in JWildfire. Start in 6 lesson.
We stopped on the DOF / Bokeh tab, the sublayer DOF. Now go to the Bokeh tab
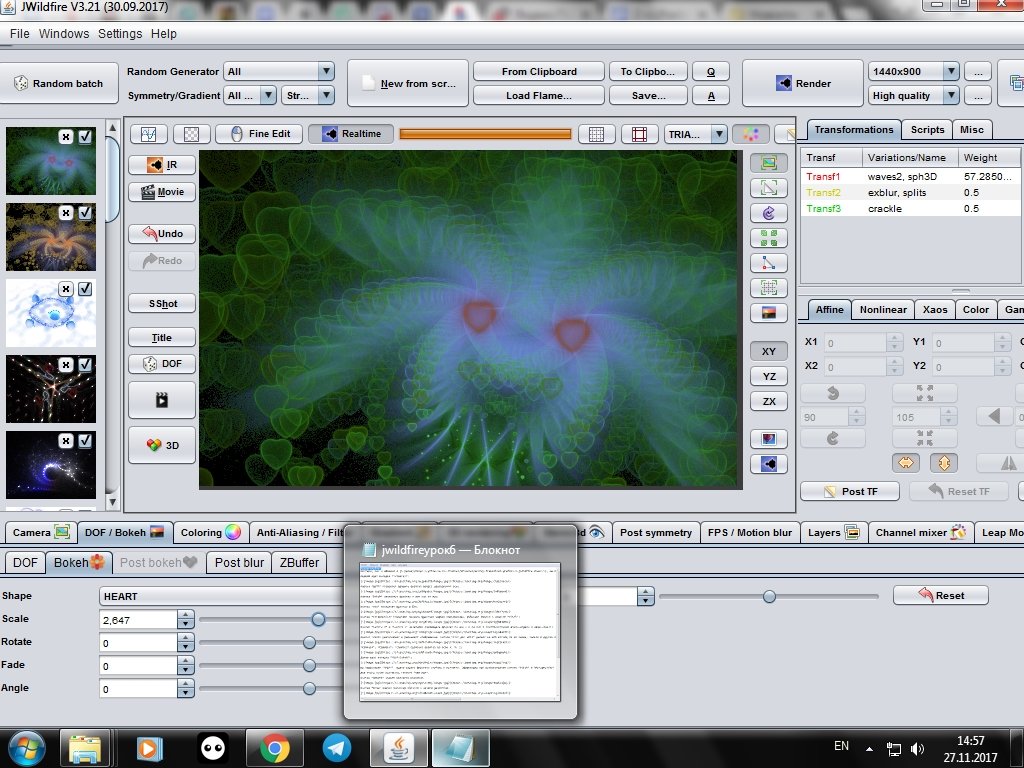
With this tab you can control the effects of Bokeh. To add them, click on the DOF button to the left of the visualization window. I will show the settings clearly in the example of a single image.
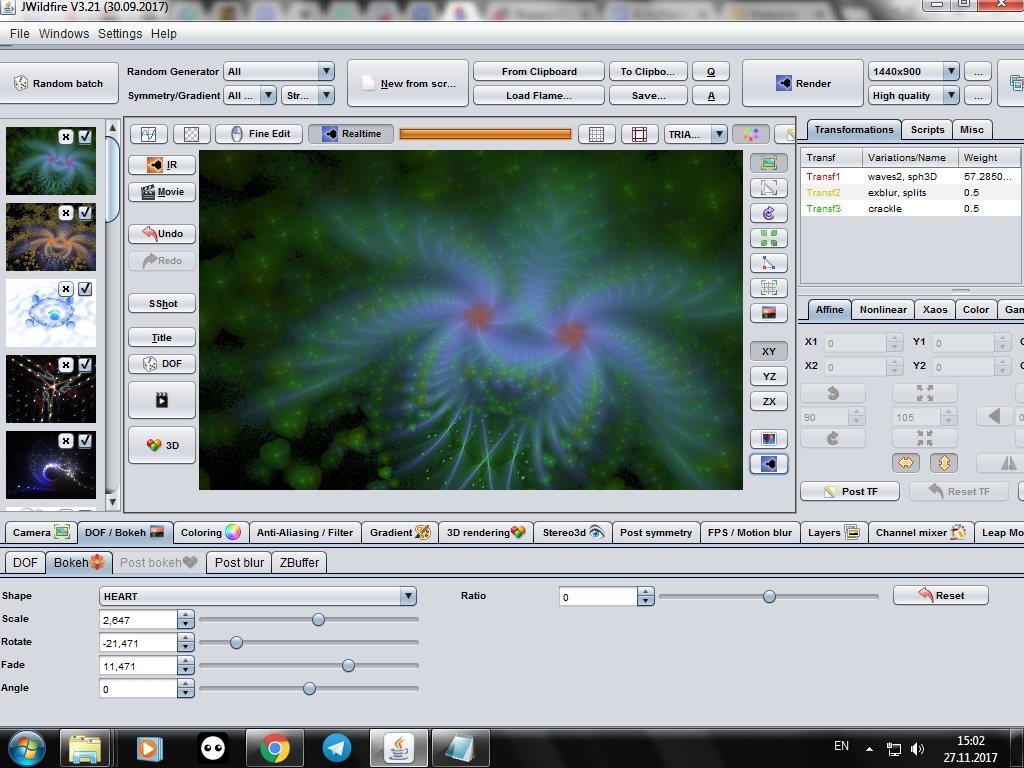
Shape button - selects the type of bokeh. For example, hearts - Heart:

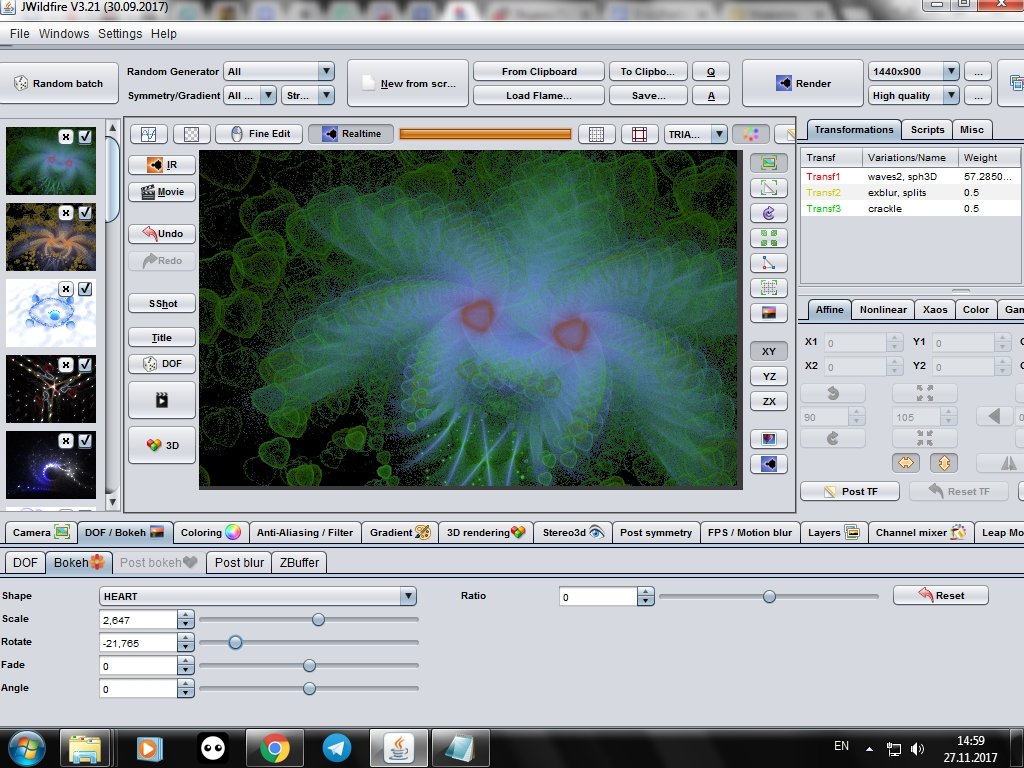
With the help of Scale the scale of added bokeh is changed:
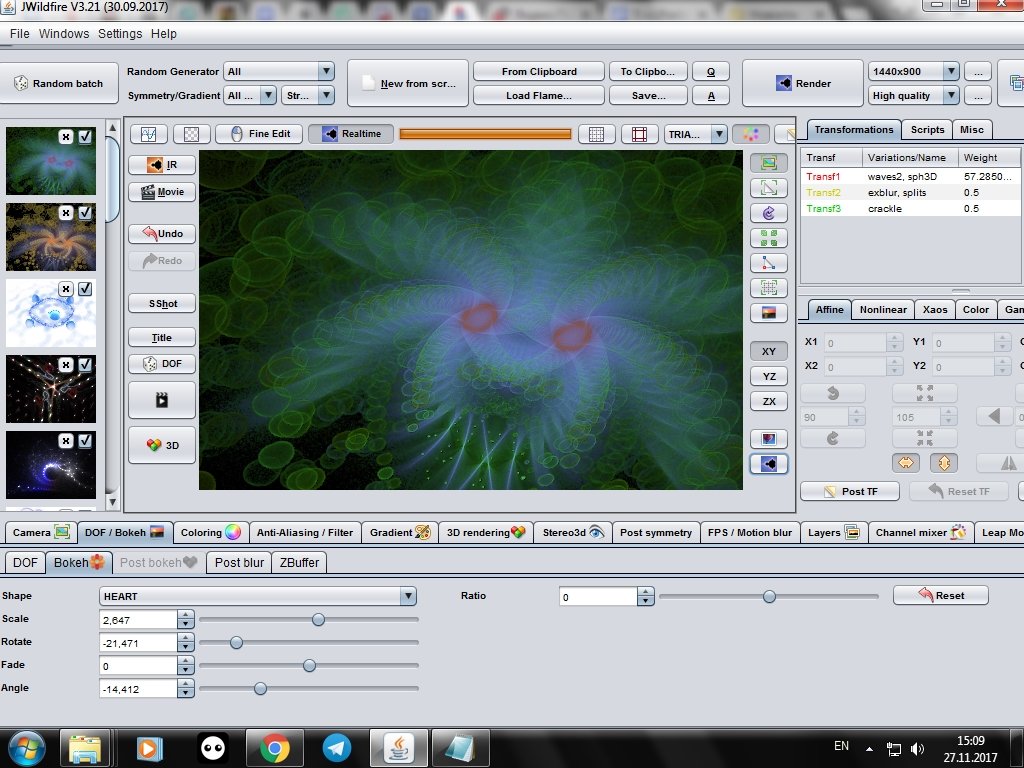
Rotate allows you to rotate bokeh around its center in a clockwise or counter-clockwise:
Fade gives this effect:
Angle changes the perspective or angle of view, at the expense of this heart I have turned into ovals:
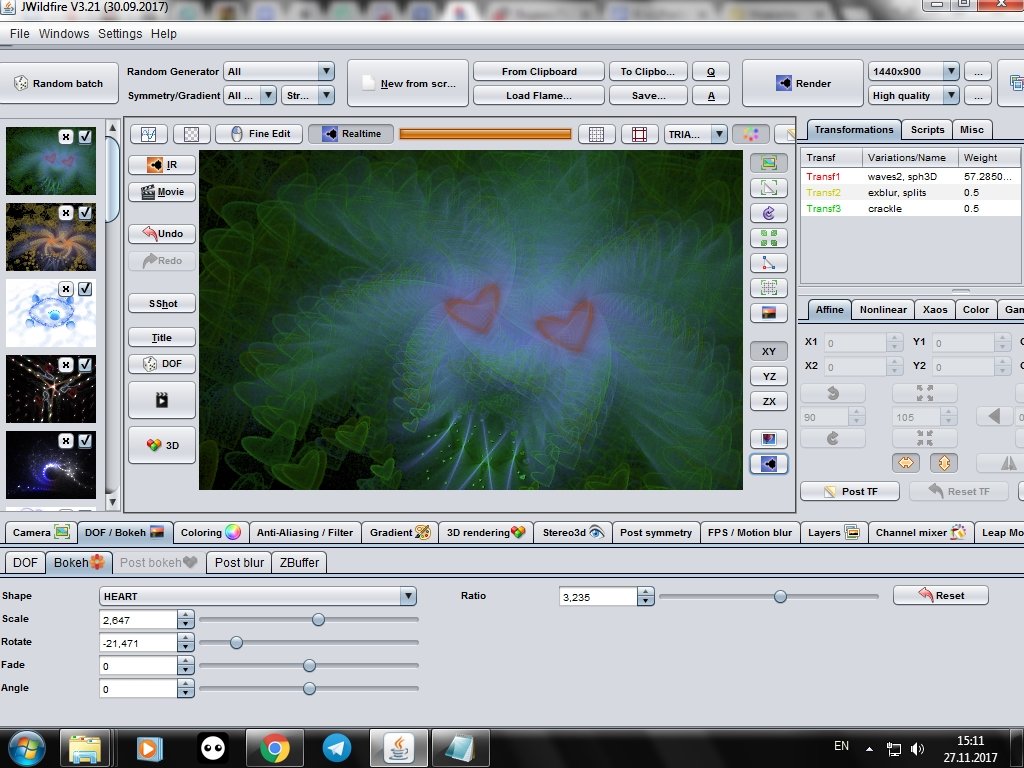
Ratio changes proportions in the side:
At the end, there is a Reset button, which allows you to reset all settings if the result is unsatisfactory.
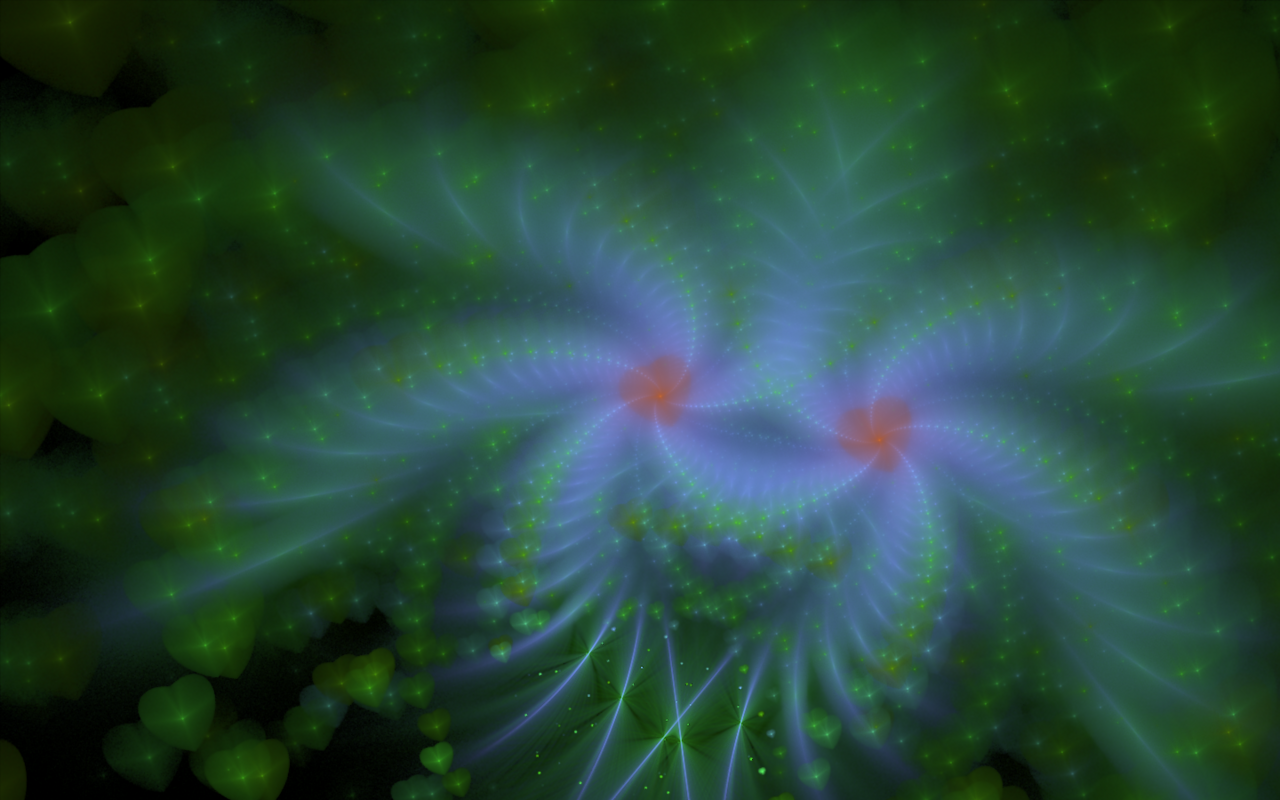
Here is a visualized picture from the side:
Next is the Post Bokeh tab. It is active only in 3D mode, so I open the saved flame with this image:
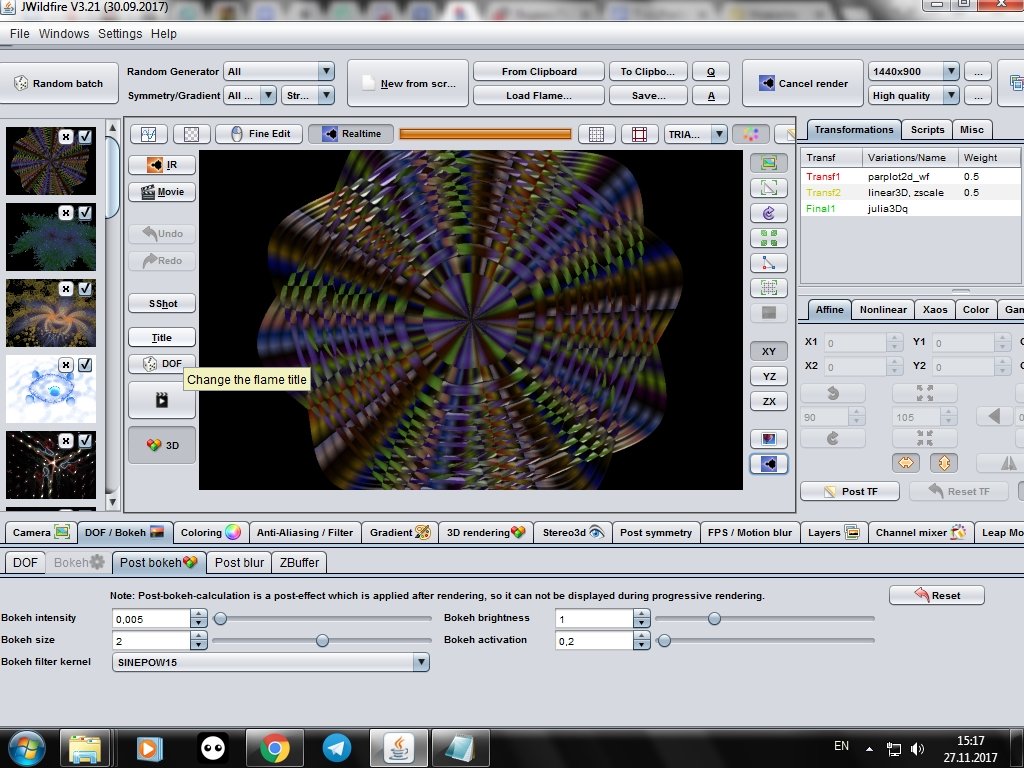
I add the effect of bokeh to the side by pressing the DOF button. In the tab there is a small notation that this effect will appear only after rendering the image and is not displayed in the visualization window, so you will have to act at random.
The parameter Bokeh intensity must add intensity to the effect.
Bokeh size - the size of the added effects.
Bokeh filter cernel - the filter to be used for processing.
Bokeh brightness - the brightness of the effect.
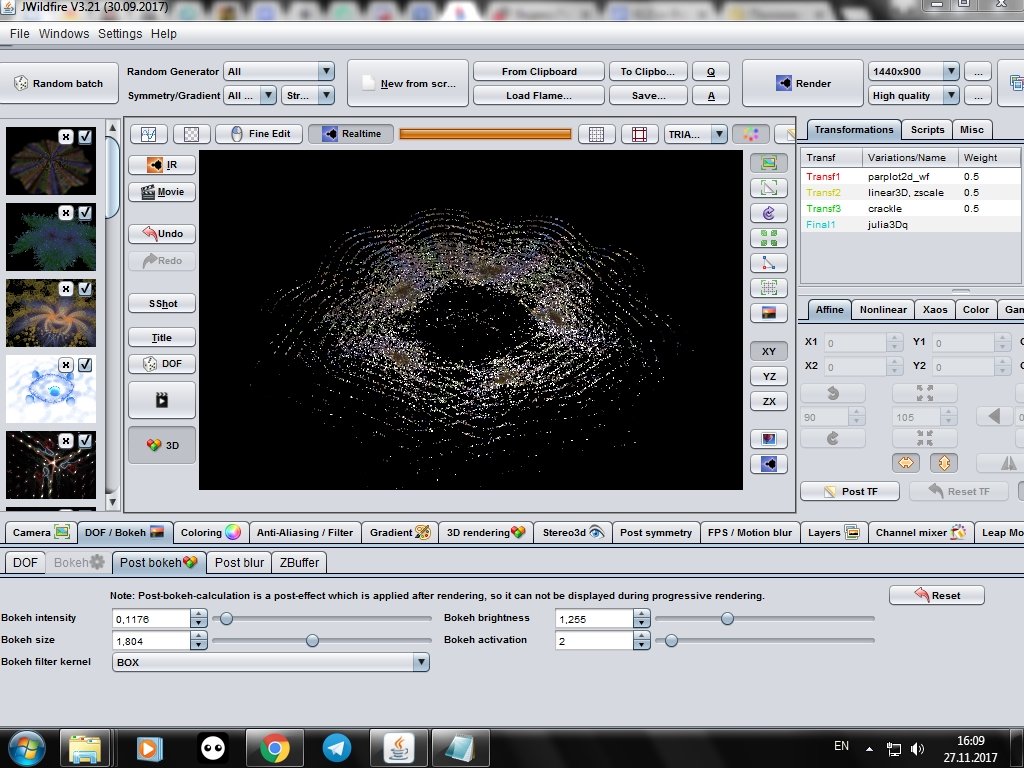
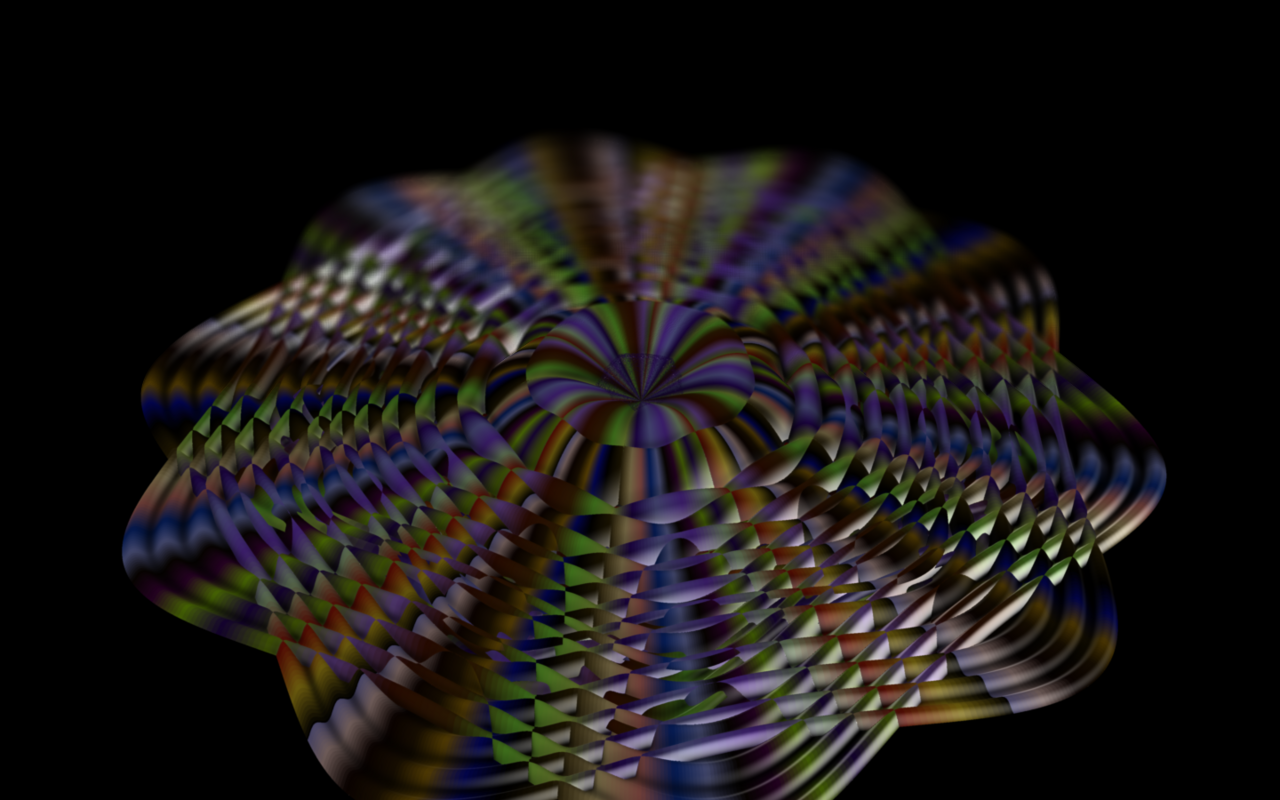
In 3D, the bokeh effect looks completely different and rather blurs the part of the picture. I was very realistic, like shooting a camera.
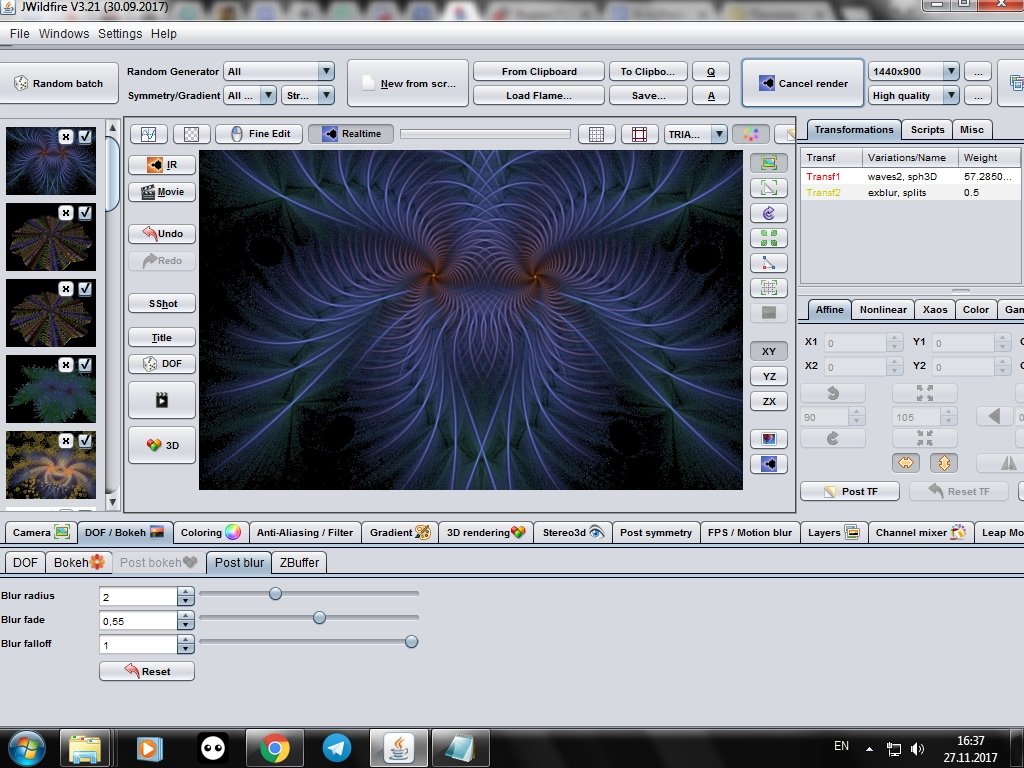
On the Post blur sub-tab, you can control the blur effect.
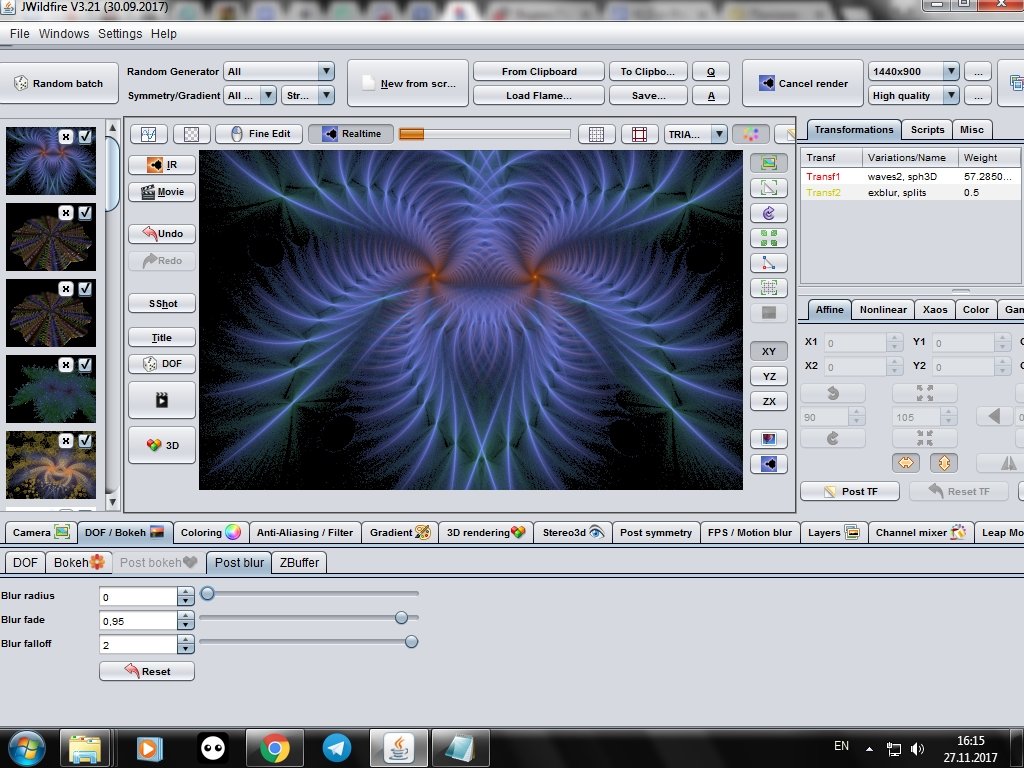
Blur radius - changes the blur radius:
Blur fade - blur intensity:
Blur falloff - decrease the blur level.
And that's what I got with these settings:
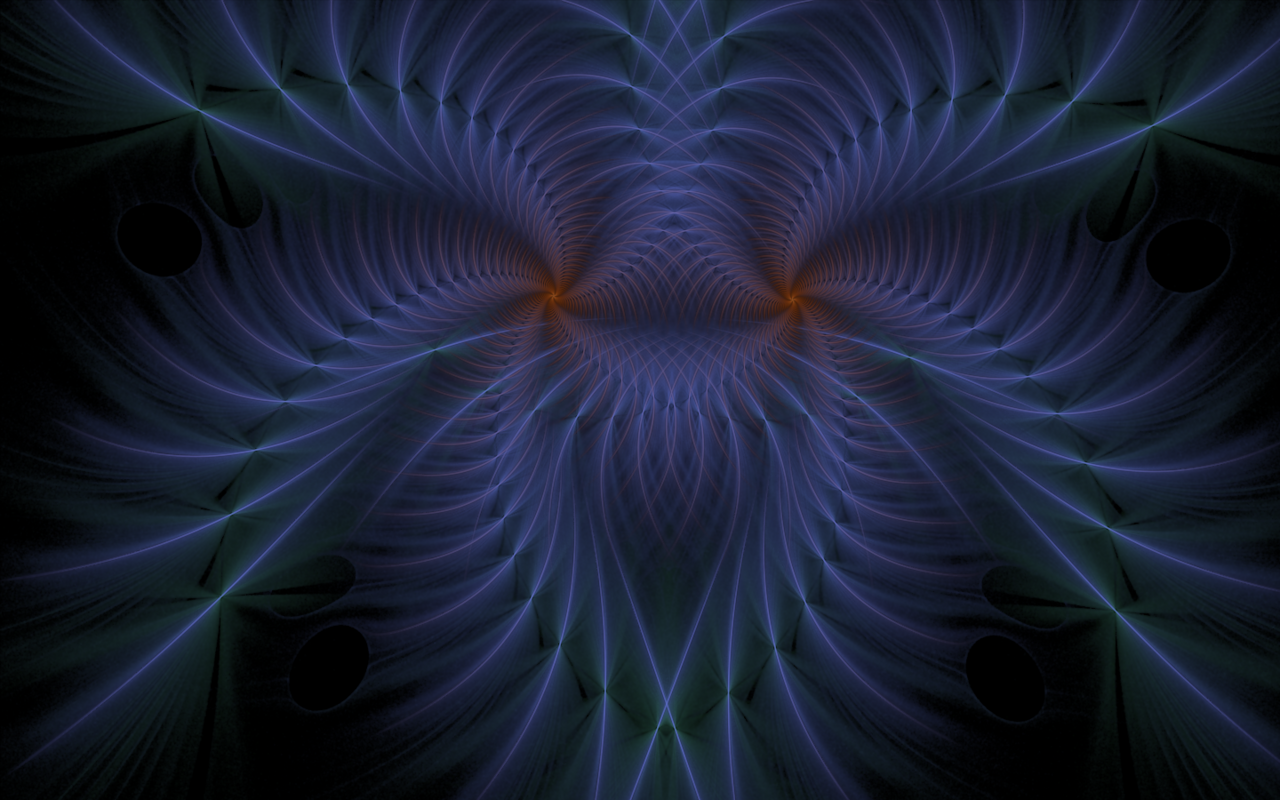
And without the effect it would be like this:
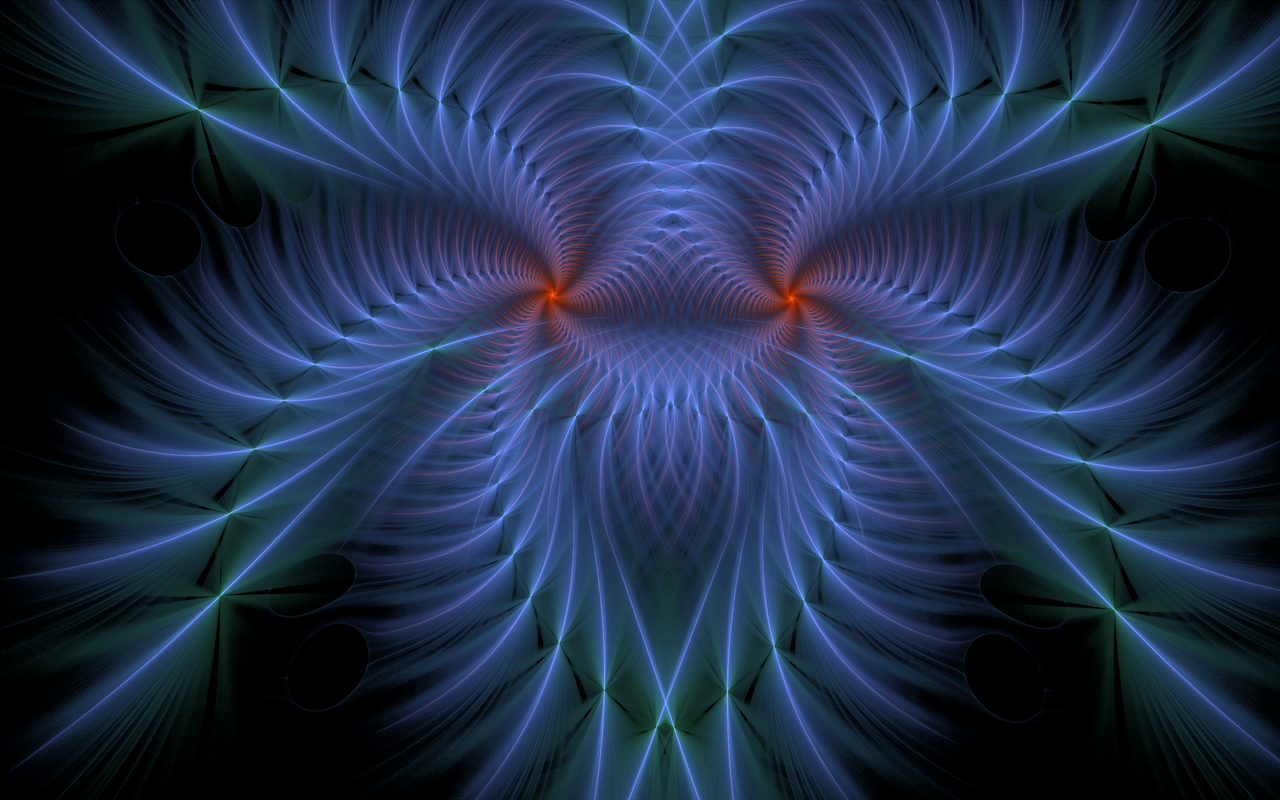
It is seen that the effect Post blur as if clouded the picture, made it more muffled.
And consider the last sub-tab ZBuffer scale. The default value is one.
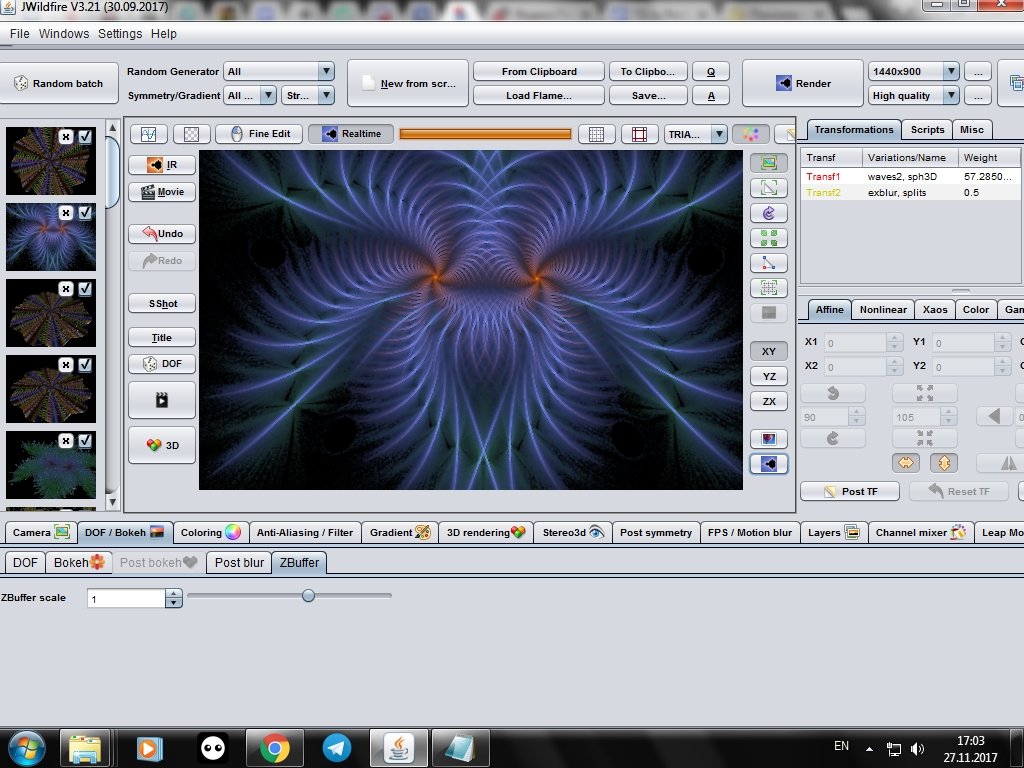
I moved the slider in different directions, but did not notice any effect on the preview. After visualization too. What gives this parameter, I still do not understand.
In conclusion, I will show you how several more species of bokeh look.
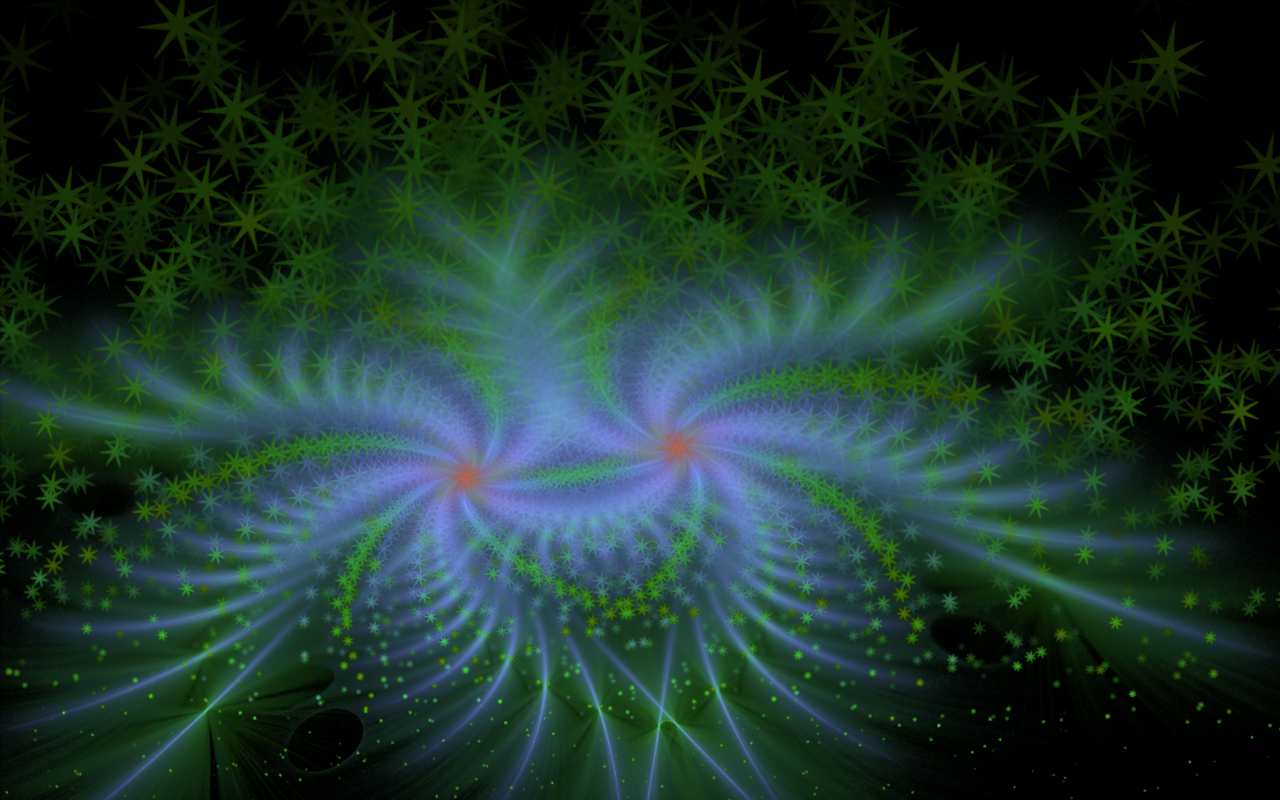
Starblur
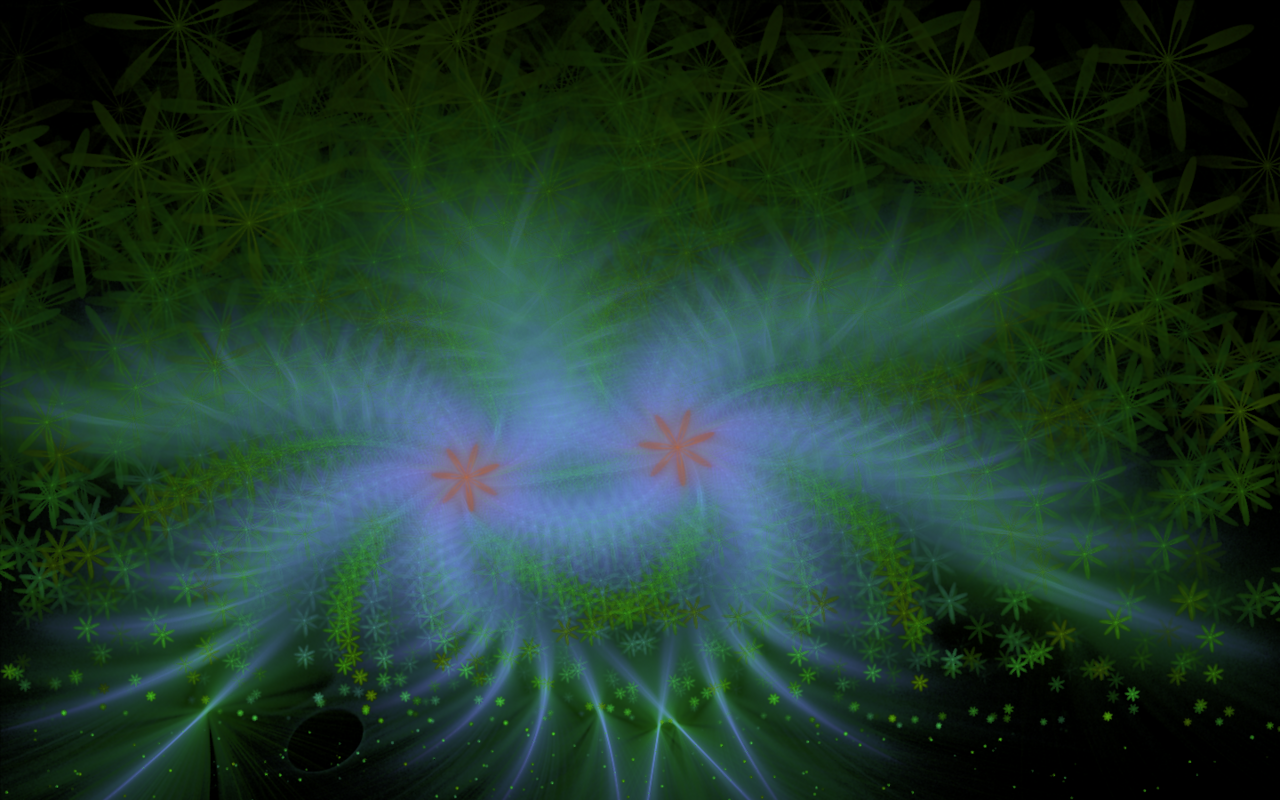
Flower
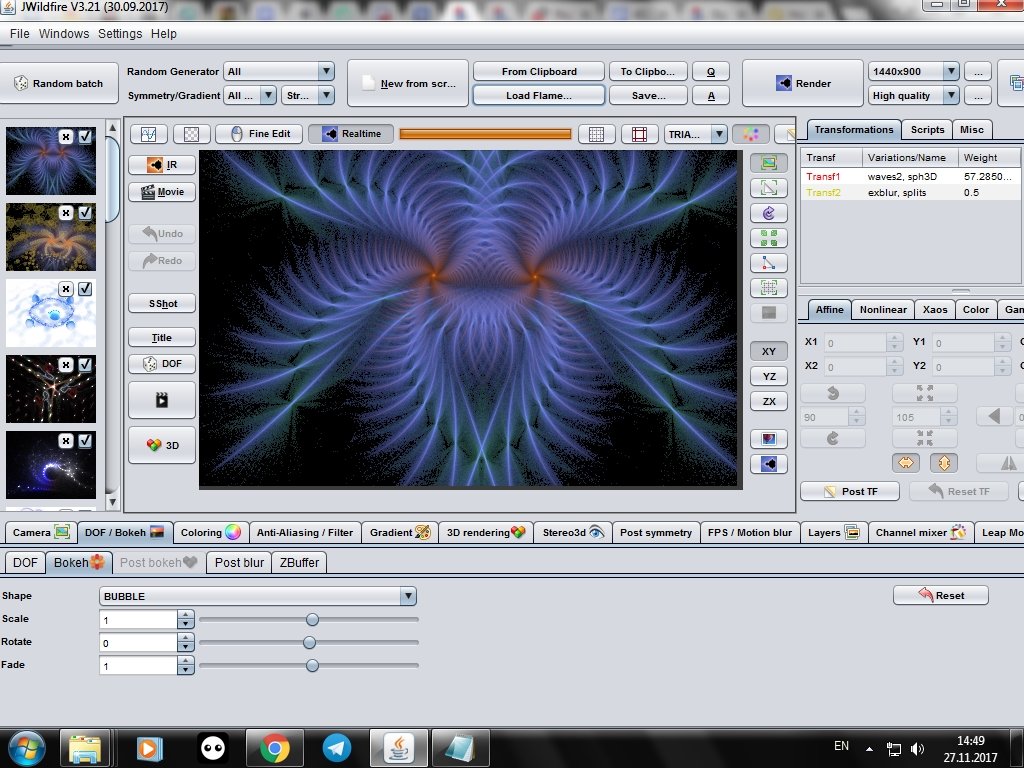
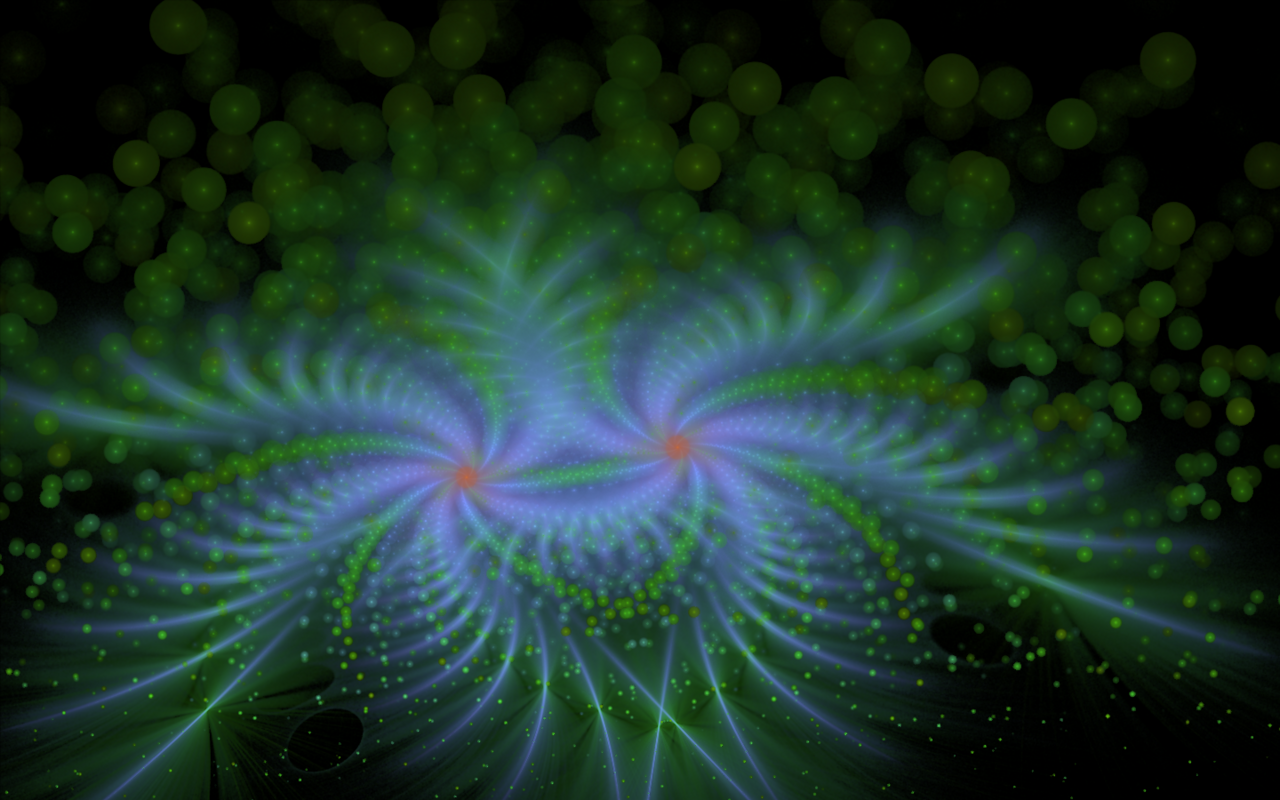
Bubble
To be continued
Sorry for any mistakes in English, this is not my native language.
Author: @vasilisapor2
You can find us in:
Telegram: https://t.me/joinchat/GZmeKA5cSfYip429CpiMjA
E-mail: fractalteam@mail.ru
Also read us at Golos: https://golos.io/@fractal