So I recently did a post where I shared an awesome new toy @ausbitbank had bought for me, it was a 3D pen and I have been addicted to using it ever since.
I figured given the amazing response I had from my first mention of it I should do a review, I also thought I would share my first creation and the process (learning curve) of making it.
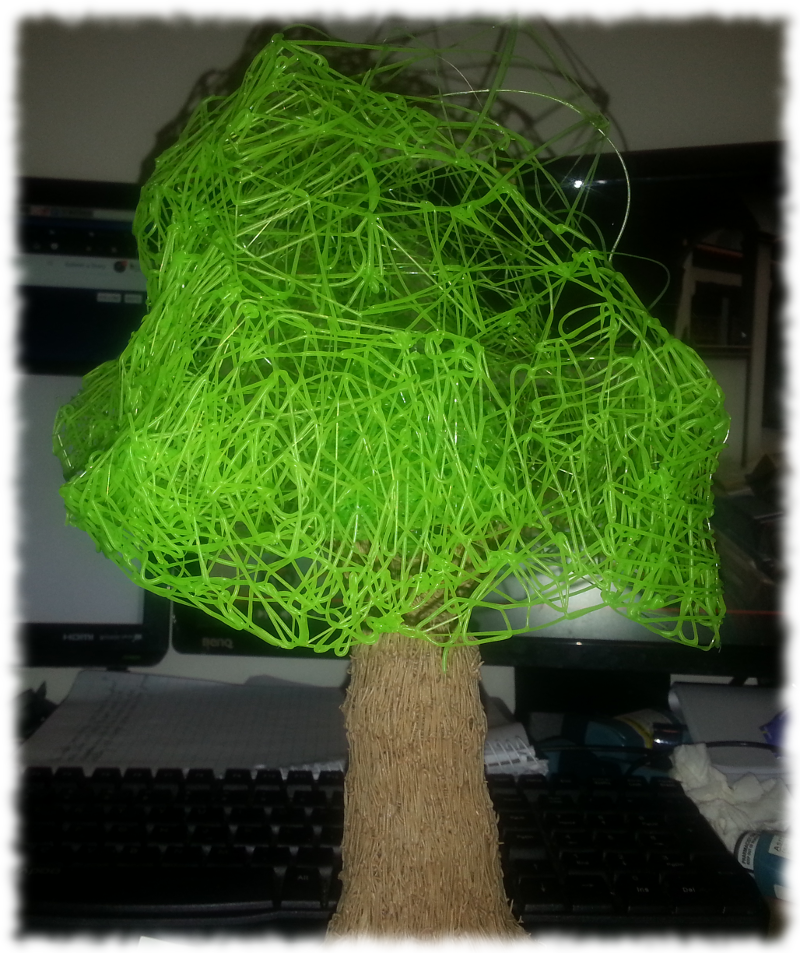
I do not claim to be an artist by any means, but I am just so happy with my first planned creation - I absolutely love my tree.

3D Pen Review:
Whilst I do love my pen I do have to say after using it for many many hours, I have learned of a few design flaws that I know to look out for next time.
The first and in my opinion biggest issue is that it starts quite fast, but the longer you use it the slower it gets until the point I stopped for fear i was burning out the motor.
I realised that this is easily avoided by taking short breaks, the device manages to heat up quite rapidly and the same goes for the cool down - a simple five minute break and I was back into it, but it did slow down again after another short use.
The other issue I had was with the grip, because you press a button to make the filament feed through the pen you are constantly pressing - after prolonged work your hand can cramp and ache from maintaining this position.
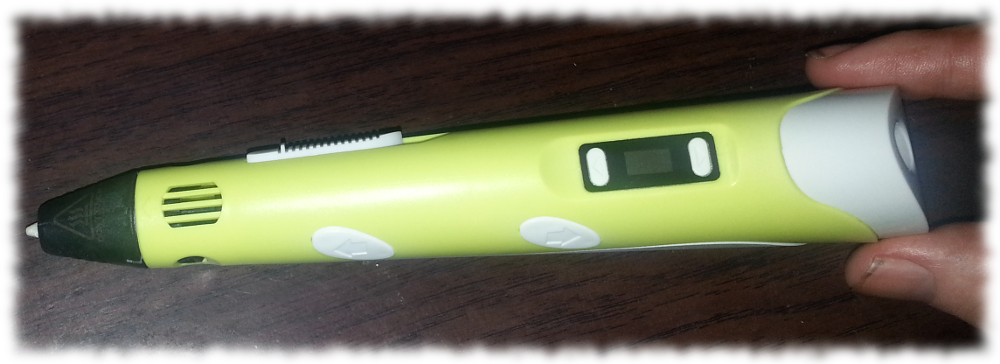
The only other issue I was really faced with was the speed control, it appears to have a speed slider however it really only produces two speeds impossibly slow or fast - though as I mentioned, with continued use the device slows down so there is not consistency and that can make life hard when trying to do fine details.
Since playing arround with it for a few days, I know I absolutely love it and I really enjoy being able to create something tangible whenever I want.
I have watched a few youtube reviews and I think the next time we decide to buy another 3d pen, I will go with the next model up - it has a tapered grip which I think might help some of my complaints, it also appears to have no issues with long term use and speed.
All in all it was an amazing investment, something I will definitely be using time and time again - and something that gives me the ability to create whatever I can imagine.
The Process:
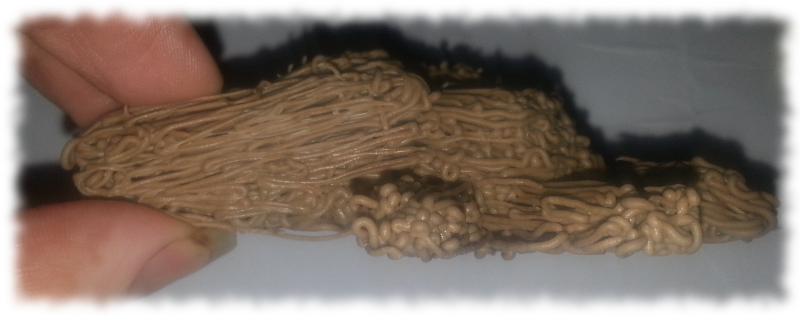
So I started from humble beginnings as it was really difficult to begin, you need something to build up on - I have since learnt that using a piece of paper is the easiest way, as it give you a point to attach to and then build upon.
After I had a very basic shape I started to build upon it, working the filament out to the edges of the forming structure.
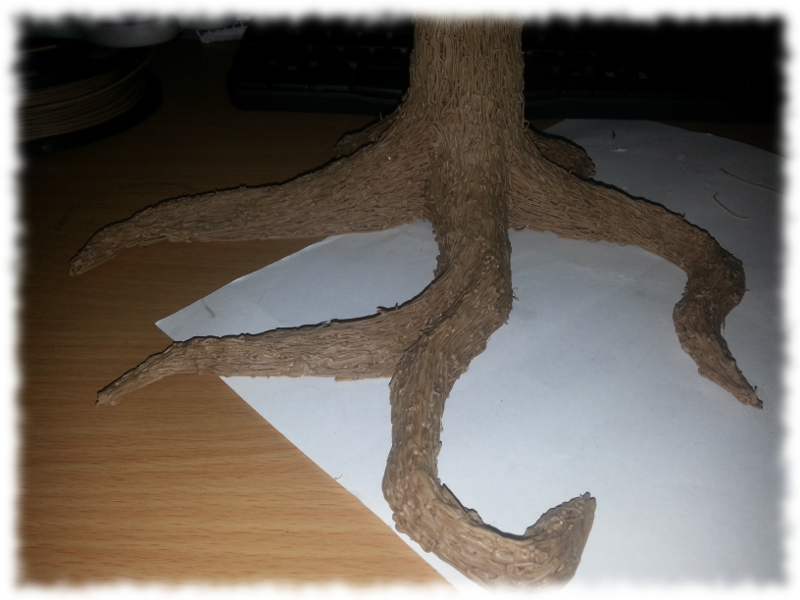
Well then the phone battery died so I didn't have much to show for a while, but in the next picture you can see the basic shape of the trunk and root systems beginning to take form - even if roughly.
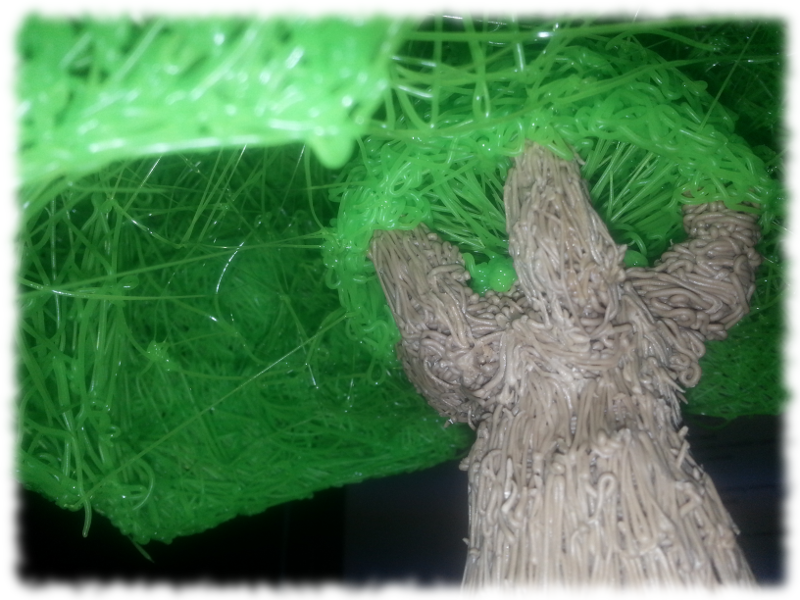
Next thing I built up branches so that they could eventually support the canopy to come, I wanted my structure to be solid with two kids in the house I didn't want a simple touch to break it - so I ensured all joins were as solid as possible.

Then I spent a lot of time working on the joins in between the trees trunks, though I soon learned the more you build it up the less access you have to create a desired effect.
Before beginning with the canopy I reinforced the branches, so that they were able to take the brute weight of the coming greenery.

Then I started to build the framework to support the canopy, ensuring it was anchored to the branches as best I could.

Then I began to web across the top for more reinforcement, and again for extra areas to build up from.
Then anchored it to the trunk, to possibly an excessive extent - but I don't think it will fall off anytime soon.
I decided the best approach now would be to build a nest on top of the branches, as a second layer of internal support.

I also began to wrap this down the branches as another support layer, but also for building the base up once the top was completed.
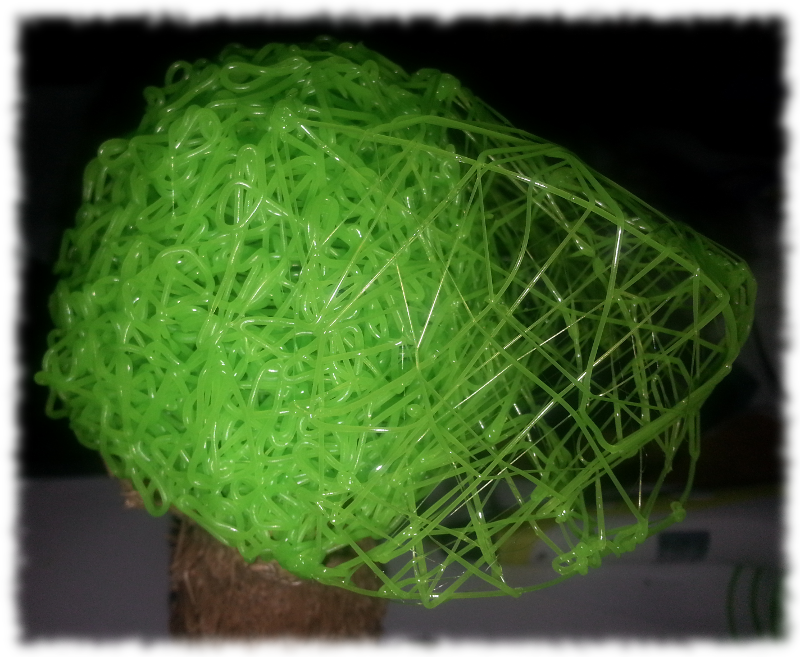
First phase of the canopy is built, it is a solid attachment to the base of the tree and the perfect strength to build the canopy on top of.
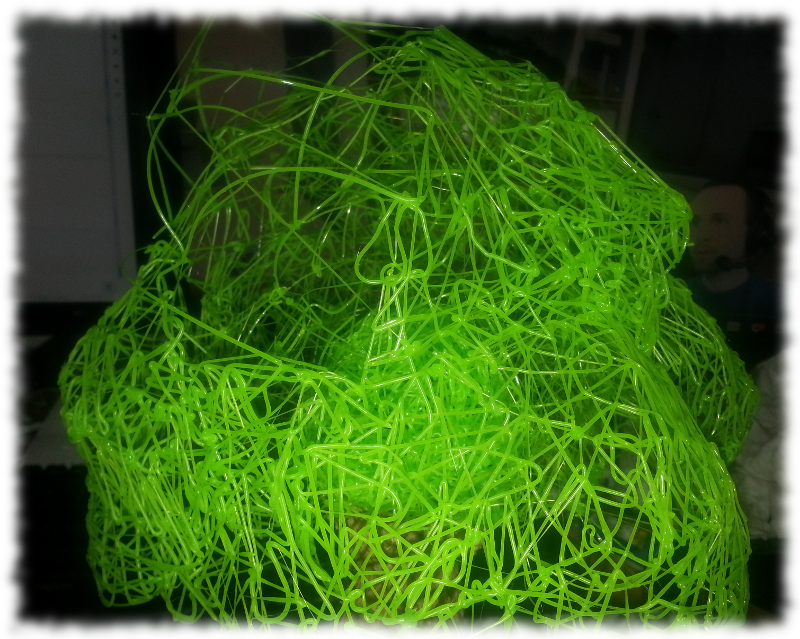
This was one of the hardest areas to complete, I was basically building a lighter frame from to extend into the canopy at full size - I was working in air and in the end had to find ways create loops in thin air, not so easy to do.
From there I had to just keep on going, trying to get this liquid plastic to bend mid air and not have sharp bends was almost impossible at first.
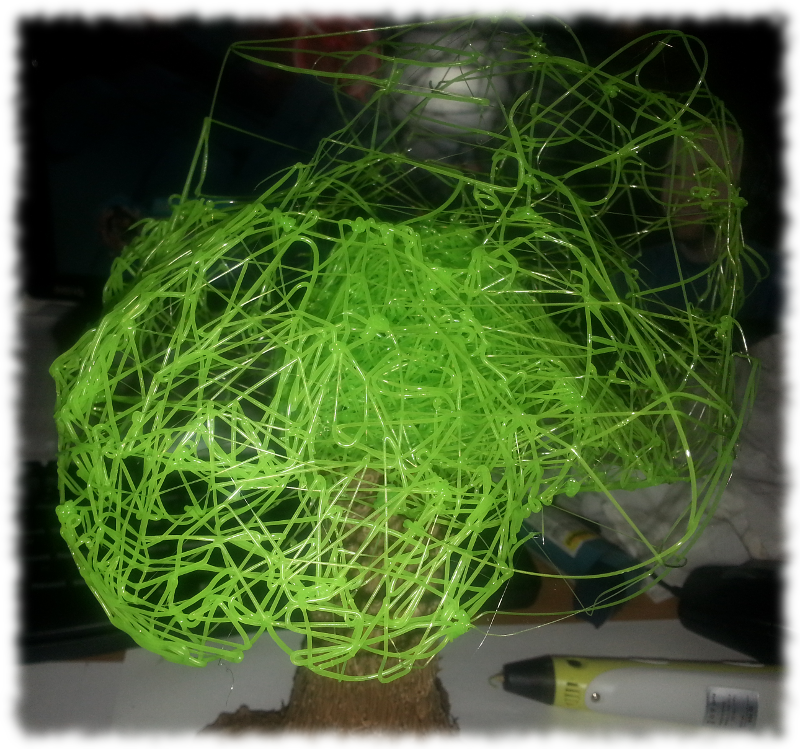
Finally I started to begin to see some of the shapes I was going for start to come to life, I got very excited here and started to see some real progress.
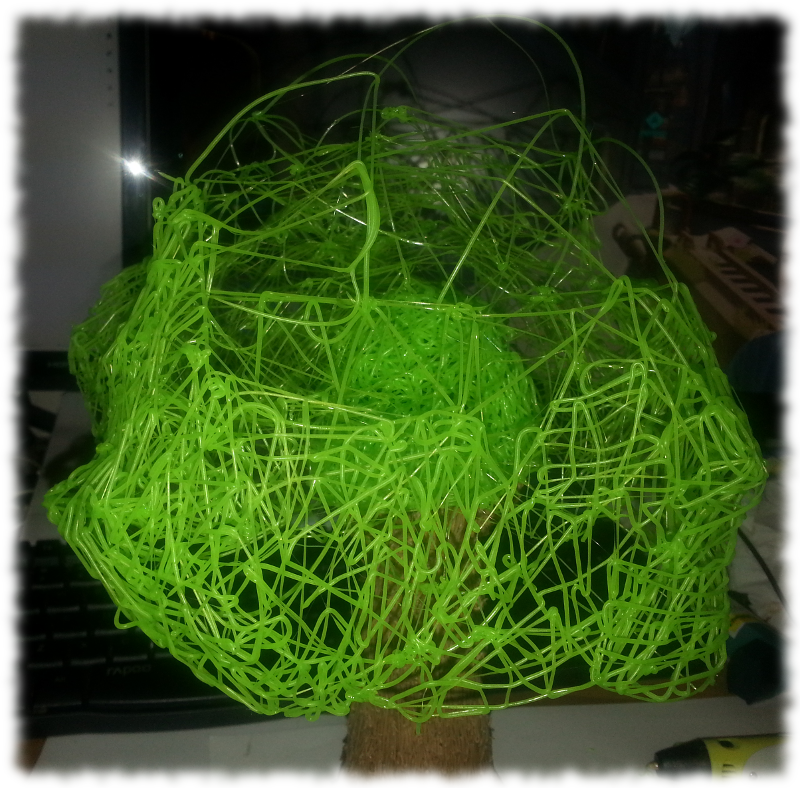
The last major hole in the top of the canopy, building up the framework took hours - but I am so happy with the result.
Some more shaping to give it a full and filled out feeling, I wanted the tree to have an aspect of movement throughout the canopy and that meant giving it some character.
It looked to narrow so I decided to build up another side to give it more depth, it is strange working in three dimensions you forget to observe different perspectives at first - this was the end of phase two.
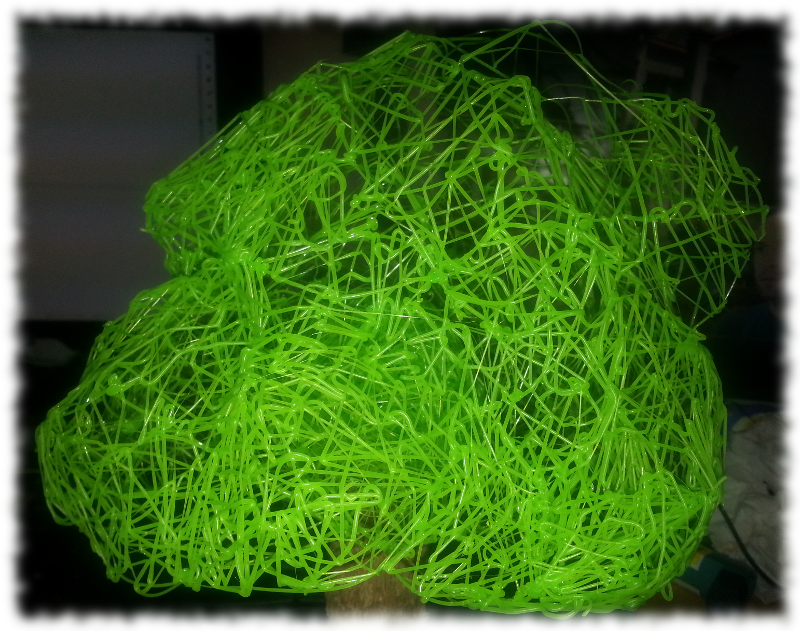
Again time jump here to where I have spent an insane amount of time, shaping and building up the canopy into a solid structure with character.
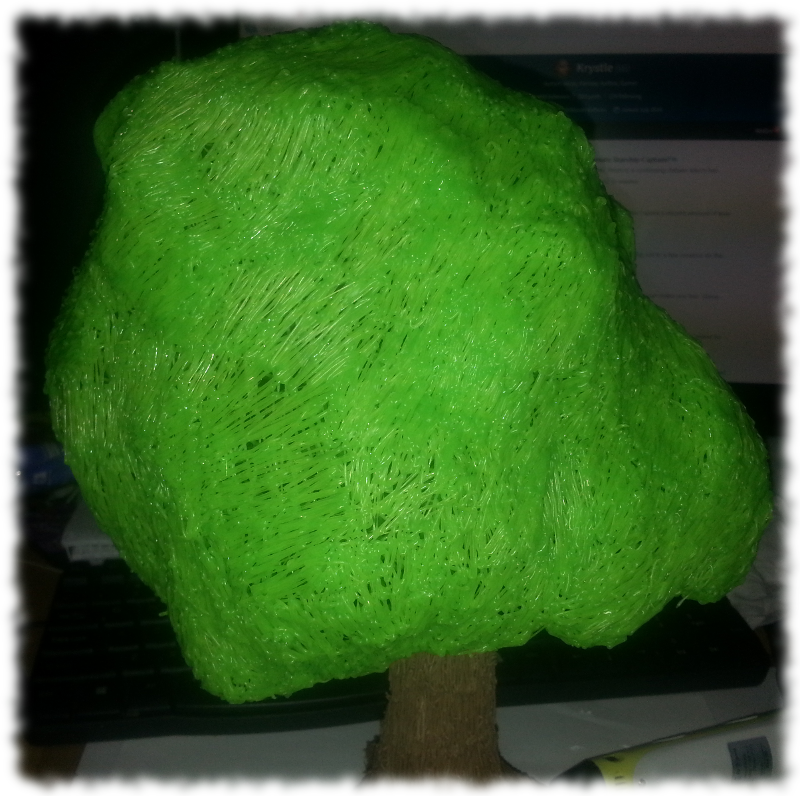
I love the effect used on the canopy, it gives it a flow and energy - like a direction the leaves are blowing.
I took a lot of effort not to make the tree symmetrical, I would have loved that but I was attempting to go for a more natural look which means imperfections.
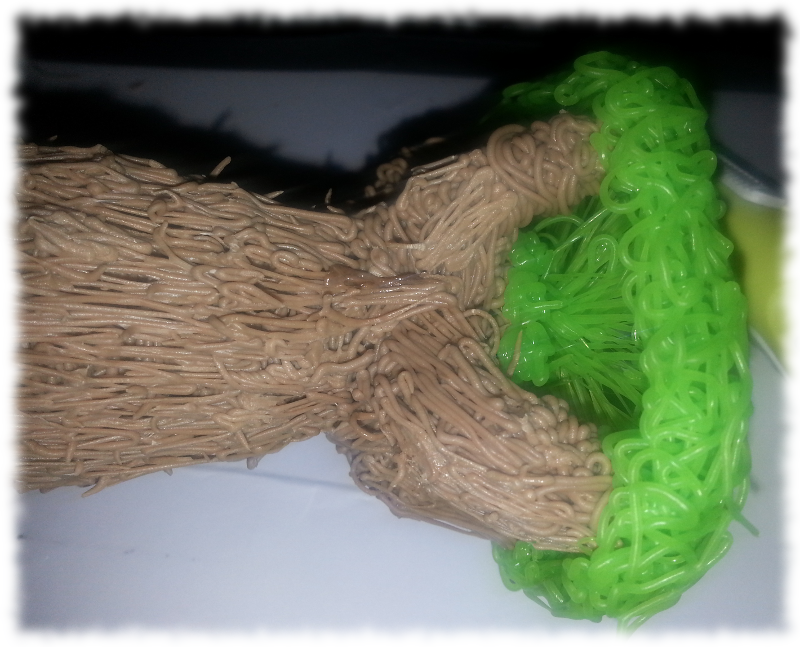
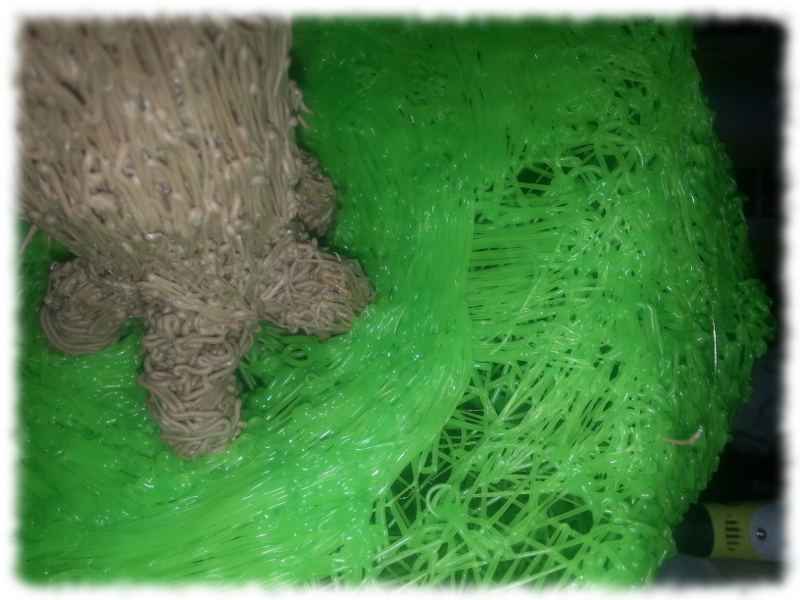
So then I realised I had this massive heavy canopy, with no base being supported by some lightweight framing but no real attachments throughout the base of the canopy.
I then reinforced and built up the base of the canopy and again reinforced gripping to the trunk.
I learned early on that things get exponentially easier, if there is even a small amount of framing and support work to build upon.
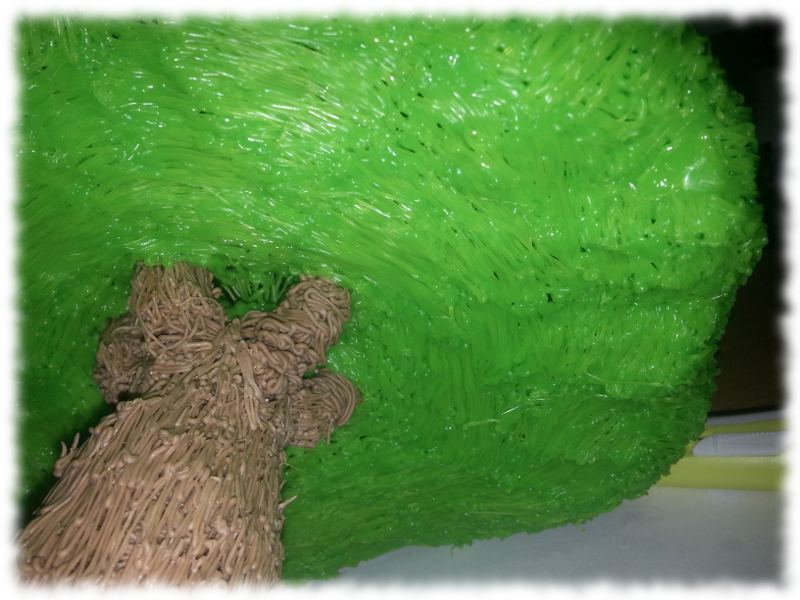
The final touches ready to be applied to the canopy and at least that part will be finished.
The finished base of the canopy with the final effect I chose for the area.
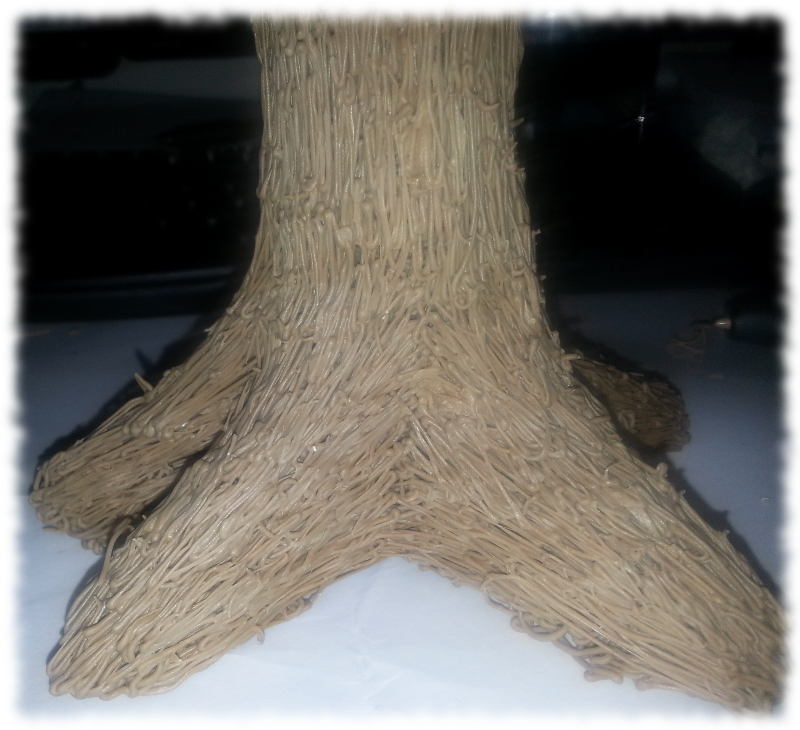
Now I needed to go back and fix up the trees roots, as they just don't cut it now the canopy has been finished.
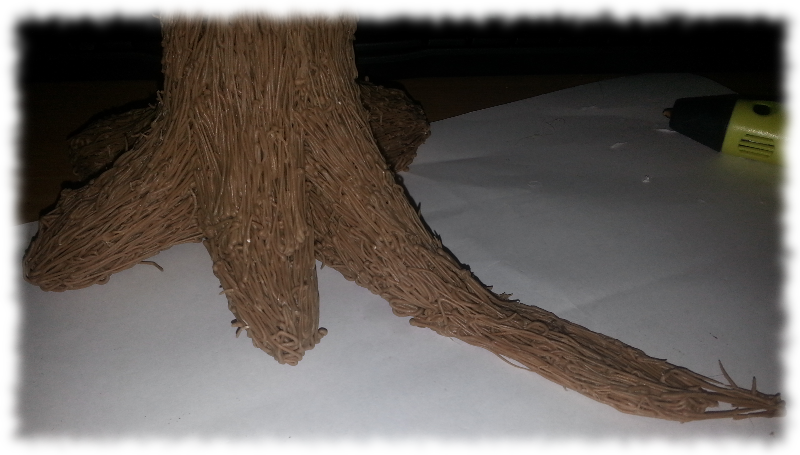
I decided to build them up into long twisting roots, like the old trees in our rainforests here in Australia.
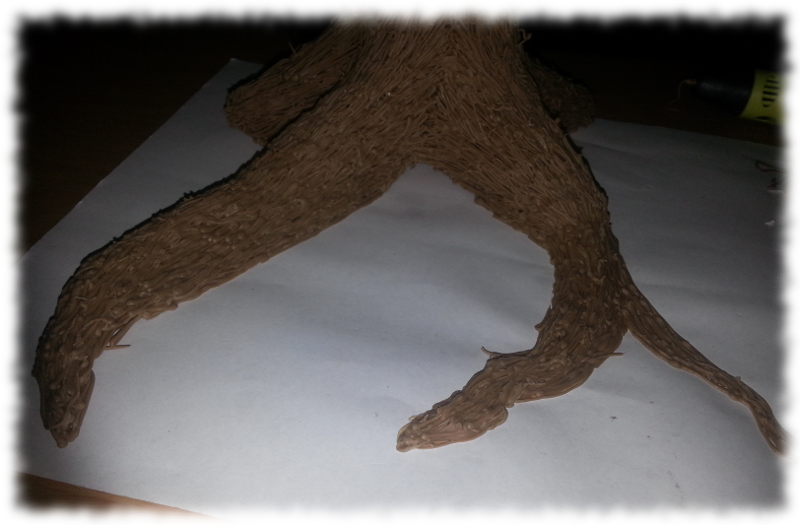
Here is when I learnt to use paper as a guide for the filament, it helped create a much smoother curve than earlier attempts.
I wanted it to look as natural as possible so I even tried to add features, like a splitting in the root system before parting into opposite directions.
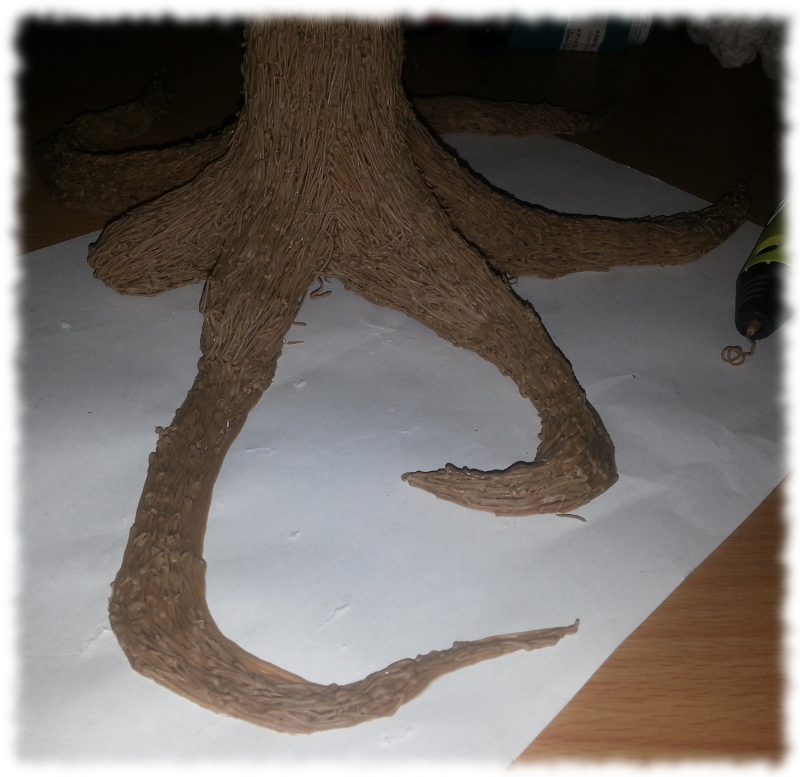
Finally the last leg, ready to be extended and built up into a twisting root of the tree.

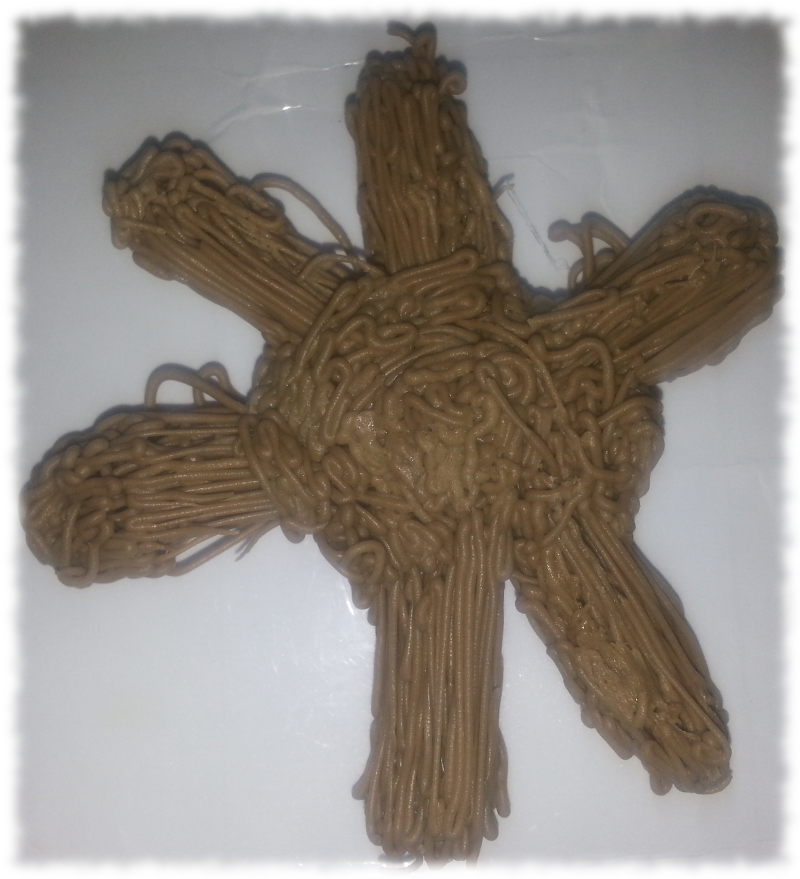
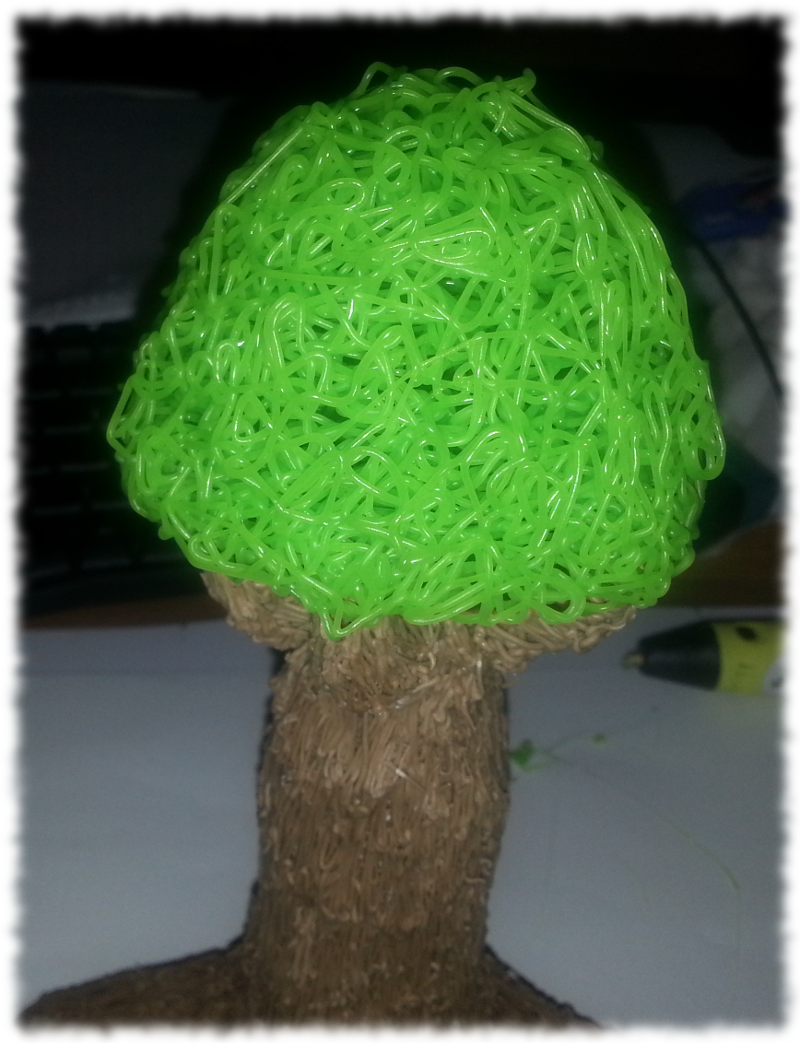
The Final Product:
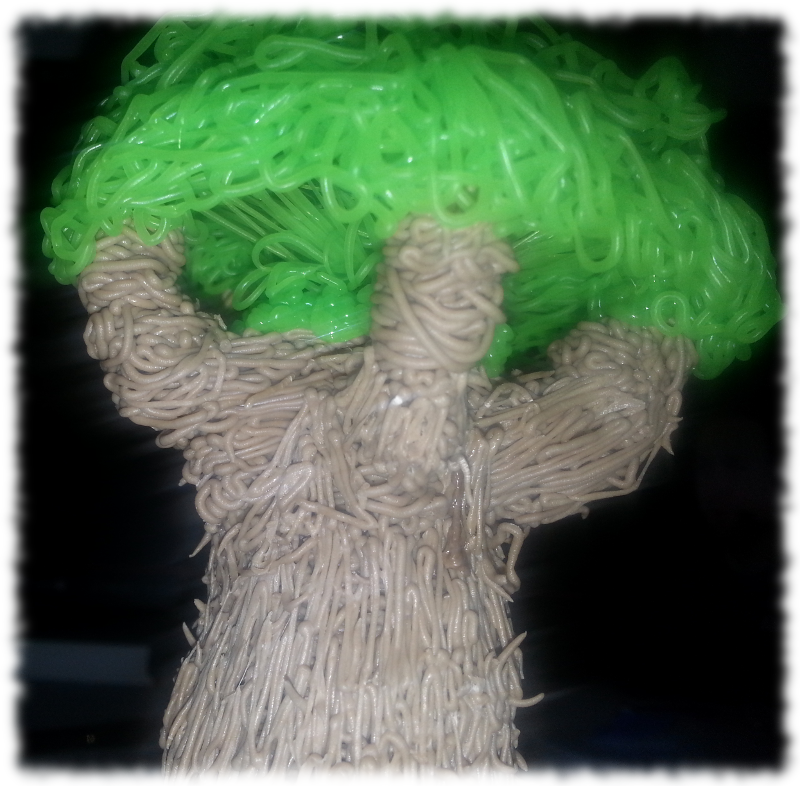
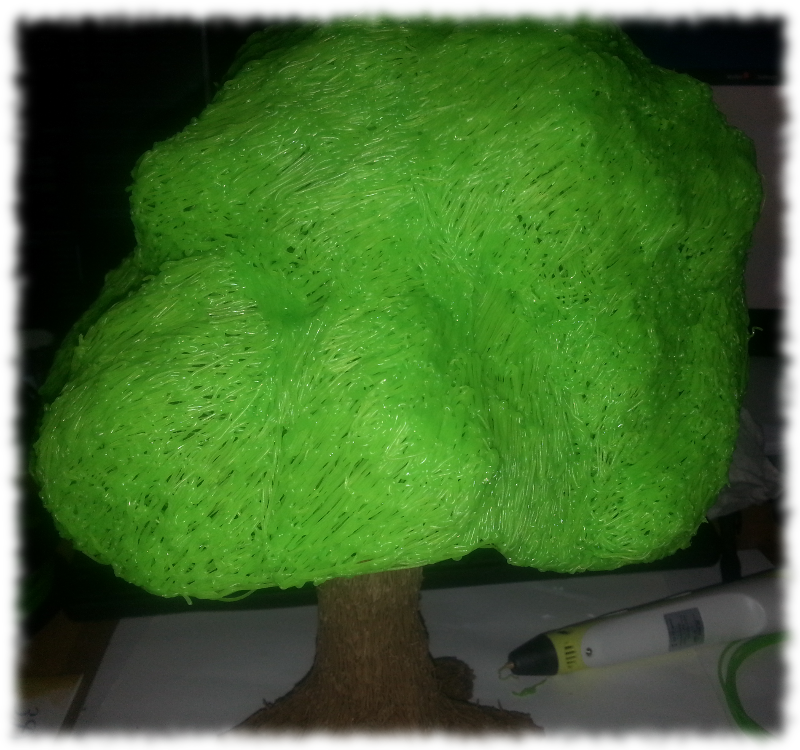
I really couldn't be happier I honestly expected it to be a disaster, but I am genuinely proud of my not so little tree.
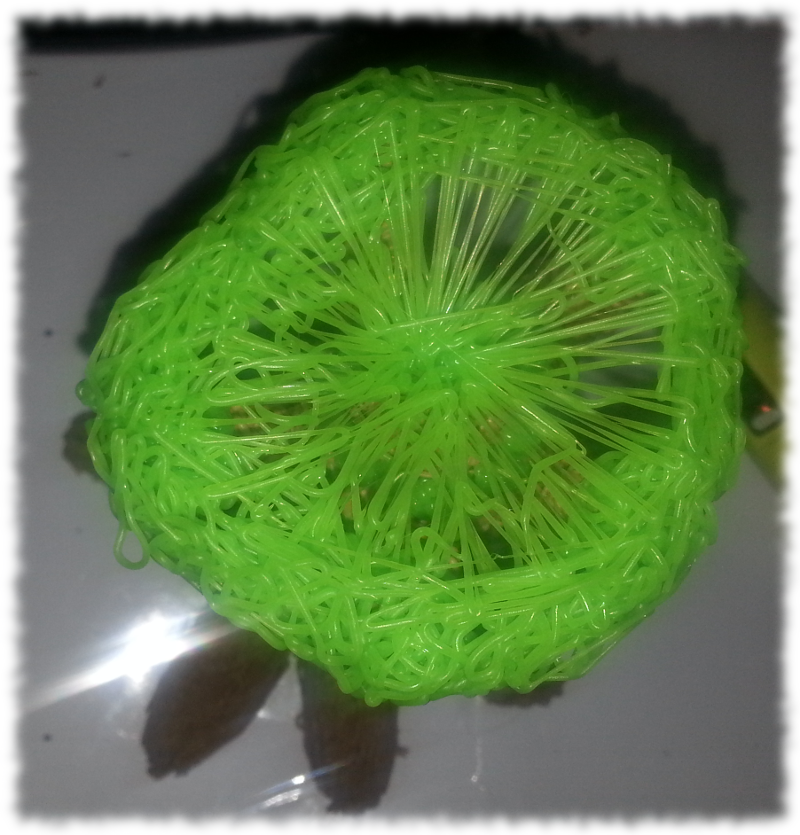
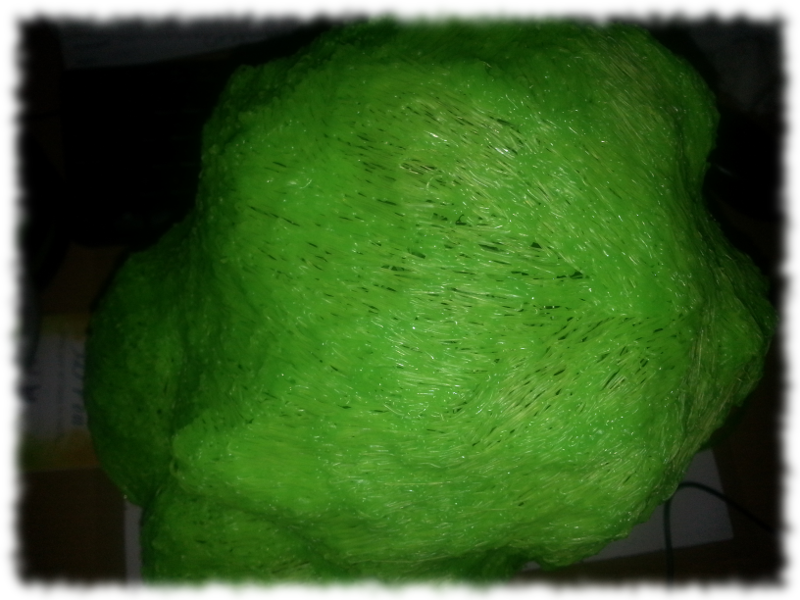
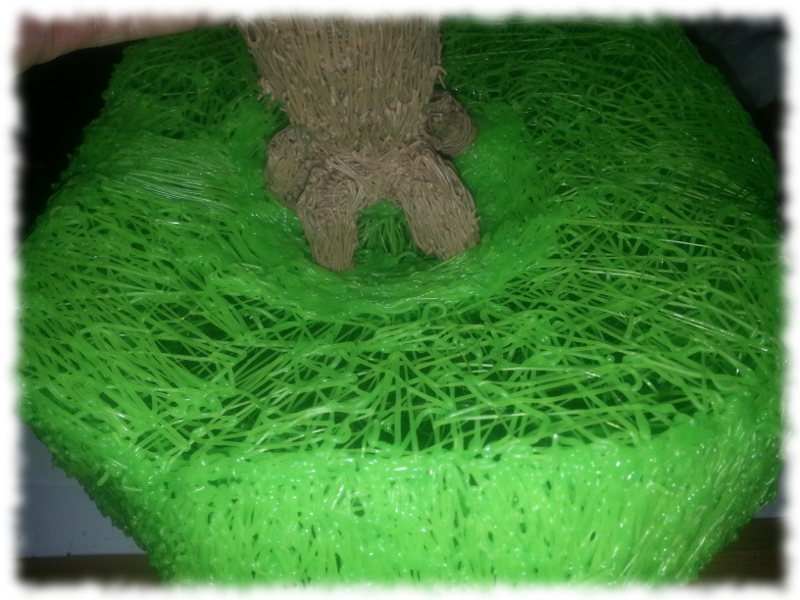
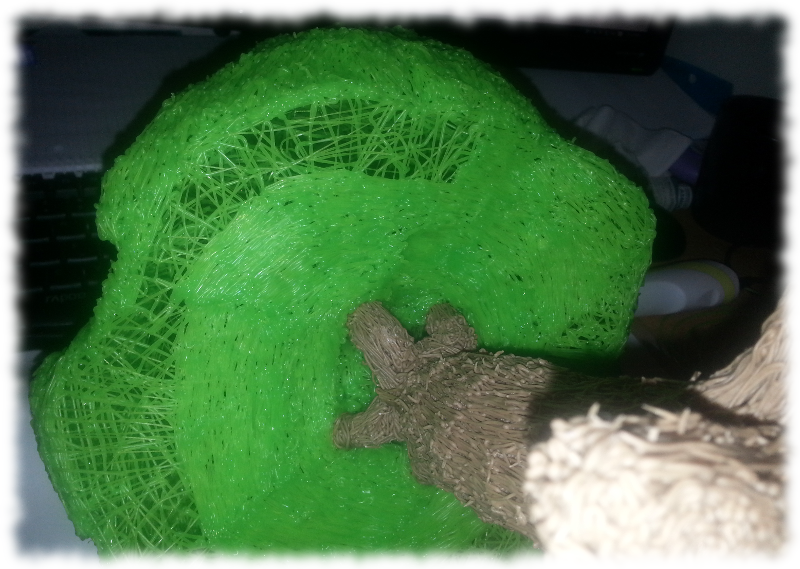
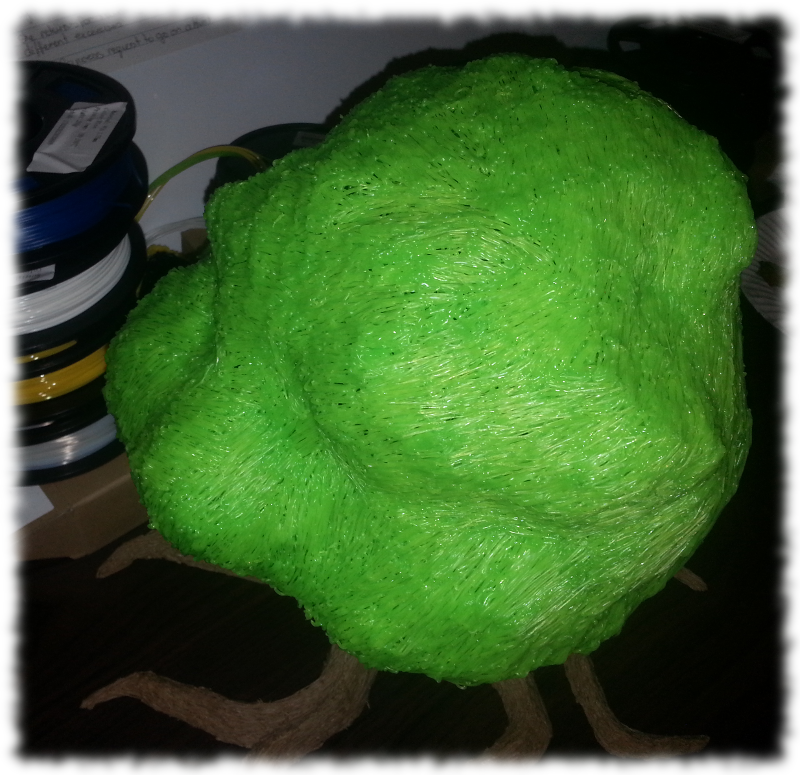
So here it is - The top down view, I am happy with the look of the canopy - I think it gives it a feel of though the wind rushing through the leaves, making it look like a solid.
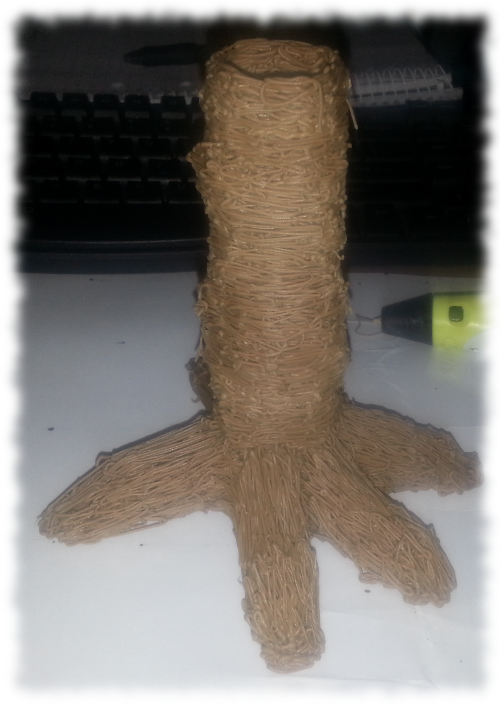
The twisted roots are probably my favourite aspect of the entire tree, it really reminds me of these massive trees in our rainforest where the roots can be meters high out of the ground.

I am so happy with the final creation, I never imagined it turning out as well as I think it has - I'm stoked.
I love my 3d pen even with the issues I mentioned in the review, it is still an amazing piece of technology that has changed how I approach art and creativity in general.
I really can't wait to get started on creating some of the creatures from my fantasy saga and sharign them with all of you.
What would you love to create with a 3D pen?

Check out my story


or follow me on twitter @krystlehaines