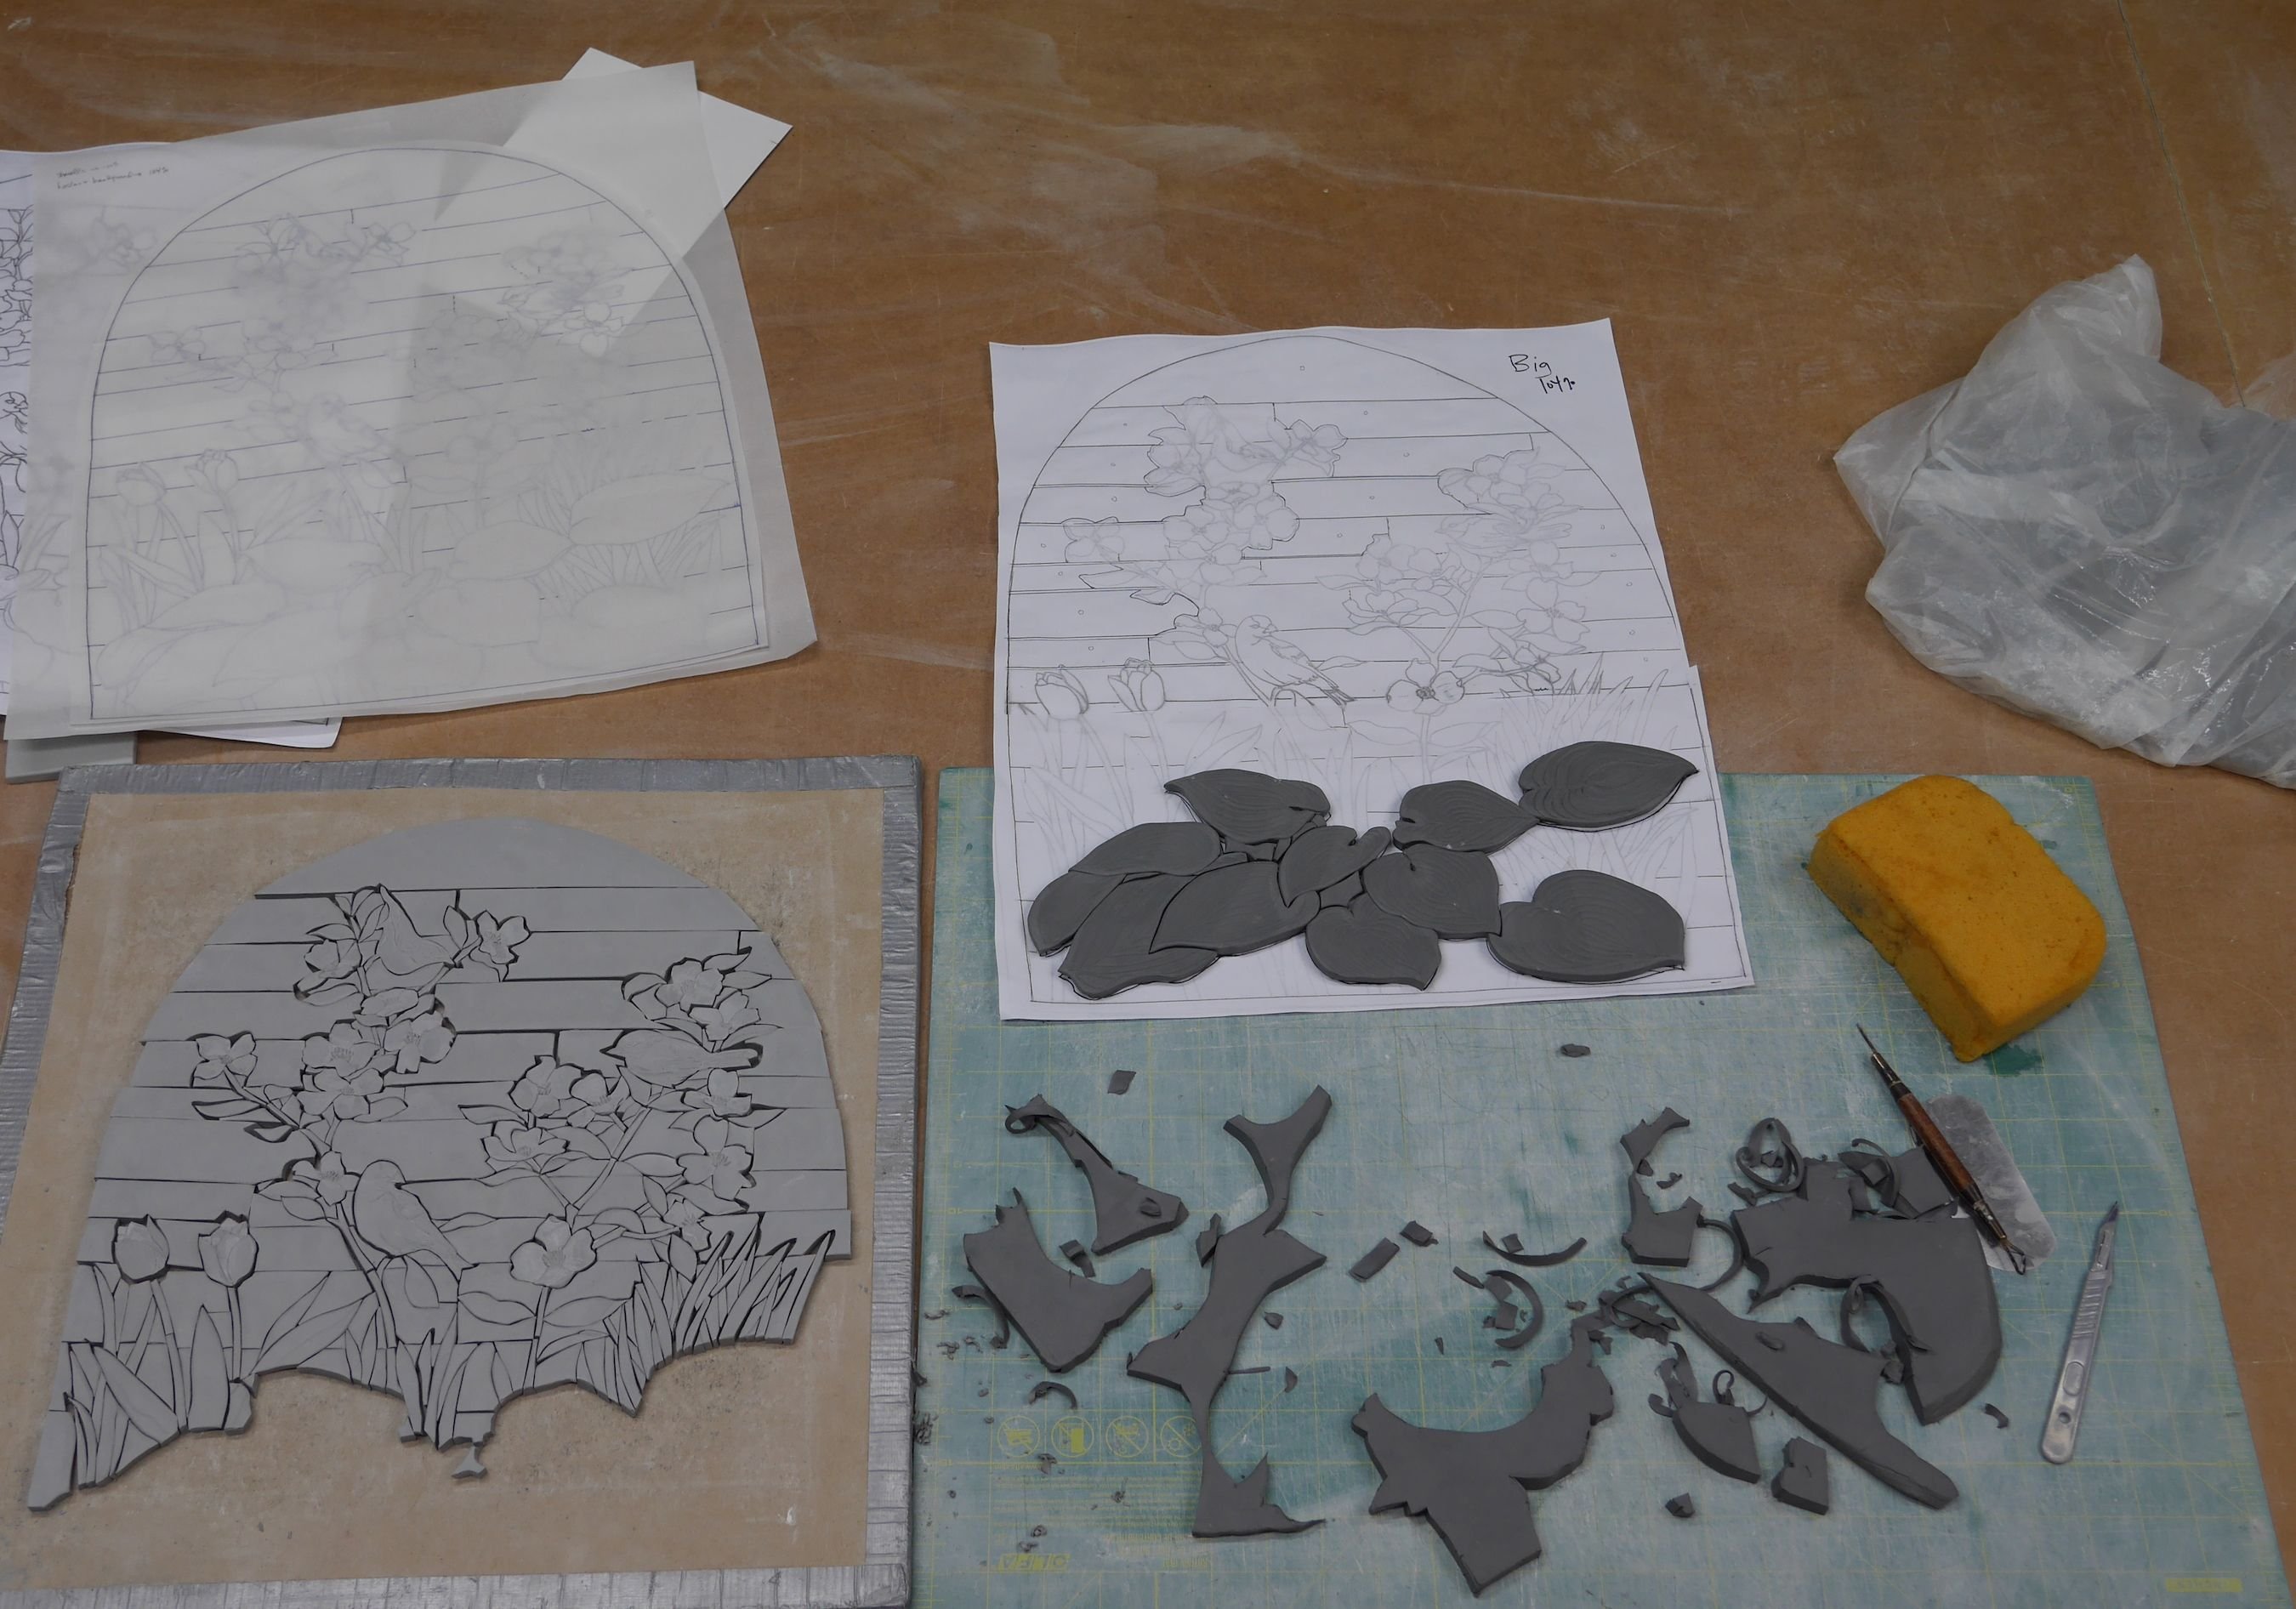
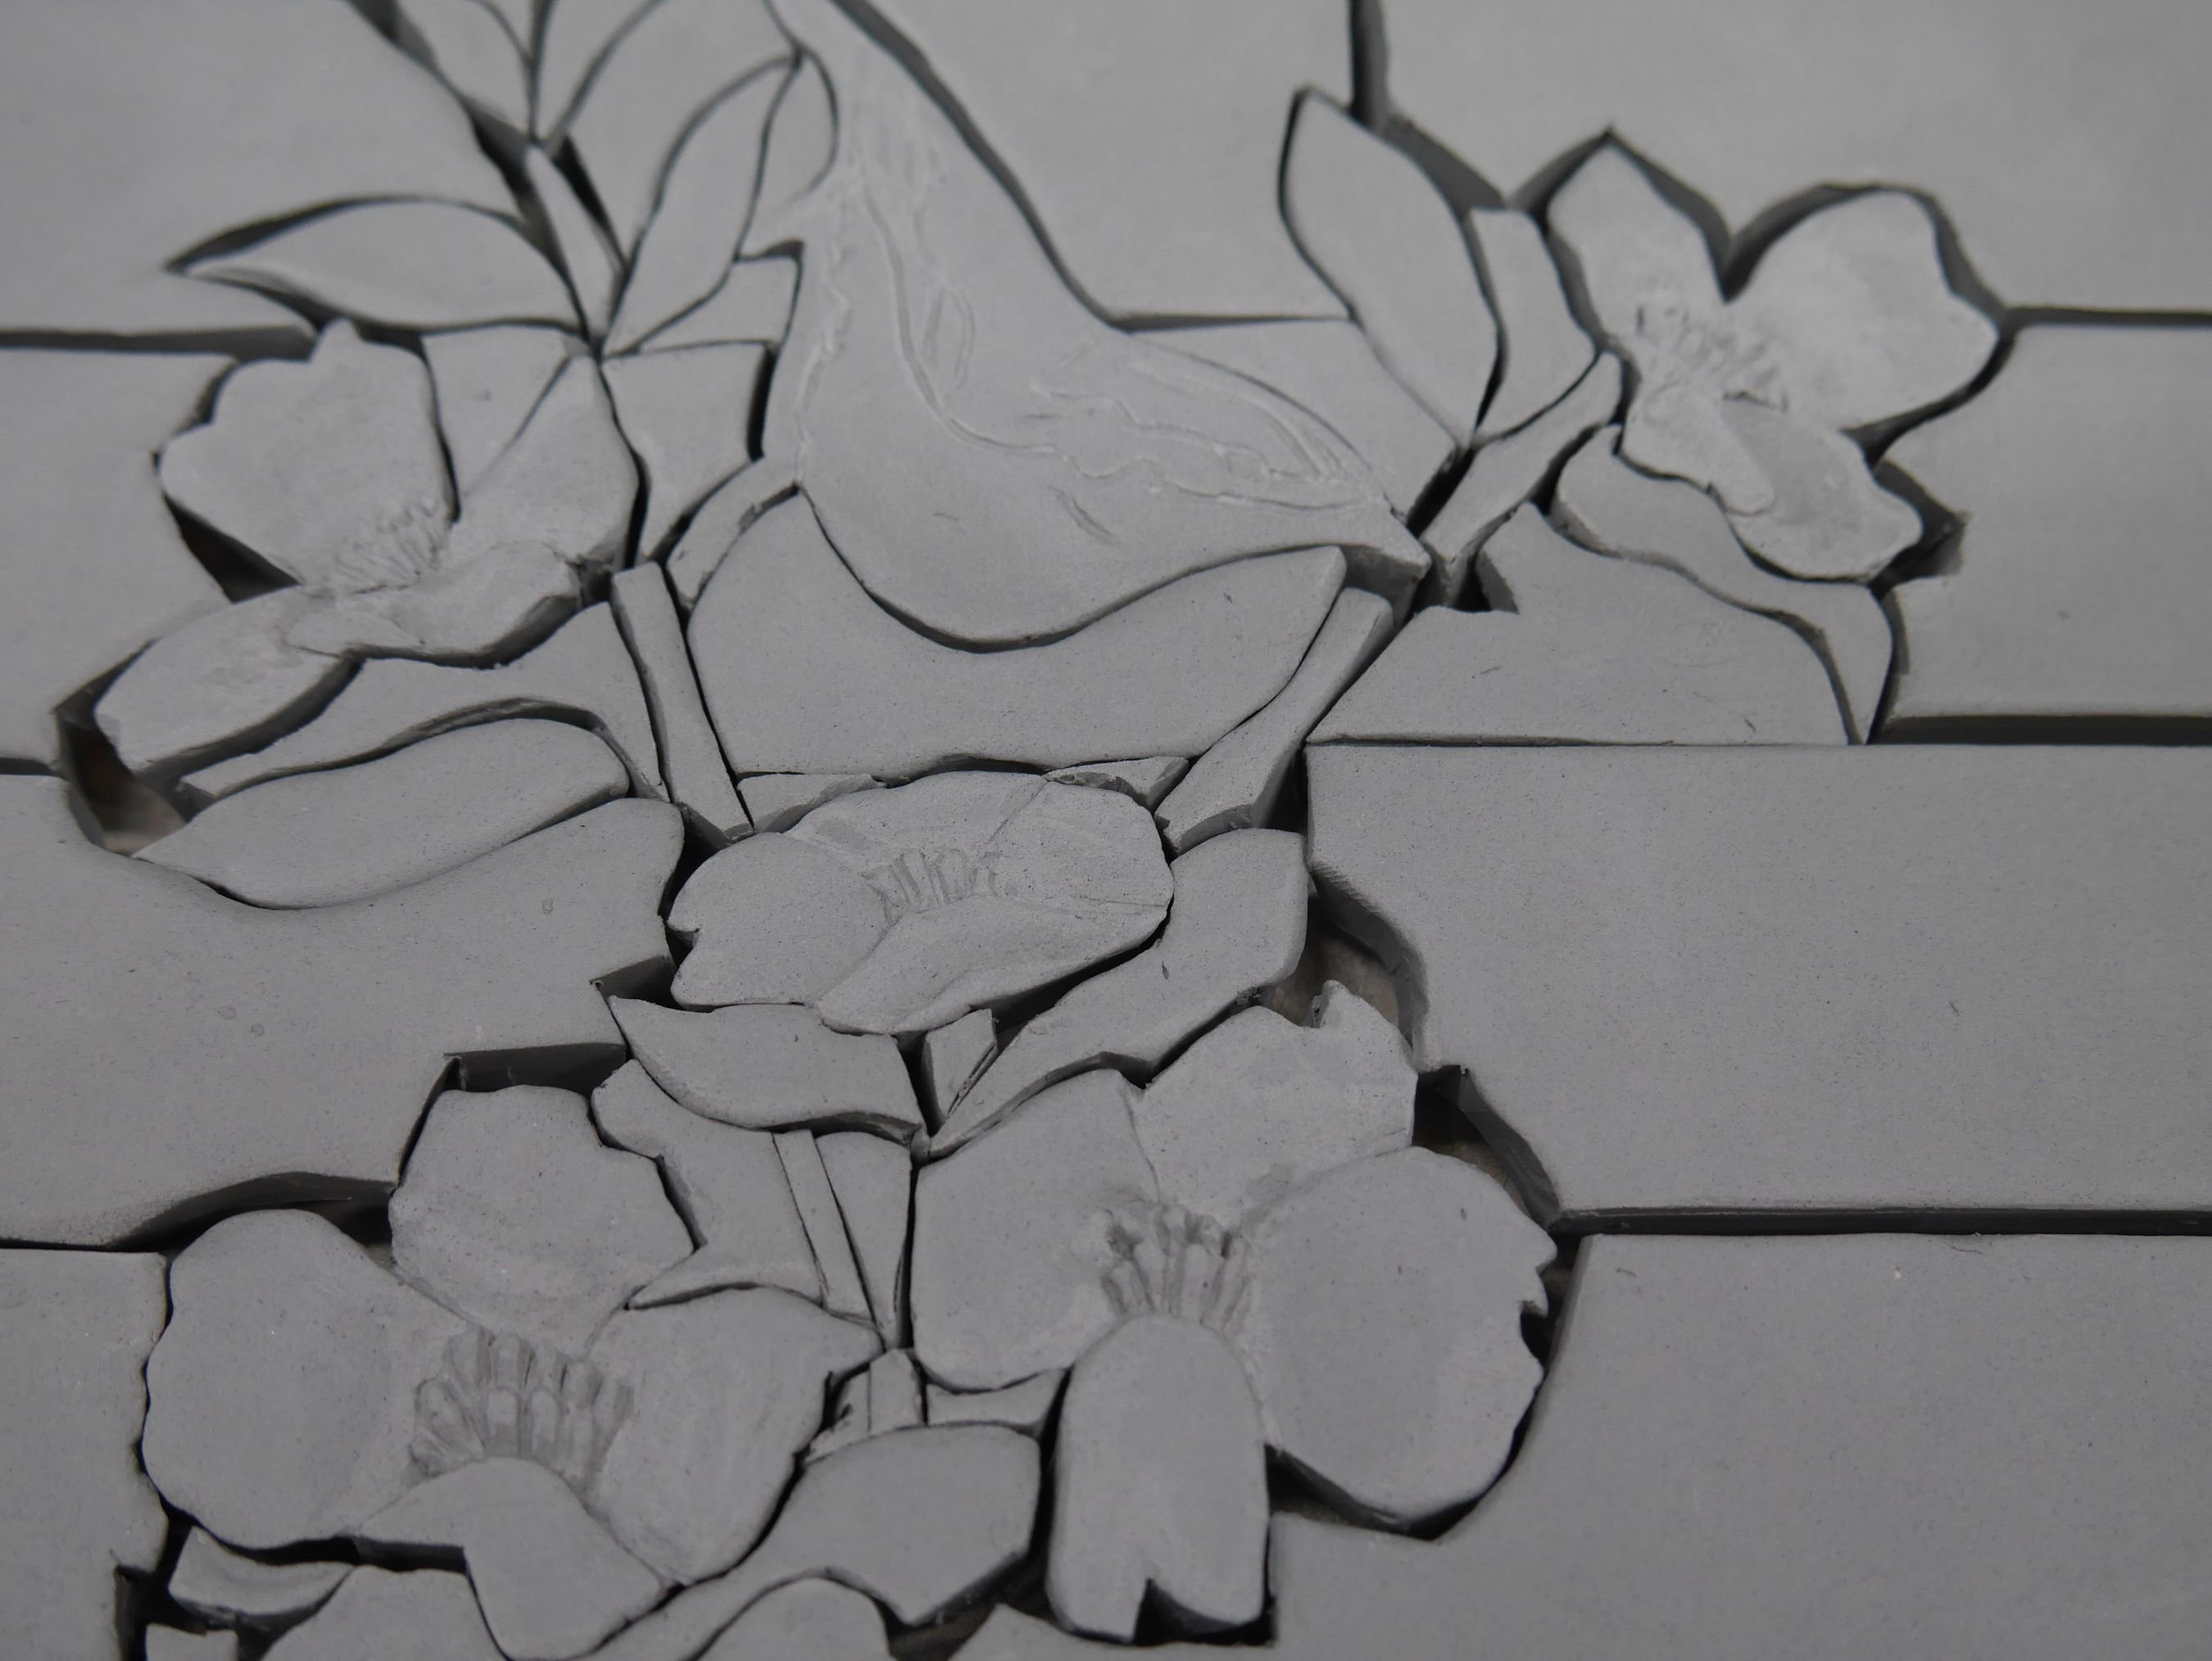
hand cutting detailed mosaic from wet clay
Before christmas I posted about the drawing phase of a small project I”m currently working on of some flowering Dogwood Tree branches, birds and plants.
A brief overview is that this piece is a ceramic mosaic commission 17” tall x 14” wide for a couple here in Portland, Oregon. It will be in a hallway alcove space that is sort of the energetic center of their home and because of this they wanted it to have some of their favorite plants (Dogwood, tulip), birds (Nuthatch, Goldfinch, Chicadee)and some heart shapes to represent their love for each other and for life. The Hosta leaves in the foreground are naturally heart shaped as well as being one of their most loved plants in their garden so they were a natural choice.
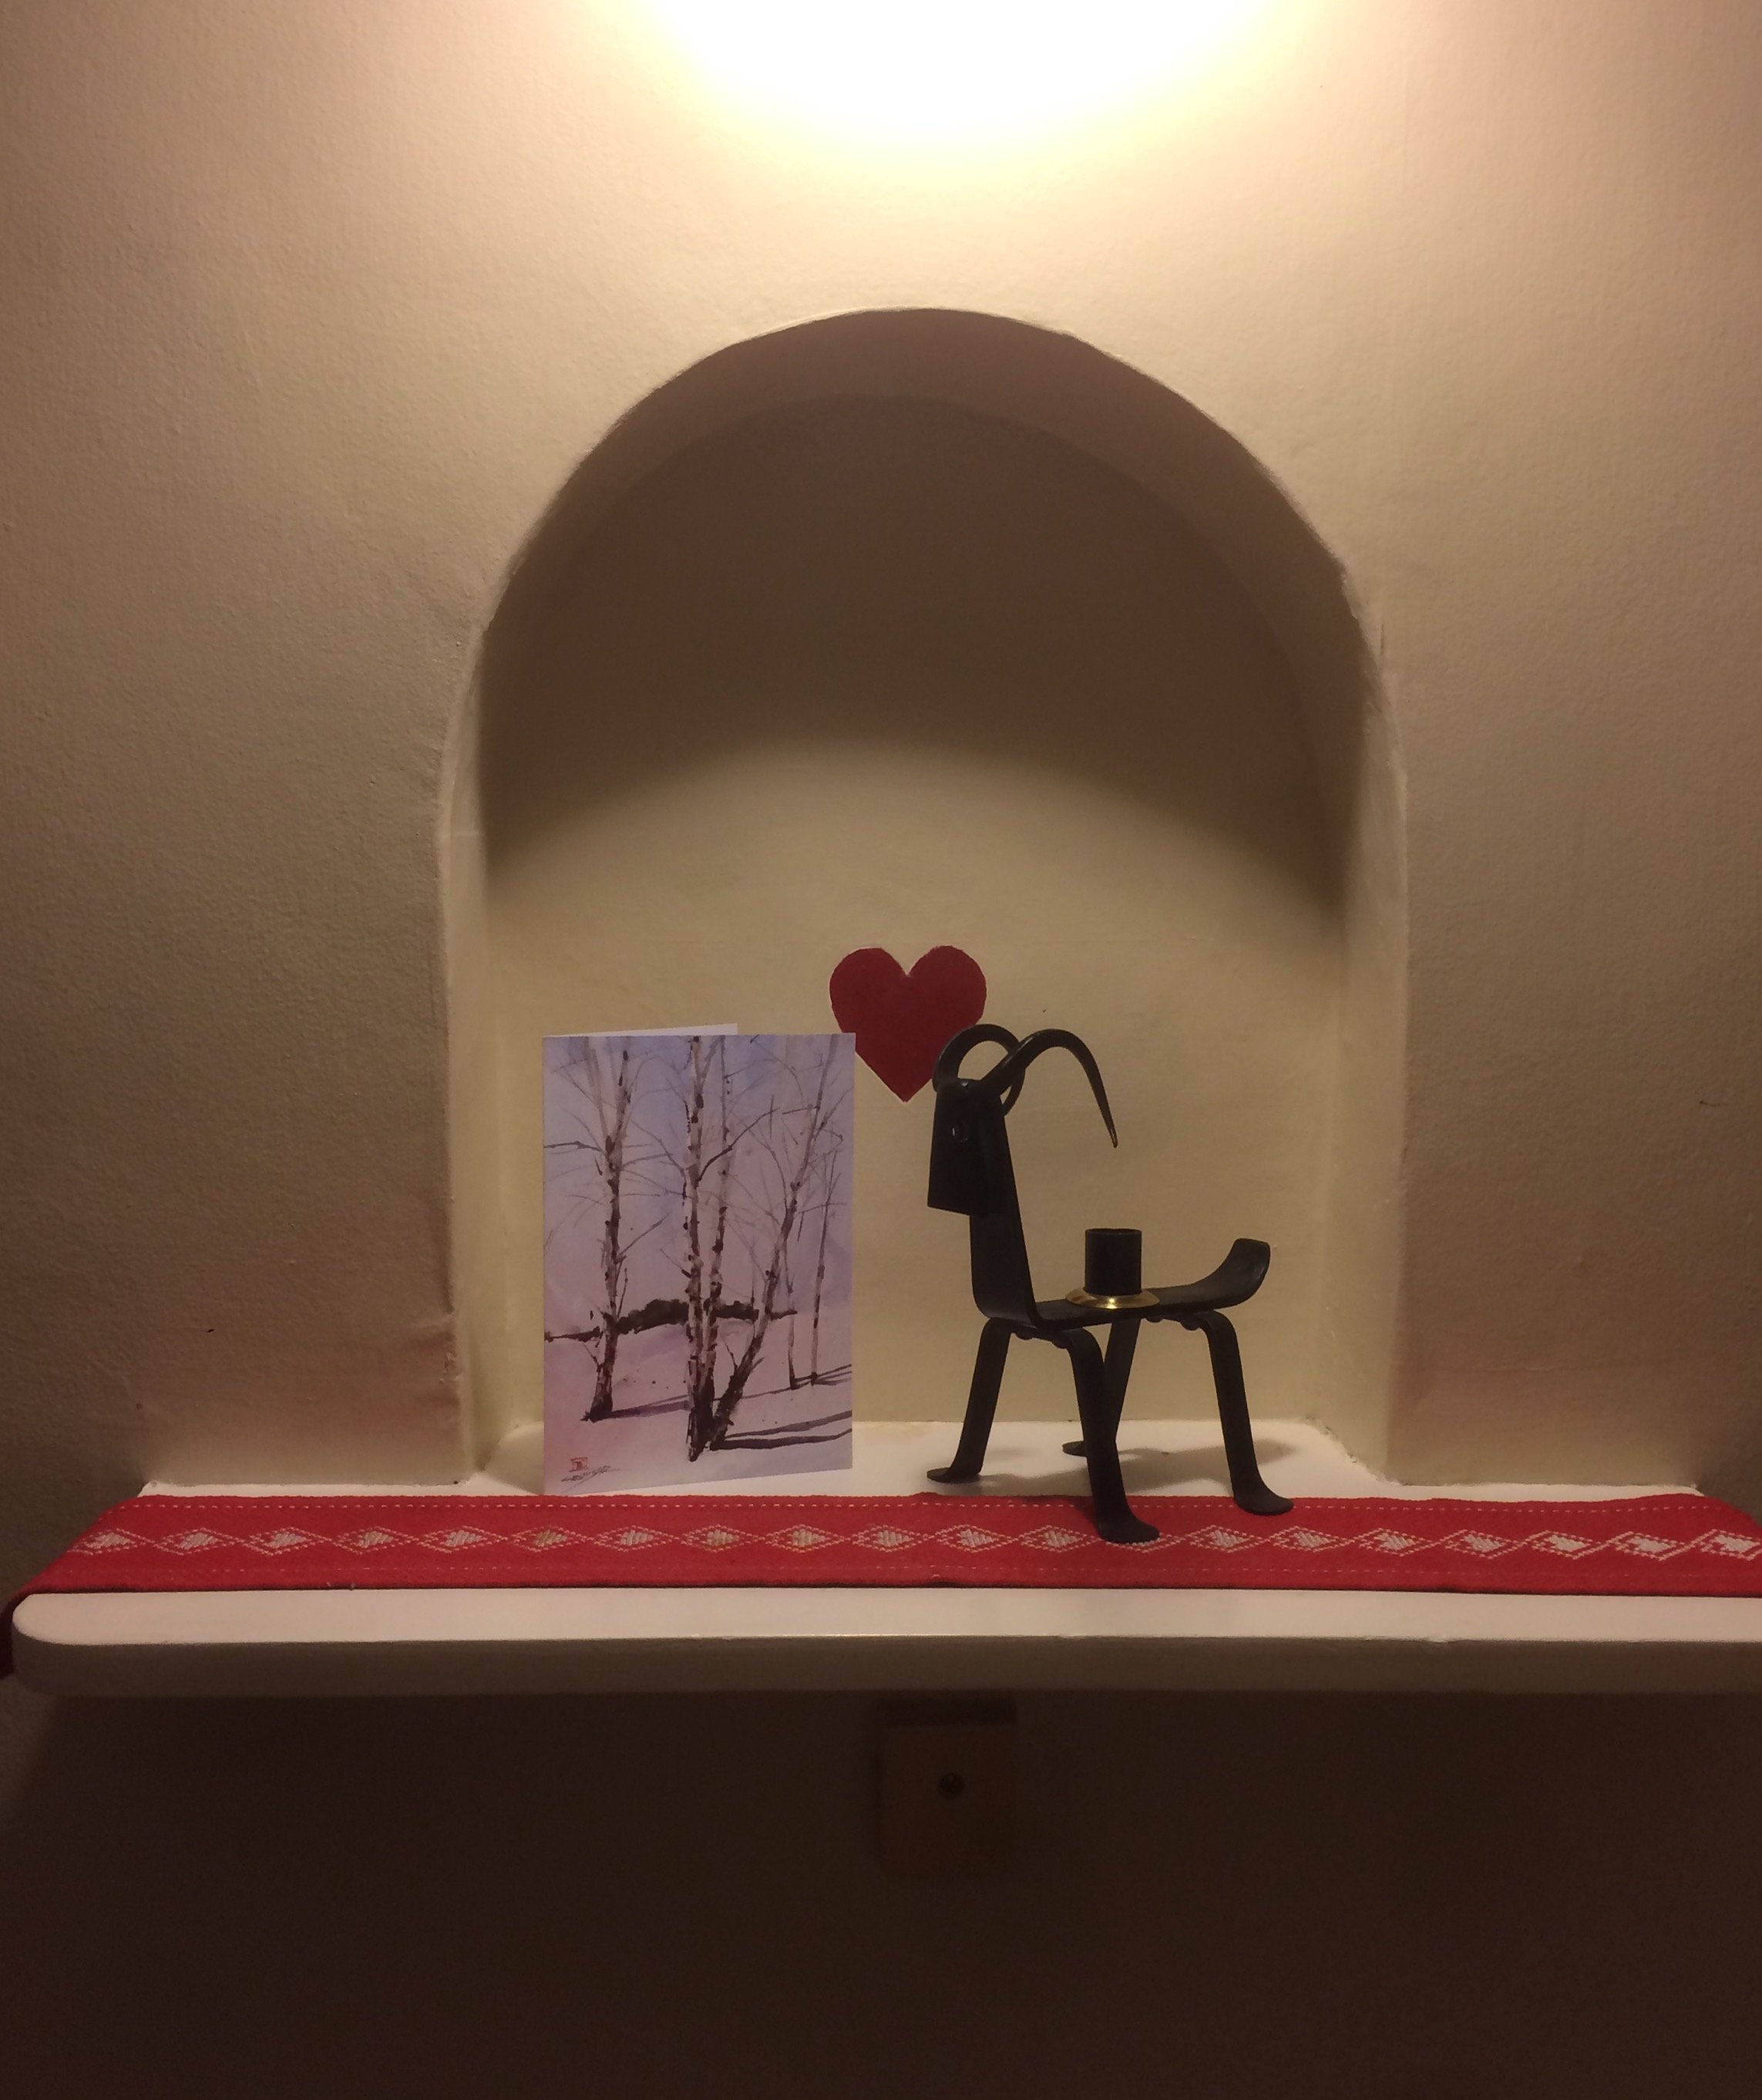
alcove space where the mosaic will be installed
The nature of the work flow in my ceramics studio is often stop and go for various reasons. Sometimes I’m waiting to get approval for the next step from a client, sometimes I’m waiting for something to come out of the kiln, or sometimes it’s the nature of juggling several projects at once which can cause delays to one while meeting the needs of the other but also has the advantage of allowing progress to happen.
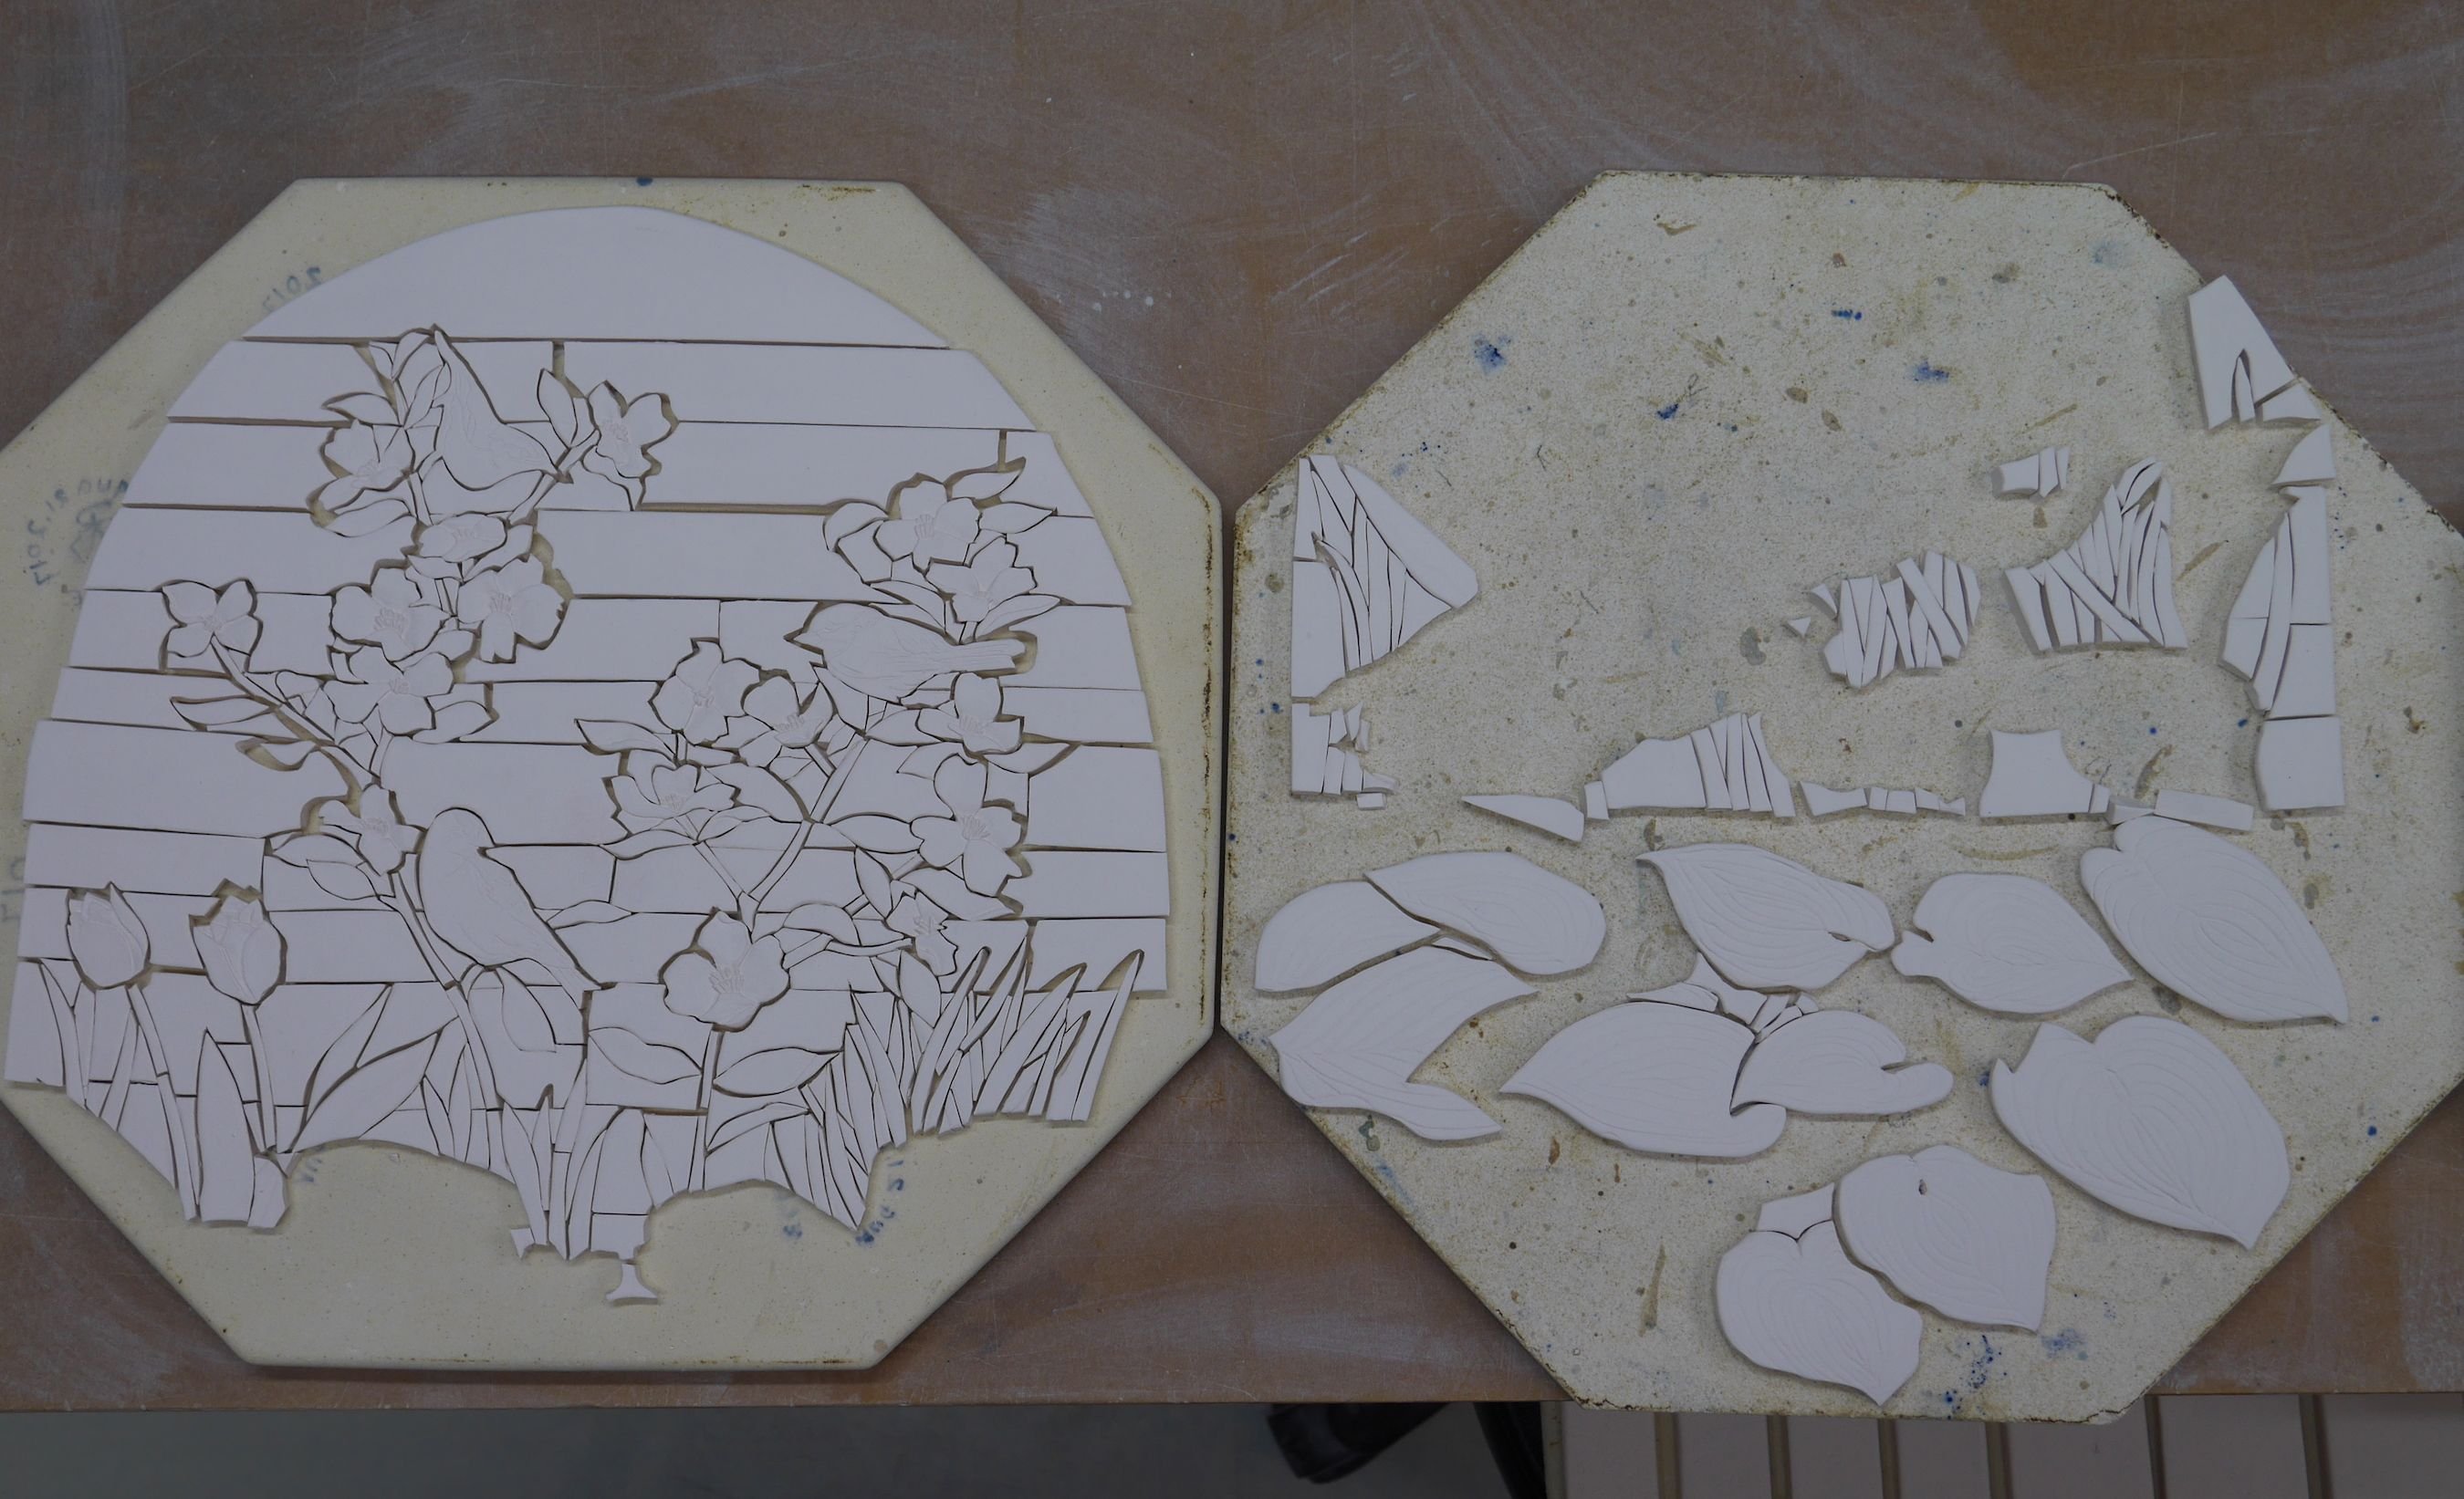
To take a piece from a drawing into a mosaic, first I roll a slab of clay with the desired thickness, in this case 3/8”. For this project I’m using a low-fire white earthenware:
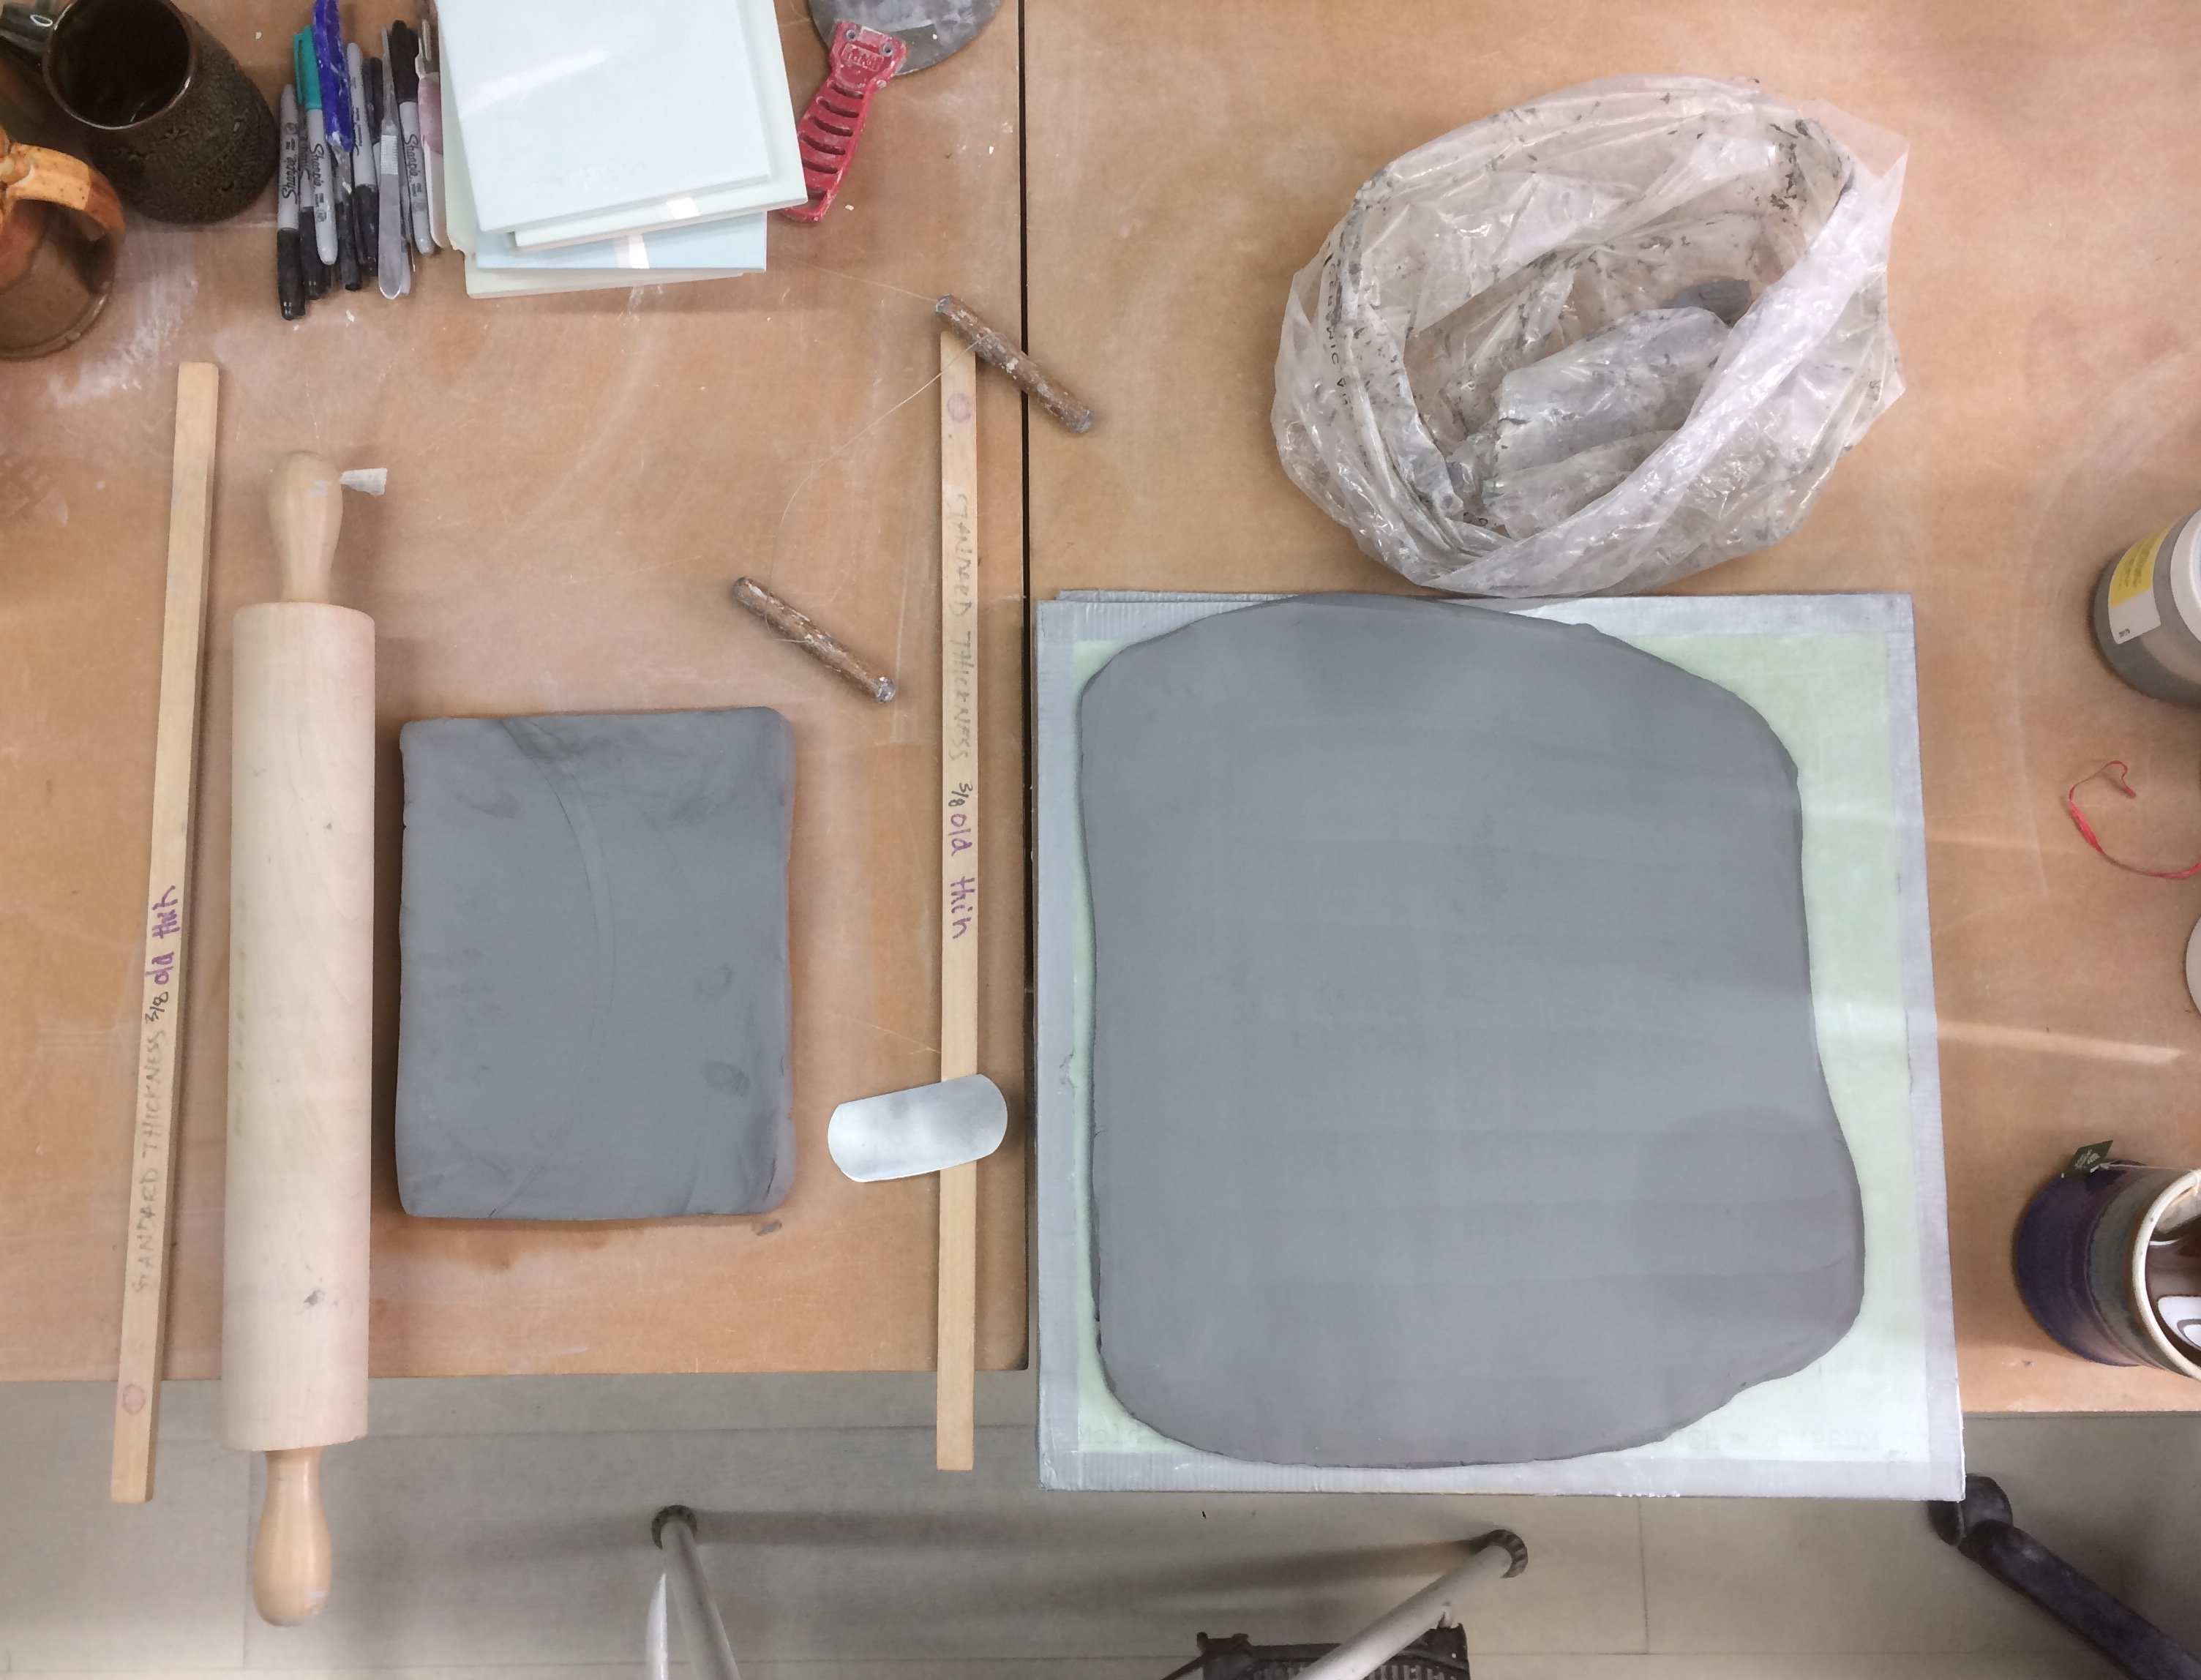
Once they clay slab has sat overnight to become “leather-hard”, it’s perfect for cutting. “Leather-hard” means that it’s firmed up enough to hold its shape and be handled without taking the impression of every single fingerprint yet soft enough to form, cut and make intentional impressions with.
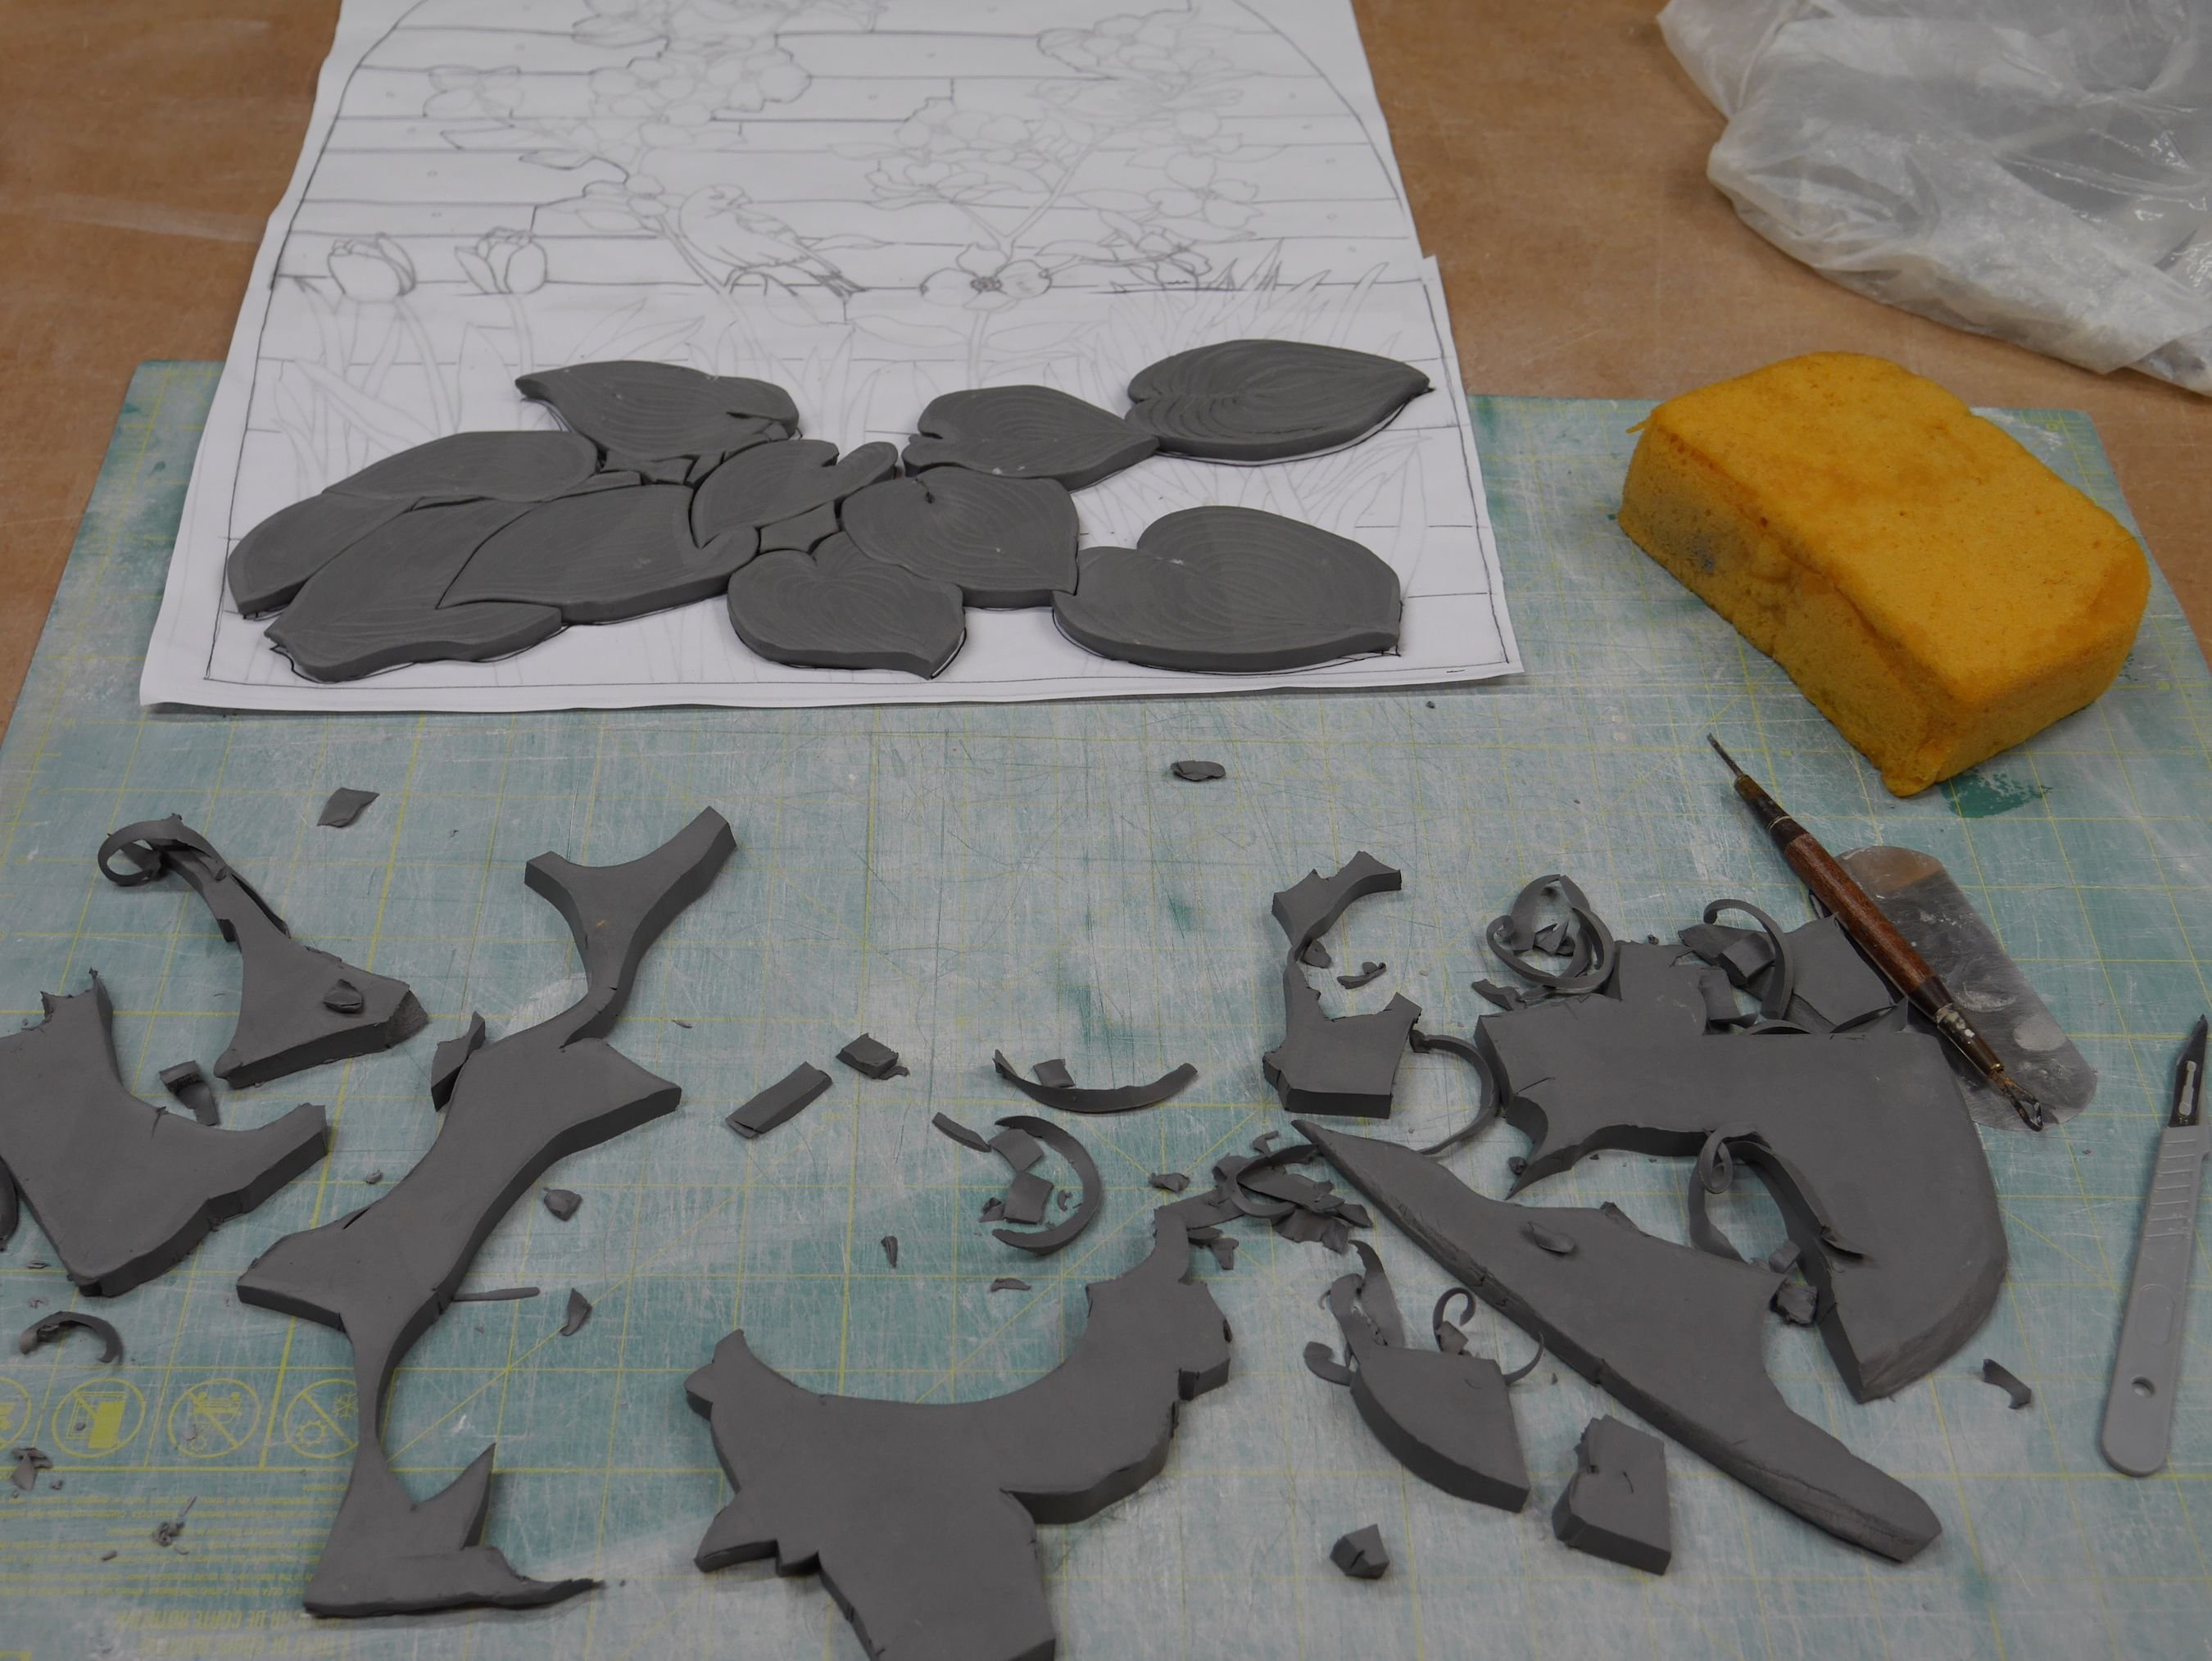
after cutting the Hosta plants, I put them on the drawing to fit them together and to keep track of them
Cutting this small piece requires some real patience with these tiny little pieces and it took about 10 hours over 3-4 days.
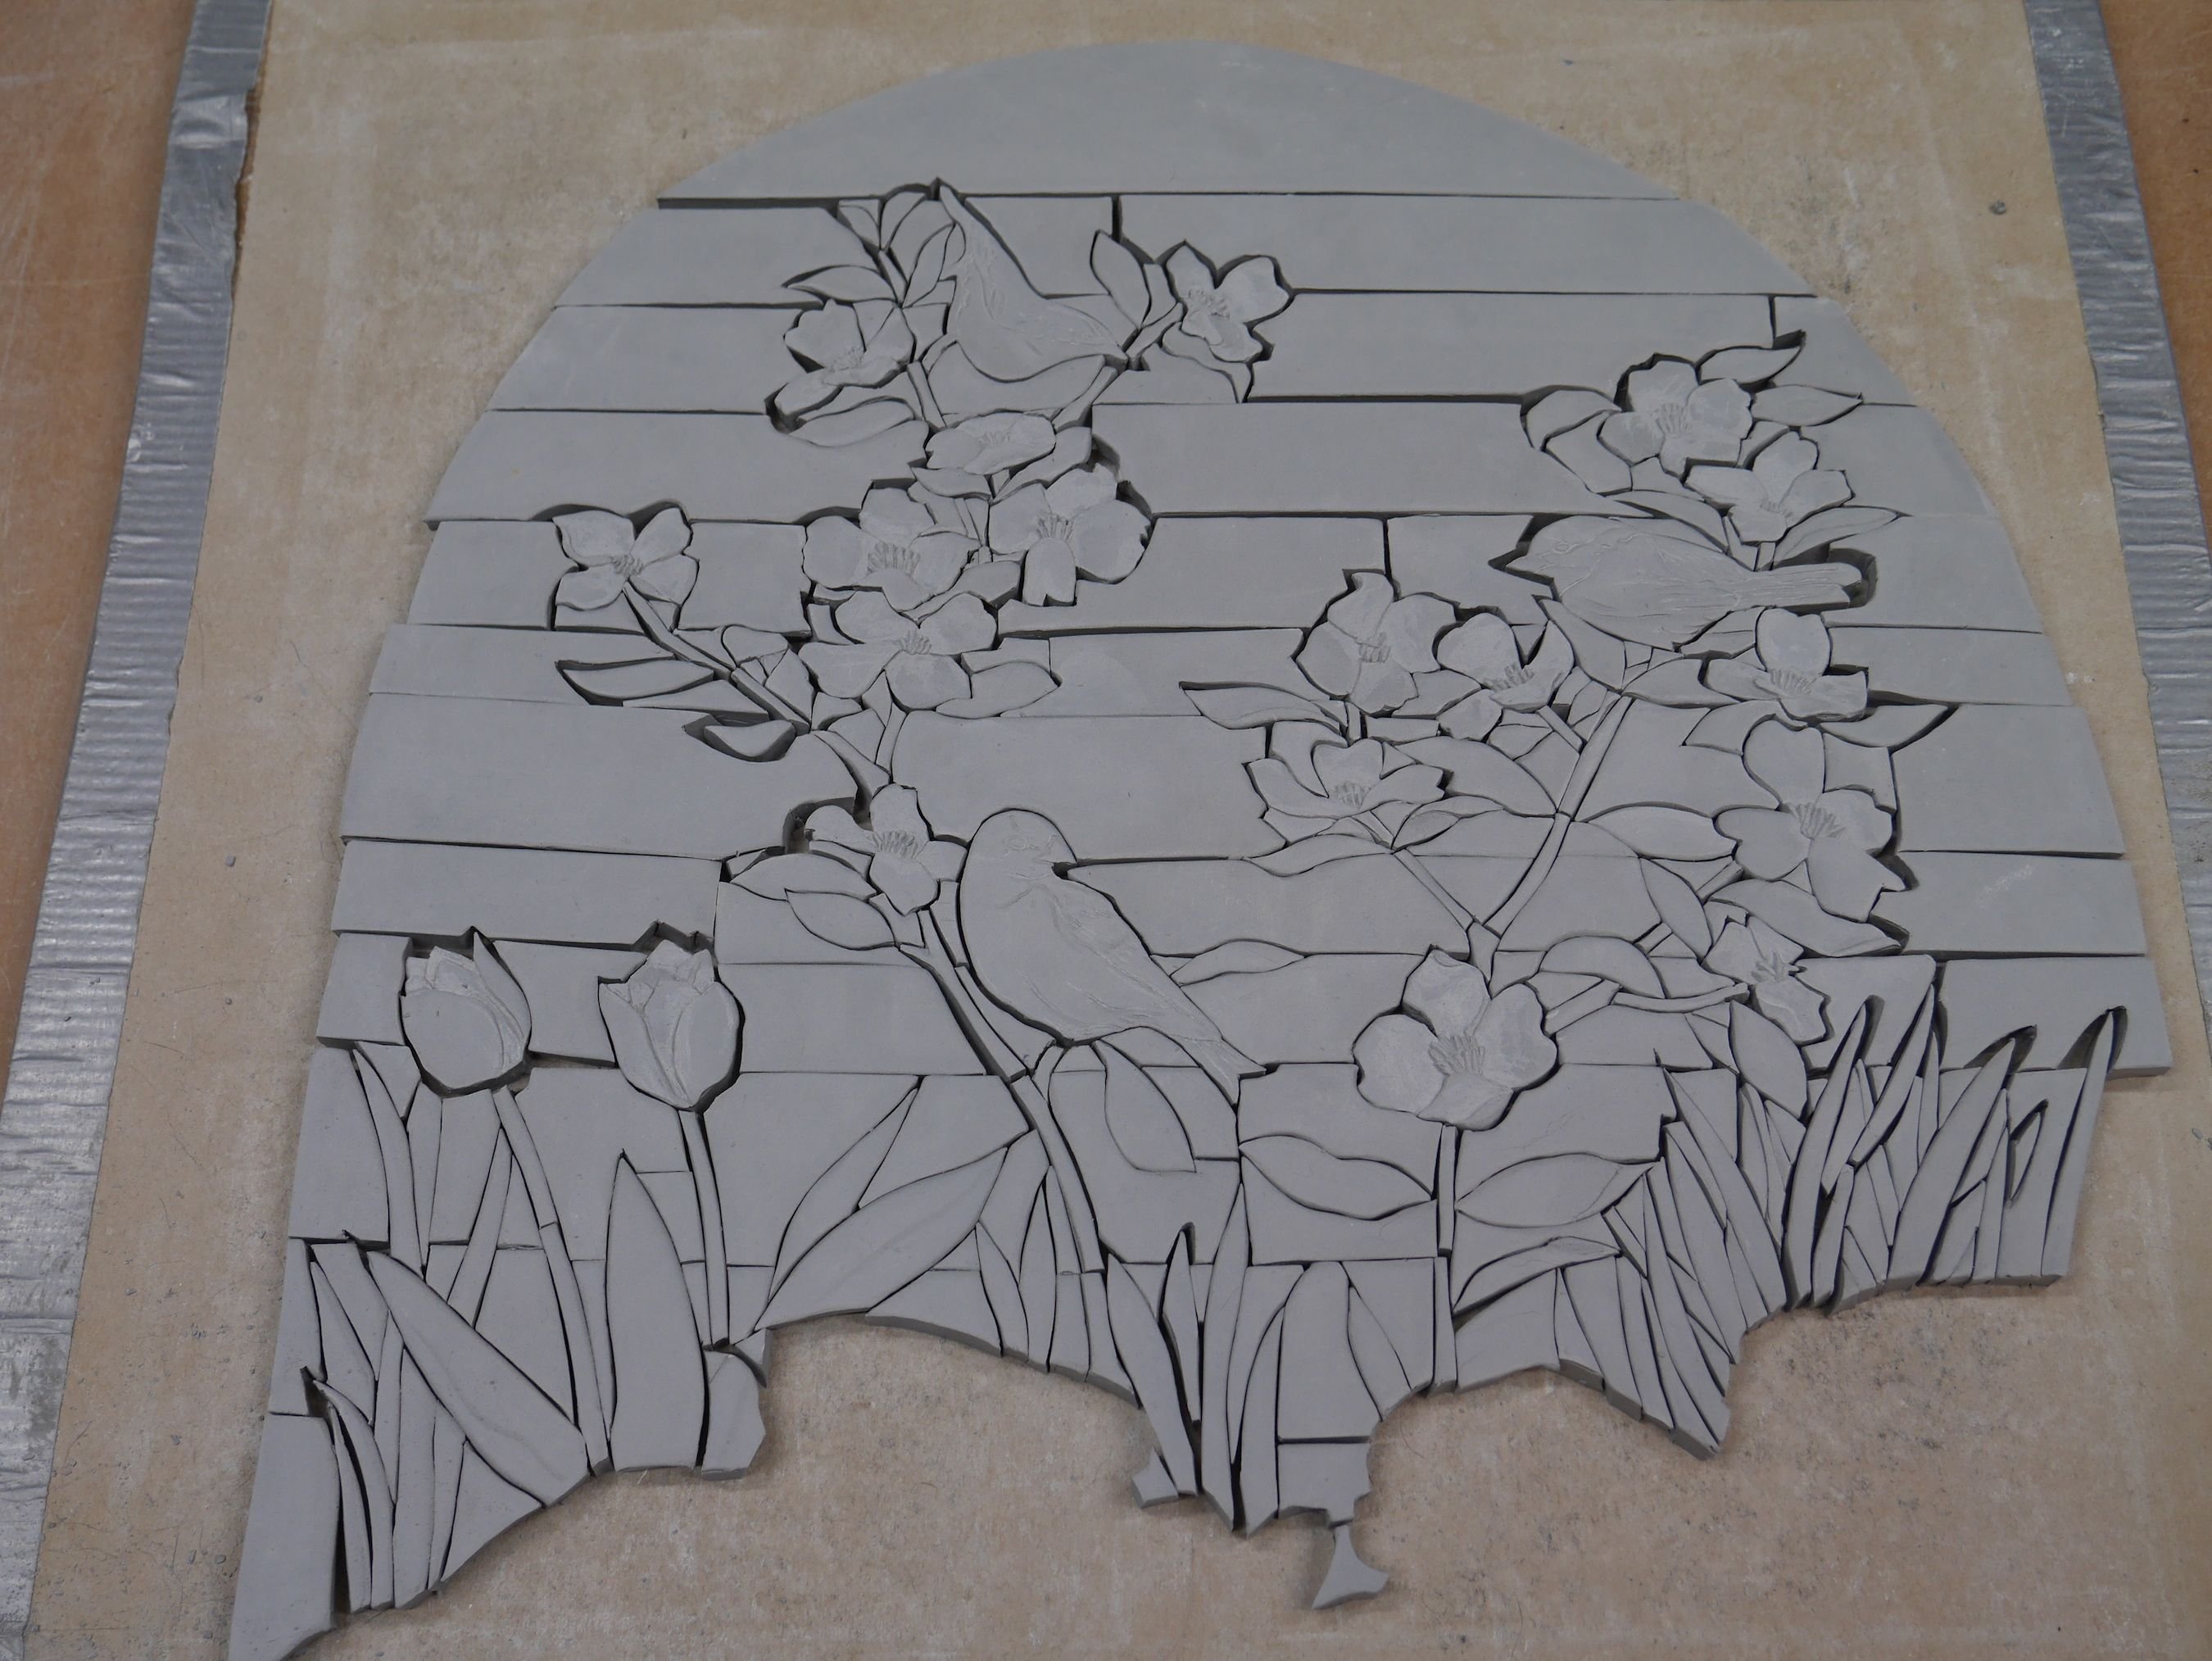
most of the mosaic cut and "bone dry" which makes it ready for firing
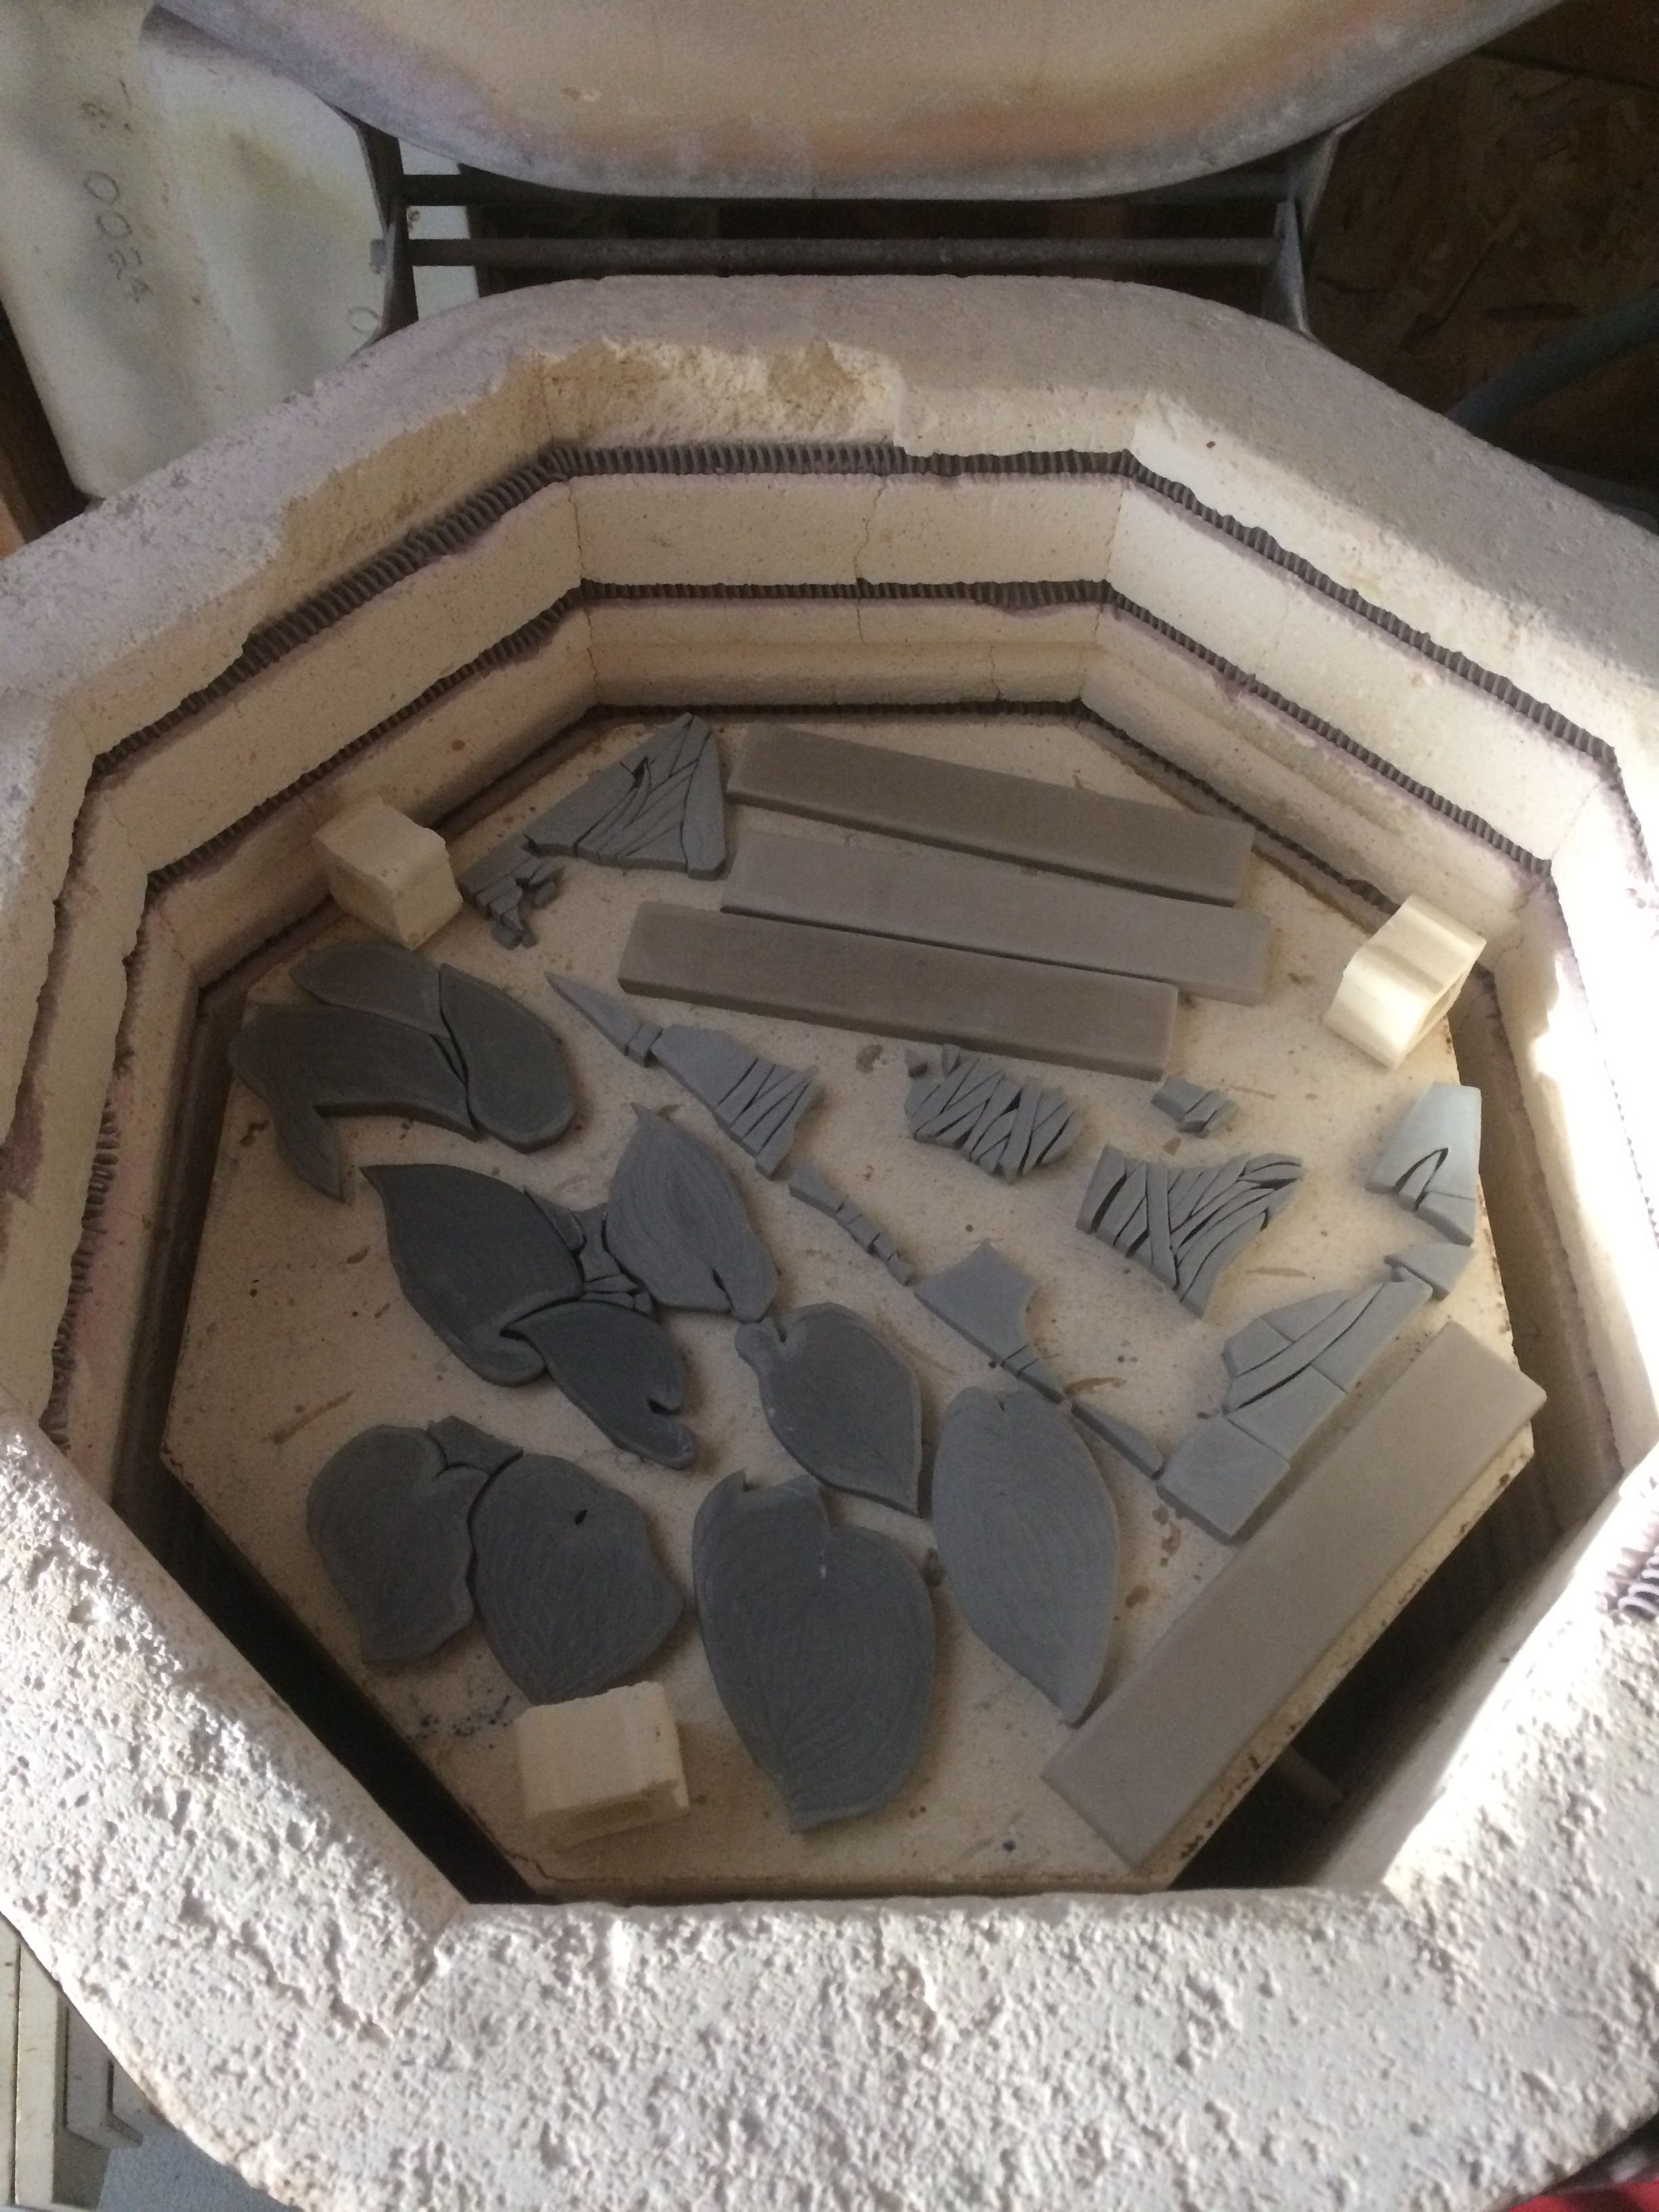
*in the kiln, ready for the bisque firing *
Once cut, it was left to dry out completely and was then fired to Pyrometric Cone 04 which is 1945 degrees F.
Next it’s time for glazing which usually about takes about the same amount of time as cutting although for this piece it will take a bit longer since the birds will have a lot of detailed colors. Yesterday I began glazing and I decided to do it a little at a time and fire frequently so I can see the results before moving on.
out of the bisque kiln and ready for glaze
The reason for this is that this being a small piece, every single color has to be just right and work well with everything around it. If you’re familiar with ceramics you know how variable glaze colors can be! They vary with application, with natural mineral differences batch to batch and of course depending on its location in the kiln since there is a lot of temperature difference within any firing.
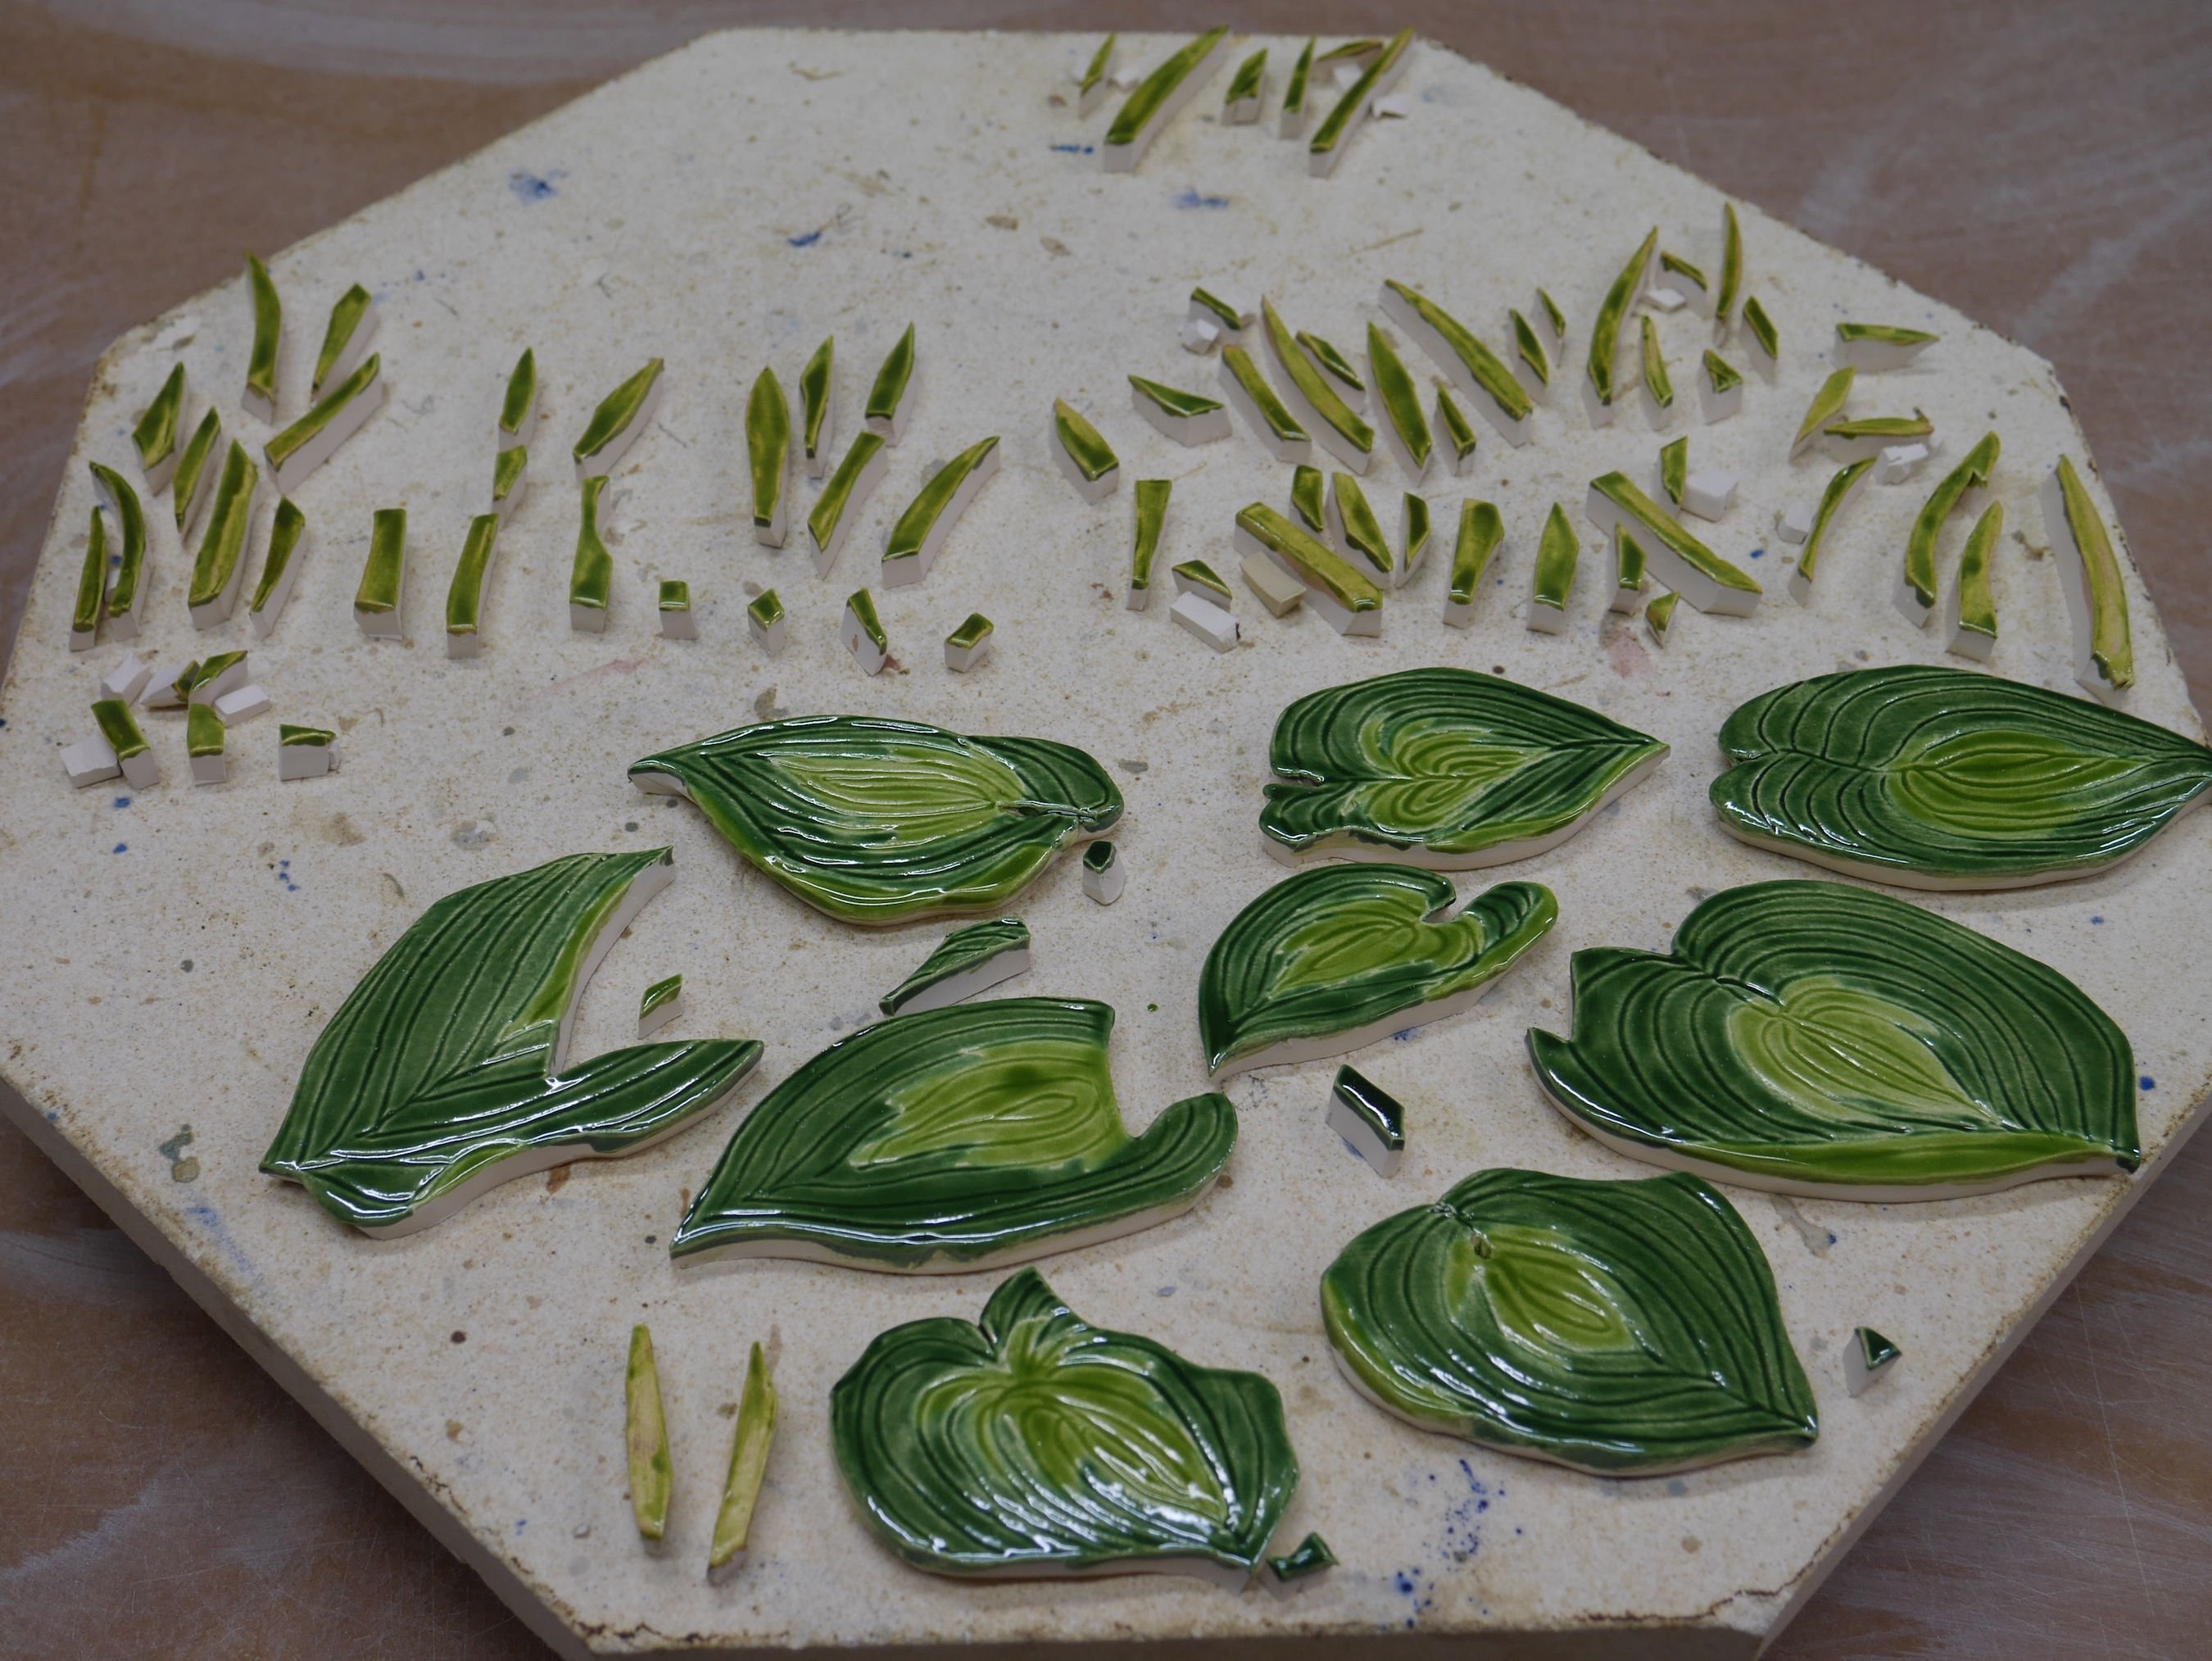
Here are my first results of the Hostas and grasses:
To keep up with progress with this piece as well as the huge poolhouse mural commission in the coming weeks, please follow me and check my feed in the coming weeks!
Thank you for supporting my blog, Steemit plays an important role in funding my art projects and process!