Have you ever shot a bunch of footage only to think: Well, this is just a bunch of bullshit... what am I supposed to do with this?
That's exactly what happened to me in 2011 when I shot my second 16mm film at Ryerson University.
Let's Start at the Very Beginning
In my first semester of film school, we did everything on film. We shot, edited and exhibited our movies without the aid of any computers or digital technology.
The assignment was to create an experimental film. A young and cocky Seth thought to himself, Hey! I can just go out into the forest, shoot a bunch of crap and edit it together! It will look cool, right?
I learned the hard way that it's not that easy.
It turns out when you just go into the forest to shoot a bunch of shit, it ends up looking like... shit. Surprised? You shouldn't be. But I was.
My footage wasn't bad. Focus was good. Lighting was even. I even got a chance to utilize a few interesting techniques to get unique shots. The footage looked fine, but I had no idea what to do with it. I had no plan.
I had no movie.
I was certain that if I cut the footage together as it was, no matter what I did people would be bored. And boring people in only 45 seconds is a bad, bad thing. If I can't hold an audience's attention for less than a minute, I have no hope of ever being a decent filmmaker.
So I made a decision...
"I'll throw experiments at the wall and see what sticks!"
Oh Seth, Seth, Seth...
You got into this mess by not having a plan and your solution is to just mess around and throw things together without any plan!? Yea, this will turn out great.
I'm going to chalk it up to pure luck that this film somehow managed to NOT be a total disaster. I'm going to call it a miracle that it's actually pretty good. Maybe even great.
Preamble over... Let's watch the movie!
Disorientation (2011)
*Don't worry about sound. There isn't any!
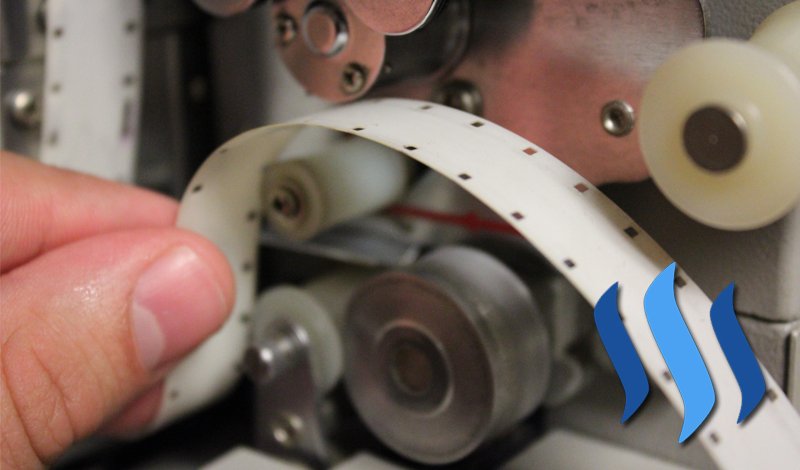
I apologize that the video isn't the best quality. I had to film it from a projector. After how much I messed with the film, no film scanner would want to put this through their machine.
For anyone who's interested, I'm about to go into detail about some of the crazy stuff I did to make this work.
Process & Techniques
Filming Upside-Down
How do you get backwards footage when you aren't using any digital techniques? Simple. Flip the camera upside down. Seriously.
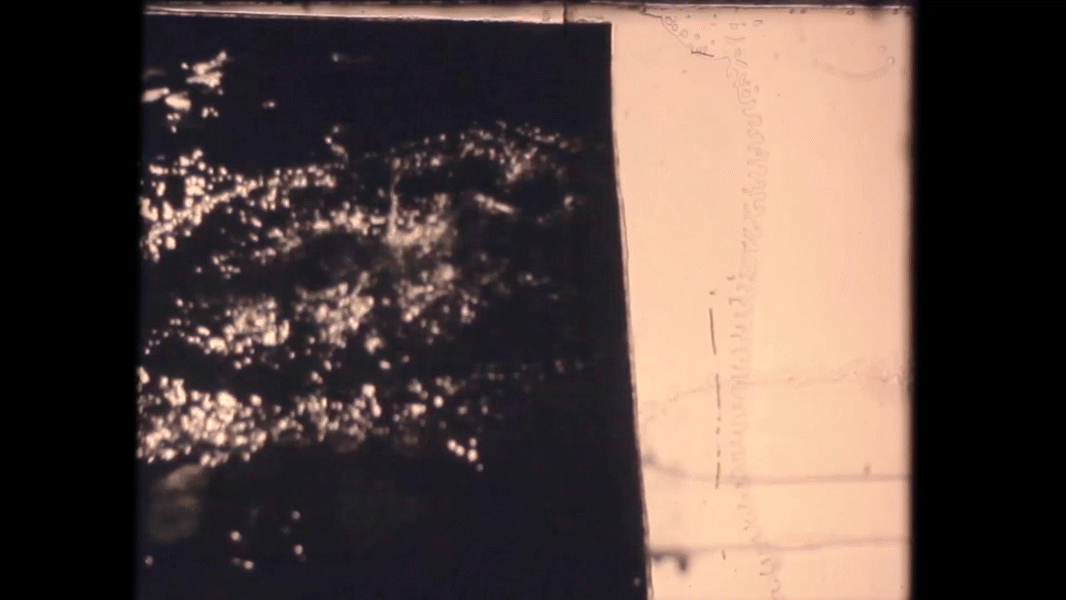
You shoot your footage upside down, and then when you flip it right-side up in the edit room, it will play in reverse. That's how I got this shot of the reverse splash:
Frame-Splitting
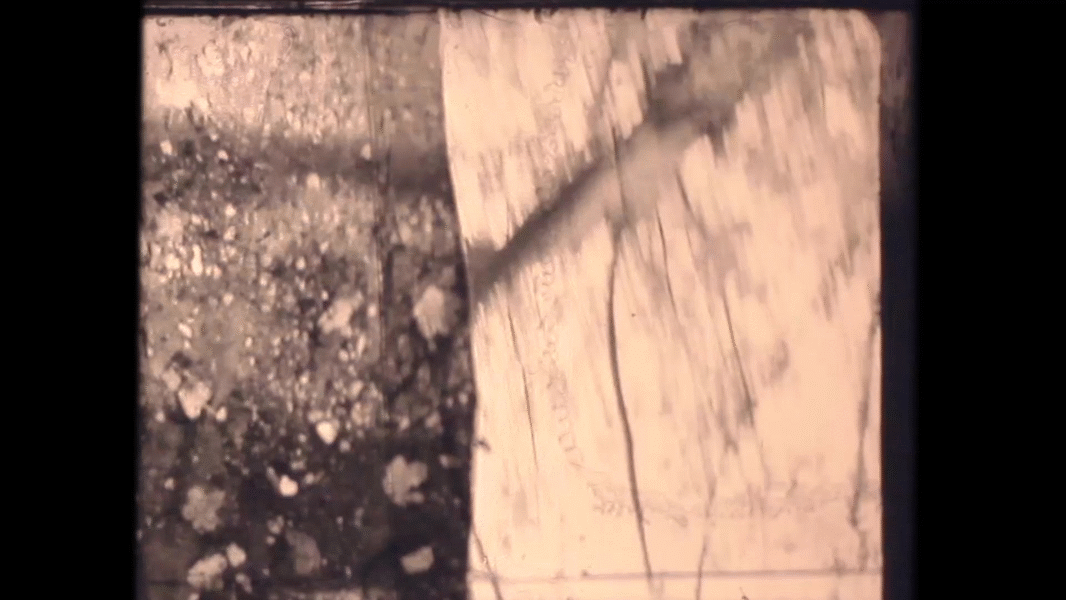
This is another common video technique that is very difficult to pull off when working solely with physical film: the split-screen. I accomplished these shots by slicing the film through the middle of the frames and doing the same to another shot. Then I taped them together.
Voila!
Scratching, Colouring, and Drawing on the Film
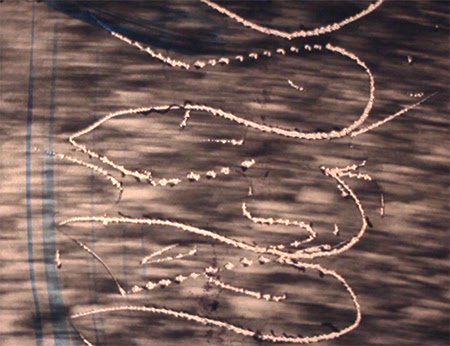
In some instances, I would only add these little flourishes for a single frame. So you might notice a flash of colour or a deep scratch that disappears and quickly as it appeared.

Other times, I would sustain these design choices for multiple frames or entire shots.

I even animated.
I would draw a small dot and have it grow over several frames, then let it shrink back down into nothing. I was doing this before I had even considered pursuing animation.
I was animating before I even knew I was animating!
As I'm sure you noticed, I even animated the main title.
That's all I have to say about that. If you have any questions about this little film, please leave them in the comments.
Thanks for checking out my work. Please remember to upvote and follow me @sethlinson!
~Seth
- Anarcho-Memes: Where memes and anarchy come together to make beautiful babies.
- Check out my First Film Shot on ACTUAL FILM.
- Memes Have Ruined My Movie-Watching Experience!
- Is Sharing Someone Else's Content STEALING? A conversation on Steemit ethics.
- I like my life a lot better when I'm Not Playing Videogames.
- History buffs need to watch this Amazing Colour Film Footage from 1939.