Flat design is a minimalist user interface (UI) design genre, or design language, commonly used in graphical user interfaces (such as web applications and mobile apps), especially in such graphical materials as posters, arts, guide documents, publishing products. source
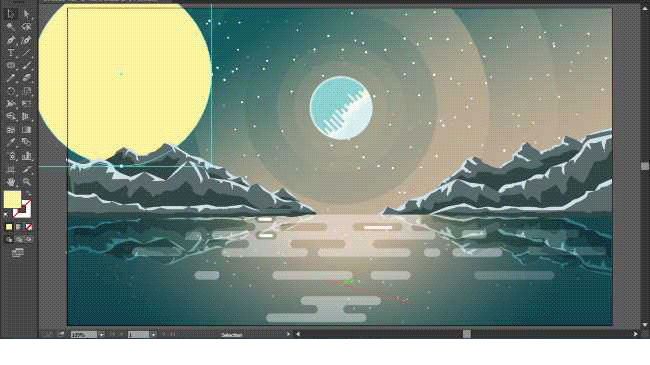
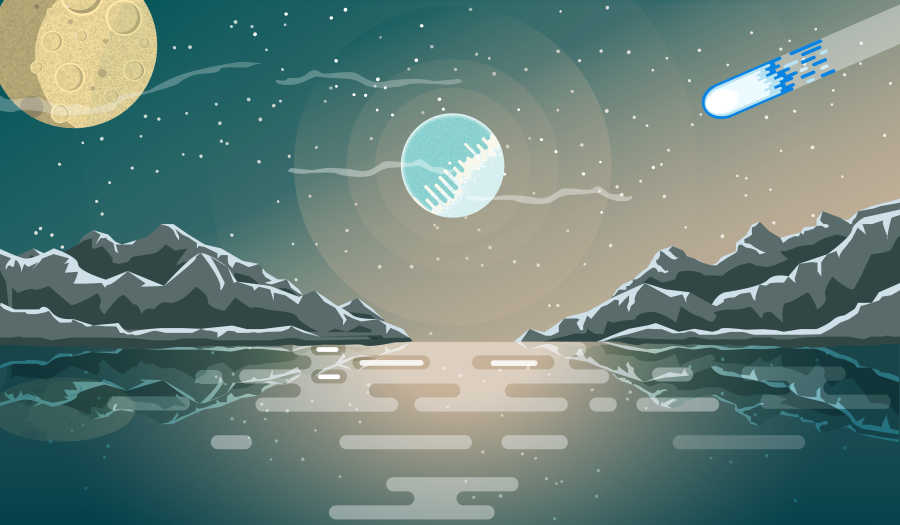
Hello guys, It's day three of my flat design practice, as I said In the last Episode, I promised to make some improvements to the original landscape and also share some tutorials.
Today, I added a moon and a speeding comet, I also added environmental factors like some light breezed clouds.
My next step is to add alien characters on the lake, also some alien creatures in the background. My final step will be to do my first flat design animation with the moving objects(Sun, comet, river, etc.)
It might prove to be a challenge but the worst thing that'll happen is me learning even more about flat design. I think am already falling in love with this art style and I hope to also inspire others in creating flat designs.
The software I used is Adobe Illustrator CC 2015. I'll be assuming you already have a basic knowledge of simple adobe usage. like selecting shapes tool, grouping objects, cutting and trimming objects.
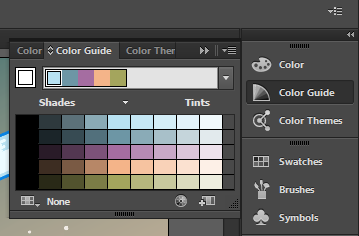
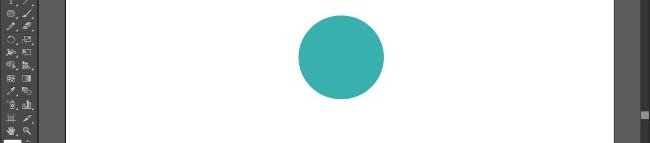
Also, you can feel free to use your own flat color themes. you can go here and see a huge library of flat colors.
A side note: once you select a flat color for a particular object, don't stray too far from the base color when defining the highlights and shadow. you can use the color guide bar to guide your eyes.
FLAT COLOR PLANETARY BODIES TUTORIAL
ICY COLD SUN
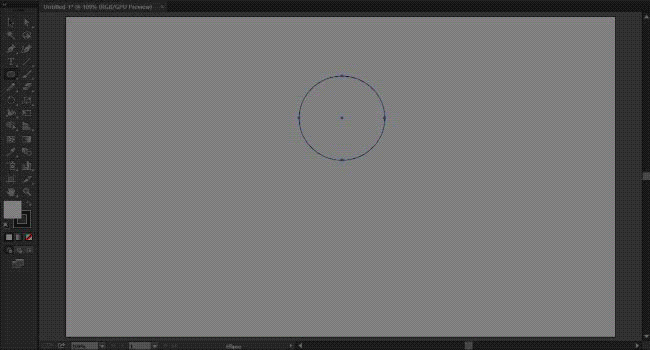
Draw a circle with a base color. I choose a cool color because I was designing a cold climate.
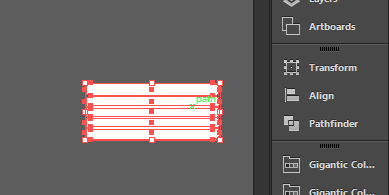
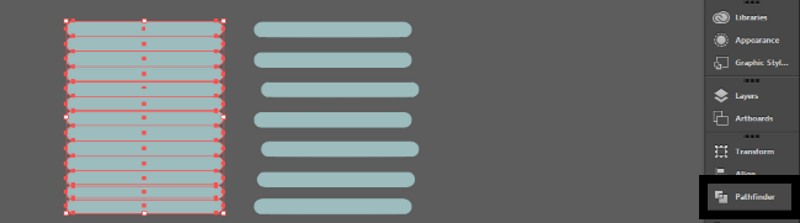
Draw rounded rectangles beneath each other
Choose a light shade color and duplicate the rounded rectangles
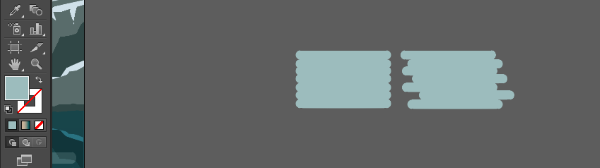
For the duplicated rectangle alternate and scale it and make the pattern irregular as shown above
alternate and delete the middle part of the duplicated rectangle
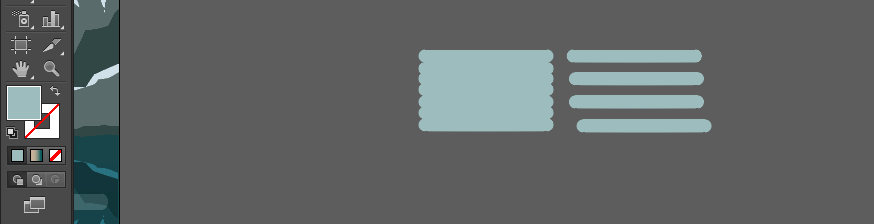
You can duplicate the rectangles to extend the vertical length, depending on the diameter of your sun circle
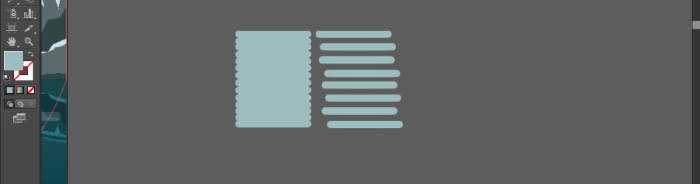
Make sure the rectangles are lined up very well and straight to each other and also leaving spaces between the duplicated rectangles.
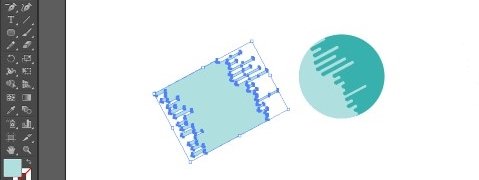
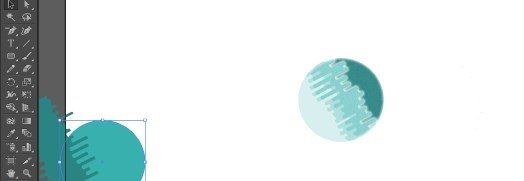
Highlight and move the duplicated rectangle to intersect the original one
Highlight each opposing rectangles and under the Pathfinder menu, select minus front or minus back depending on the arrangement of the rectangle to each other
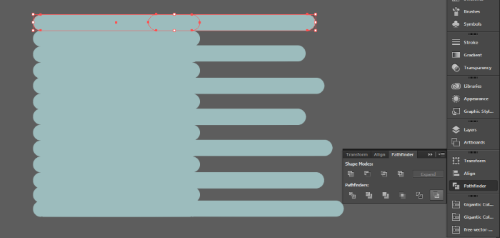
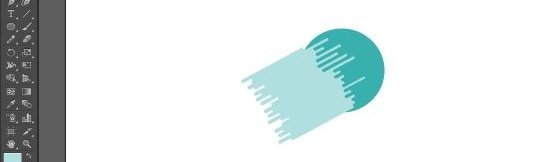
The final form should look like this
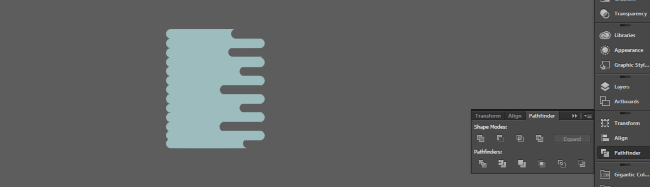
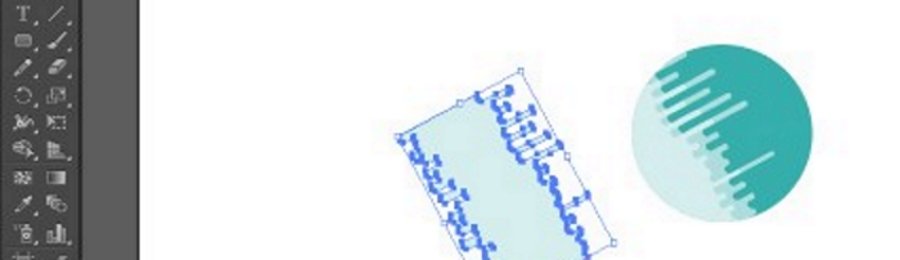
Take the shaped rectangle and use it to cut new shape into the circle using the pathfinder menu
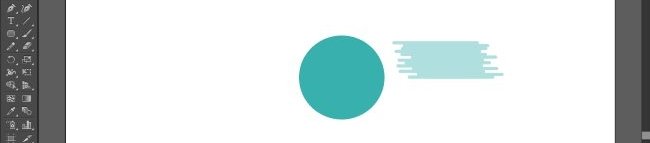
You are going to be making three-layered cuts in the sun circle. so reduce the length to proportions. select a light color shade and cut an inner shade using the pathfinder menu
Make the final cut on the darker side with a darker shade

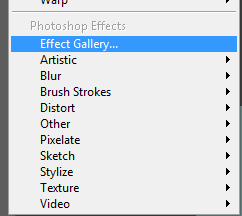
Upnext we'll be adding effects to the sun. first, select the initial full circle and add an outer glow effect. from the effect menu
Then select the other layered cut and add your desired effects to them.
I choose to use ocean ripple, you can also let your creativity flourish in adding effects to the design.
The theme is extraterrestrial. anything is possible
This is the final form of the sun after the effects
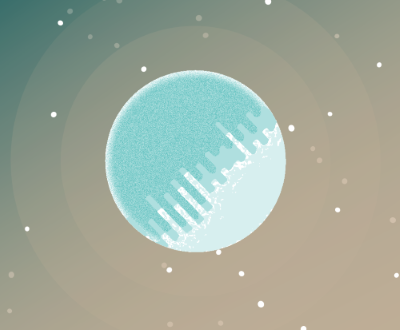
The background is just layered trasparent yellowish white circles. white dots as stars. and a rectangle background.
Thanks for passing by, I truly hope you have fun with this.
I'll share the process for the moon and the comet in the next episode and also add extra elements to the landscape.
PART ONE PROCESS GIF VIDEO
PART TWO PROCESS GIF VIDEO