A few days ago I shared that we have off grid internet but I didn’t really stop to explain, although I promised to. Truth be told our internet is only currently off grid on our end, as we rely on a friend across the city for our internet connection. There just isn’t the infrastructure in our barrio yet (most of the city has extremely fast reliable internet, its just rural-ish barrios like mine up the mountain that experience shortages) so there’s no availability outside of our anarchist internet connection and local Axtel, who works off of similar technology to us but crappier service, and charges a lot more.
So we essentially piggy back off of our friend using WISP technology (click that link for my old post about our anarchist internet). Simply put, he hardly ever has outages where he lives so we can rest mostly assured that we will have internet all the time. It’d only take a small setup like what I’m showing you here to get him off grid for internet too. We aren’t worried about it right now but we do eventually plan on off gridding that other end.
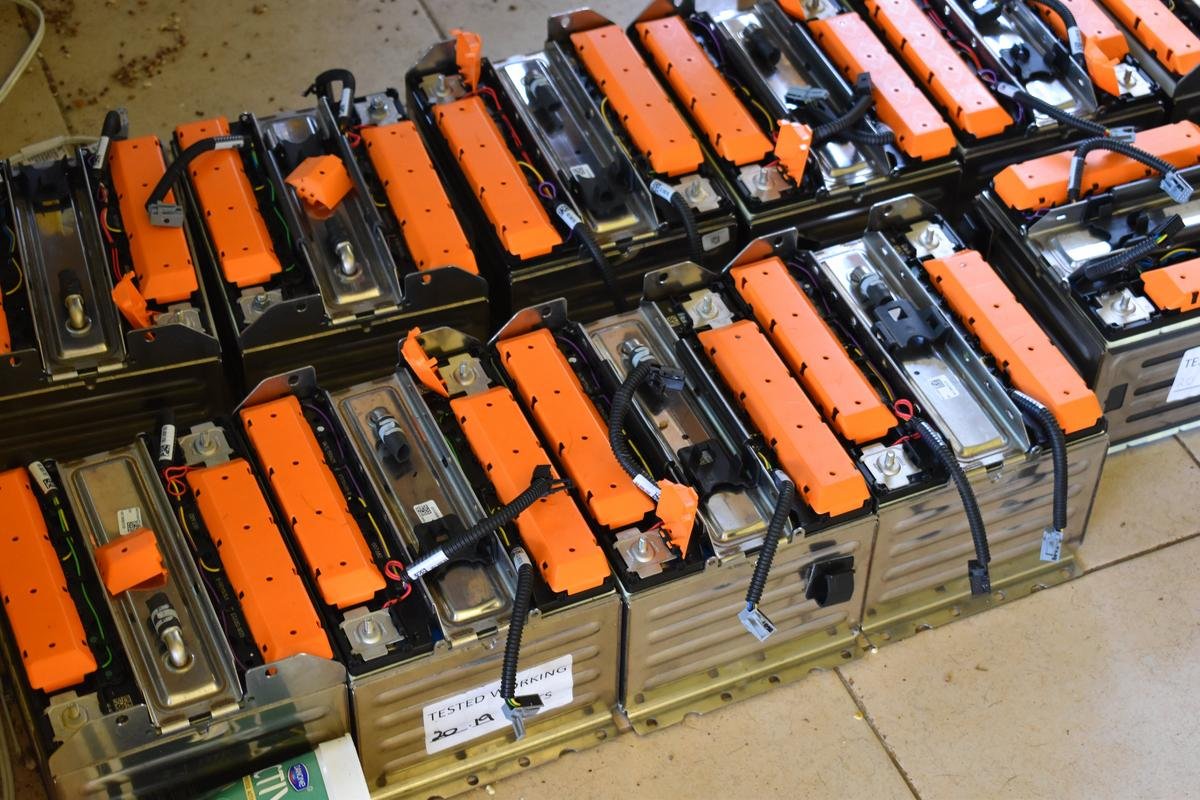
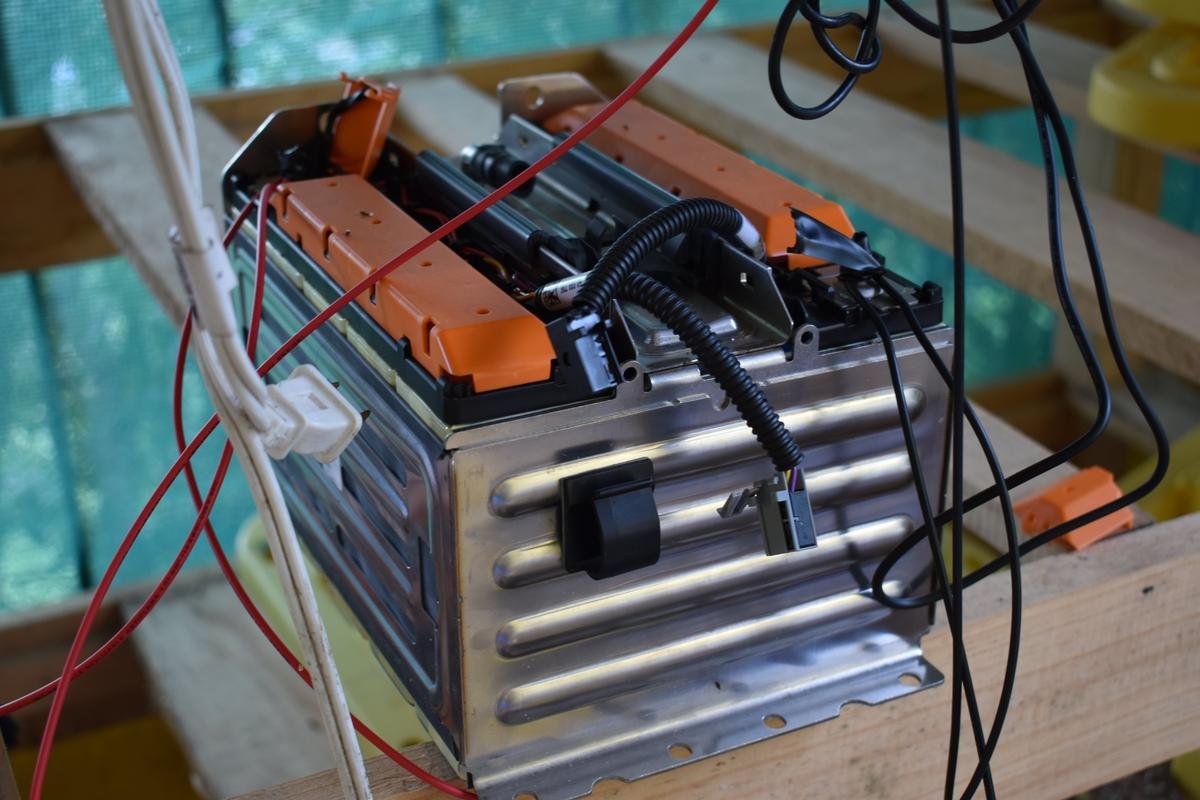
The setup we’re currently running is very temporary, basically just something to get started with while we wait for the rest of the panels. How things are configured now are not at all how they will be configured when the system is complete, for example we’re going to be using the smaller 18650’s for this setup instead of these large lithium ion batteries.

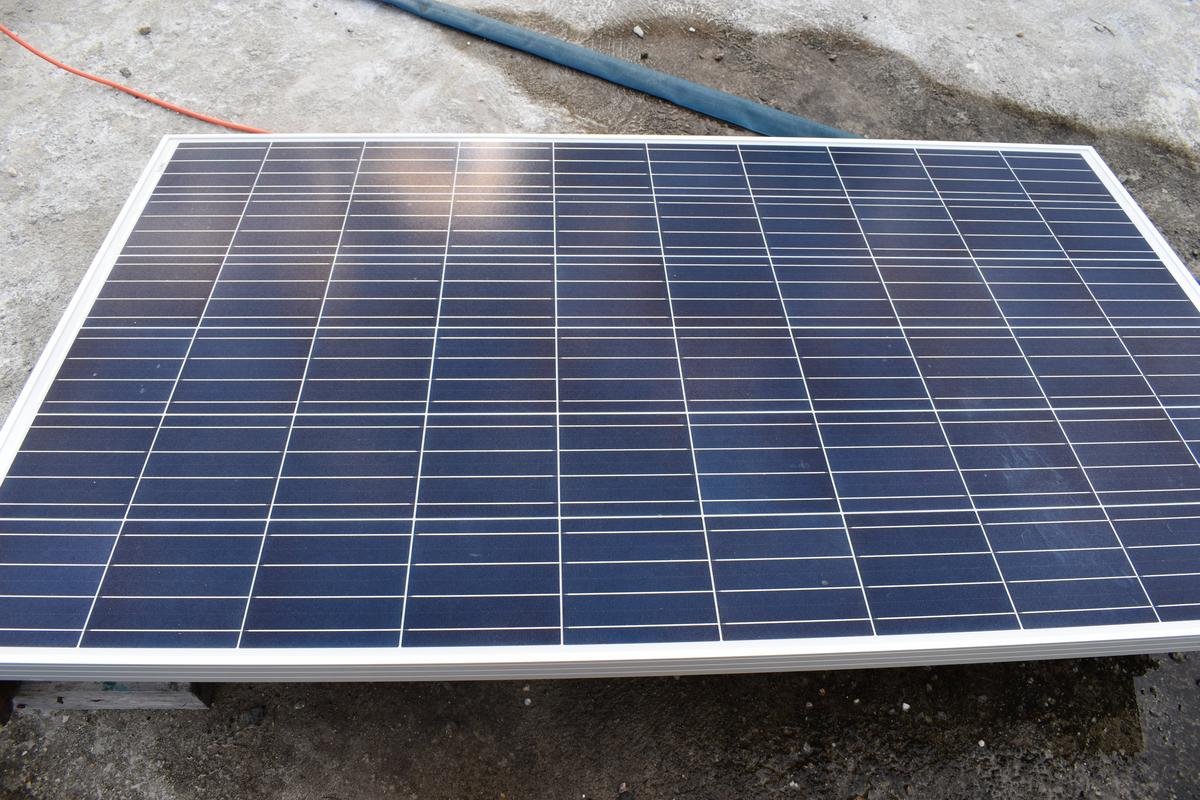
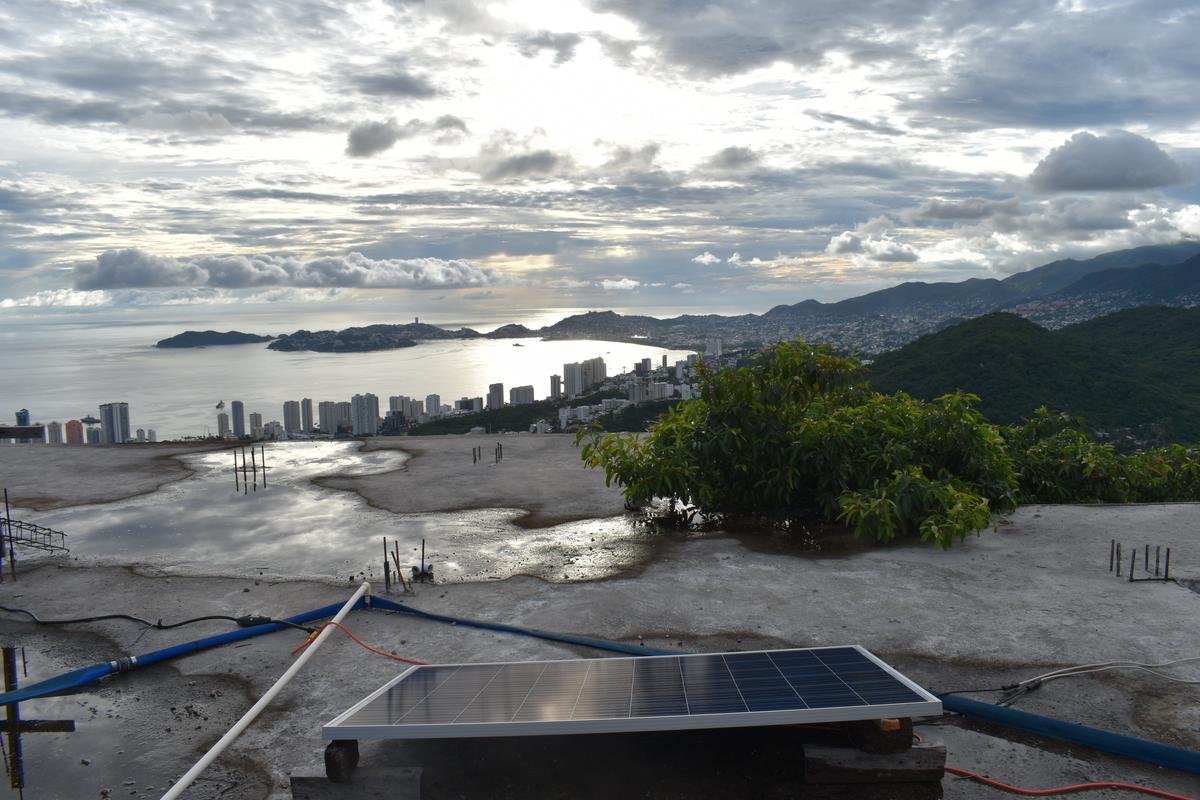
So the power obviously starts at the panel, where it absorbs the solar energy and converts it to electricity. That power travels through the wires out to the charge controller.
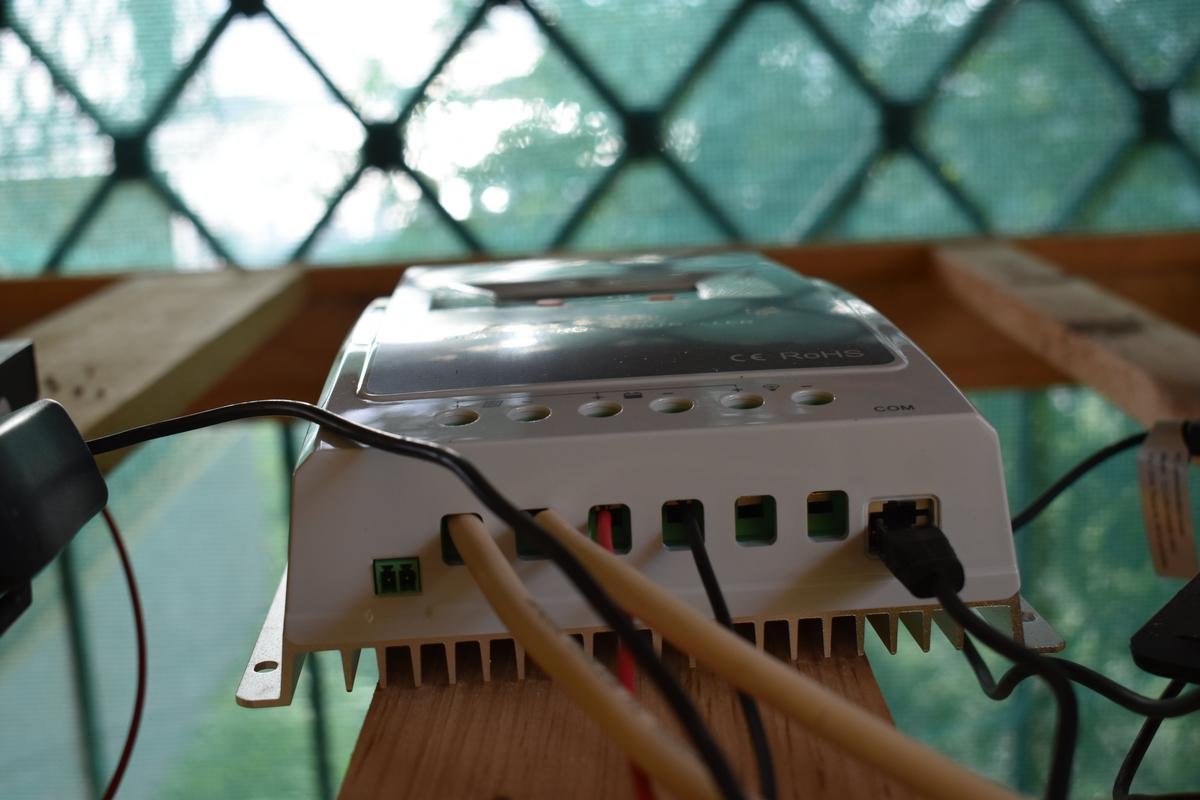
We’ve actually got two charge controllers, one’s in a combination unit with an inverter that we will use for our large main 48v system. I shared this post a few weeks ago about our charge controller that we’re currently using for our little off grid internet setup, the one we plan to use for our smaller 24v system.
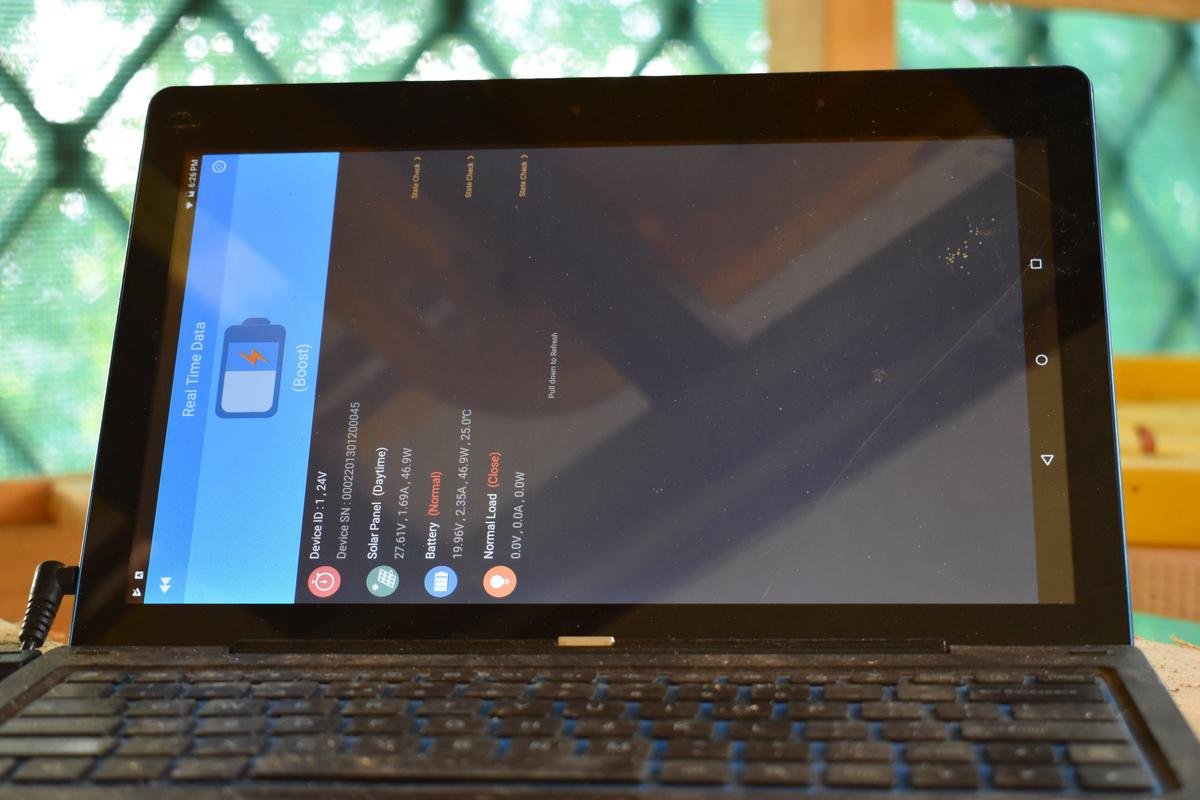
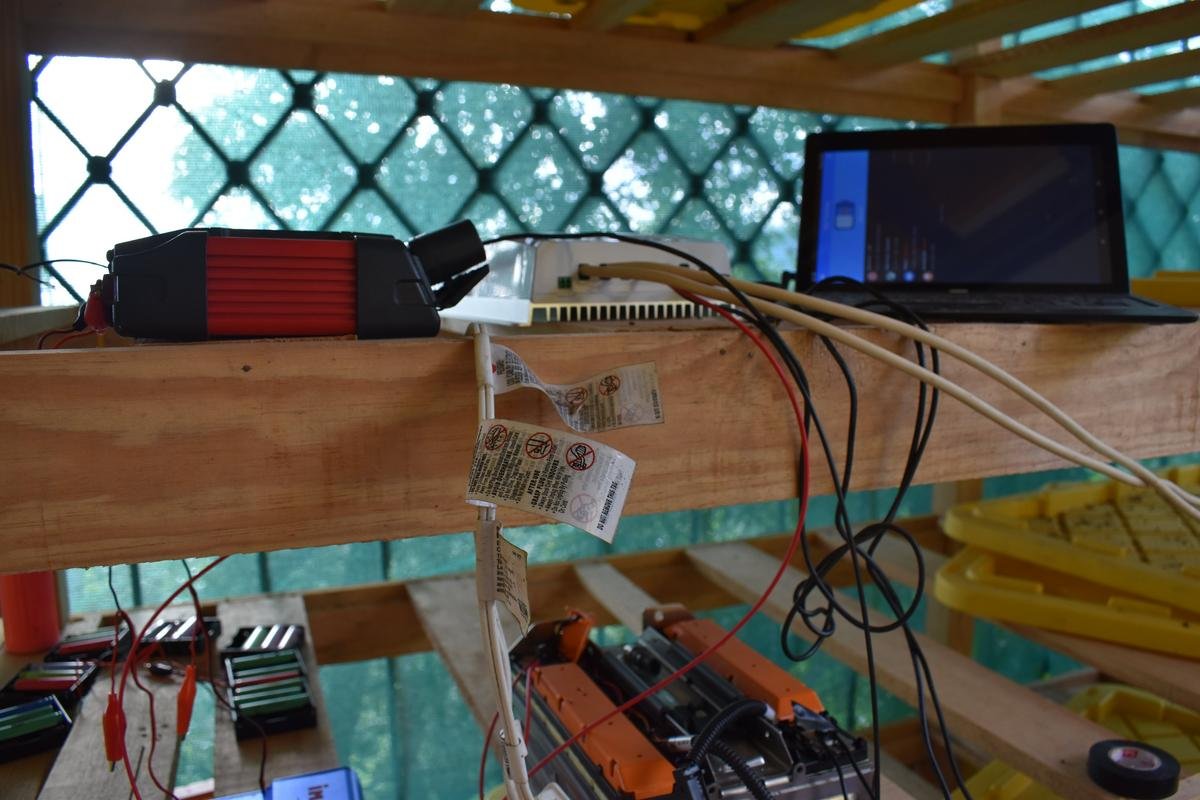
So we’ve got our old tablet in the system now, currently just monitoring the system but it’s also important for changing the settings necessary within the charge controller to be able to use lithium ion batteries. It’s just running an app and is connected to the charge controller so it can fine tune the inner workings of the system and keep an eye on everything from battery level to how much power is coming in right now.
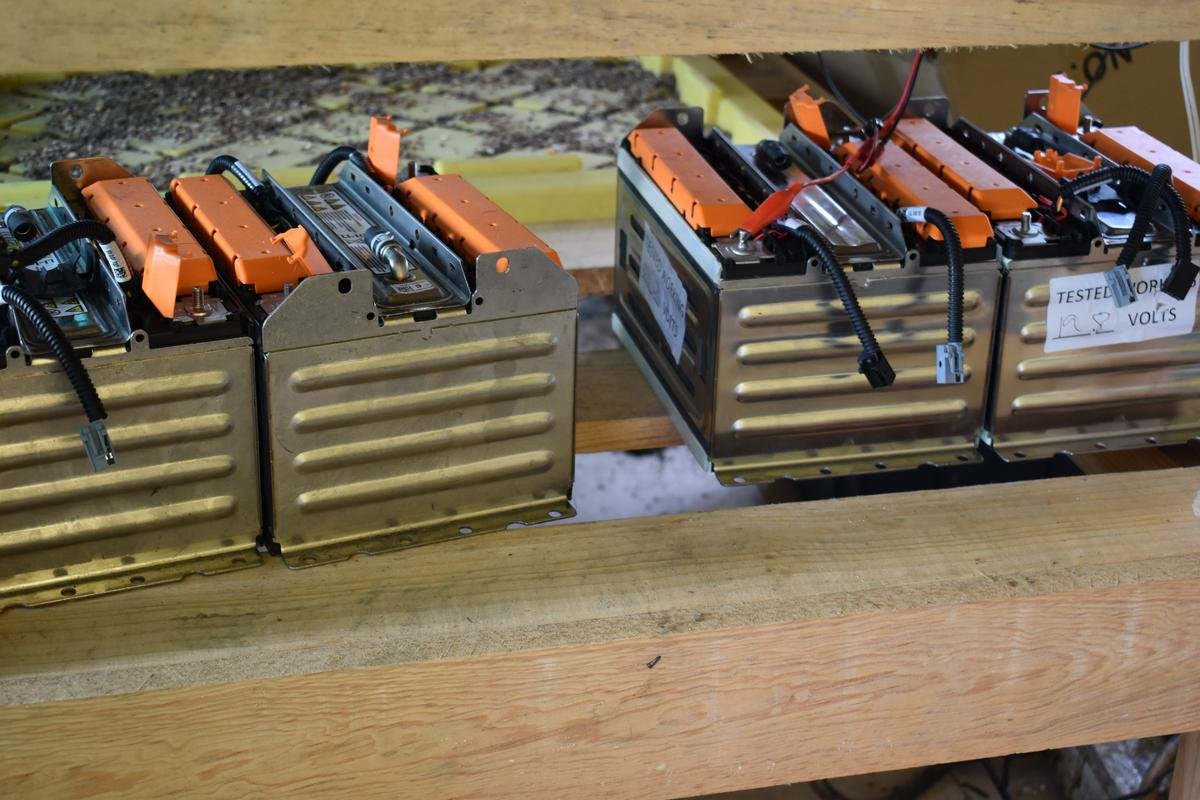
Now that power from the sun can be used directly if we want, but we also use it to charge our batteries, or in this case just one, so we can still have power at night. We also have a battery charger here for times when our battery is full and we’re wasting power, we then hook up another battery to charge it up.

From battery it goes into the little black box in the photo above which is a dc to dc converter. It basically just steps the power from 24v to 12v before it hits the inverter. The inverter we’re using is a 400w we’ve had for years that is shown slightly blurry in front of that black box. That’s got outlets where we plug in our internet.
And honestly, that’s it. It’s pretty simple. We’ve been testing and charging our batteries getting ready for when it’s time to go officially off grid. We aren’t interested in paying our next crazy high electricity bill and that’ll be due in a few weeks. Realistically, save for detail pieces, we only need the panels left to consider it a nearly complete system.

Check out some of my other recent posts!
Rebel in a Box House Photo Shoot
Tiger and Bane Bustin a Move Photo Shoot
Jungle Garden Walk Grasshoppers and overgrown Jungle 1